Creating a Voice AI Agent is fast and easy, and it will help your business field phone calls so your office staff can focus on more pressing tasks like following up with warm leads and closing deals!
Follow the steps below to set up your first Voice AI Agent!
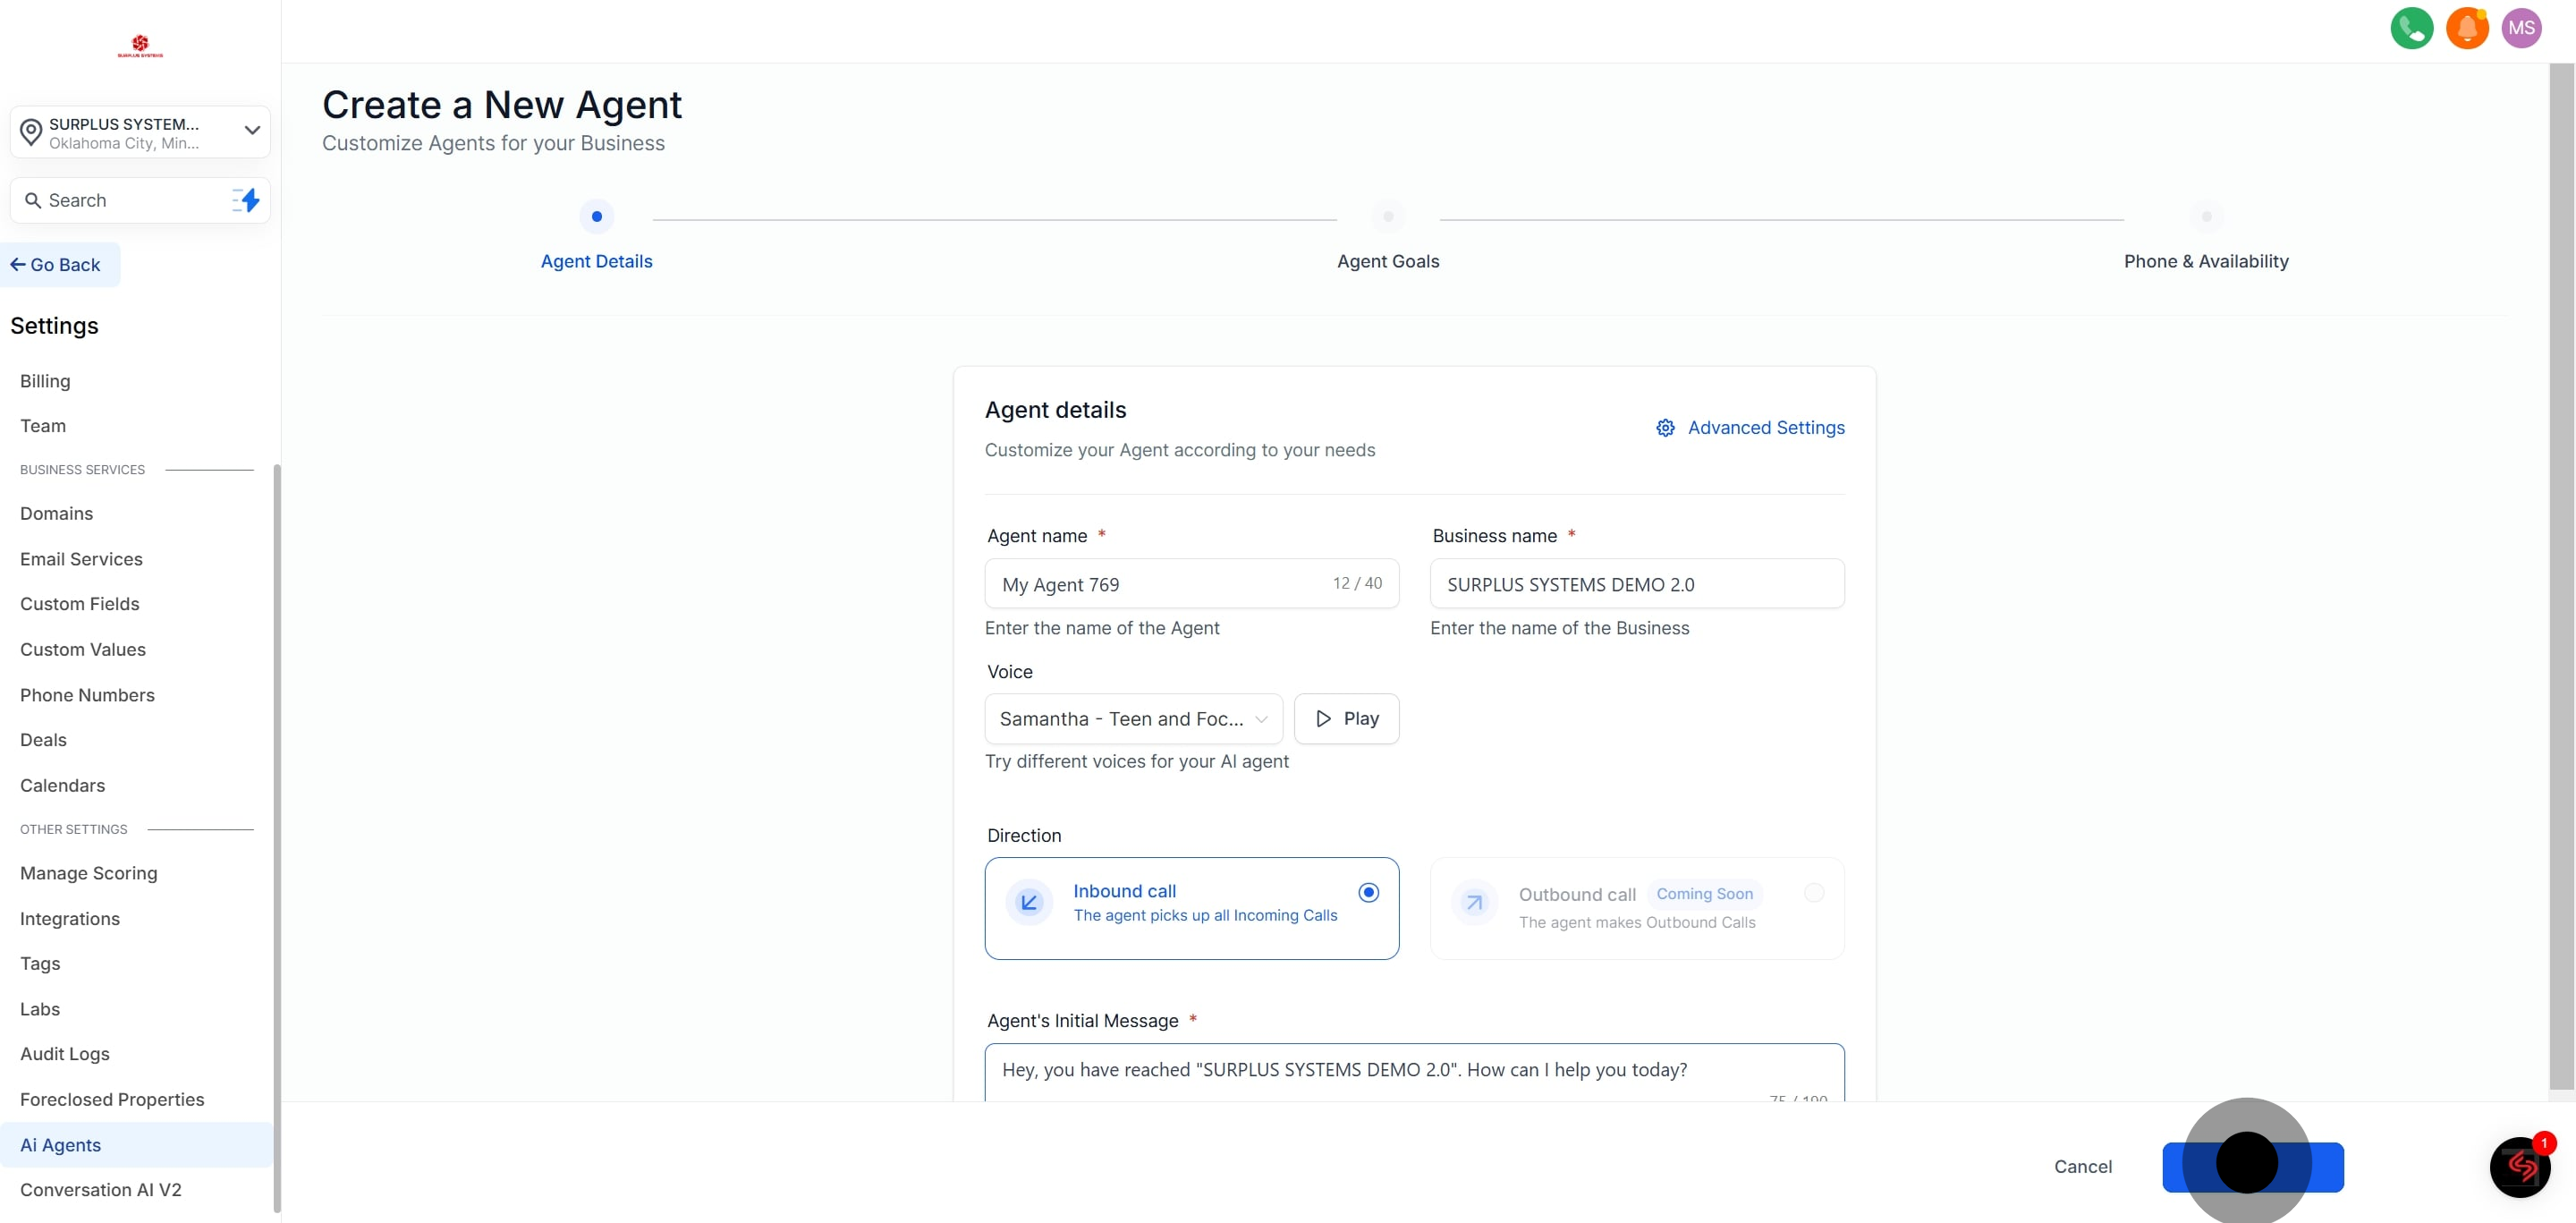
Agent Name: Enter a name for your agent (e.g., “Customer Support Bot”).
Business Name: Confirm or update your business name.
Voice: Choose from a list of available voices for your AI Agent. You can preview each voice by clicking the play button.
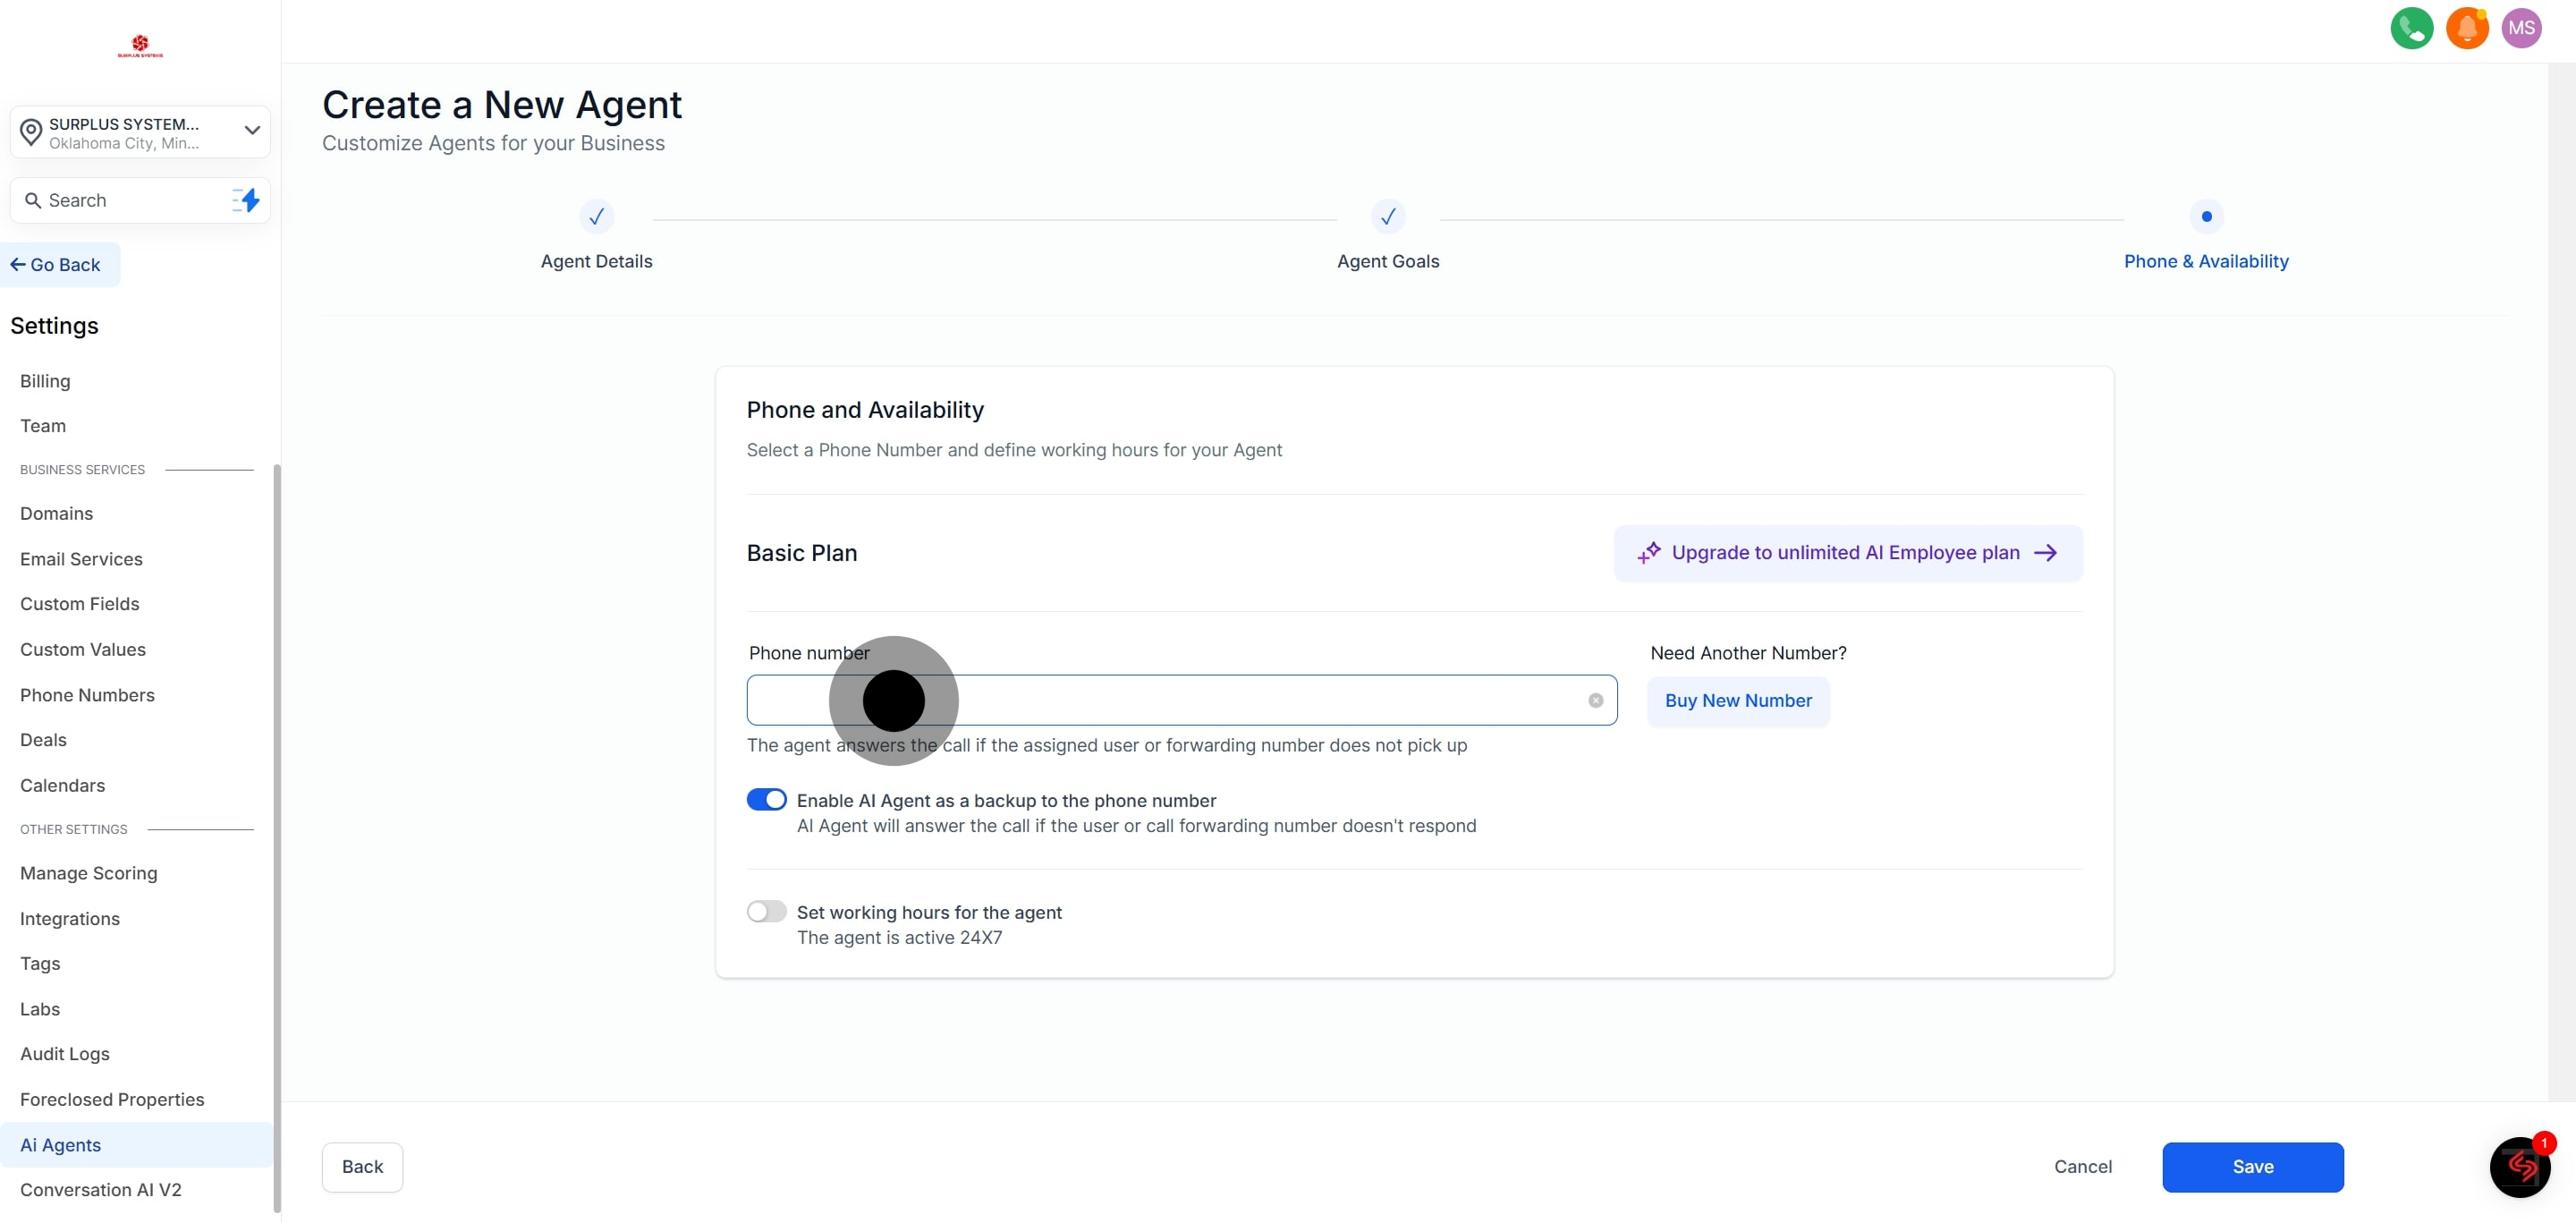
Agent Direction: Currently set to “Inbound” by default.
Initial Greeting Message: Customize the first message your agent says (e.g., “Hello, you’ve reached [Business Name]. How can I assist you today?”).

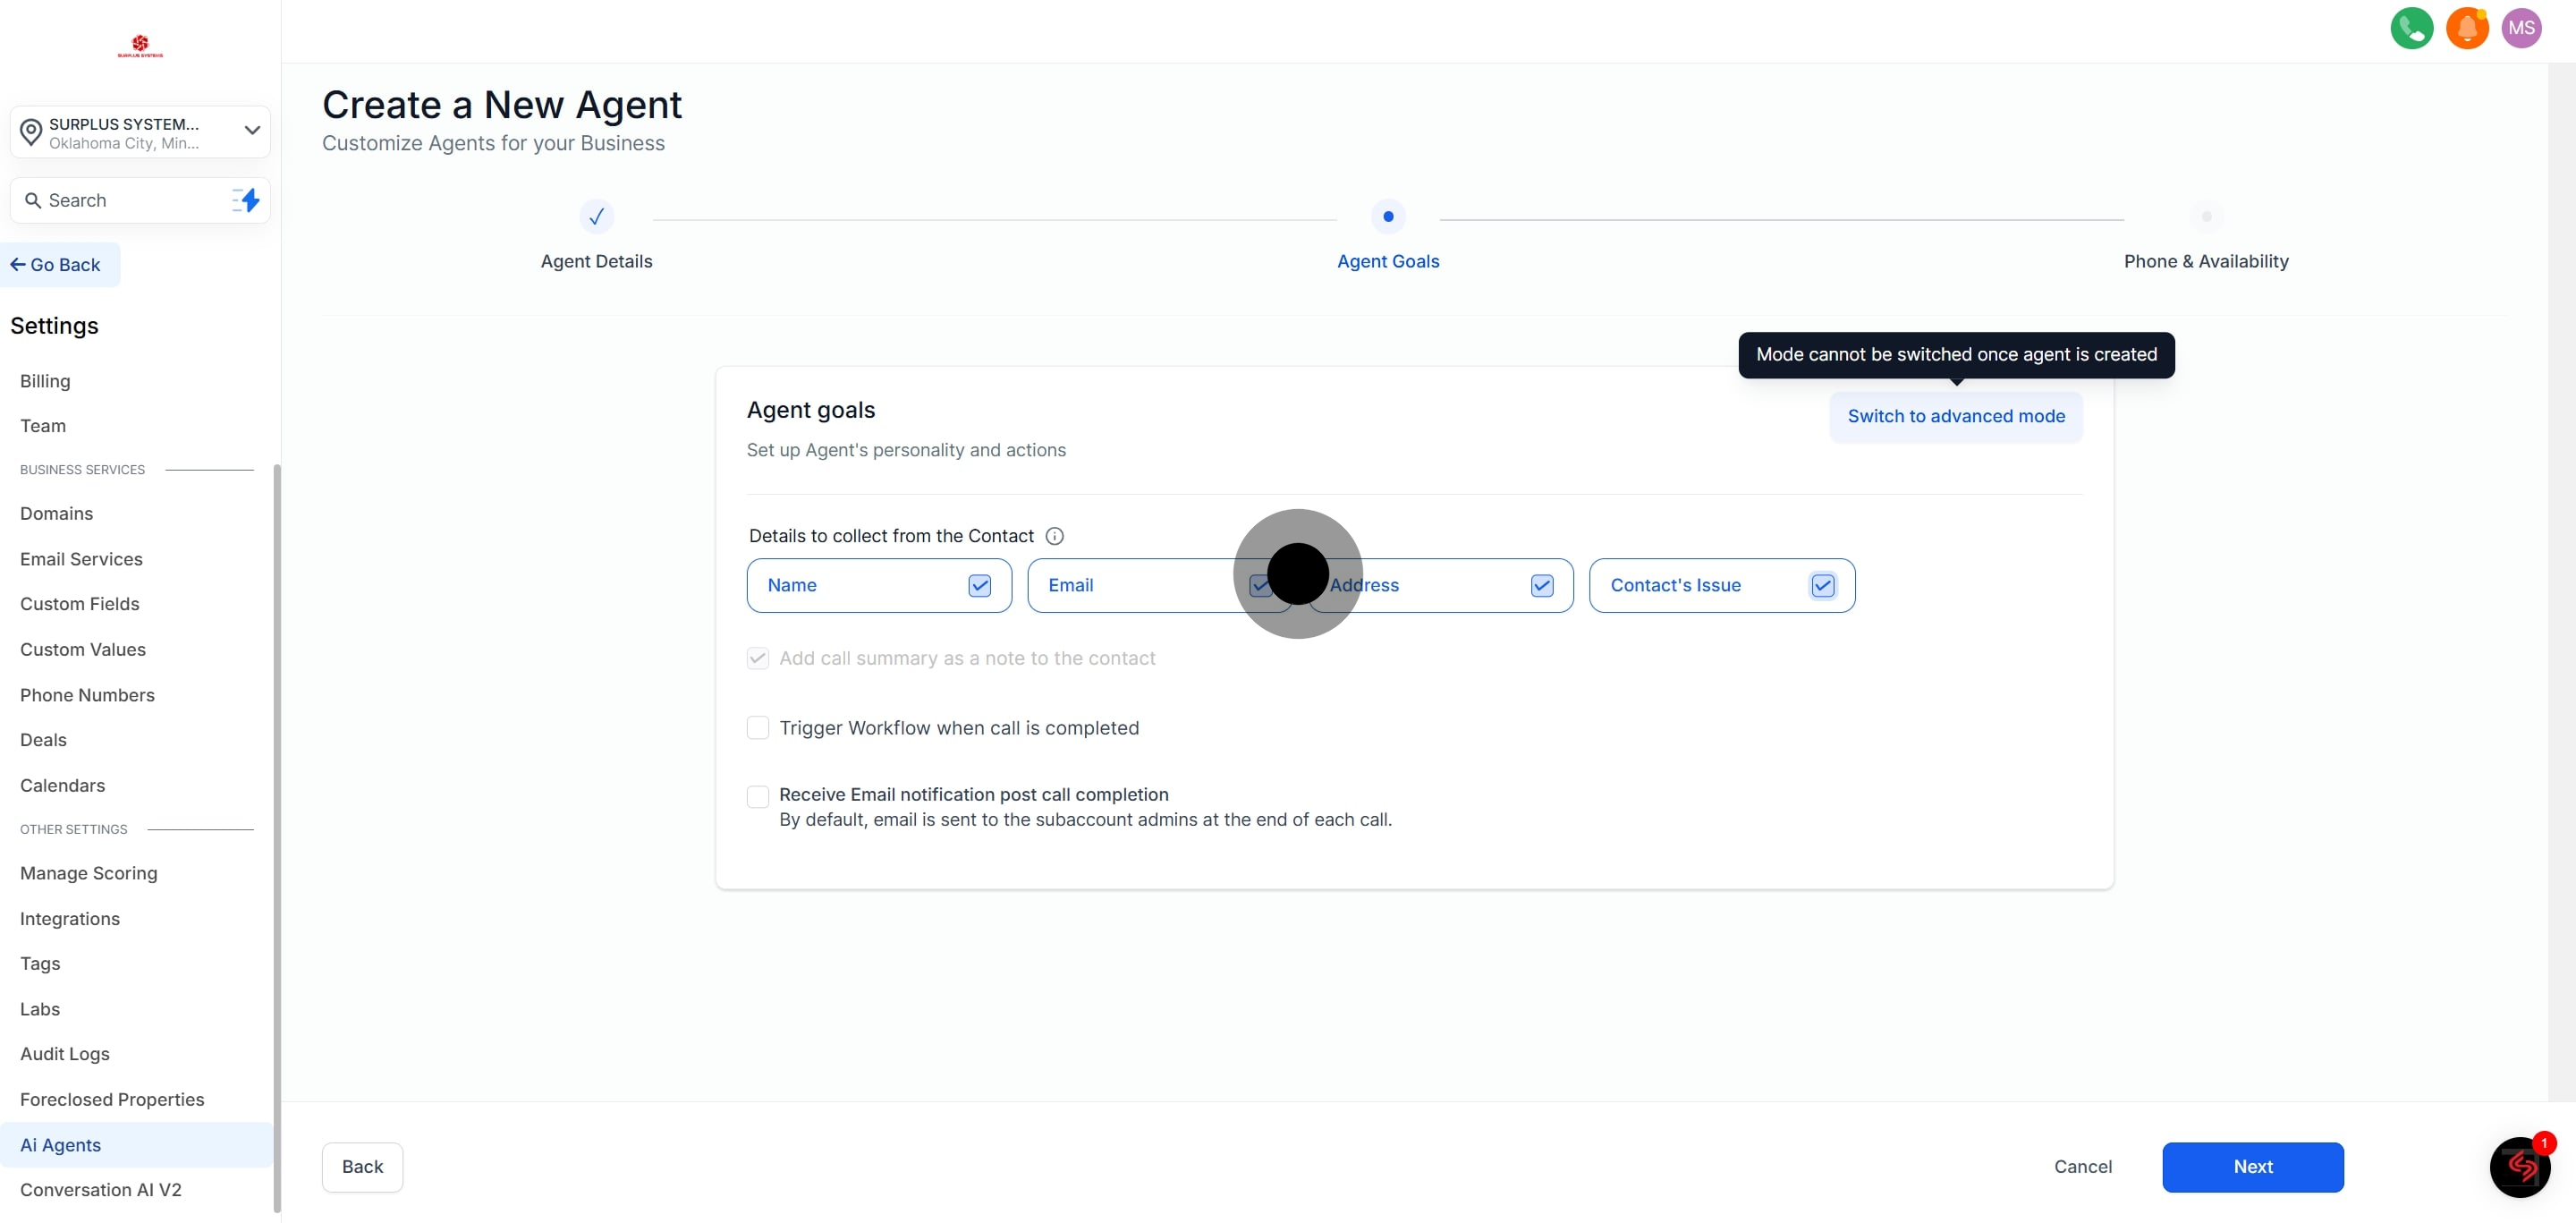
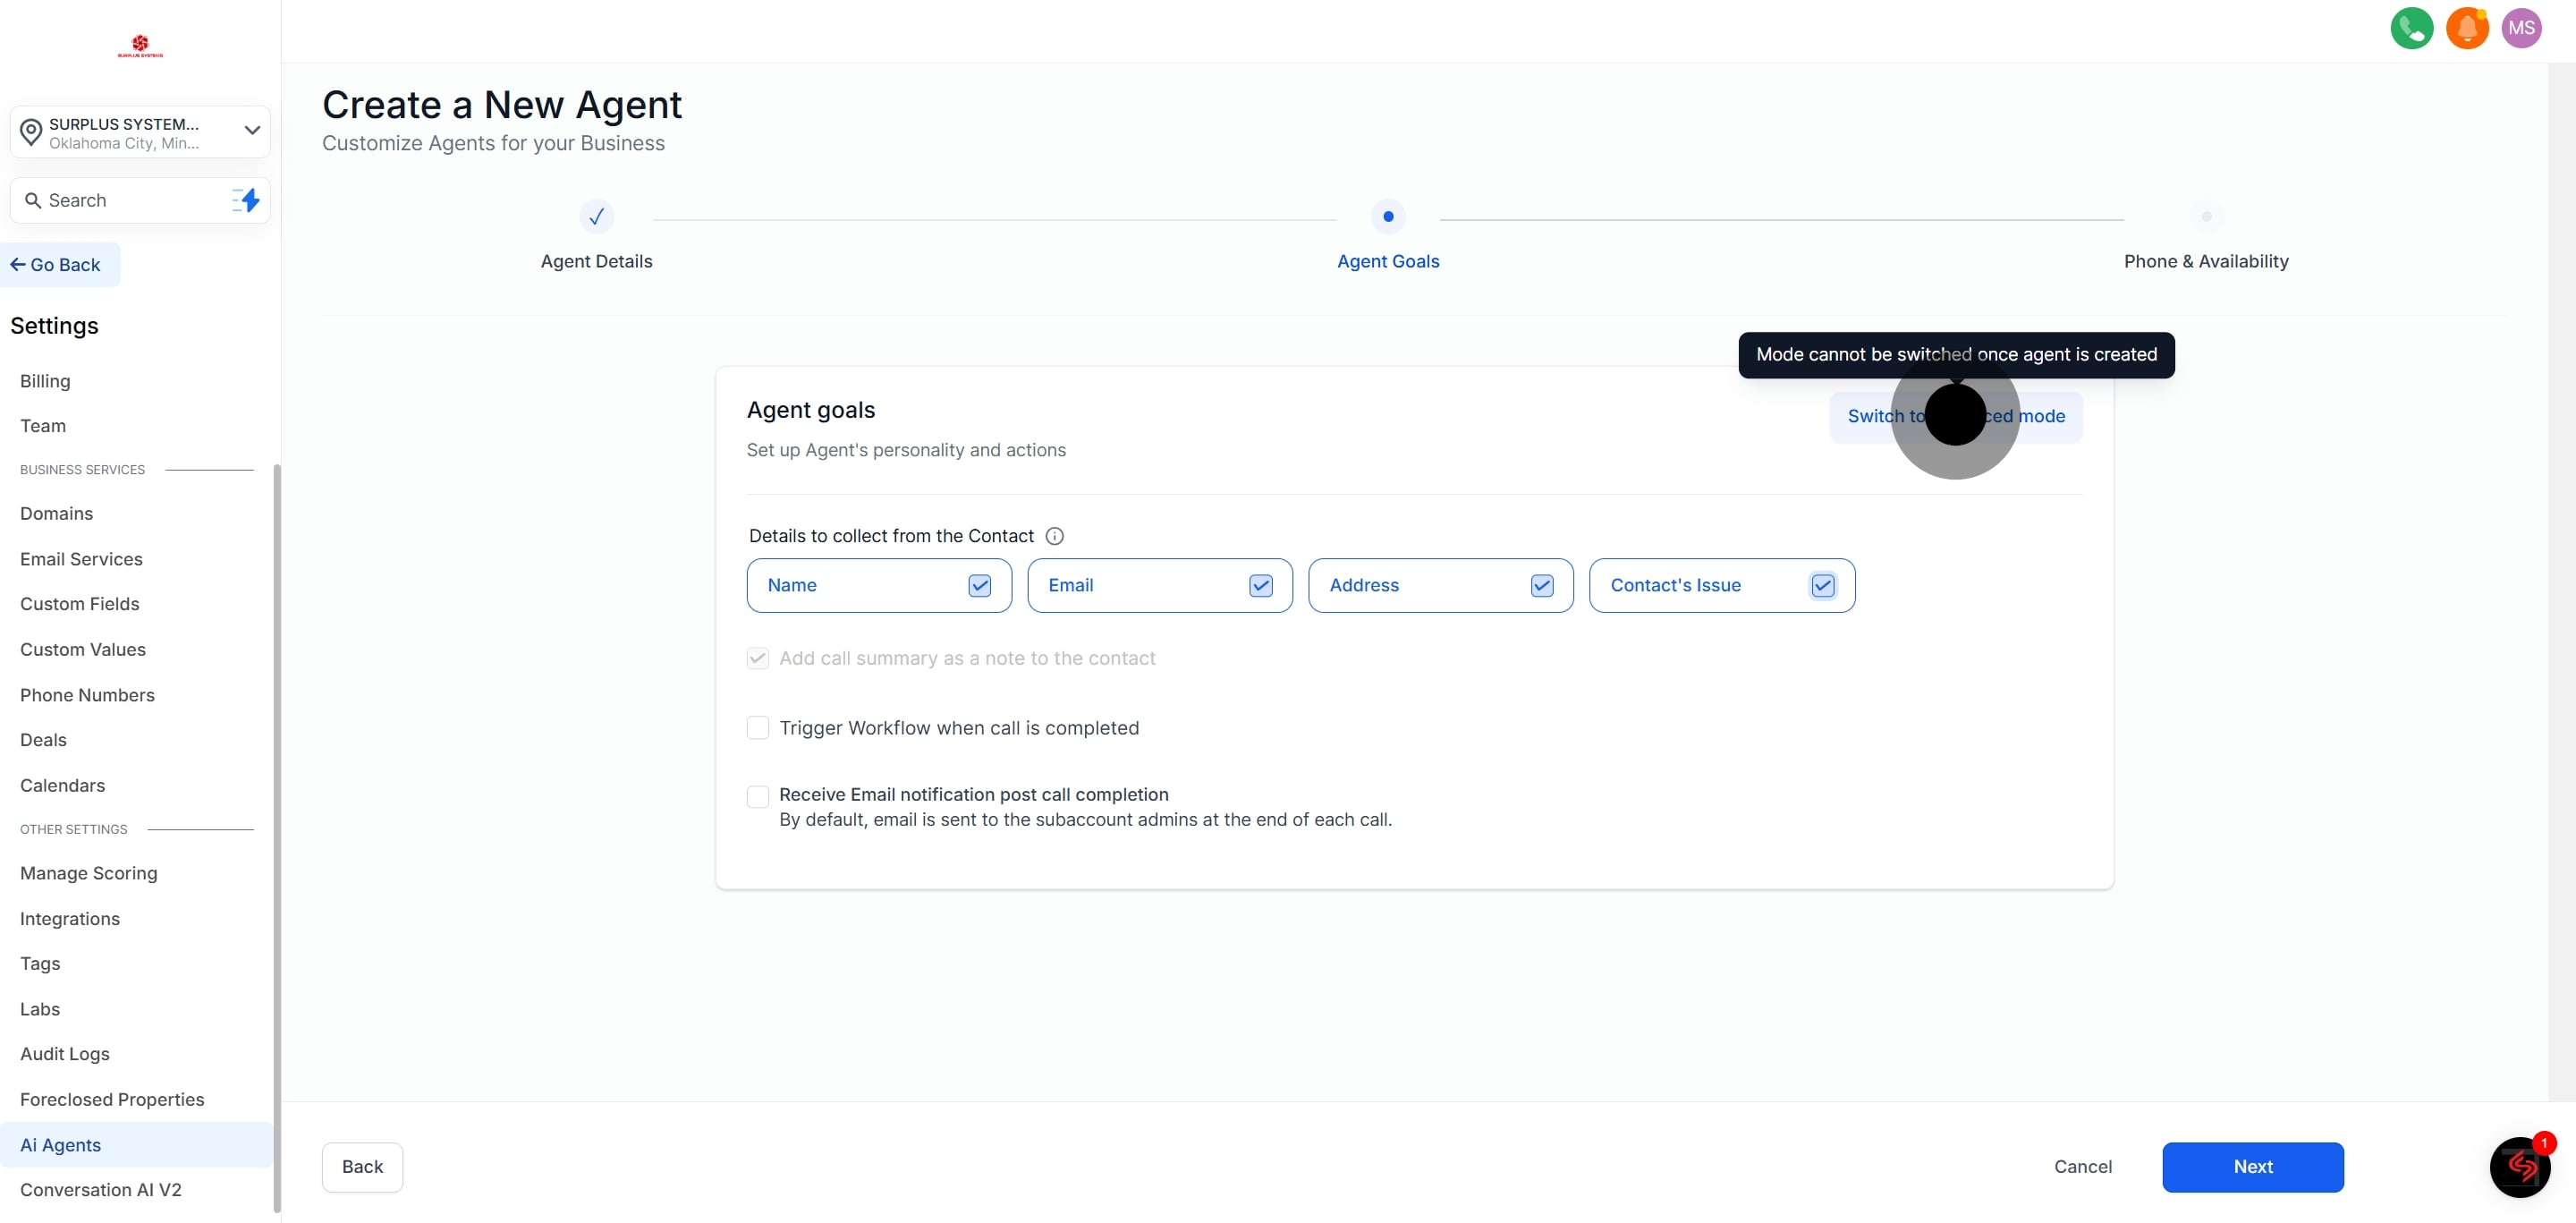
Basic mode simplifies the Voice AI Agent setup process by giving you 4 options to instruct the Voice AI Agent while in the call. No prompting required!
Select the information you want the agent to collect from callers, such as:
Name
Address
Contact's issue
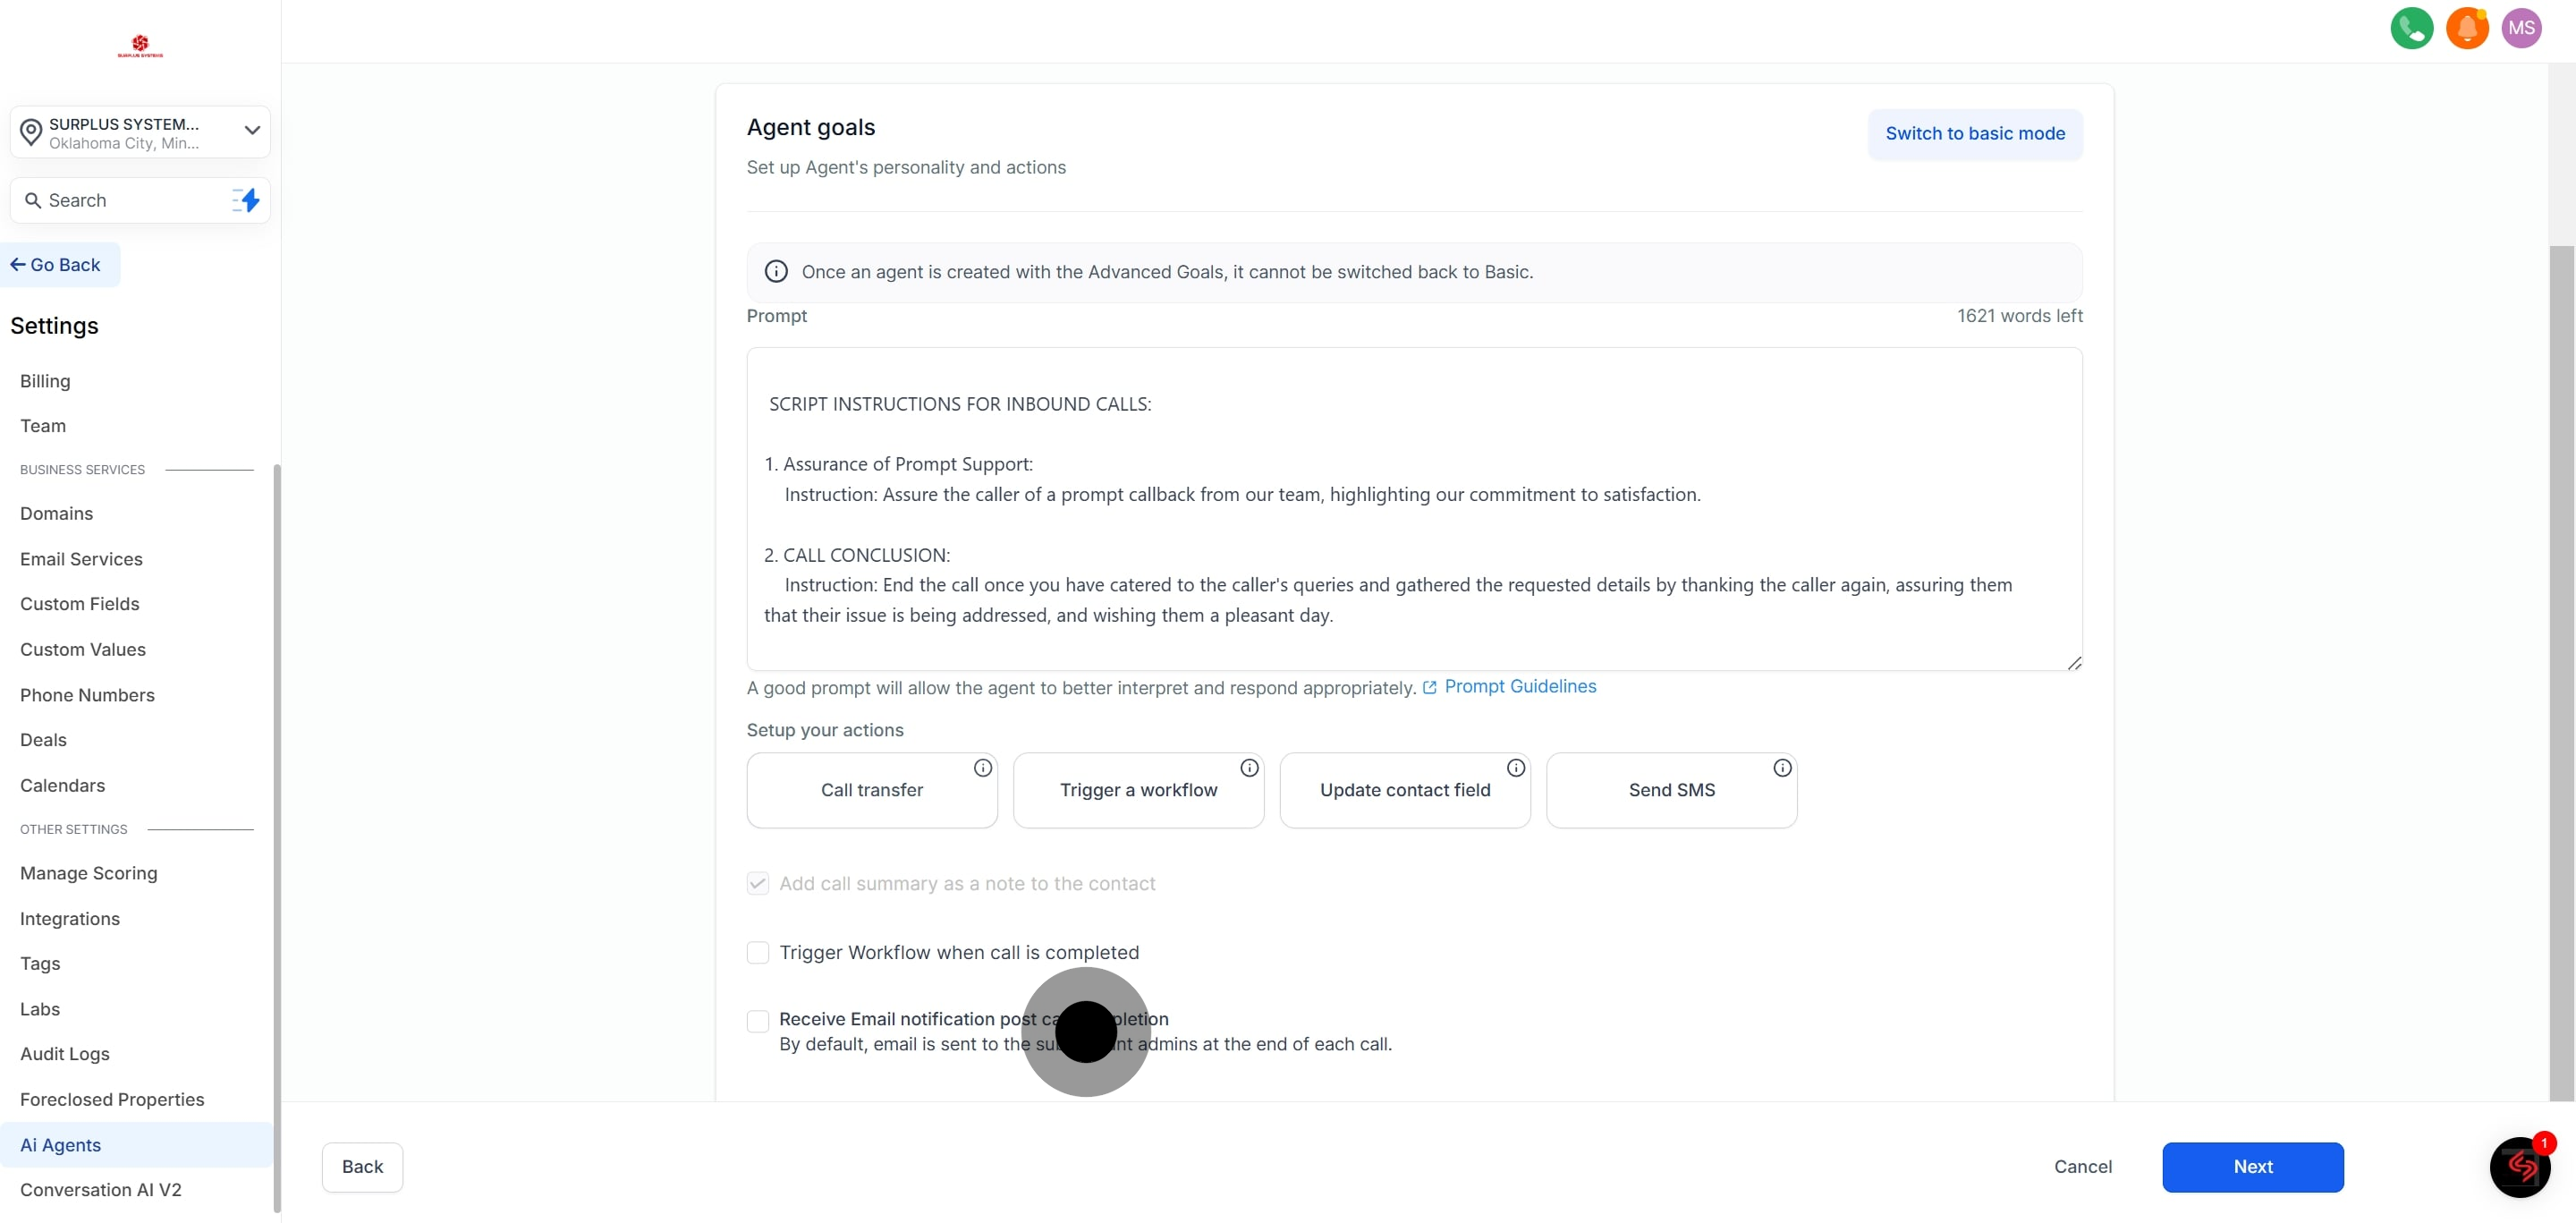
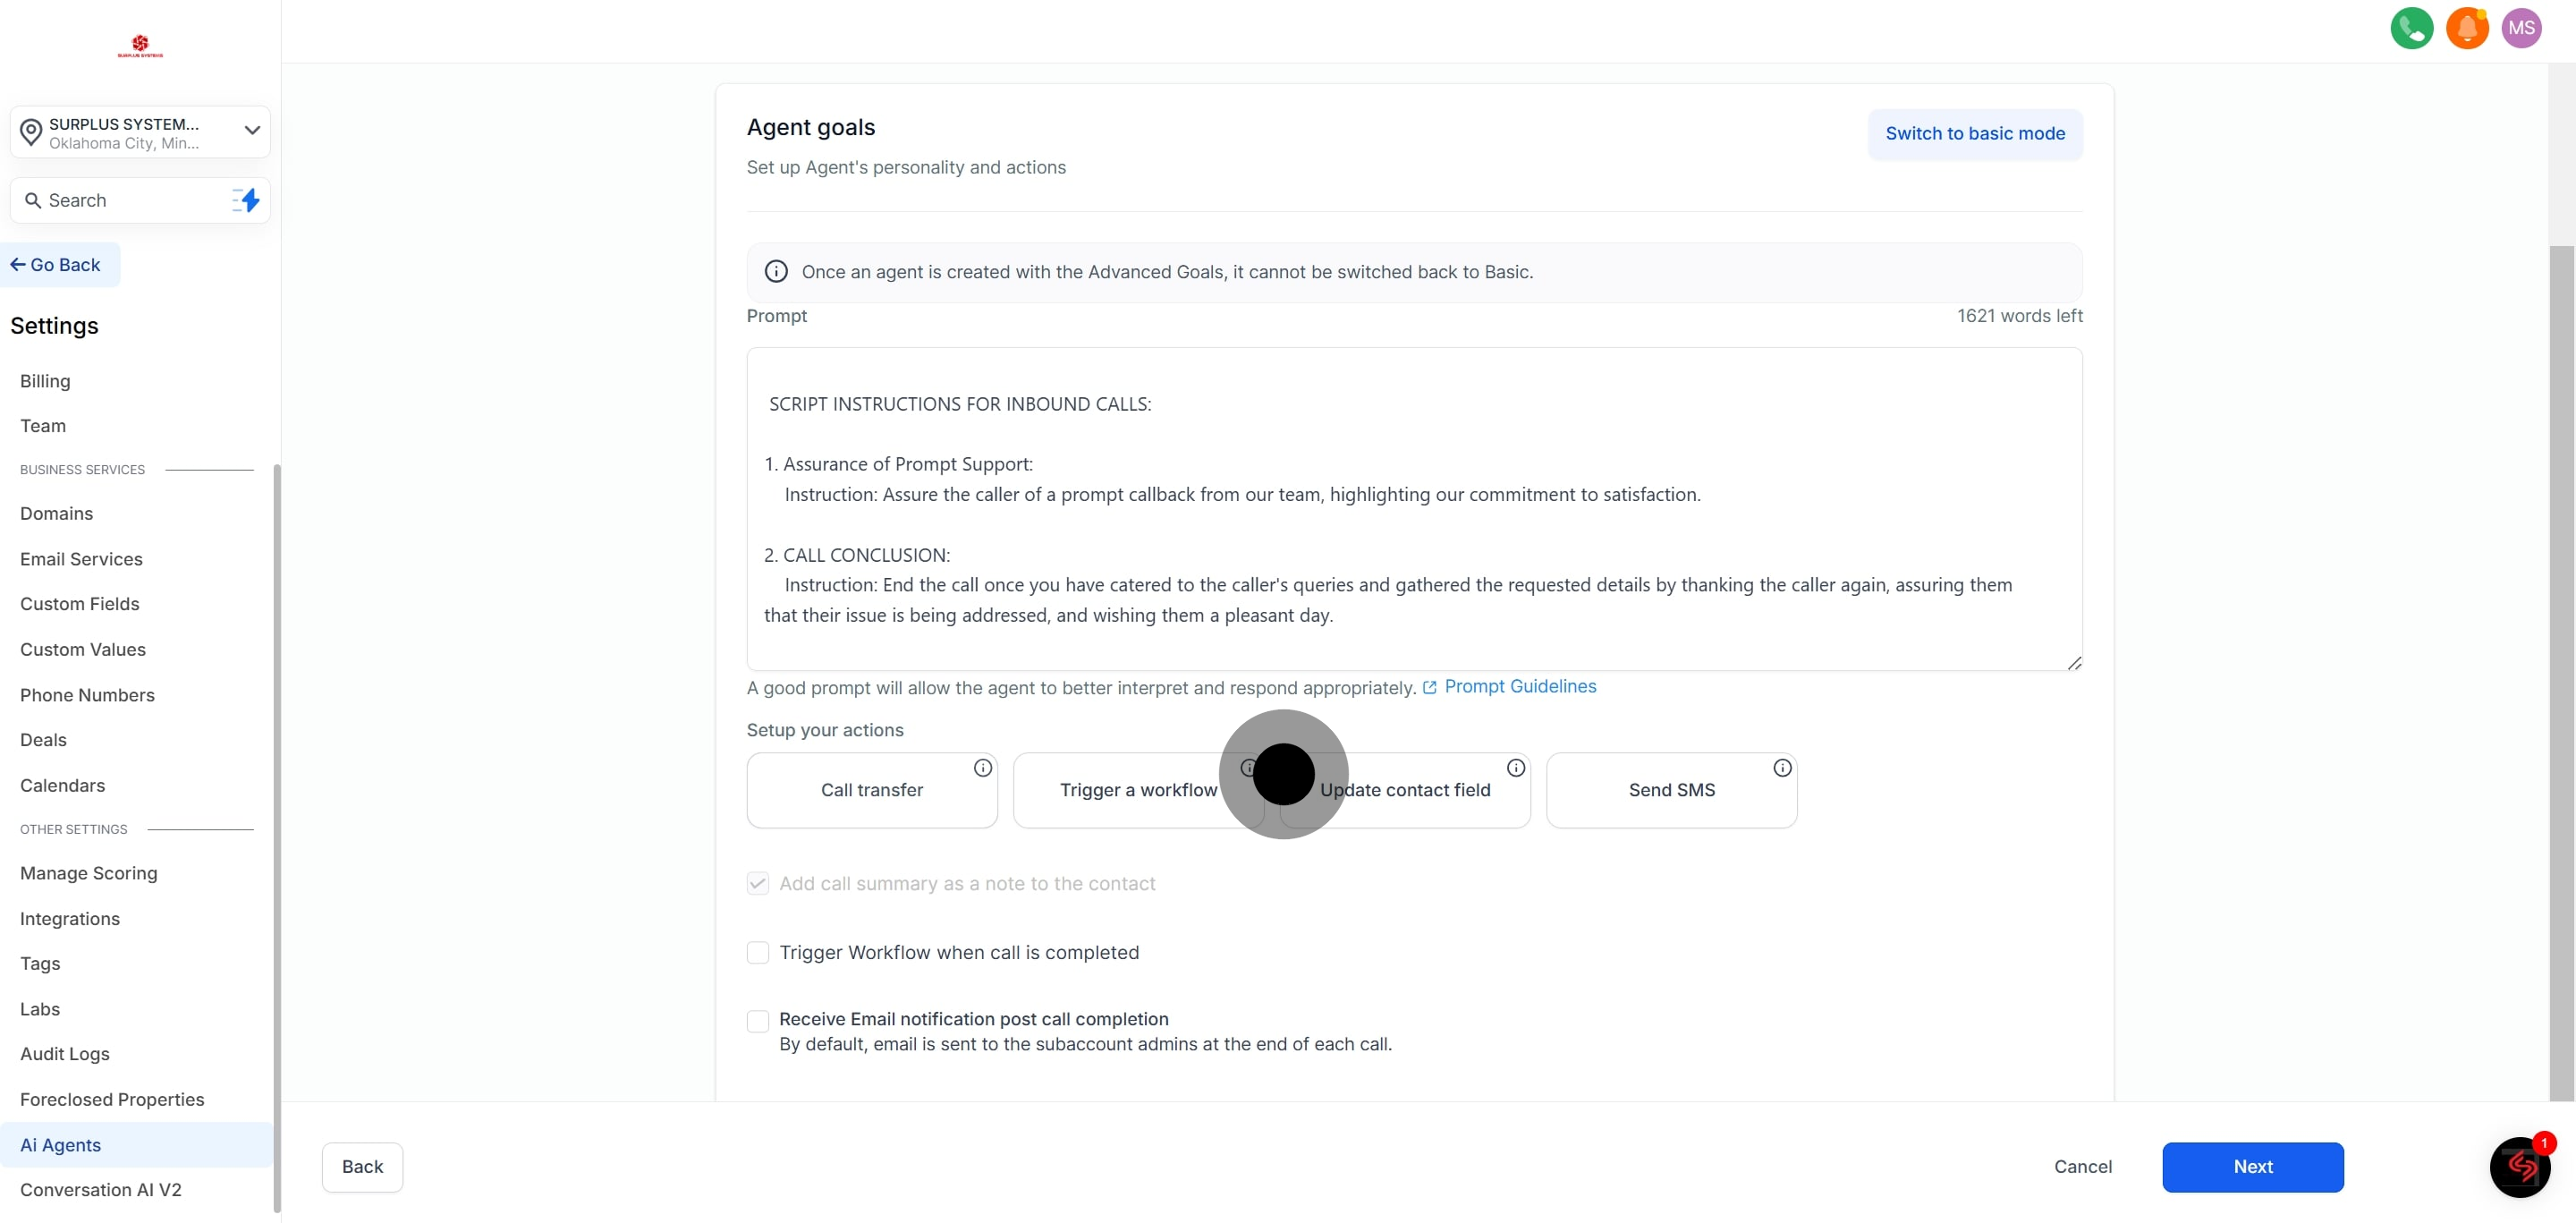
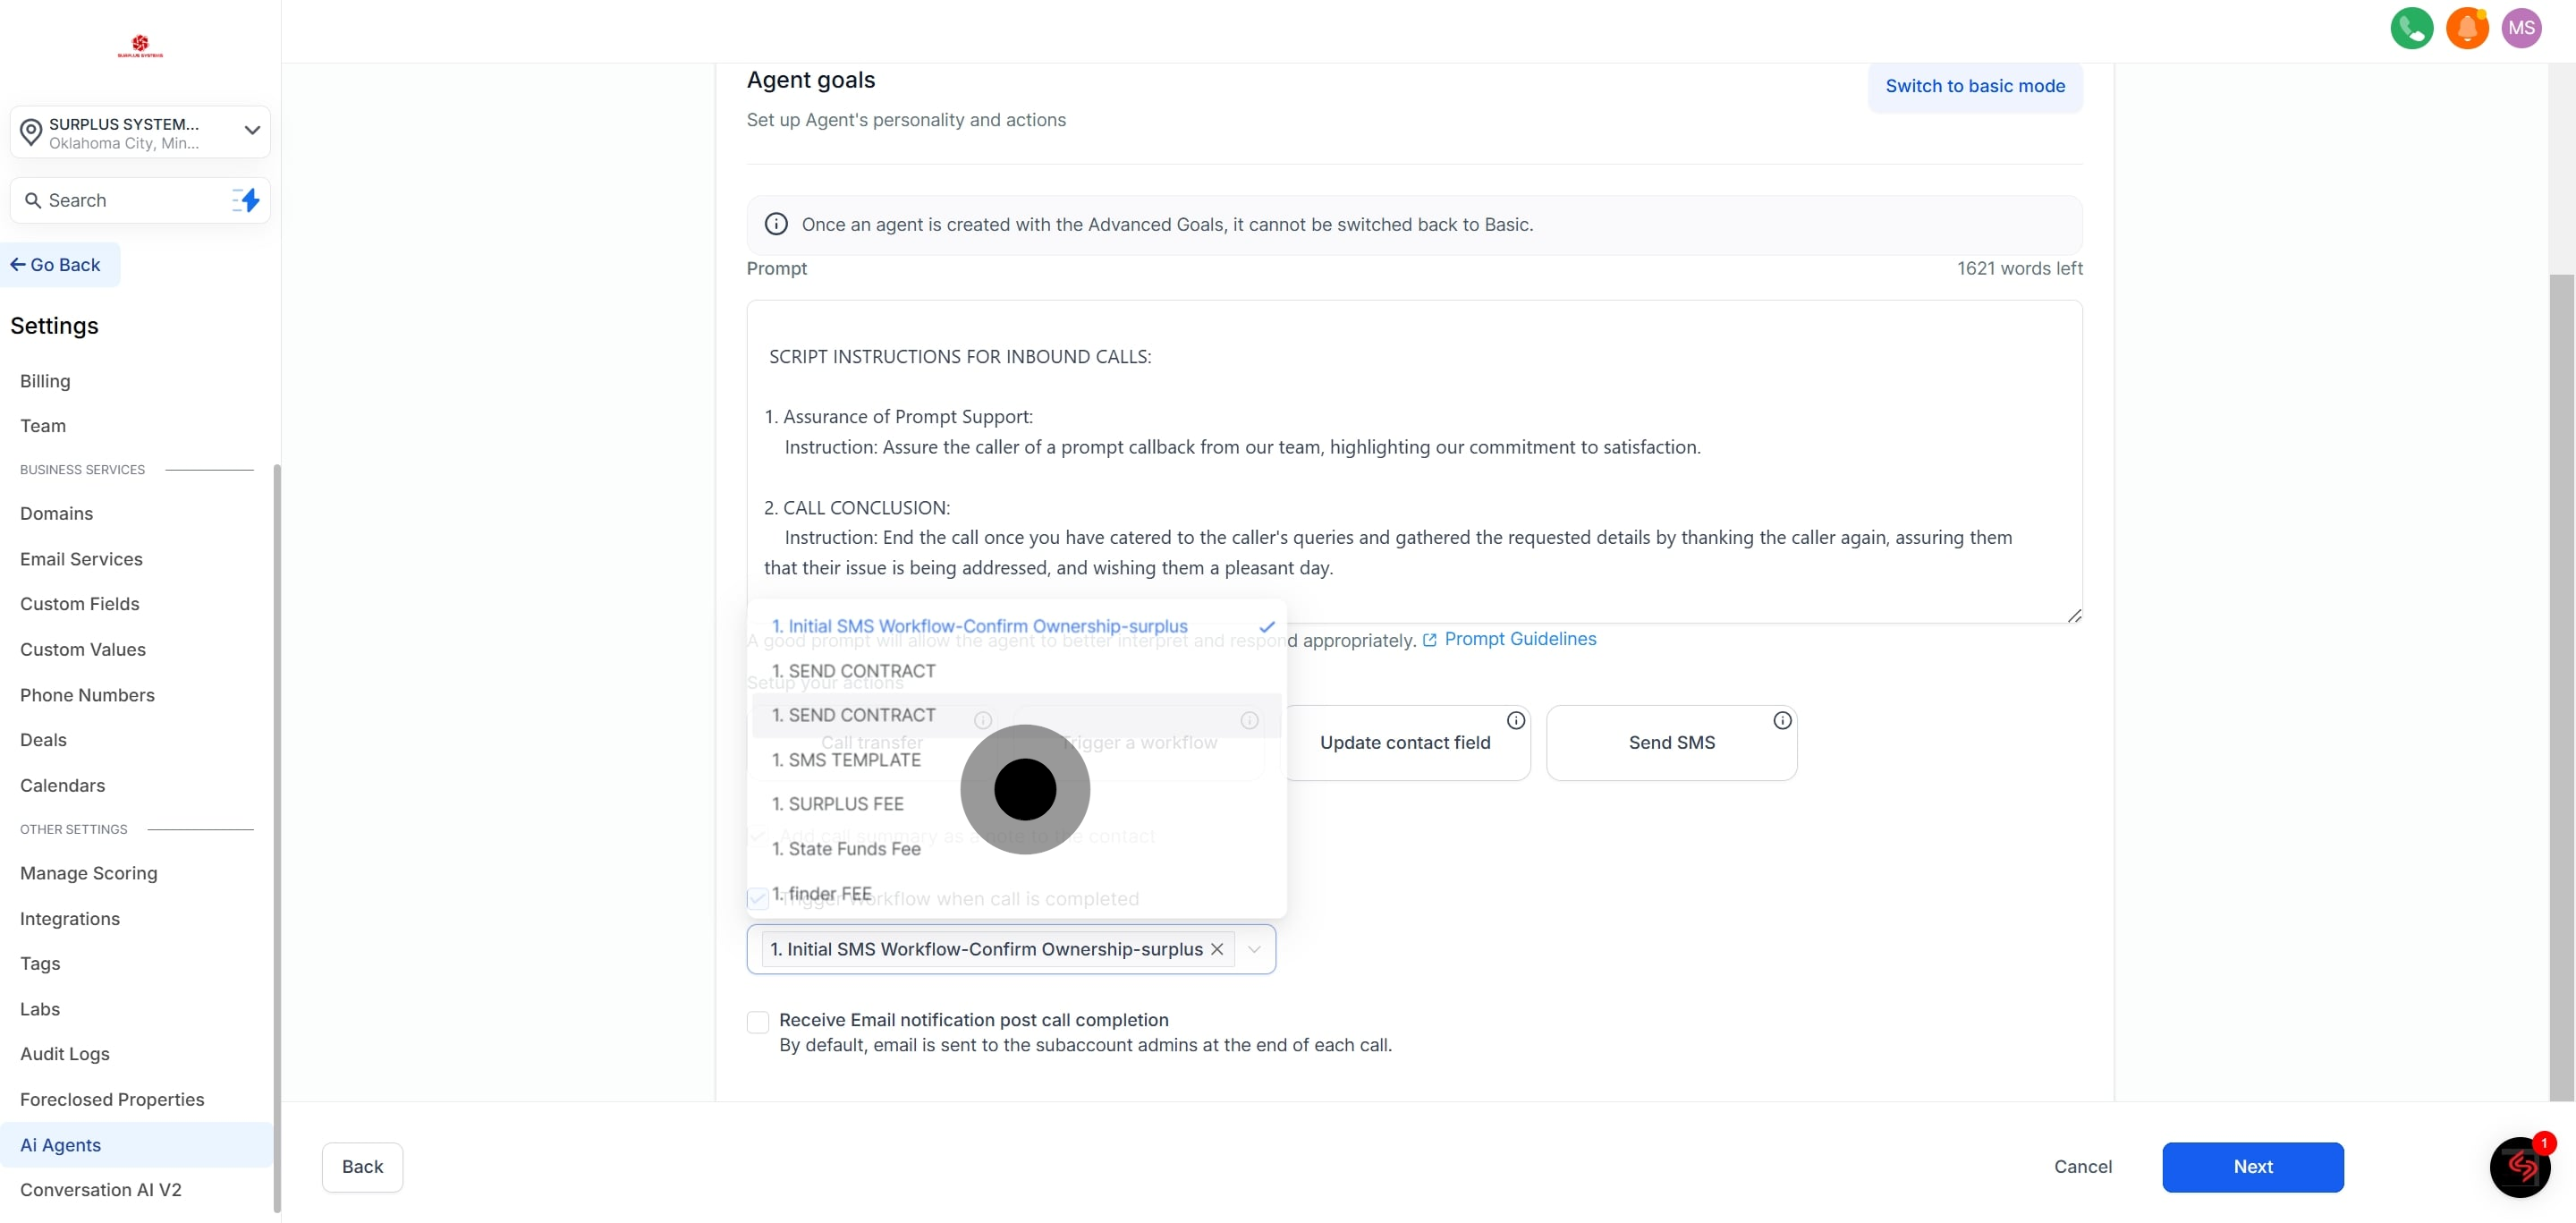
When using the advanced mode, you are given more options to control the AI Agent such as prompts and different actions.
Prompt: Write detailed instructions and personality traits for your agent.
Call Transfer: Transfer the call to a human agent under certain conditions.
Trigger a Workflow: Automatically initiate workflows based on call interactions.
Update Contact Fields: Specify how information collected should update contact records.
Send SMS: Configure the agent to send SMS messages during or after the call.
The following data is included in the email notifications:
Call Summary: Overview of the call duration, date, and time.
Contact Information: Details collected during the call.
Call Transcript: A written record of the conversation.
Actions Taken: Any workflows triggered or contact fields updated.