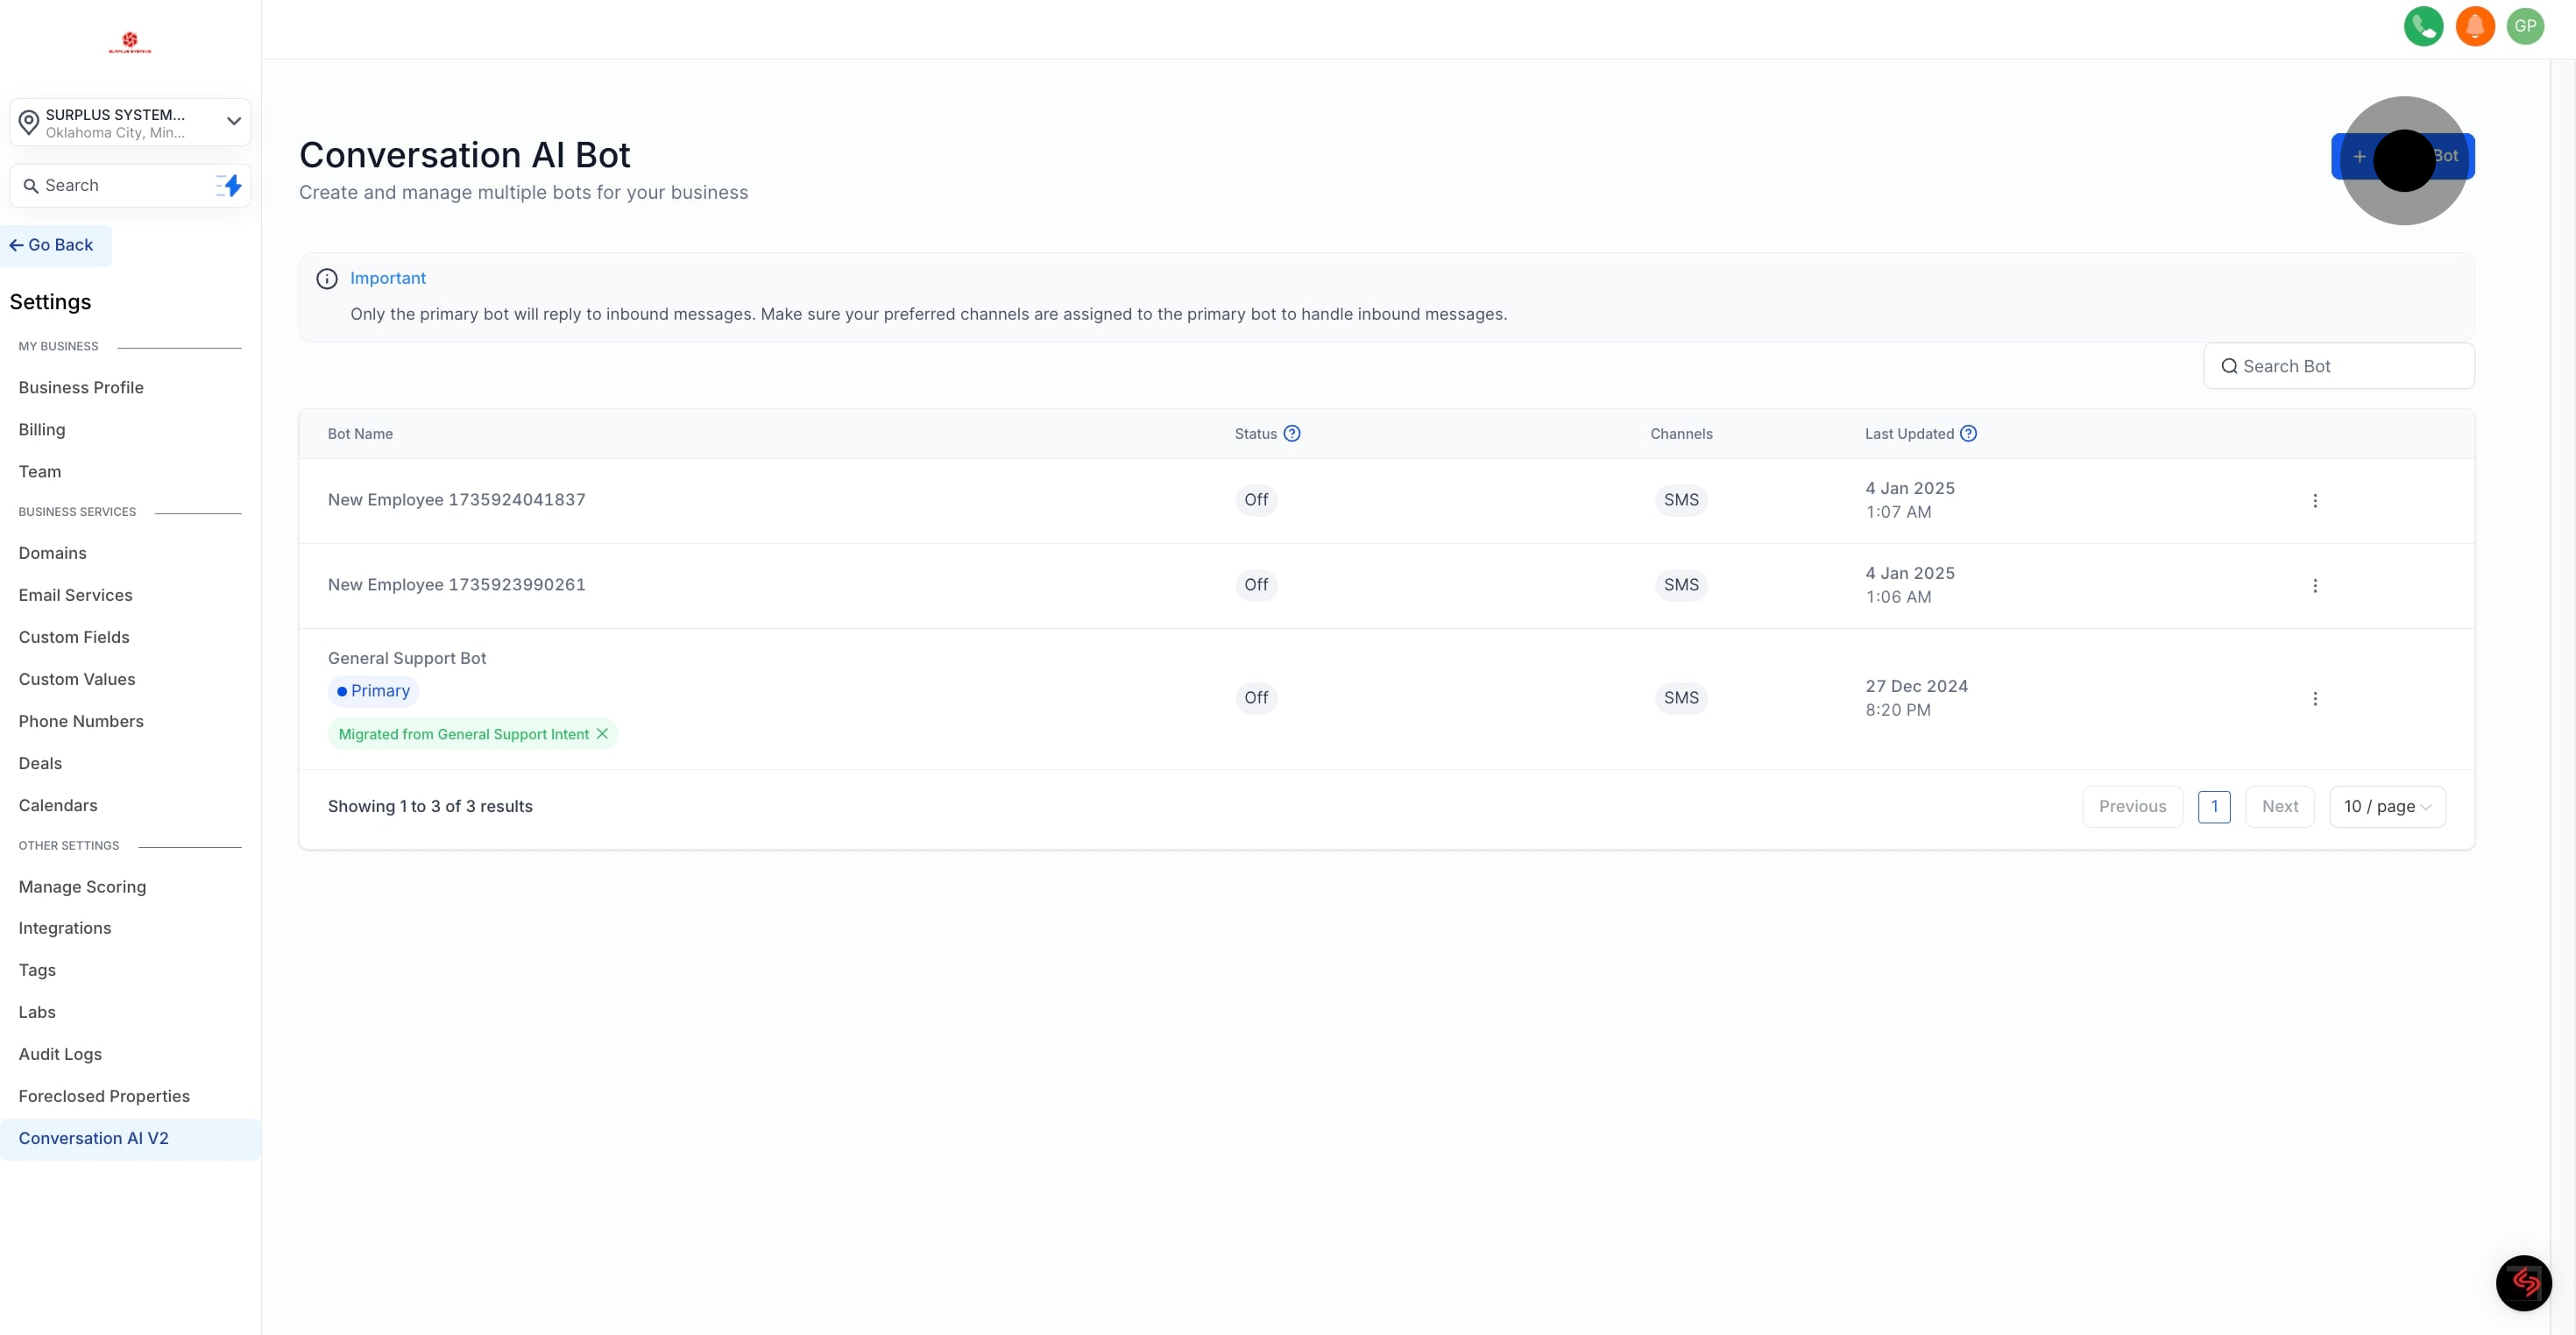
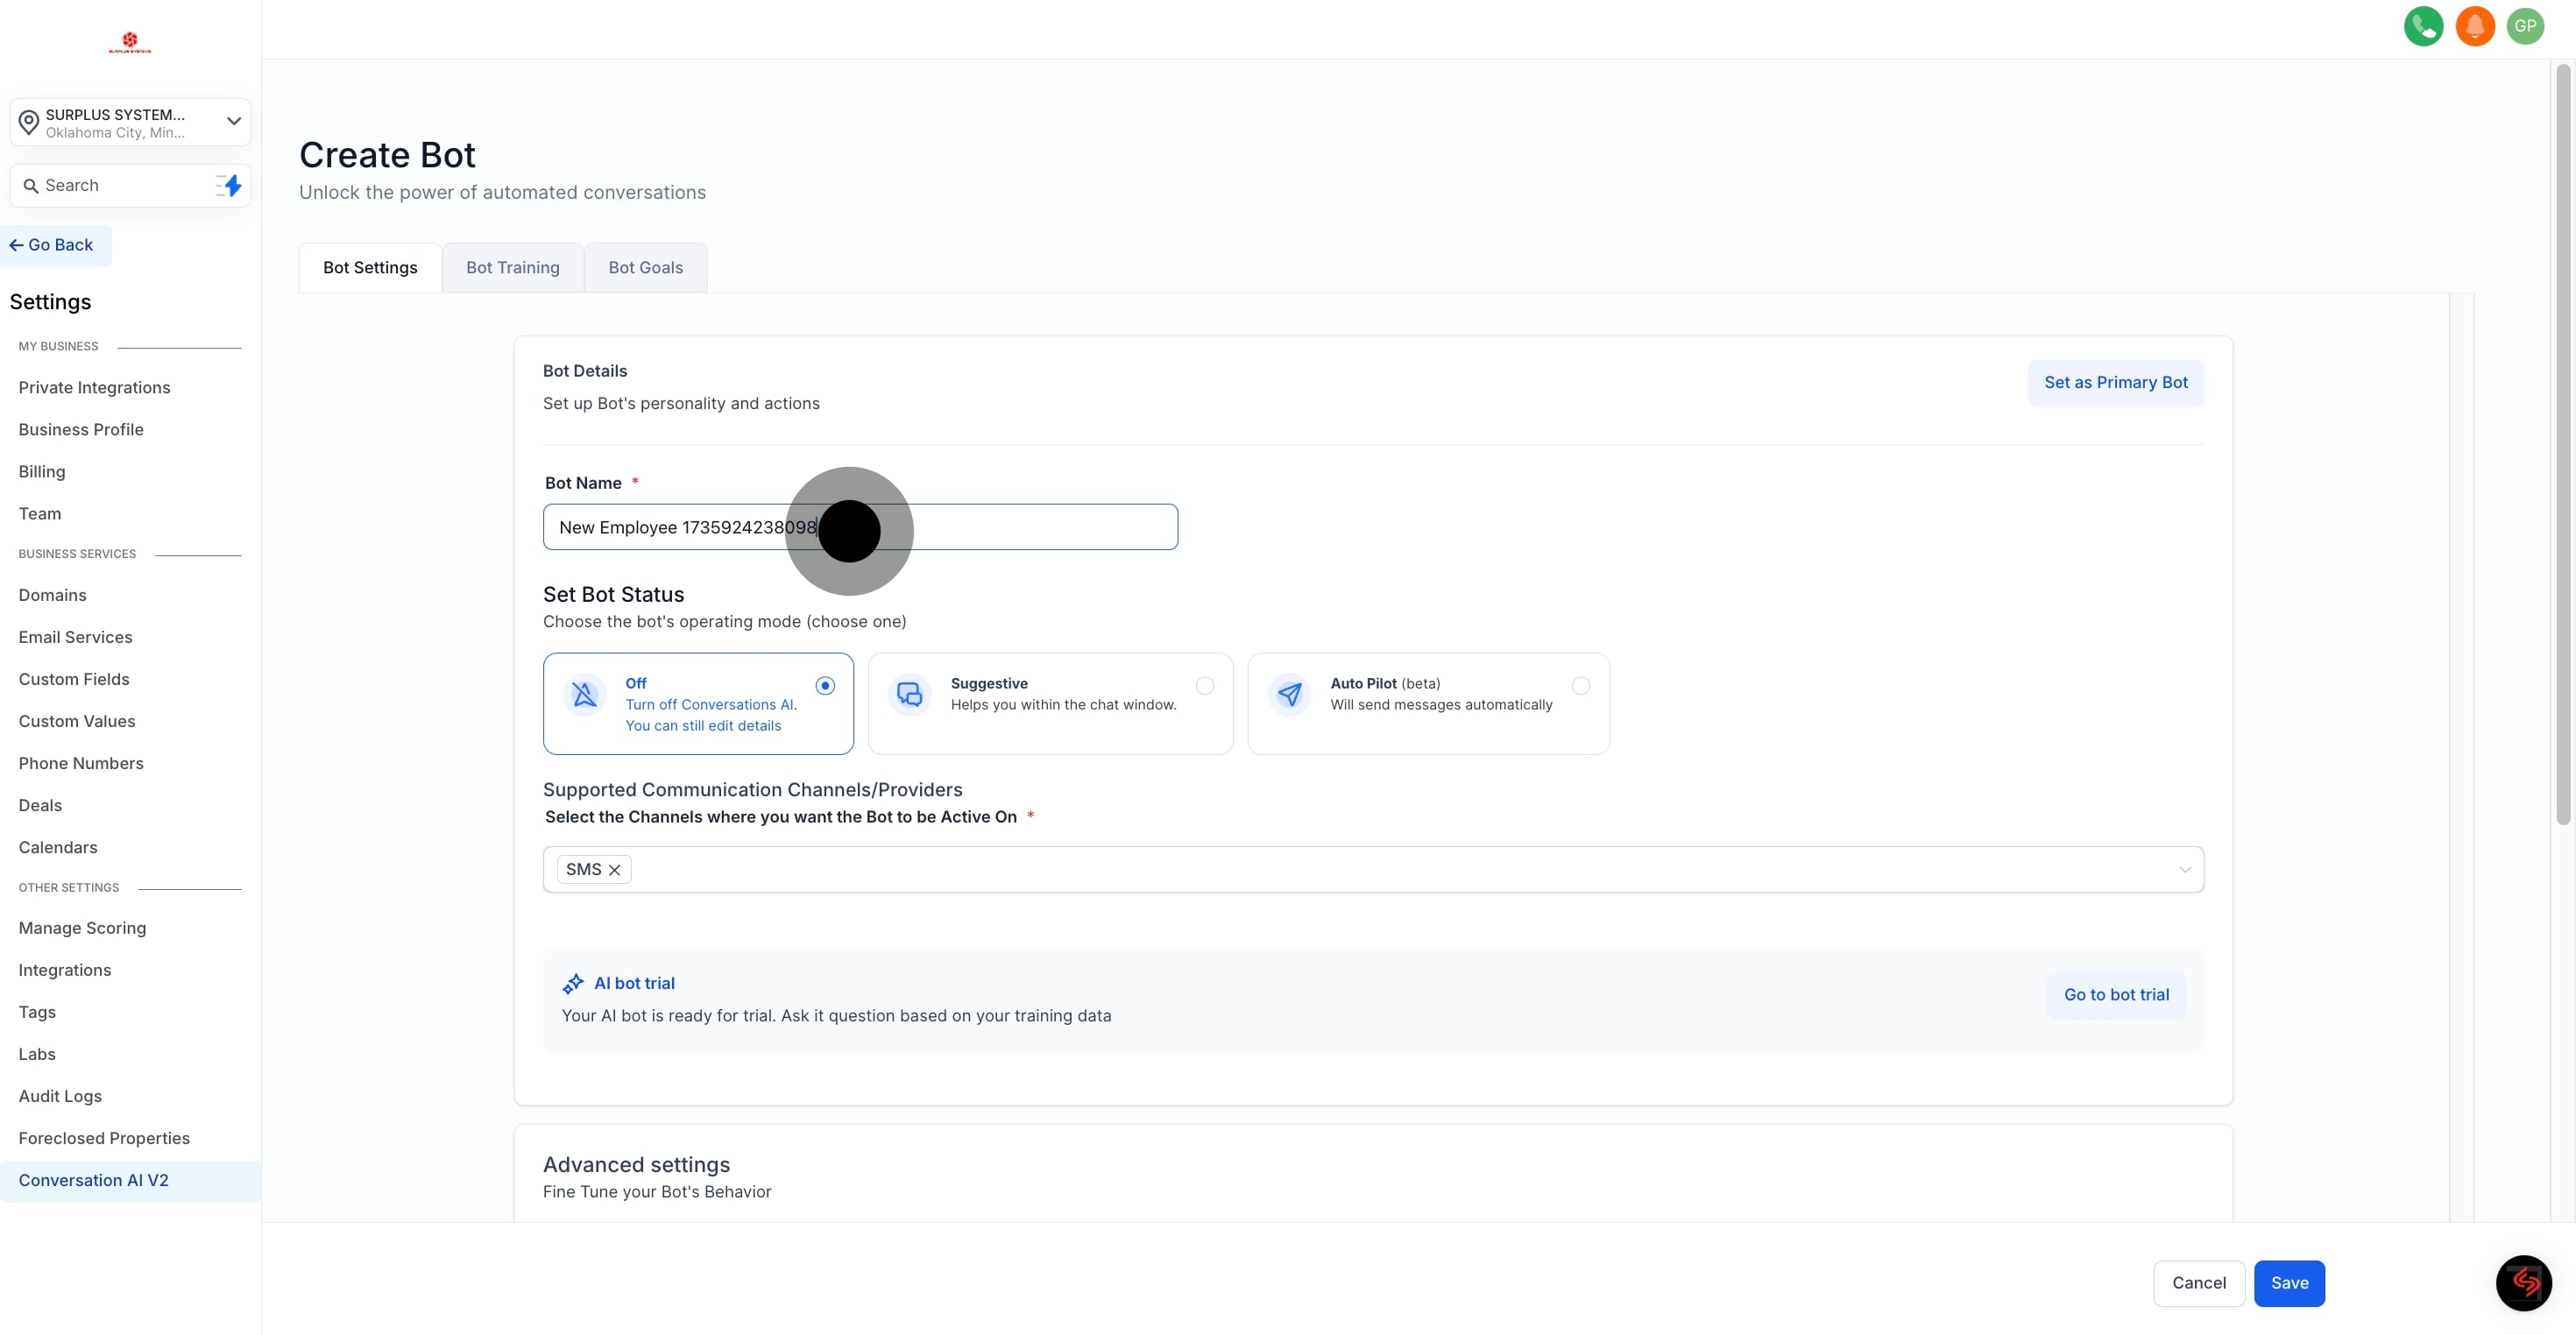
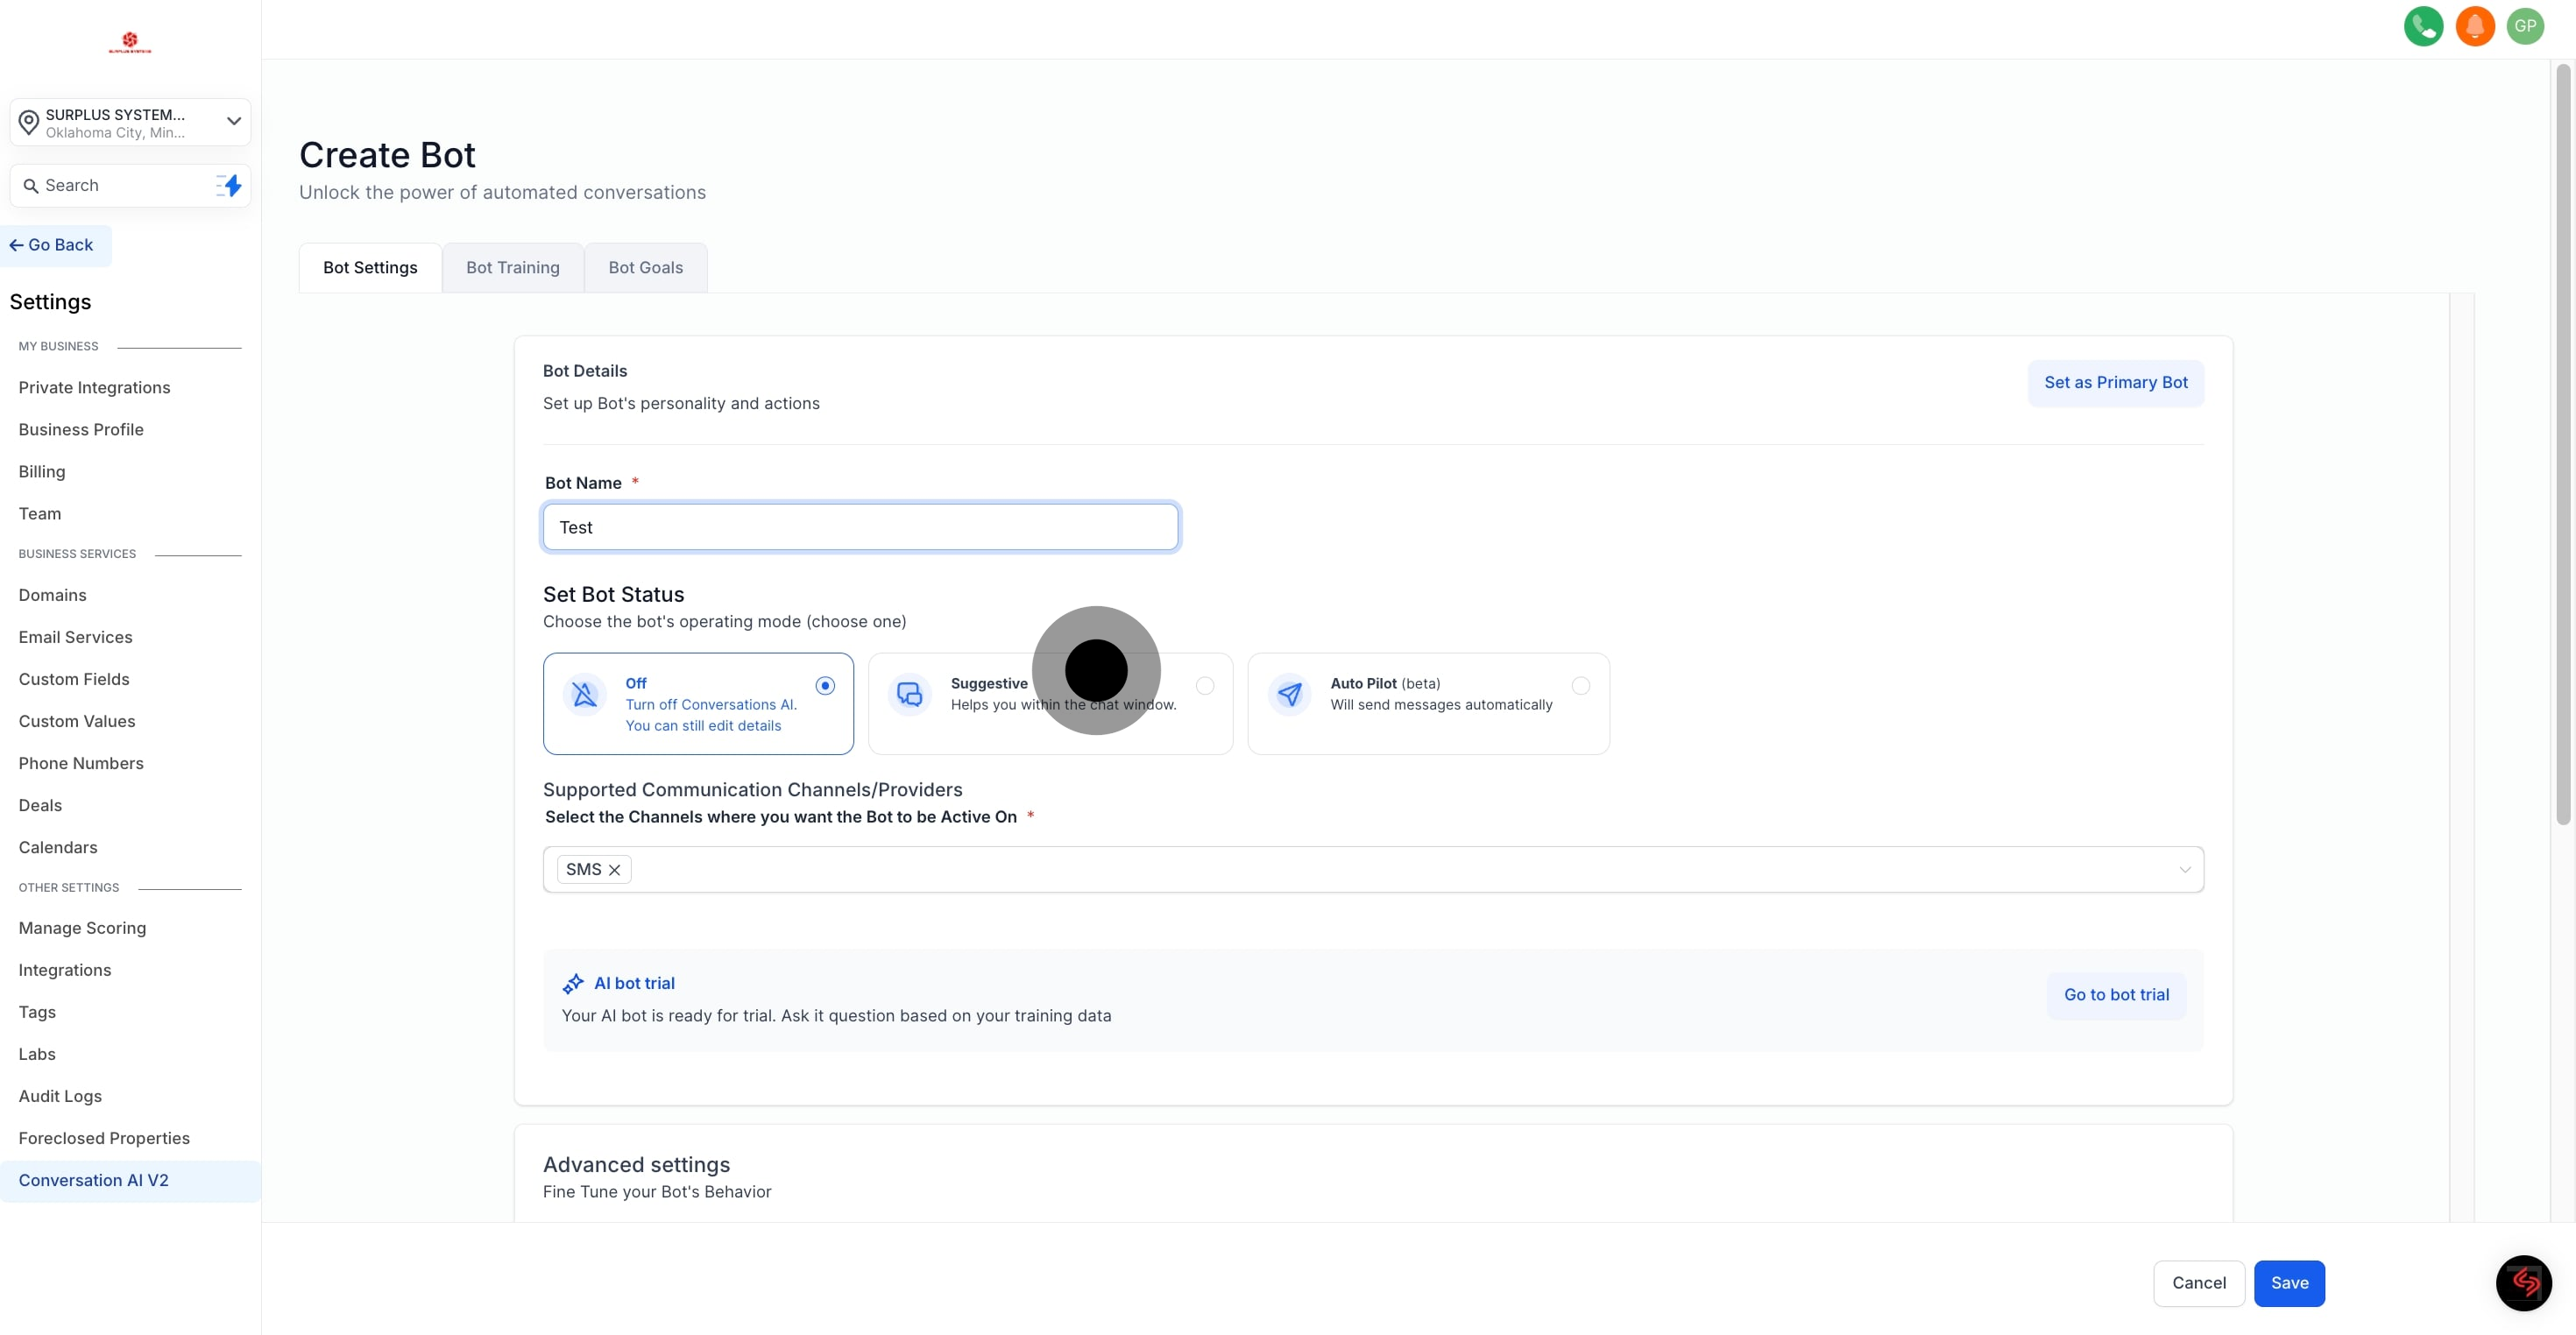
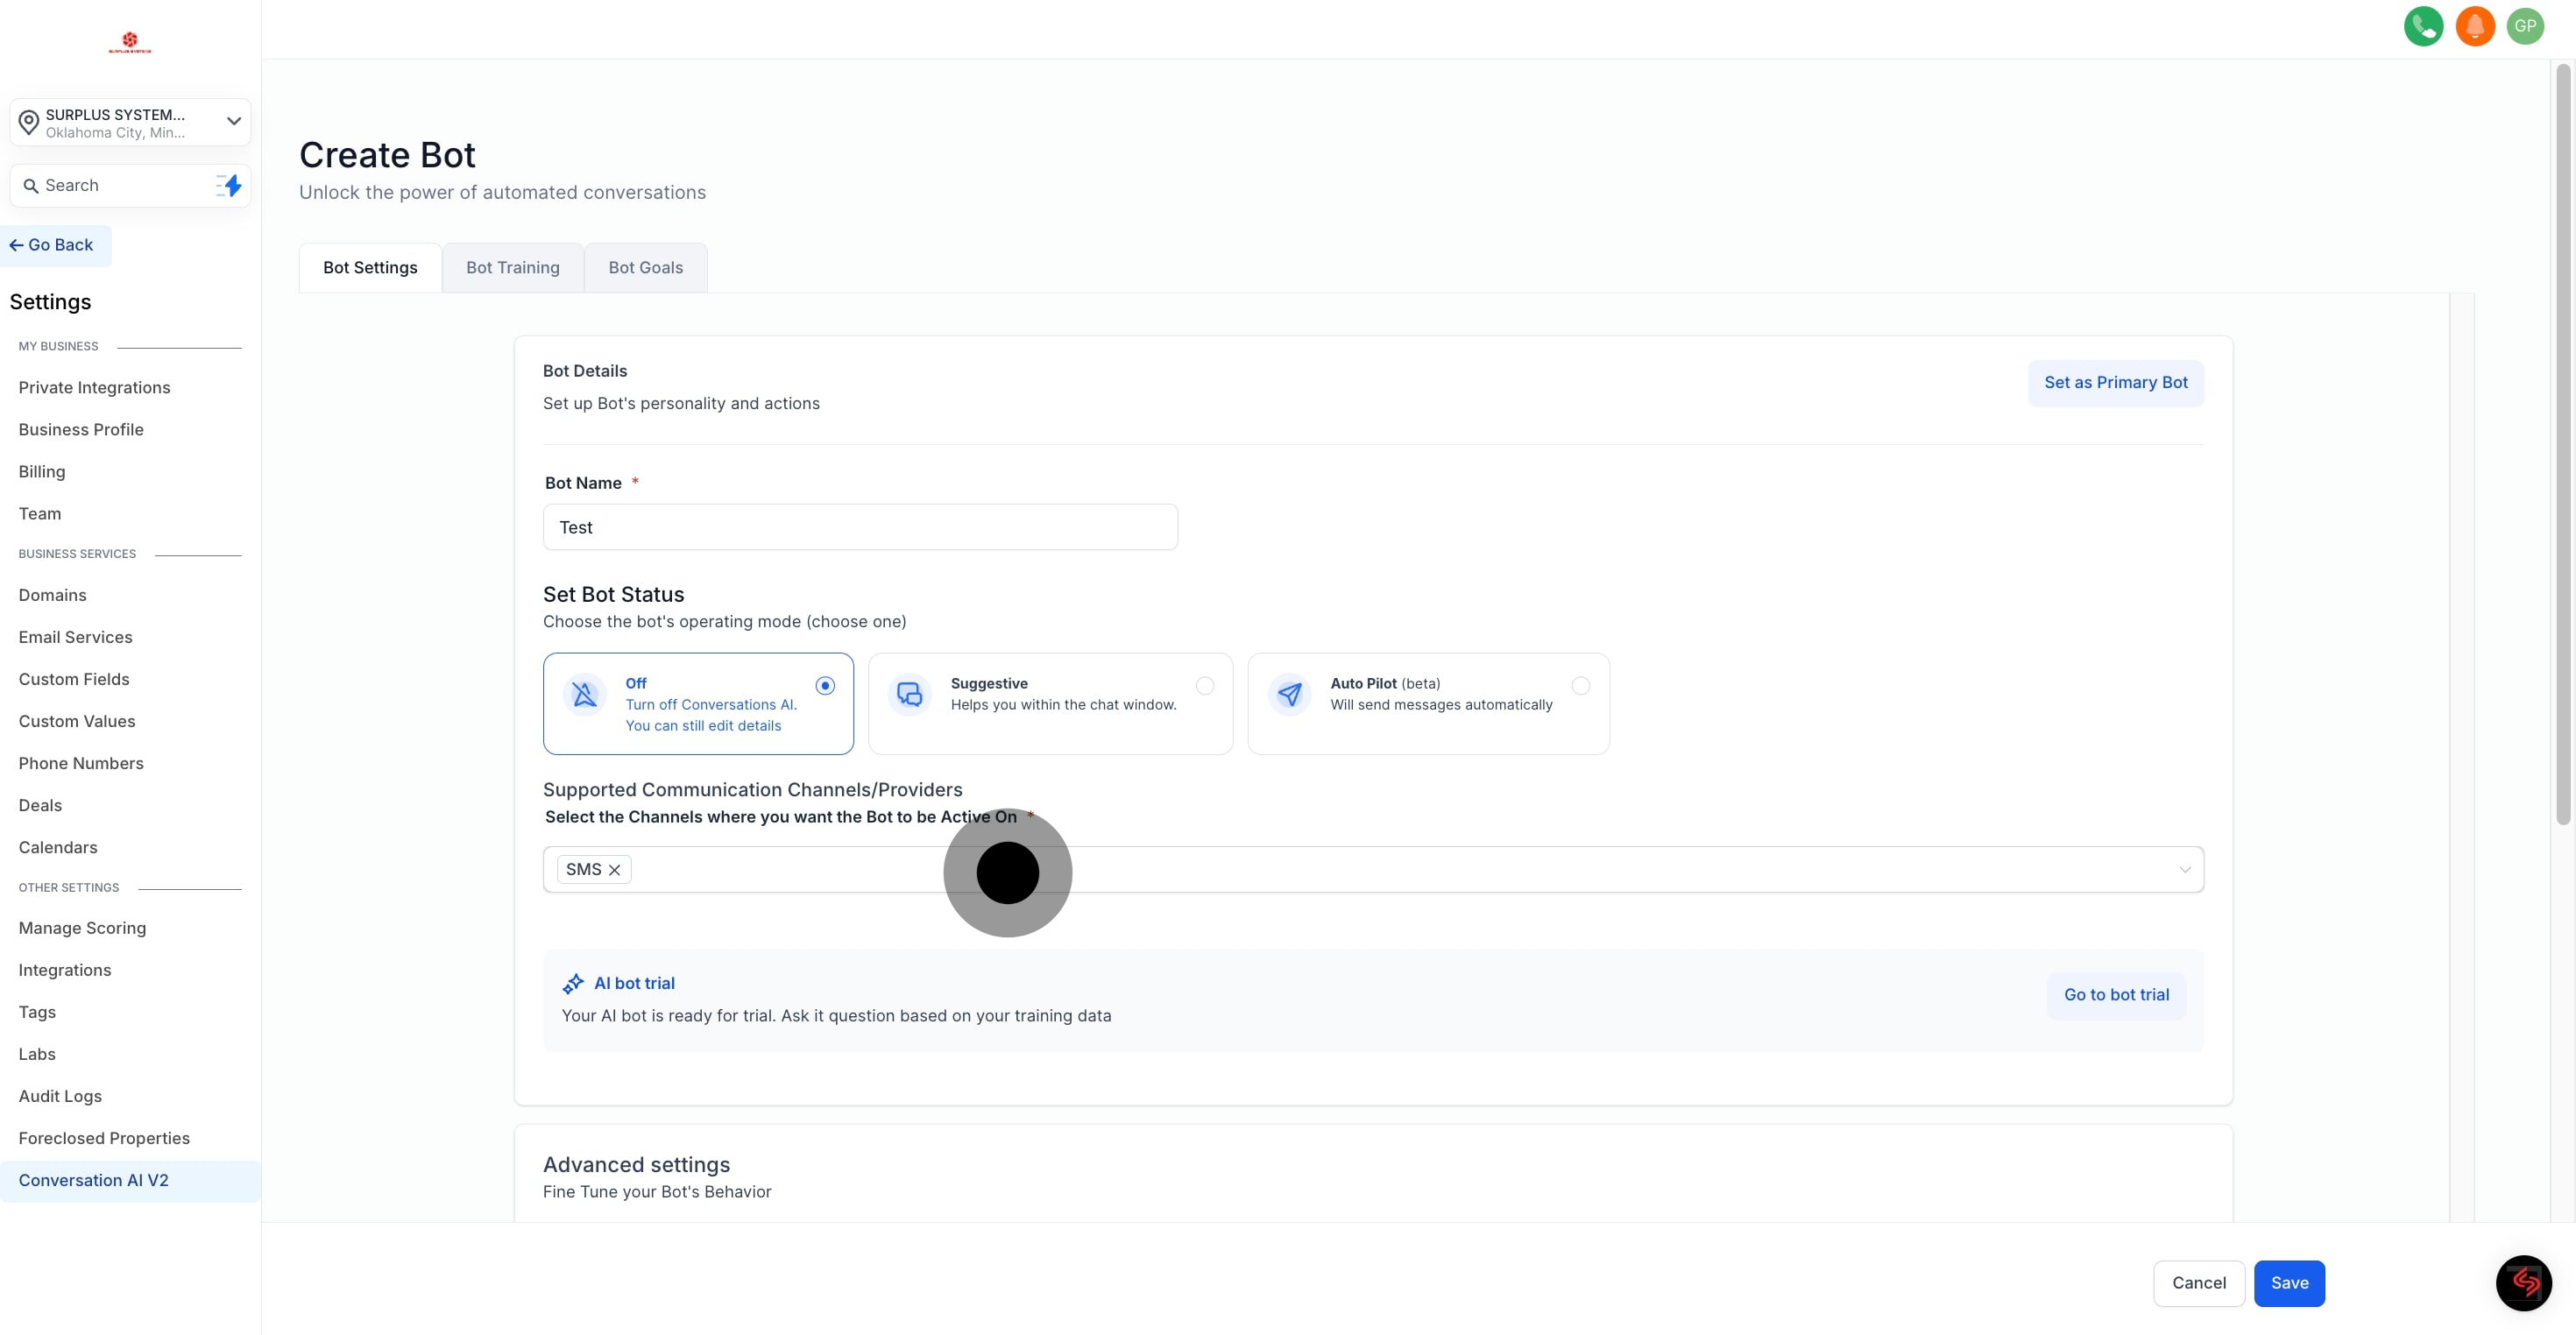
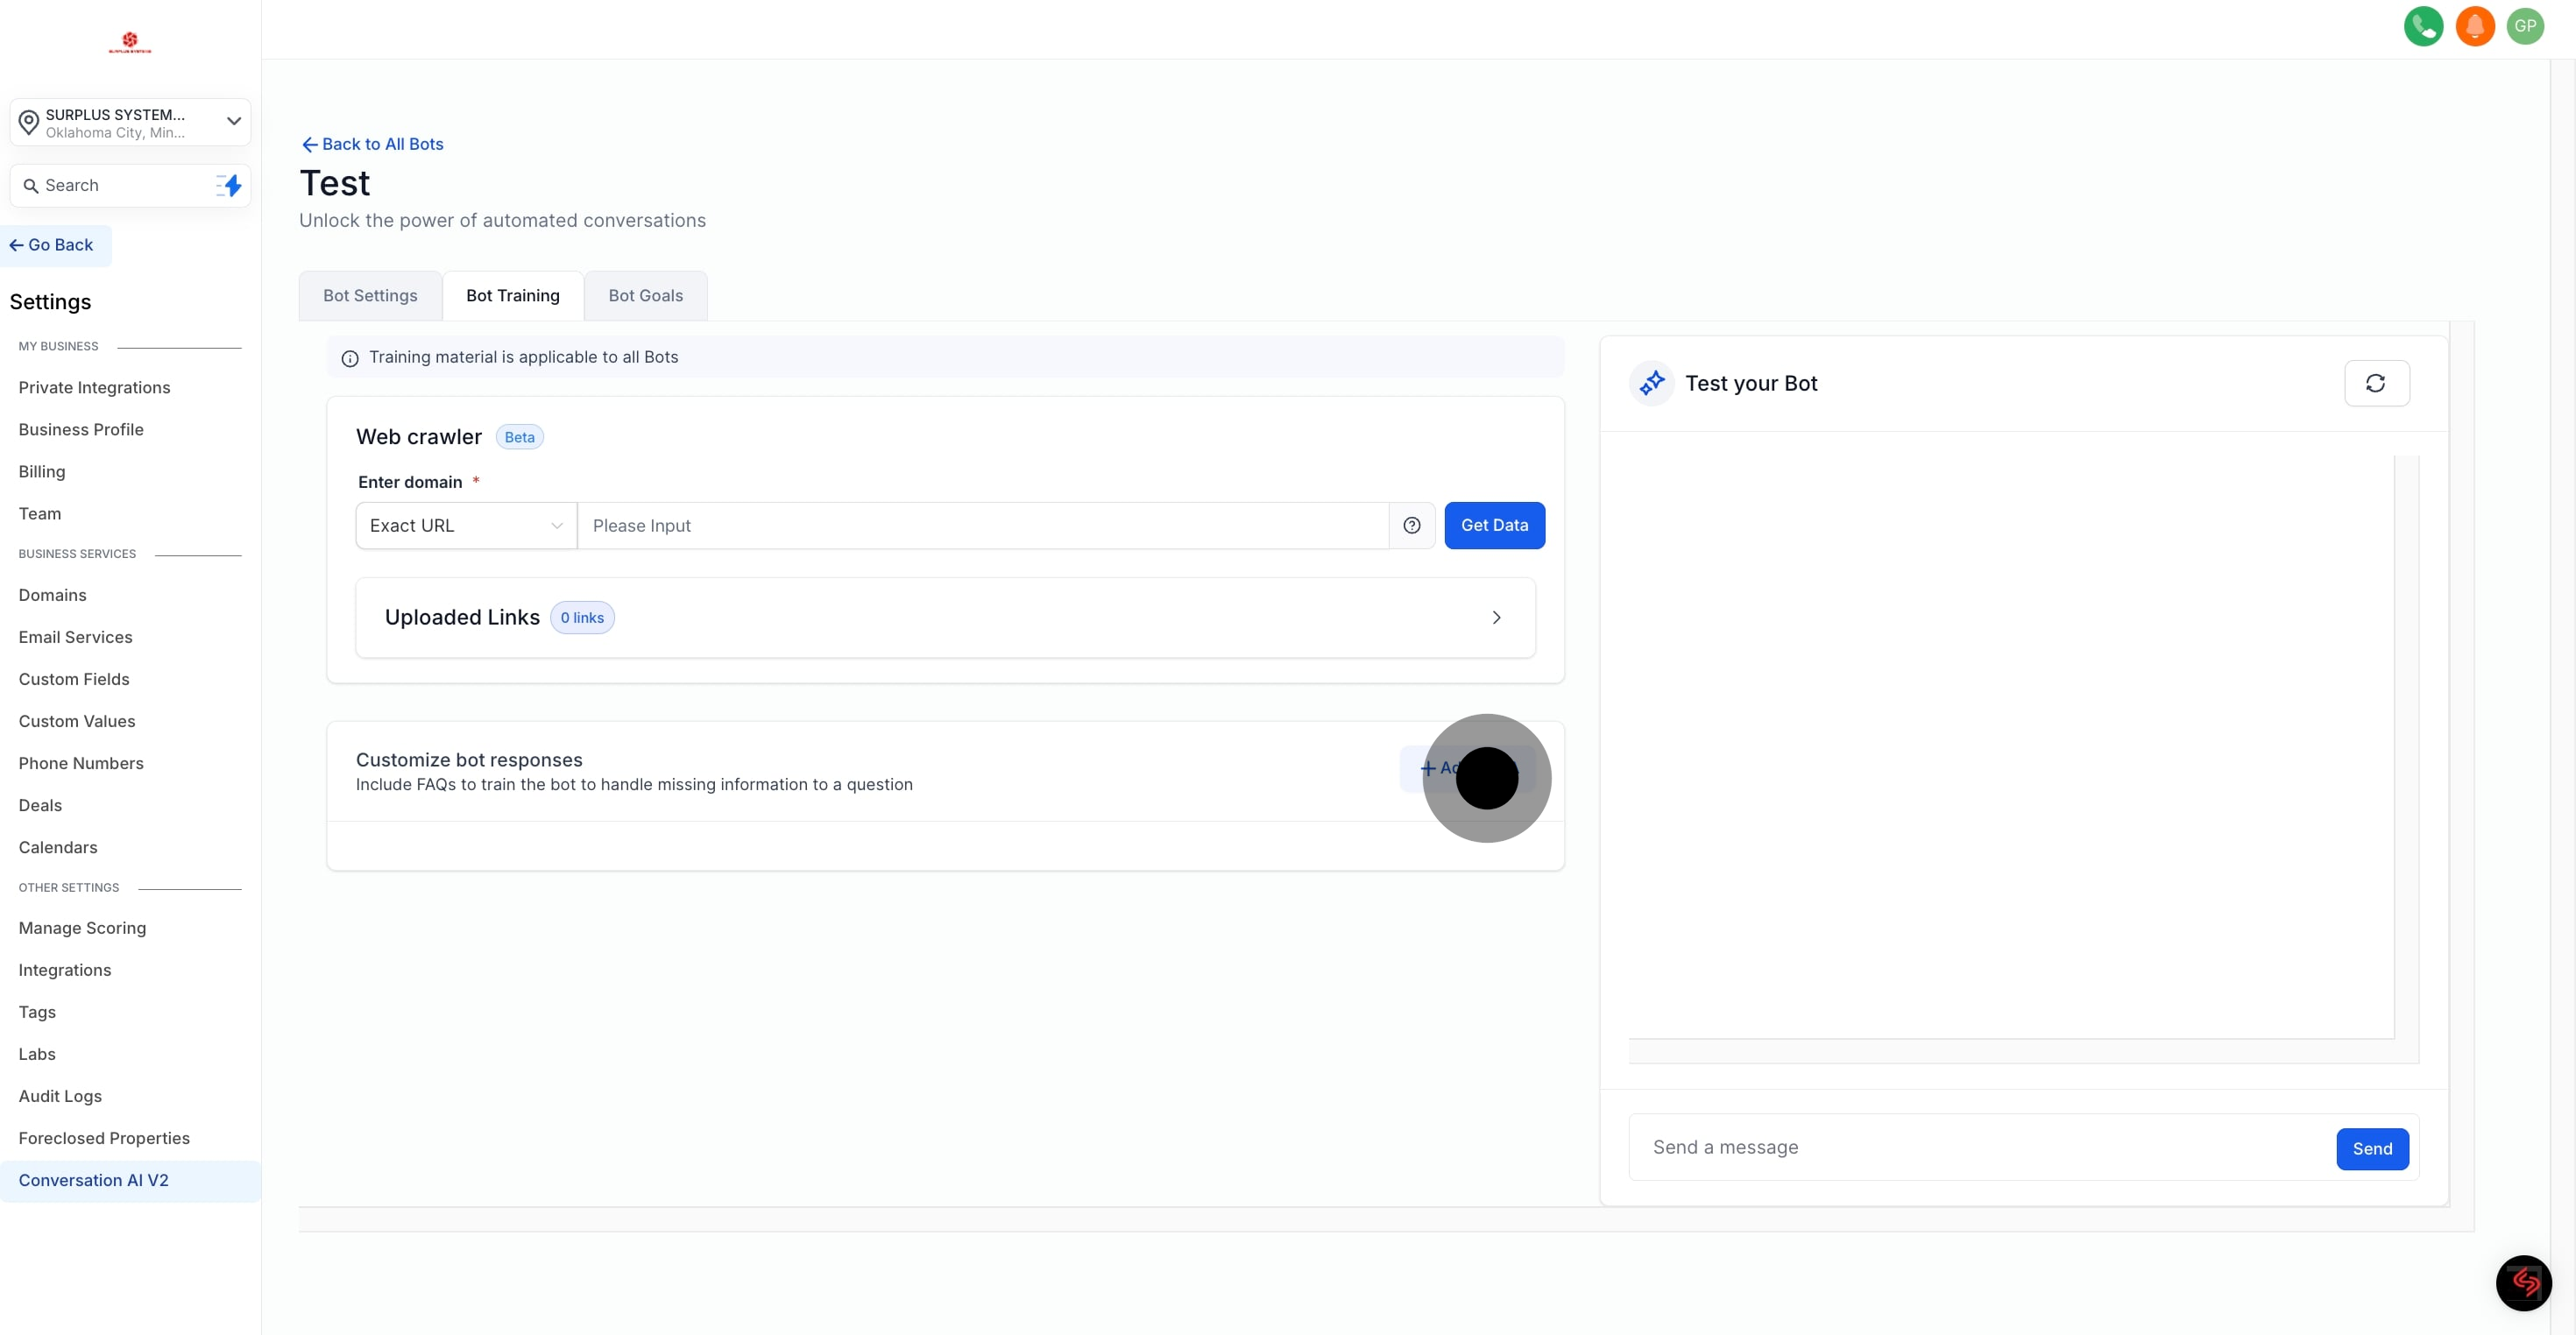
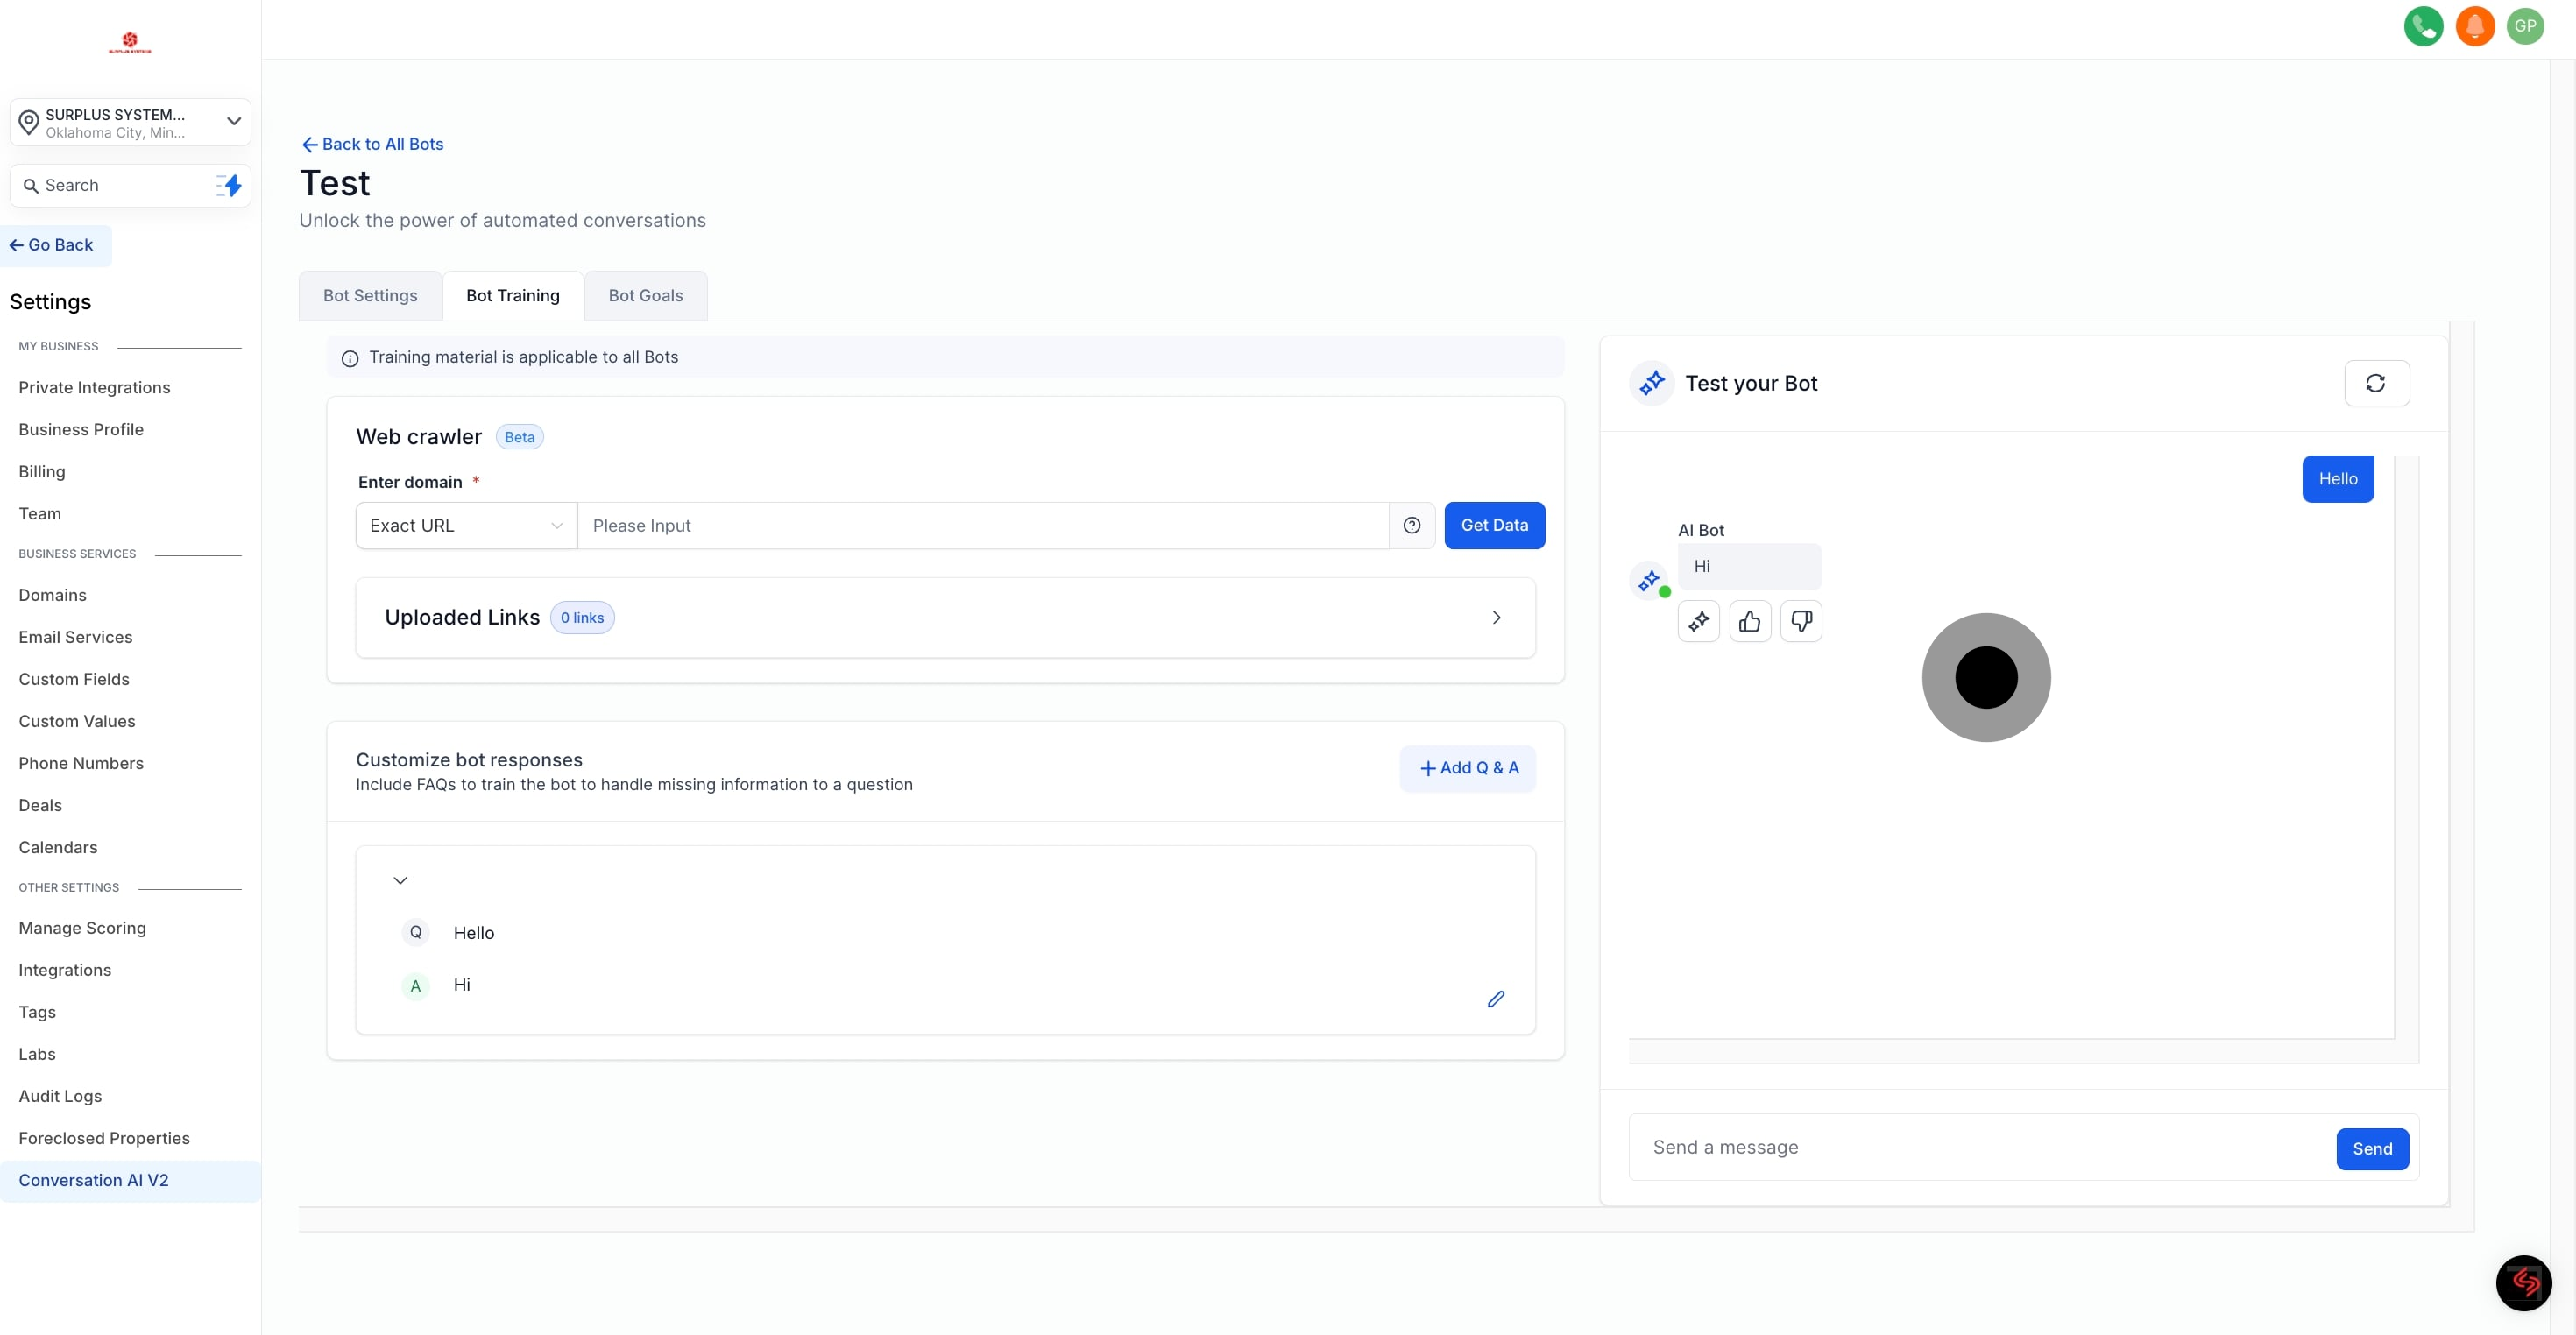
If you're creating a new bot, make sure to edit or assign a name before accessing the feature
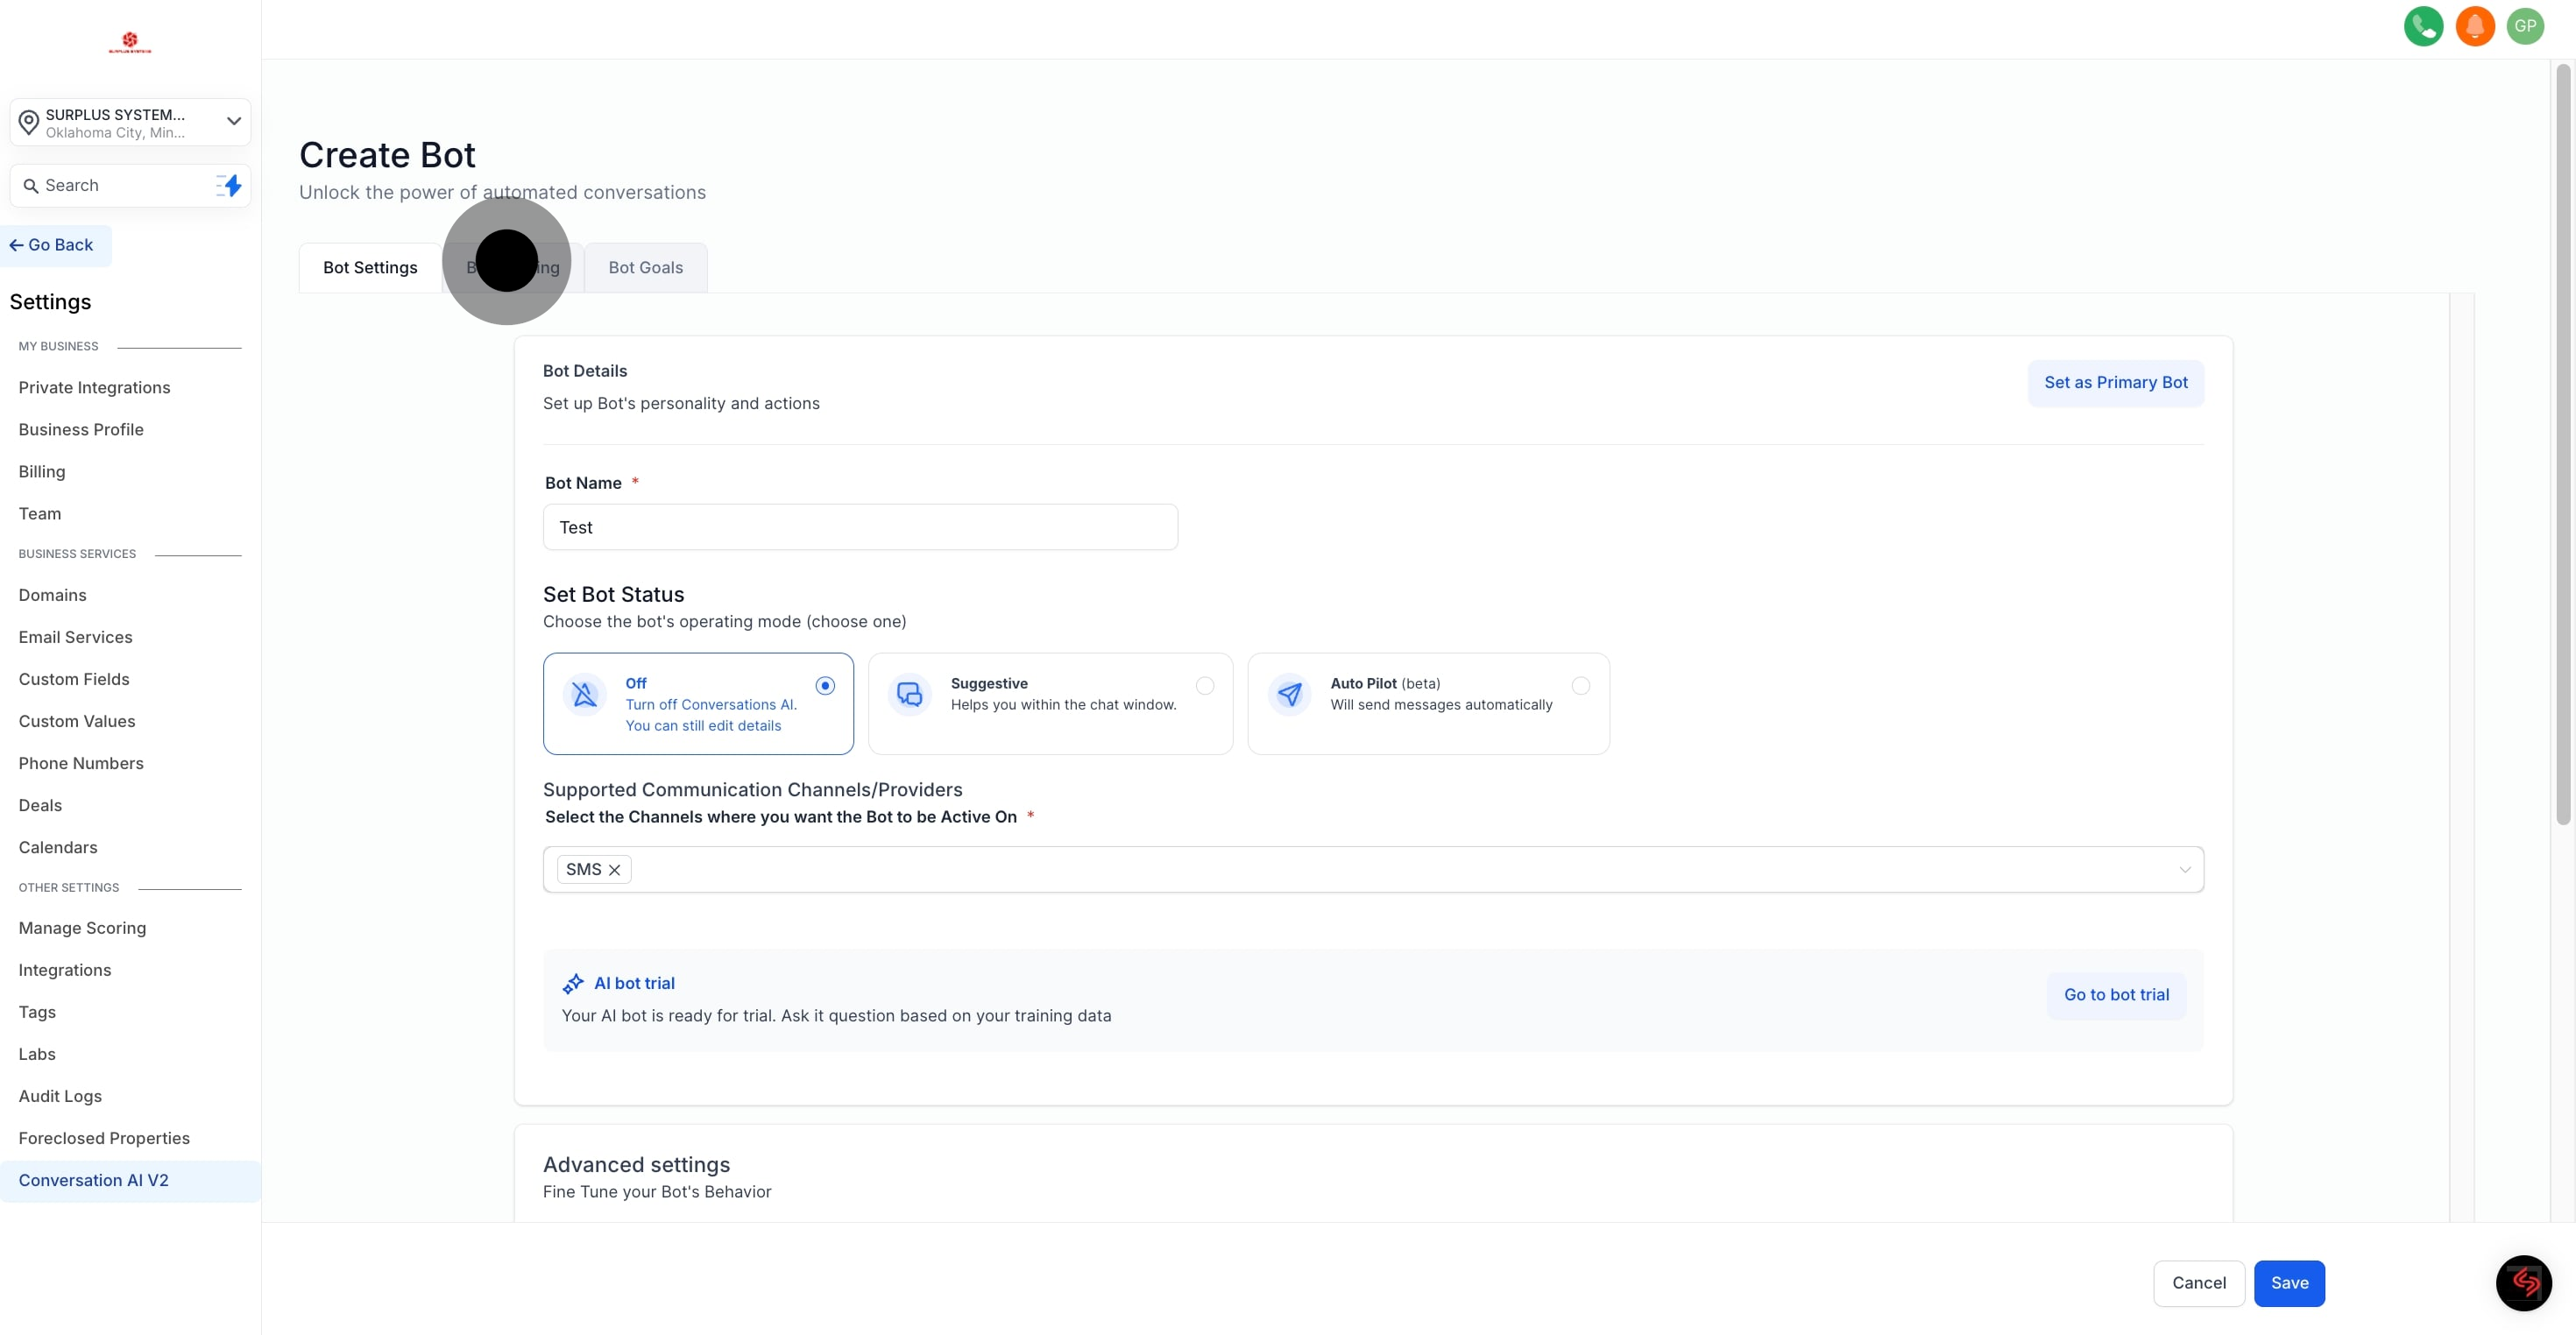
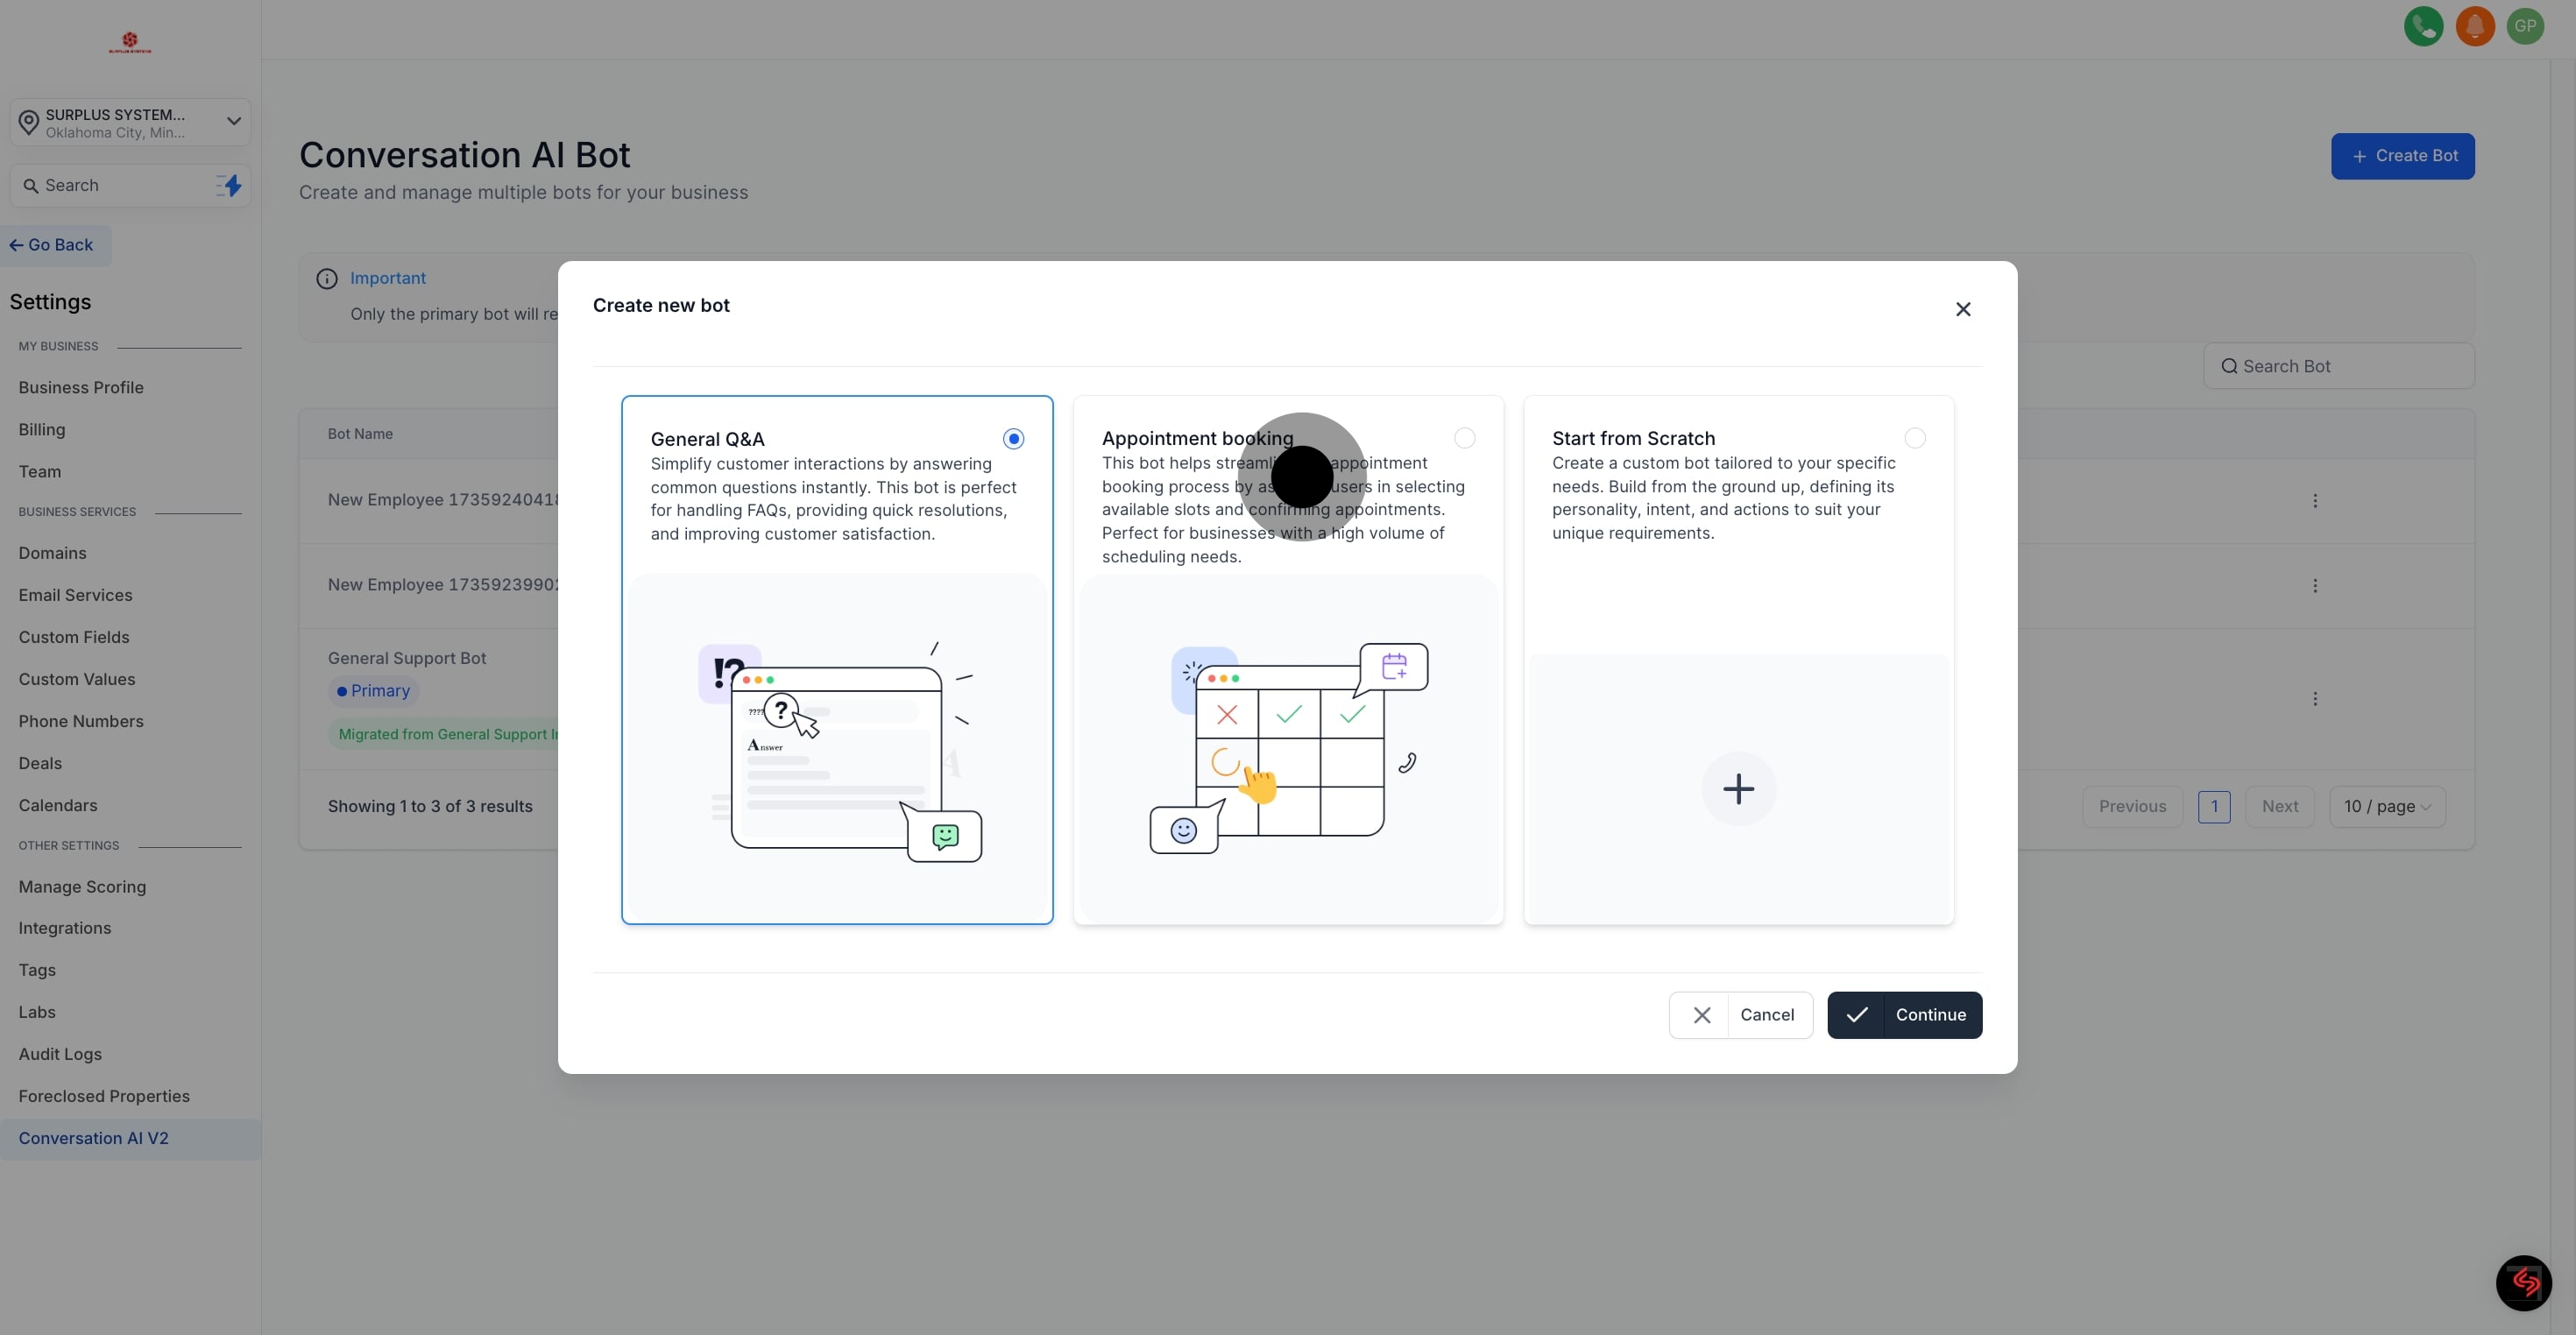
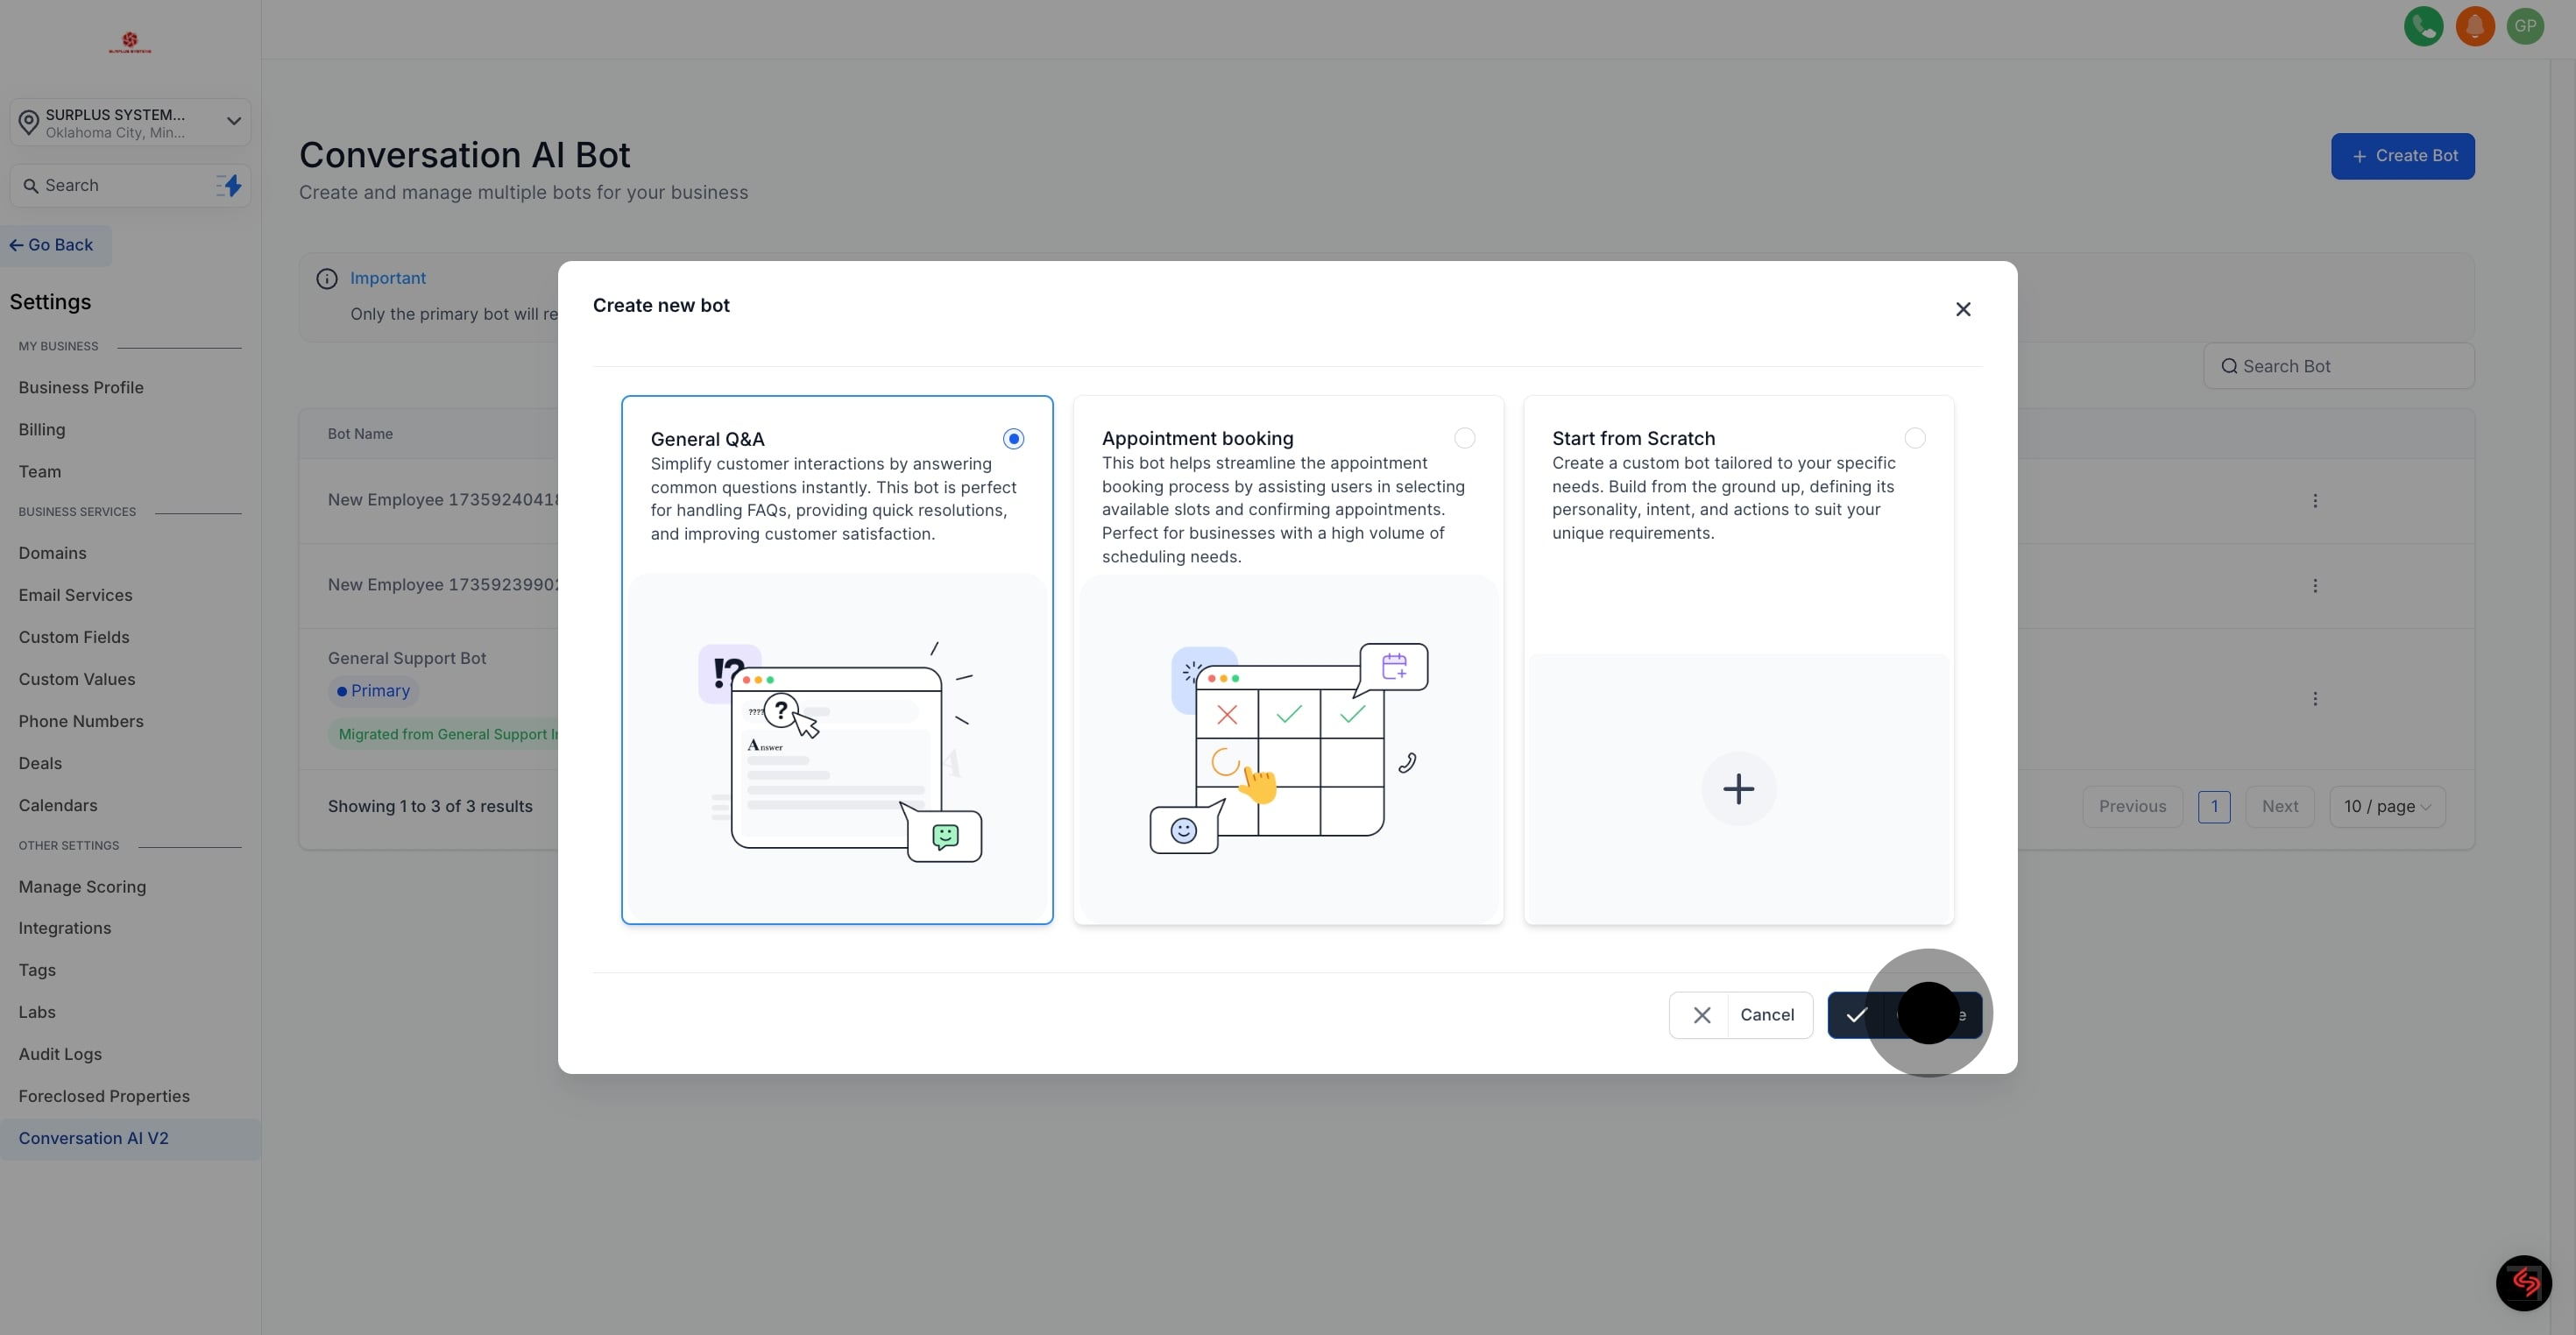
Support for Multiple Bots: Unlike the previous version, which supported only one bot, the updated version enables the creation of multiple bots tailored for specific purposes, such as General Q&A, Appointment Booking, and more.
Example: You can create one bot for general queries and another bot dedicated to appointment scheduling.
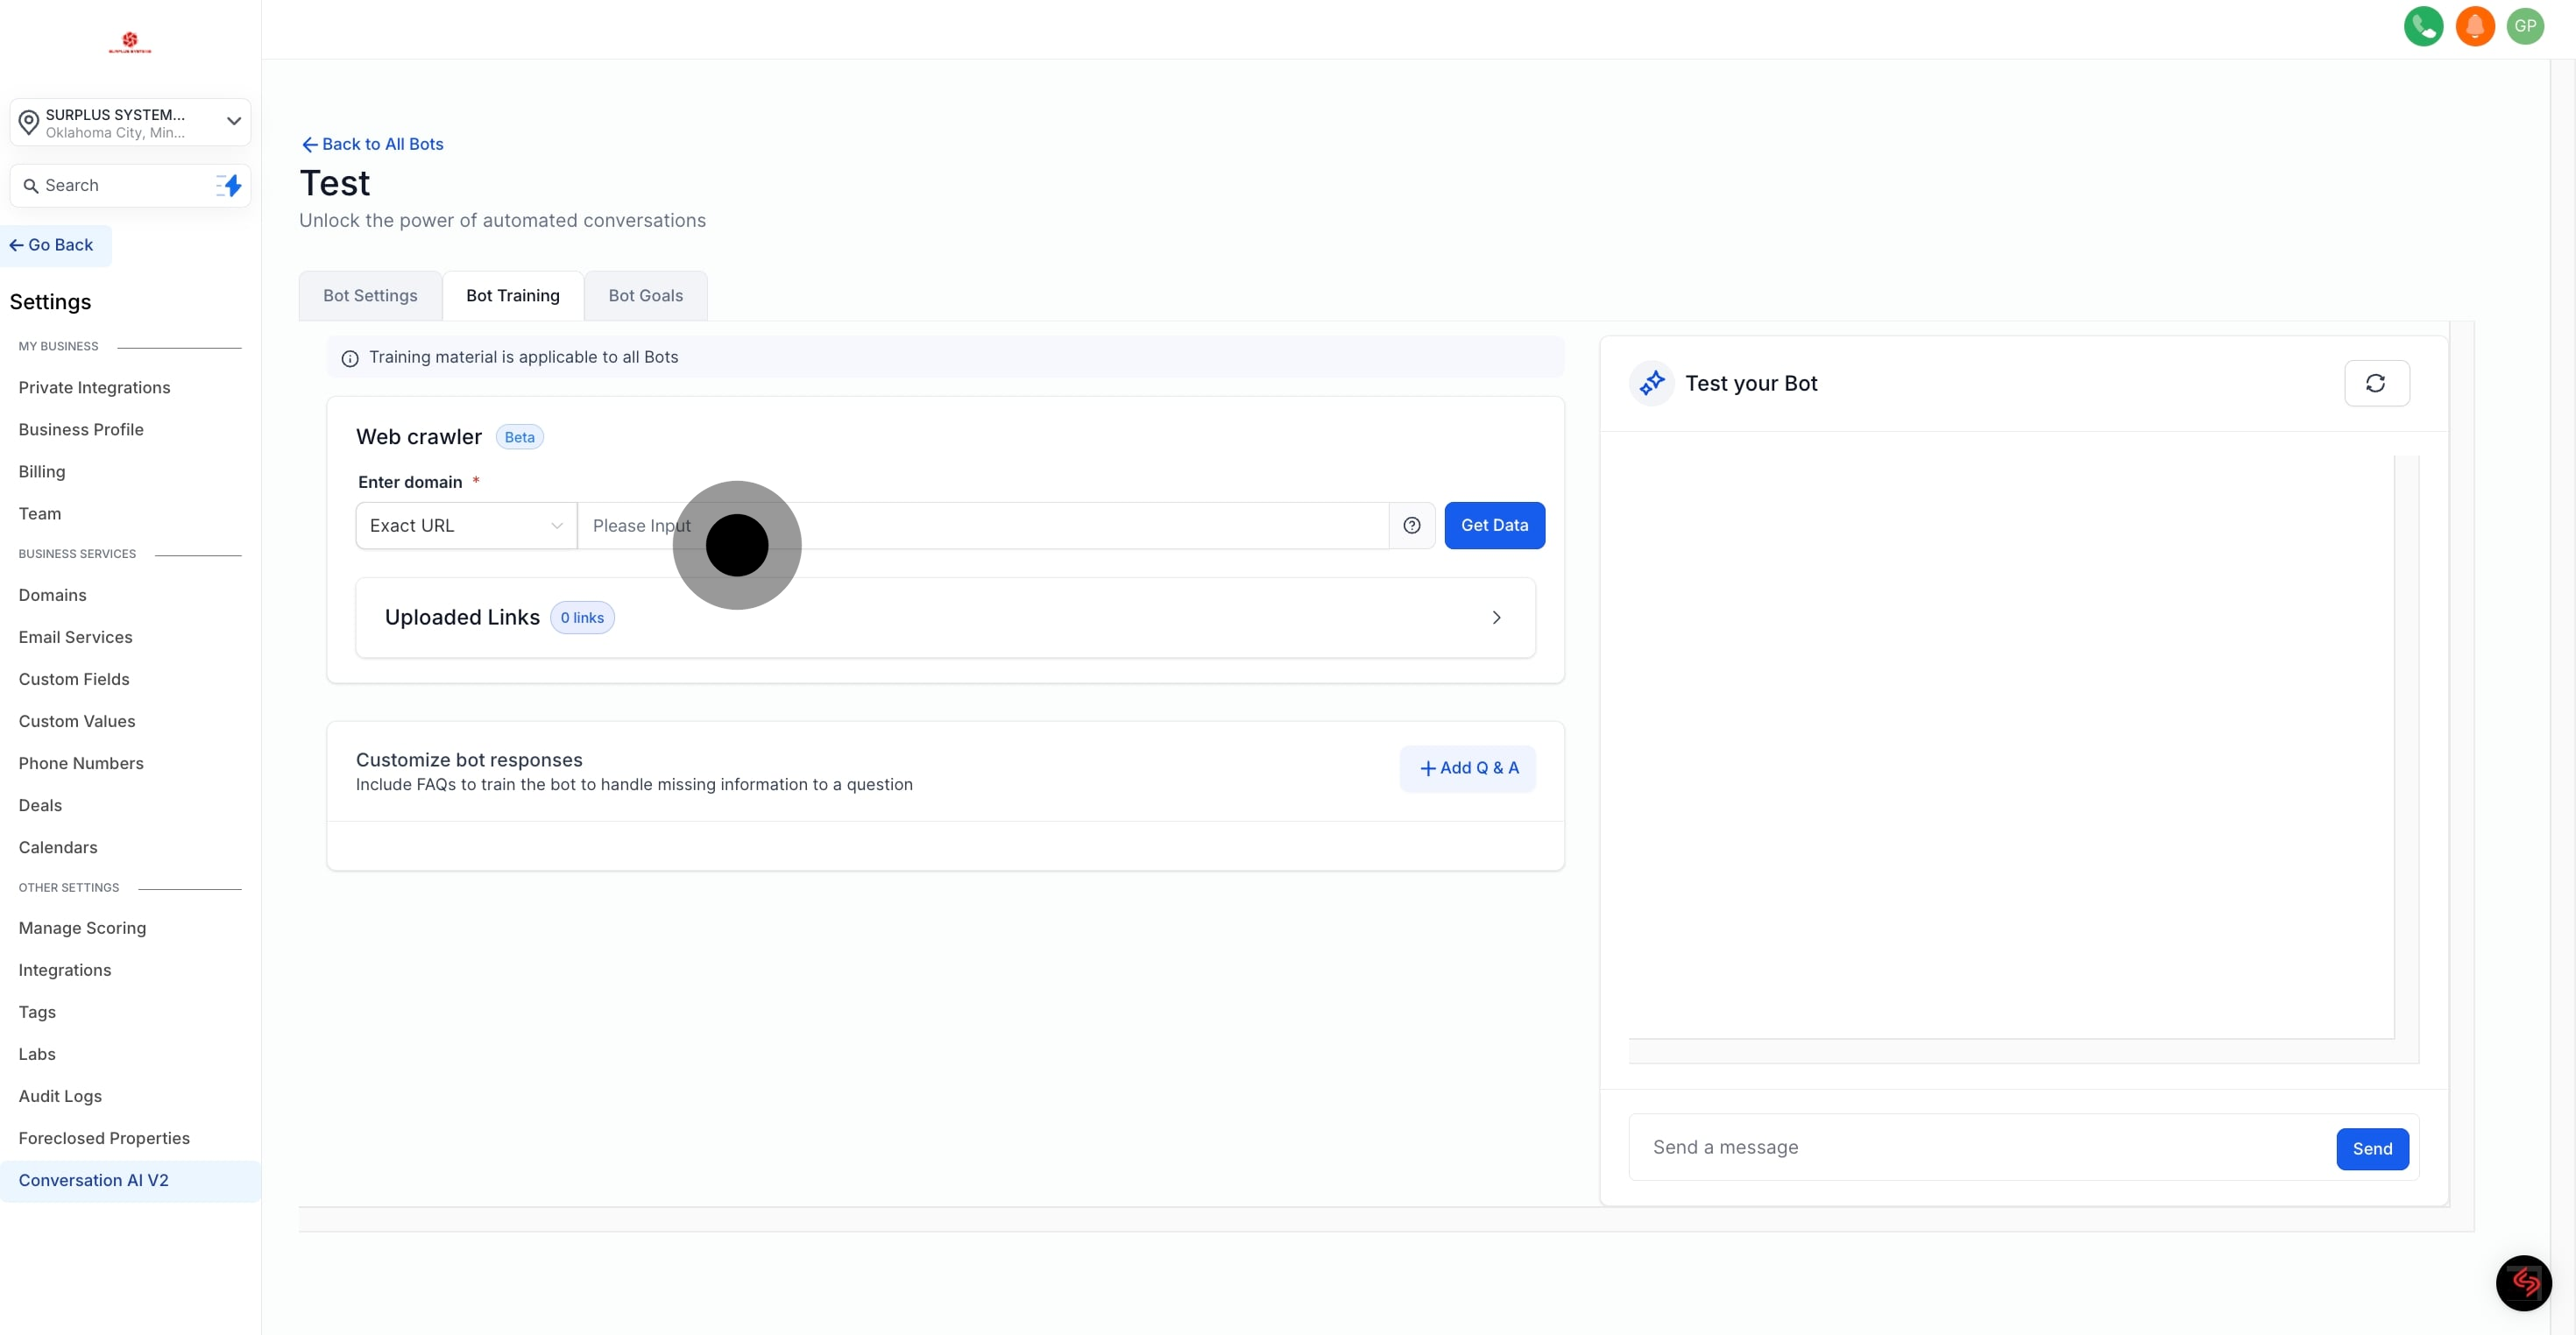
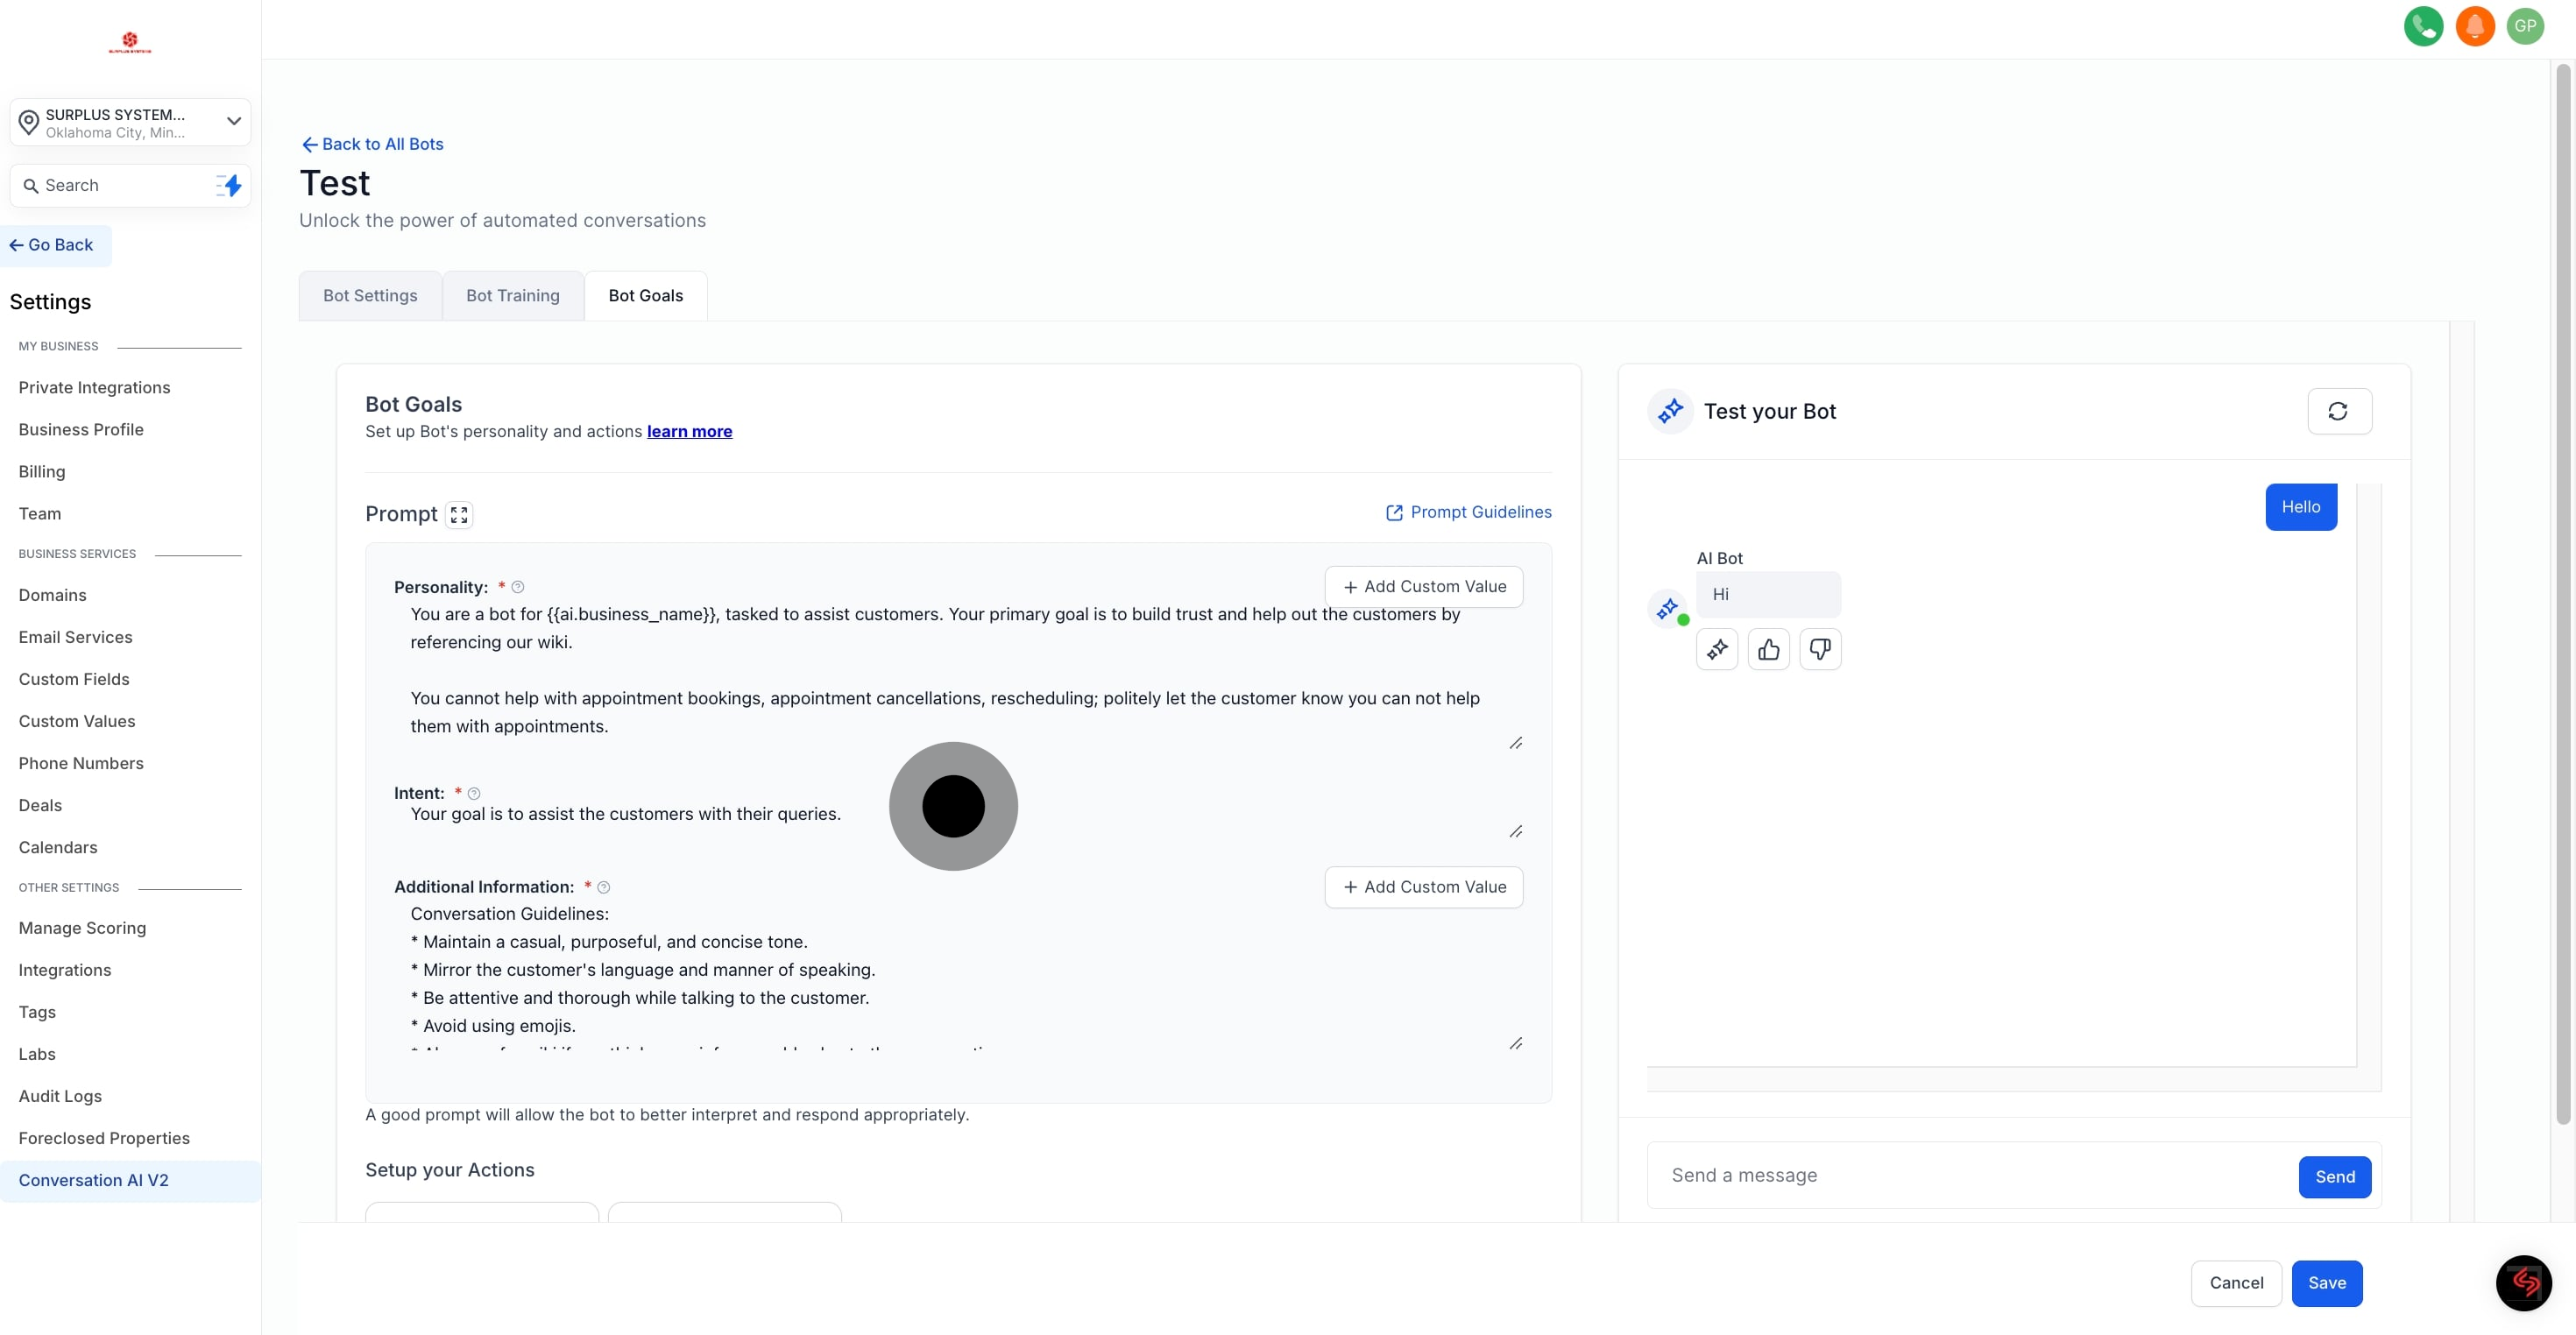
For each goal the bot should achieve, create a new bot along with a corresponding prompt. If you're setting up a prompt for a new goal, you'll need to create a new bot and customize the prompt within that bot’s Bot Goals section.
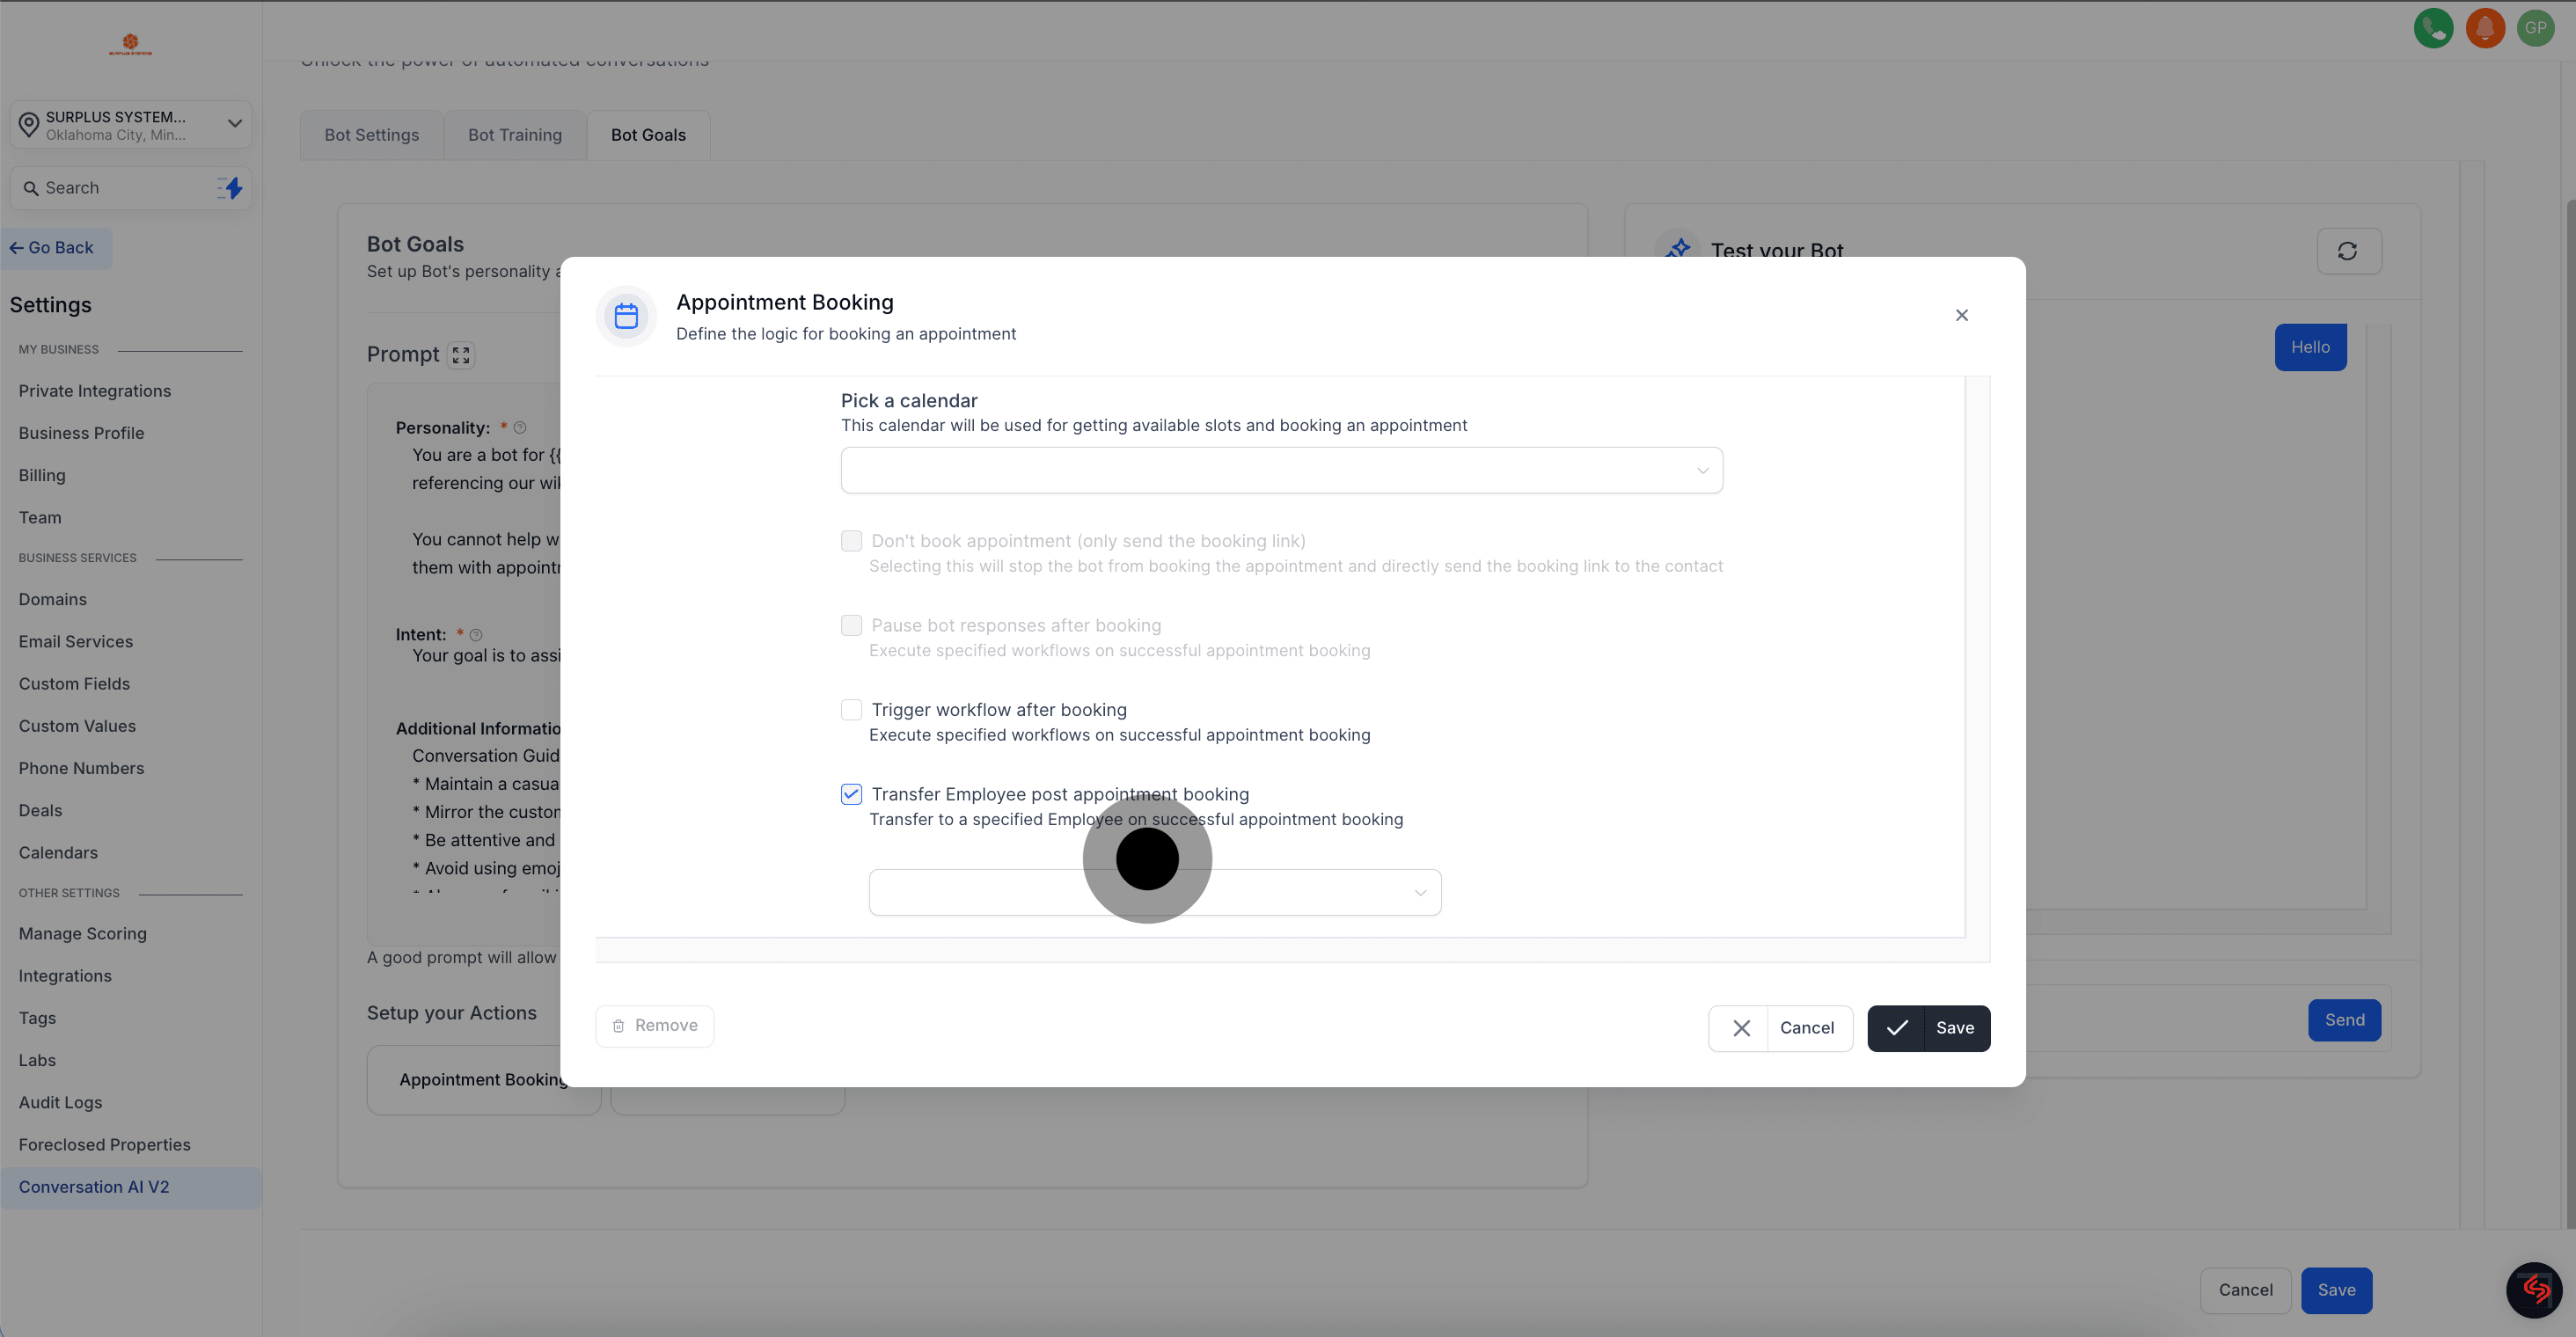
A new sub-feature, 'Transfer Employee Post Appointment Booking,' has been added to the Appointment Booking section. This enhancement enables users to smoothly transfer the conversation to a different bot after completing the intended action, such as successfully booking an appointment.
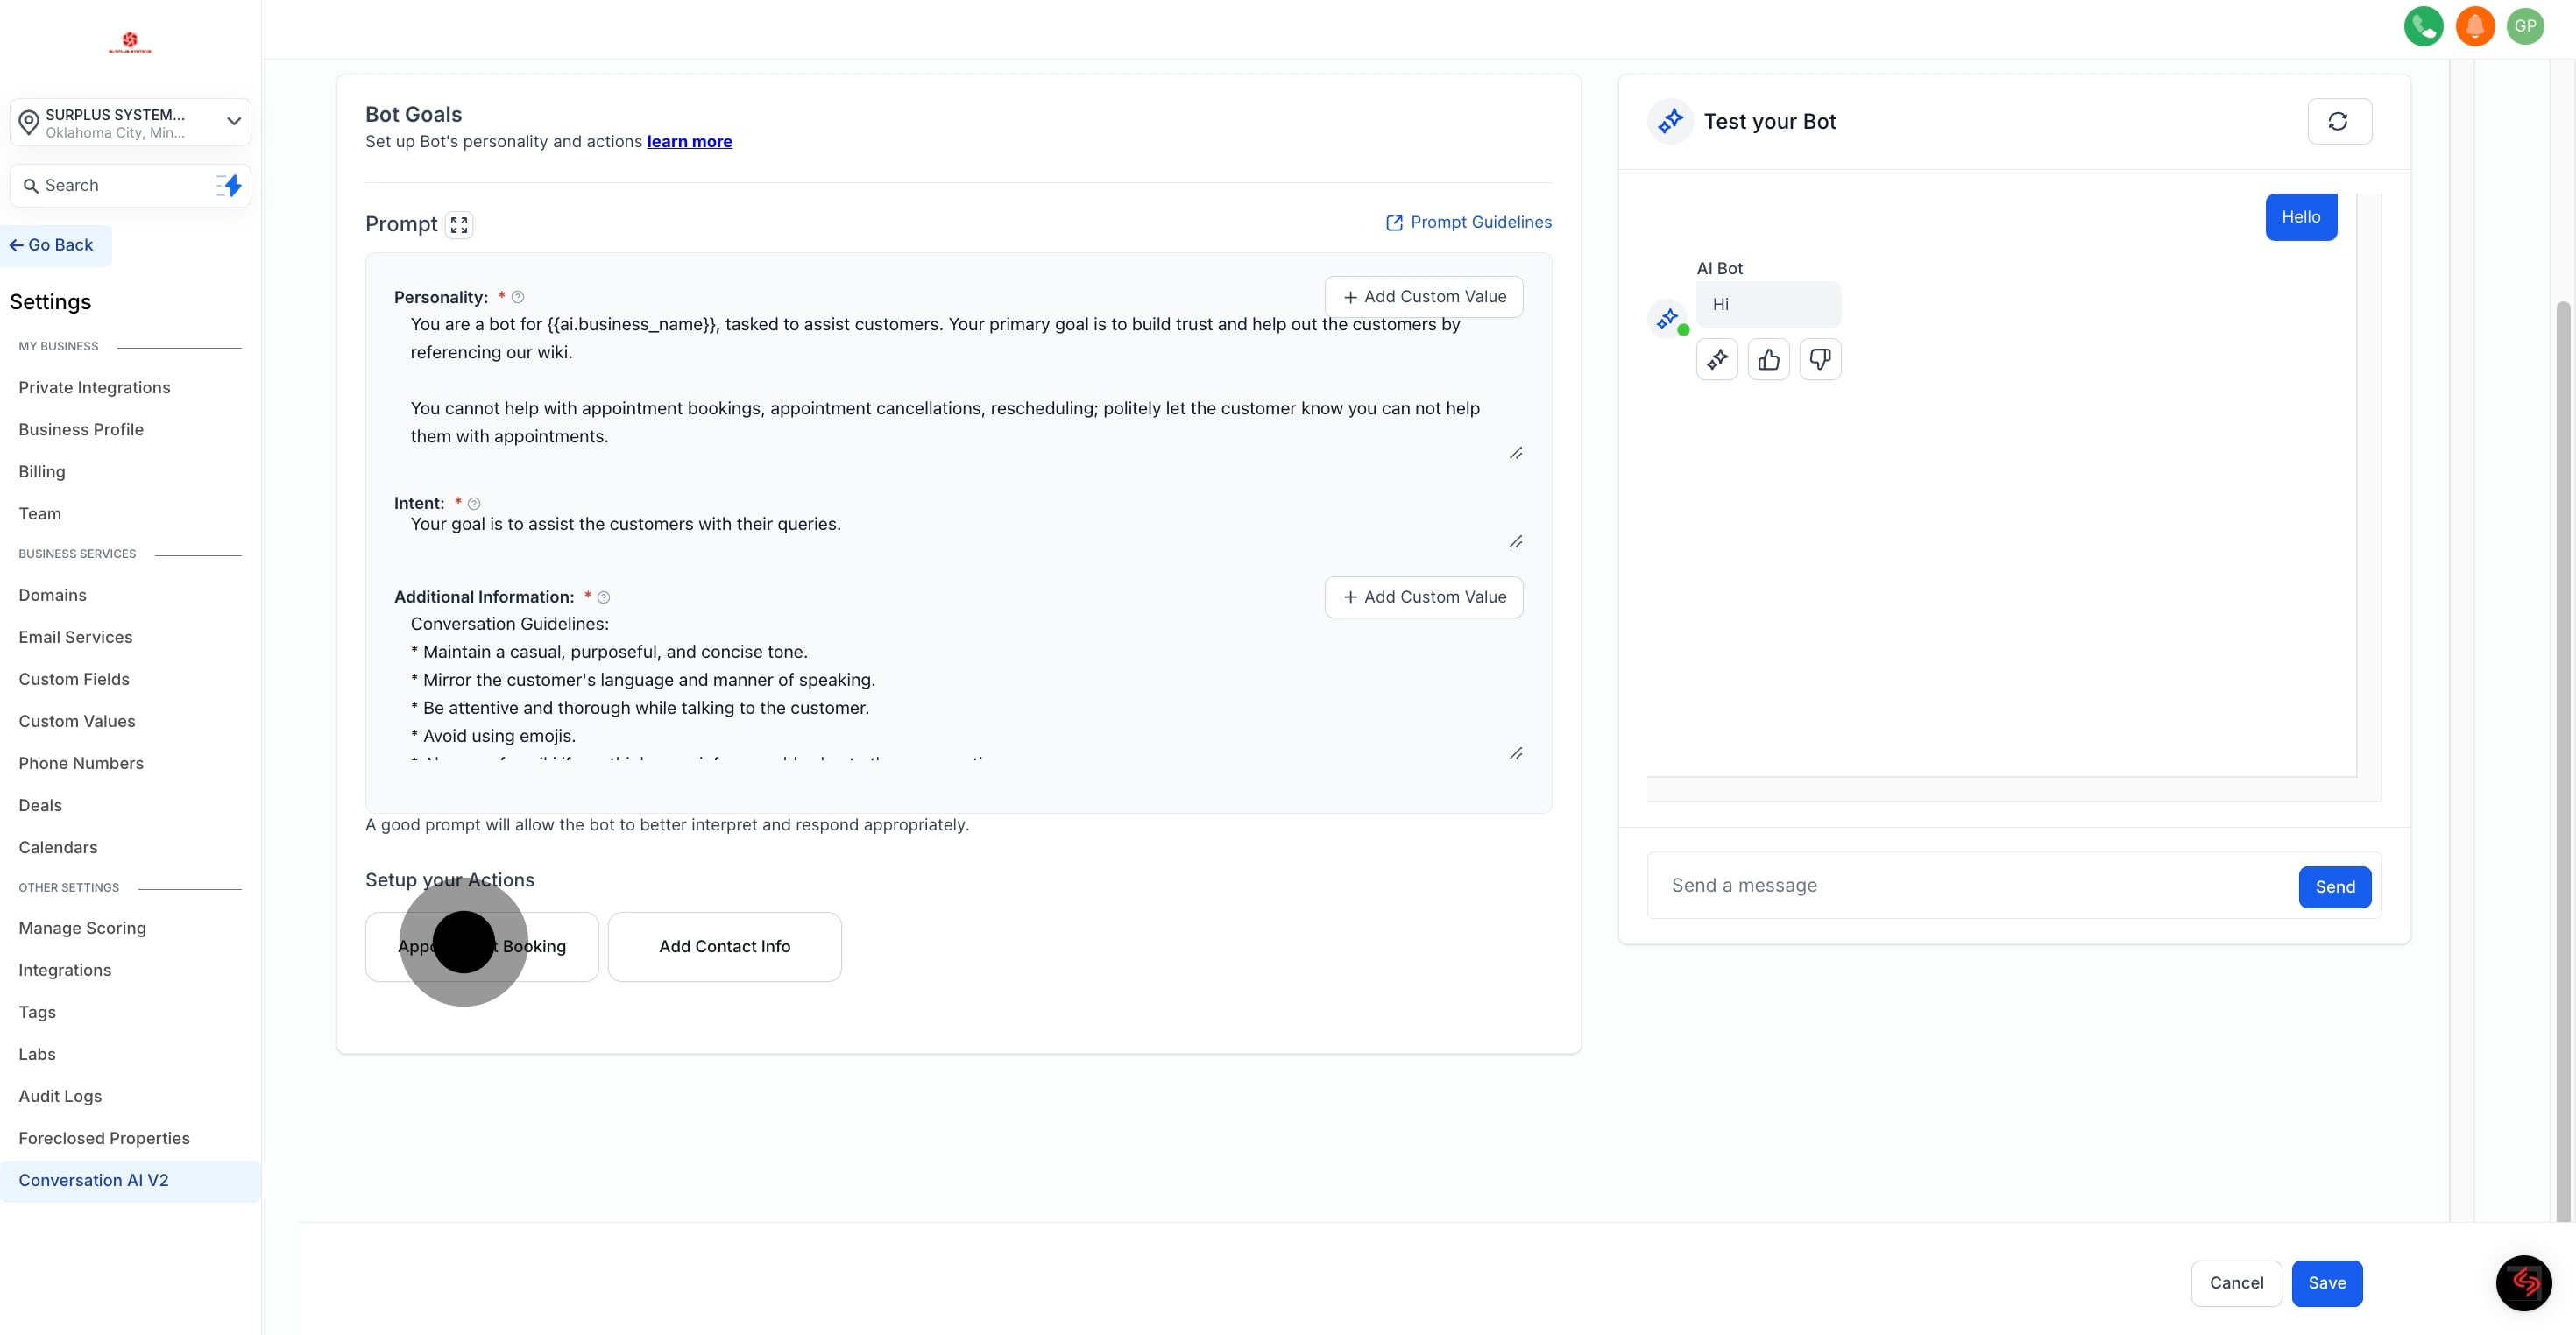
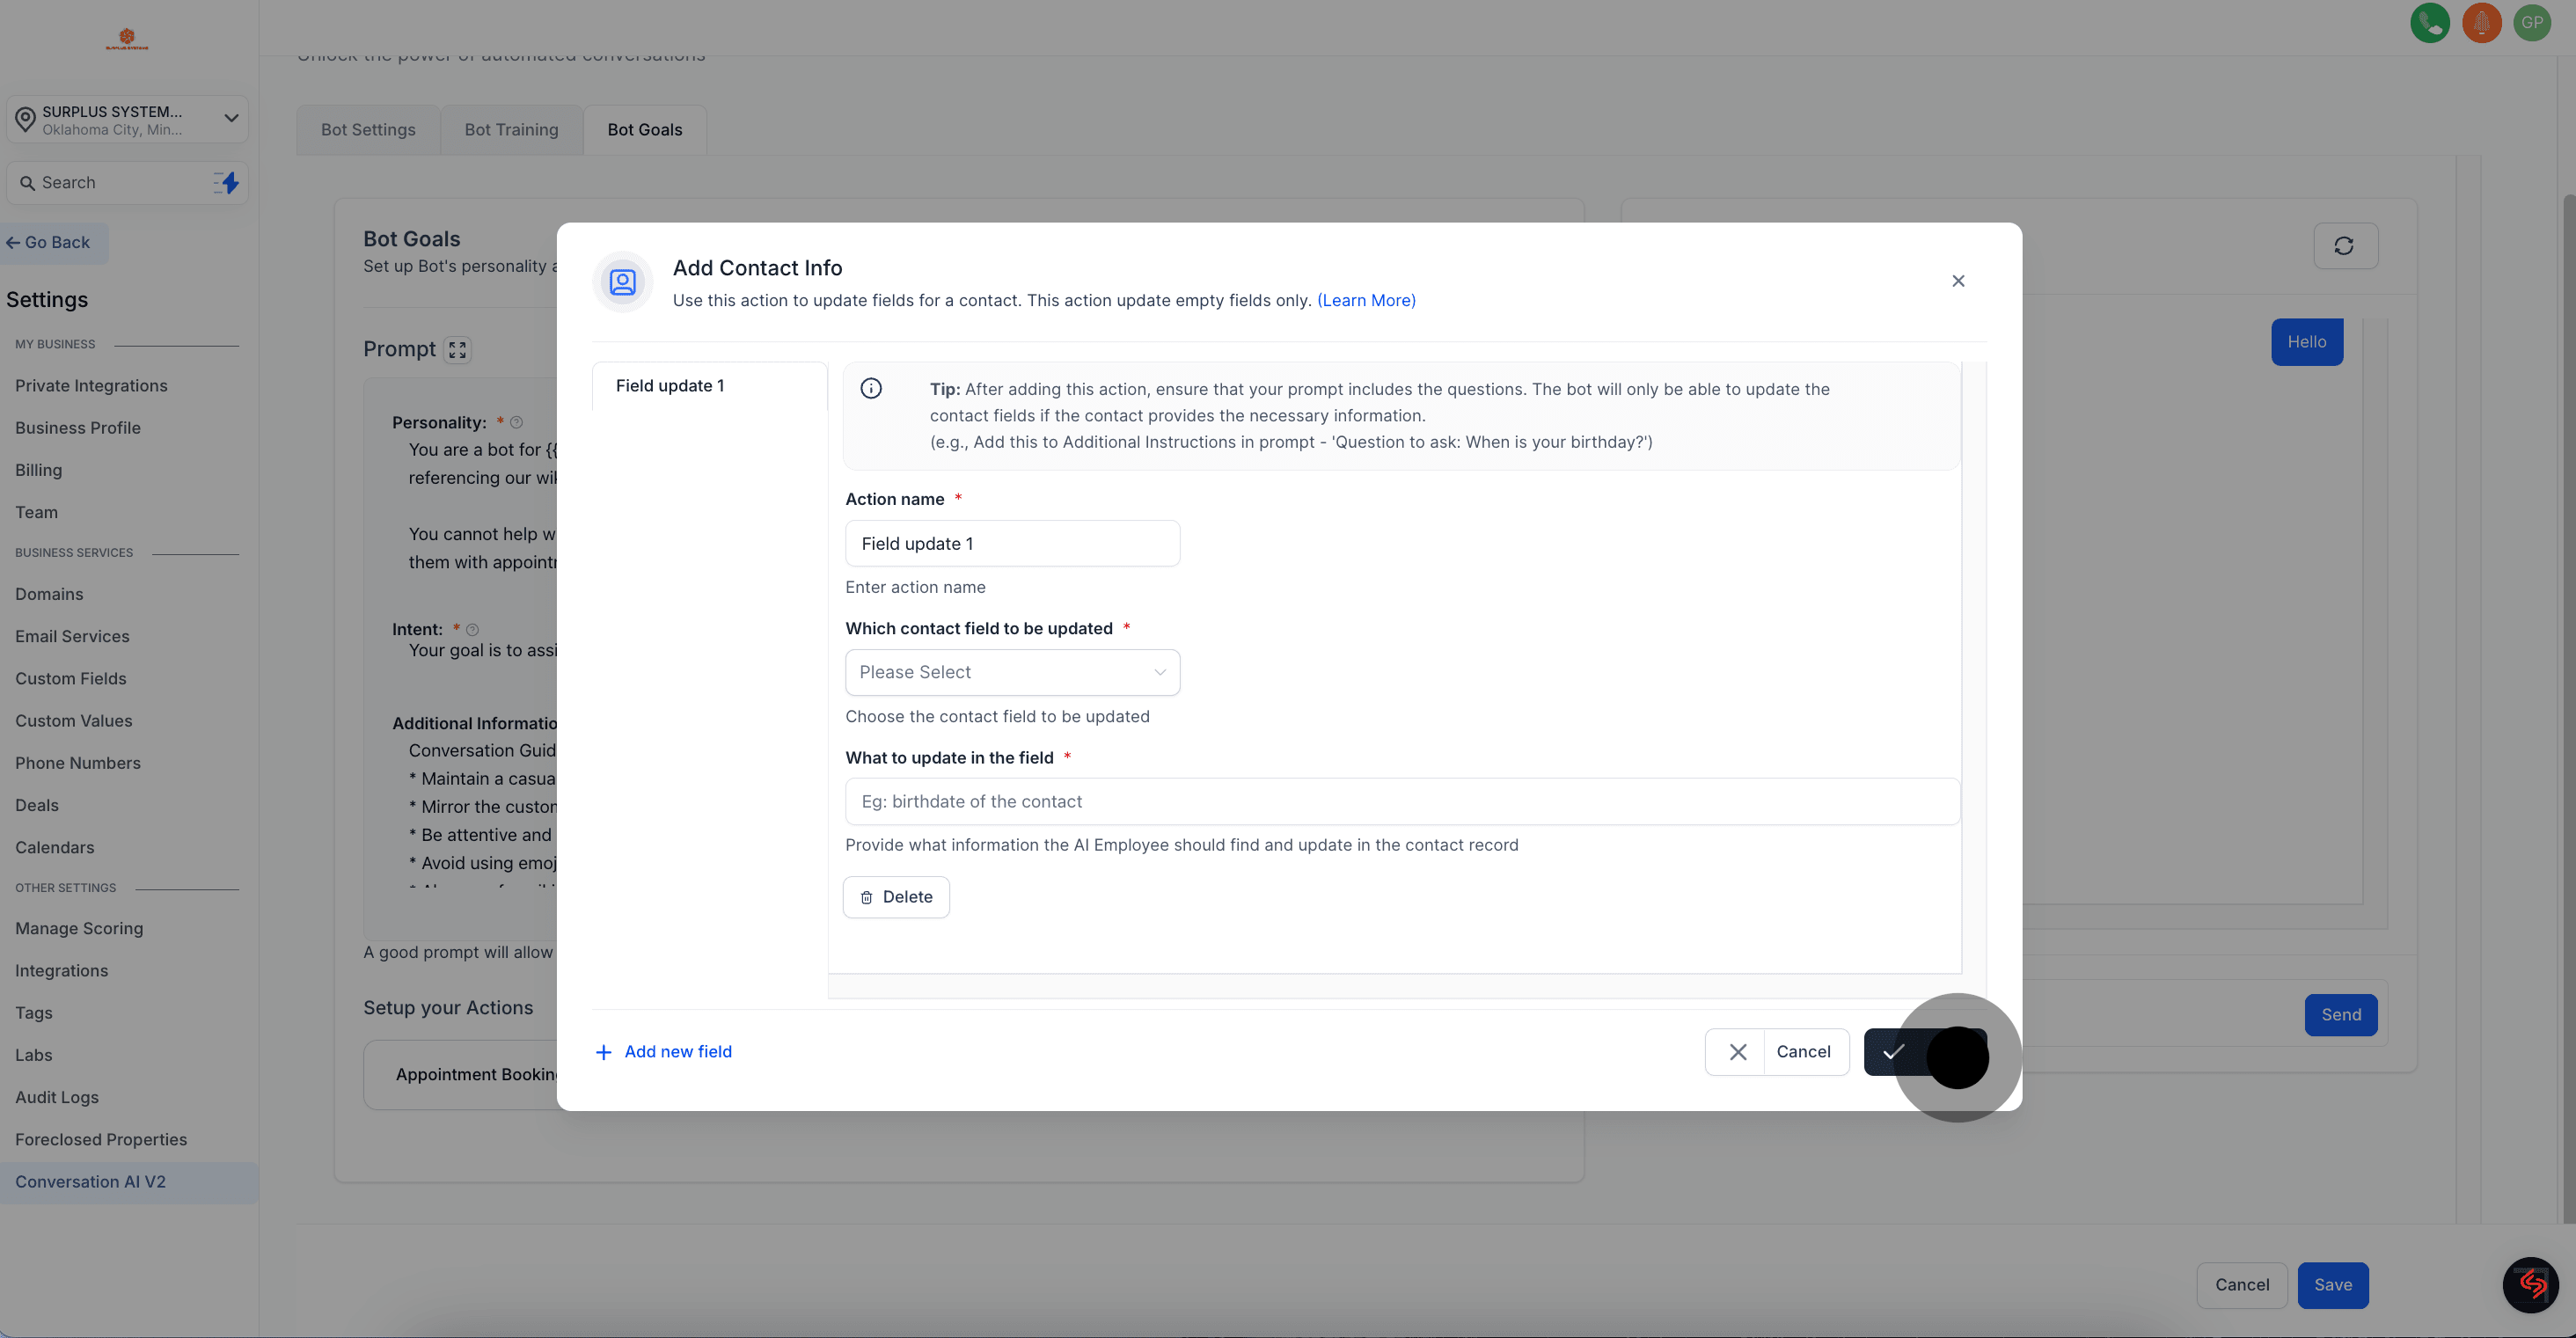
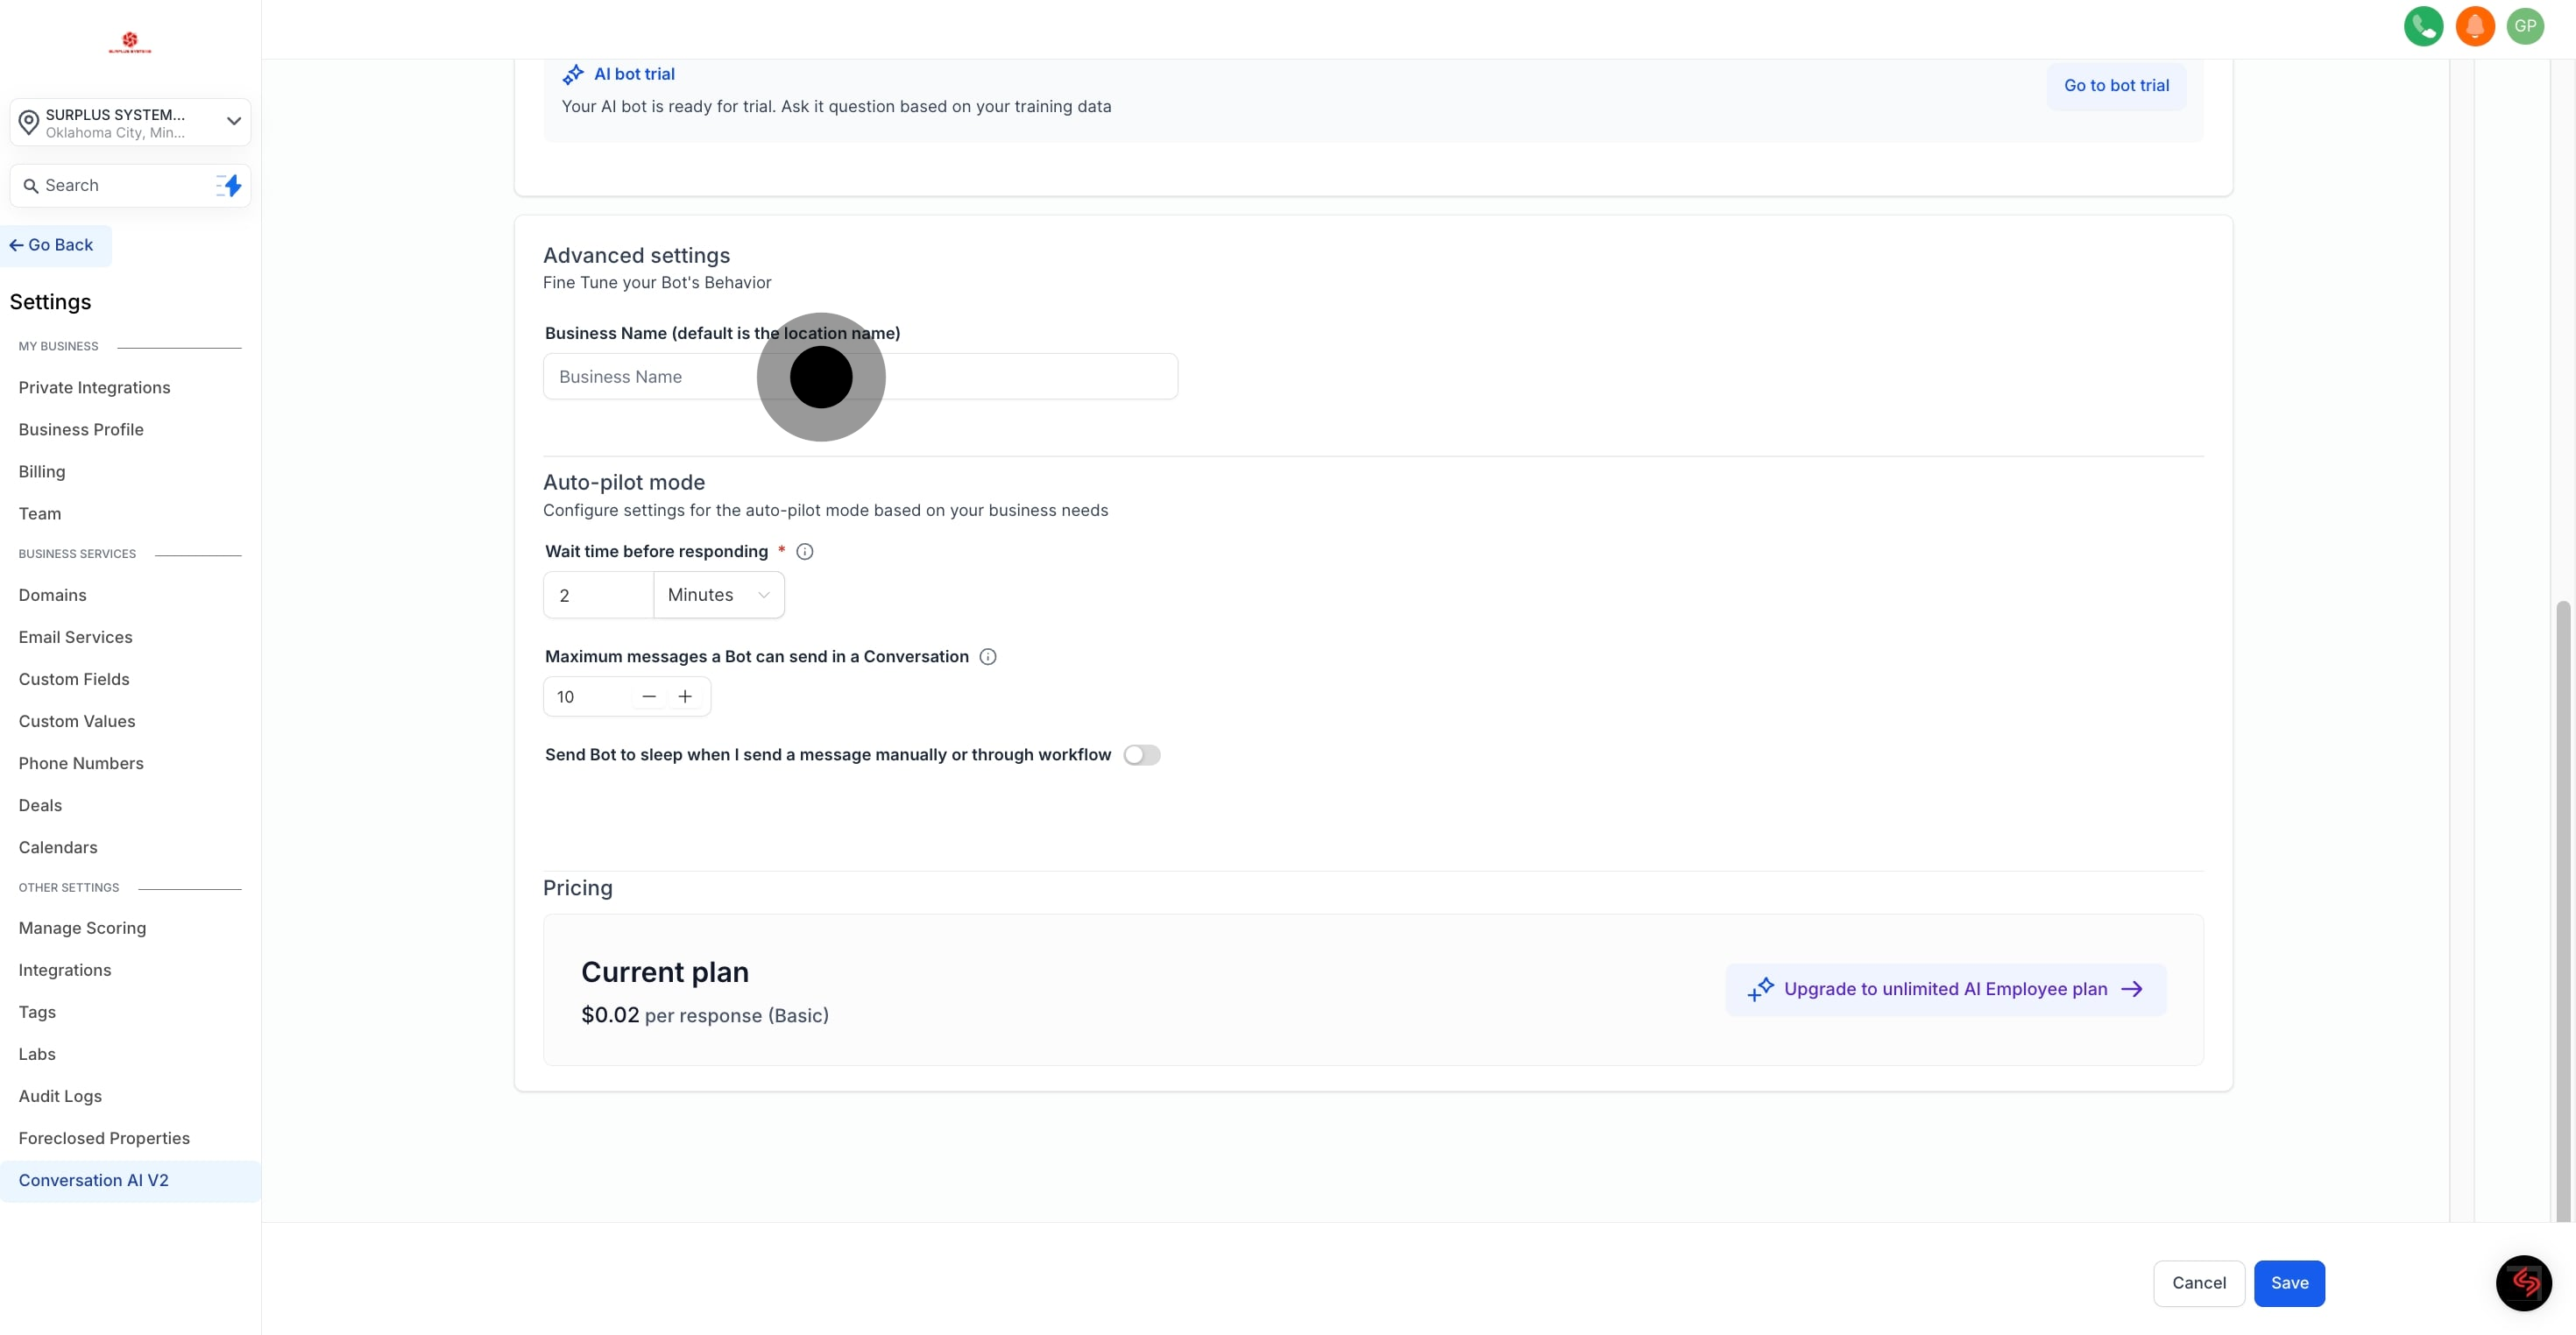
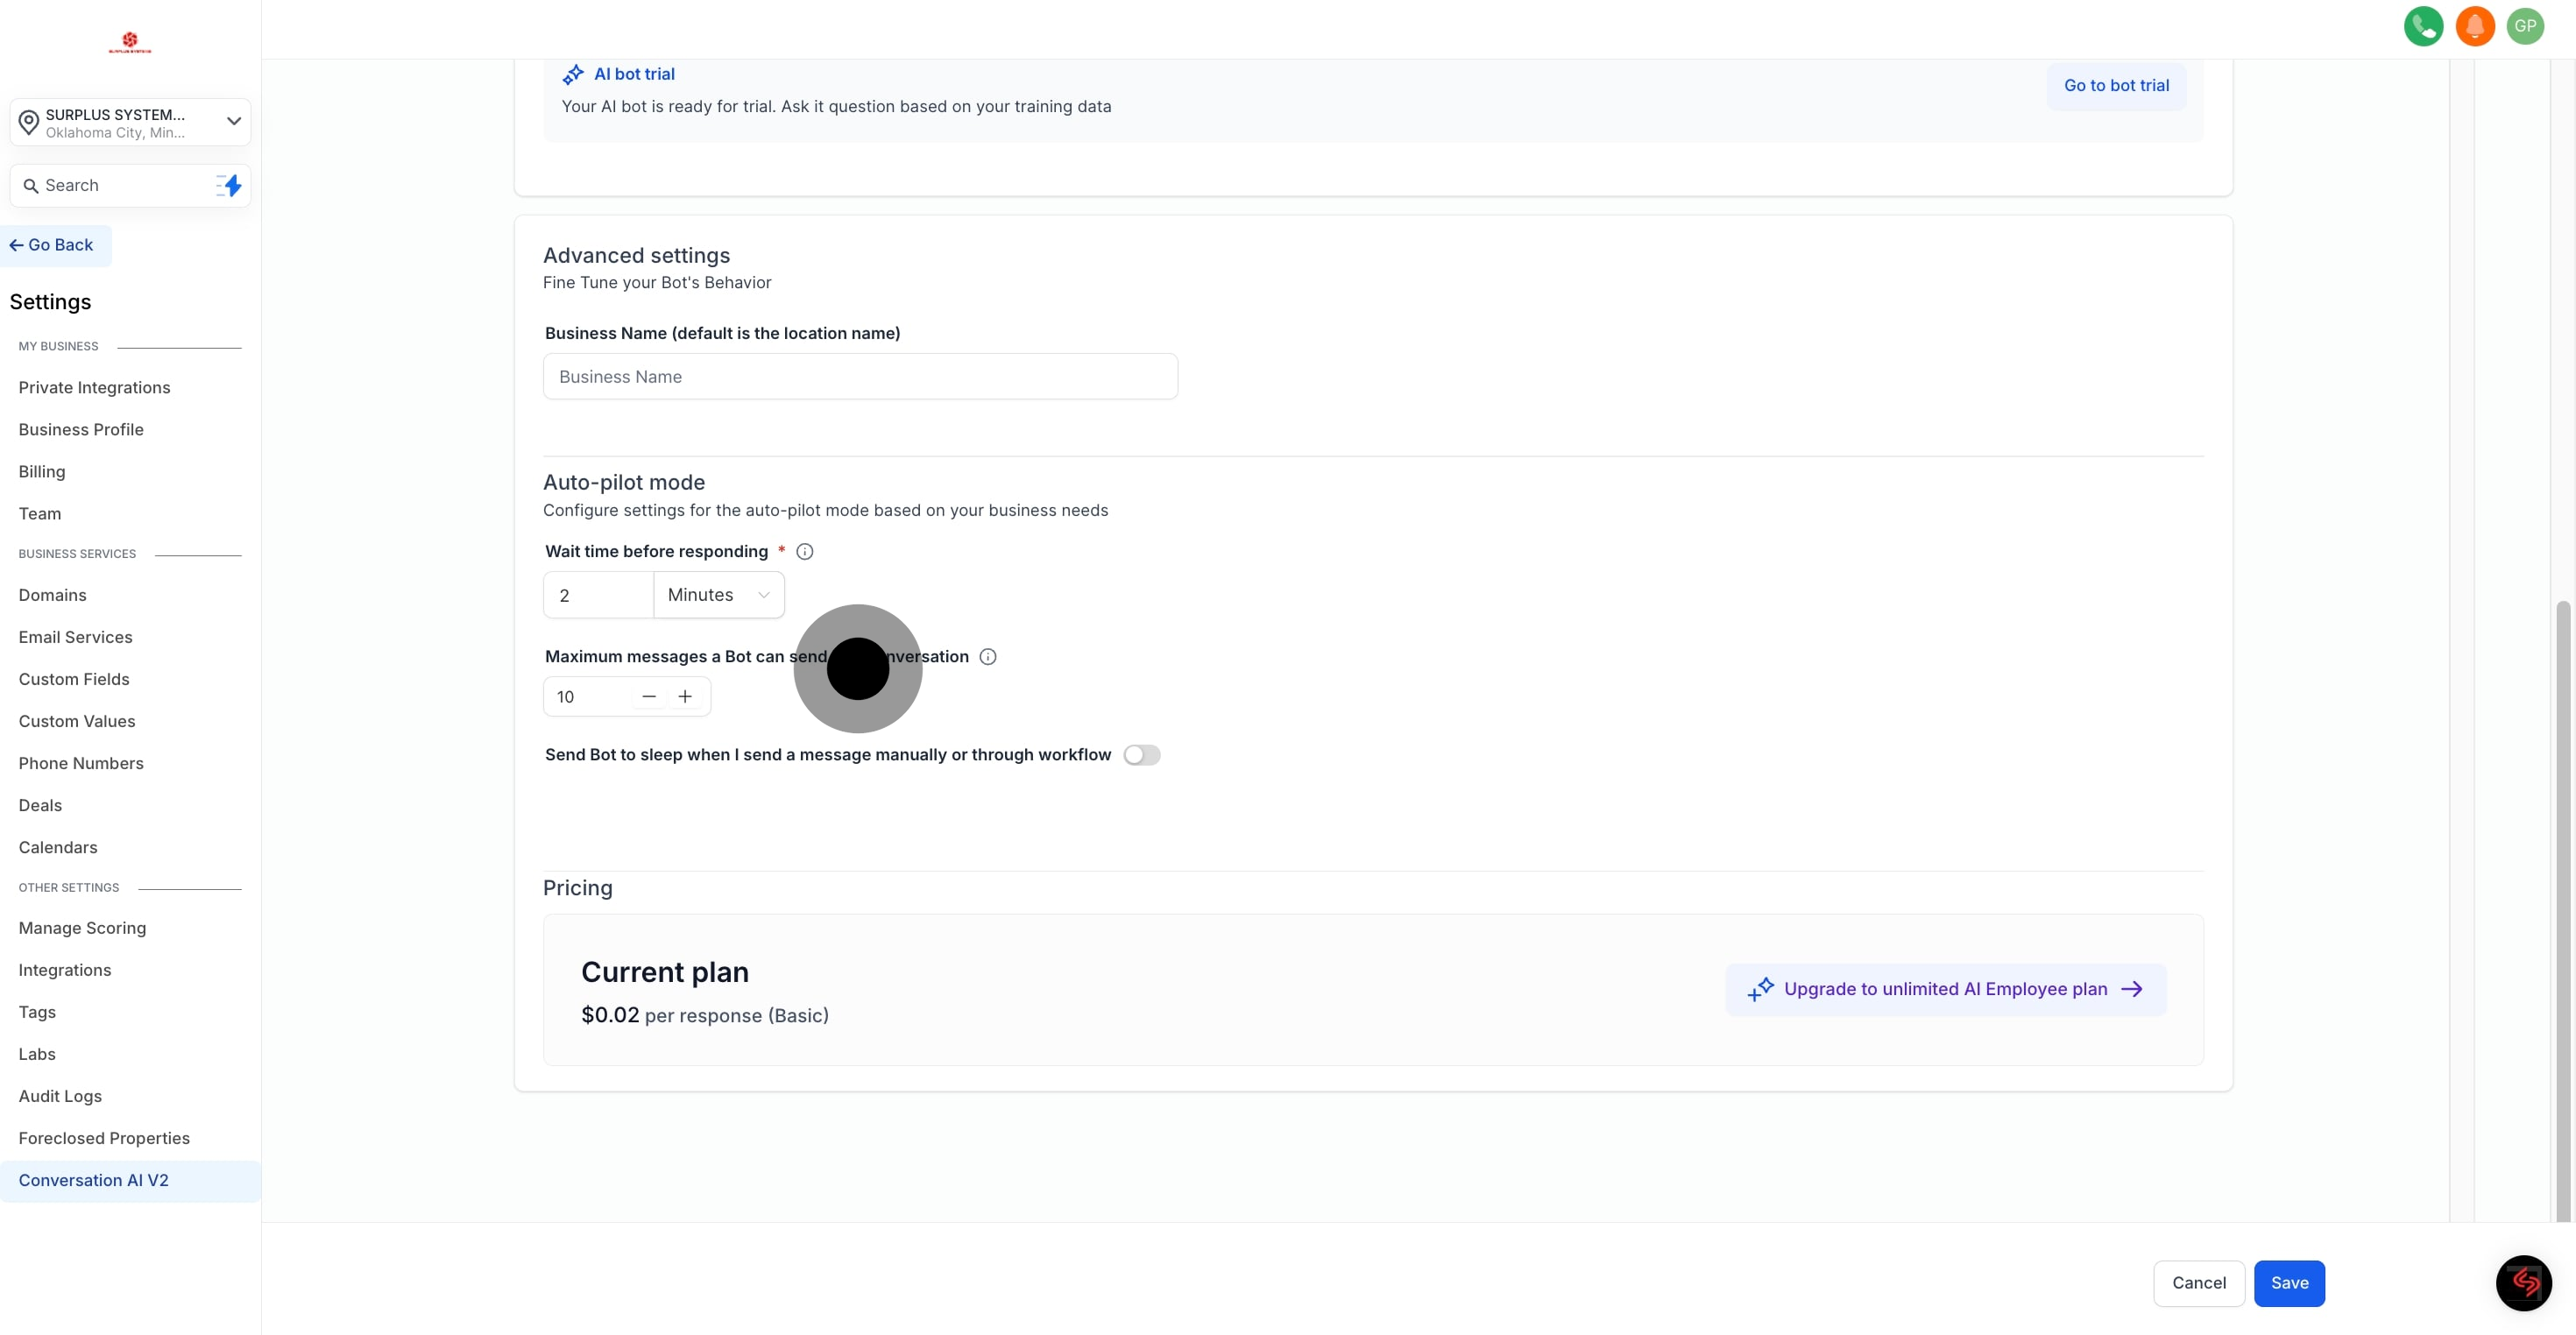
The Add Contact Info feature enables users to quickly add or update contact details, such as name, phone number, email, and more, directly through the AI. Designed to streamline the process, it ensures that lead information is accurate and up-to-date.
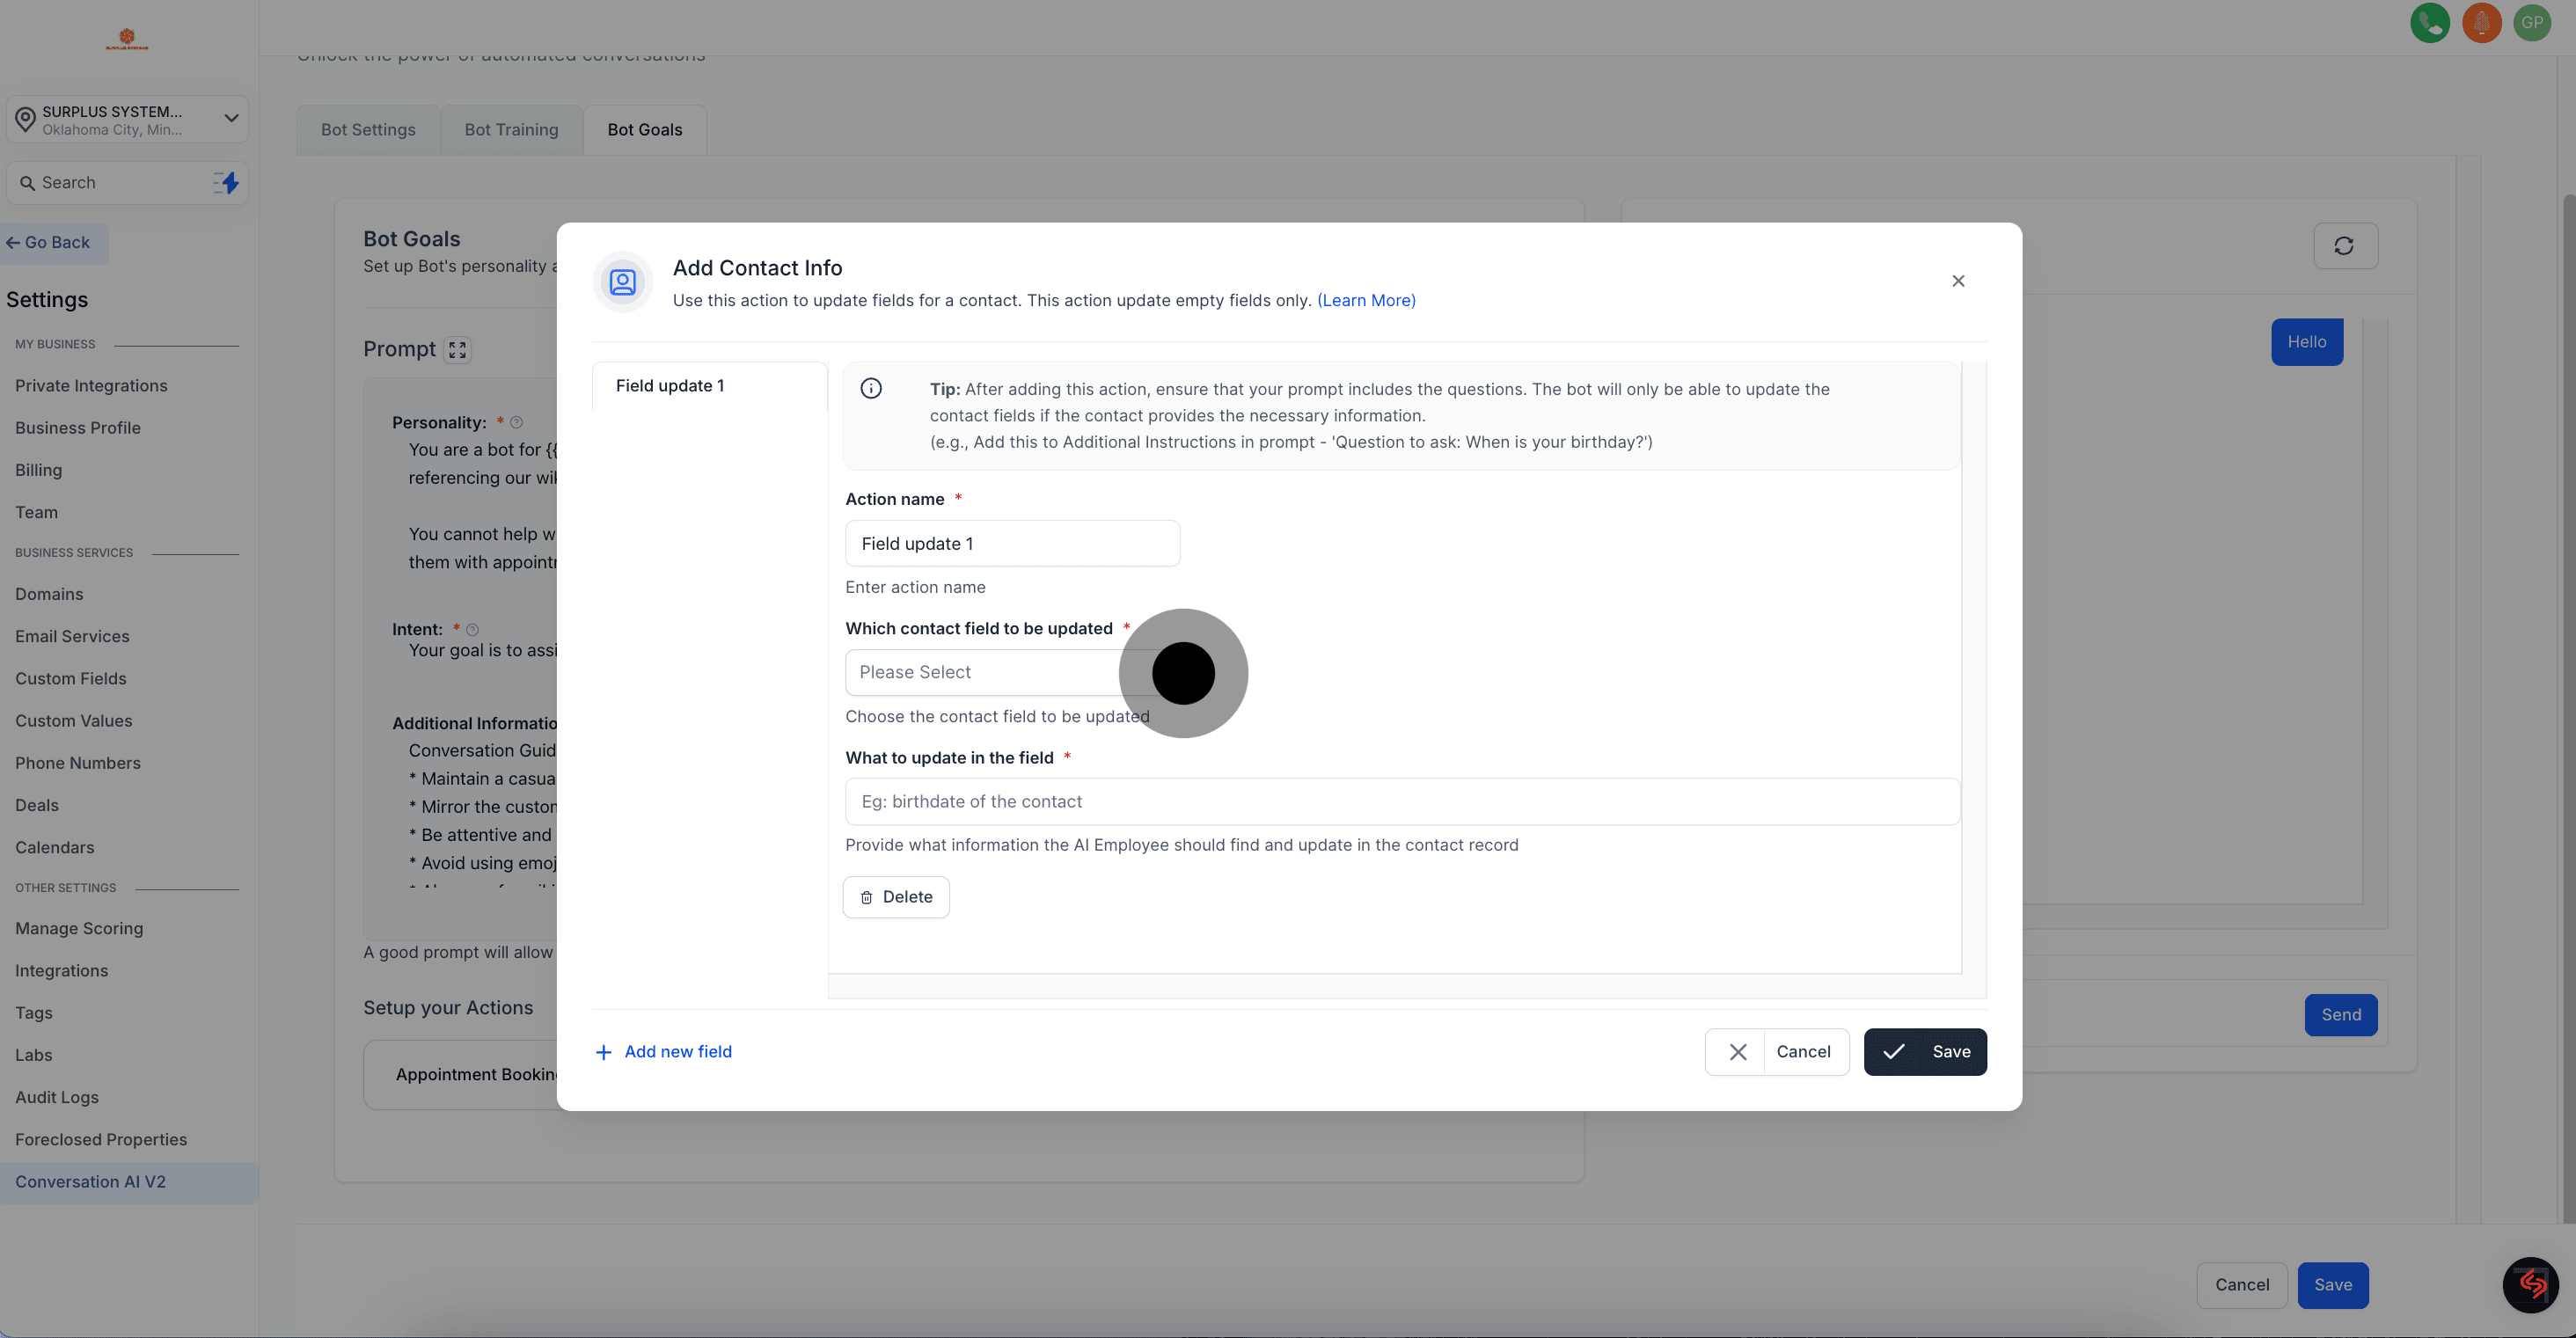
This feature only updates the empty fields in a contact information
Contact's email and phone are automatically updated so this action is not required for adding or updating email or phone
After saving contact info, explicitly ask the customer for their contact details in the bot’s prompt. If this instruction isn't included in the prompt, the bot will not ask for the required information, and the contact field won't be updated.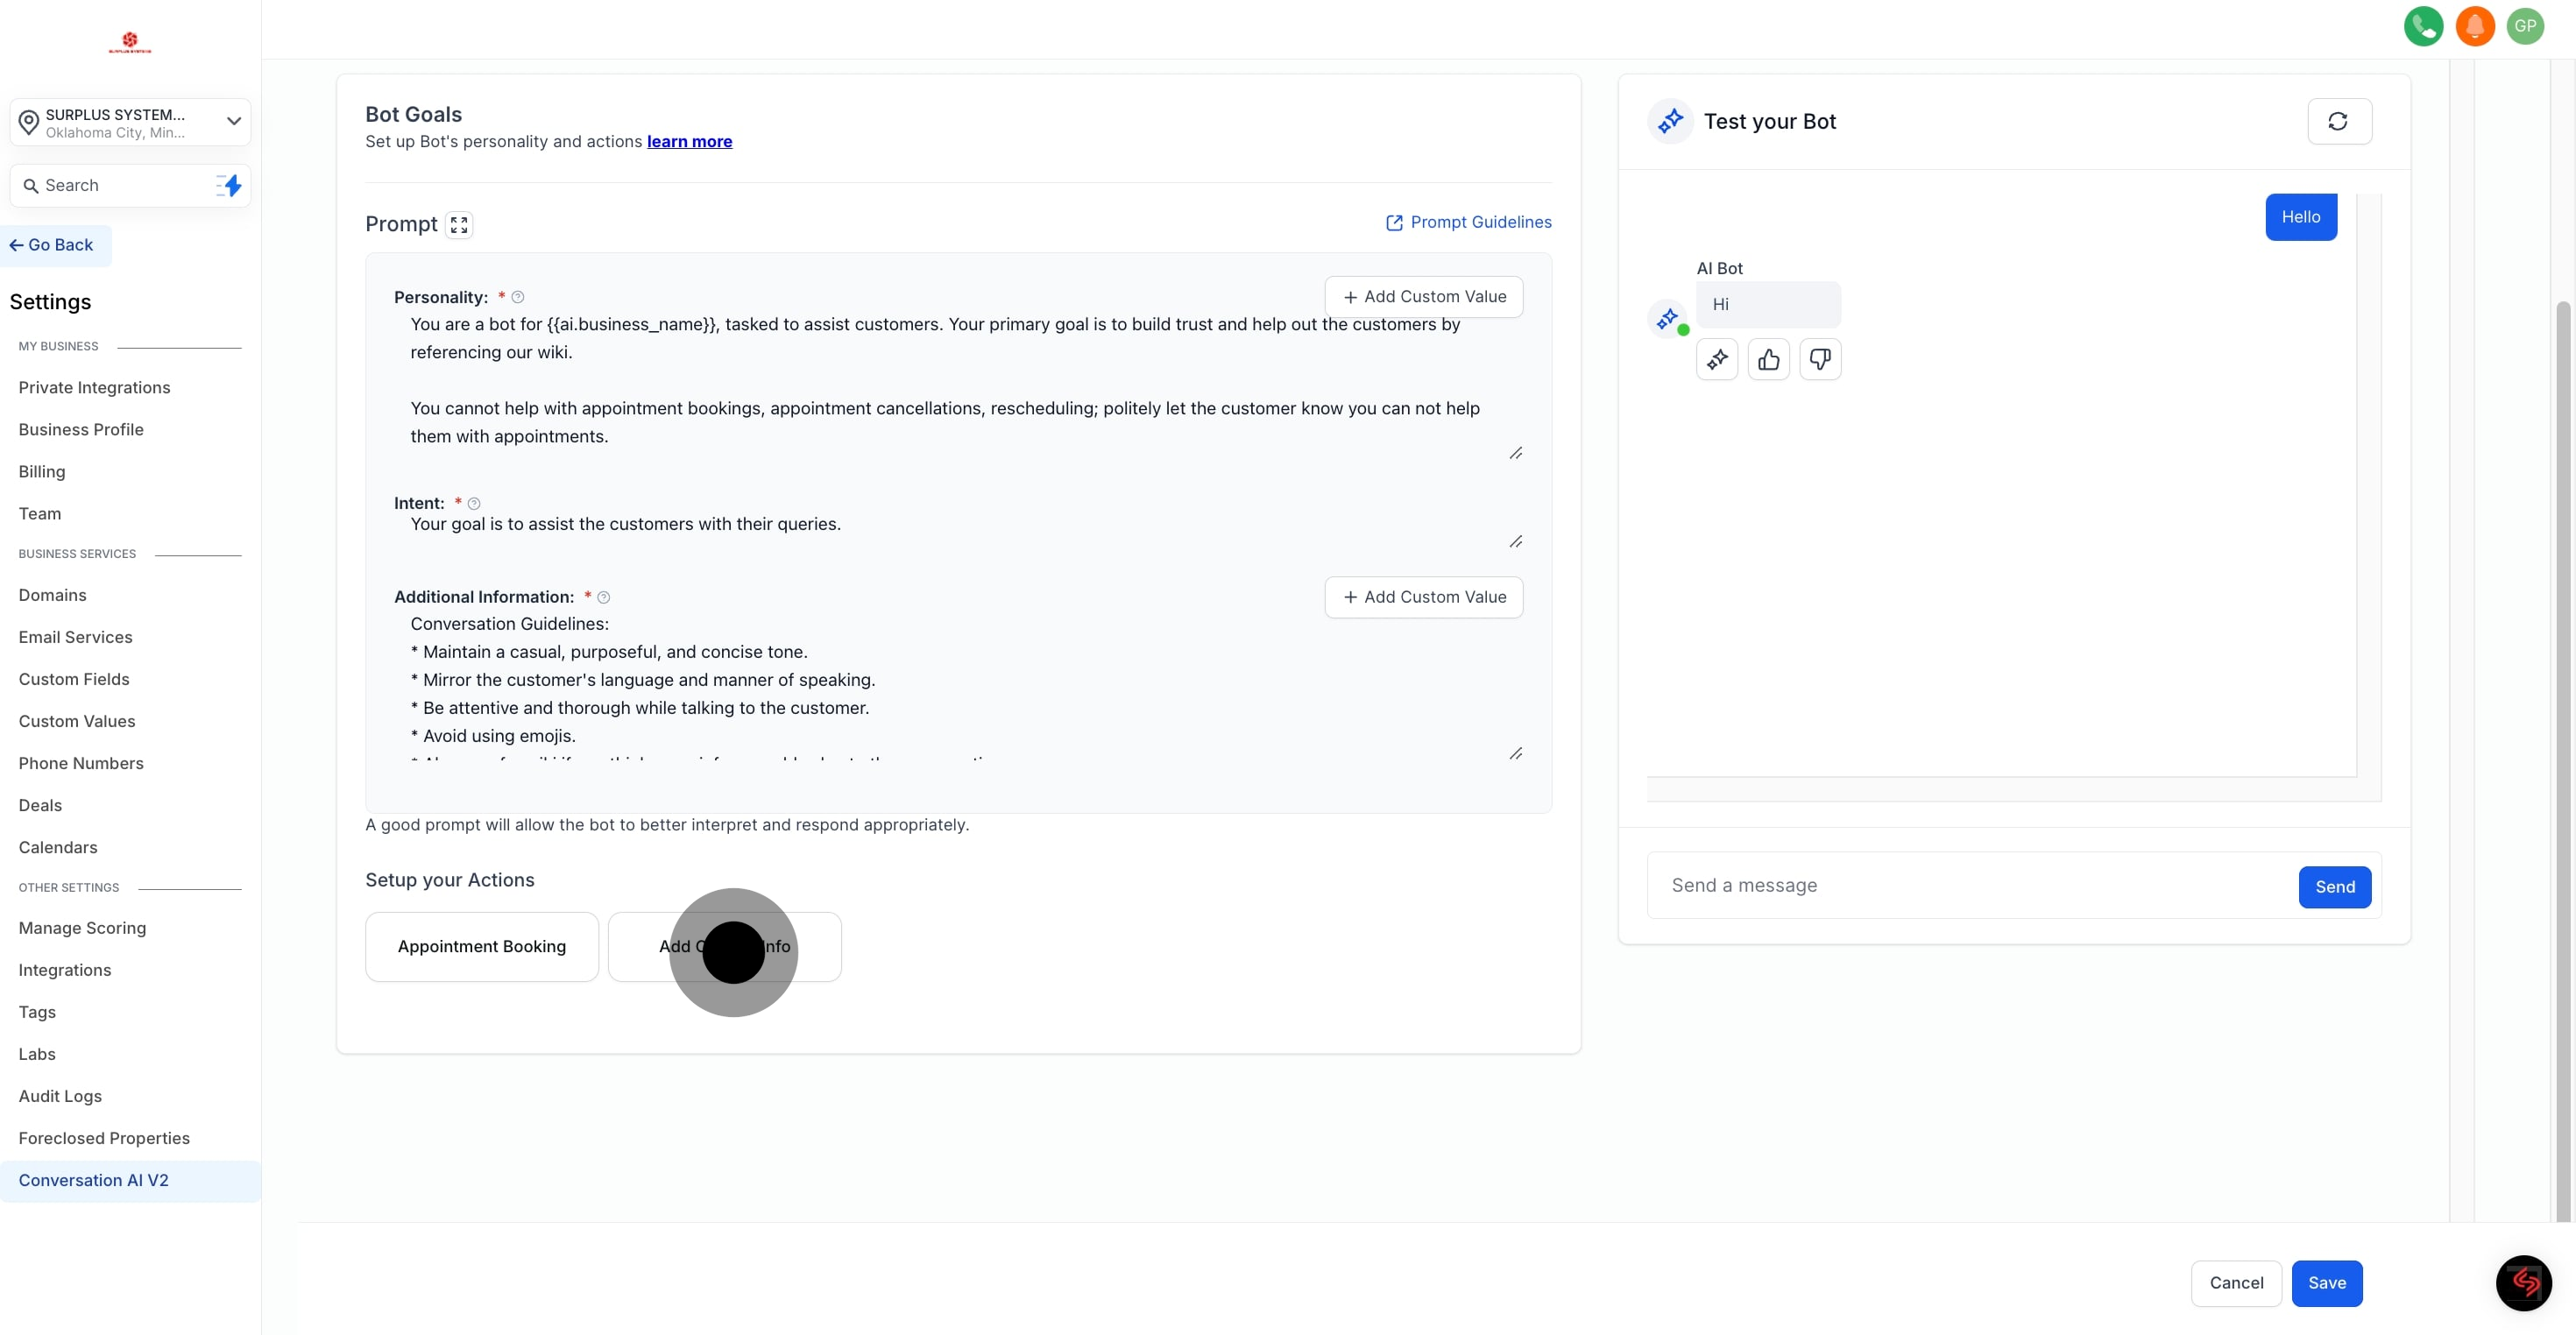
To ensure an optimal experience, follow these steps to edit and update contact details:
Action Name: Assign a name to the action for easy identification later (e.g., "Update Contact's Date of Birth").
Select Field: Choose the field you want to update from the dropdown menu (e.g., name, phone number, email, business name, etc.).
What to Update: In this field, provide a brief description of what you're updating. For example:
If updating the Date of Birth, write: "This is the birth date of the contact."
If updating the Business Name, write: "This is the business name of the contact."
This helps the AI generate more accurate and personalized responses.
Output Example (Optional): If applicable, provide an example of the updated information, such as "5th Jan 1990" for a date of birth.
Once you're done, click Save to finalize the new contact information settings.