Before creating your first custom object, be sure to review Getting Started with Custom Objects.
Only admins have permission to create, update, and delete custom objects. Regular users have read-only access and can view details but cannot make changes.
Getting Started with Custom Objects
Create Custom Object:
Navigate to Subaccount > Settings > Objects and select "Add Custom Object."

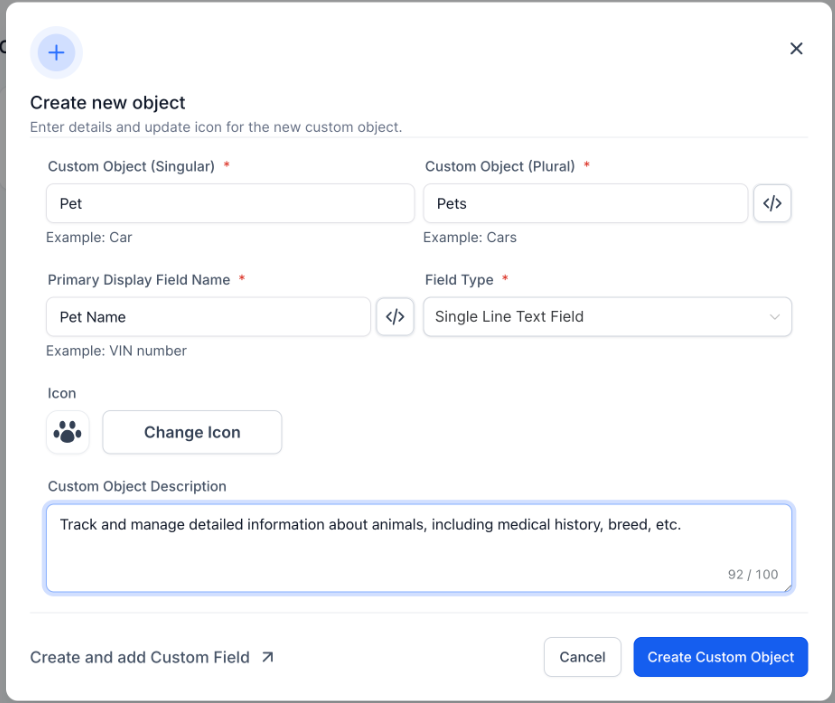
Add Details about Custom Object:
Enter the singular name for the object (e.g., "Pet").
Provide the plural name (e.g., "Pets").
The internal name and primary field are generated by default but can be modified by clicking the "</>" icon and updating the internal name.
Specify a name for the primary display field, such as "Pet Name" or "Pet Identification Number."
Choose an icon to easily identify the custom object.
Add a description to clarify the purpose of the object for other users.
Finally, click "Create Custom Object."
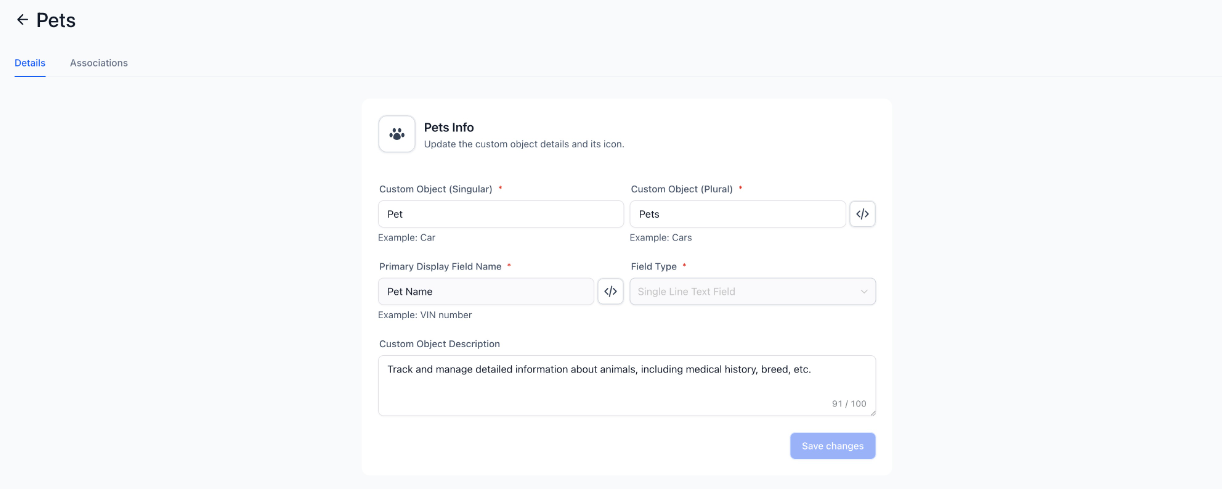
Editing a Custom Object
After a custom object is created, it will appear on the same page. Click on any custom object to begin editing its details.
Please note that the primary display field and internal names cannot be modified once they are set.
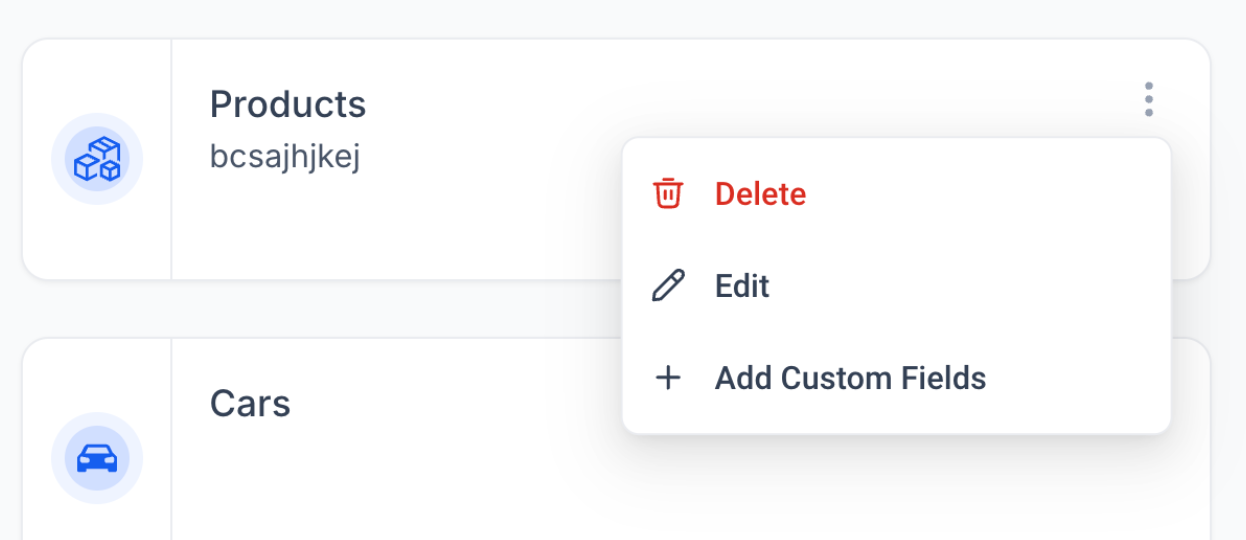
Deleting a Custom Object
Click on the 3 dots near the custom object name
Select "Delete" from the dropdown.
Type "DELETE" in the text box and confirm deletion.
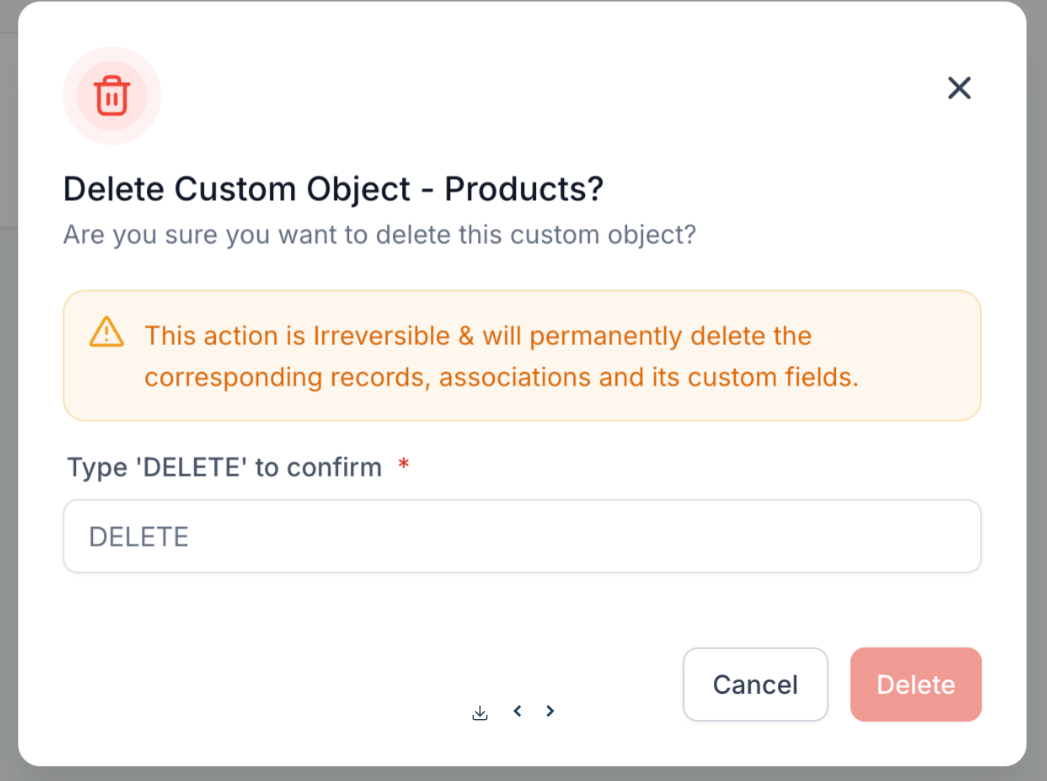
The custom object is now deleted
Deleting a custom object is an irreversible action. Once a custom object is deleted, all its records, associations, workflows and custom fields will be deleted and cannot be recovered anymore. 