Mastering the Funnels Settings Tab: A Step-by-Step Guide
Learn how to configure and optimize your funnel settings to boost conversions, enhance lead tracking, and improve overall marketing performance. Perfect for beginners and seasoned marketers alike."
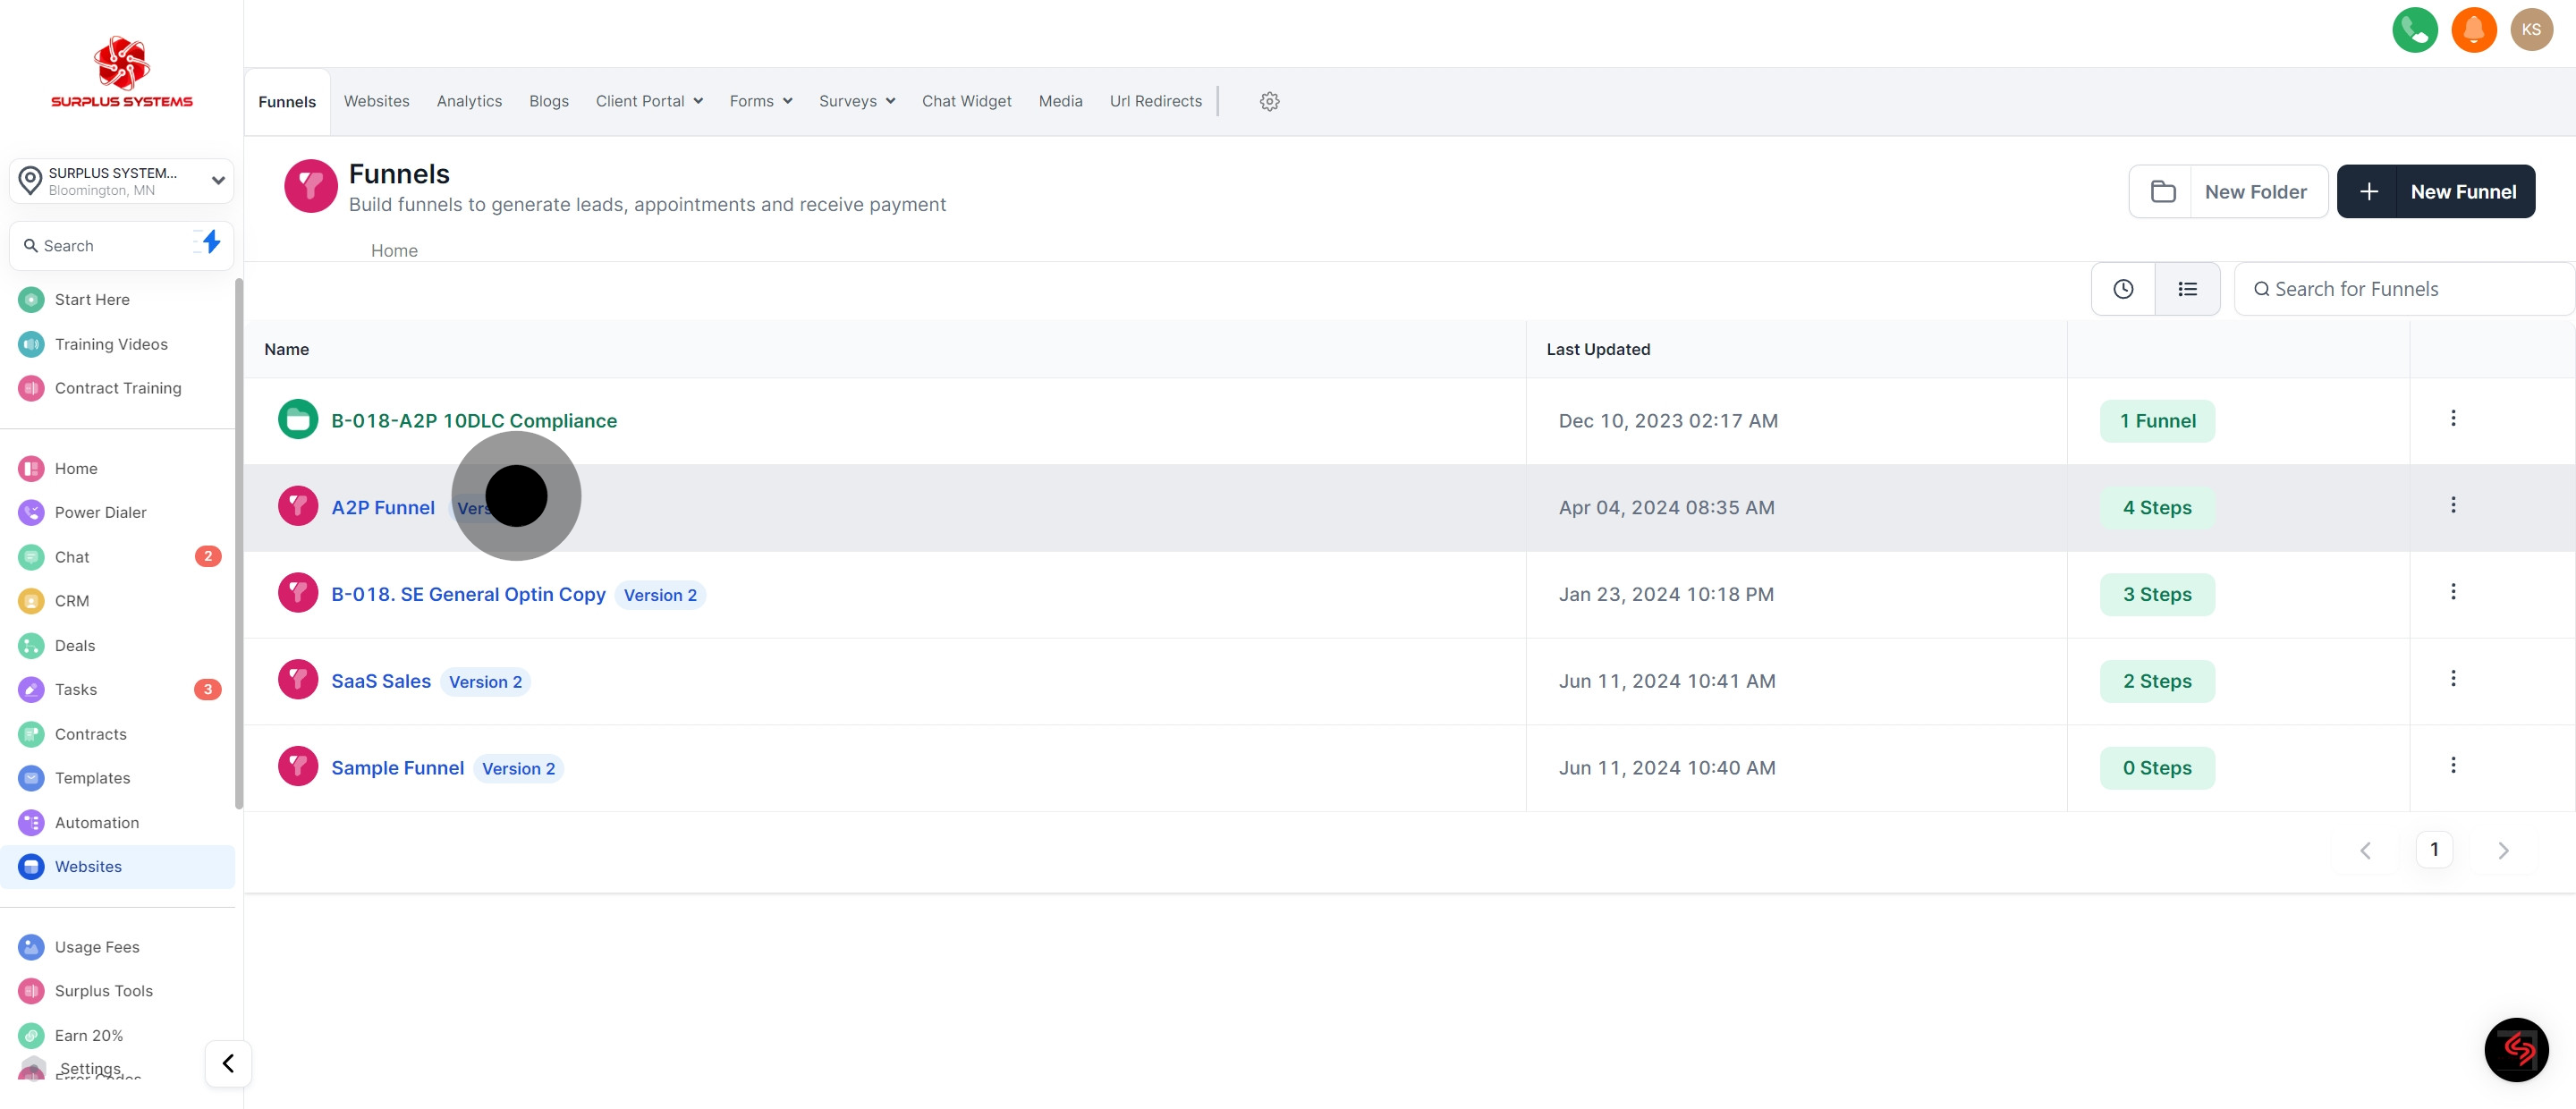
1. Begin by clicking 'Websites'.
2. Next, select a Funnel to proceed.
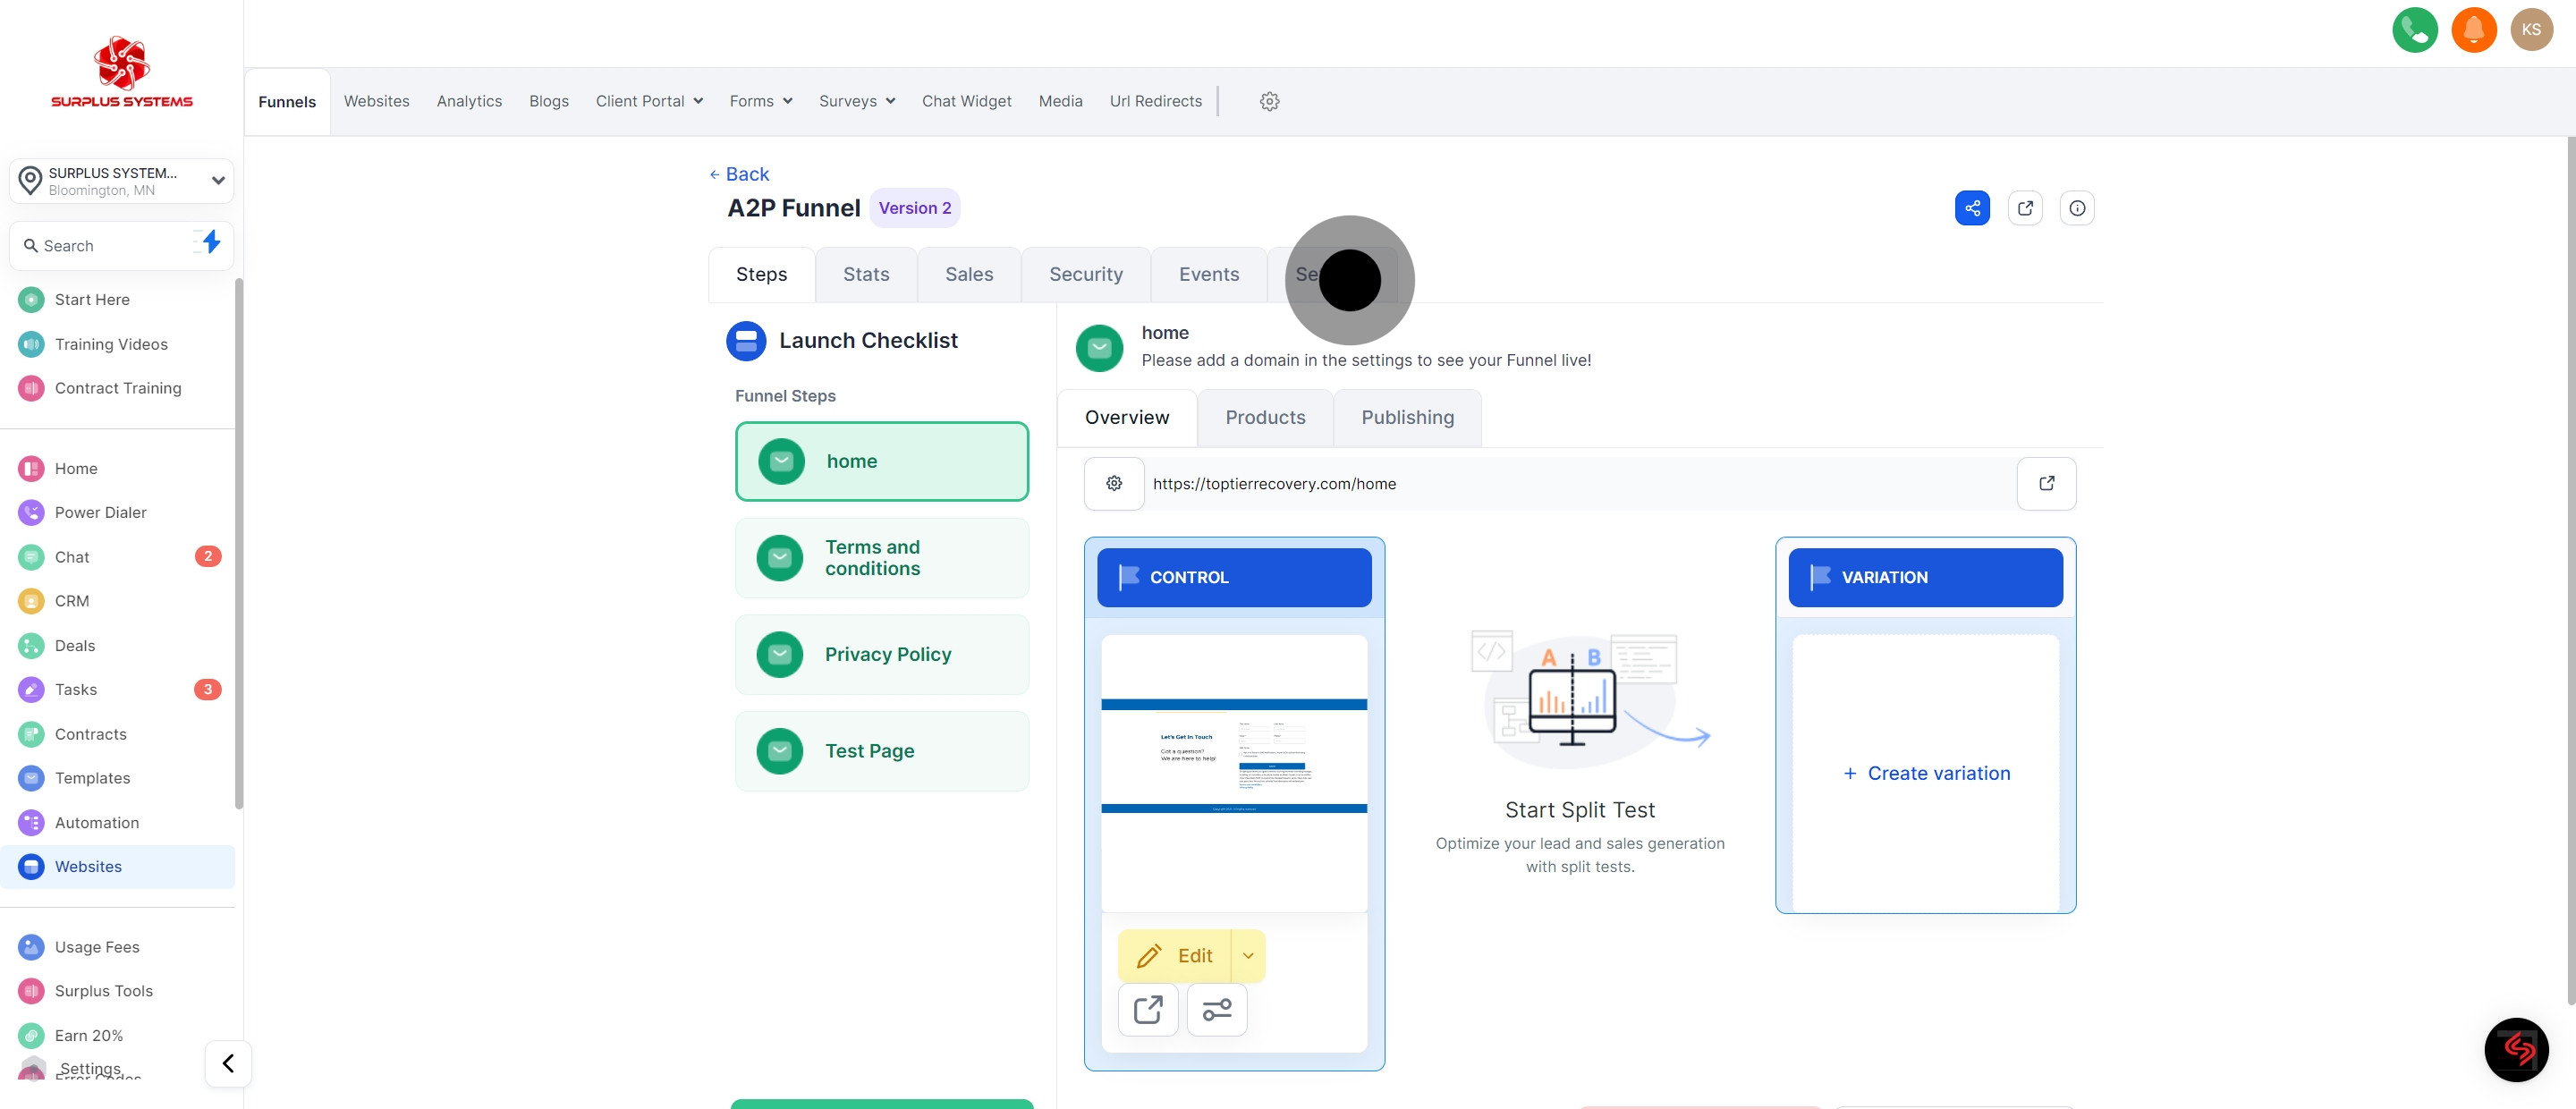
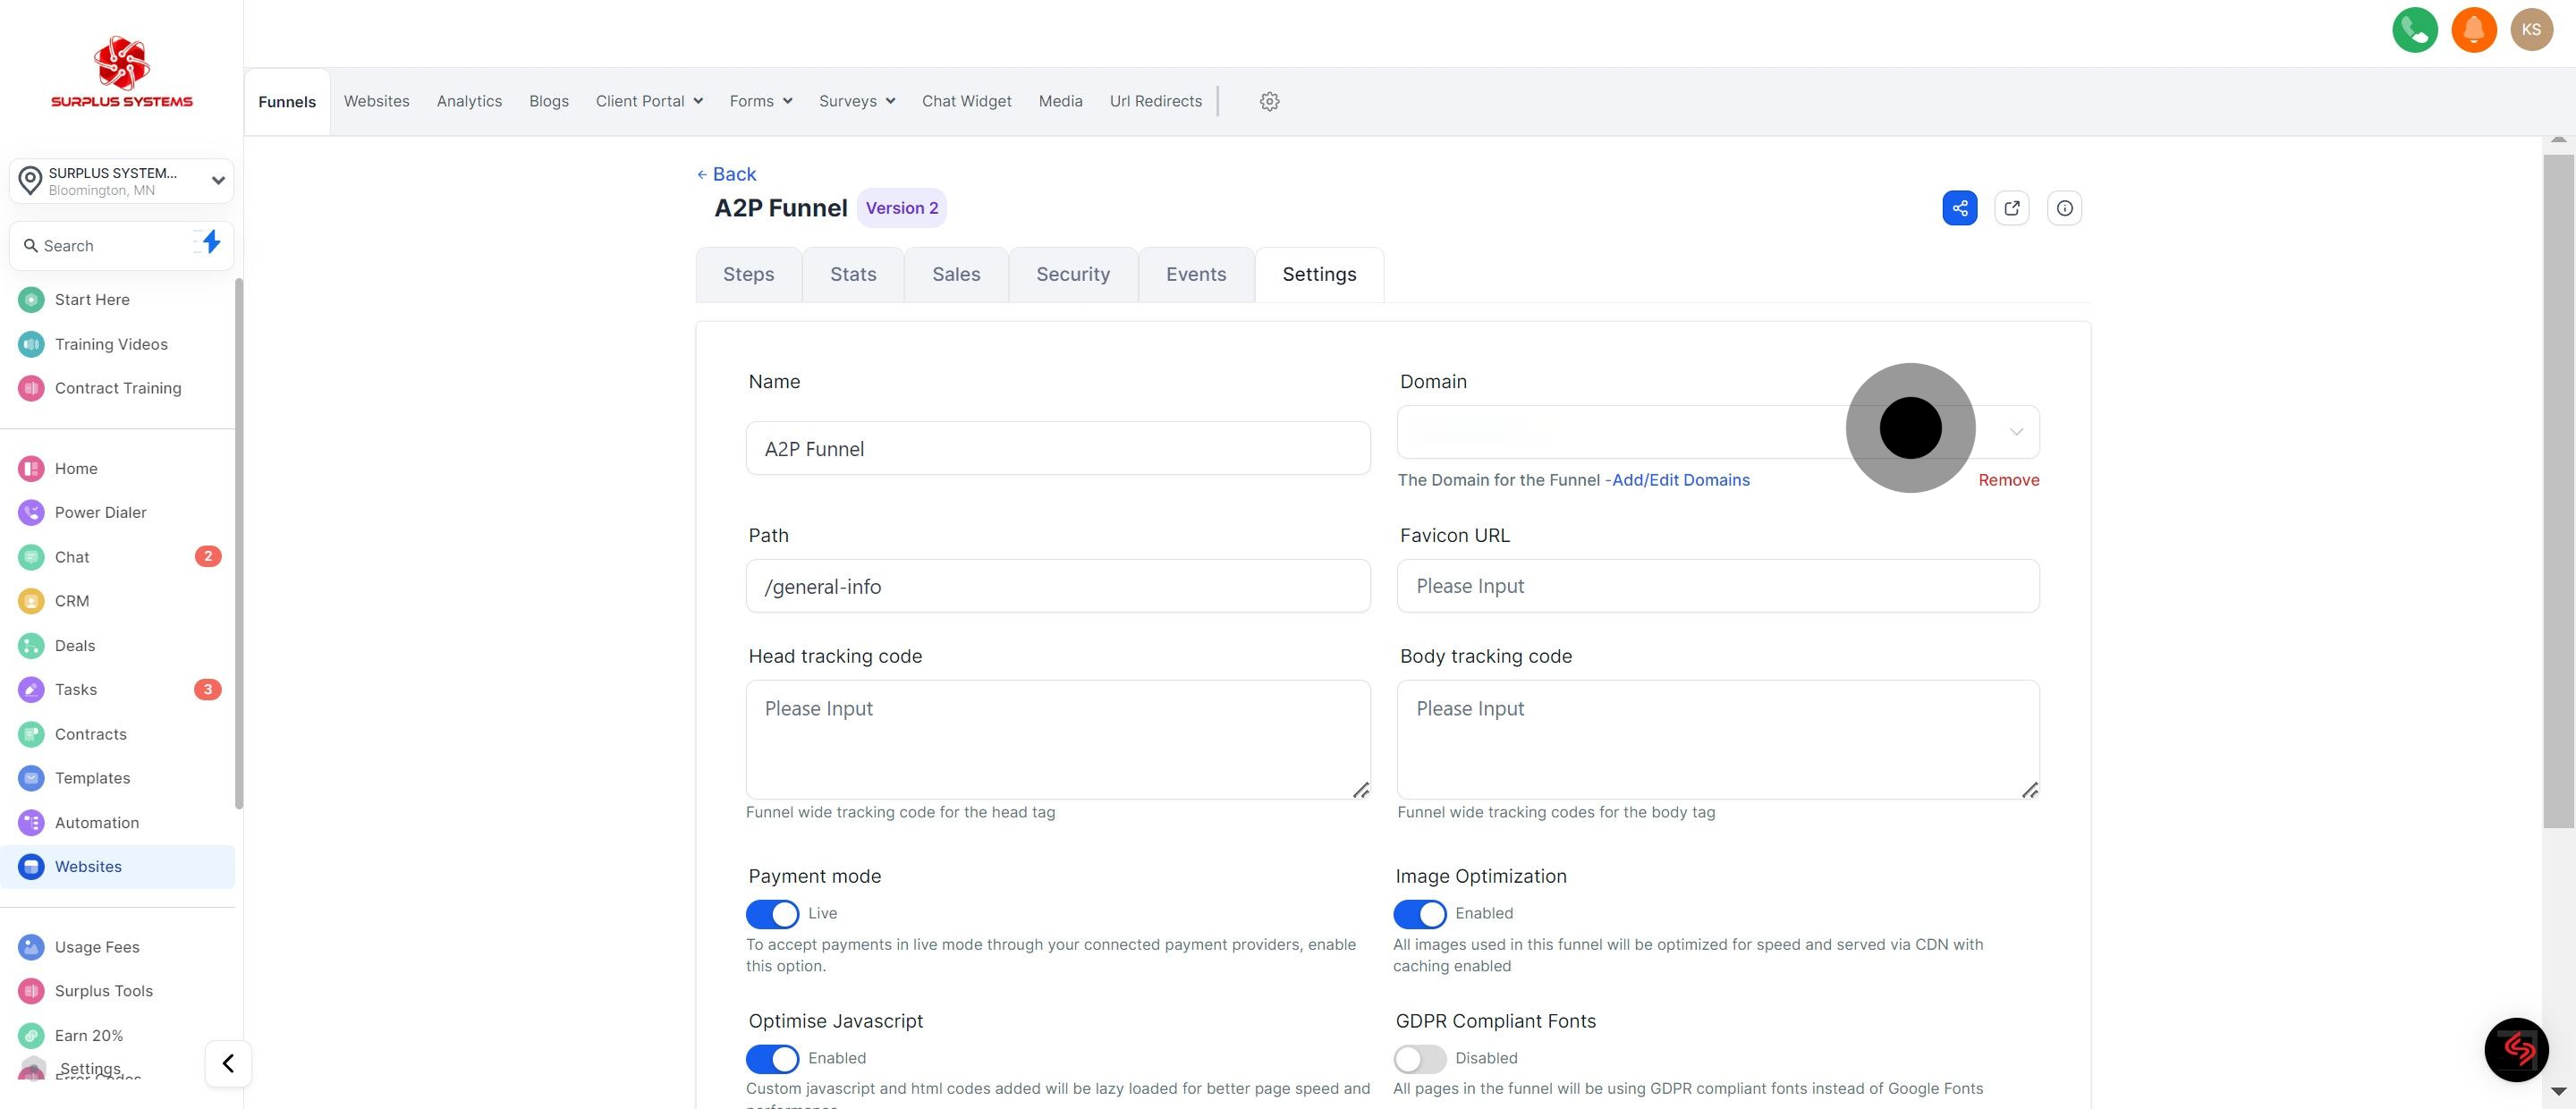
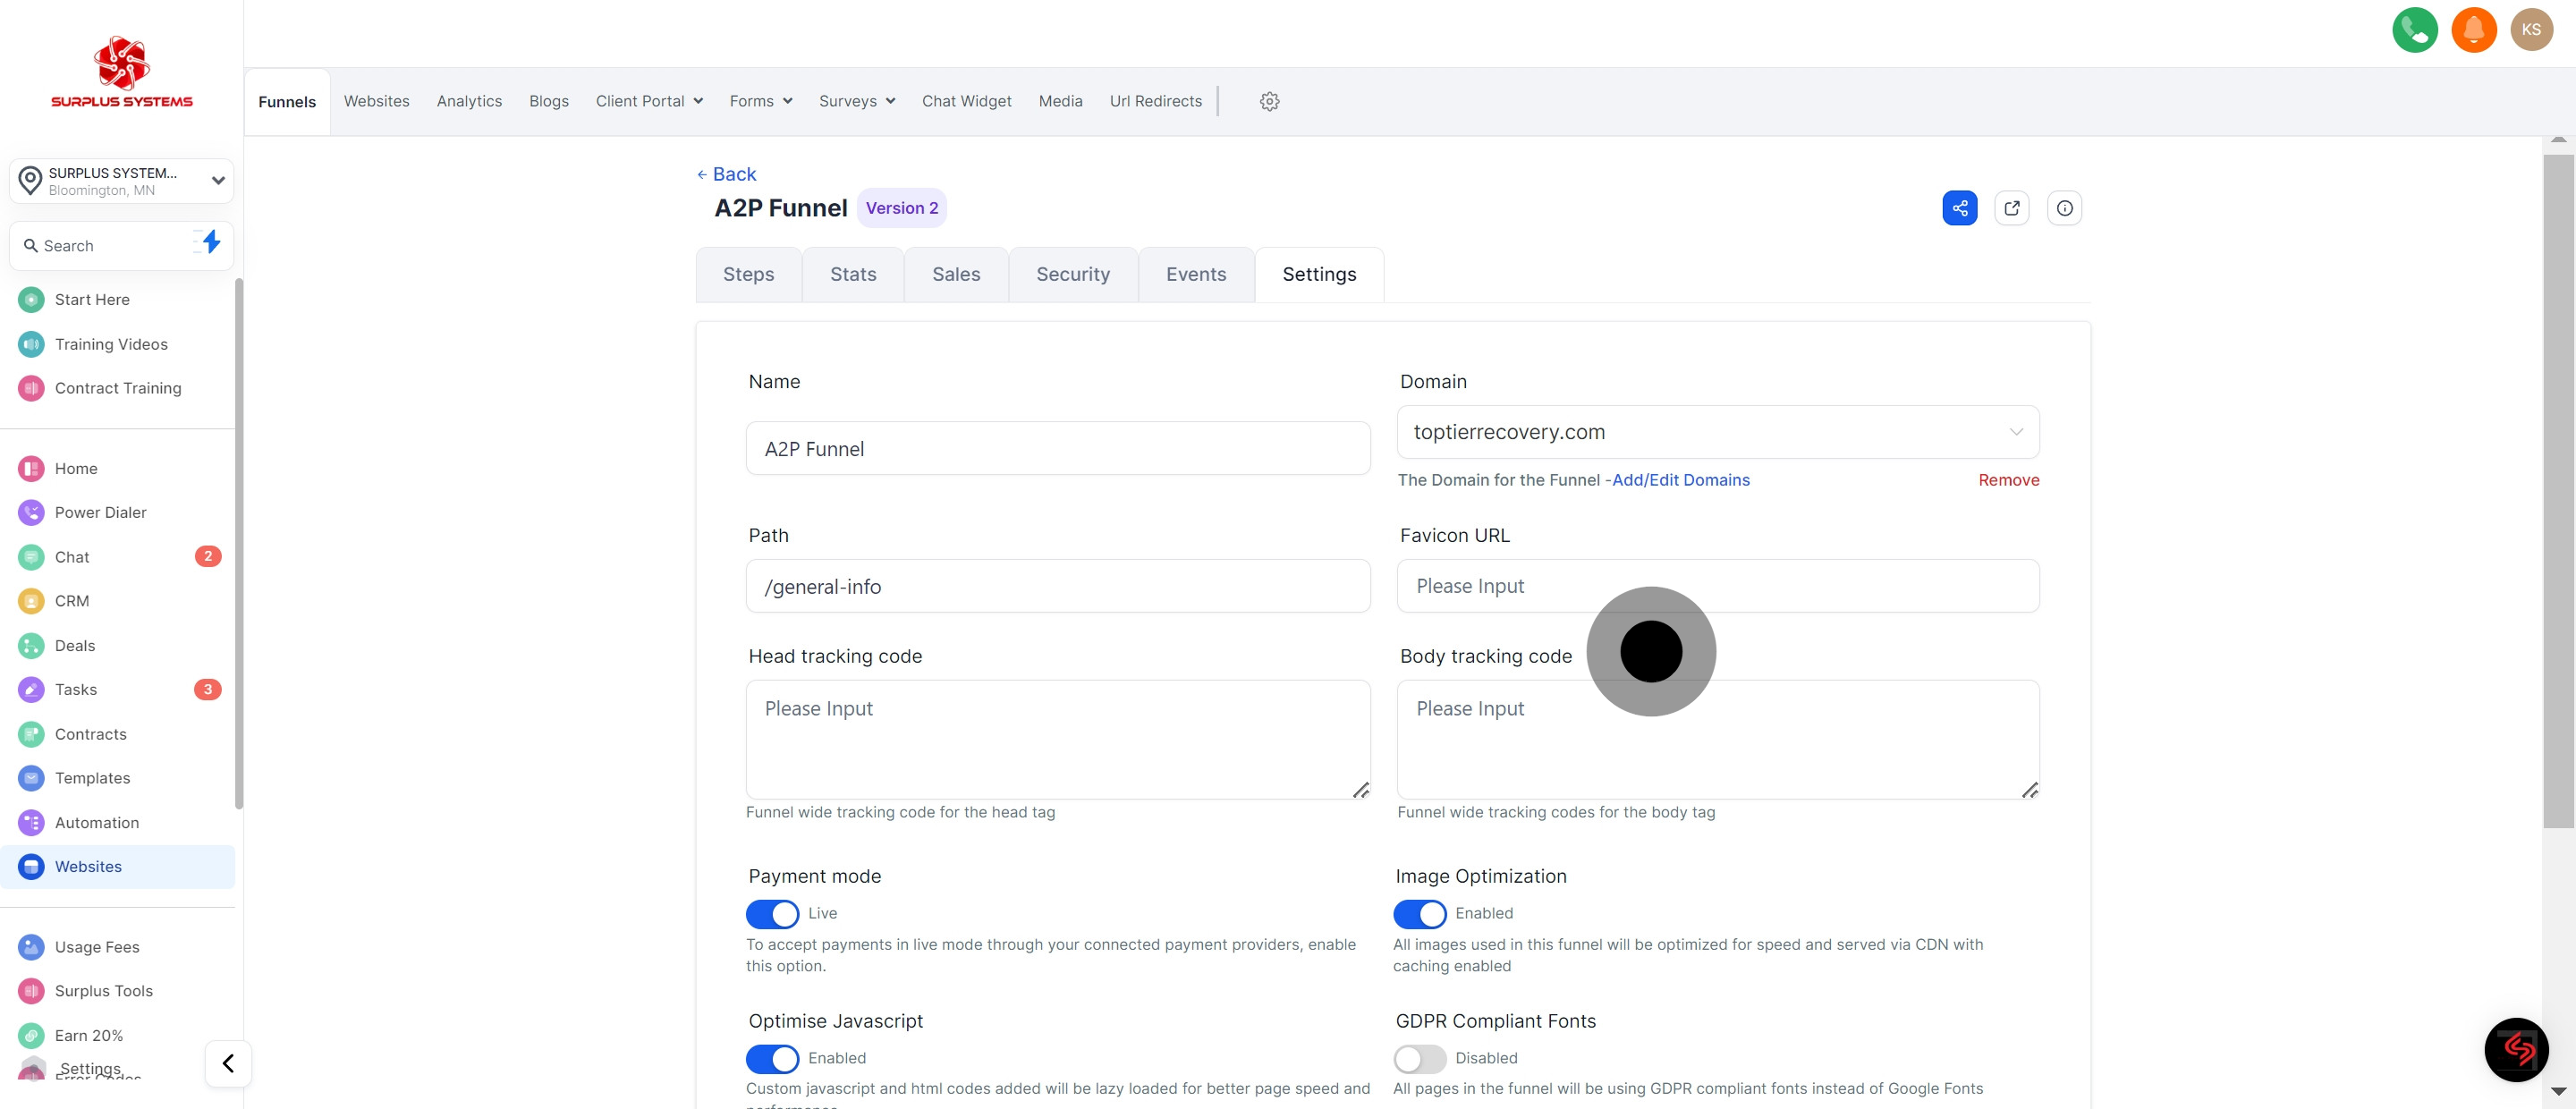
3. Then, go to Settings to customize your options.
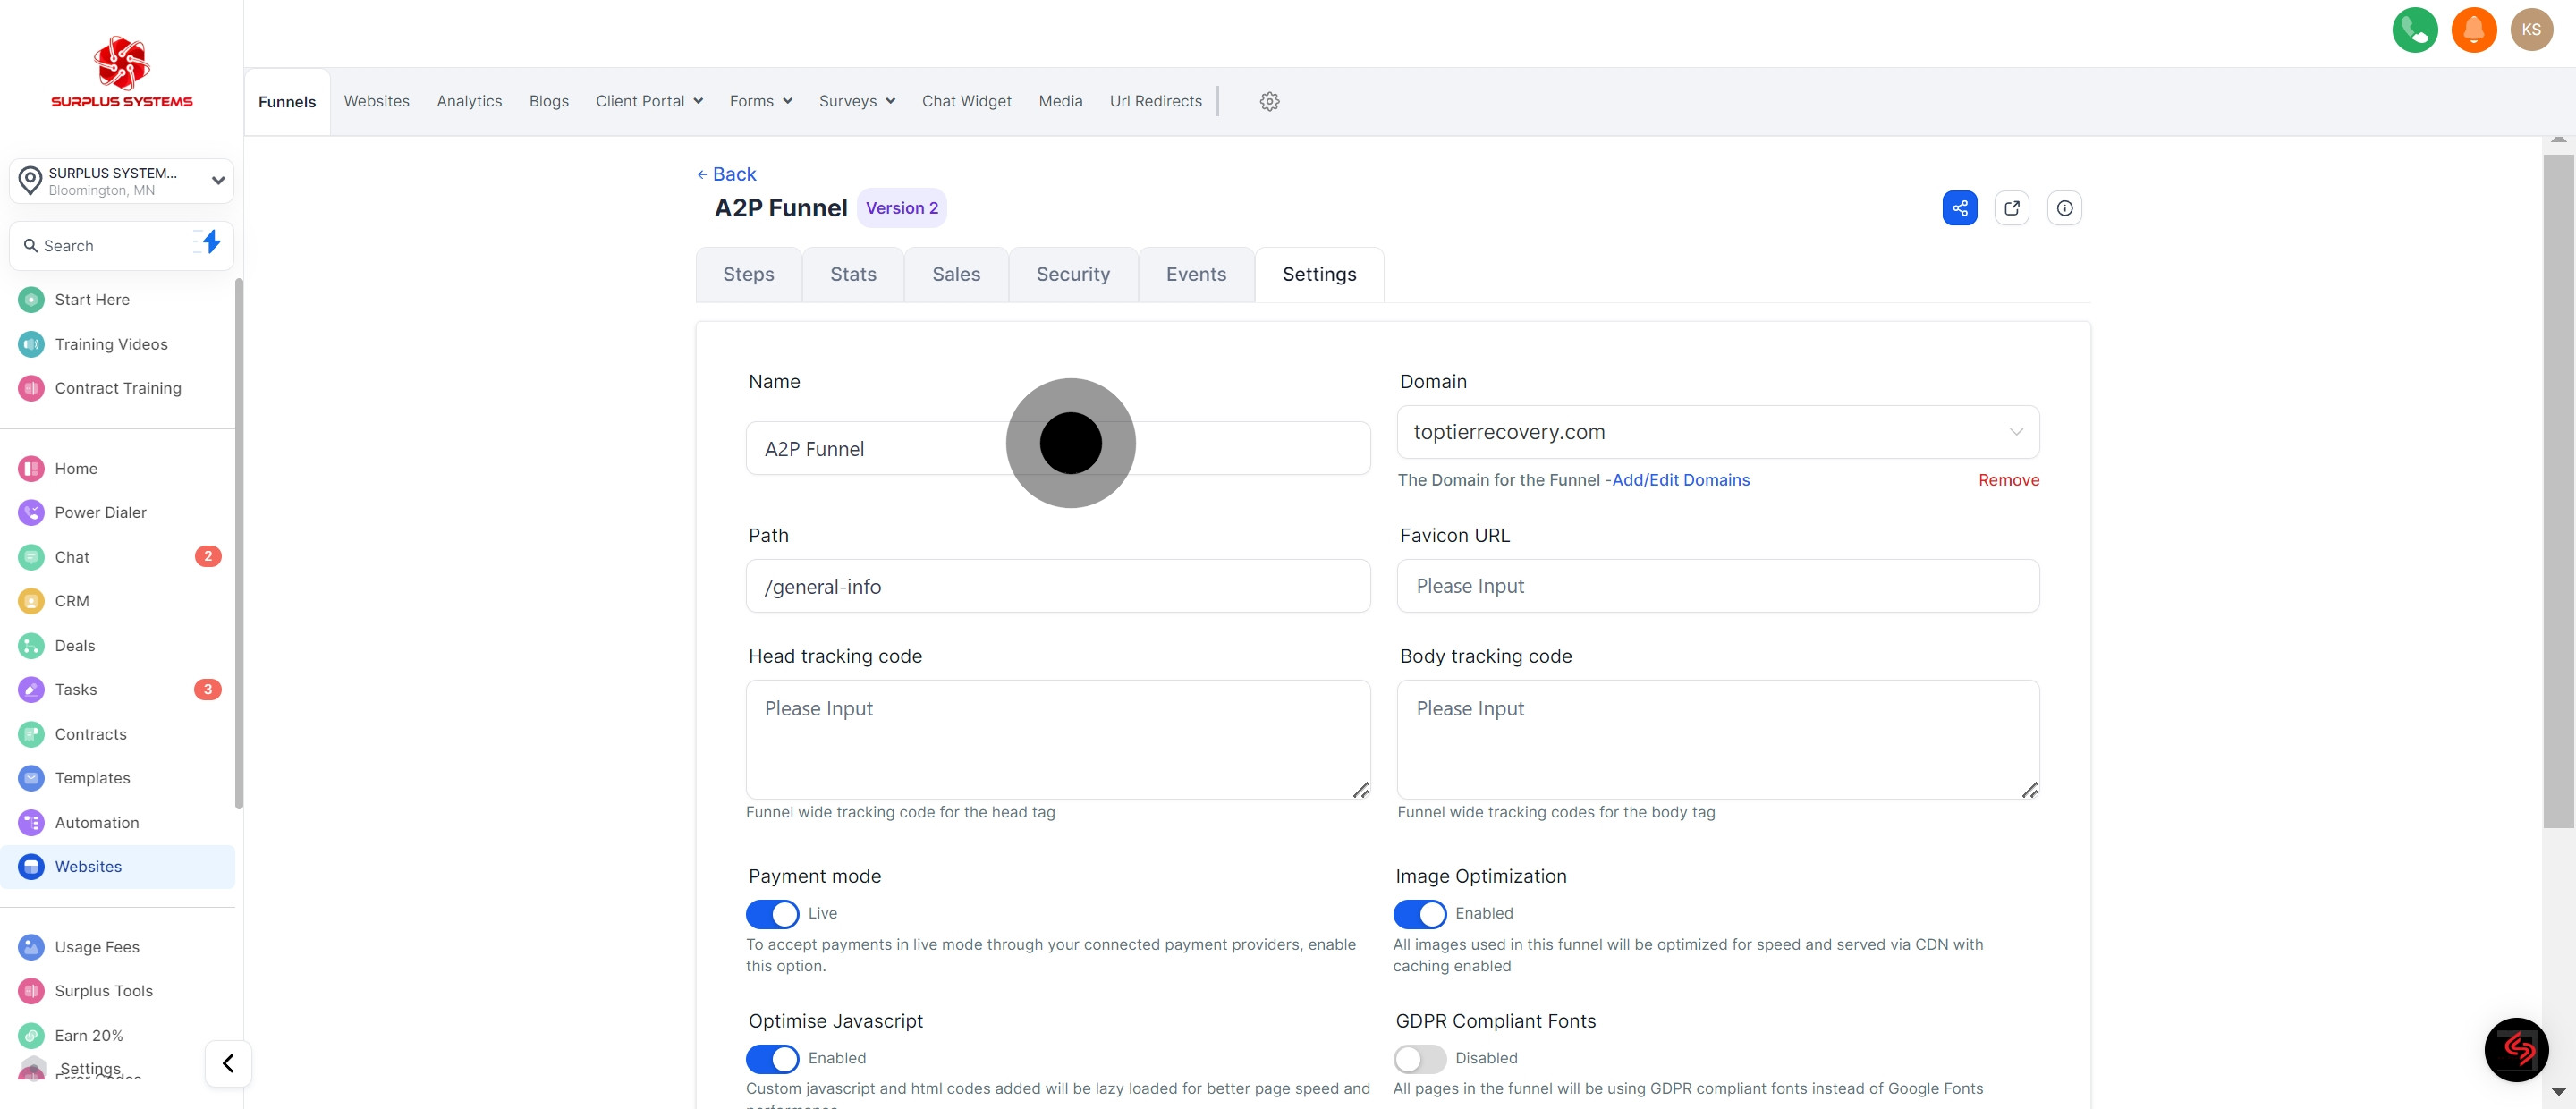
4. Now, adjust the Name setting as desired.
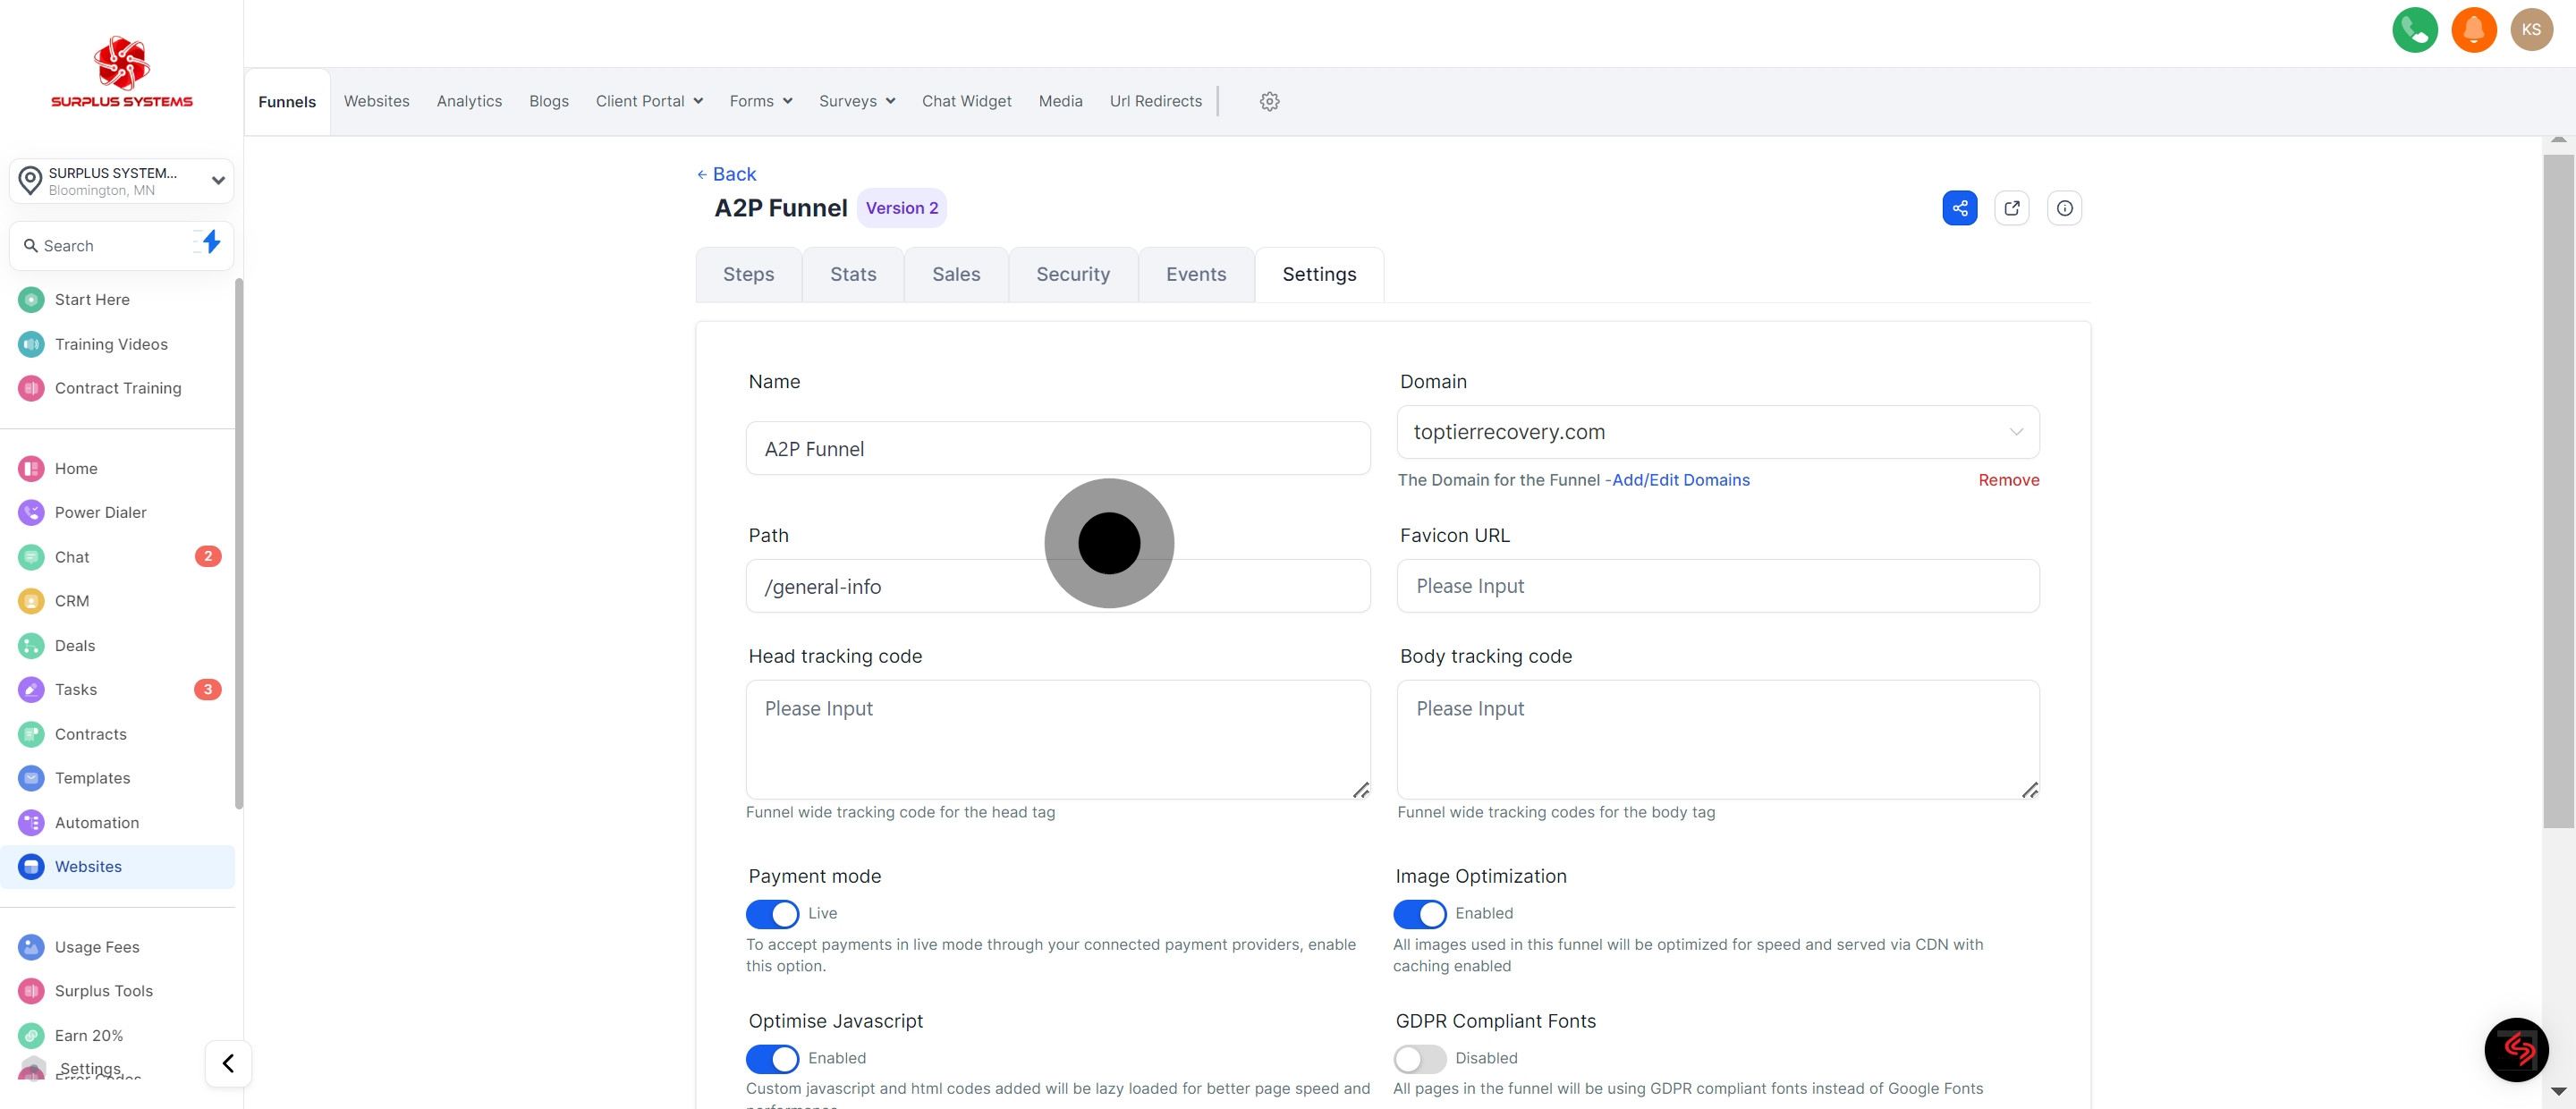
5. Continue by clicking on Domain for domain settings.
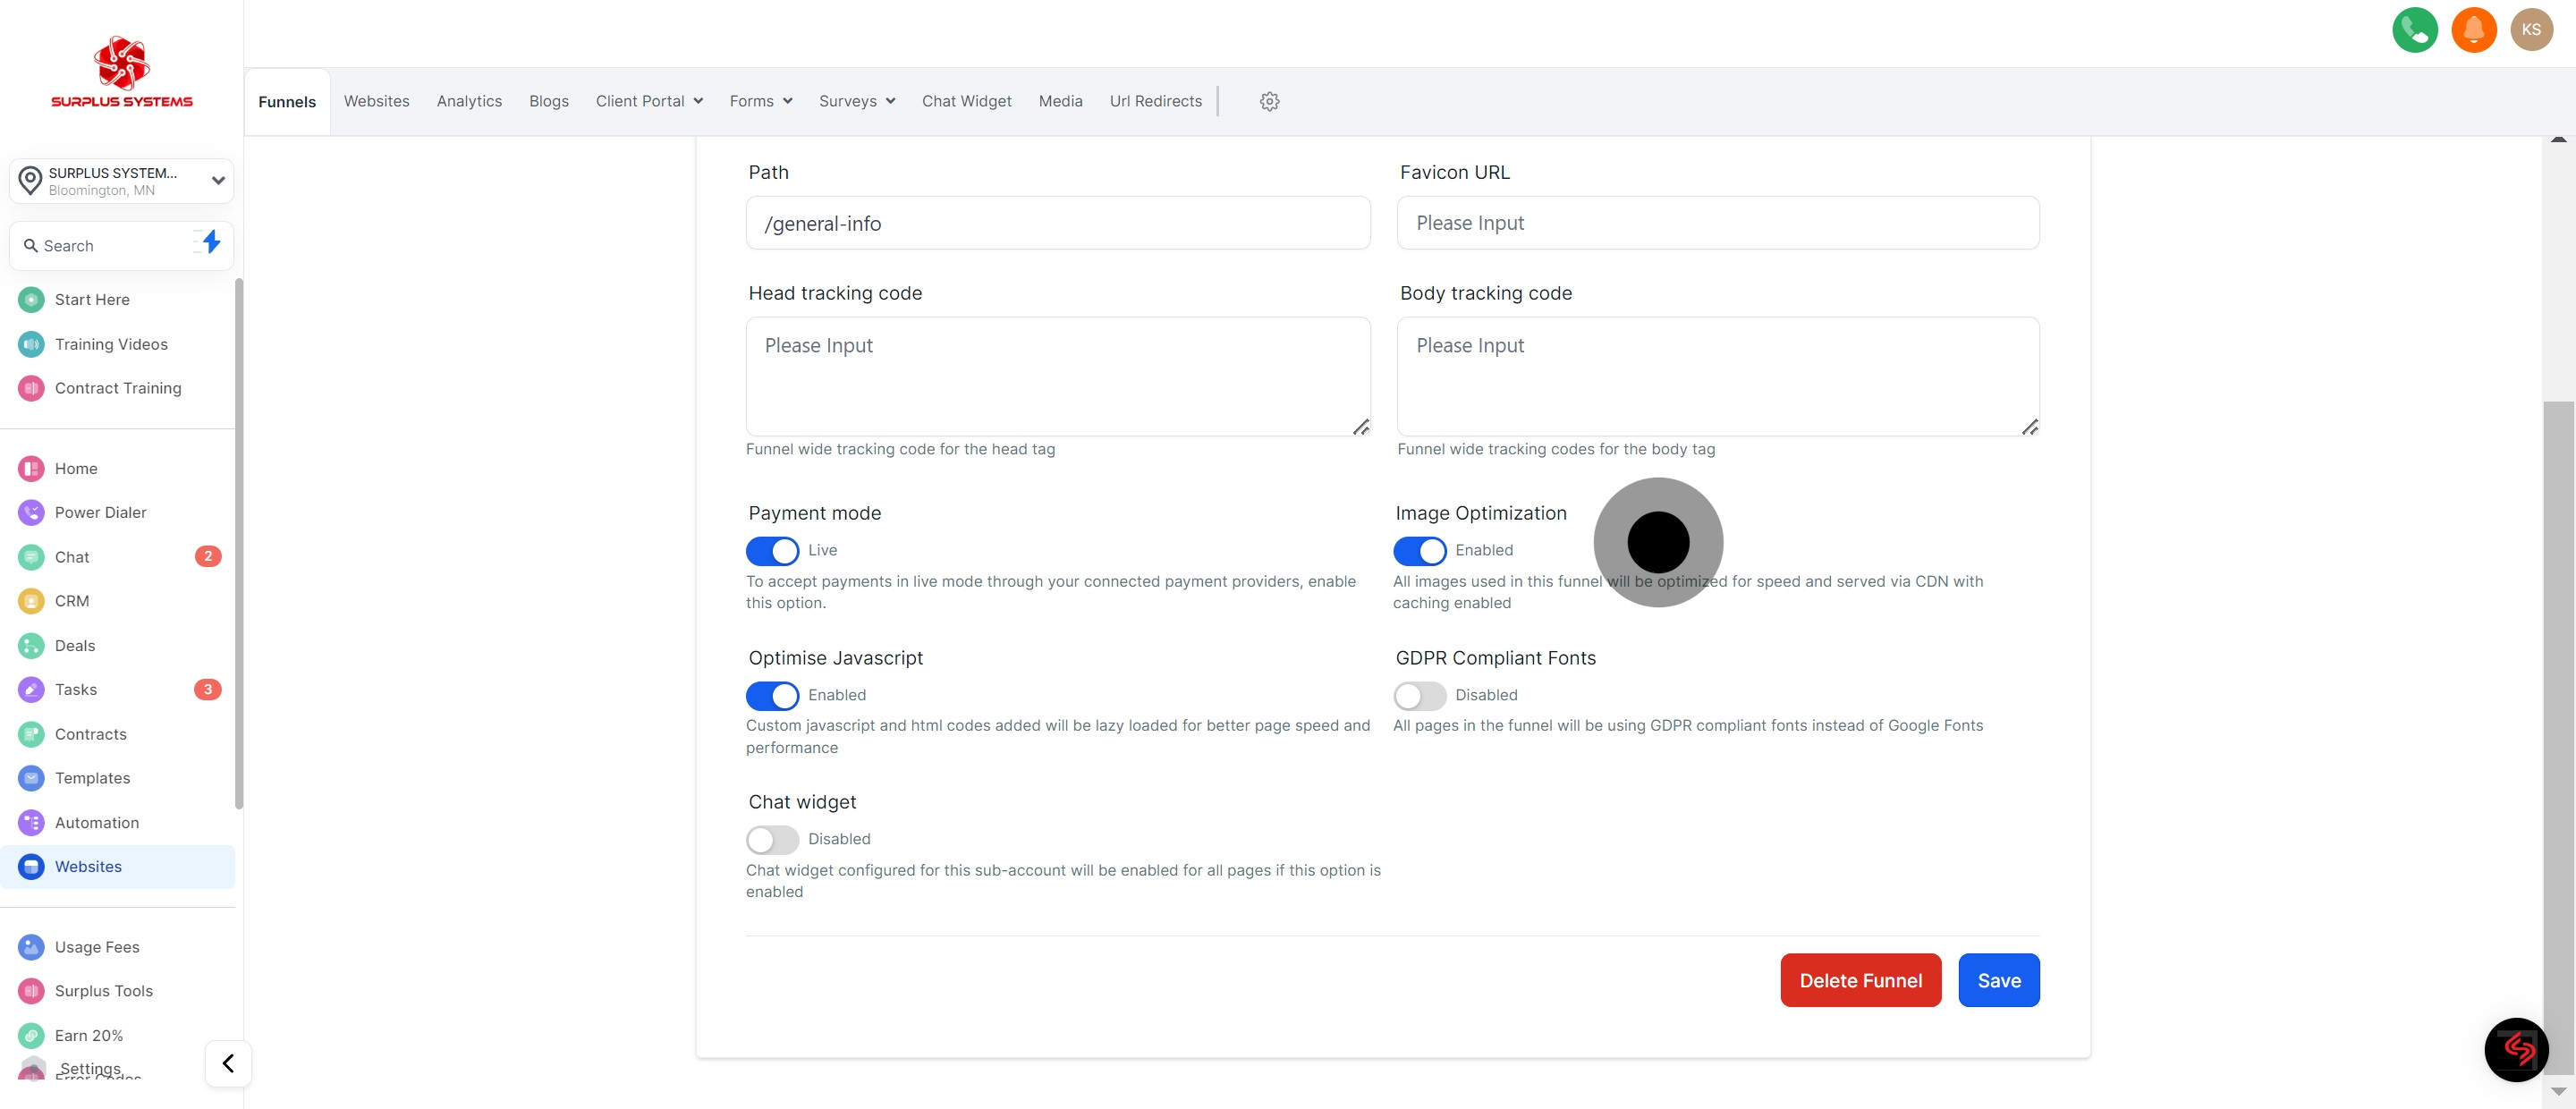
6. Move on by selecting Path to specify the funnel path.
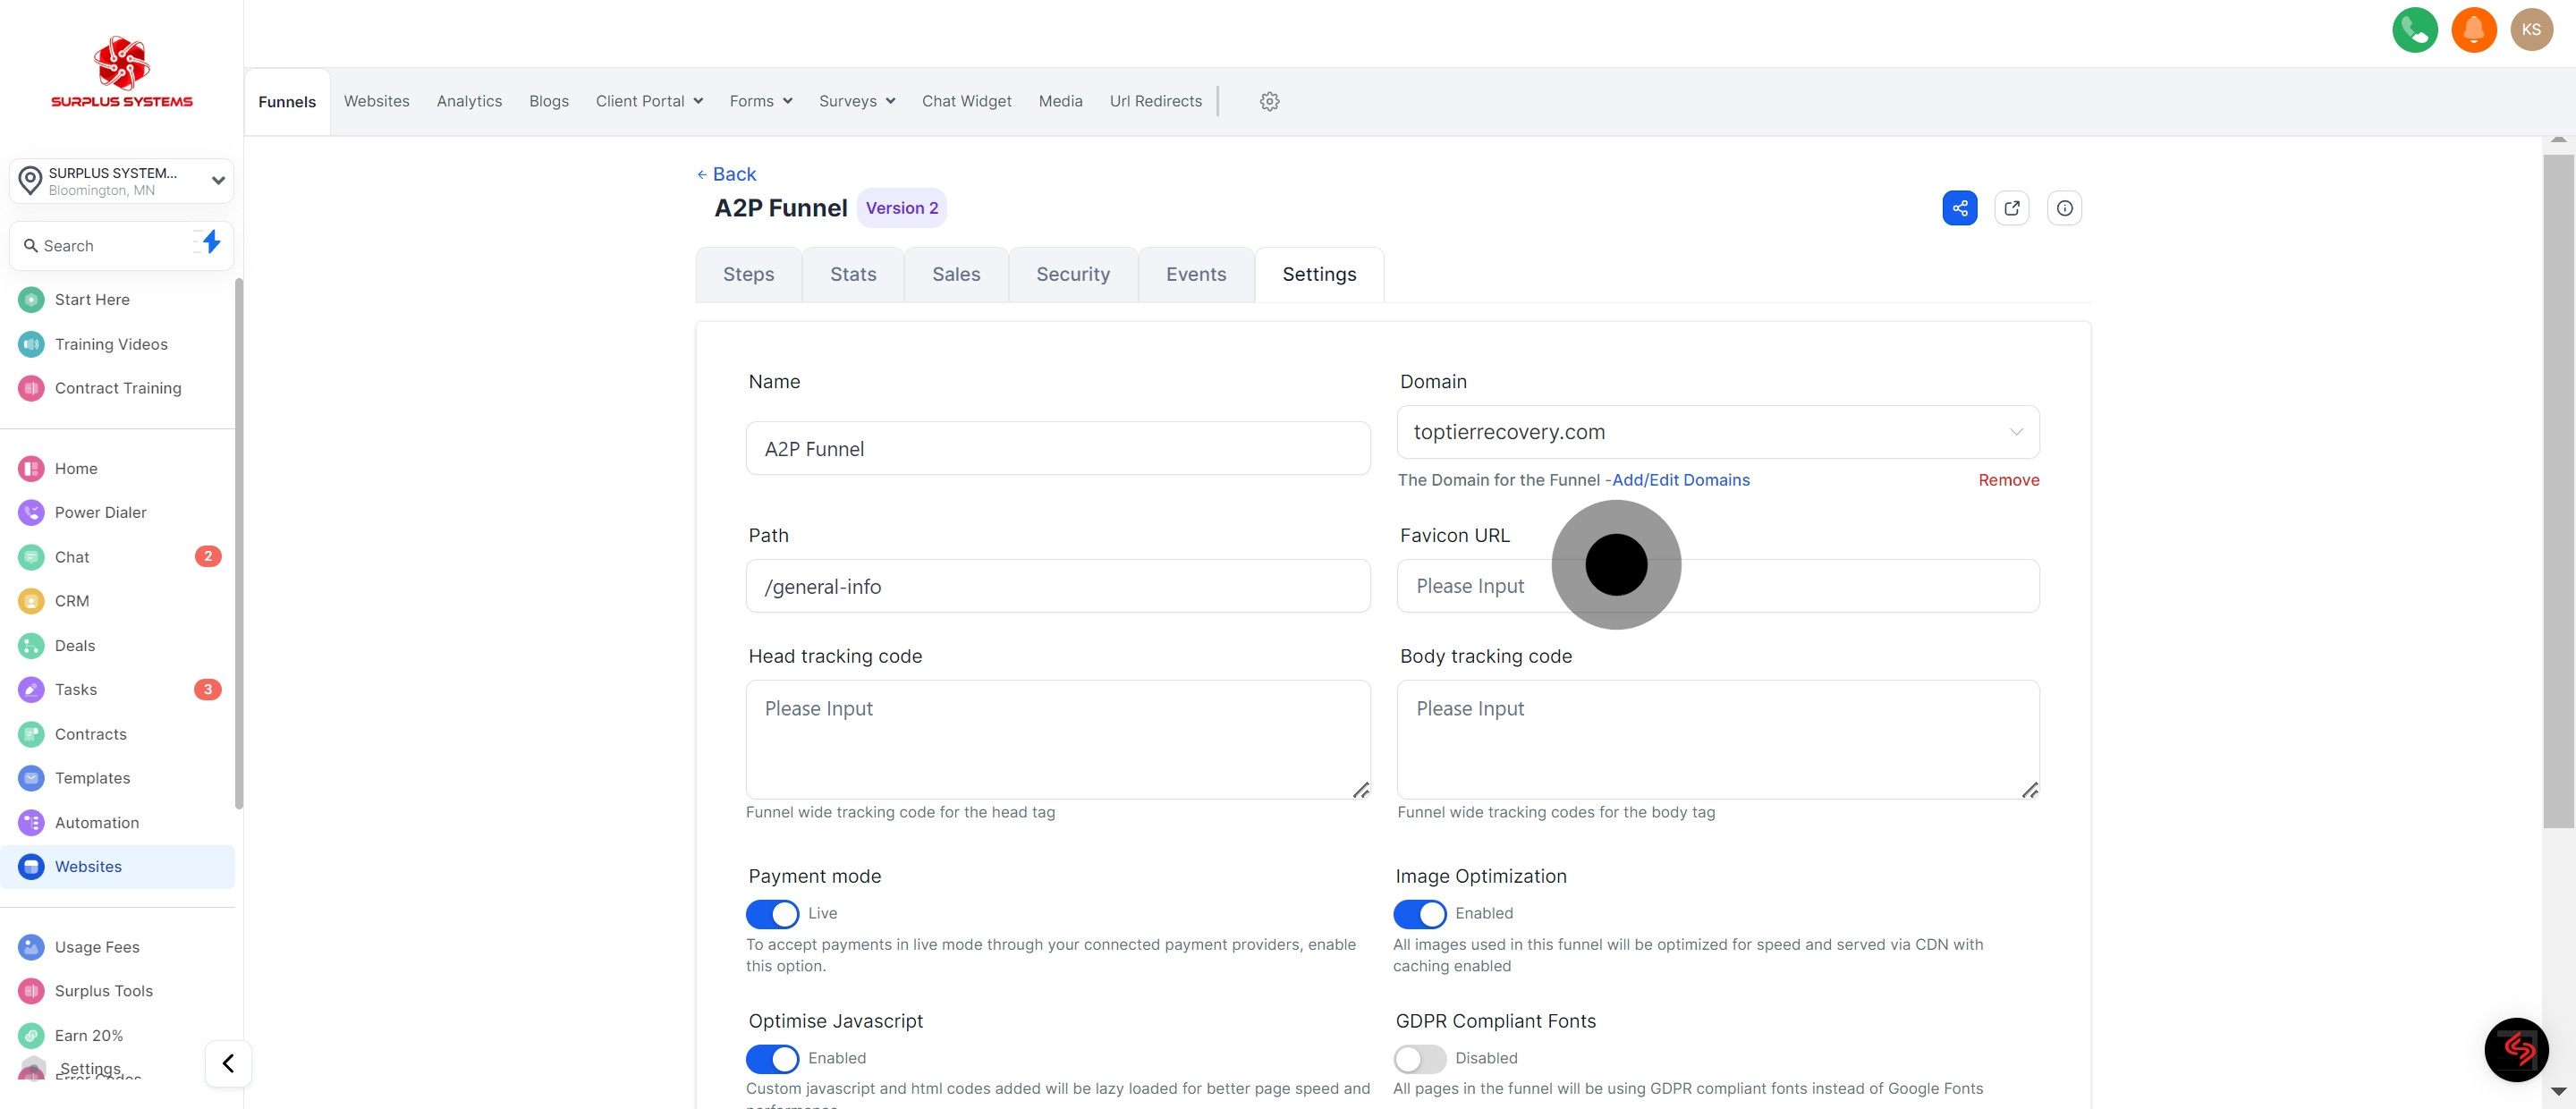
7. Then, define the Favicon URL to personalize your tab icon.
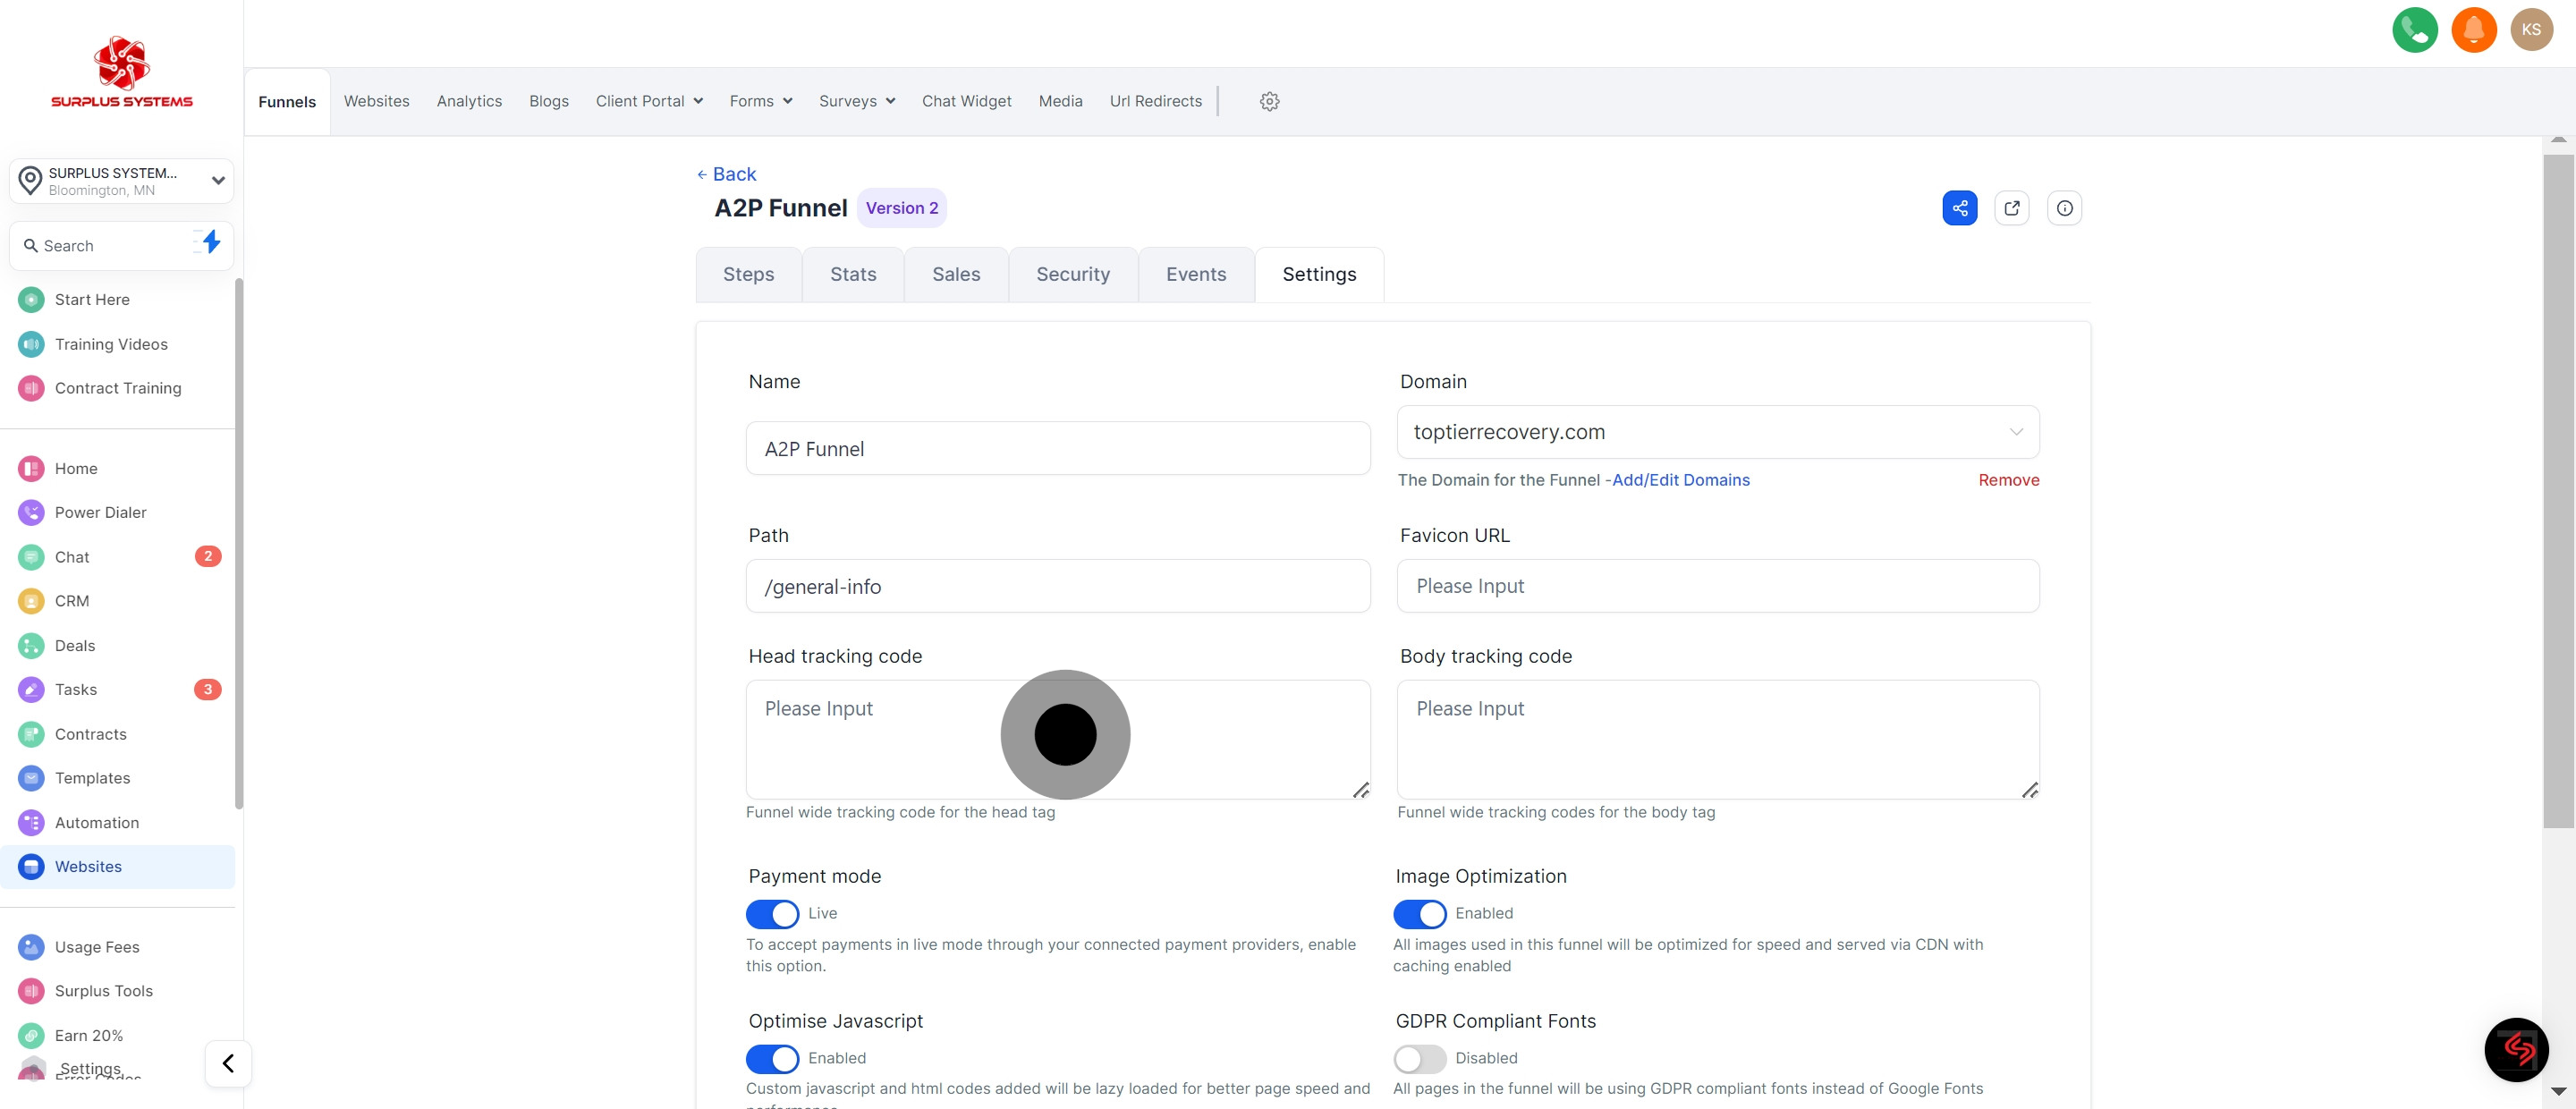
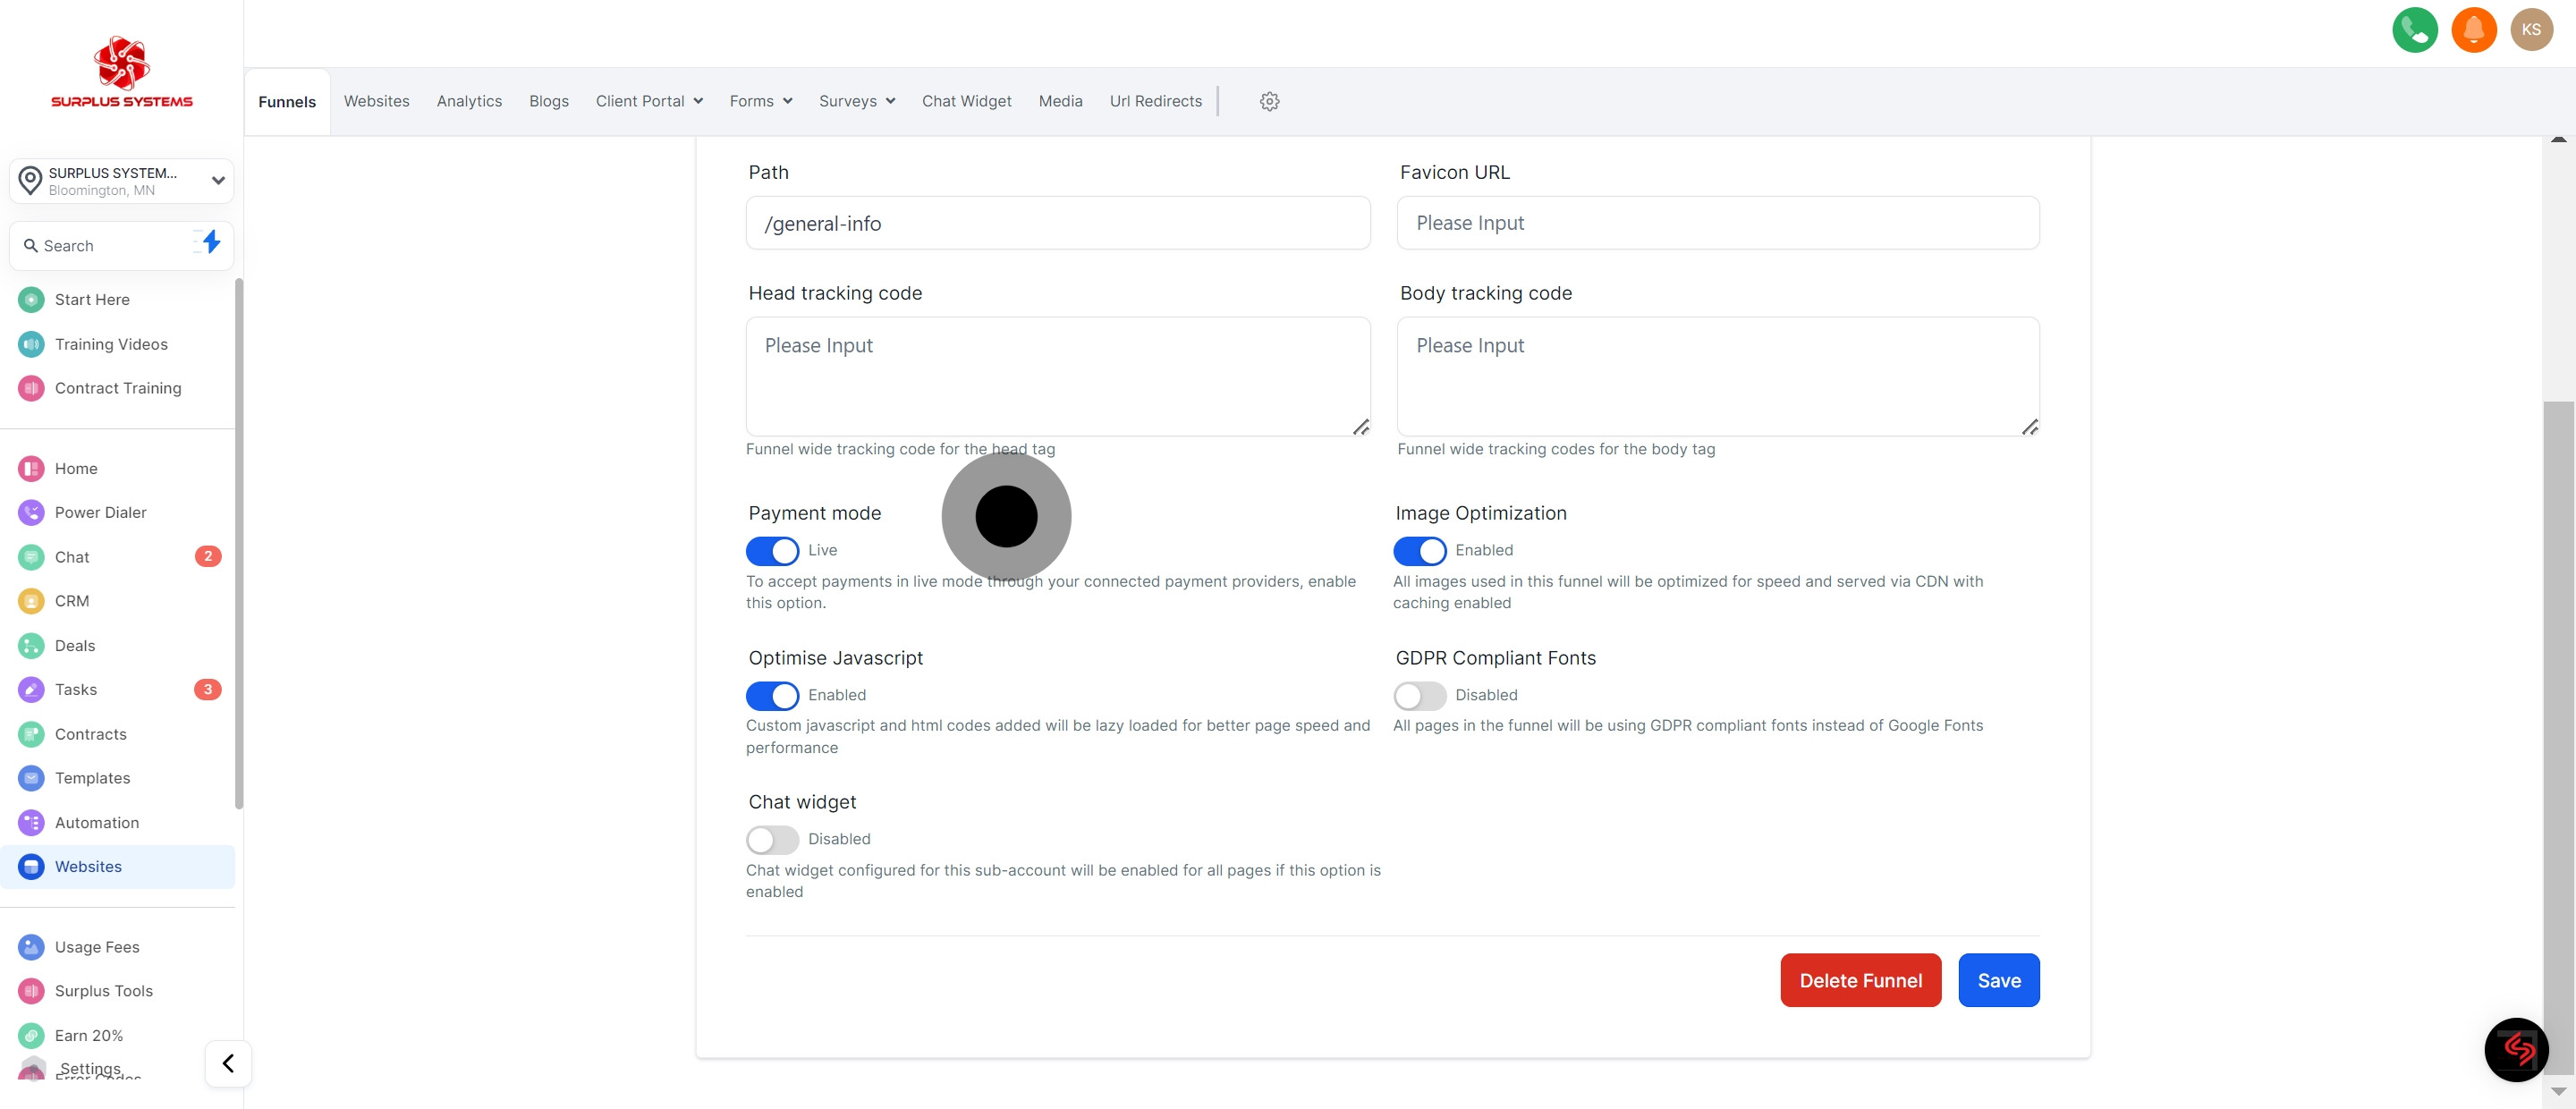
8. Following that, proceed to the next configuration section.
9. Now, set up the Body tracking code to monitor your funnel.
10. Next, choose the Payment mode for transaction processing.
11. Afterwards, activate or adjust the setting here.
12. Continue by moving to additional configurations.
13. Enable or Disable Image optimization.
14. Enable or Disable compliant fonts
15. Finalize the settings by clicking Save button.