Understanding the Contact Profile in Surplus Systems CRM
Dive into the features and functionalities of the Contact Profile in Surplus Systems CRM. This article provides a detailed look at how to access, update, and utilize contact profiles to capture crucial information, track activity history, and improve your customer relationship management strategies
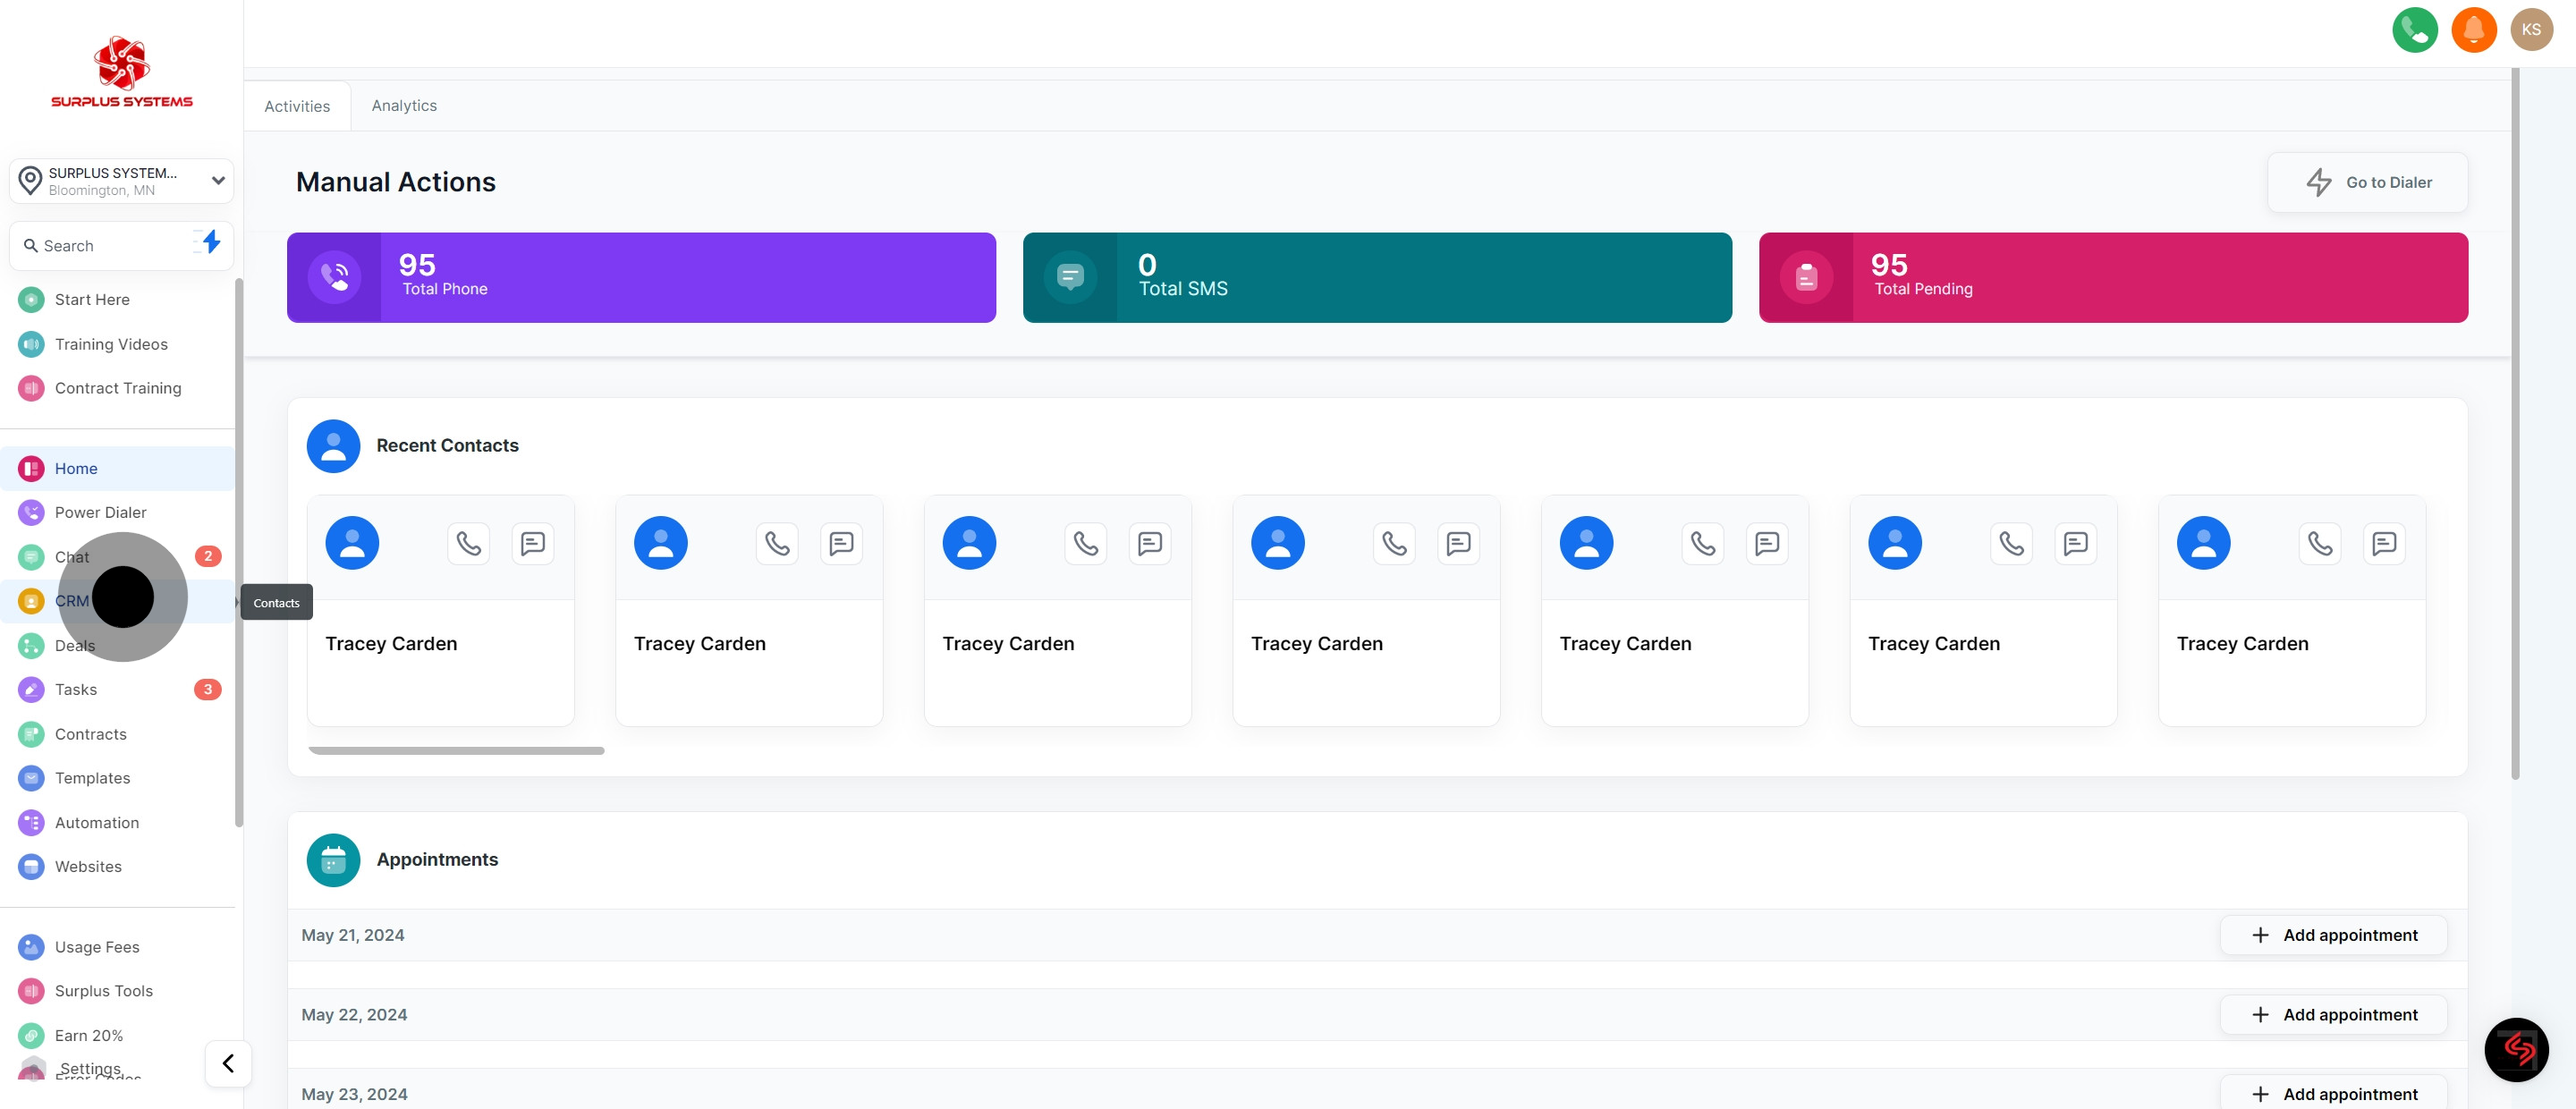
1. Click on the CRM.
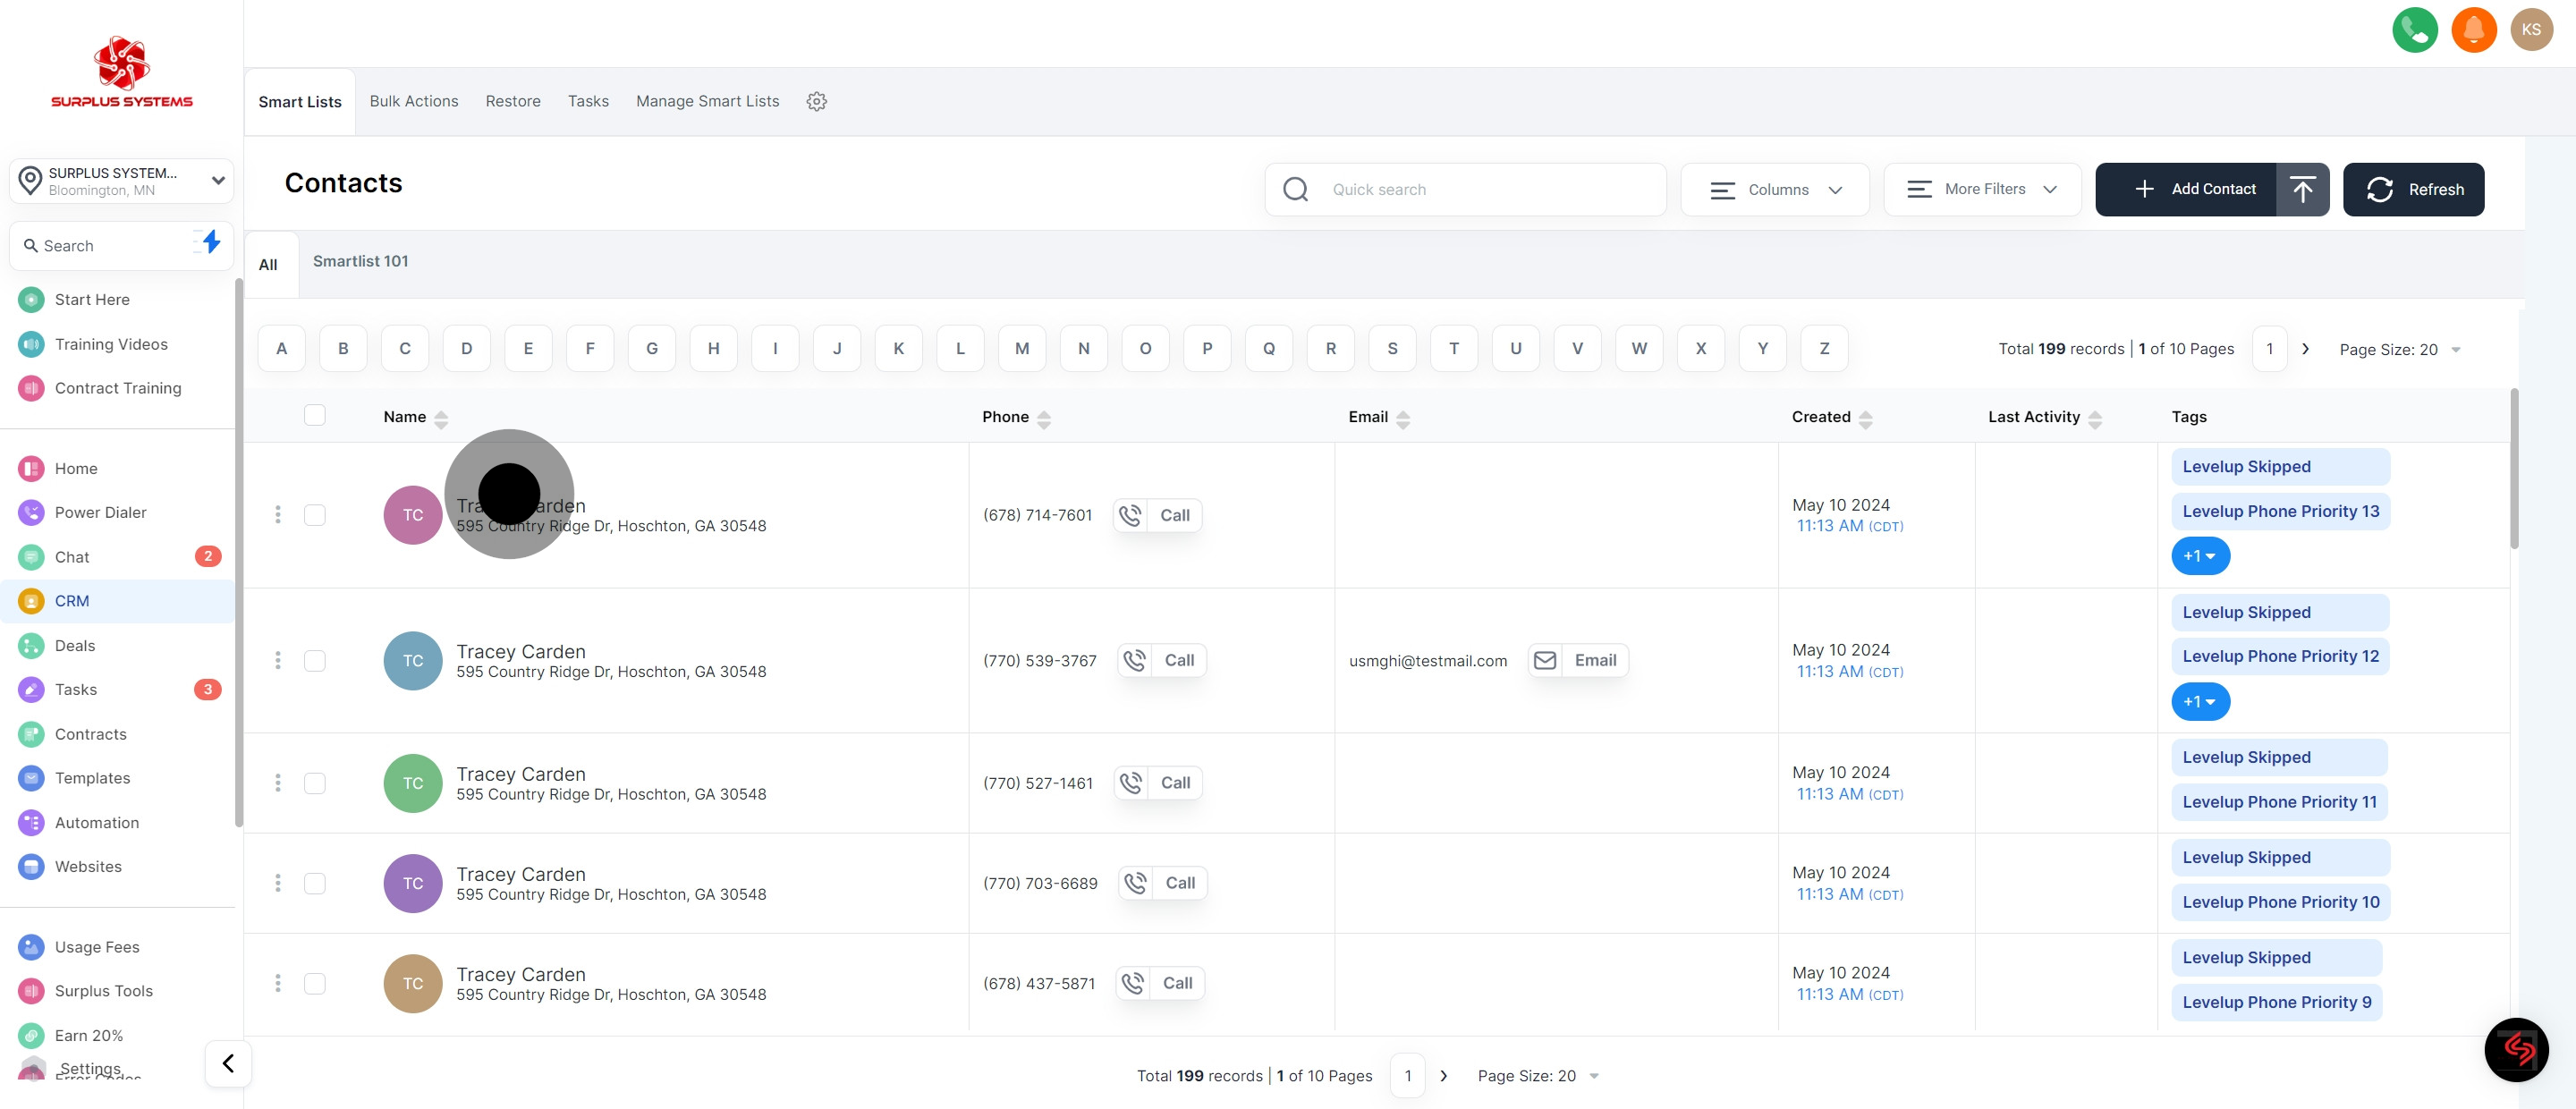
2. After that, select a contact.
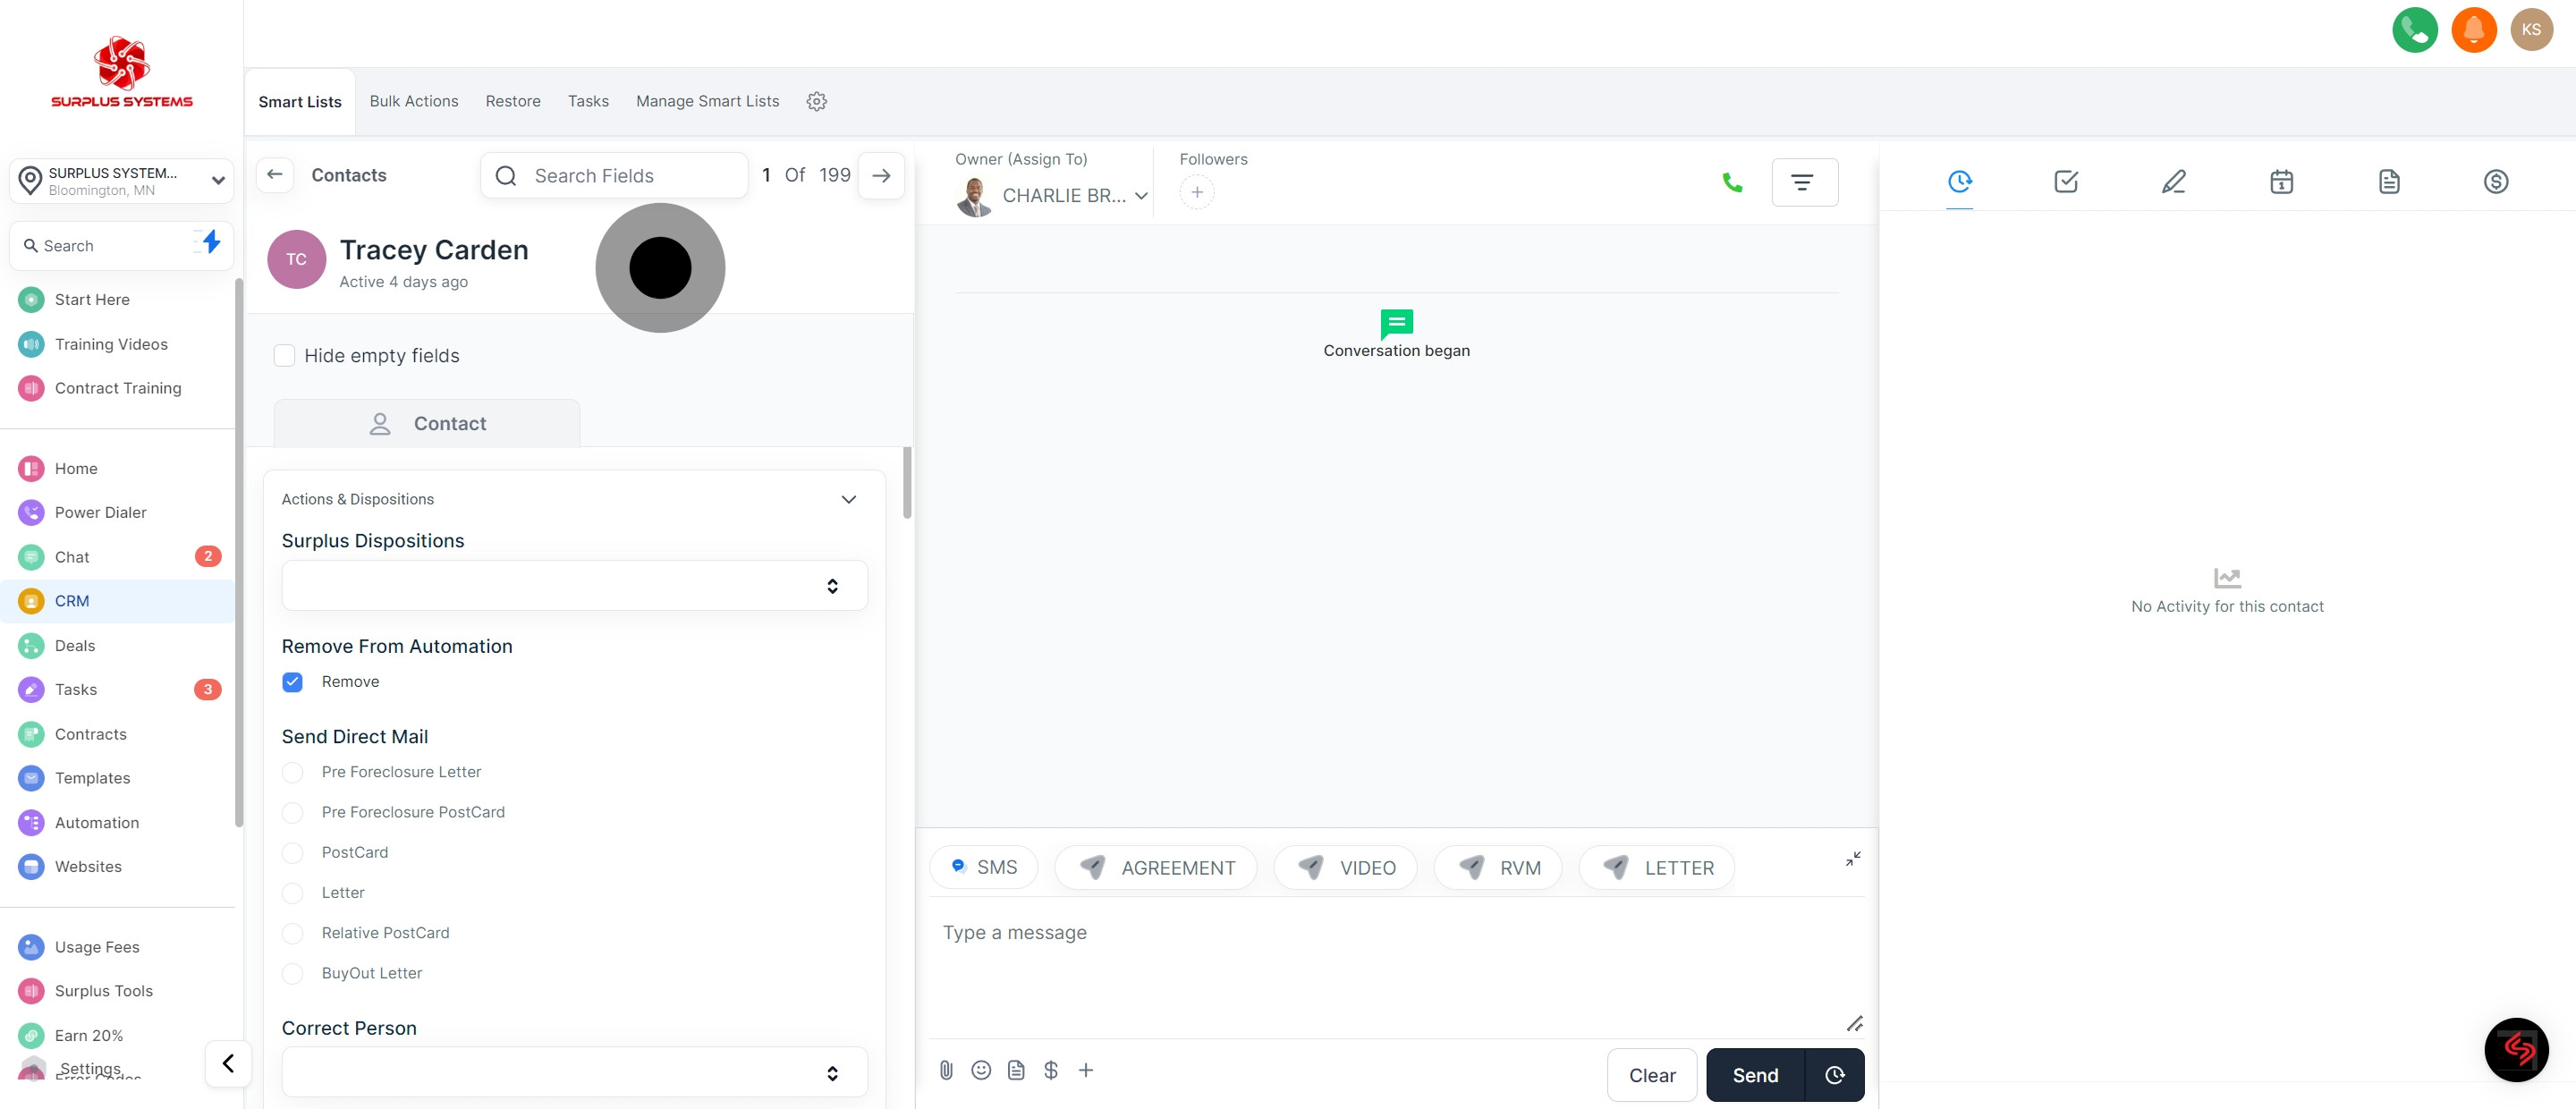
3. Please note that this is the contact profile.
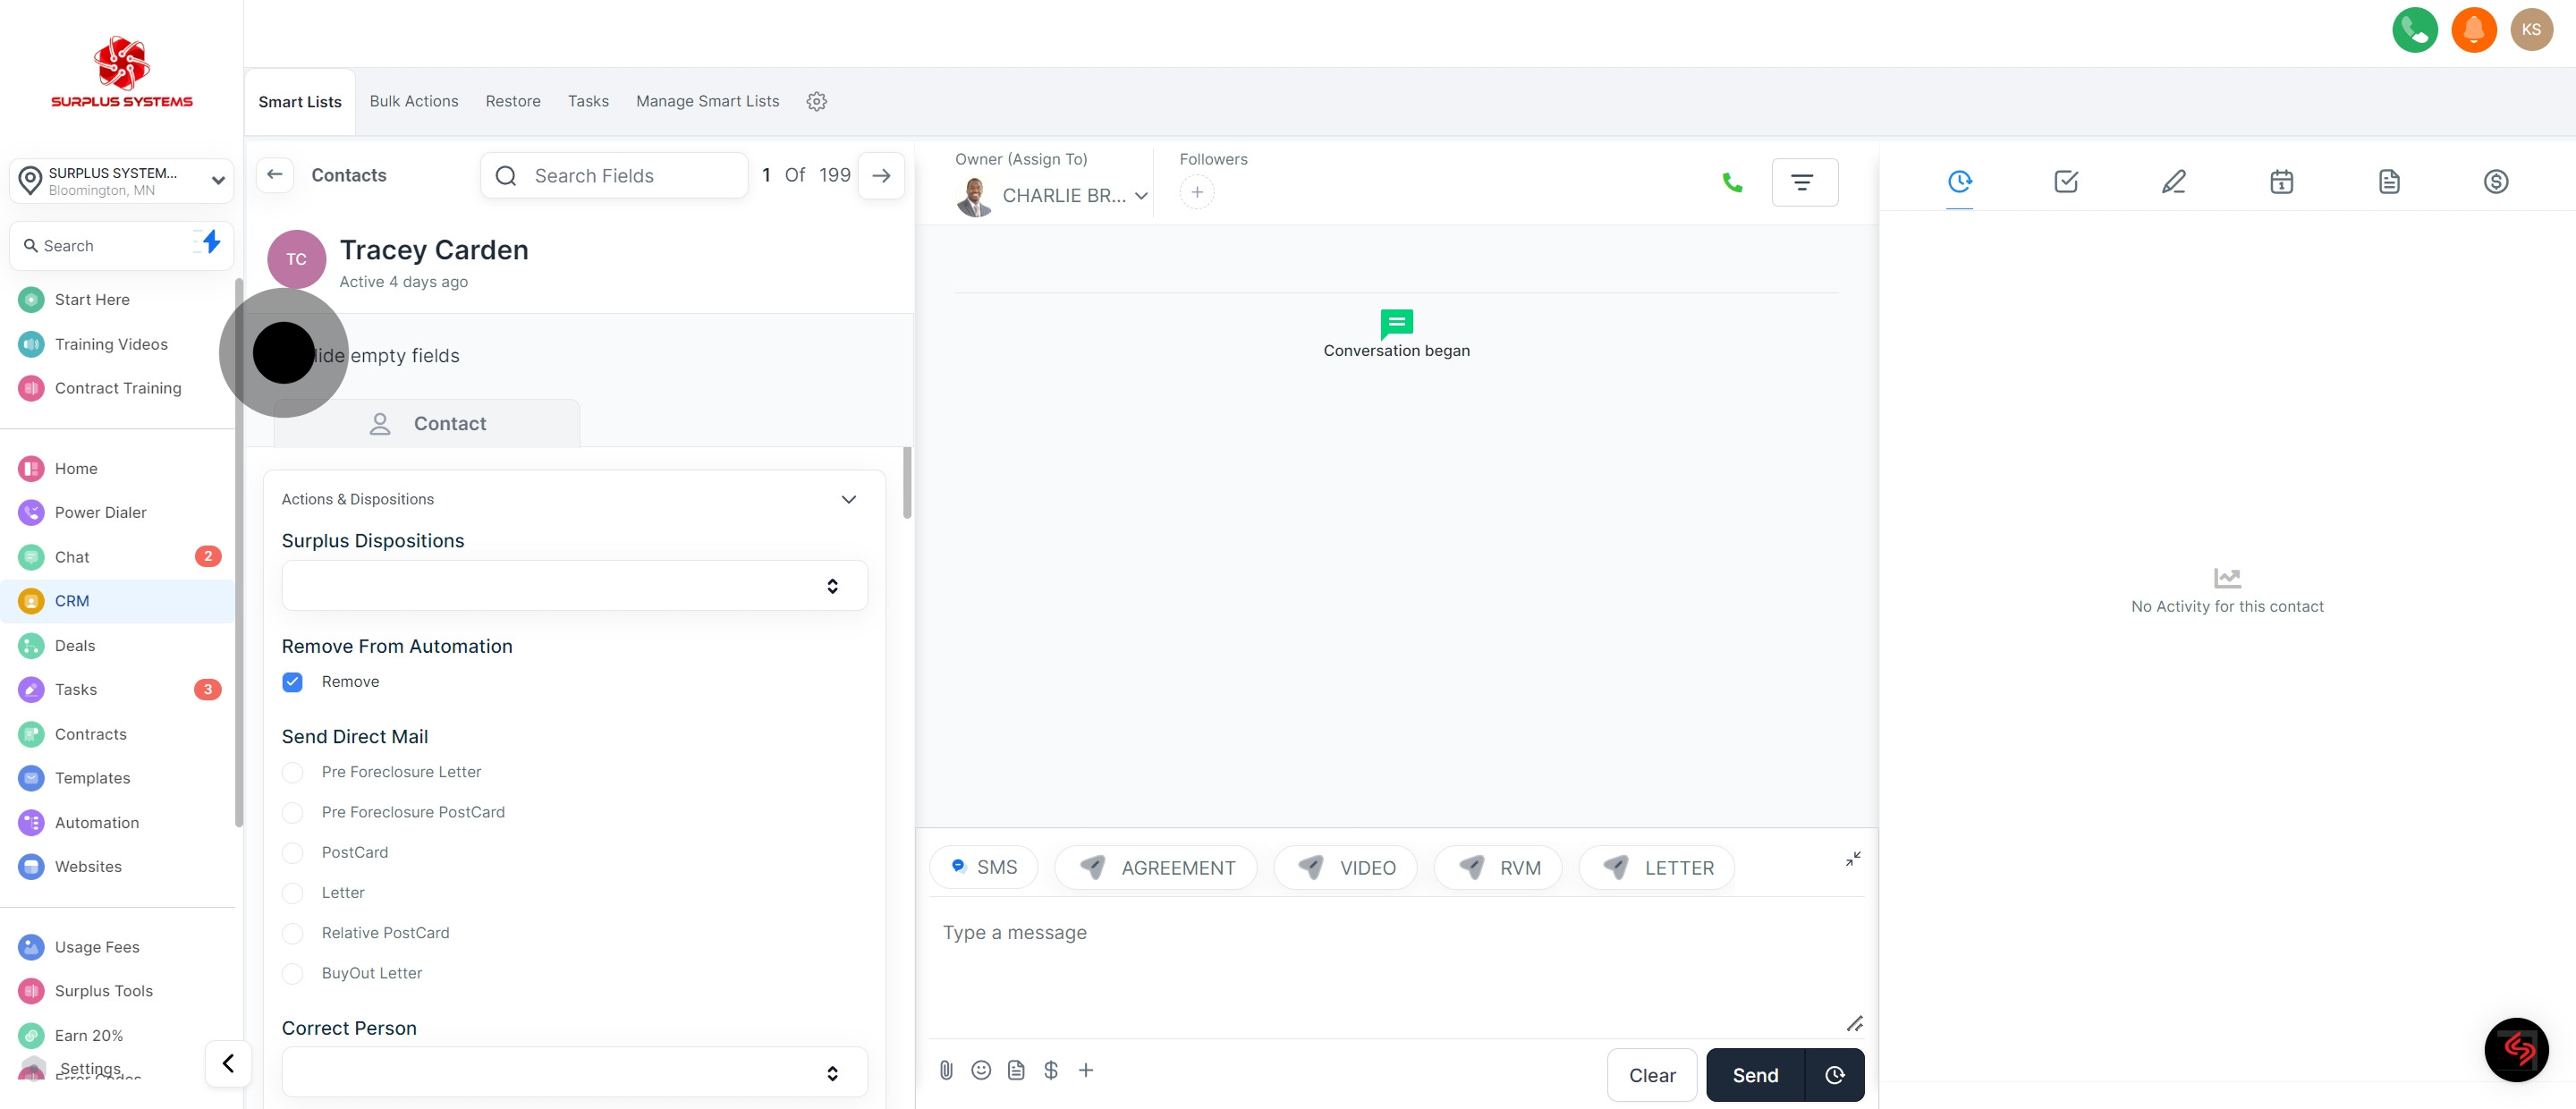
4. If you want to hide empty fields, click on this box.
5. Under your contact profile, there are several sections related to that contact. One of it is Actions & Disposition section.
6. Next up, contact details
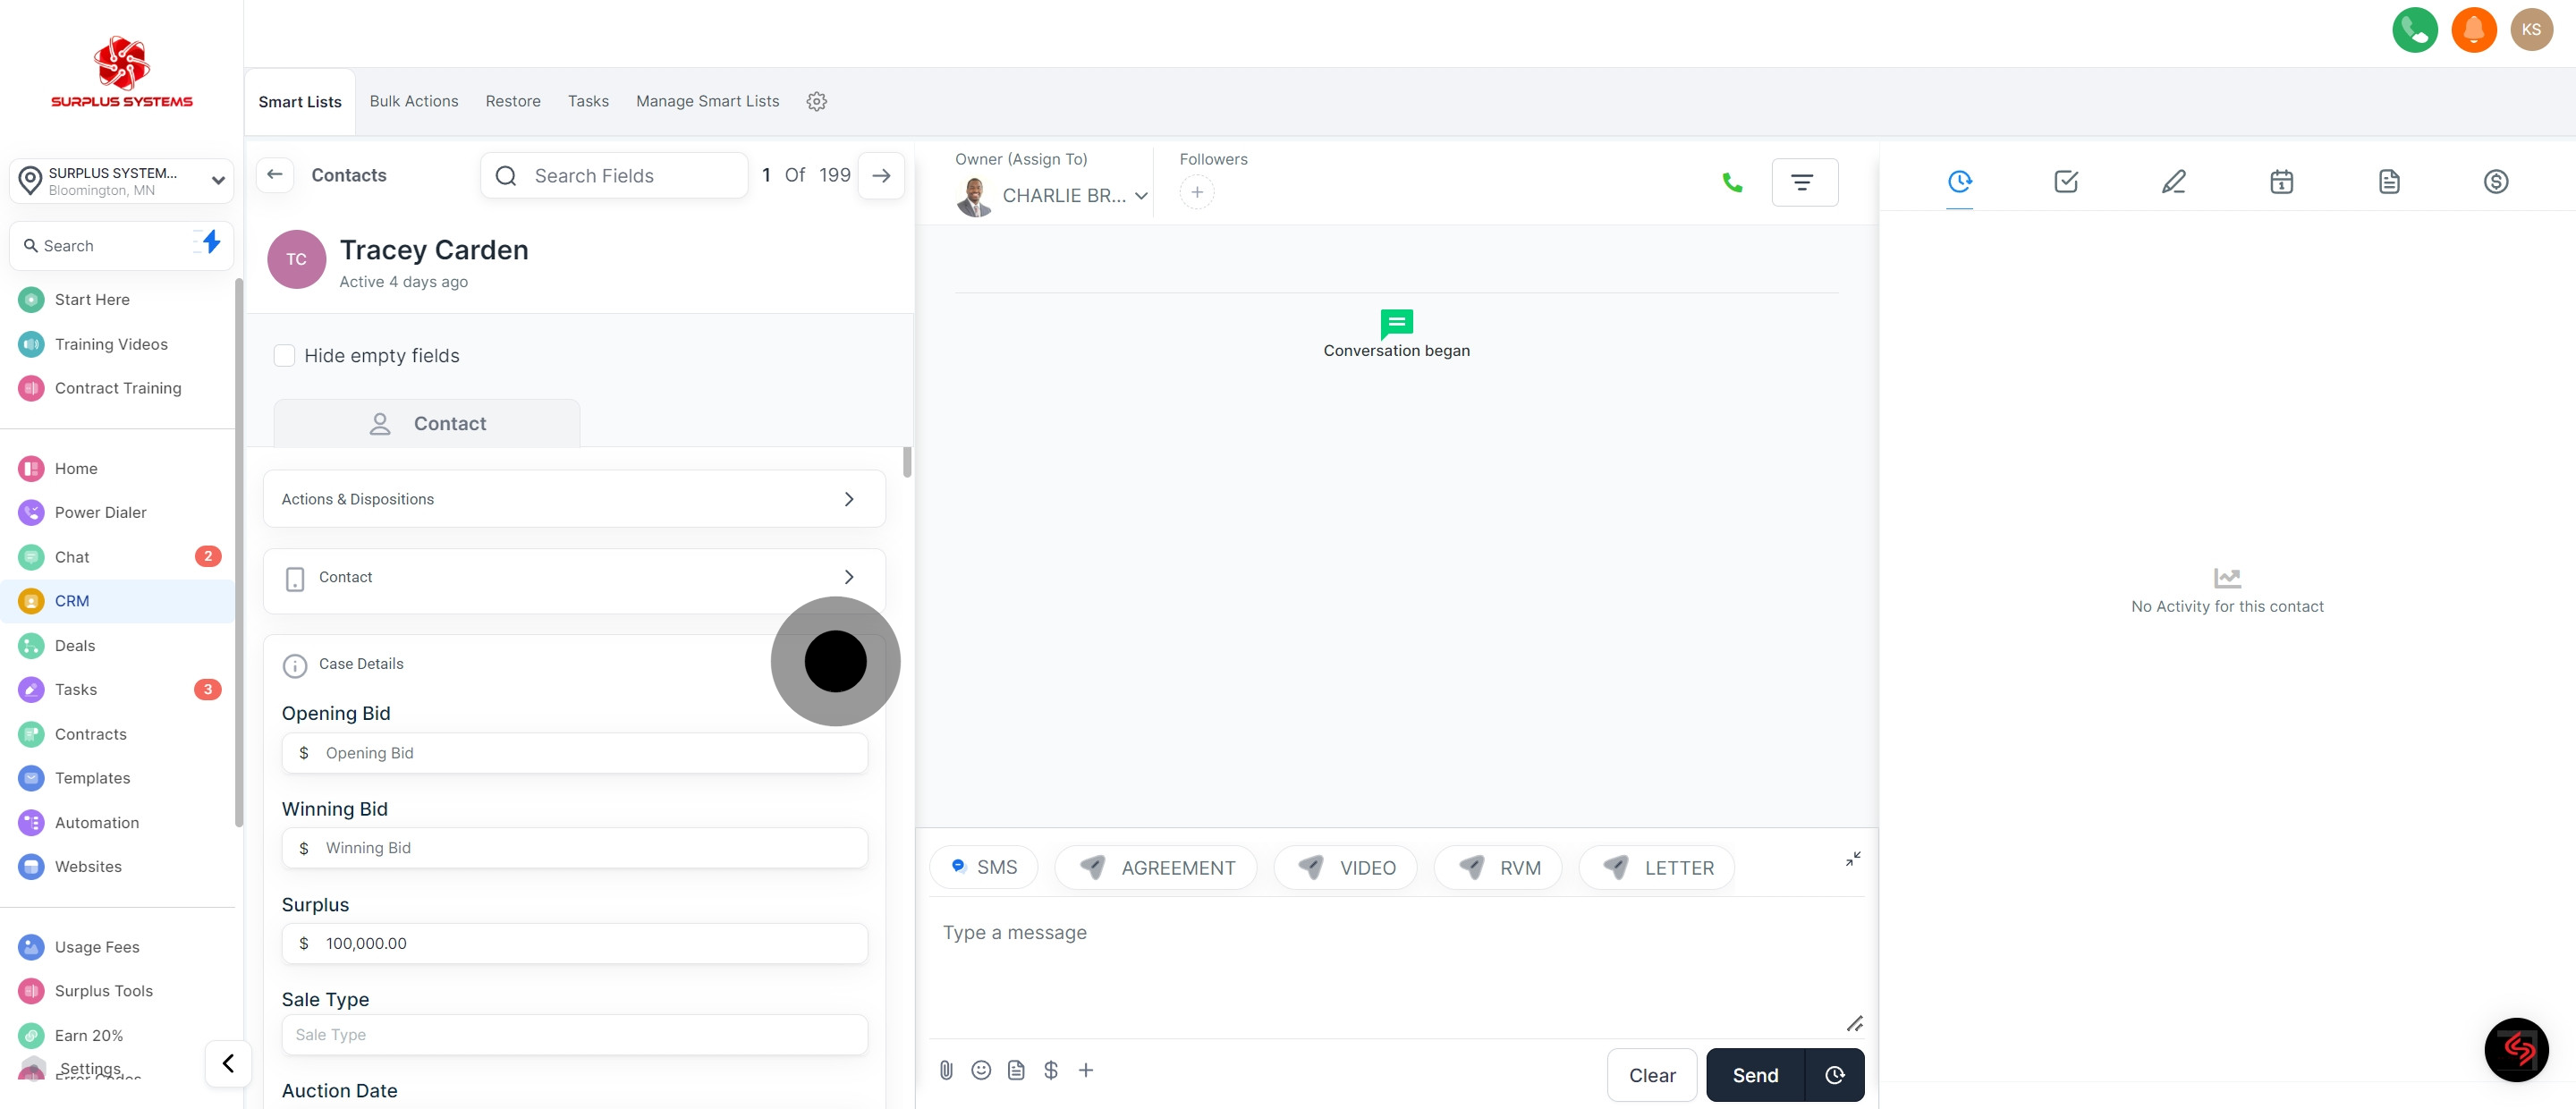
7. After that, click on "Case Details".
8. Click on "State Funds".
9. Next is "General Info".
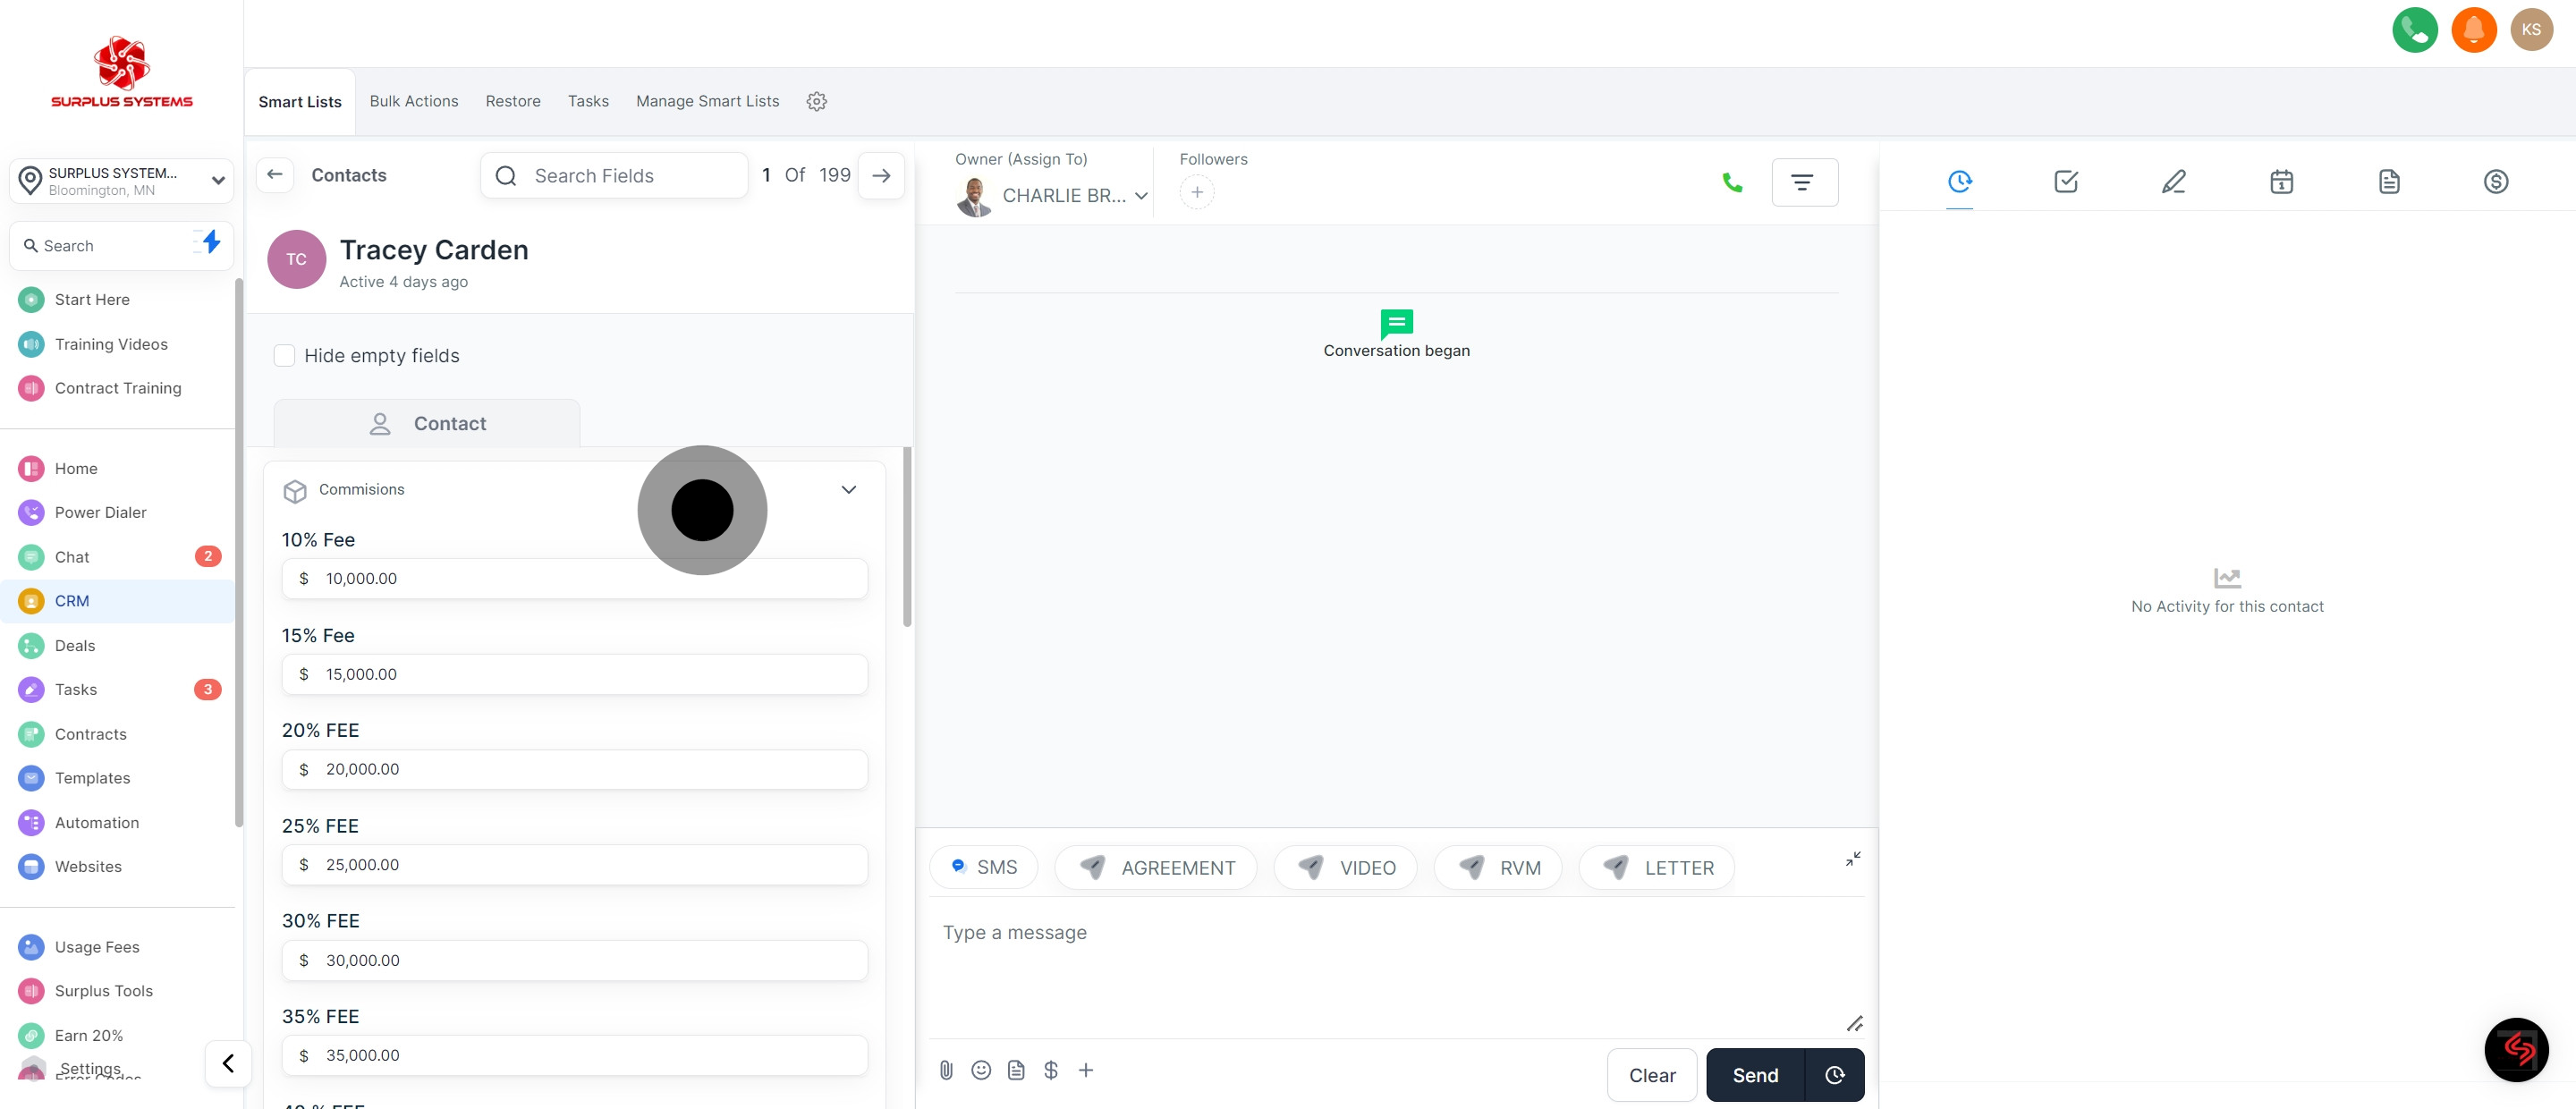
10. Next is Commissions.
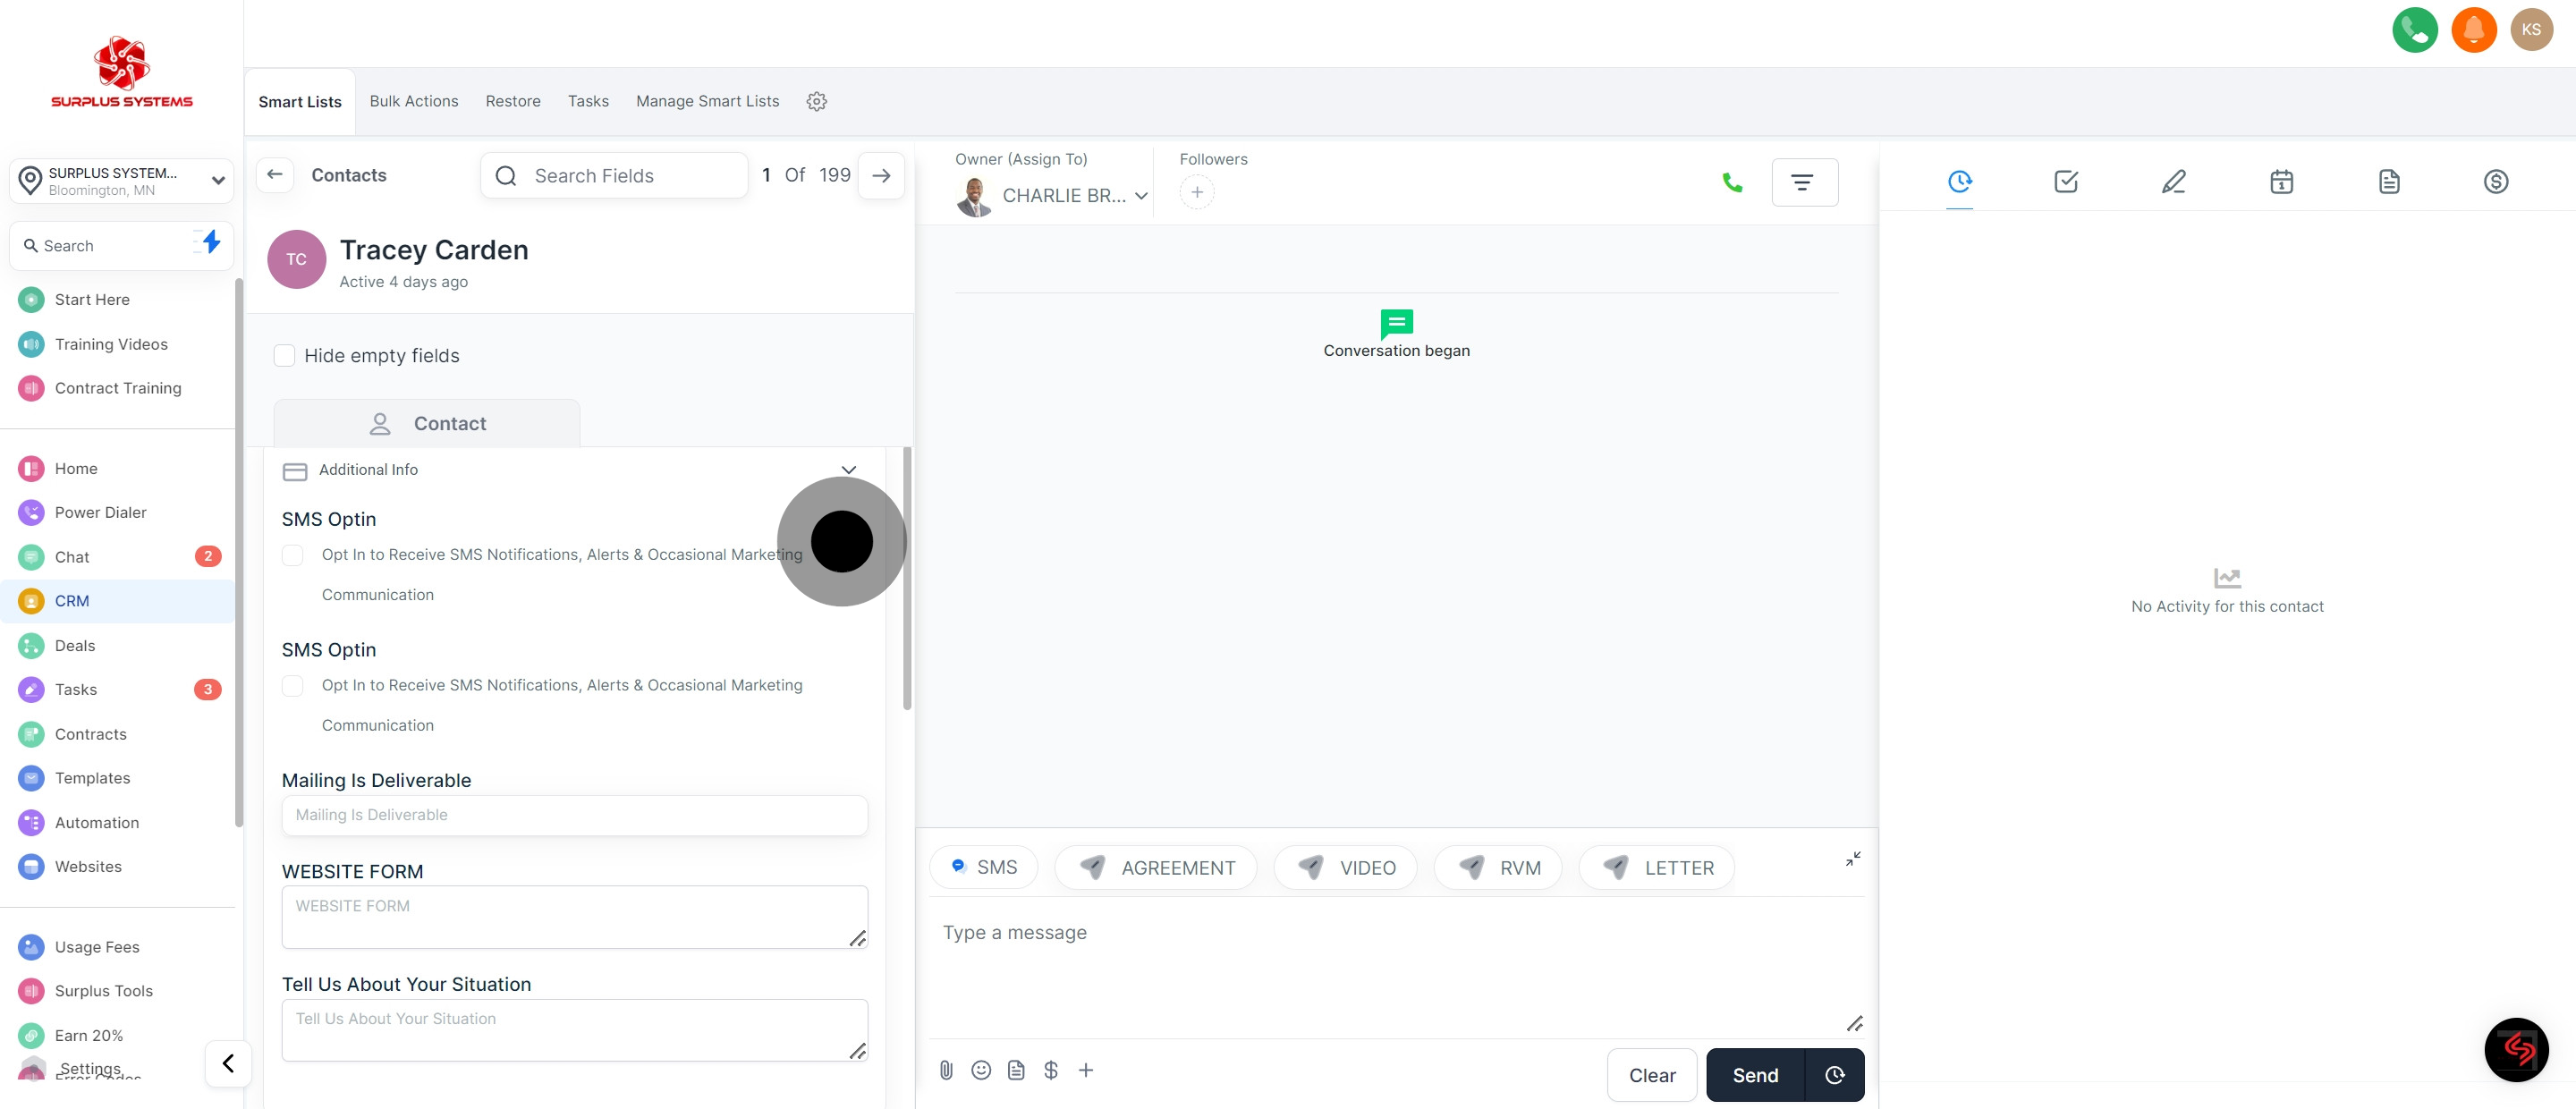
11. Next, click on additional info
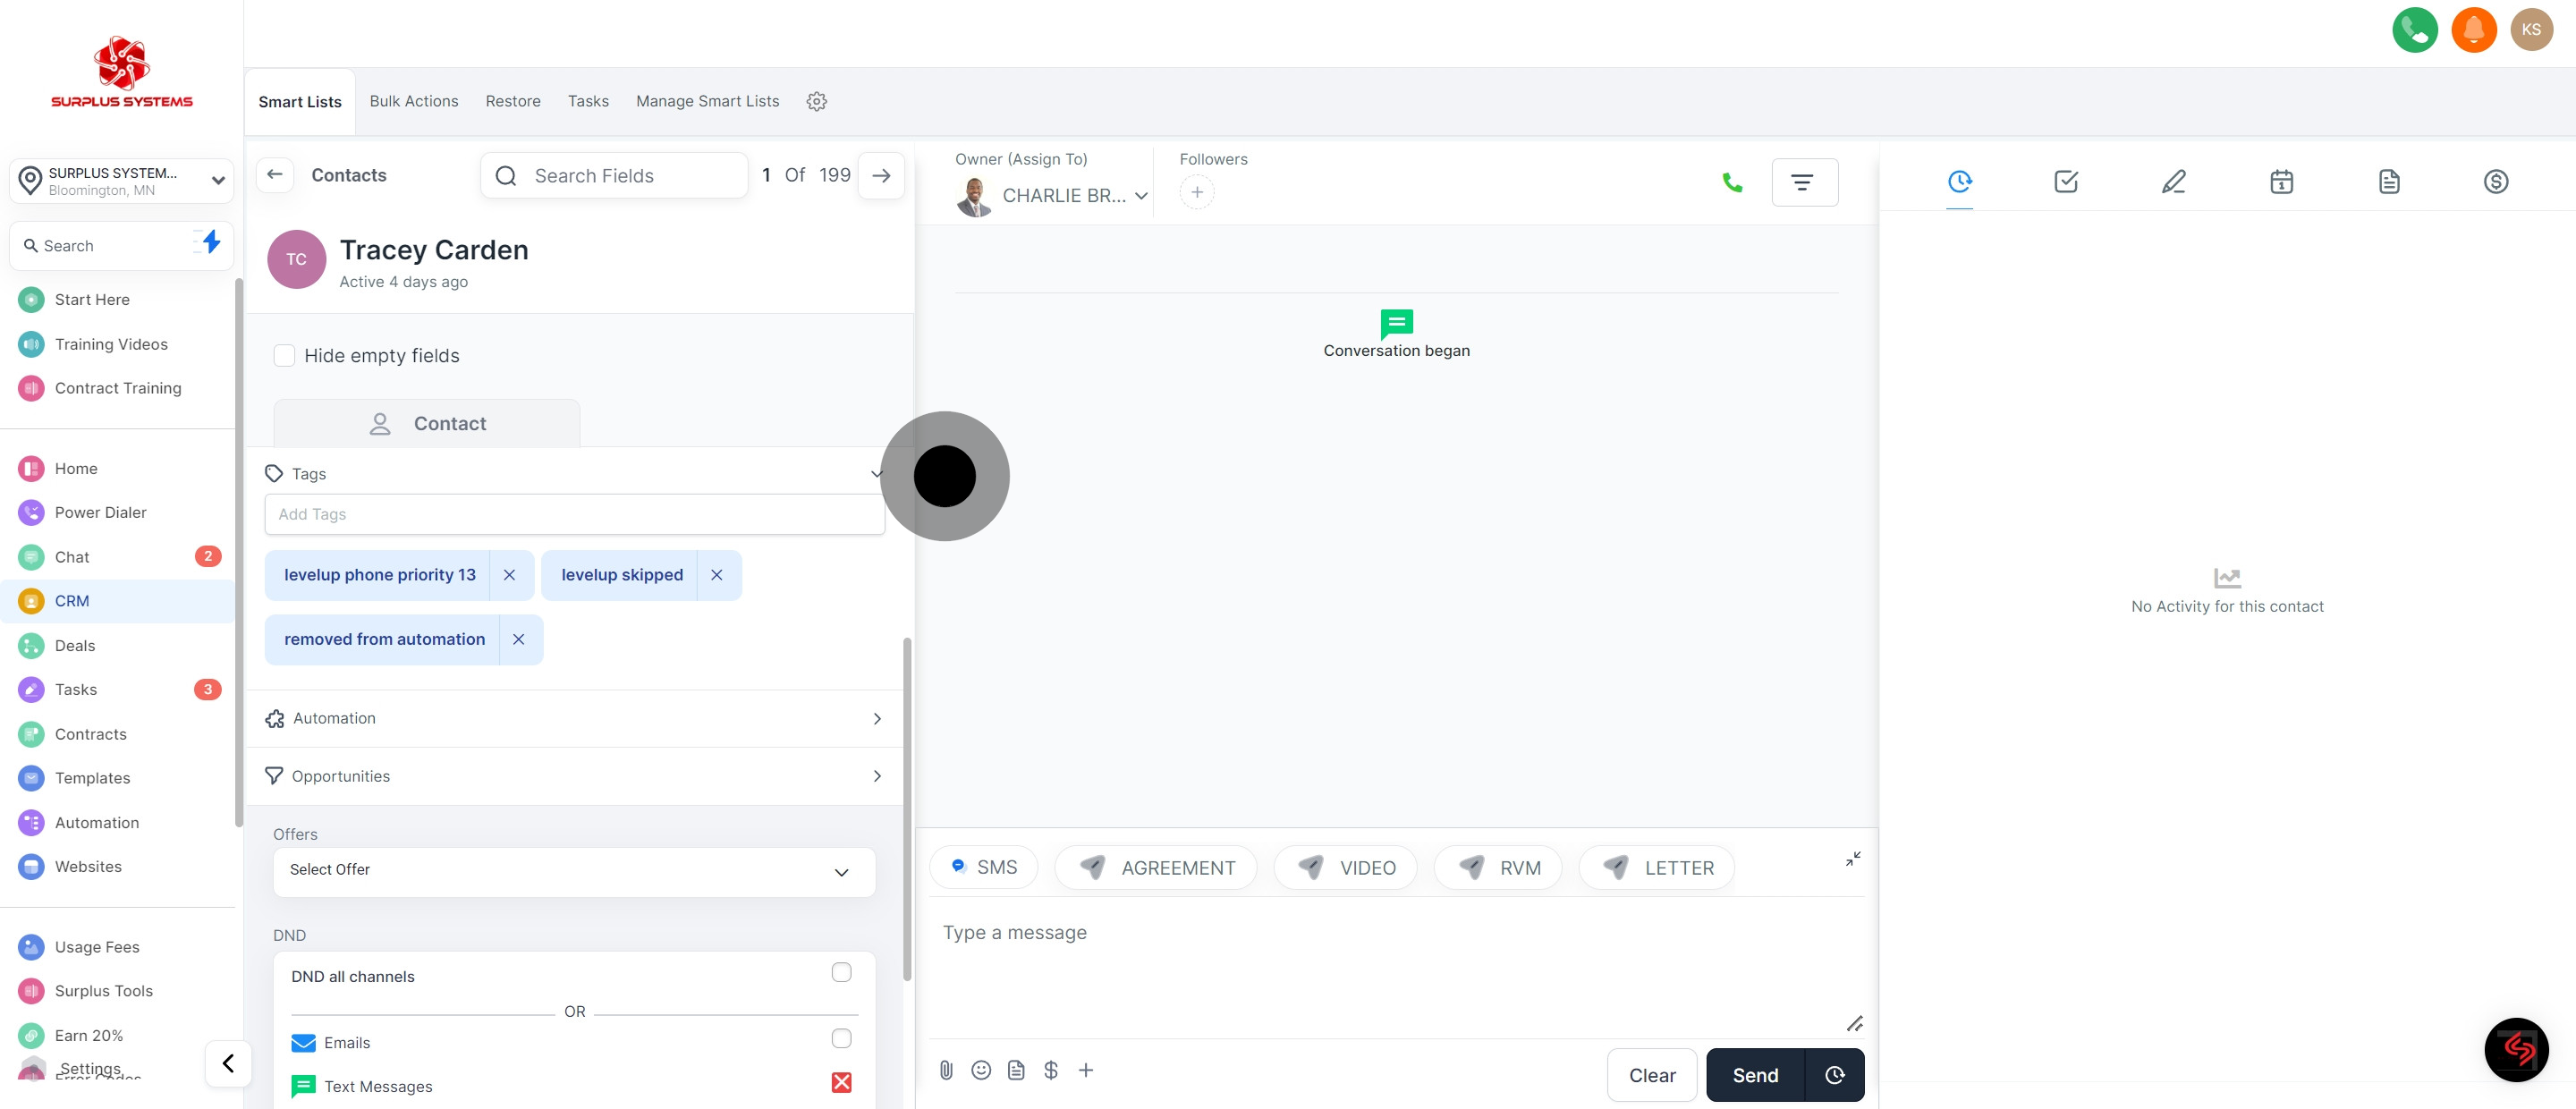
12. You can see Tag details as well for this contact
13. Automation section for contact
14. DND options
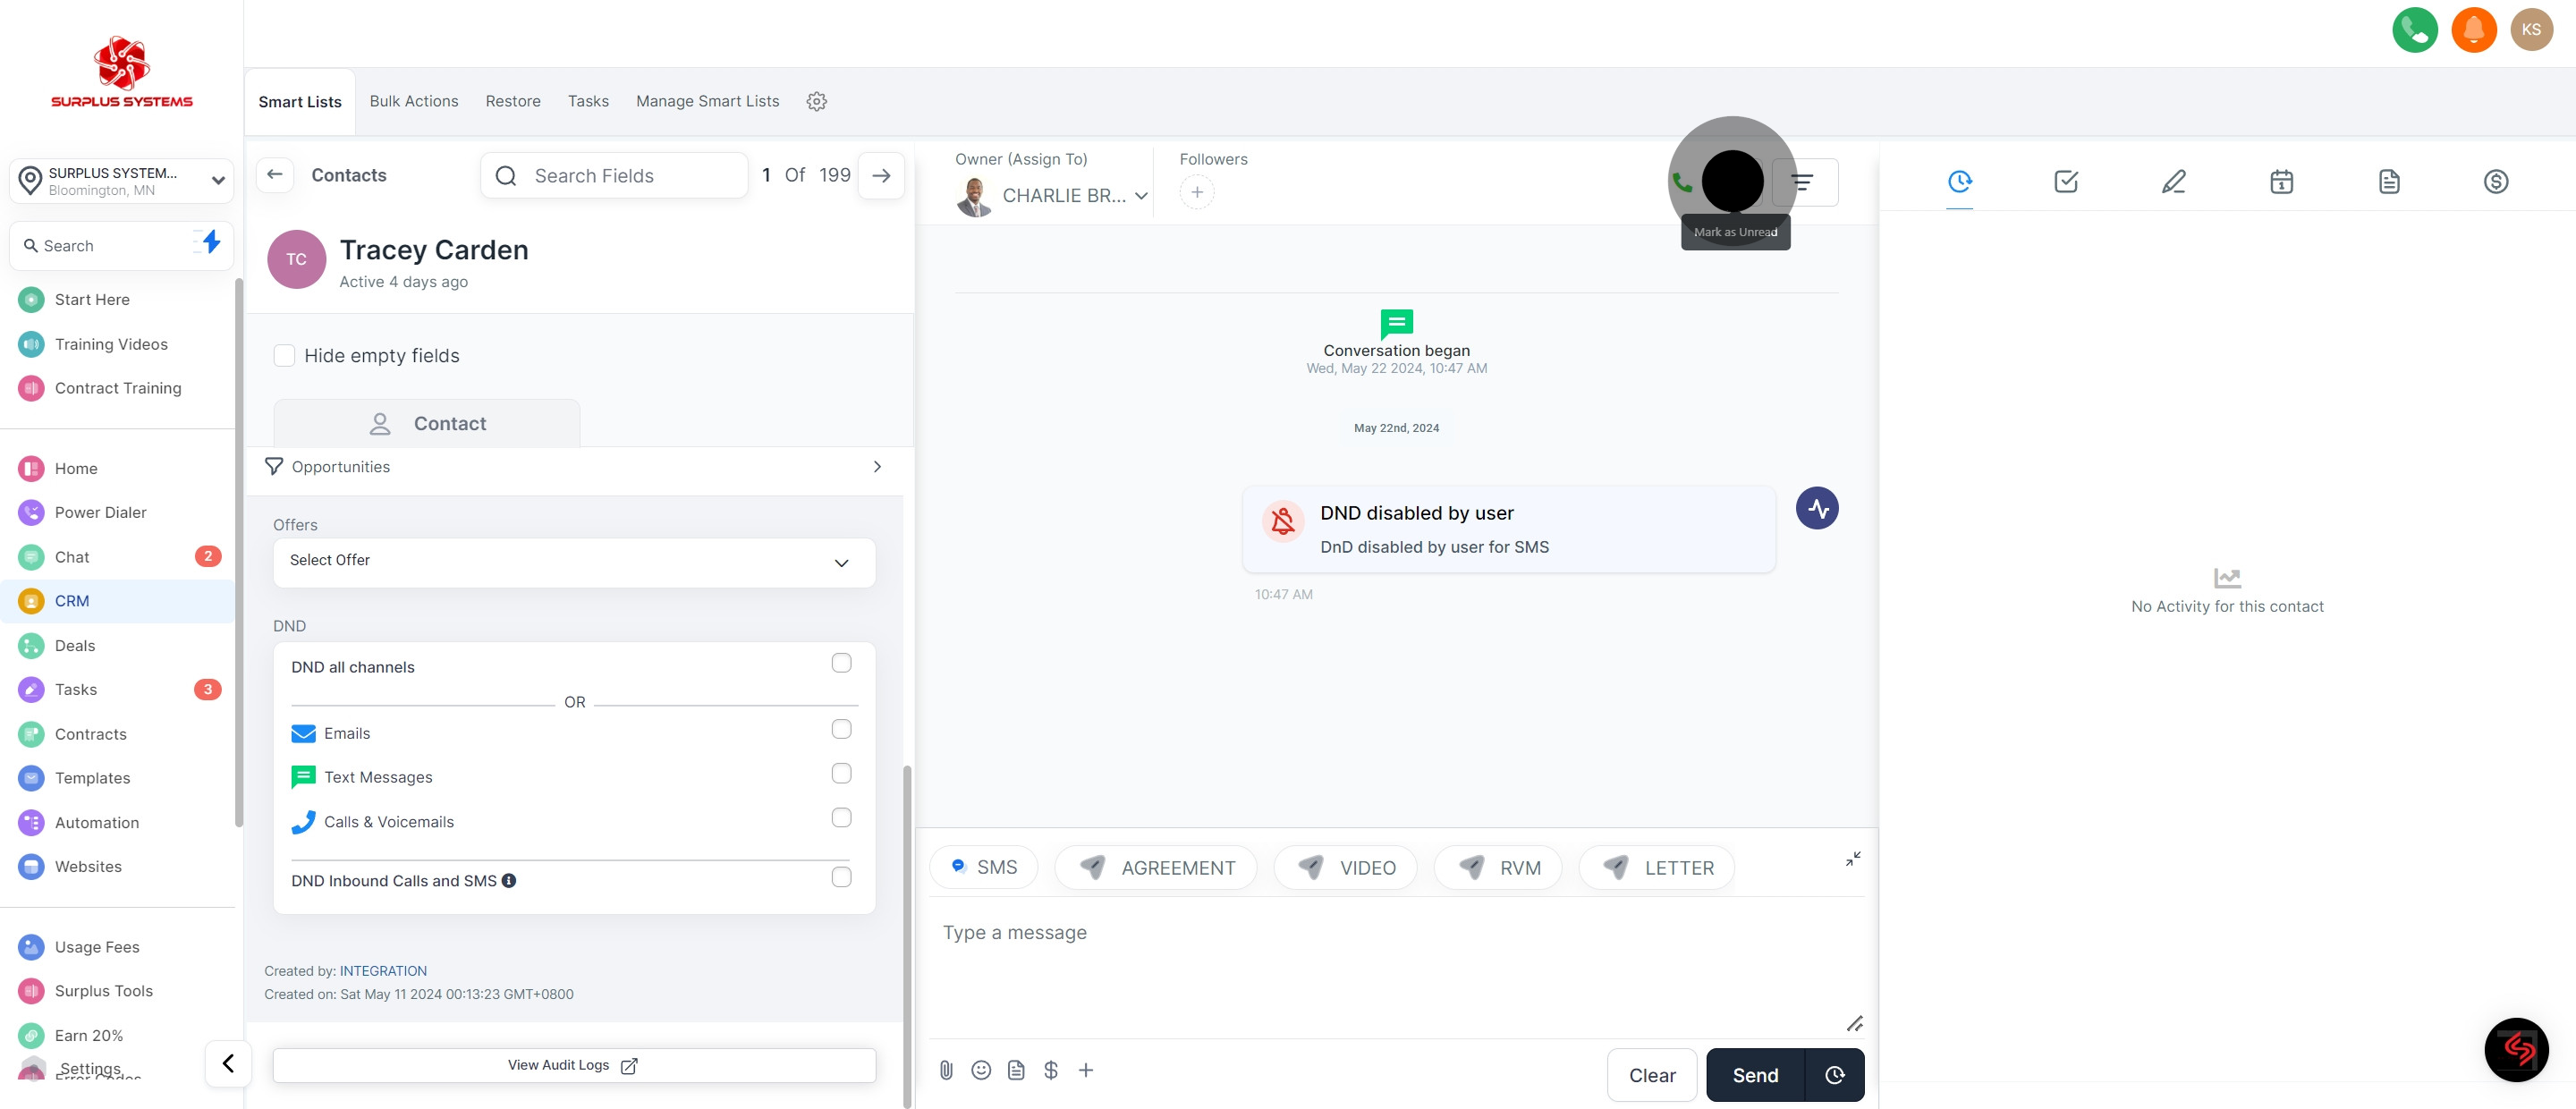
15. Moving forward to the Conversation Section of the contact, you can mark as read/unread the conversation.
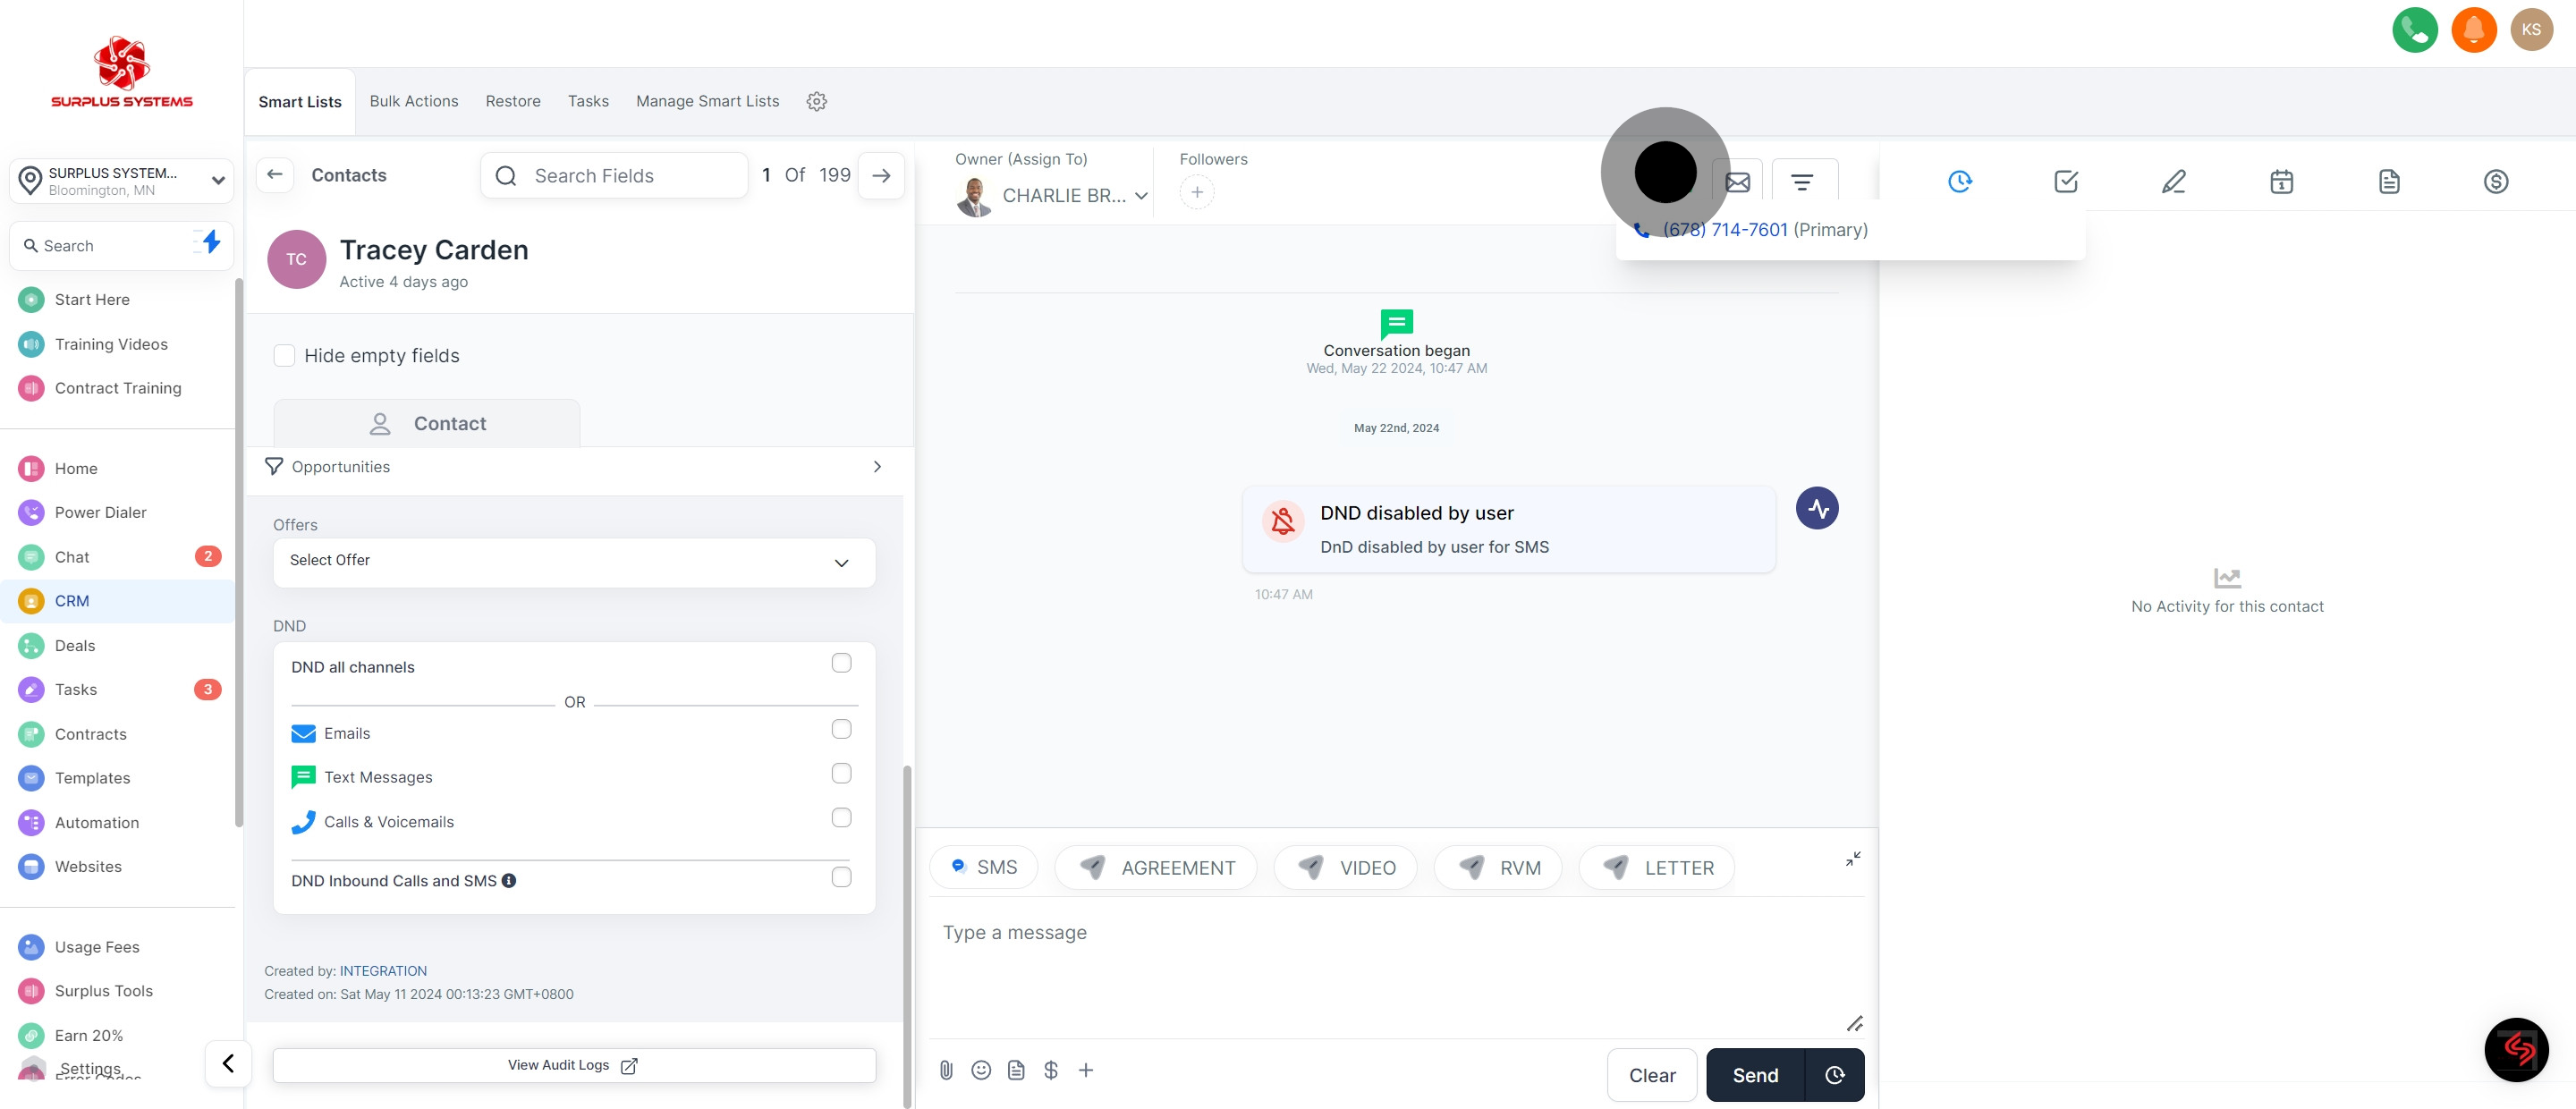
16. Click Phone icon to call the contact.
17. Available filters to use in contacts.
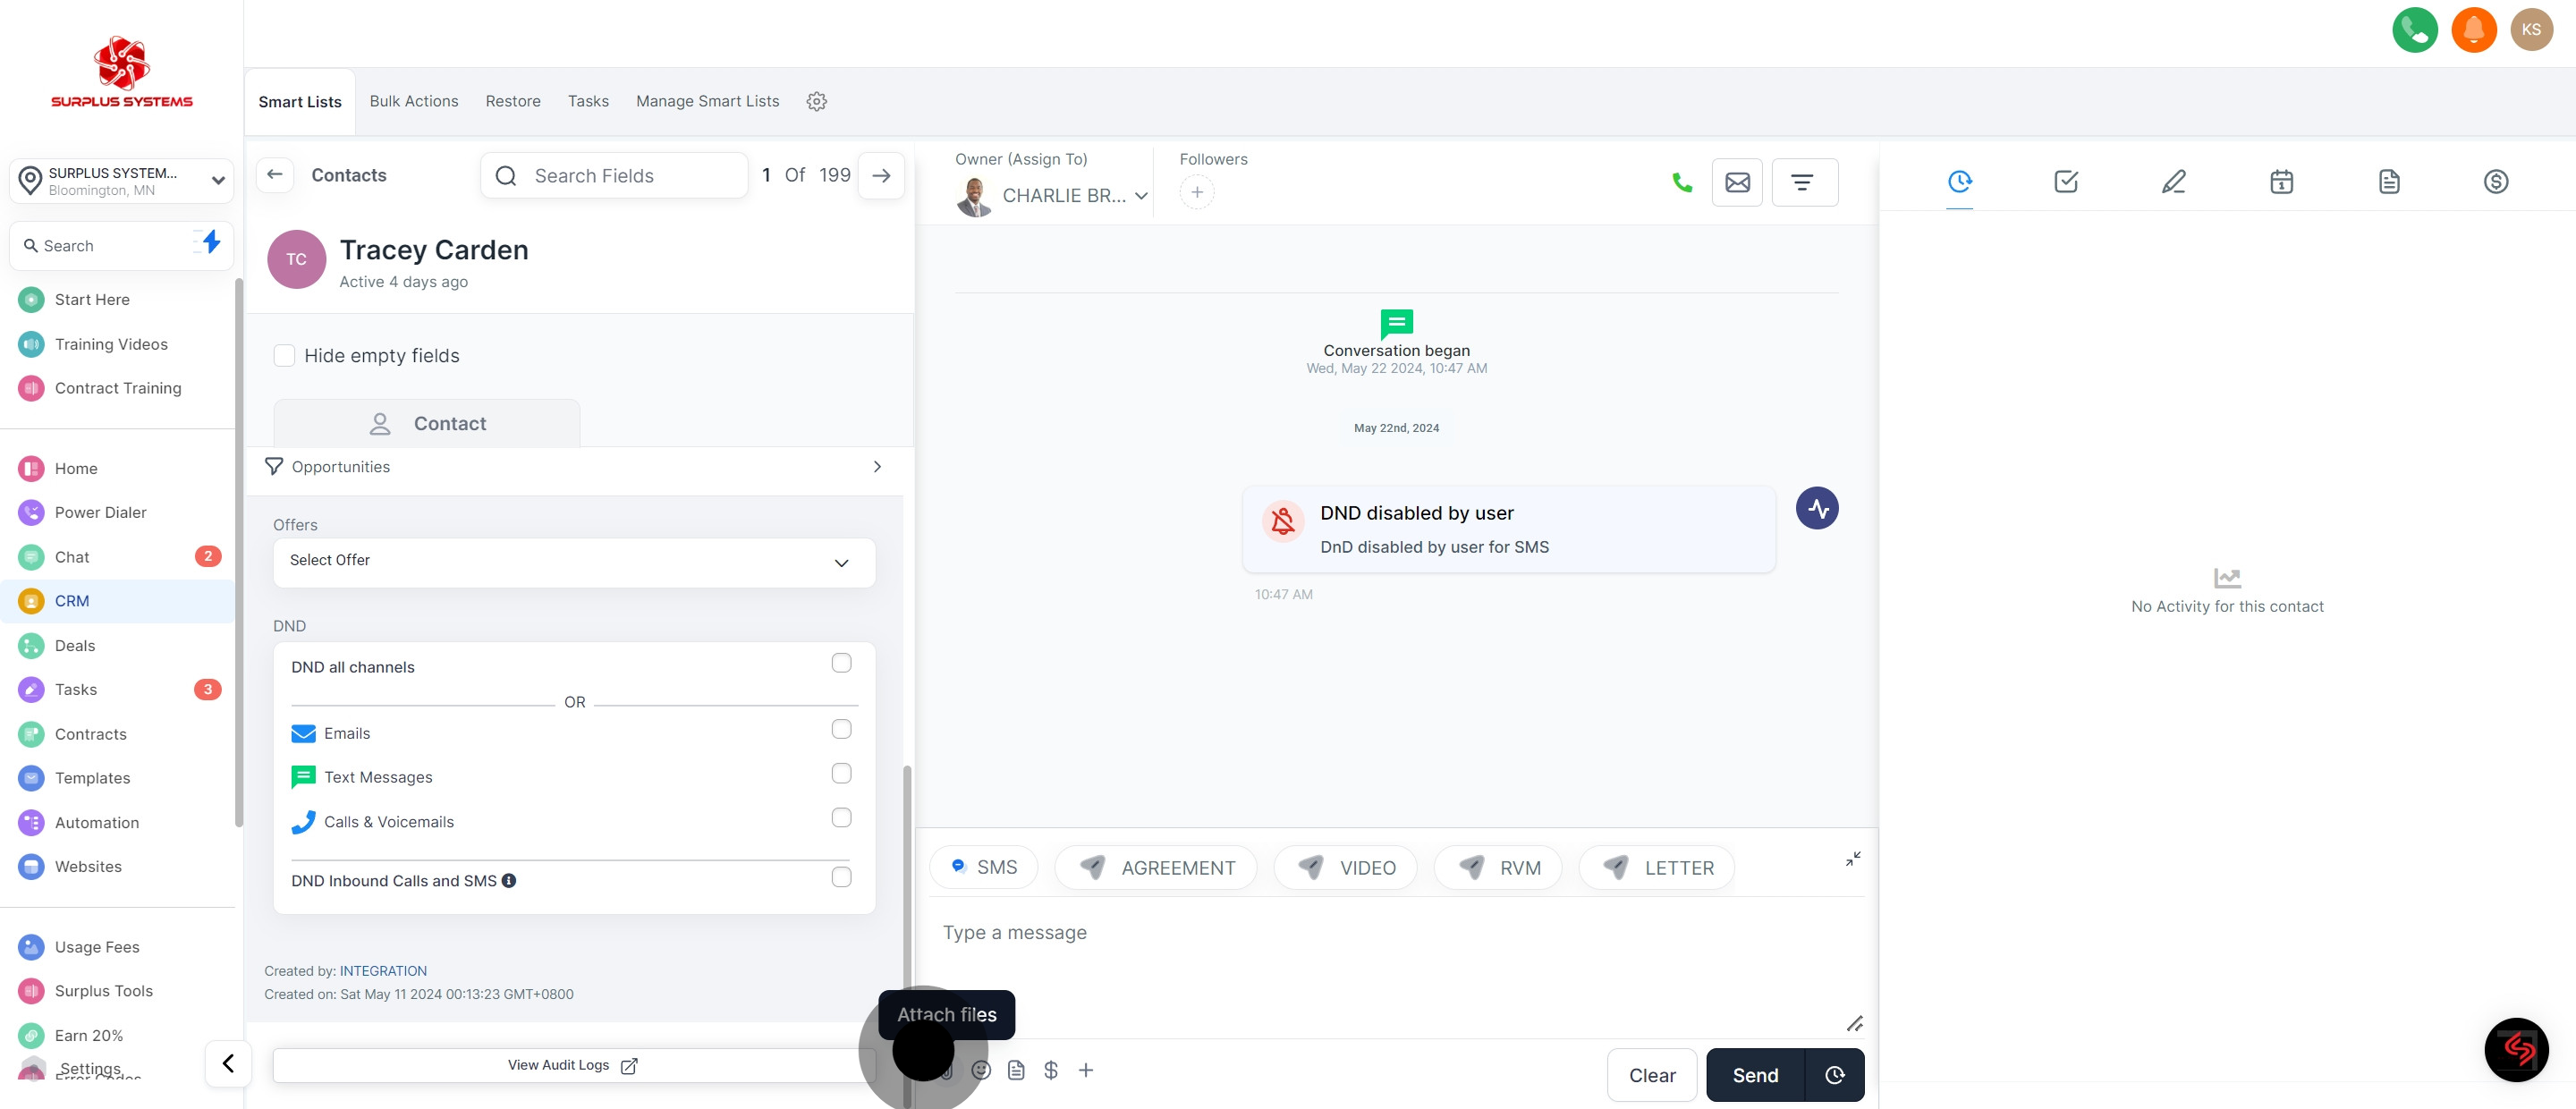
18. For SMS, you can attach a file by clicking this icon.
19. Next is you can Insert SMS templates by clicking this icon
20. You can request a payment as well for this contact, just click this icon to fill in details for invoice.
21. Lastly, you may insert a custom field by clicking this '+' icon.
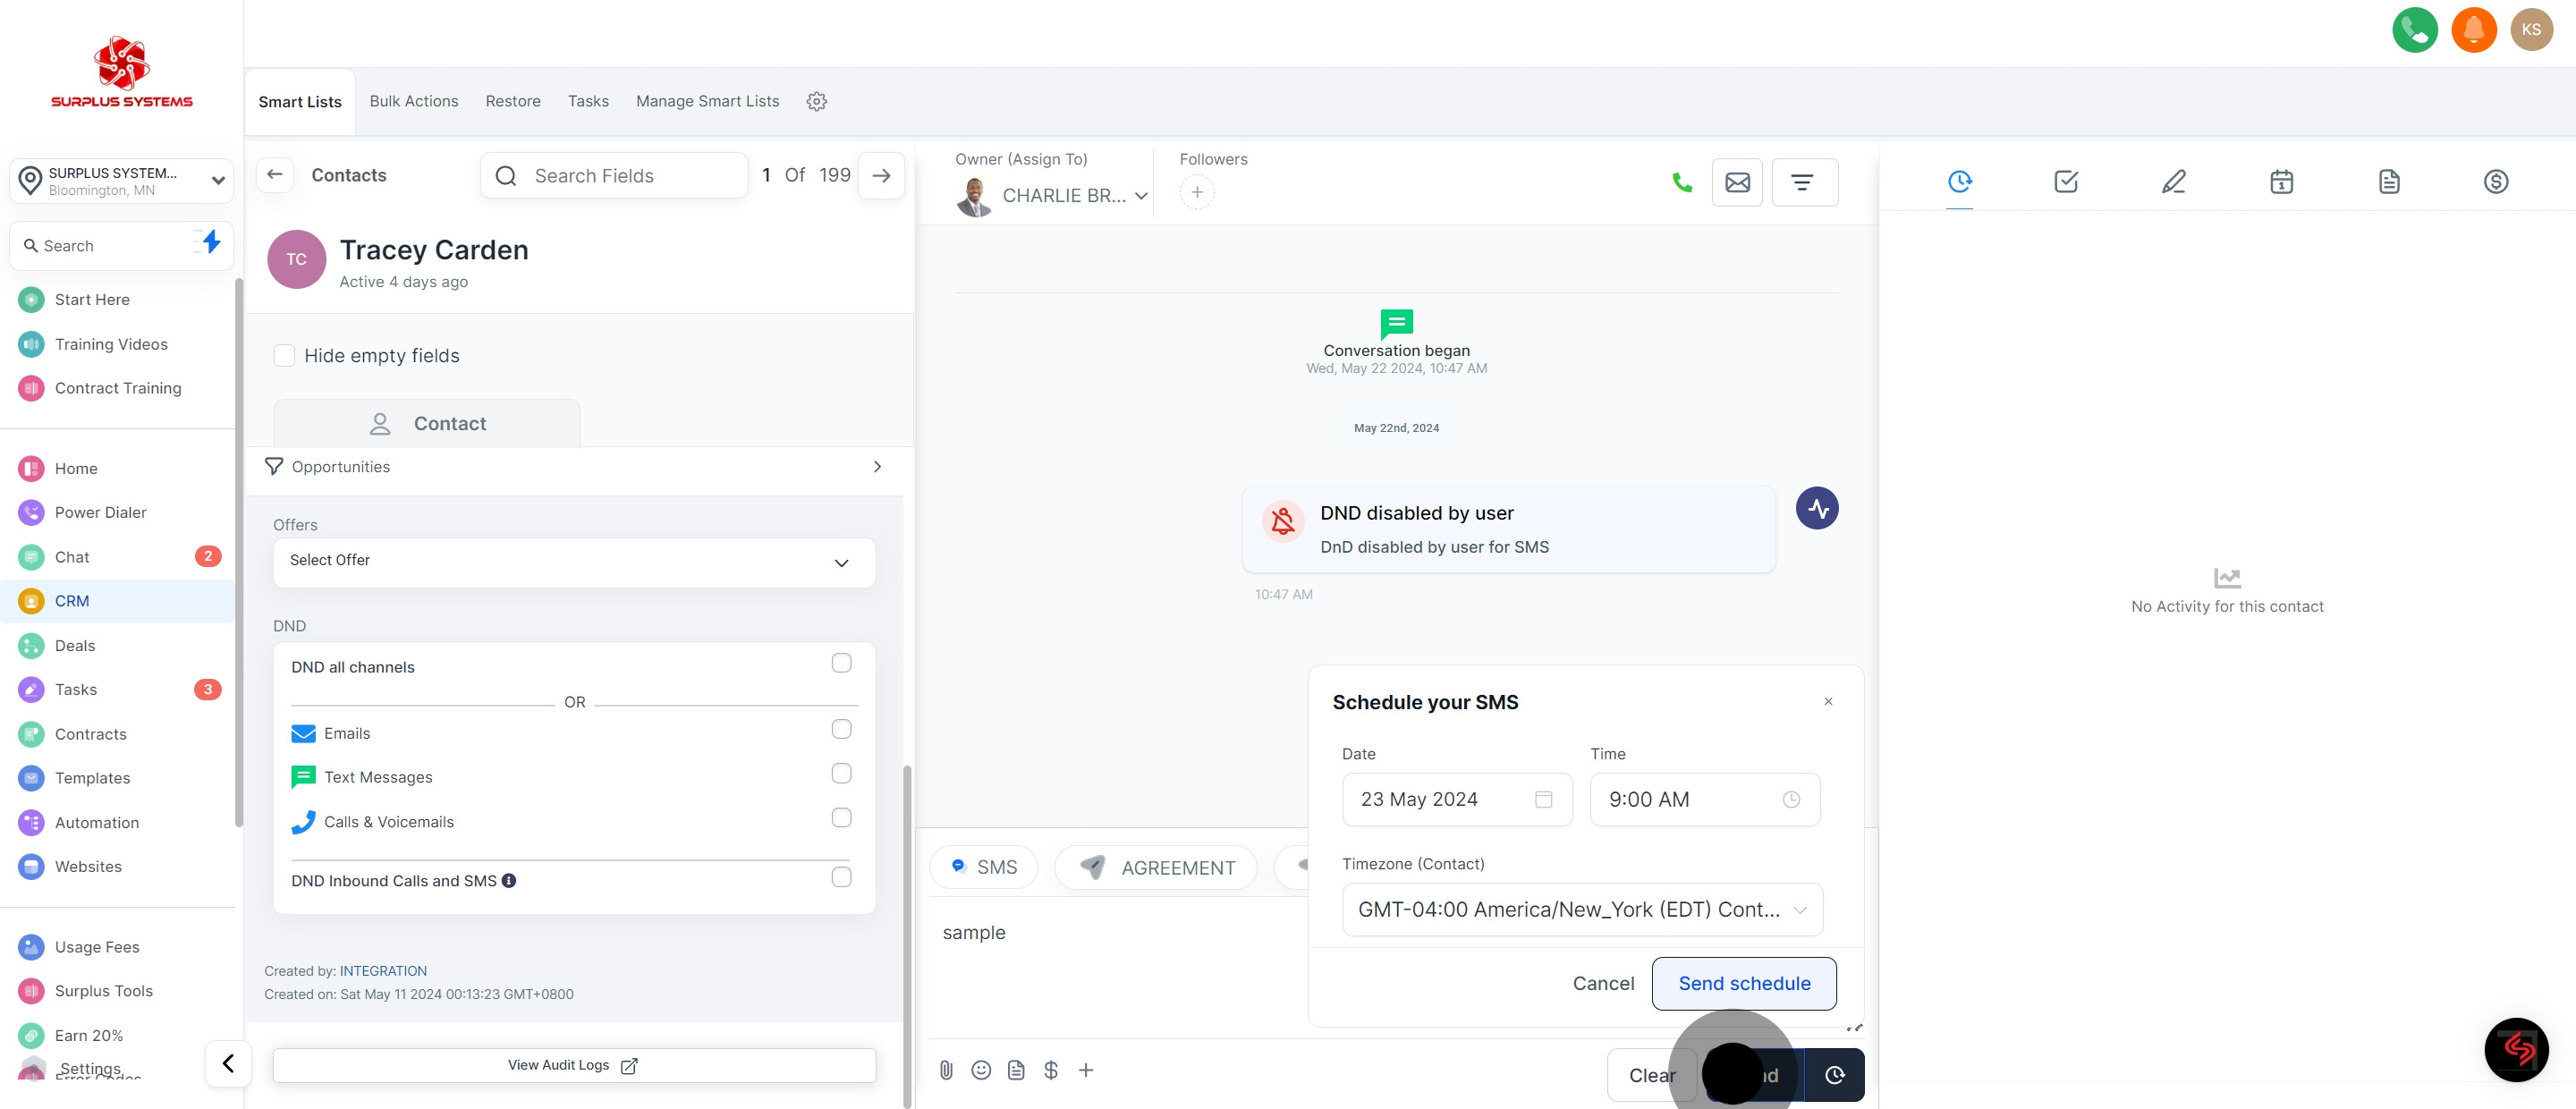
22. You can set a schedule as well in sending the SMS message. Just click on this icon to pick date and time of sending.
23. Following that, click on "Send". to send right away the message content.