Gain a comprehensive understanding of custom fields in Surplus Systems CRM. This overview explores the functionality and advantages of custom fields, demonstrating how to effectively utilize them to capture unique data, tailor processes, and drive more targeted interactions with your contacts.
1. Navigate to Settings
2. Next, select 'Custom Fields'.
3. The search bar feature in the Custom Fields section allows you to quickly find specific custom fields without the need for scrolling through the entire list.
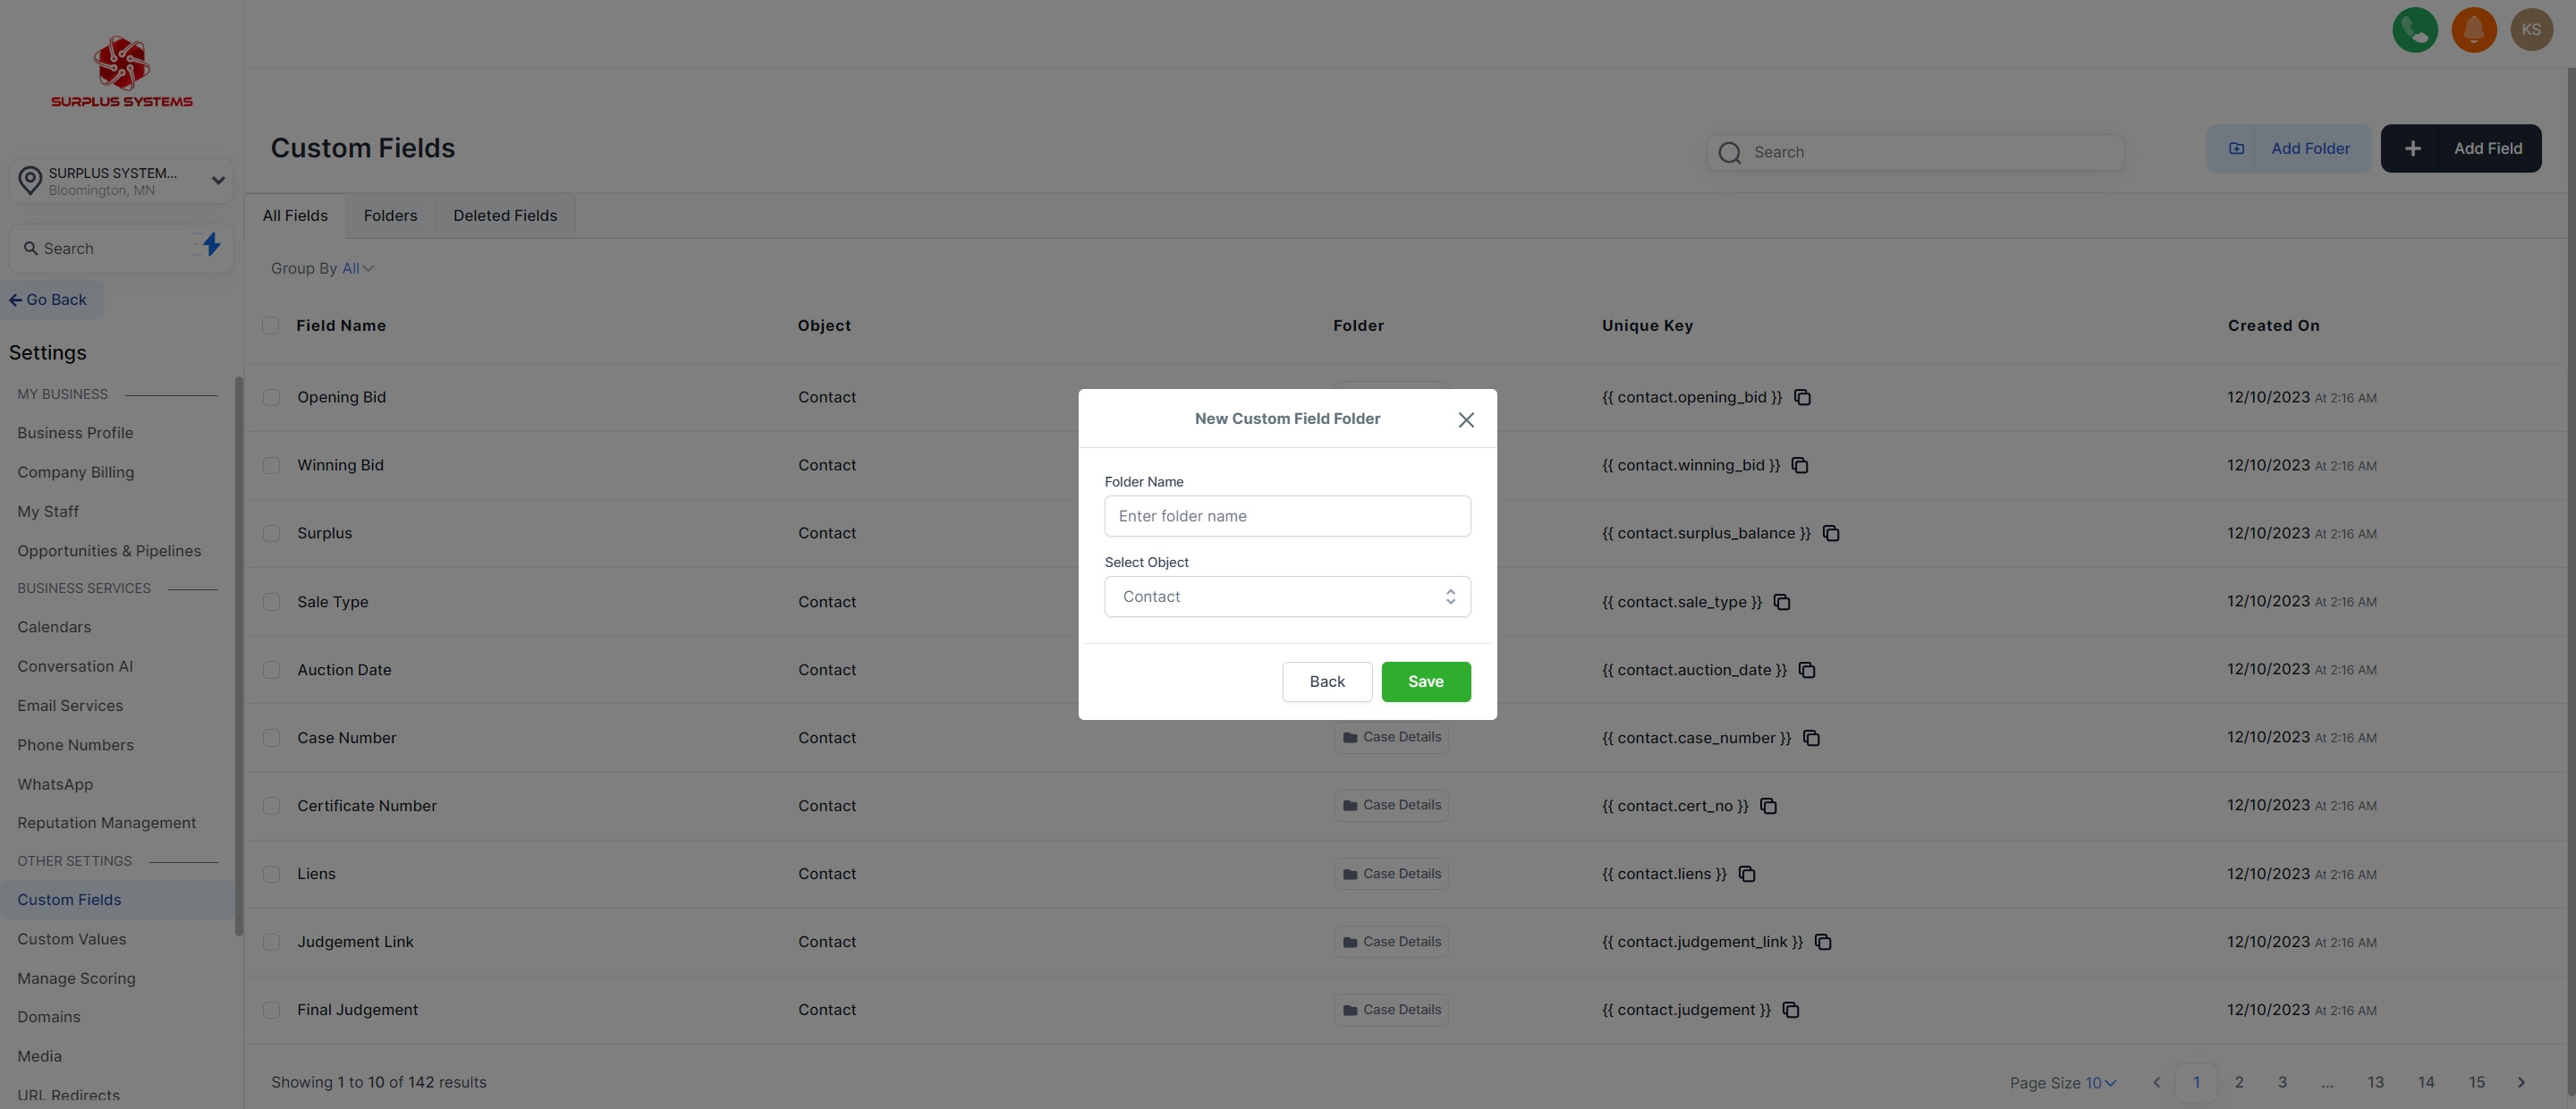
4. Click on 'Add Folder' to create a new one.
6. To add a field, click 'Add Field'.
8. The Field Name column displays the labels assigned to your various custom fields, helping you easily identify them.
9. Next, click on the 'Object'.
10. In this section, you'll find the corresponding folders linked to each custom field. This allows for easy organization and identification of which folder is connected to a specific custom field.
11. The Unique Key serves as an identifier when obtaining data through webhooks or incorporating custom information into communication channels like emails and text messages. It is automatically generated based on the name assigned to your custom field, ensuring seamless integration.
12. The Creation On column displays the specific date and time when each custom field was initially generated.
13. Select the displayed element.
14. Group All Filter: This filter shows all custom fields from all groups.
15. The checkboxes next to each custom field give you the power to perform different actions. You can select one or multiple fields depending on the action you want to take.
16. Proceed by clicking on 'Bulk Actions'.
17. Use this option to move a custom field to a different group.
18. Next, select 'Folders'.
19. This section displays a list of all the folders you have created for organizing your custom fields.
20. Go ahead, click on 'Deleted Fields'.
21. You can view previously deleted custom fields. Clicking on the redirect link will take you to the audit page in your CRM, where you can review items that were deleted.