How to Add a New Field in Custom Fields on Surplus Systems"
Enhance your data management by adding new fields to the custom fields section in Surplus Systems CRM. This article provides a step-by-step guide on how to expand your database fields to capture specific information relevant to your business operations, ensuring a more tailored and efficient CRM experience.
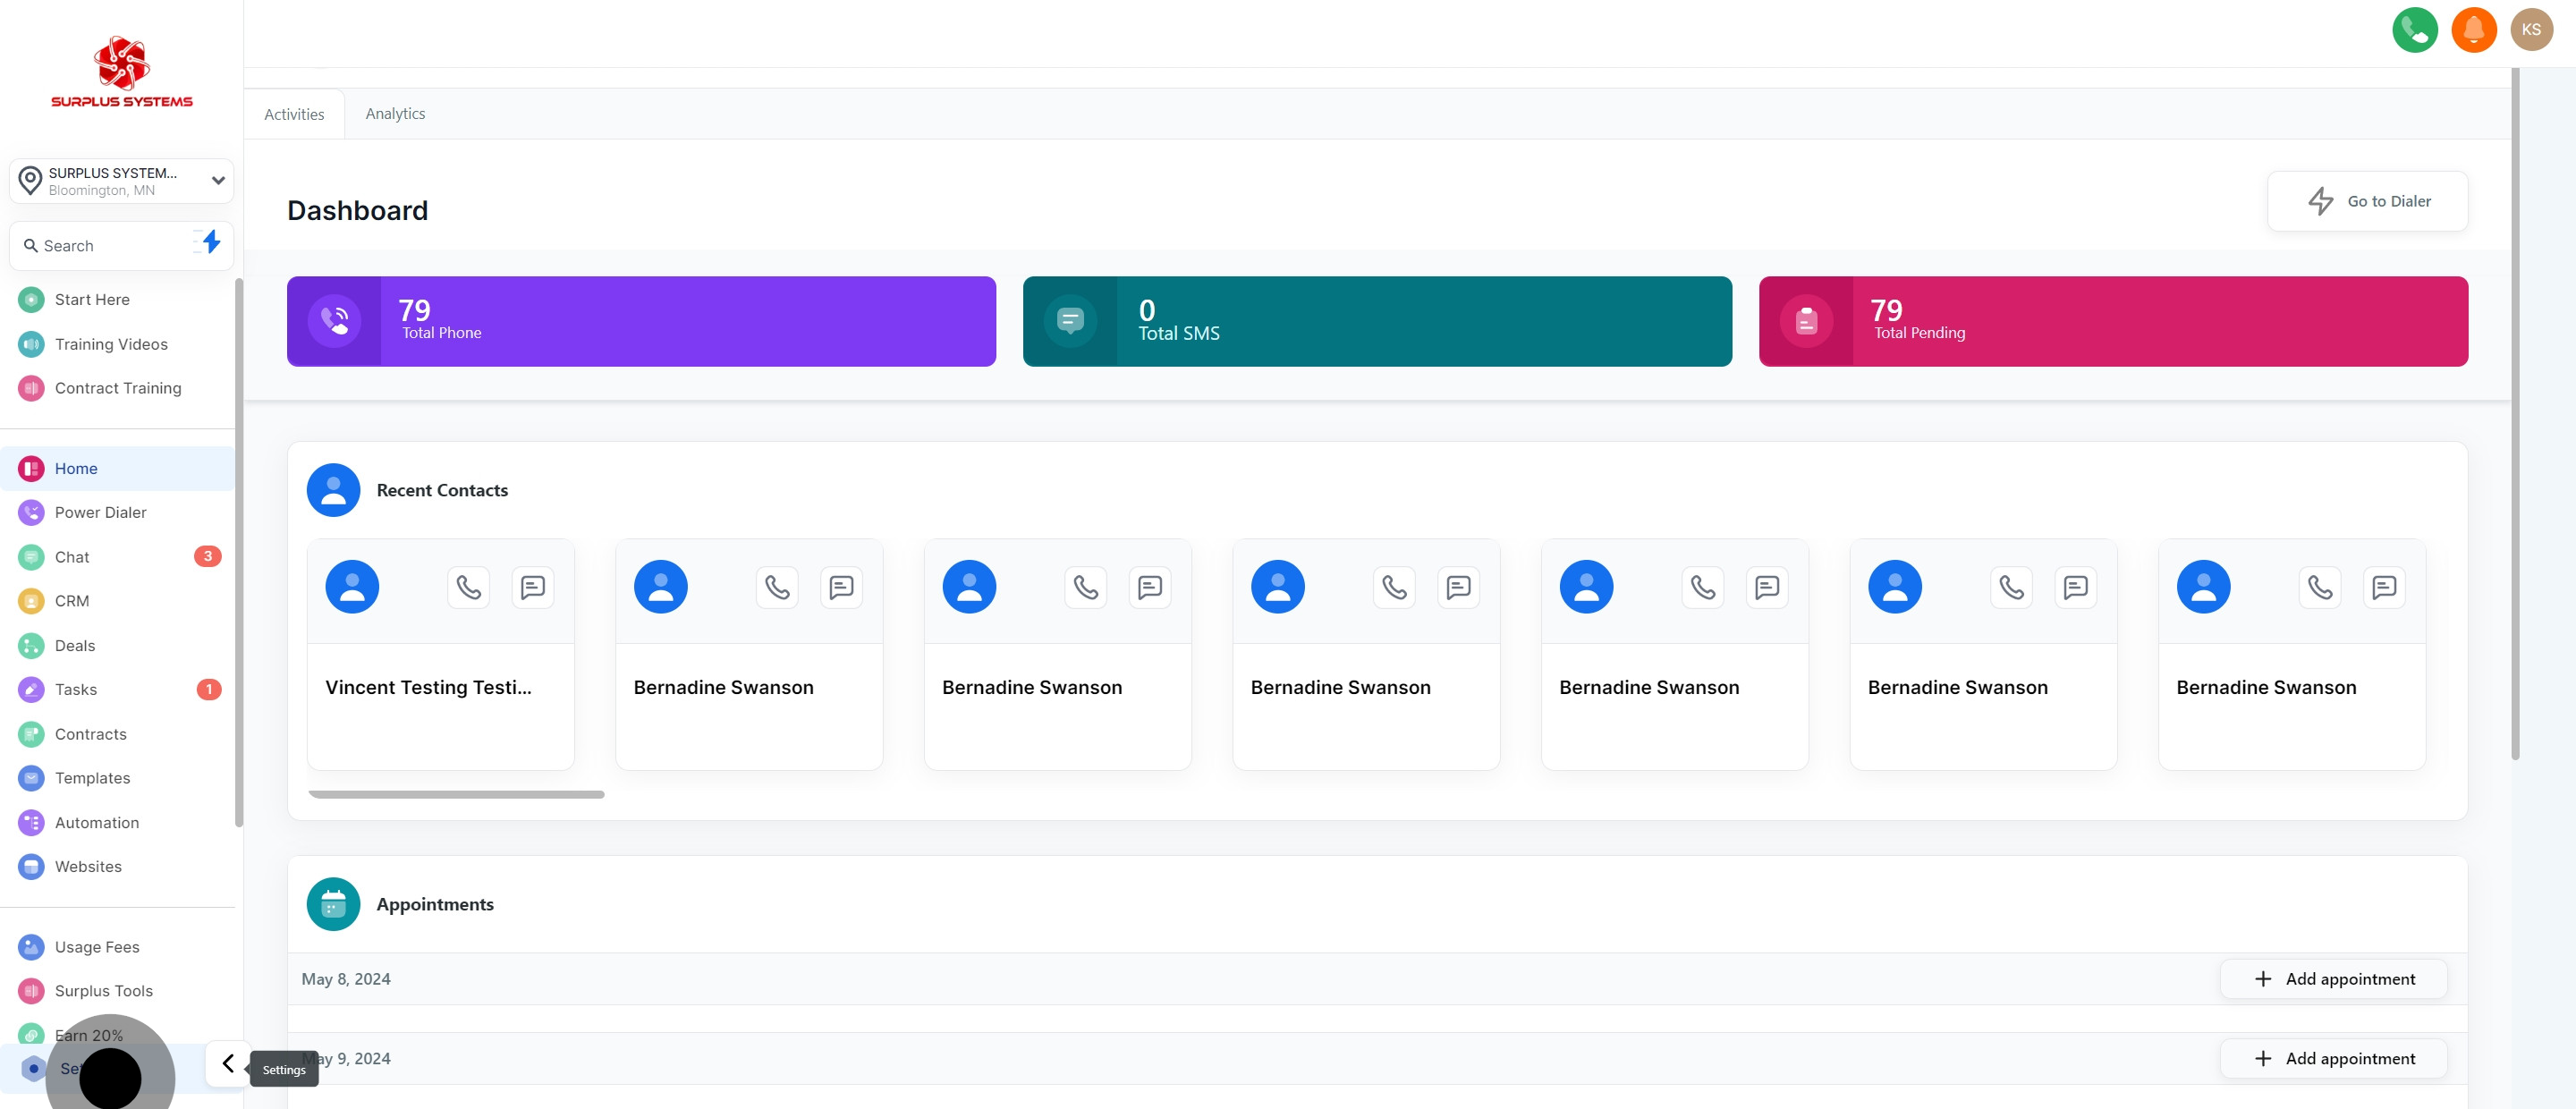
1. Start by selecting the 'Settings' option.
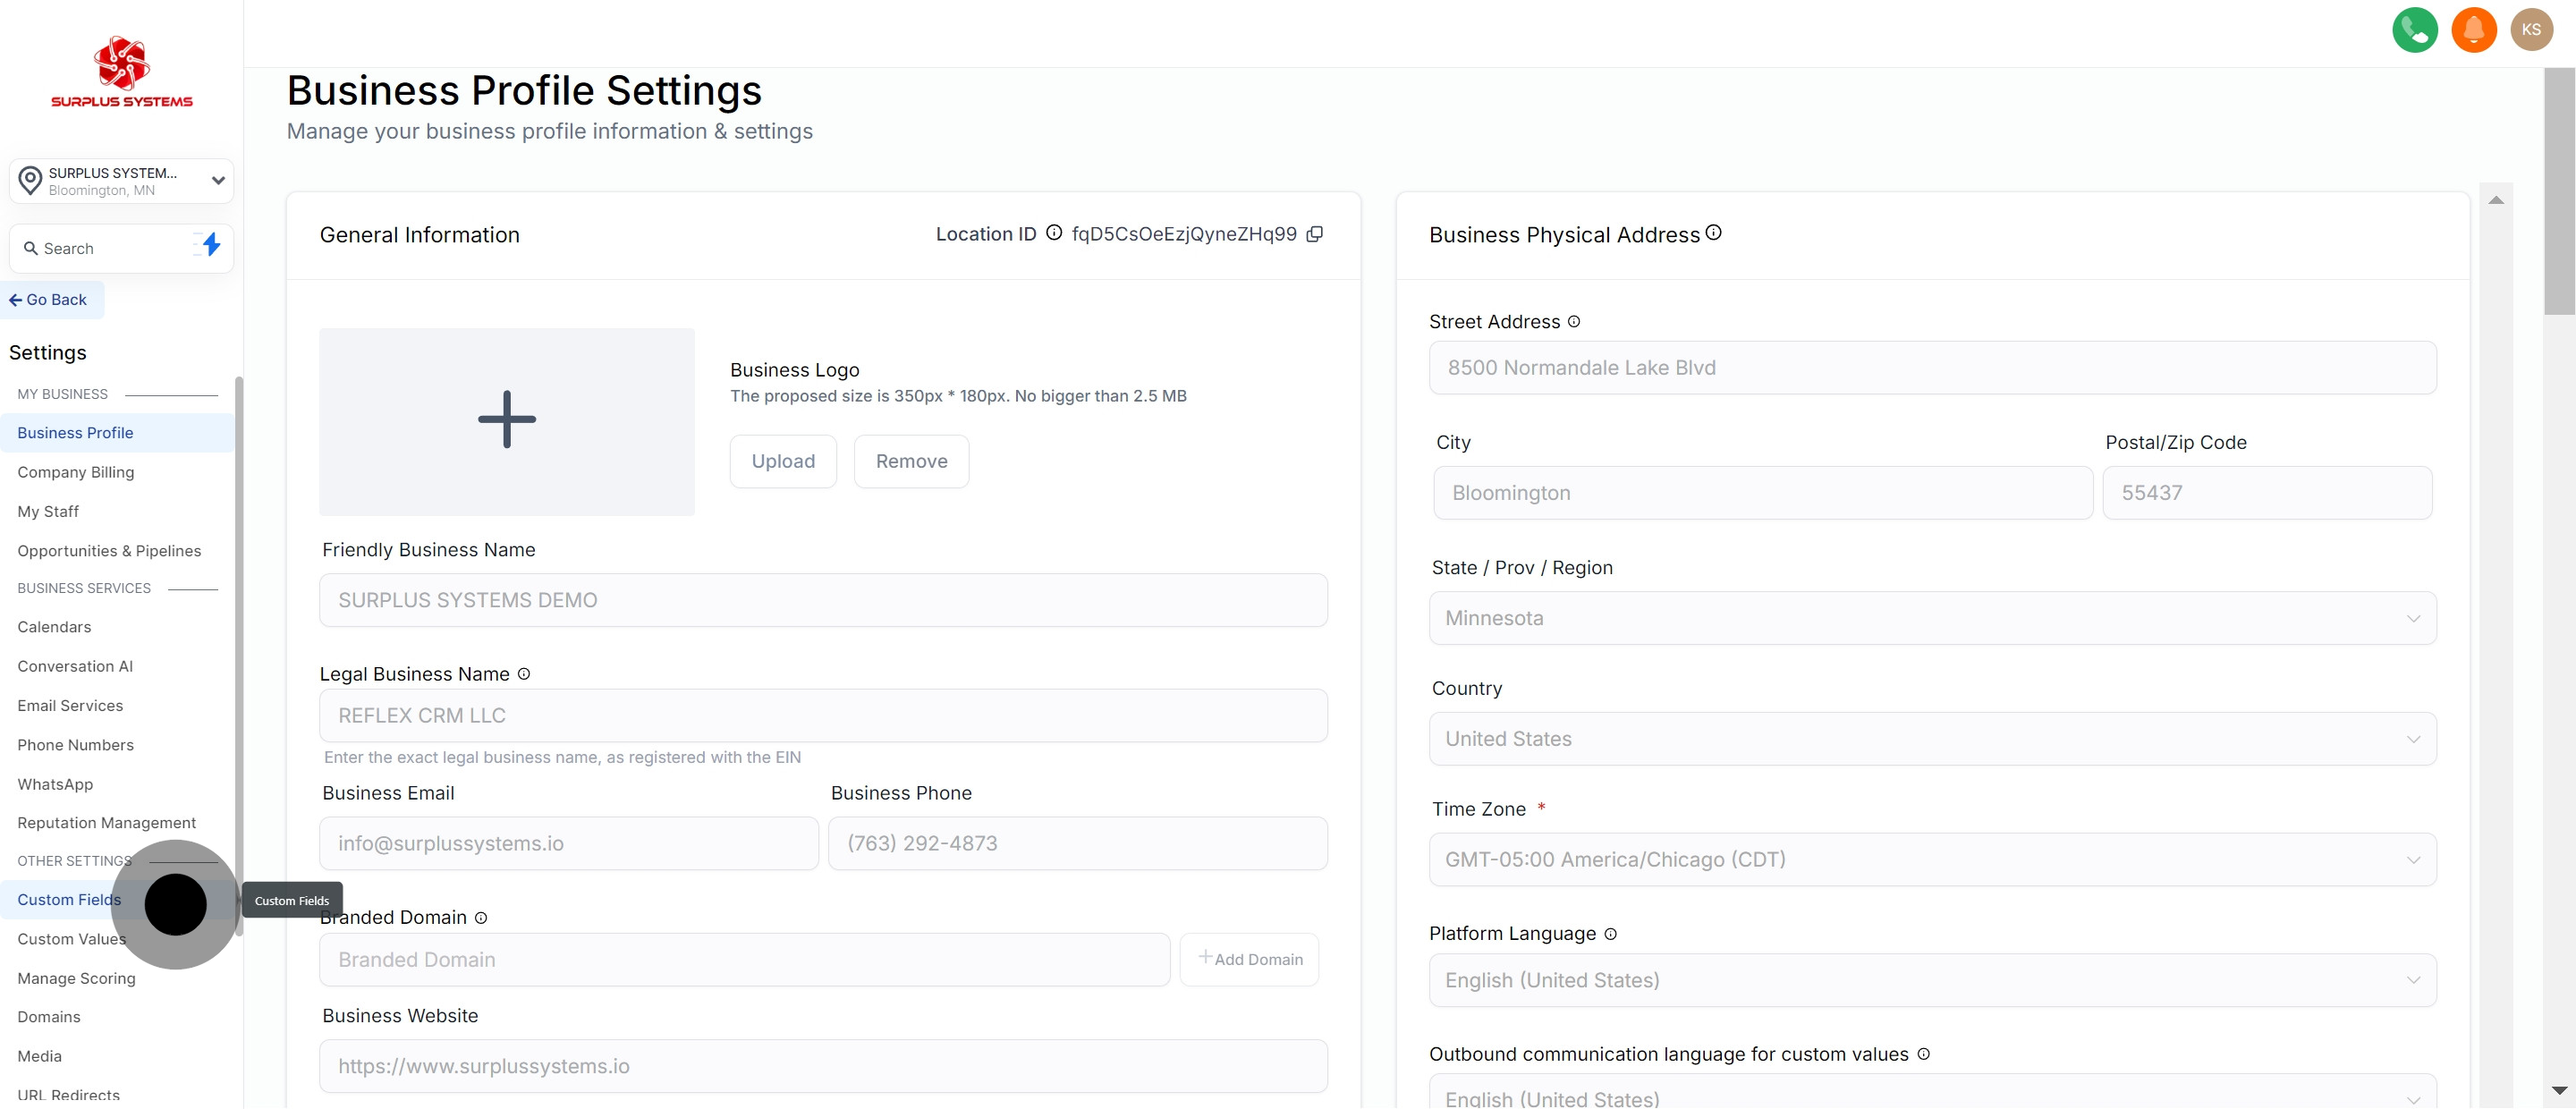
2. Next, choose the 'Custom Fields' section.
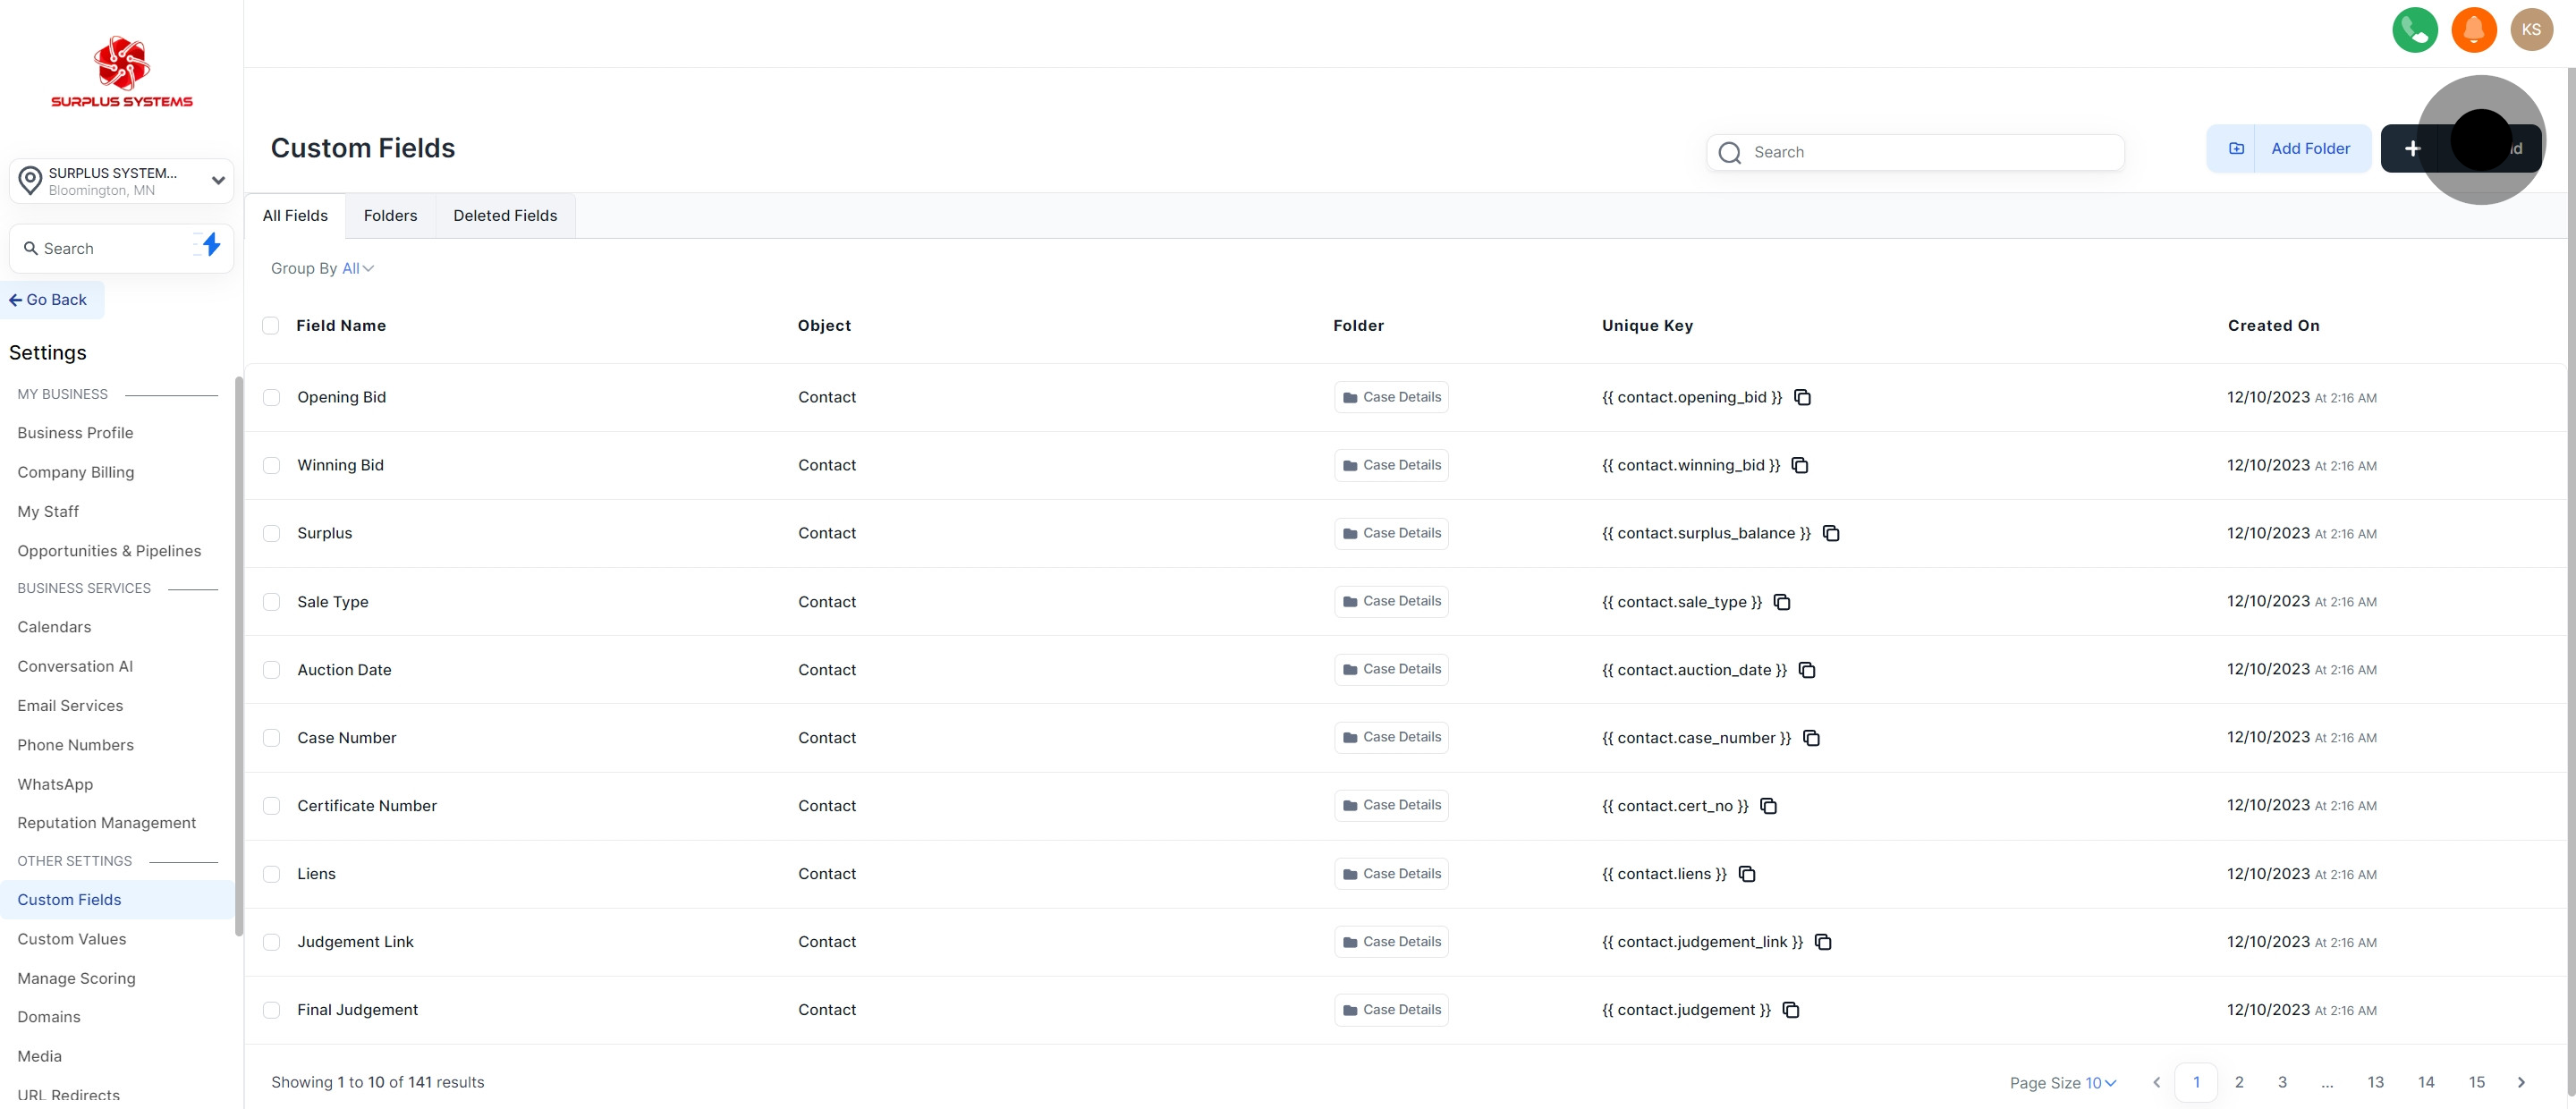
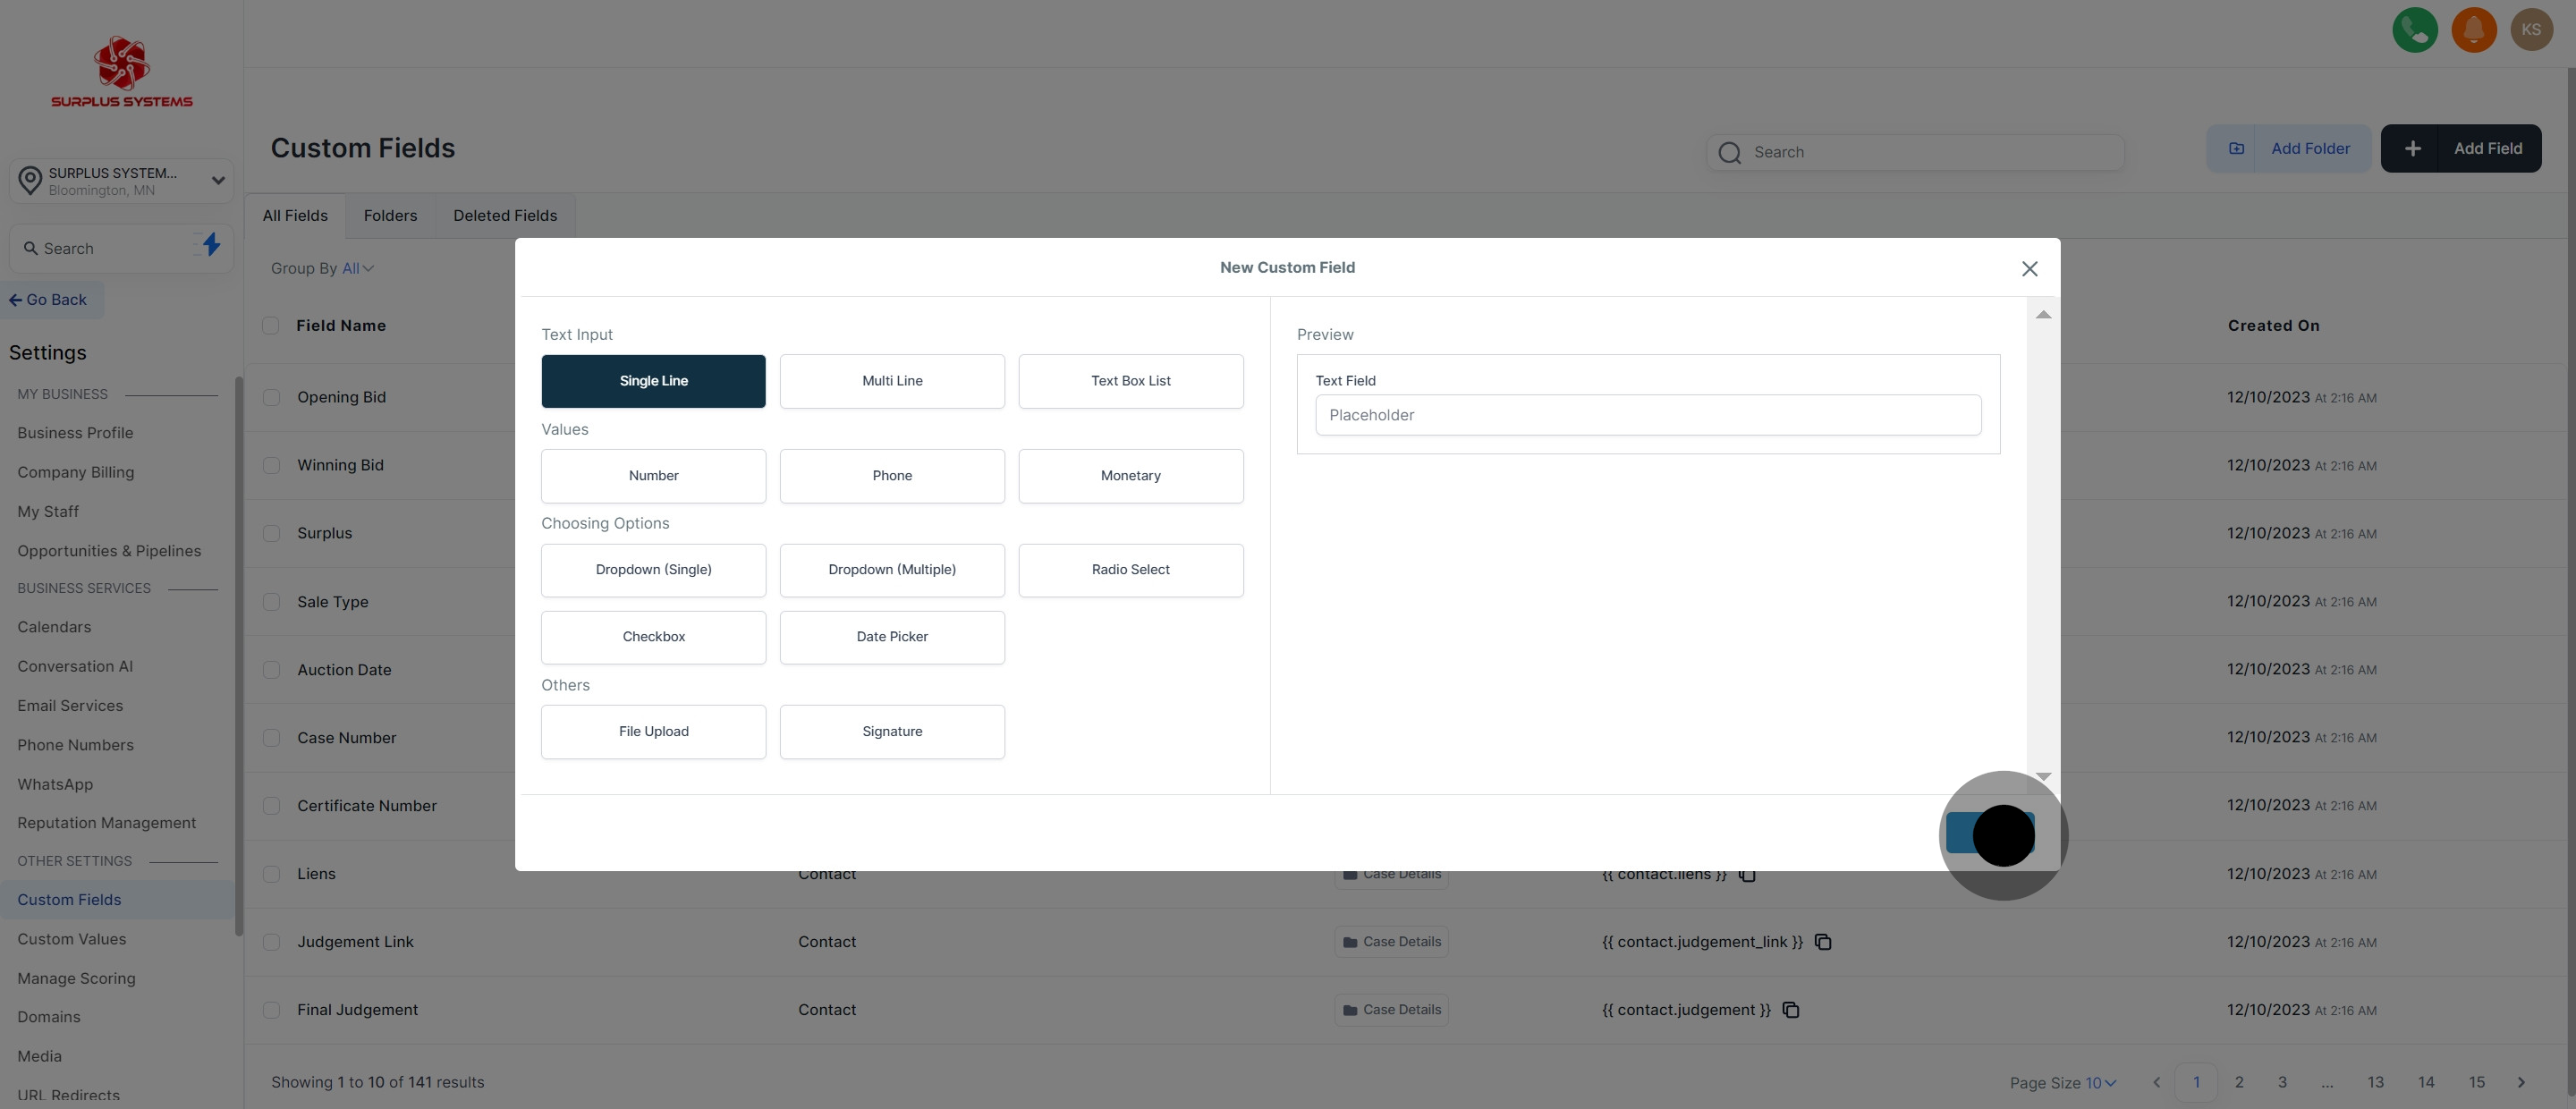
3. Then, tap on the 'Add Field' button.
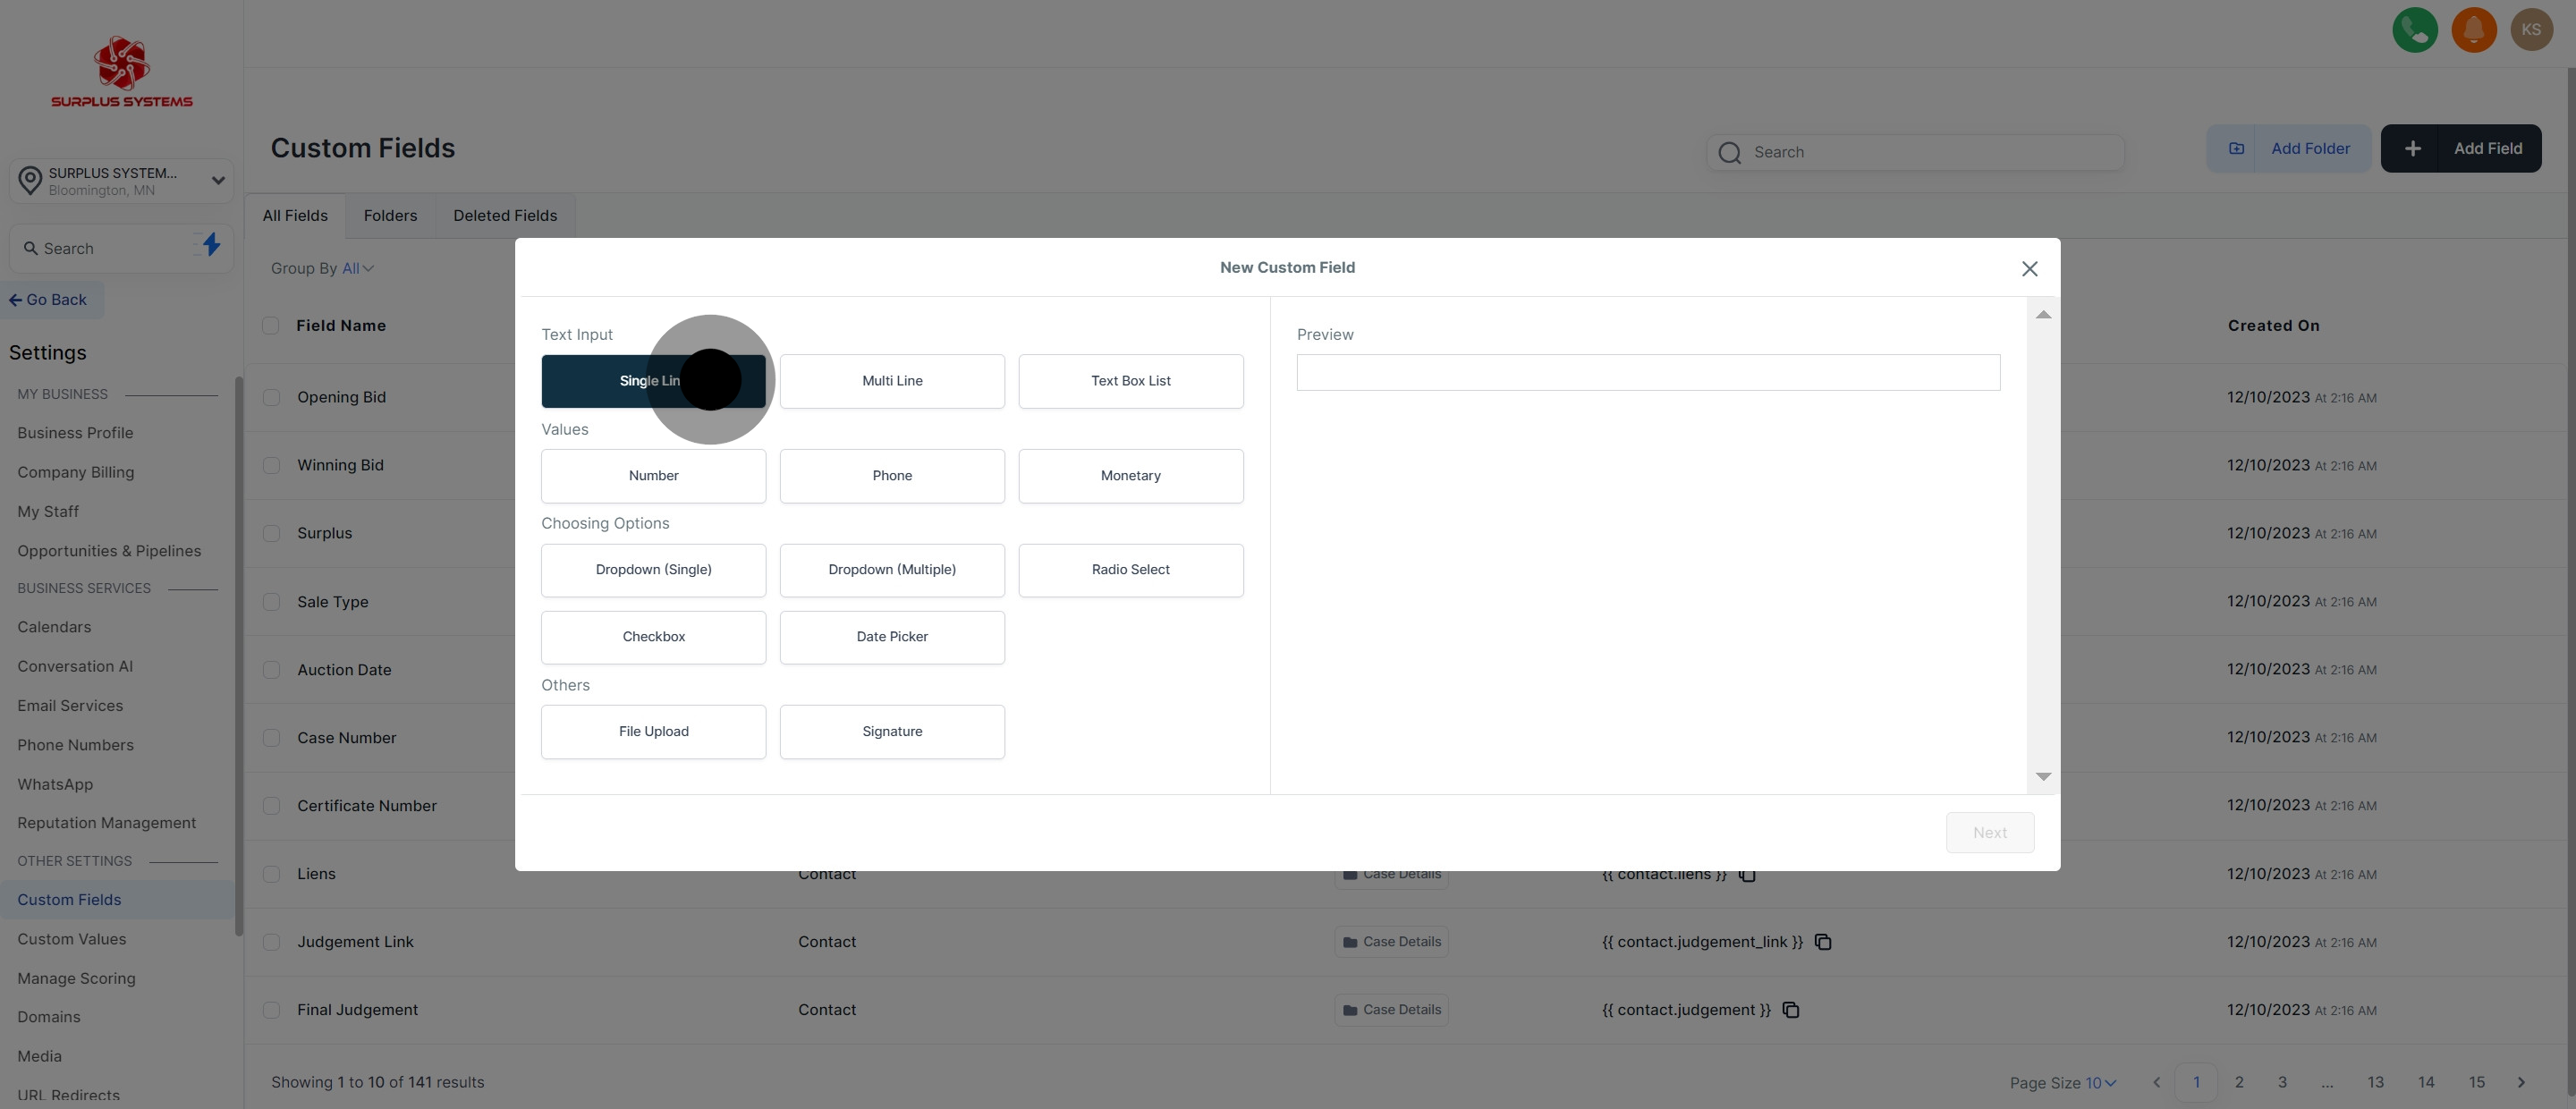
4. Afterwards, select the 'Single Line' button.
5. Proceed by clicking on 'Next'.
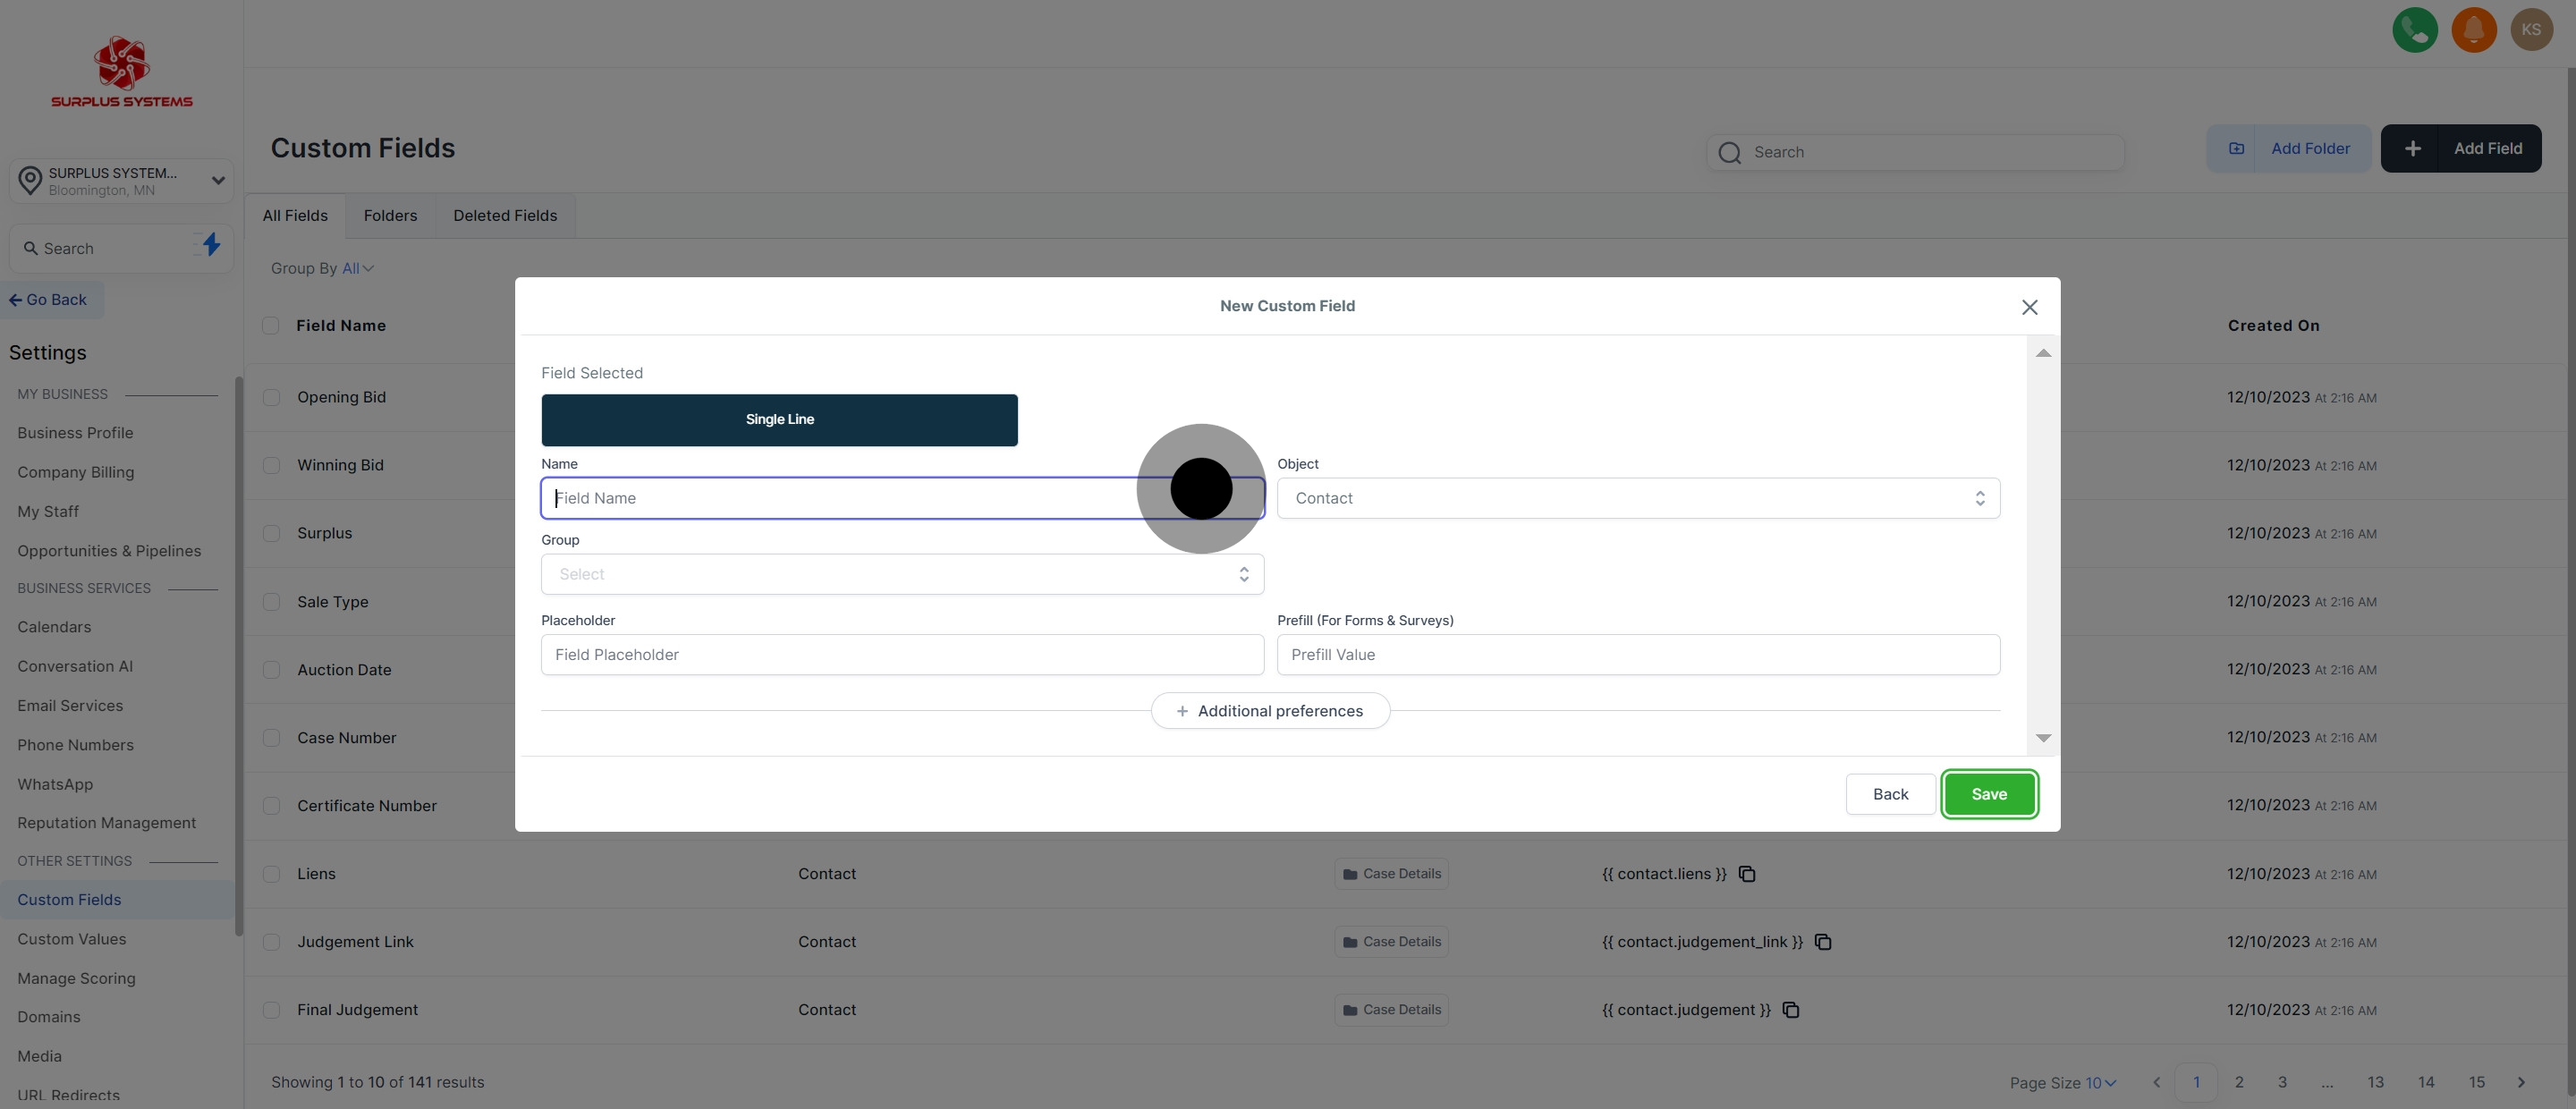
6. Provide a name for your custom field.
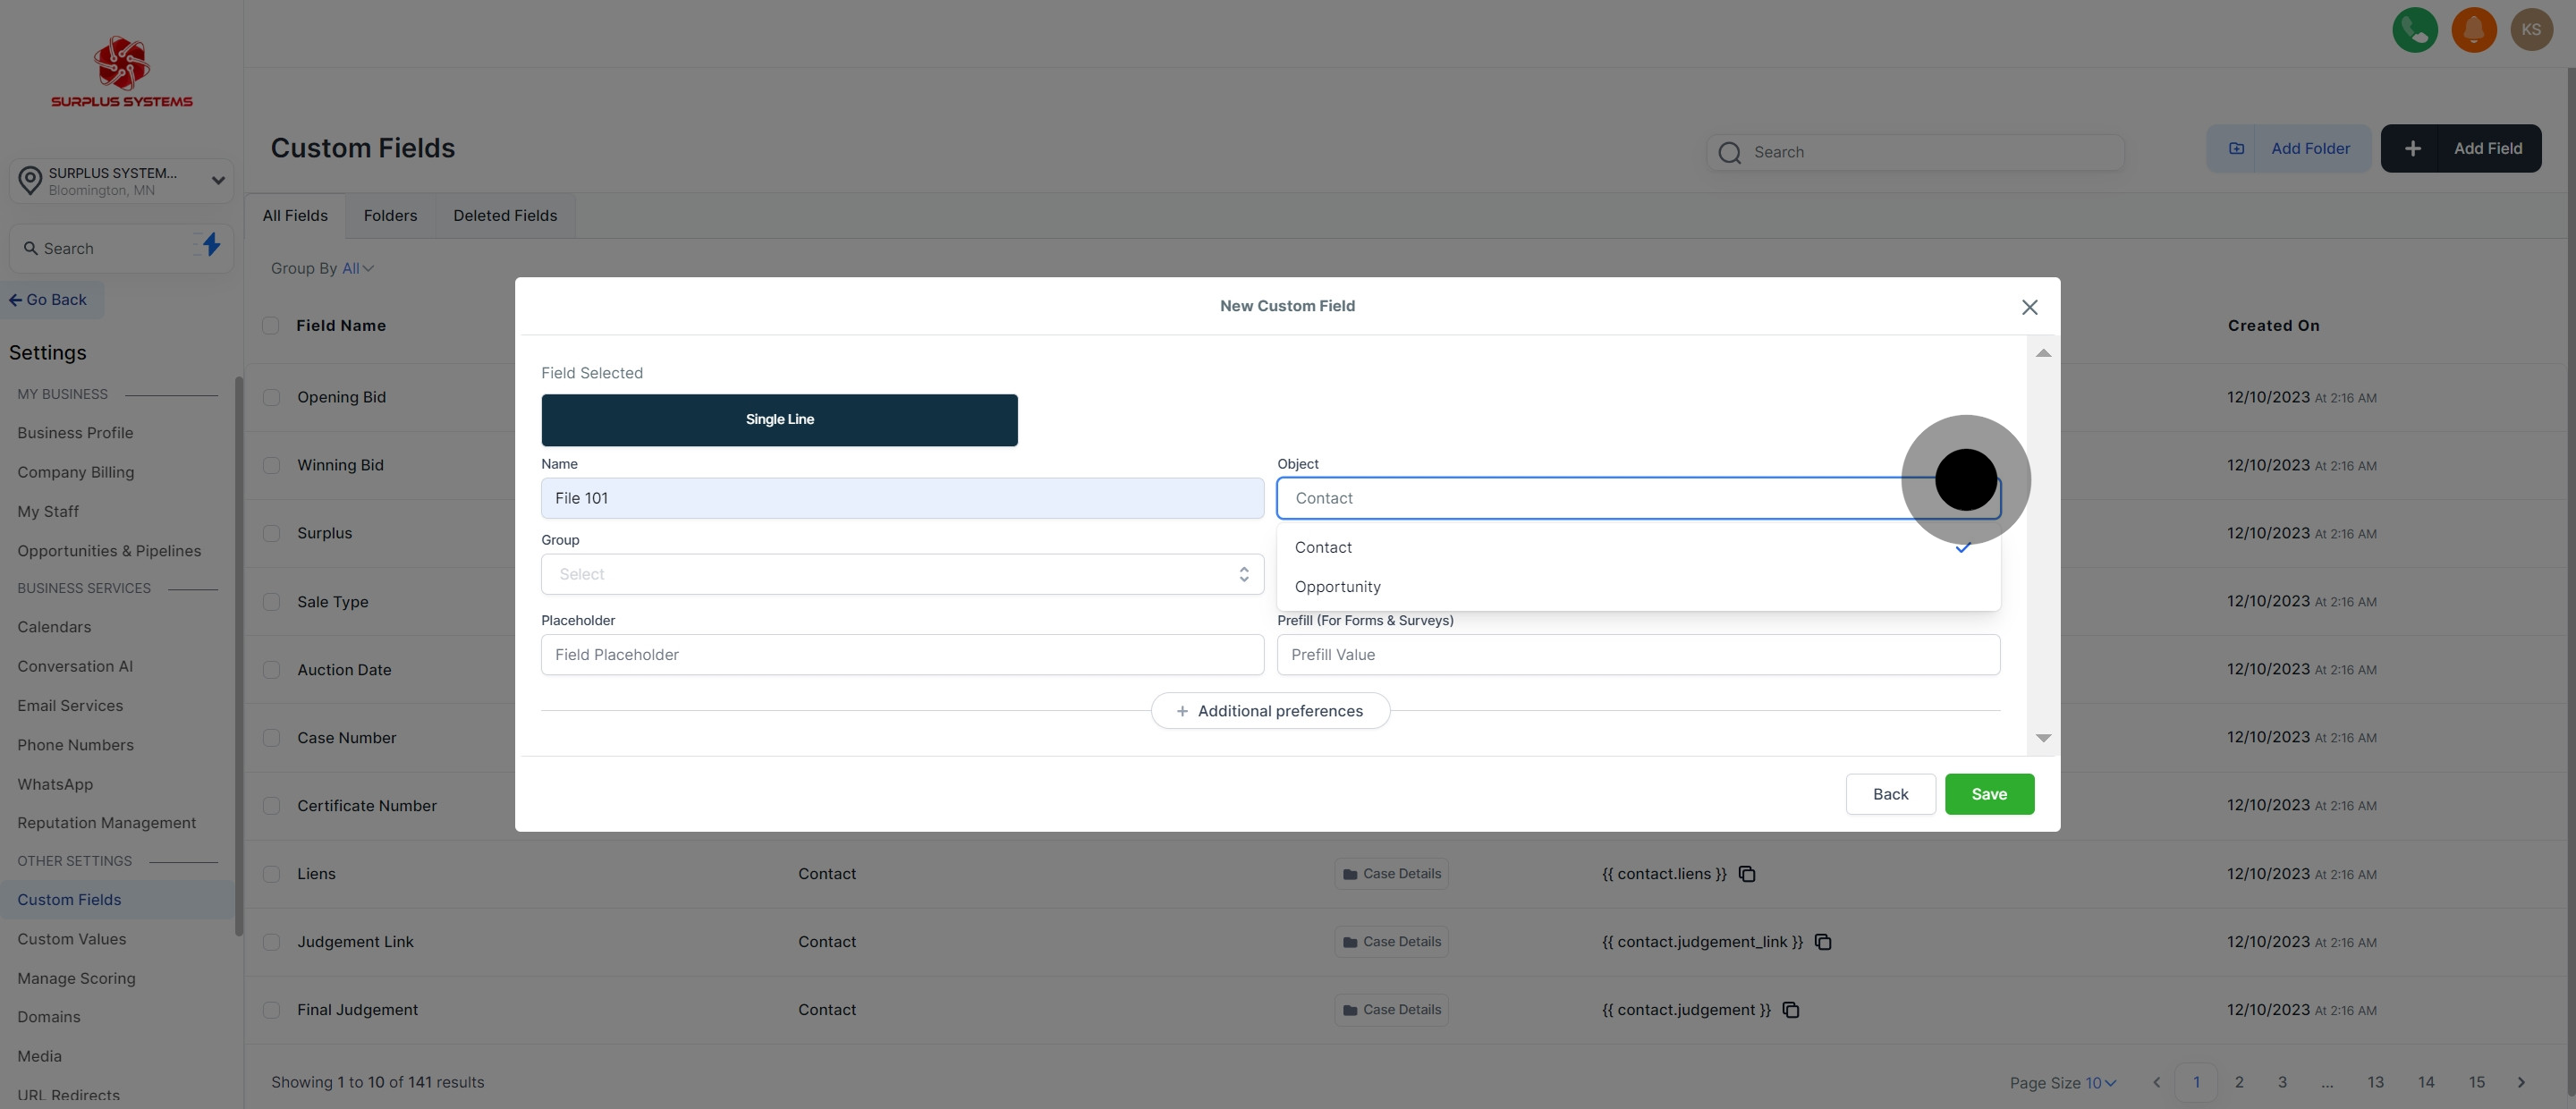
7. After, choose object from the drop down field
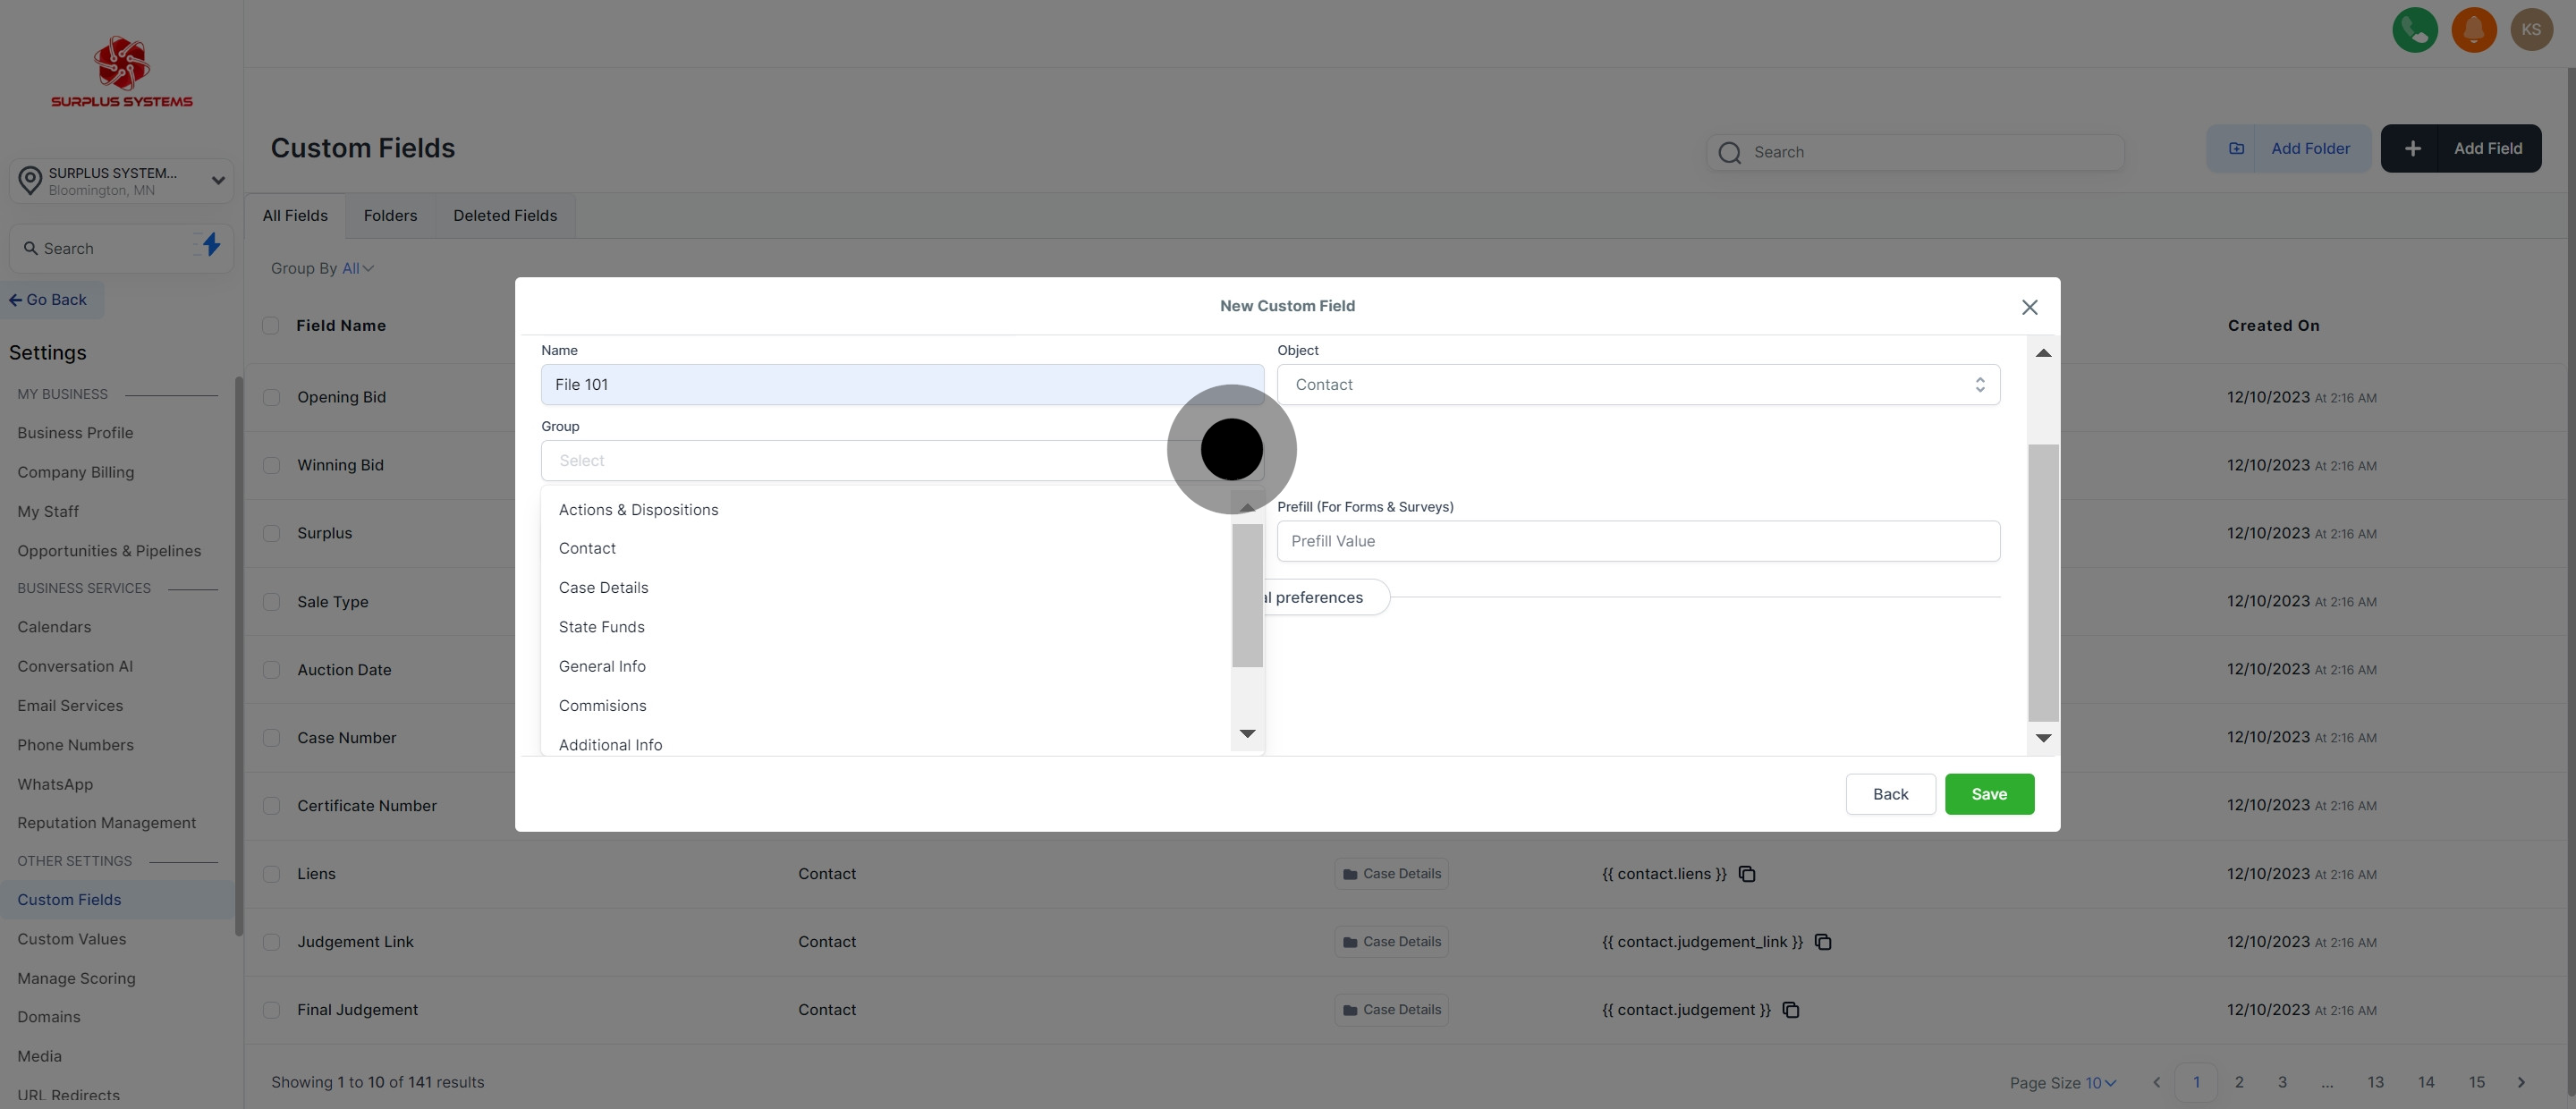
8. Continue by selecting one option under Group's drop down list
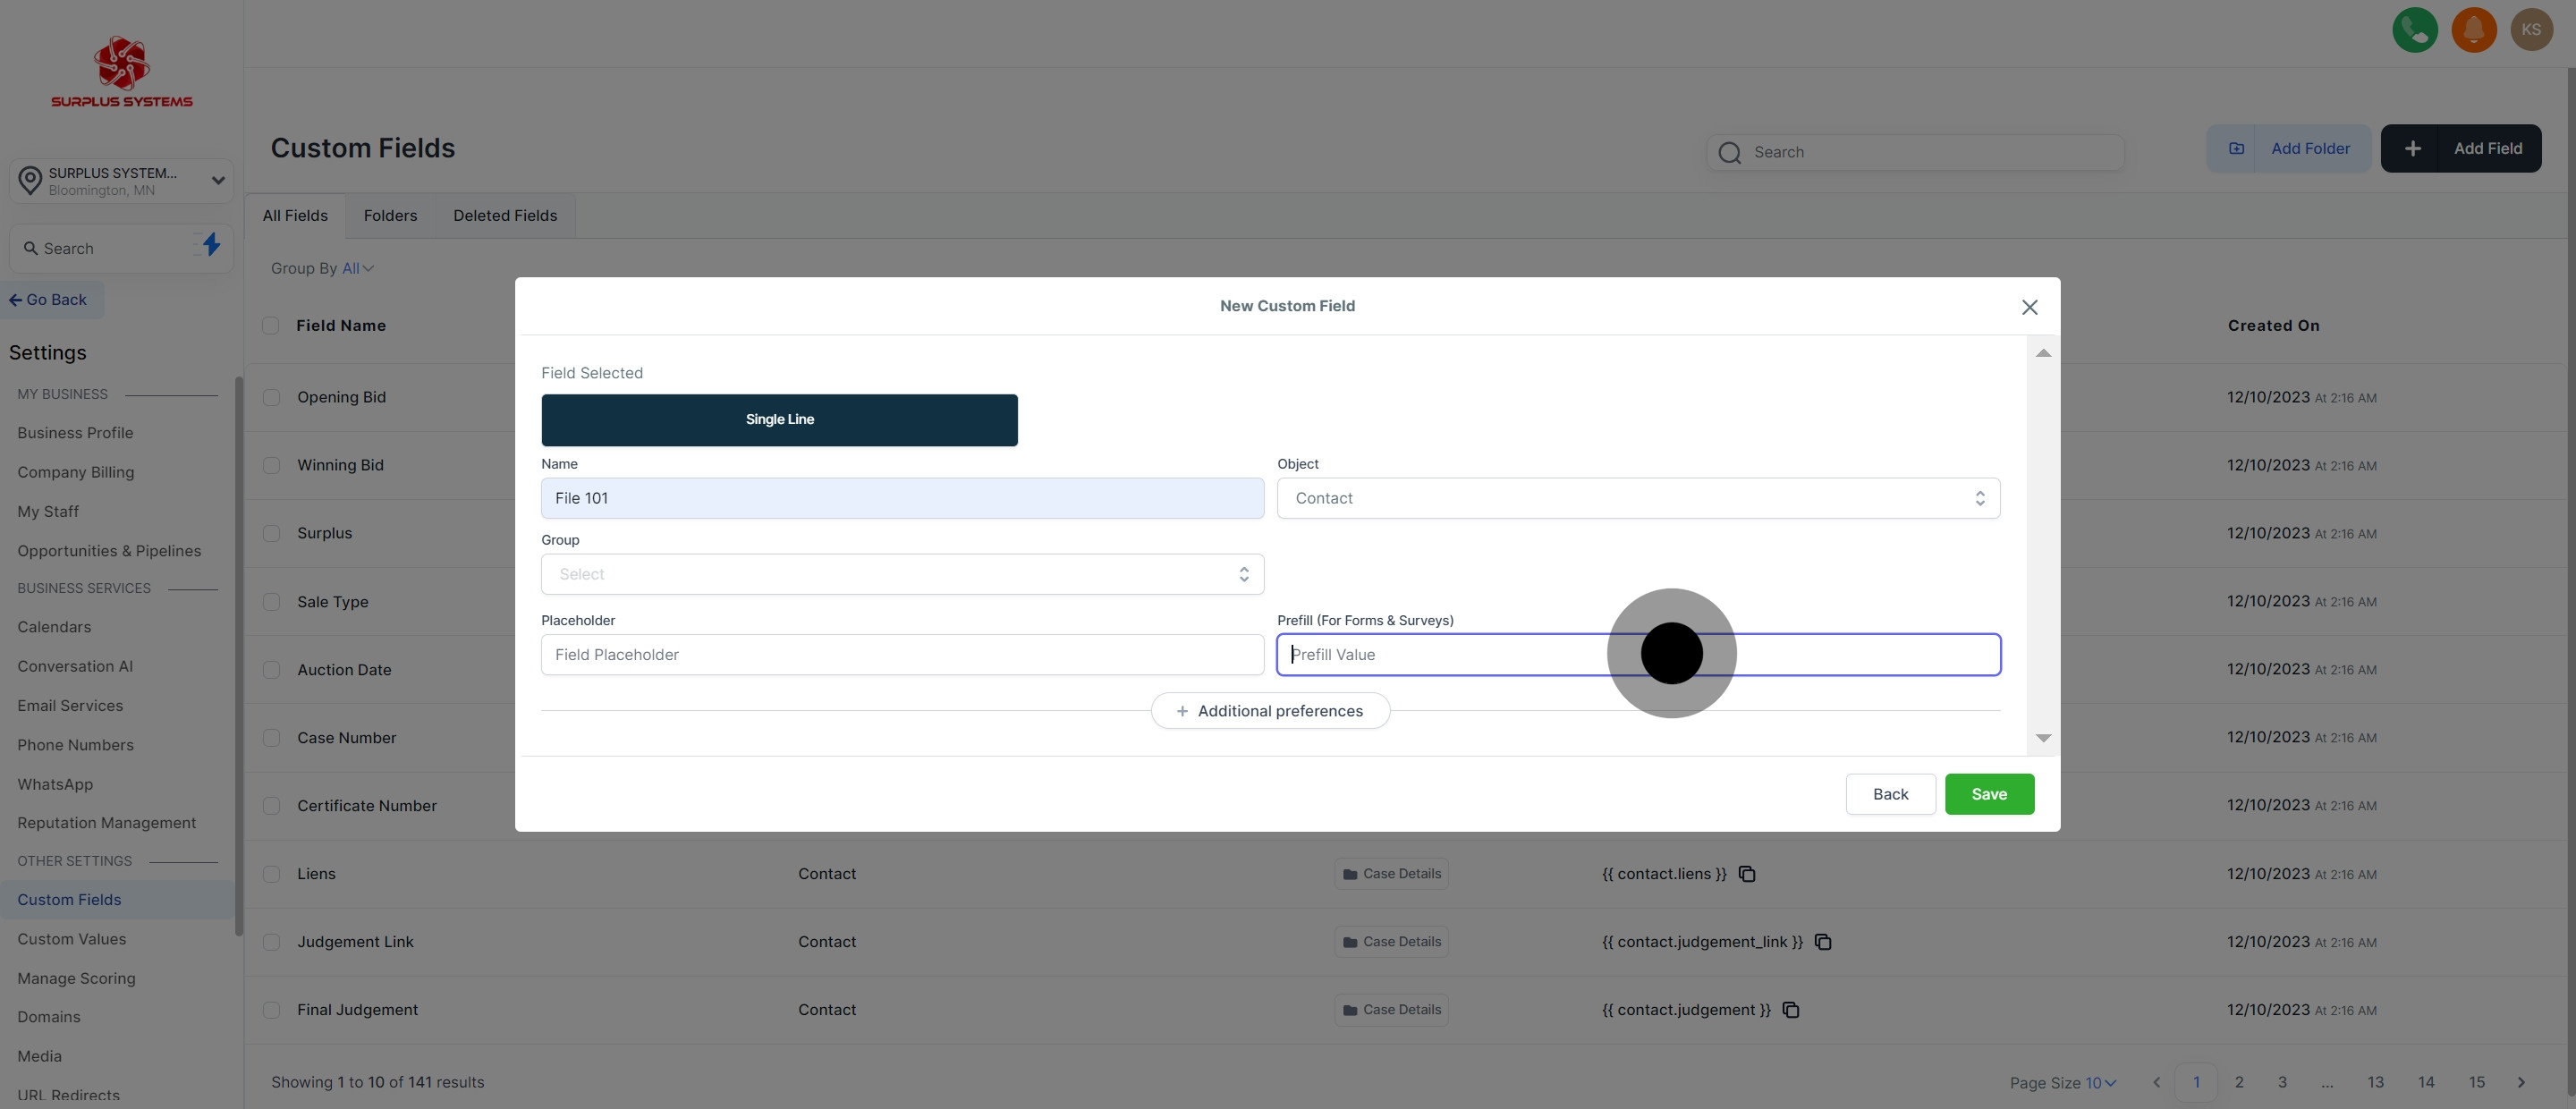
9. Next, provide Prefill Value
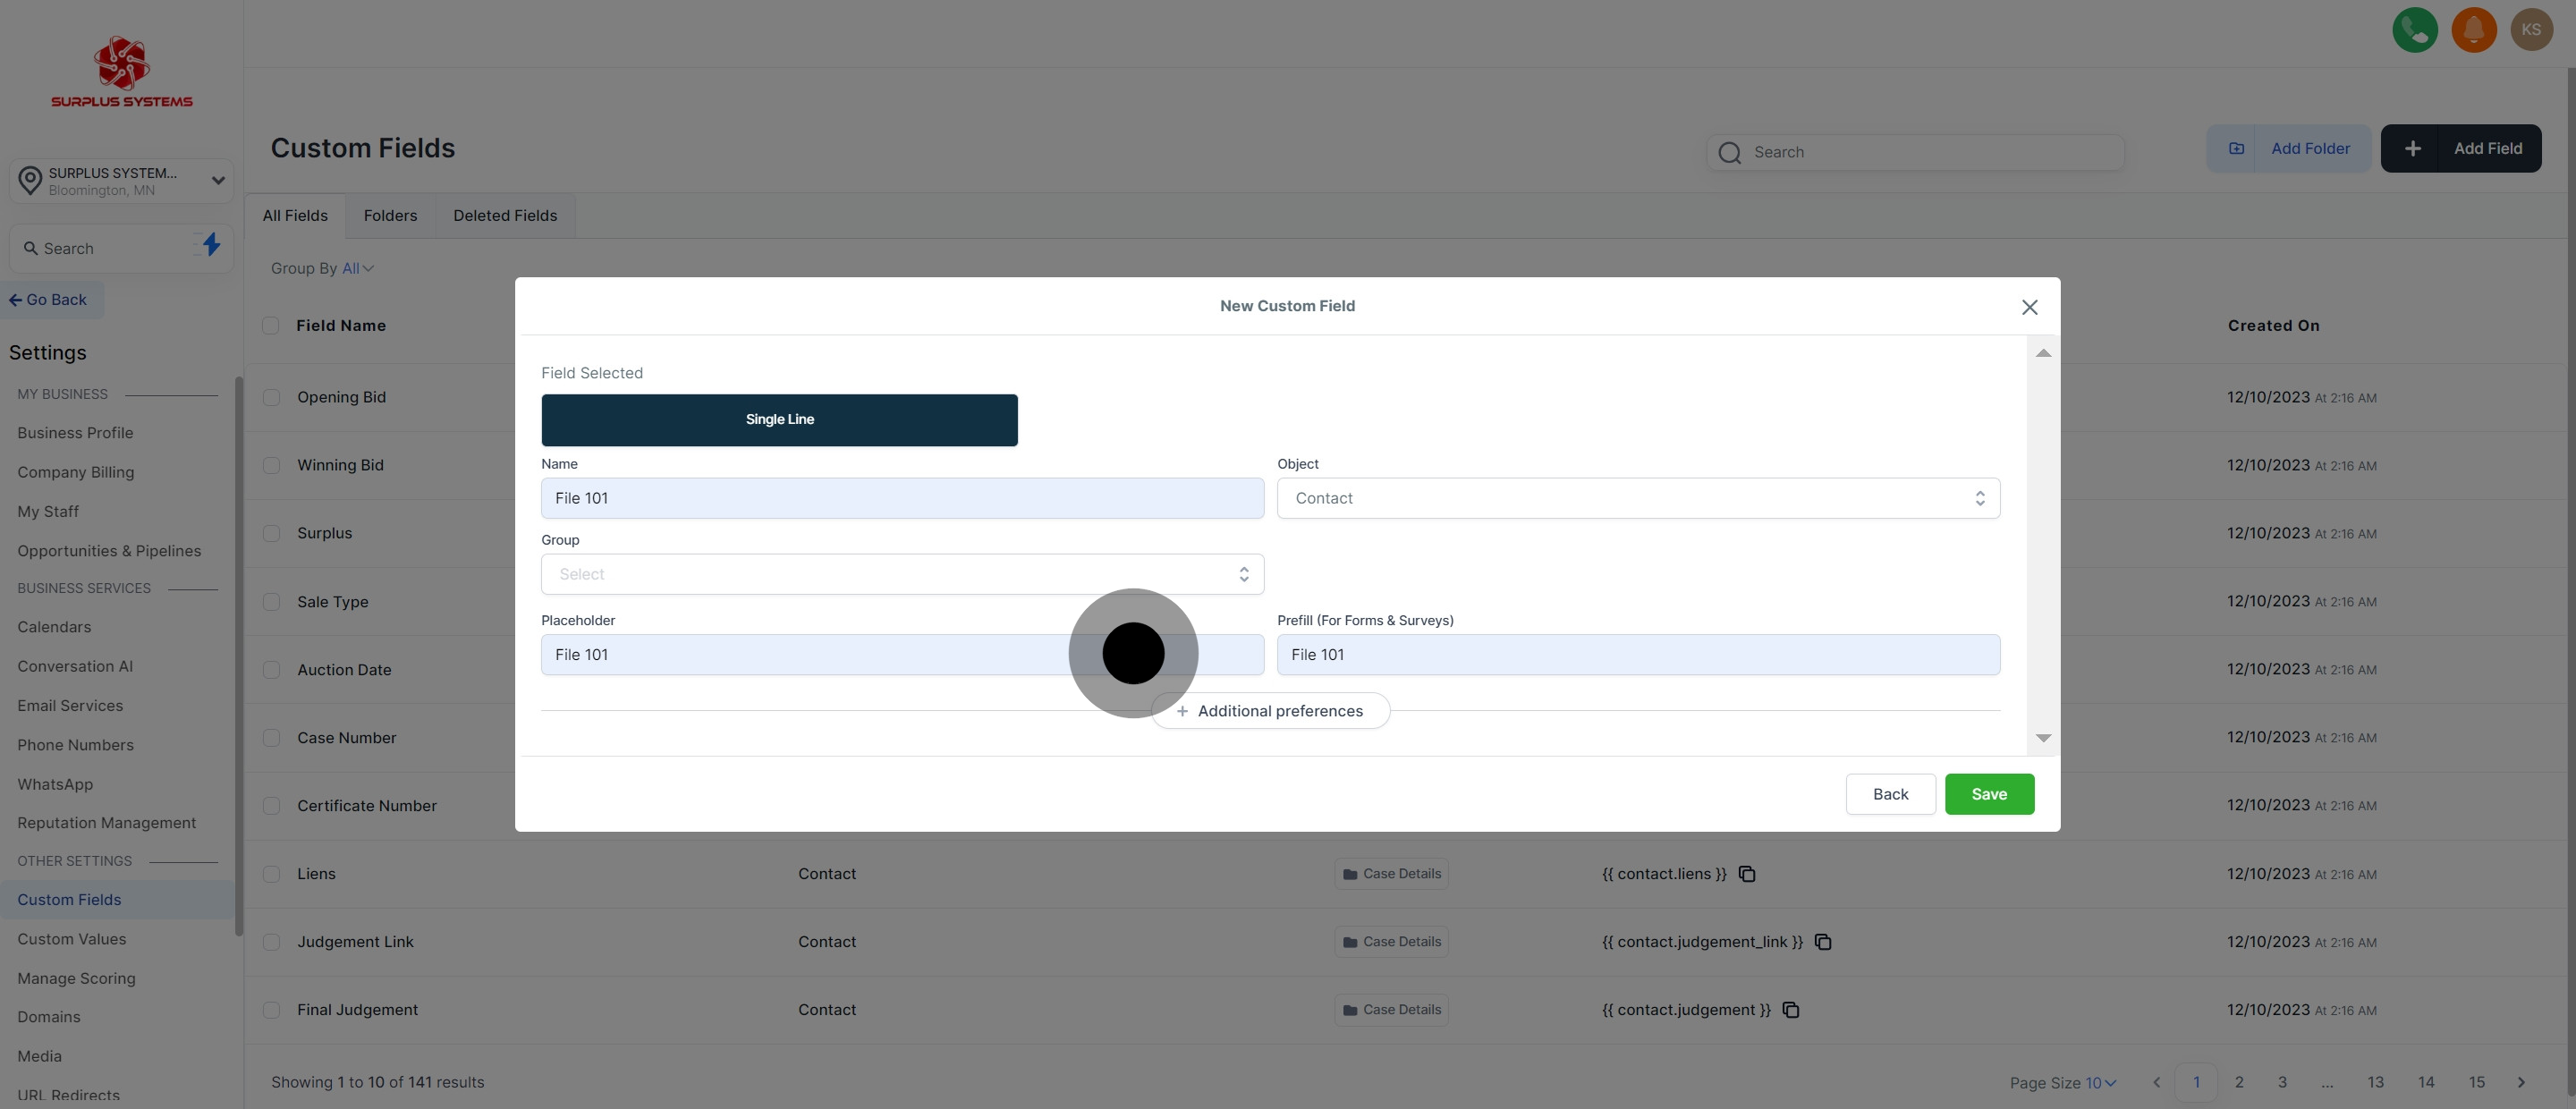
10. Next, fill in Placeholder Value
11. Then, click 'Additional preferences'.
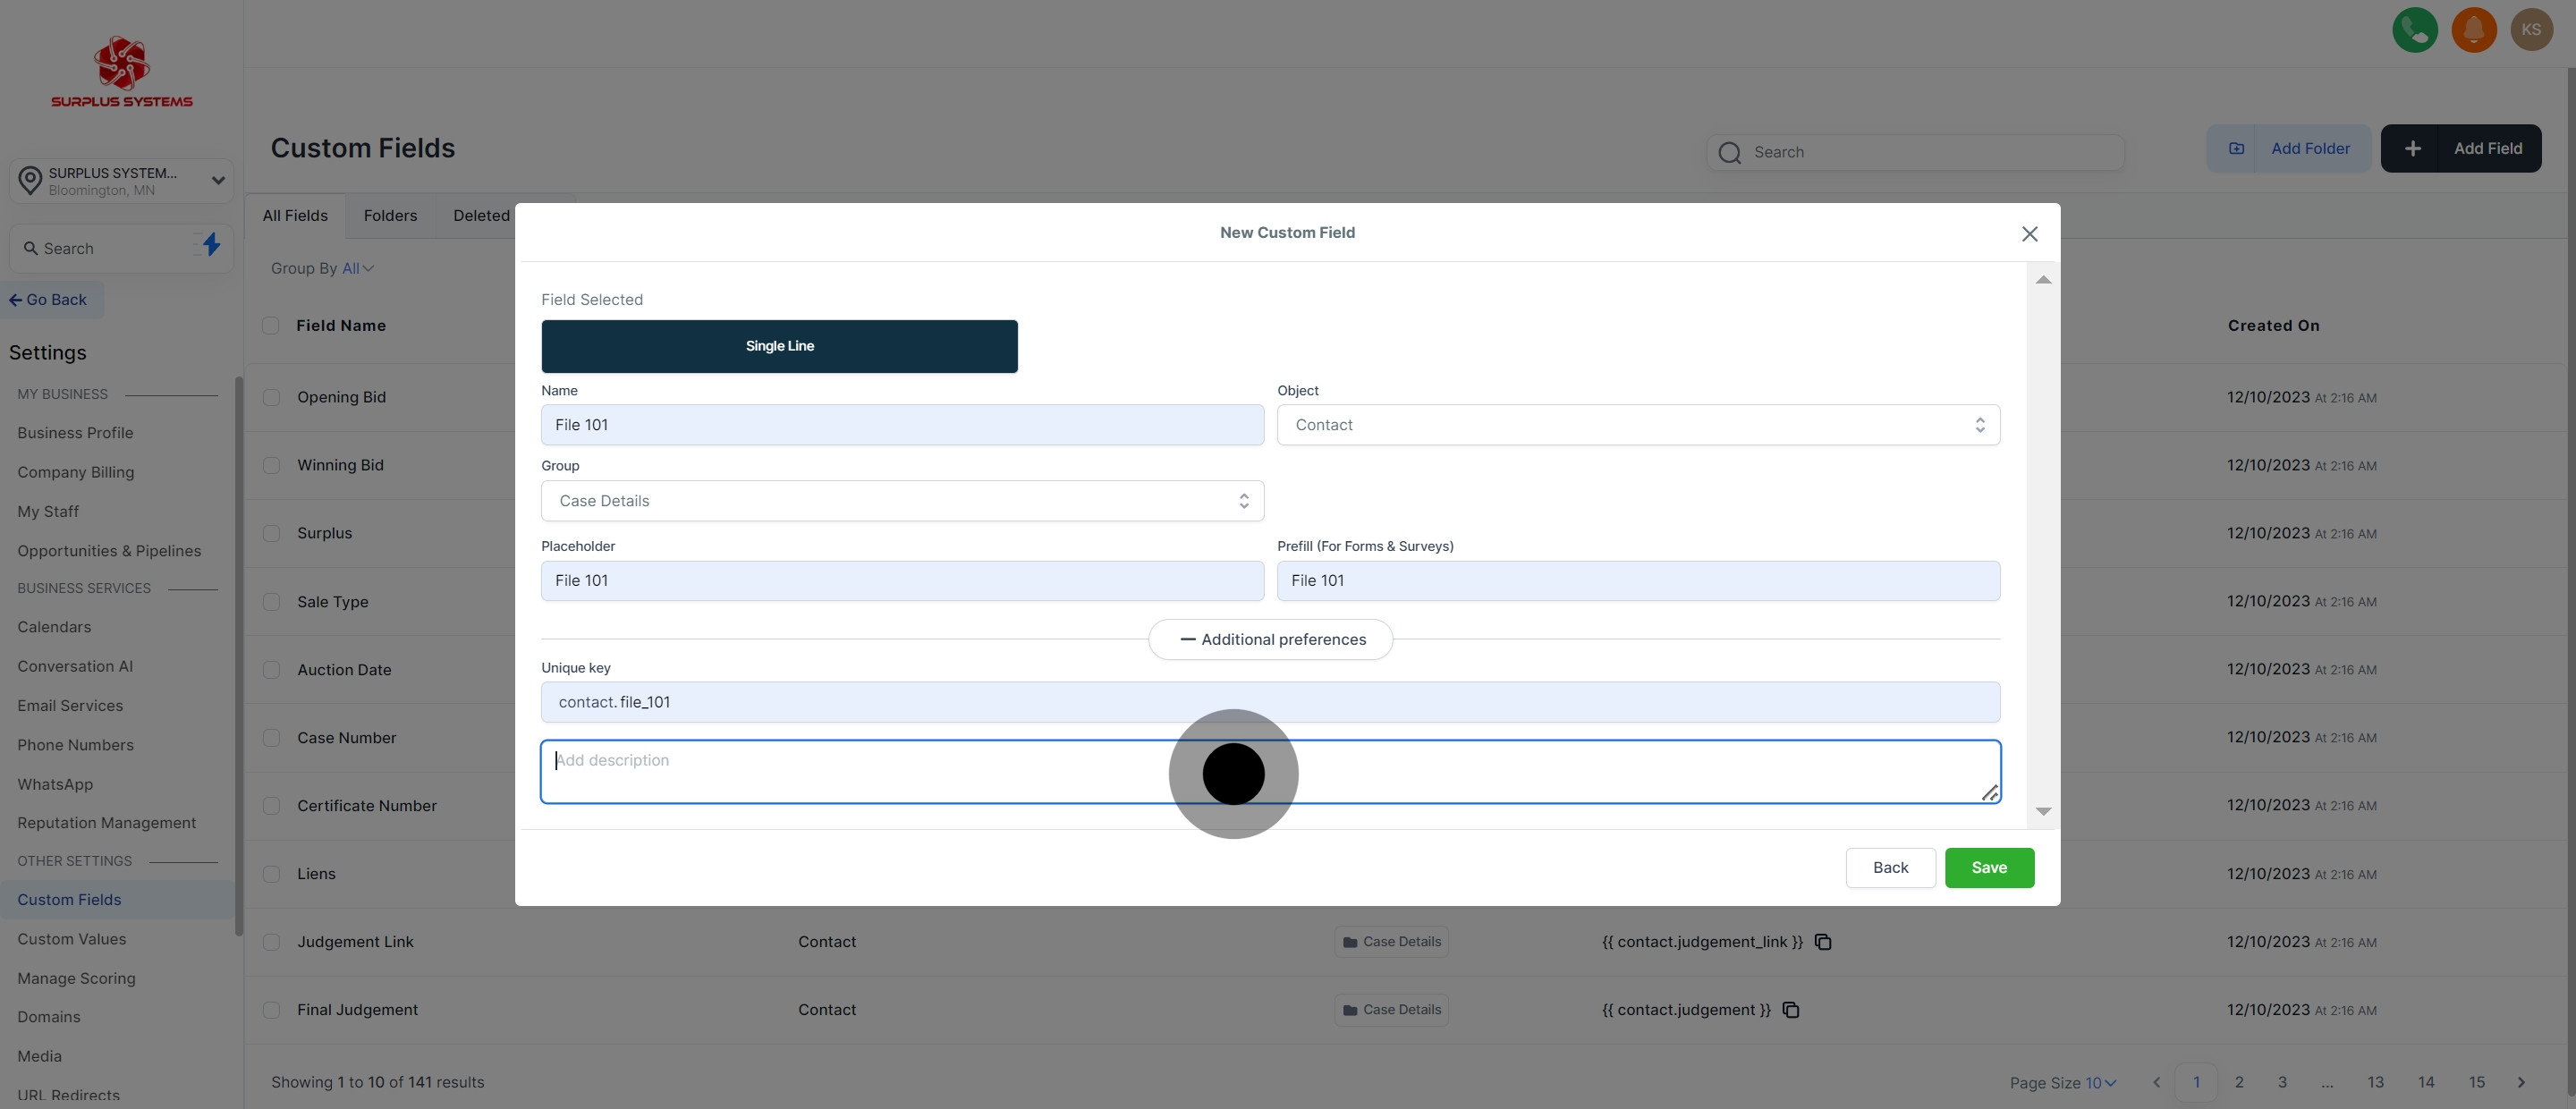
12. Provide a unique key for your custom field
13. Then write a description.
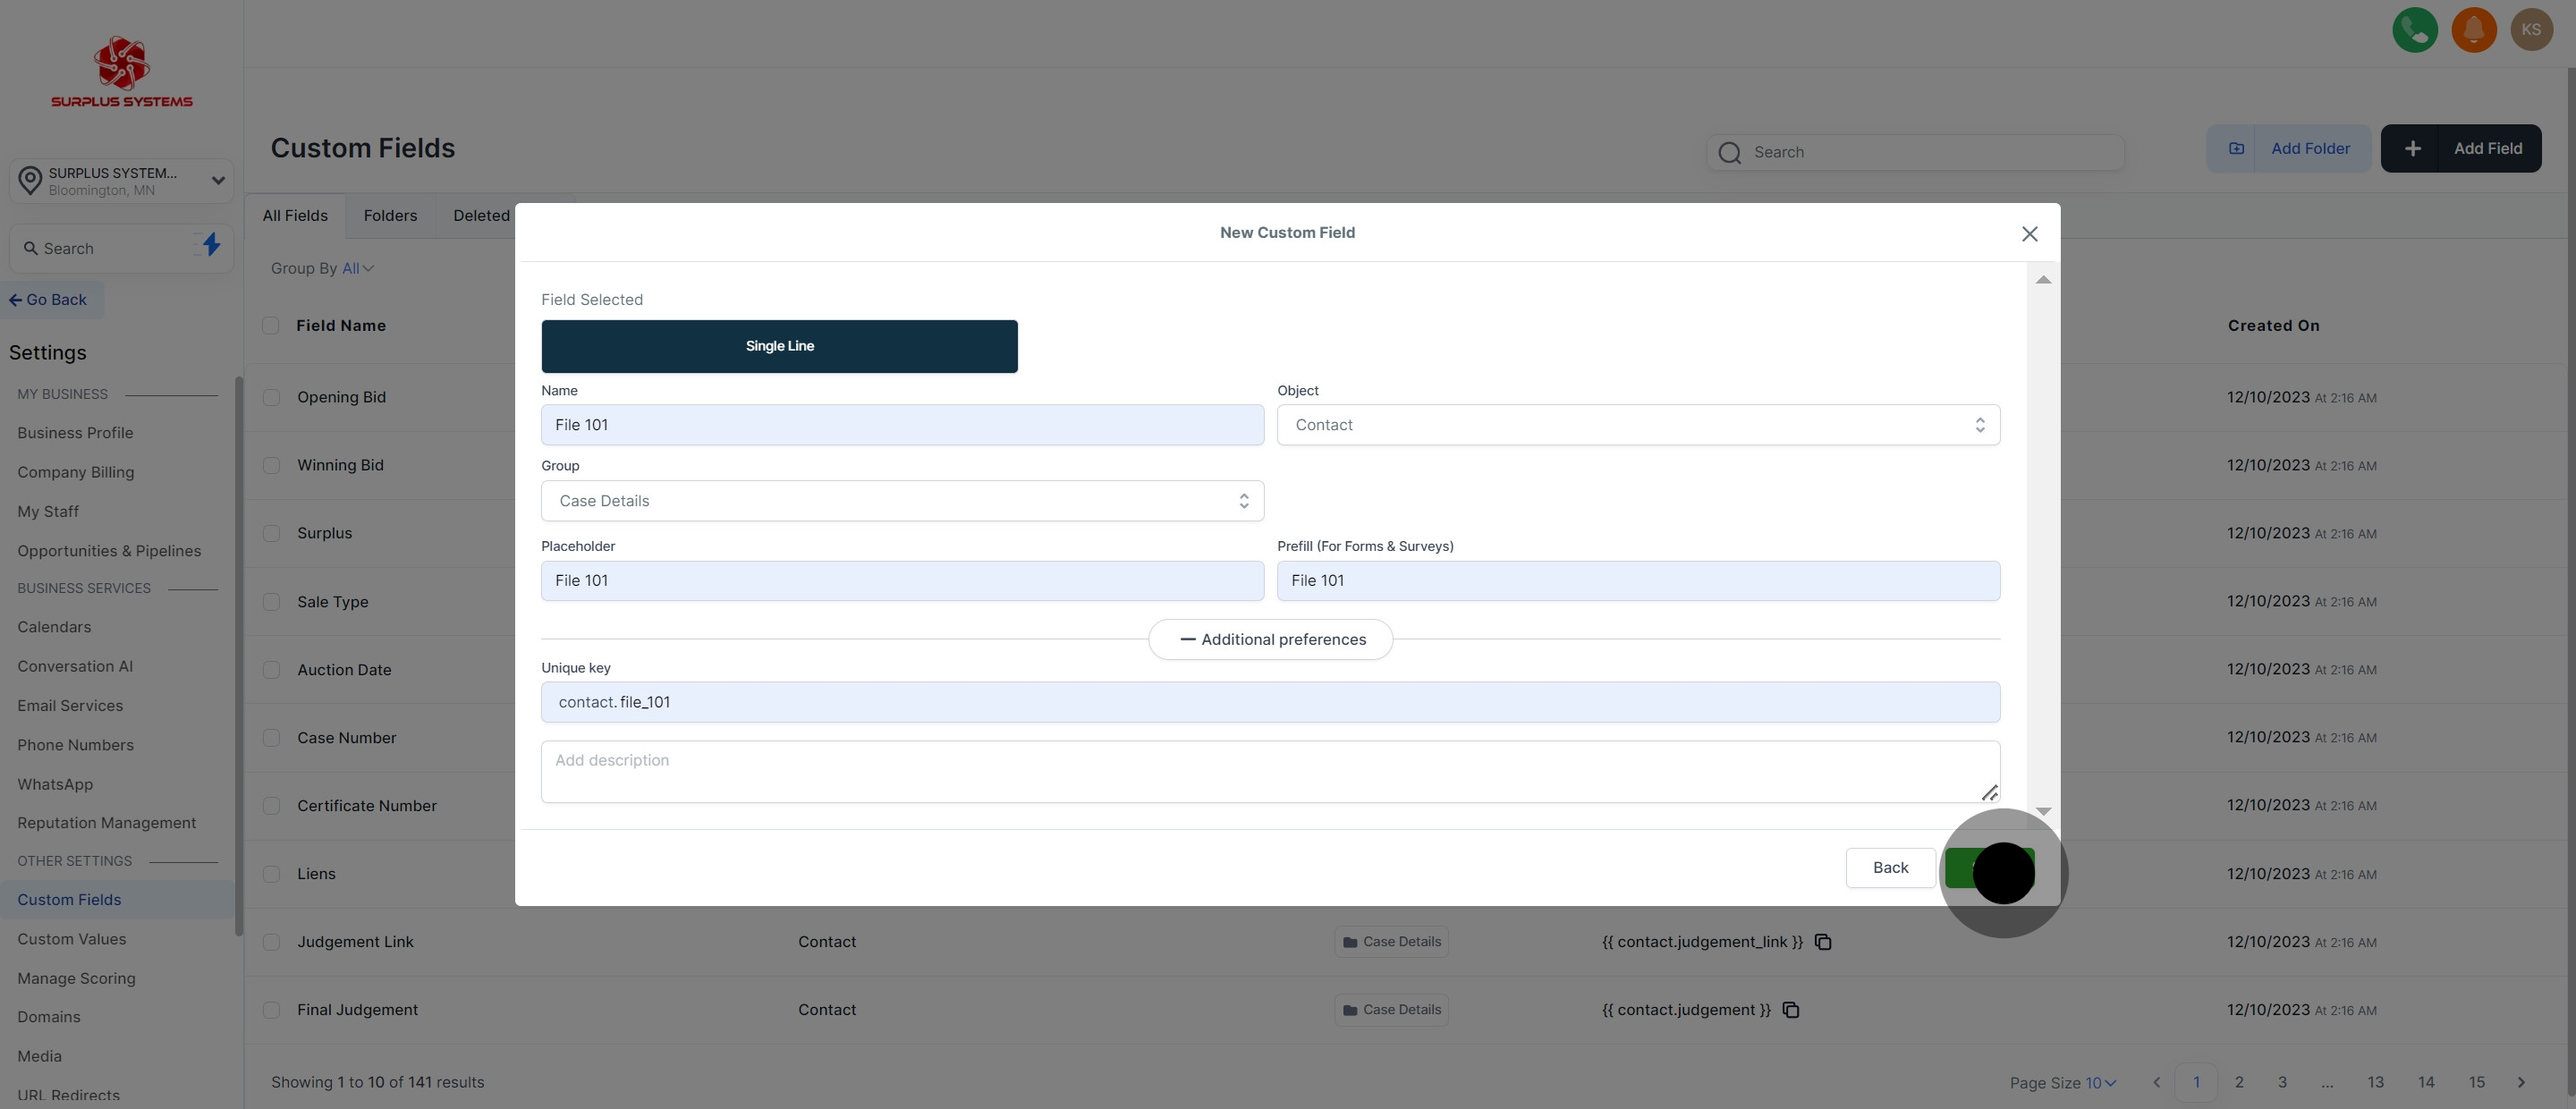
14. Finally, click 'Save' to confirm.
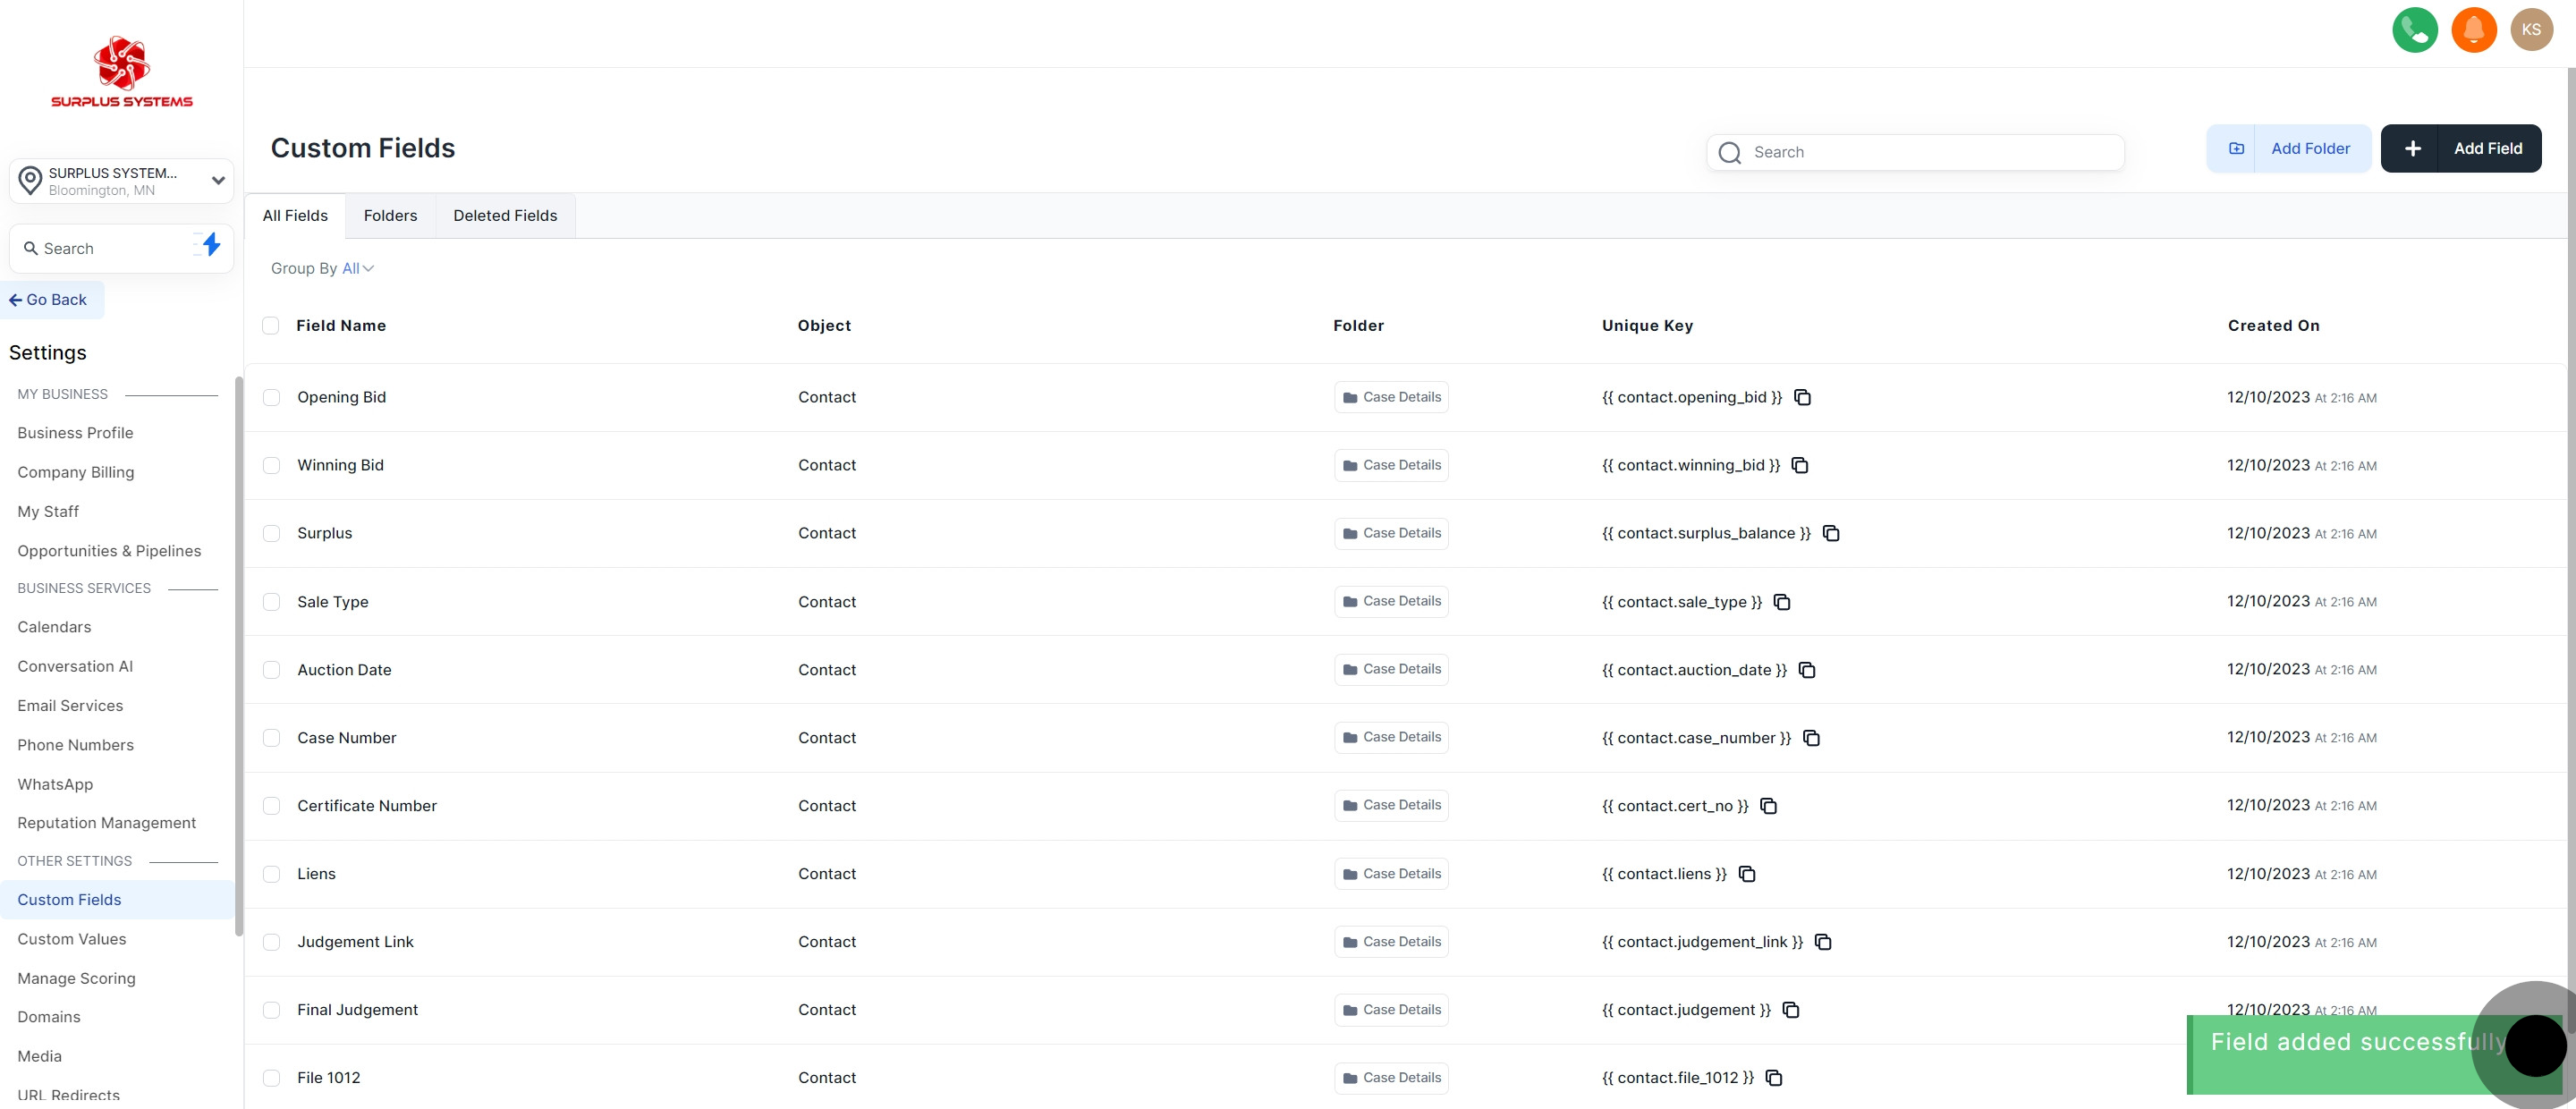
15. Custom Field successfully added!
Did this answer your question?
😞
😐
😁
How to Add a New Field in Custom Fields on Surplus Systems" | SURPLUS SYSTEMS