Optimizing Outreach with SmartLists in Surplus Systems
Master the art of segmenting and targeting your audience using SmartLists within the Surplus Systems CRM. This guide will show you how to create, manage, and utilize SmartLists to refine your marketing strategies, enhance customer engagement, and drive sales effectively.
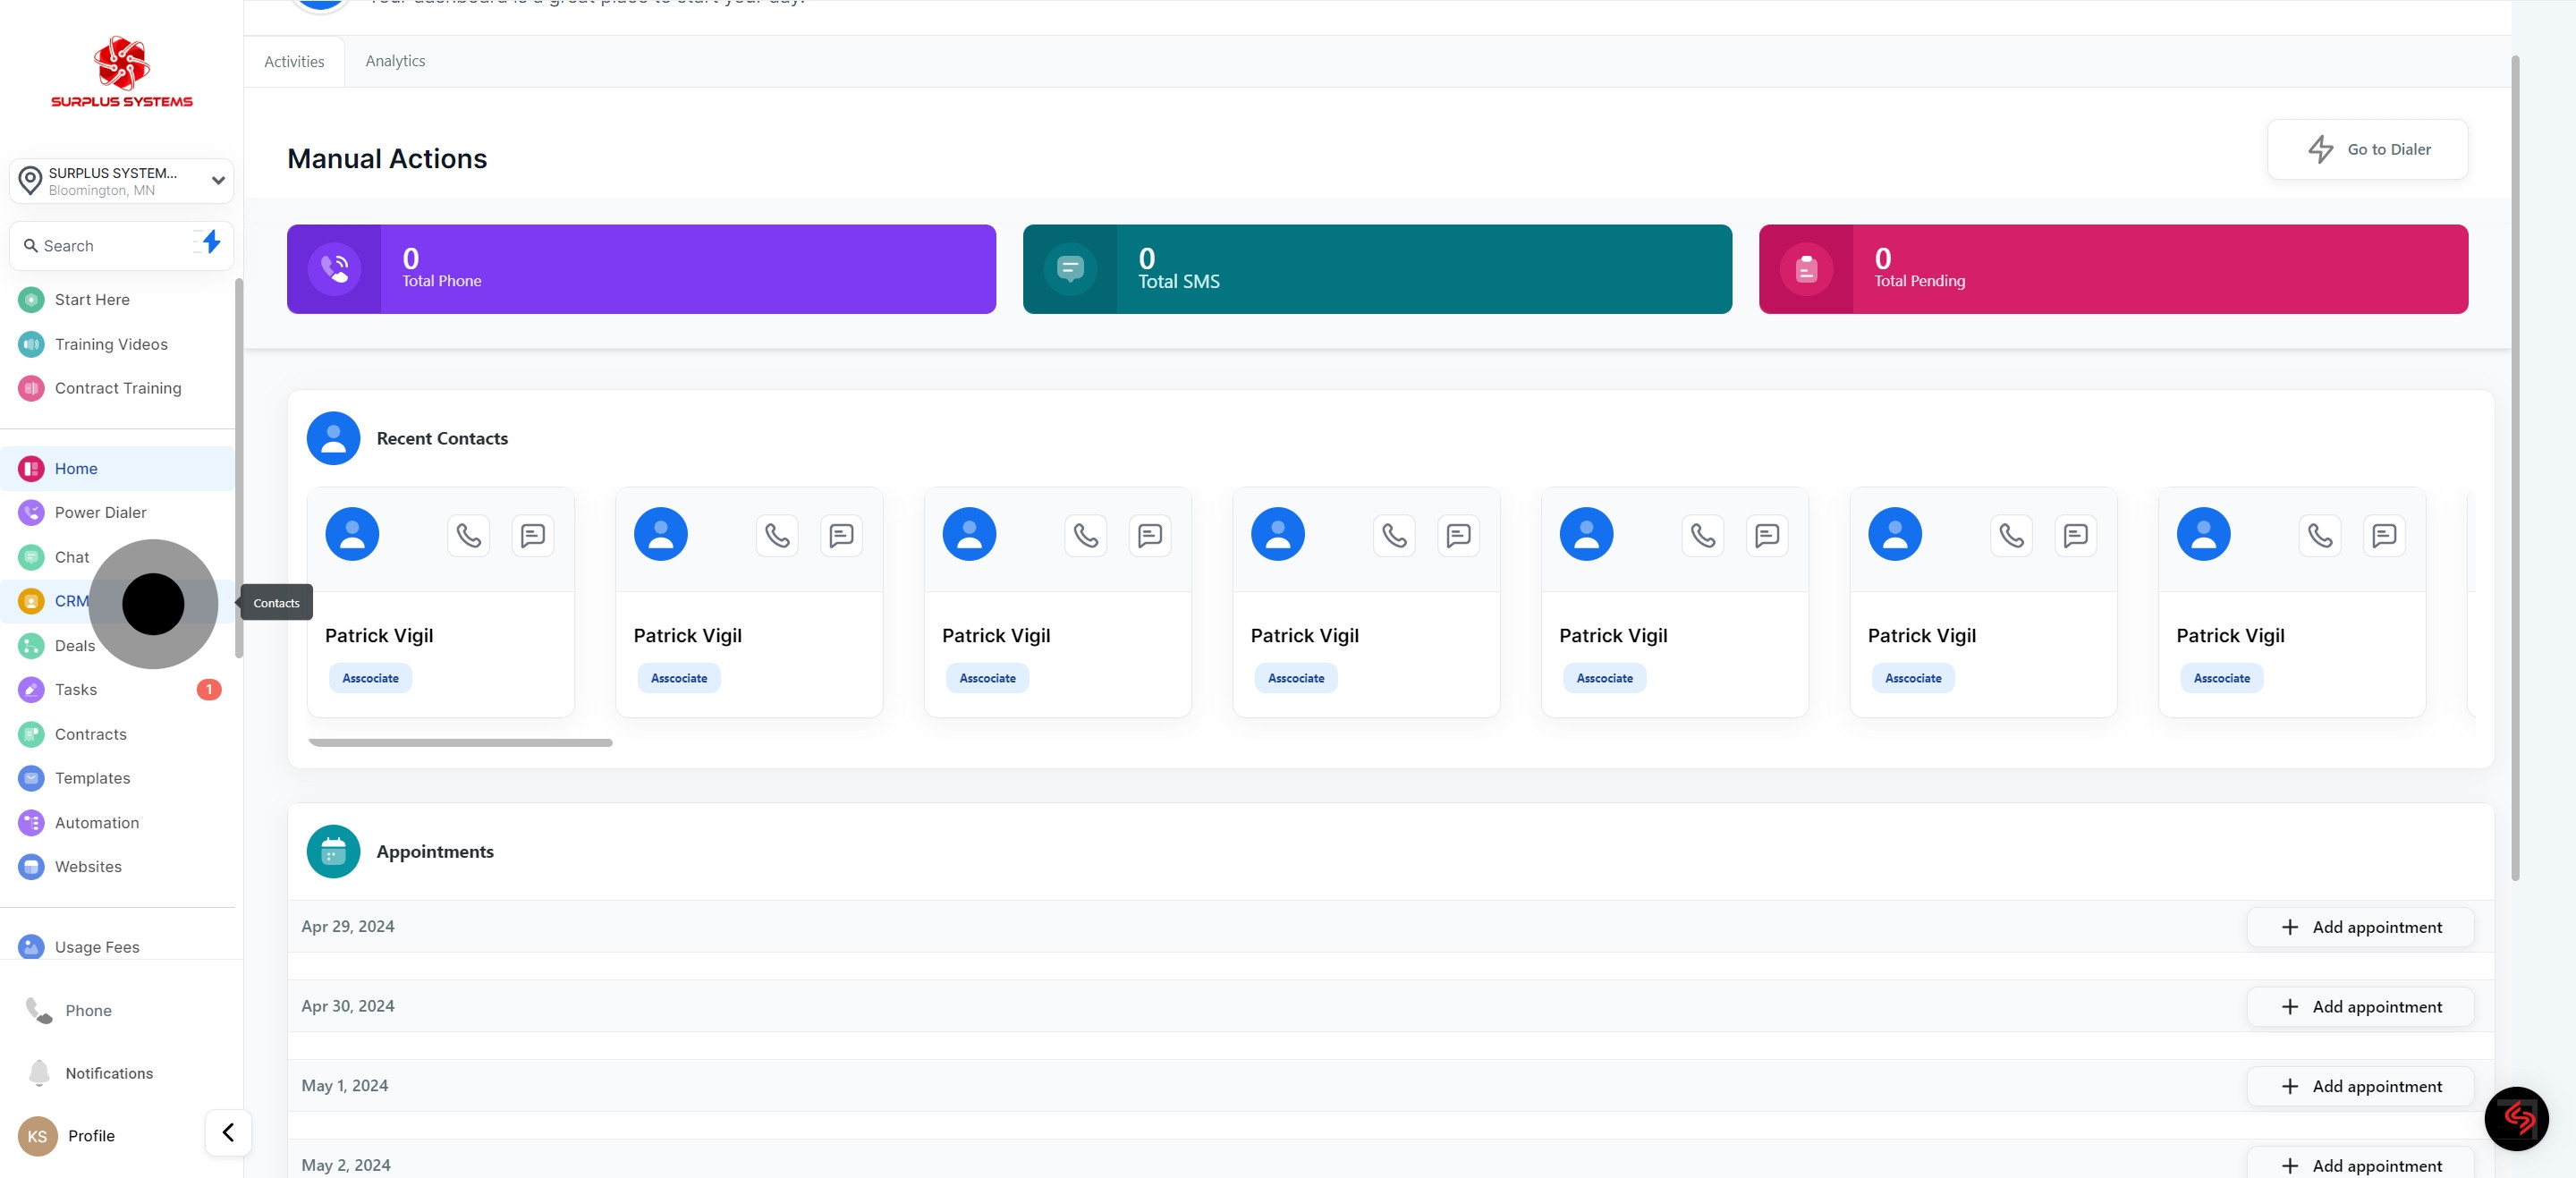
1. Begin by selecting Contacts Tab
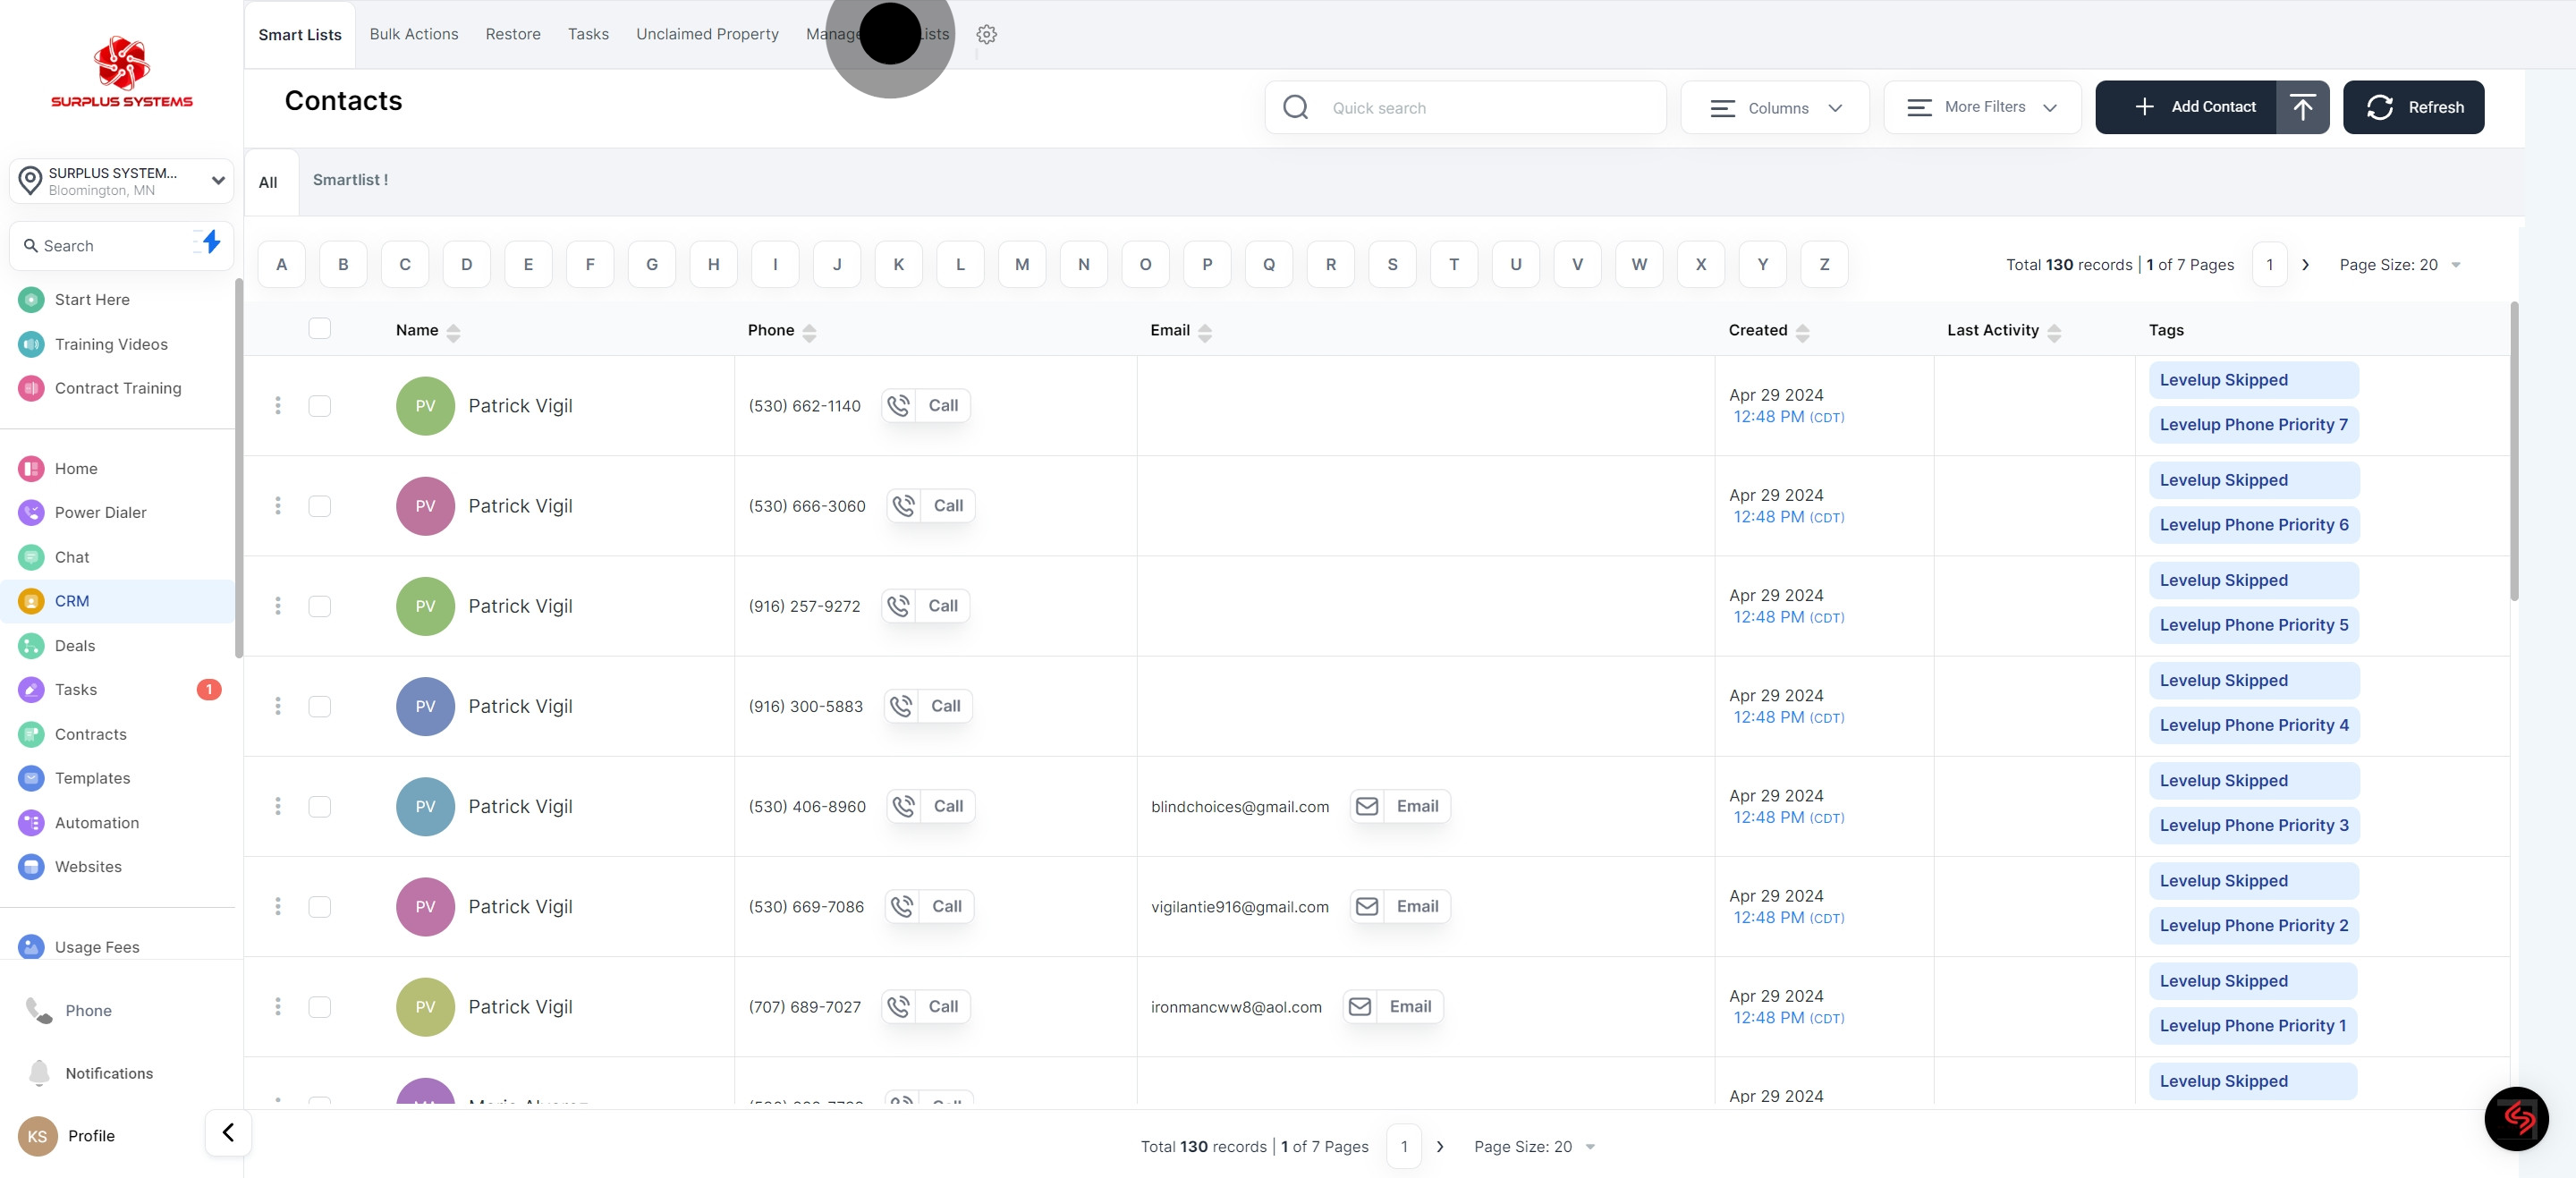
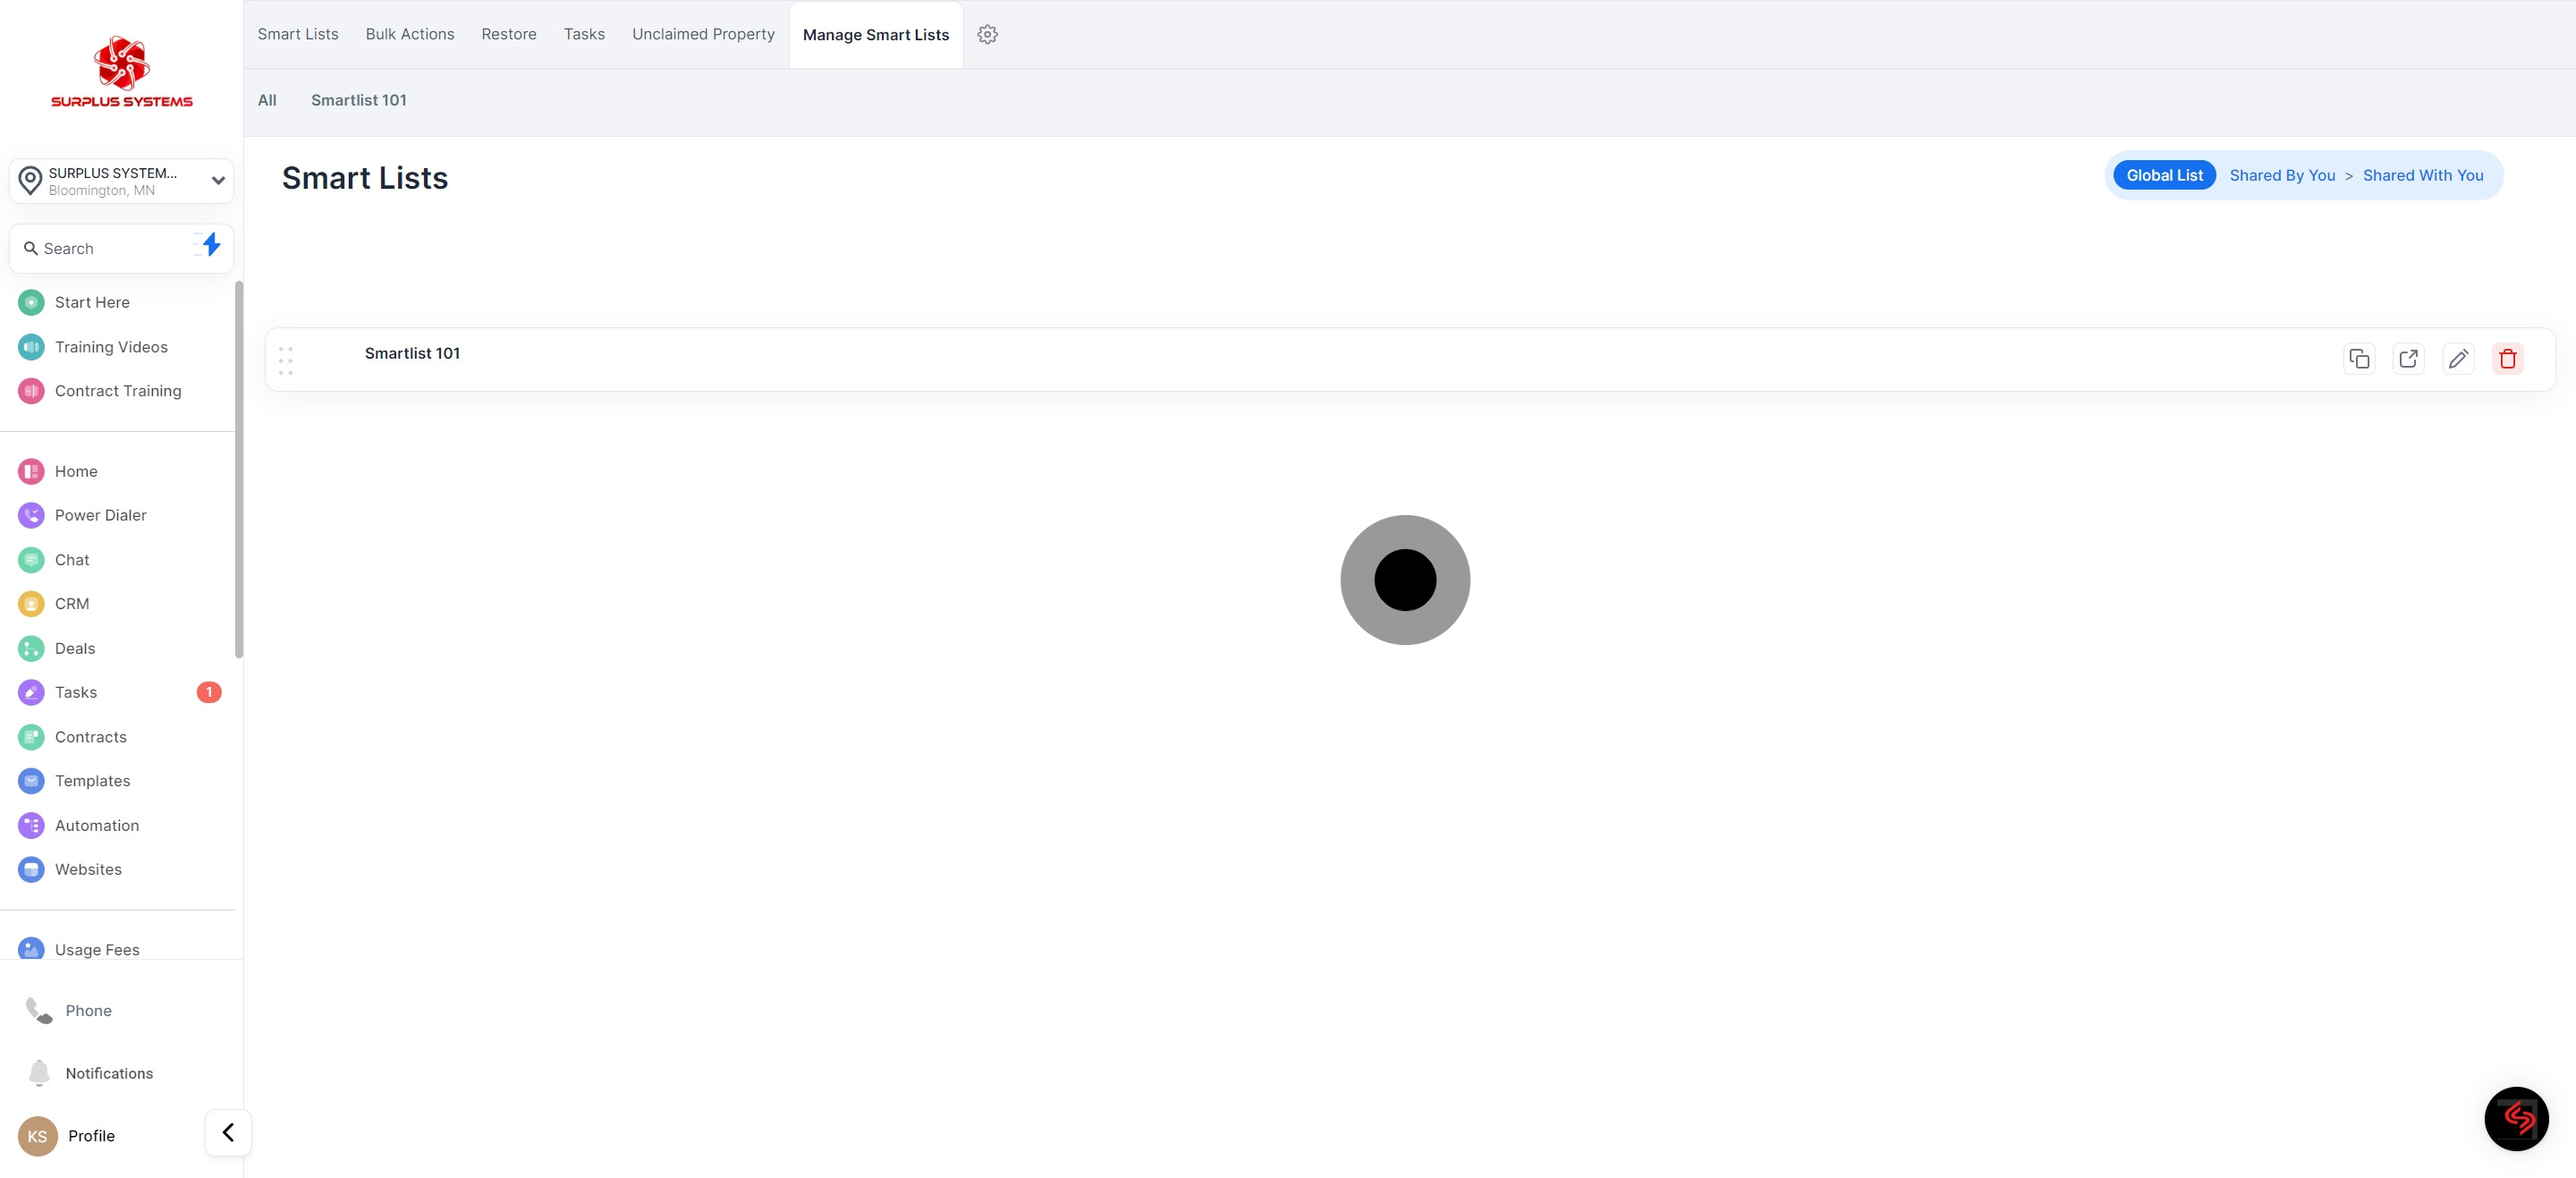
2. Next, choose the option for 'Manage Smart Lists'.
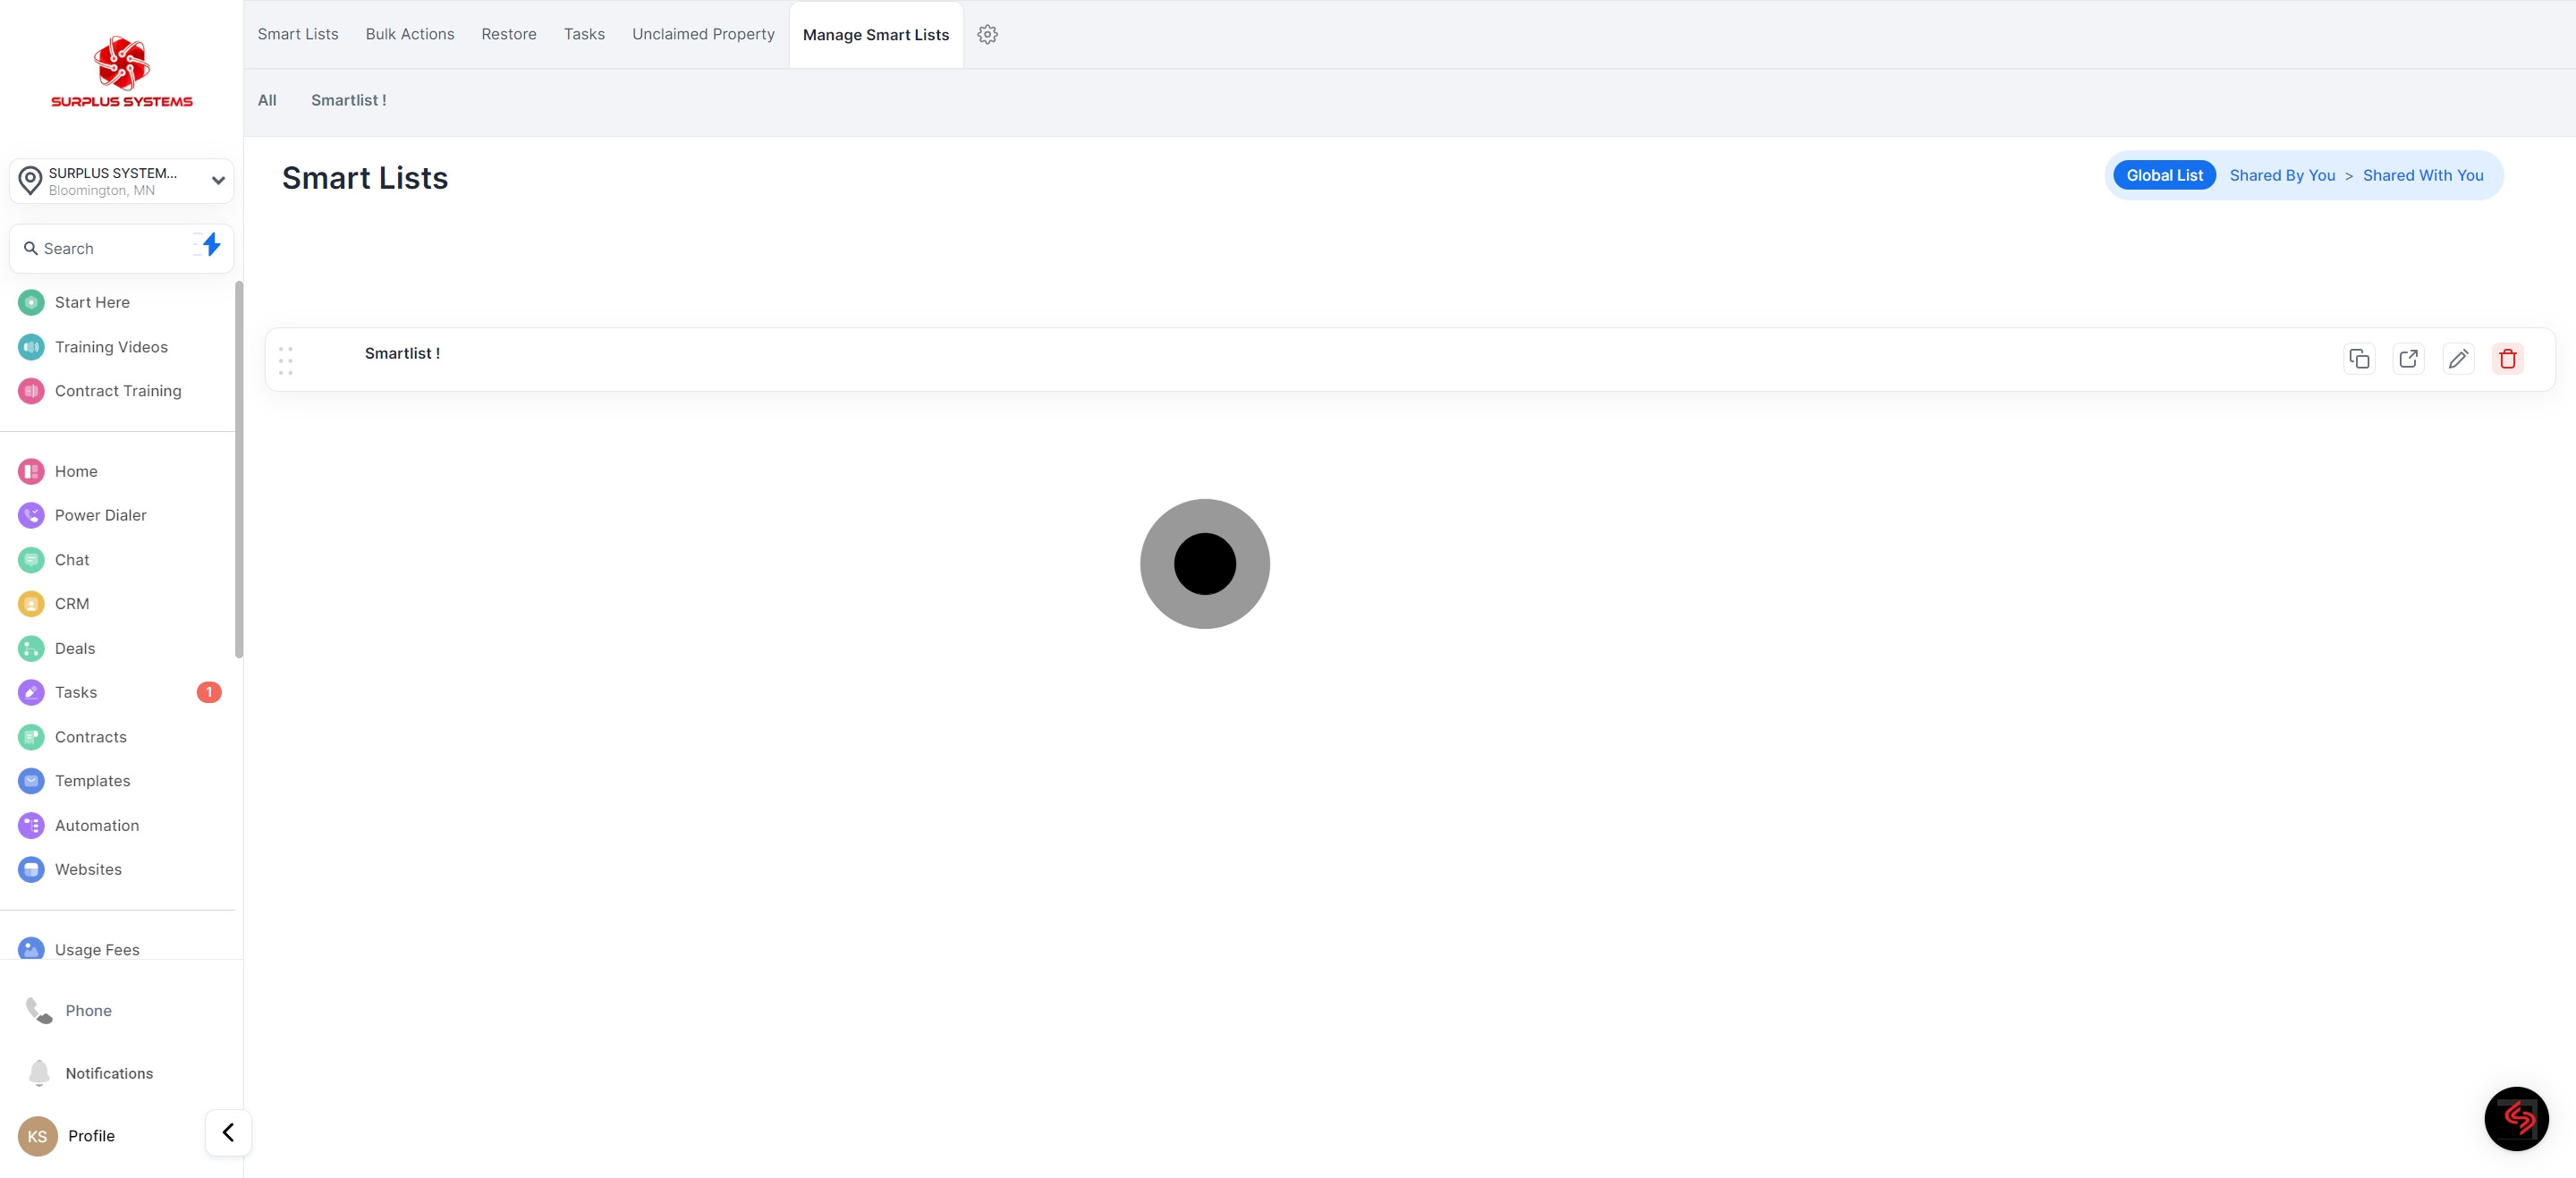
3. This is where your 'Smart Lists' are located.
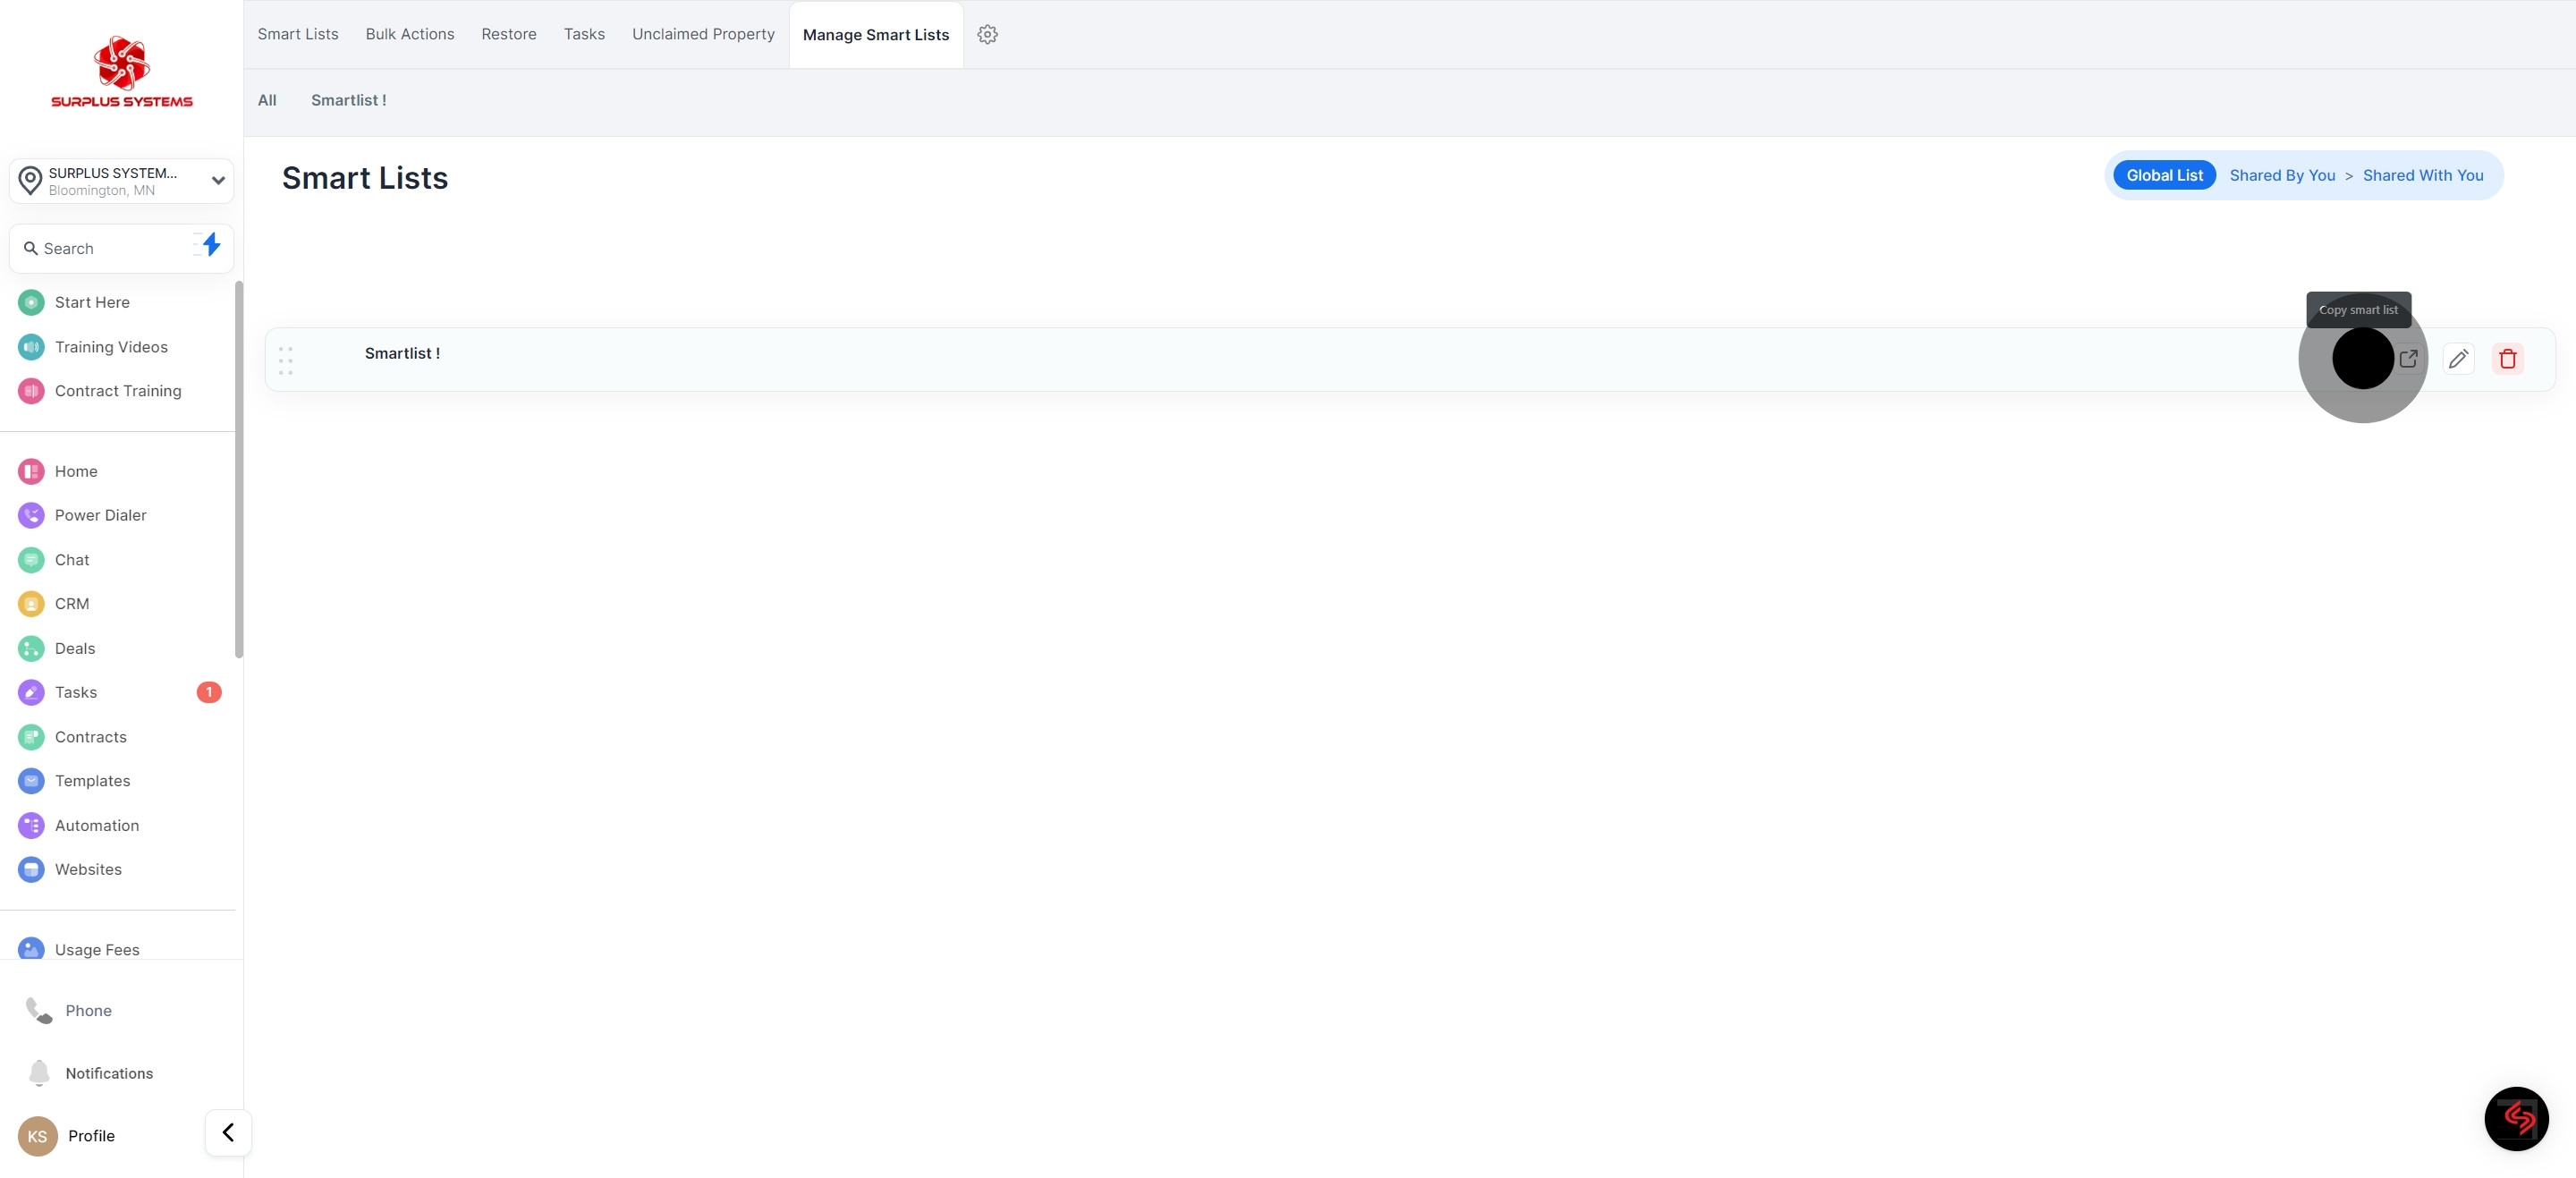
4. To copy Smart list, click this icon.
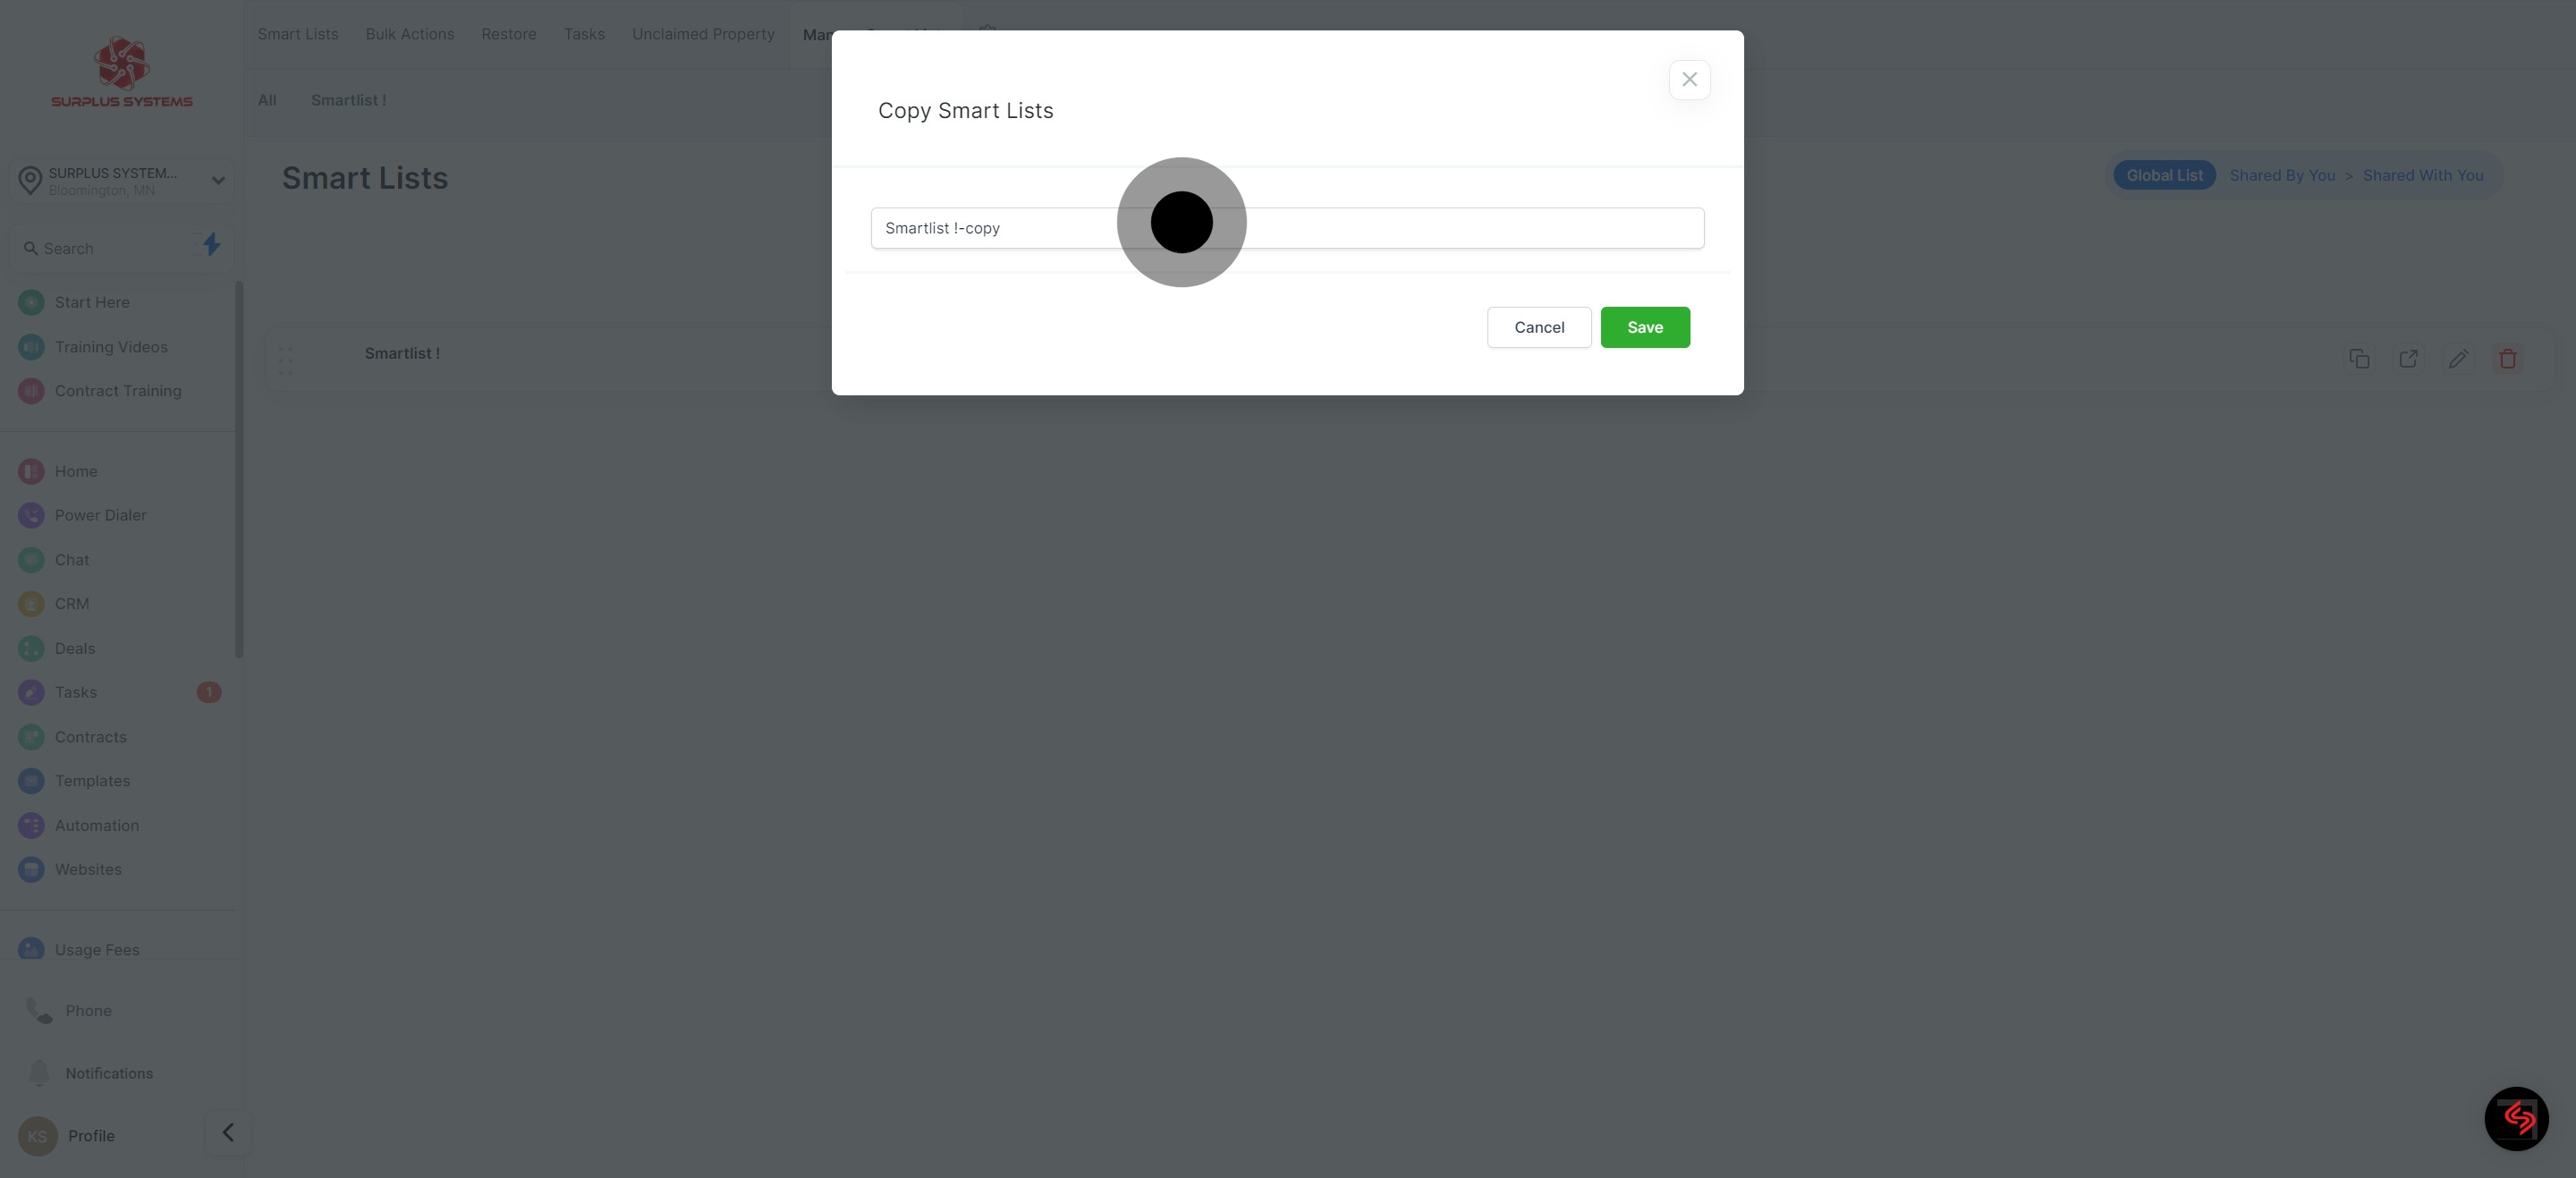
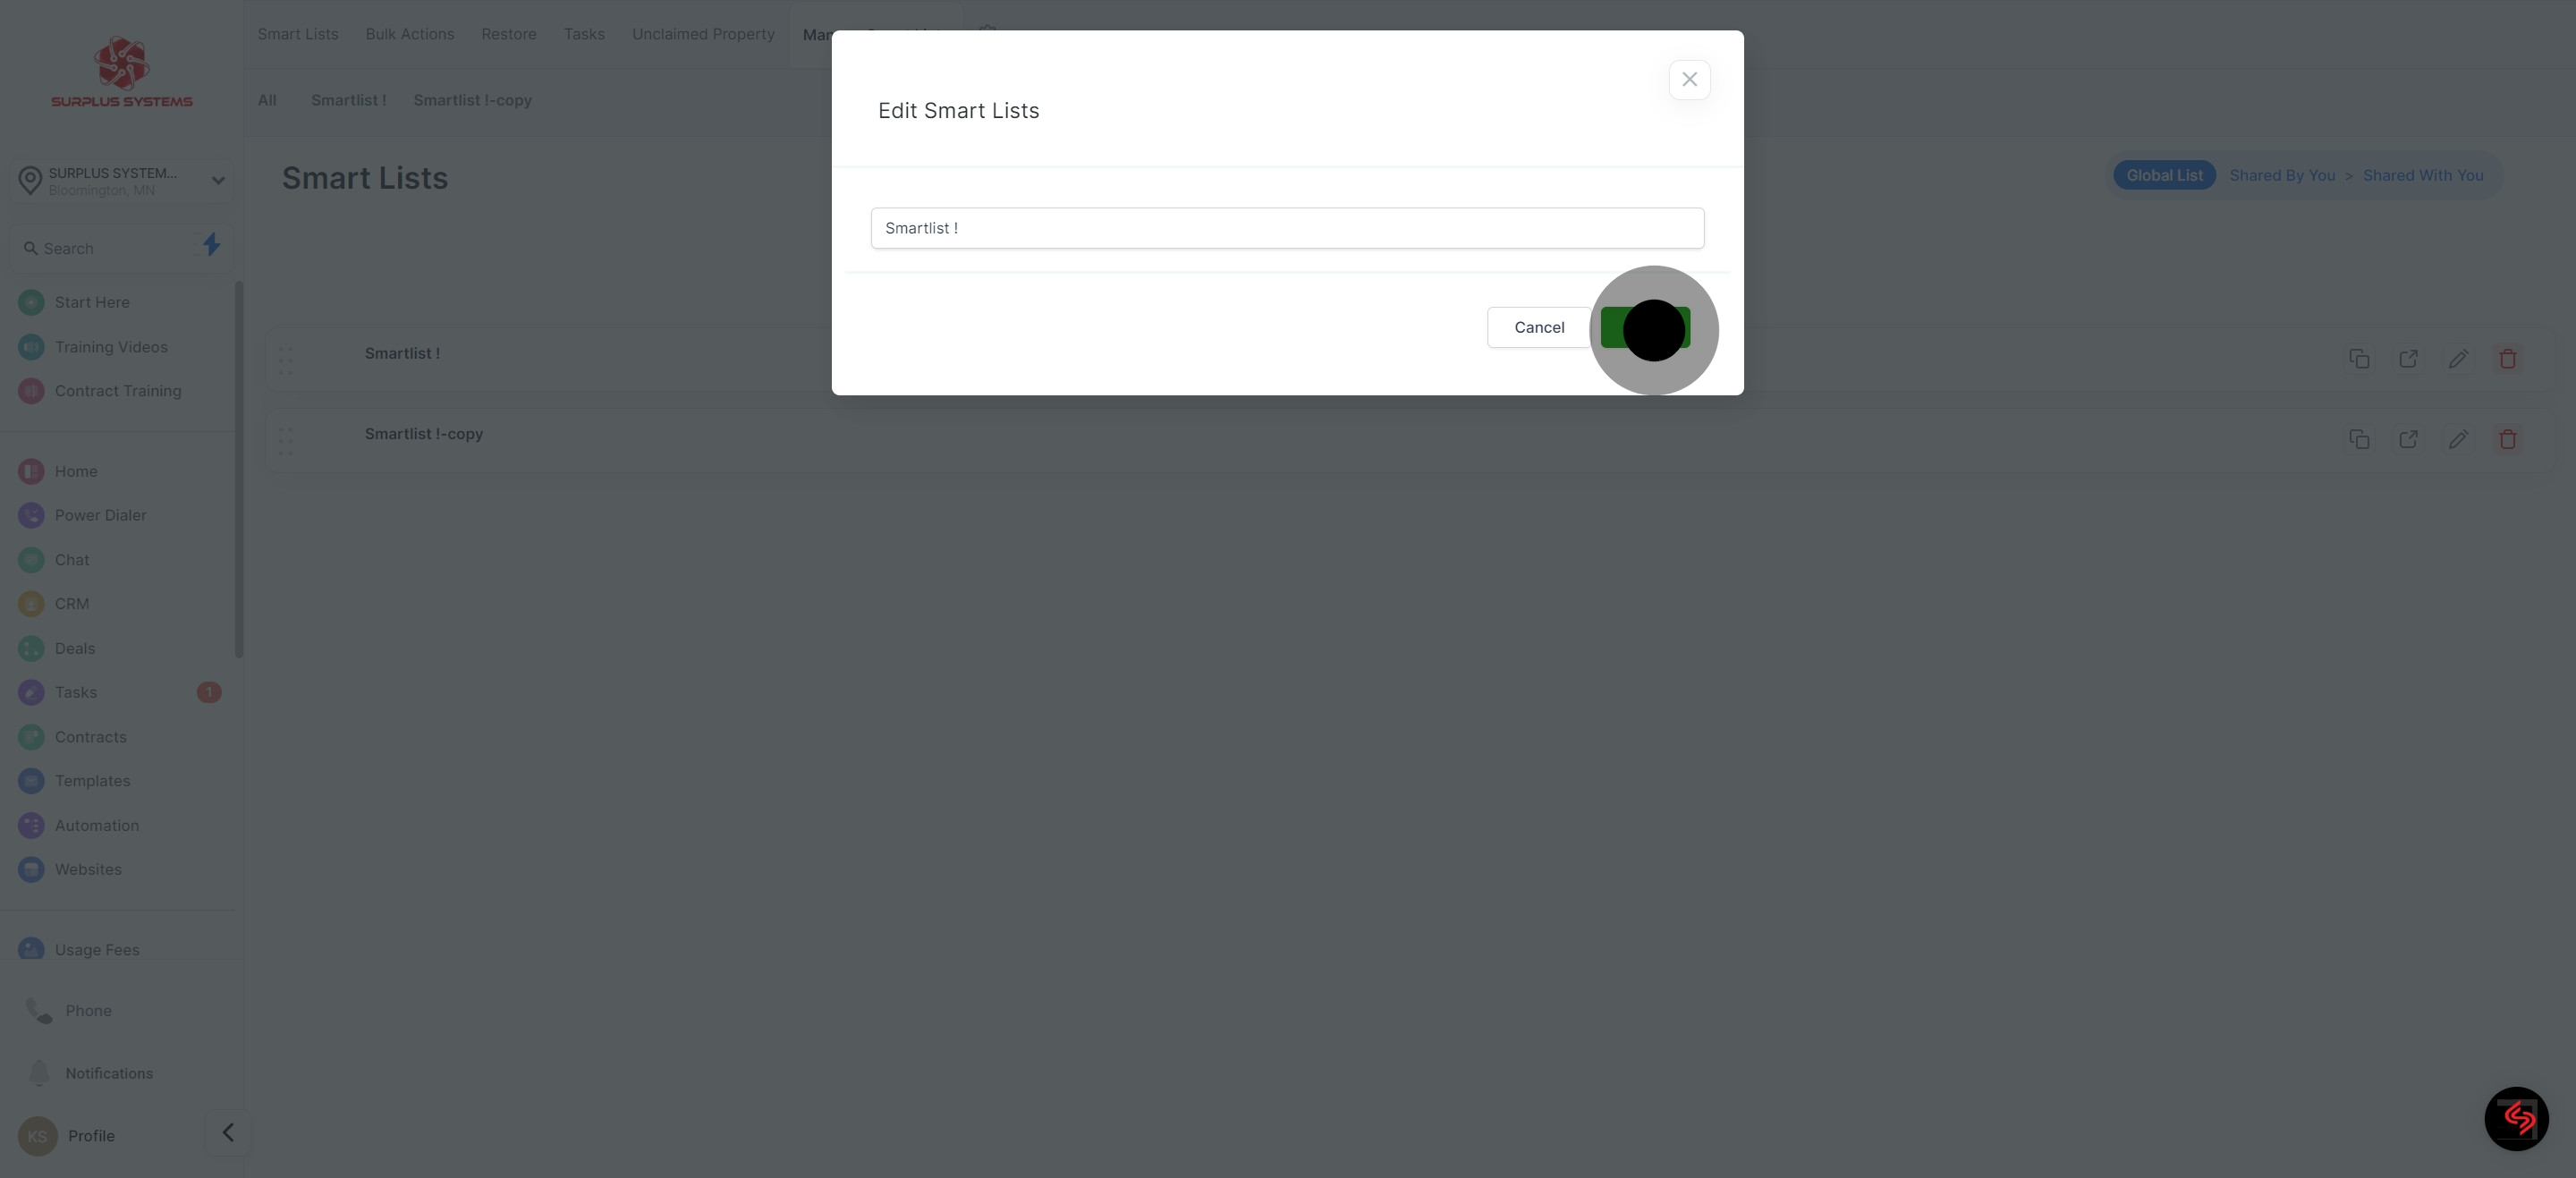
5. if you wish to re-name your duplicated Smart List, you can do it here before saving.
6. Afterwards, make sure to hit 'Save' to confirm changes.
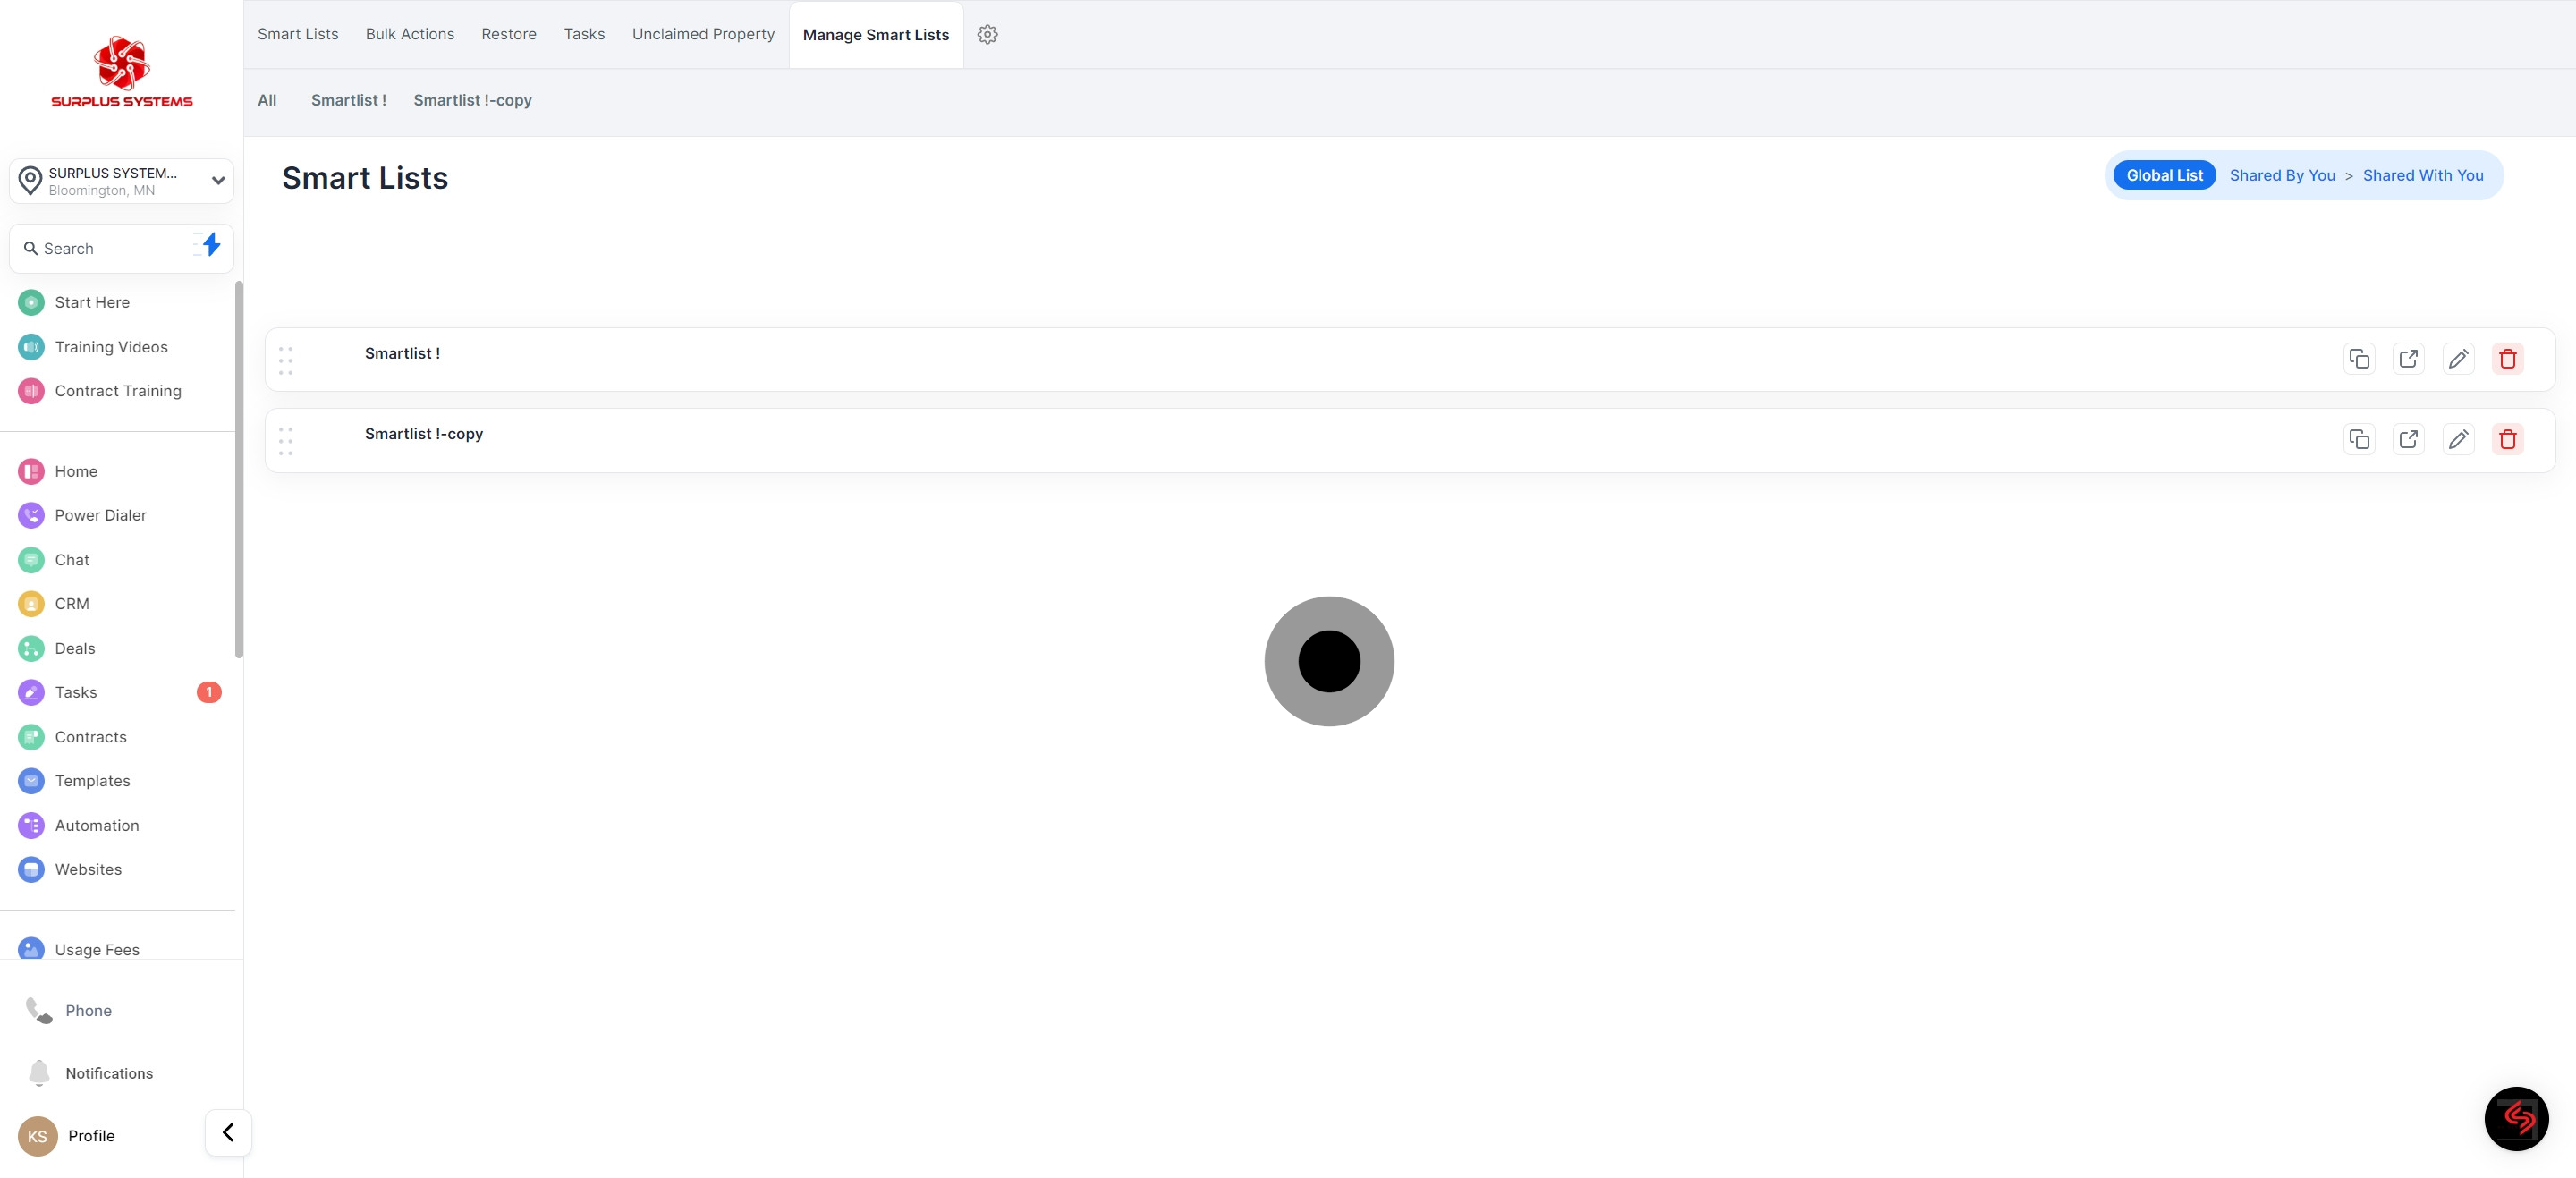
7. Your copied Smart List can be seen here
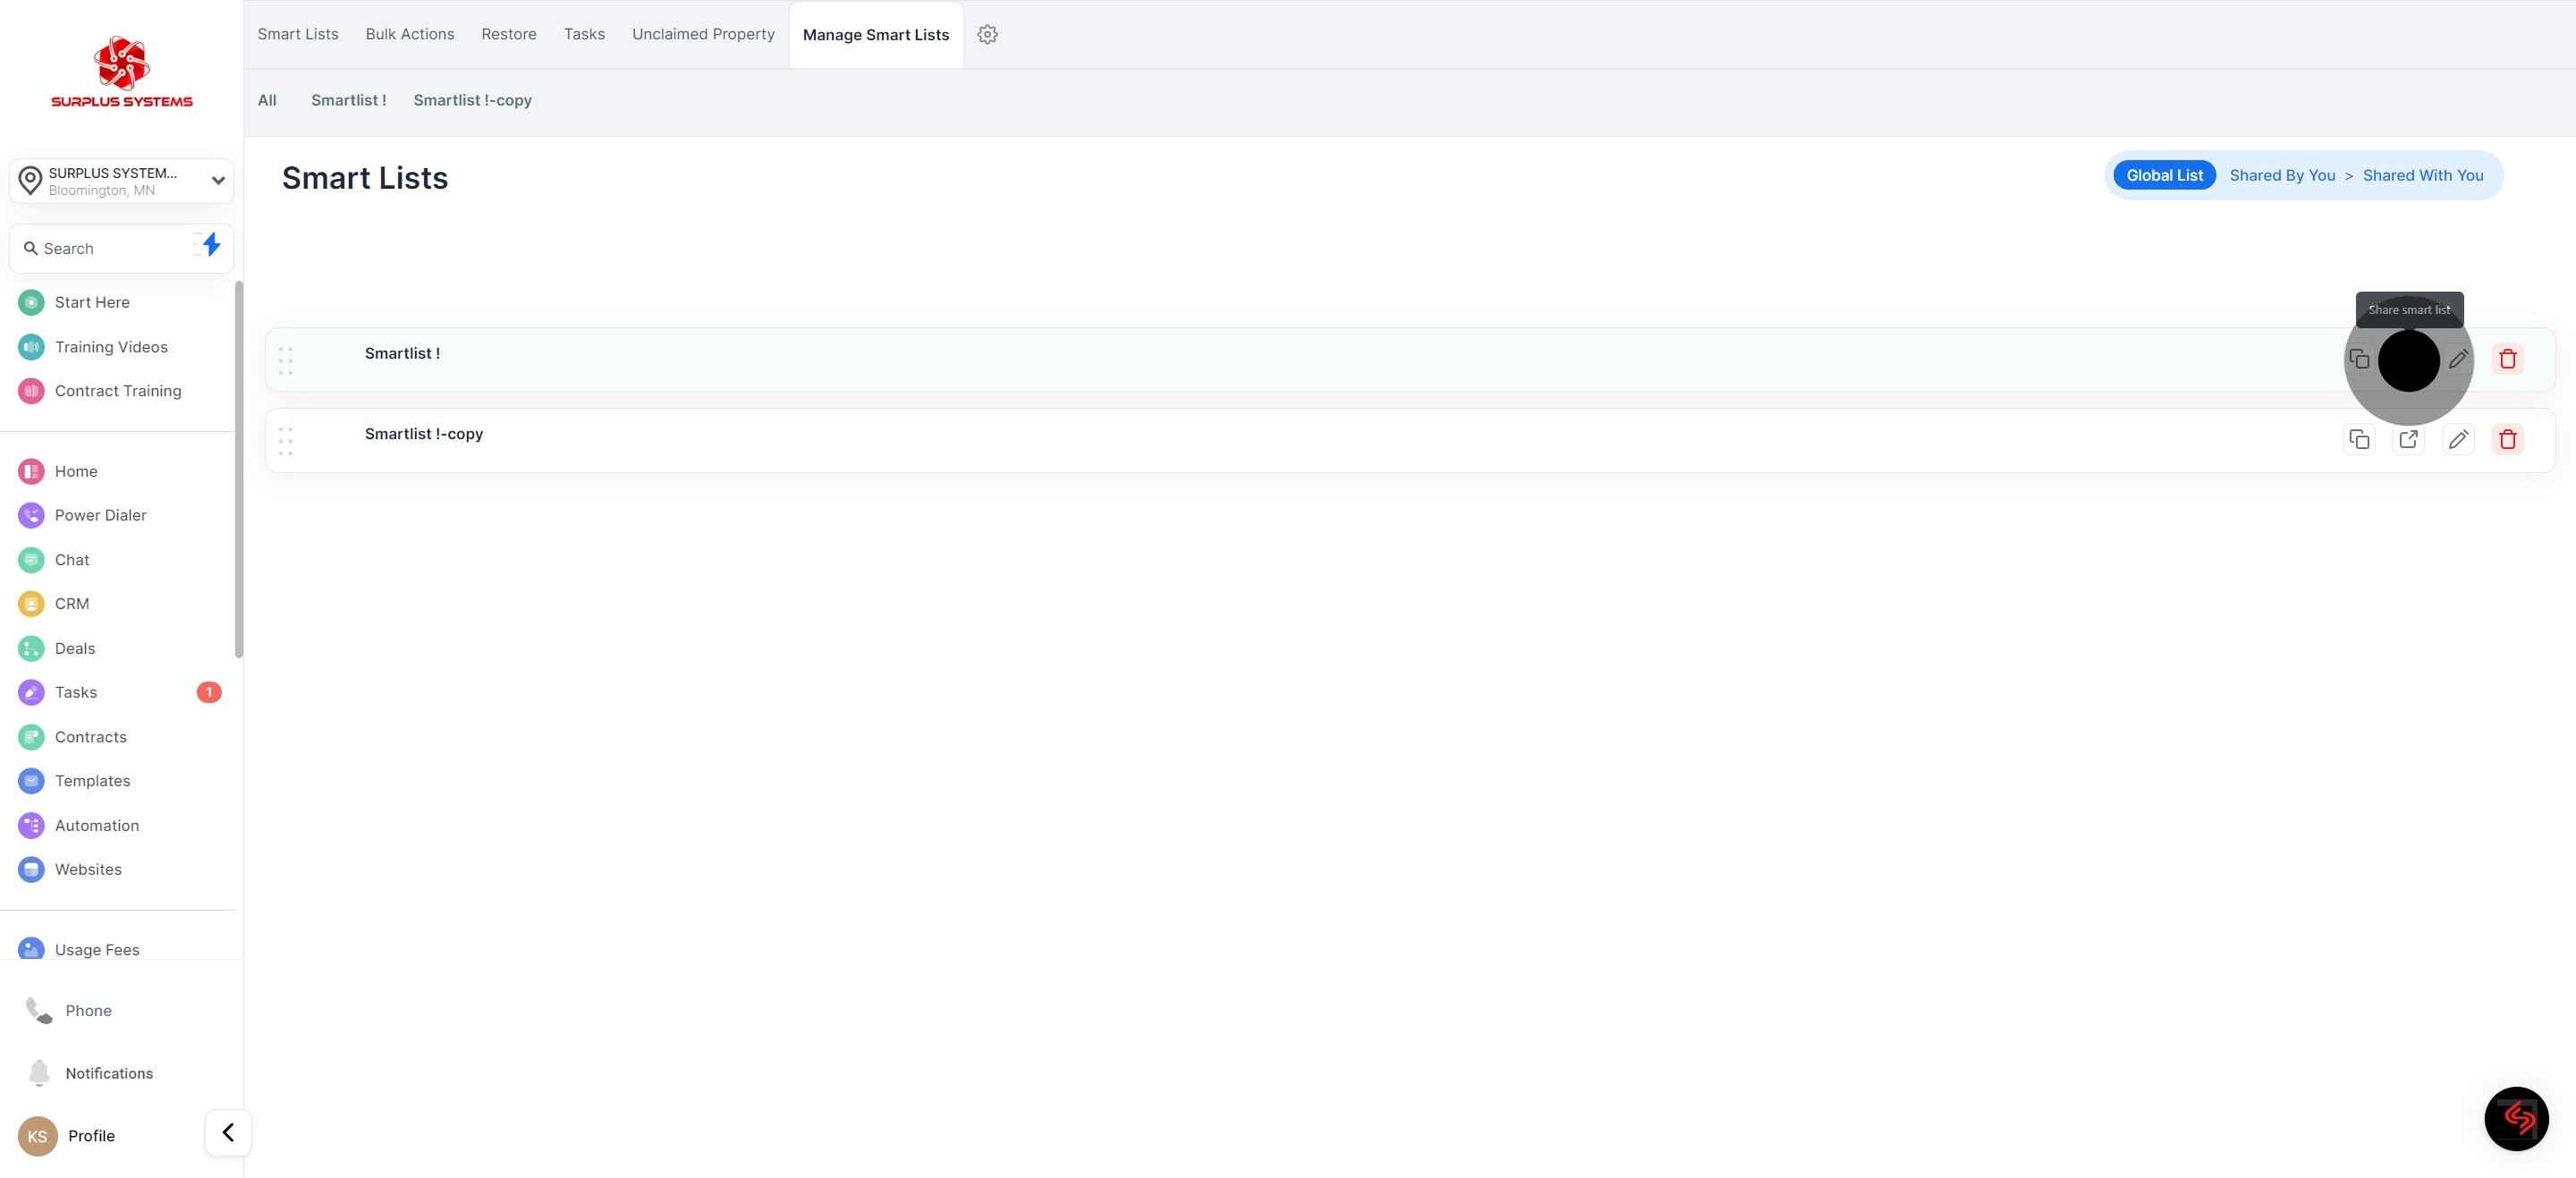
8. Next, click on share Smart List icon
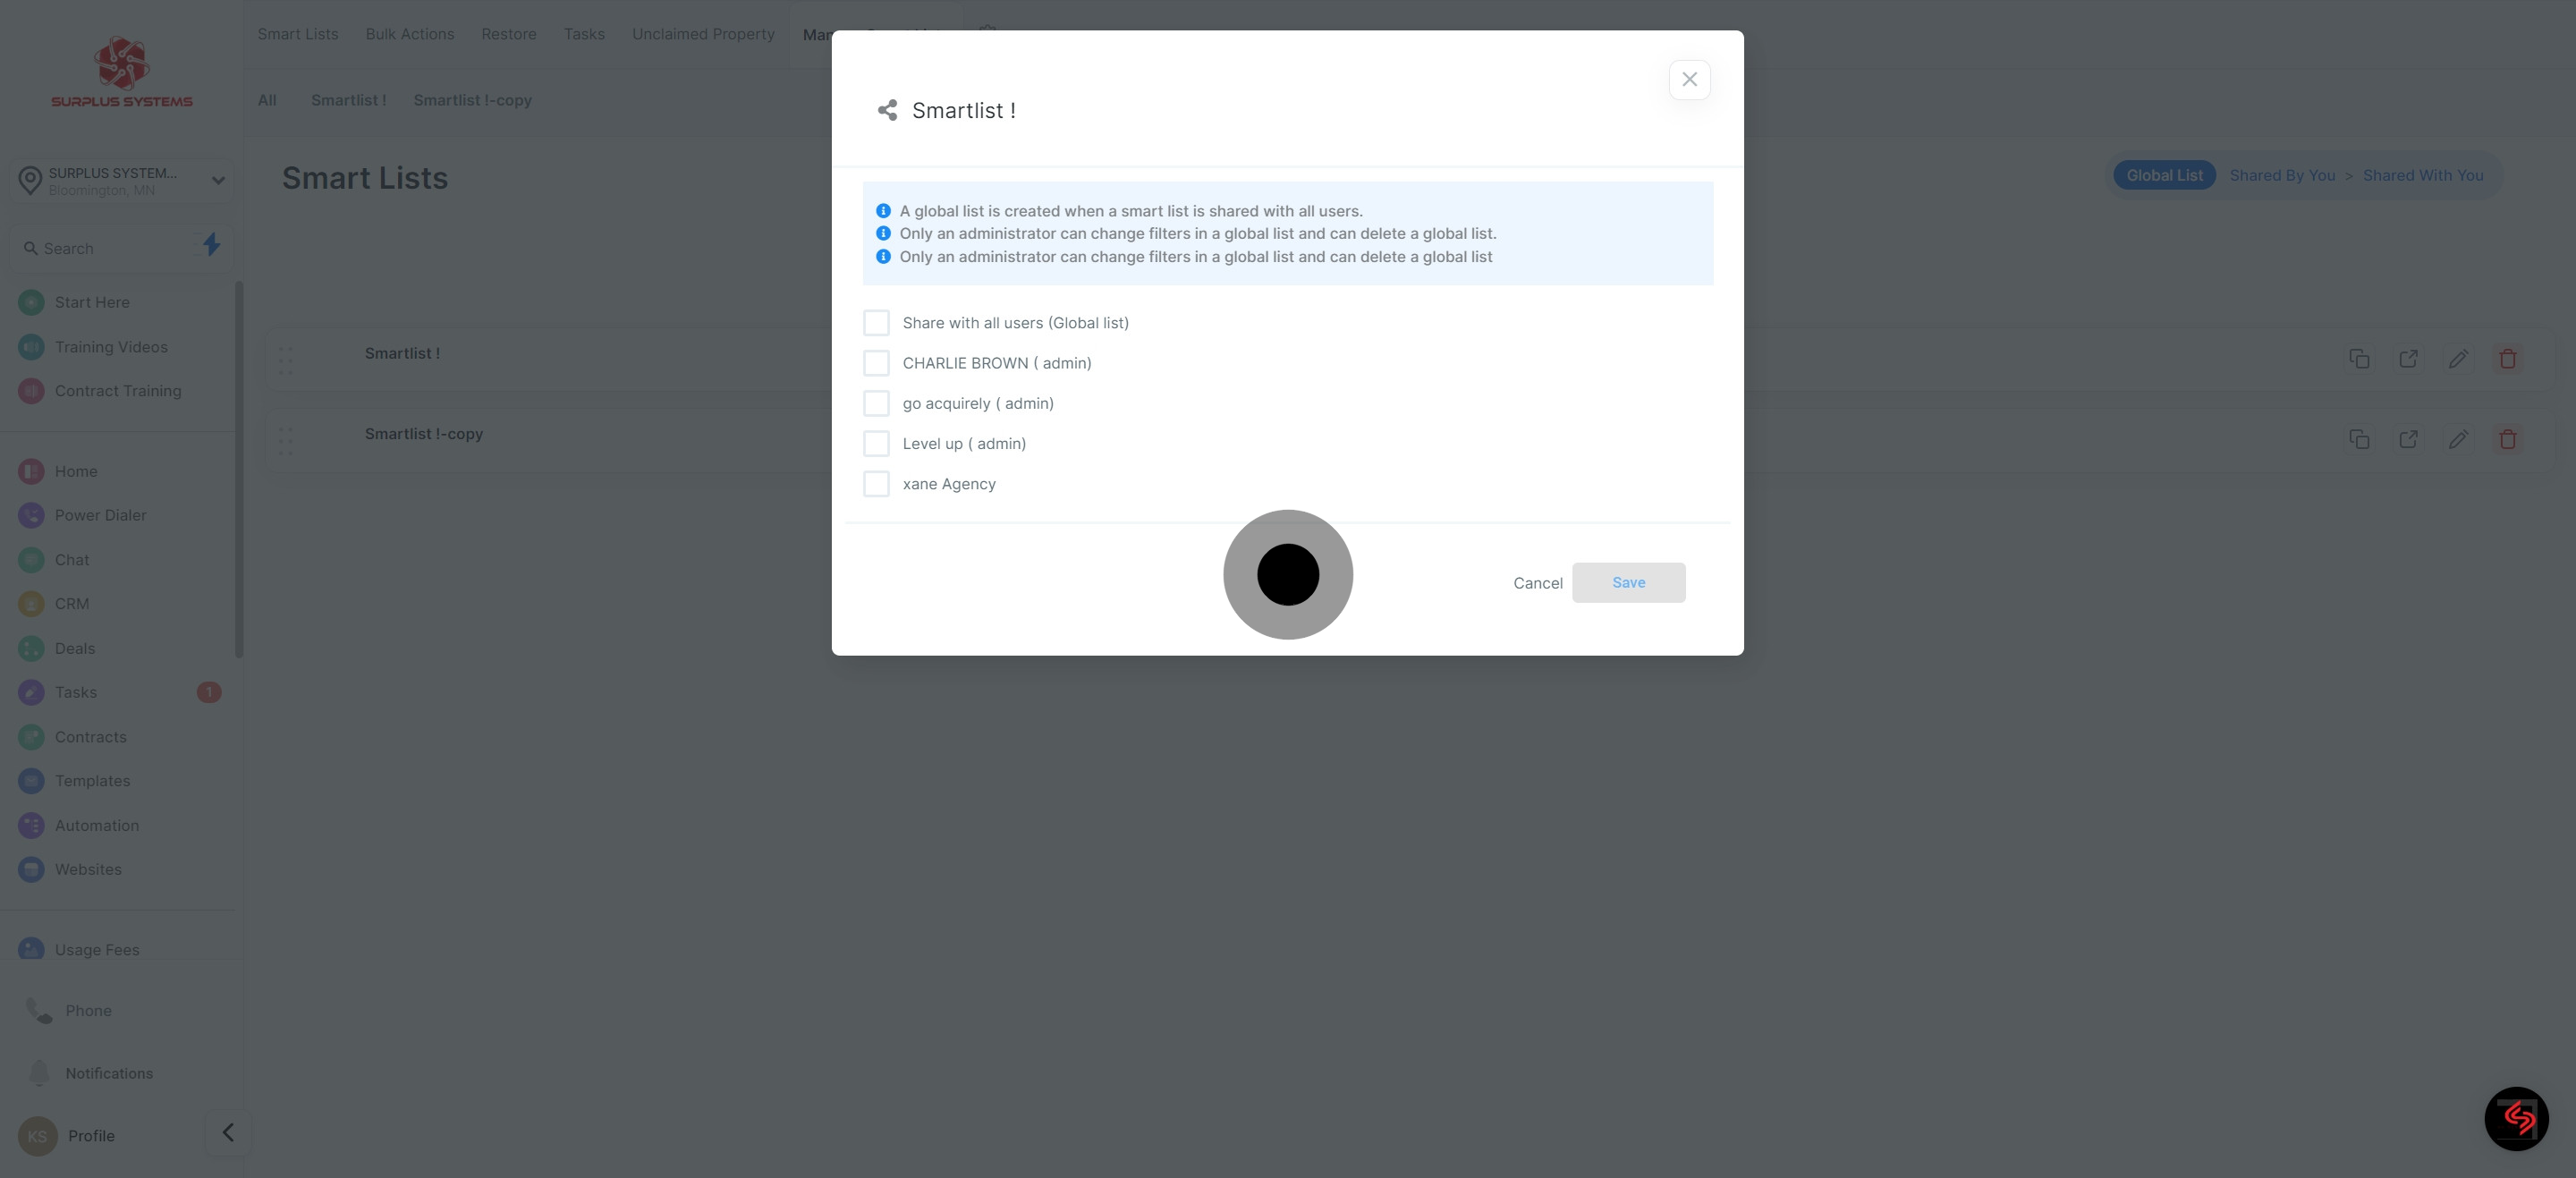
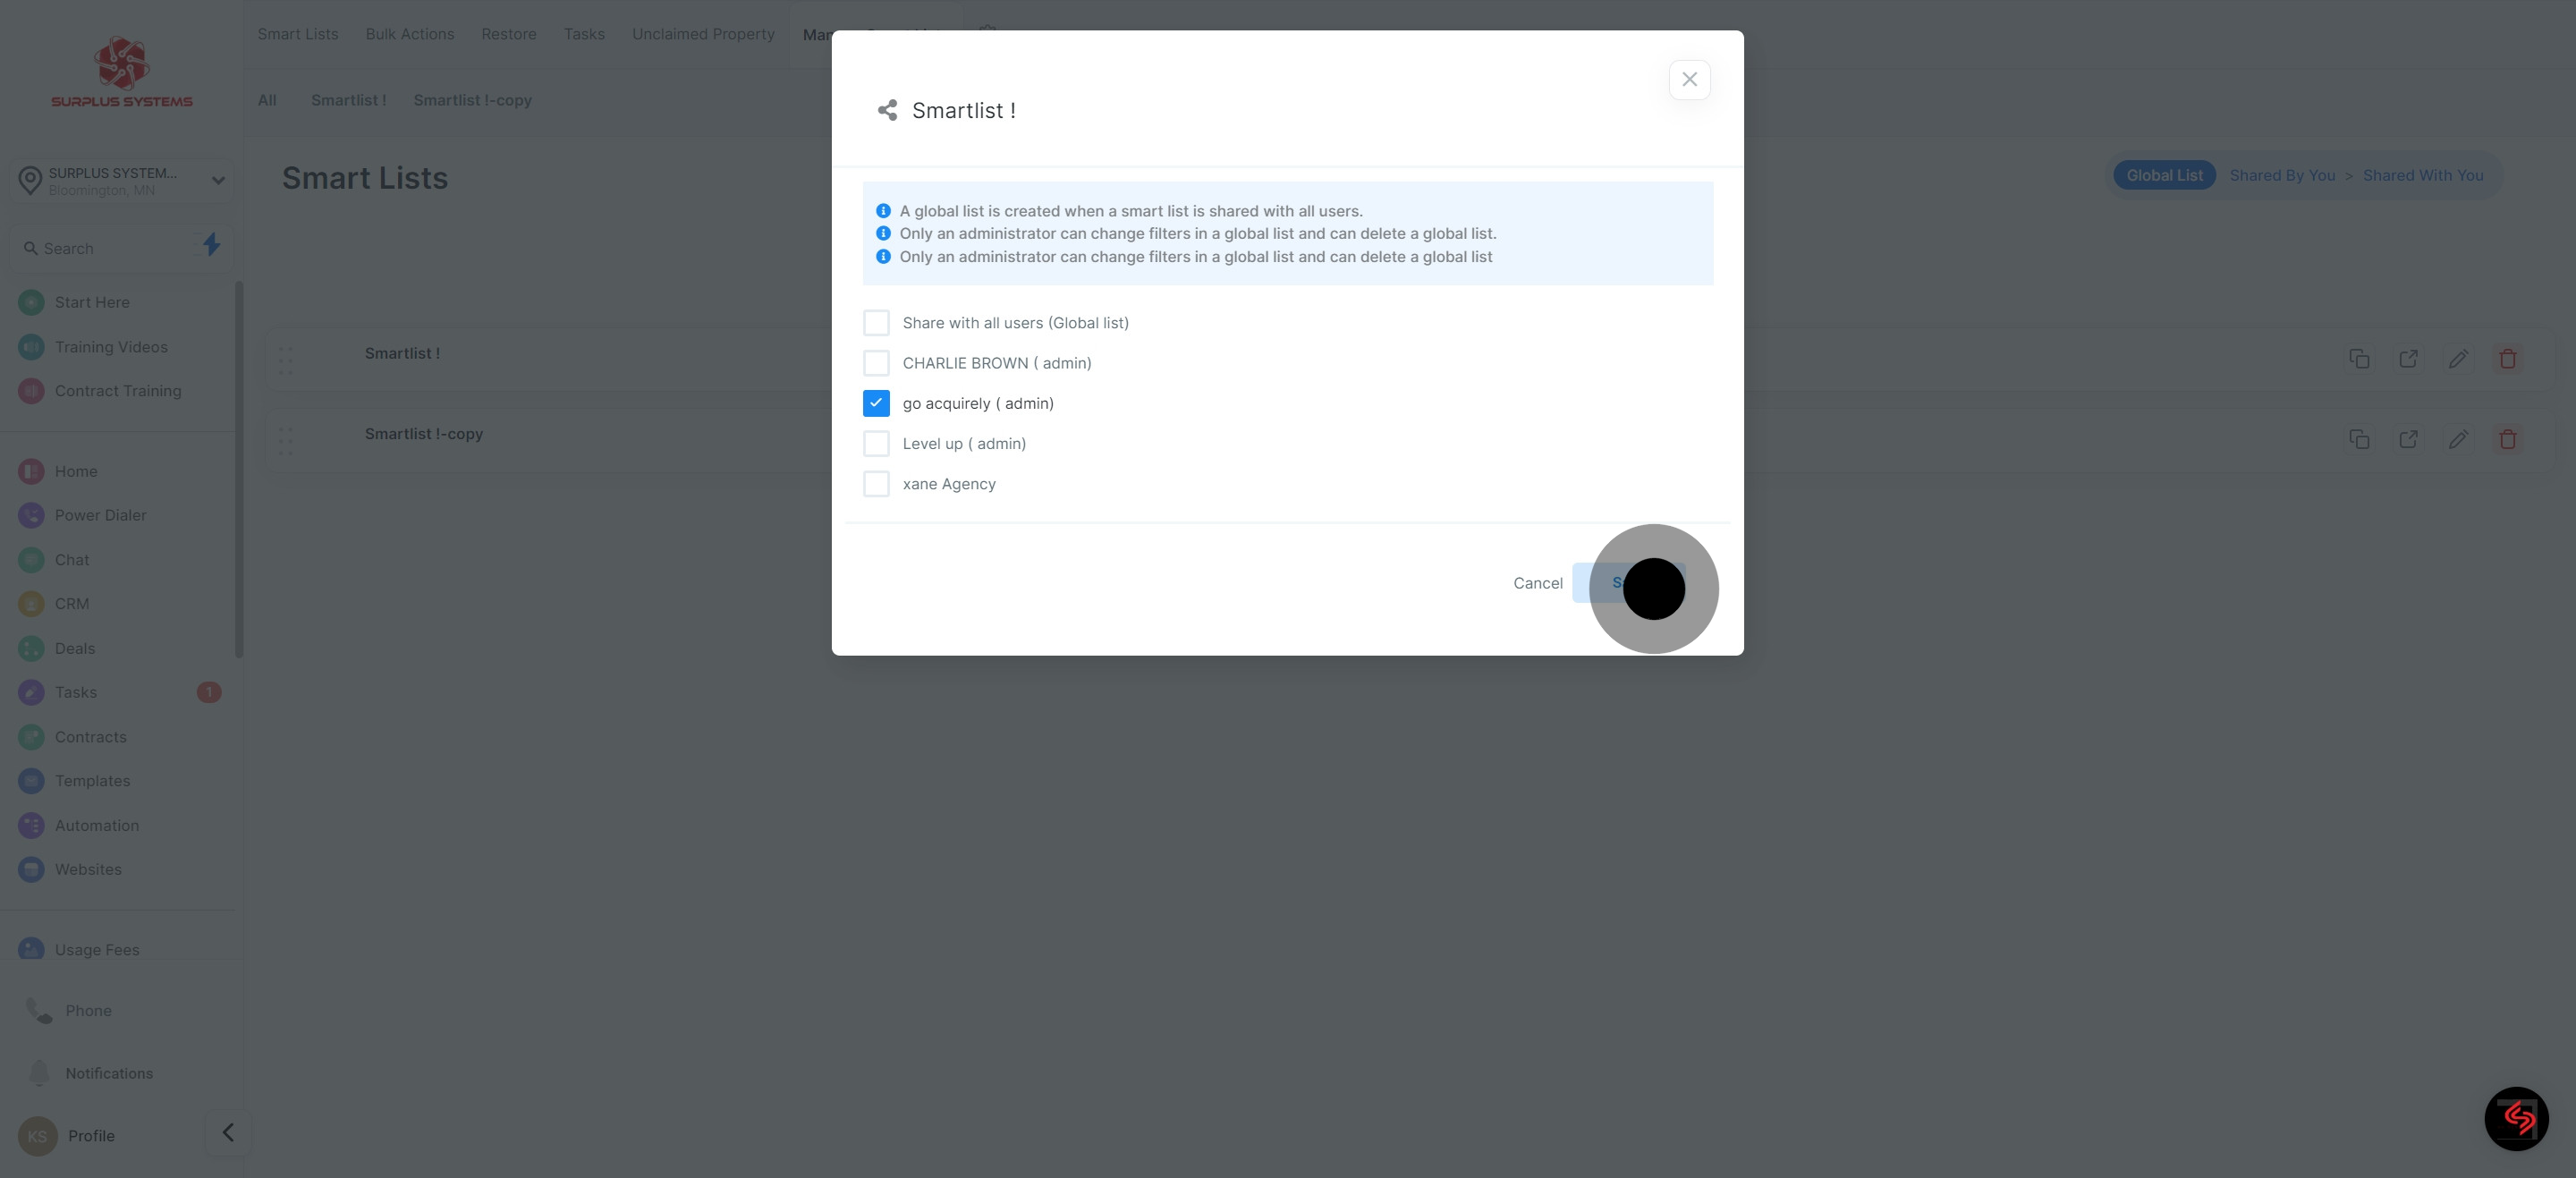
9. You can now select the contact that you wanted to share the smart list.
10. Next, hit 'Save' to share it successfully.
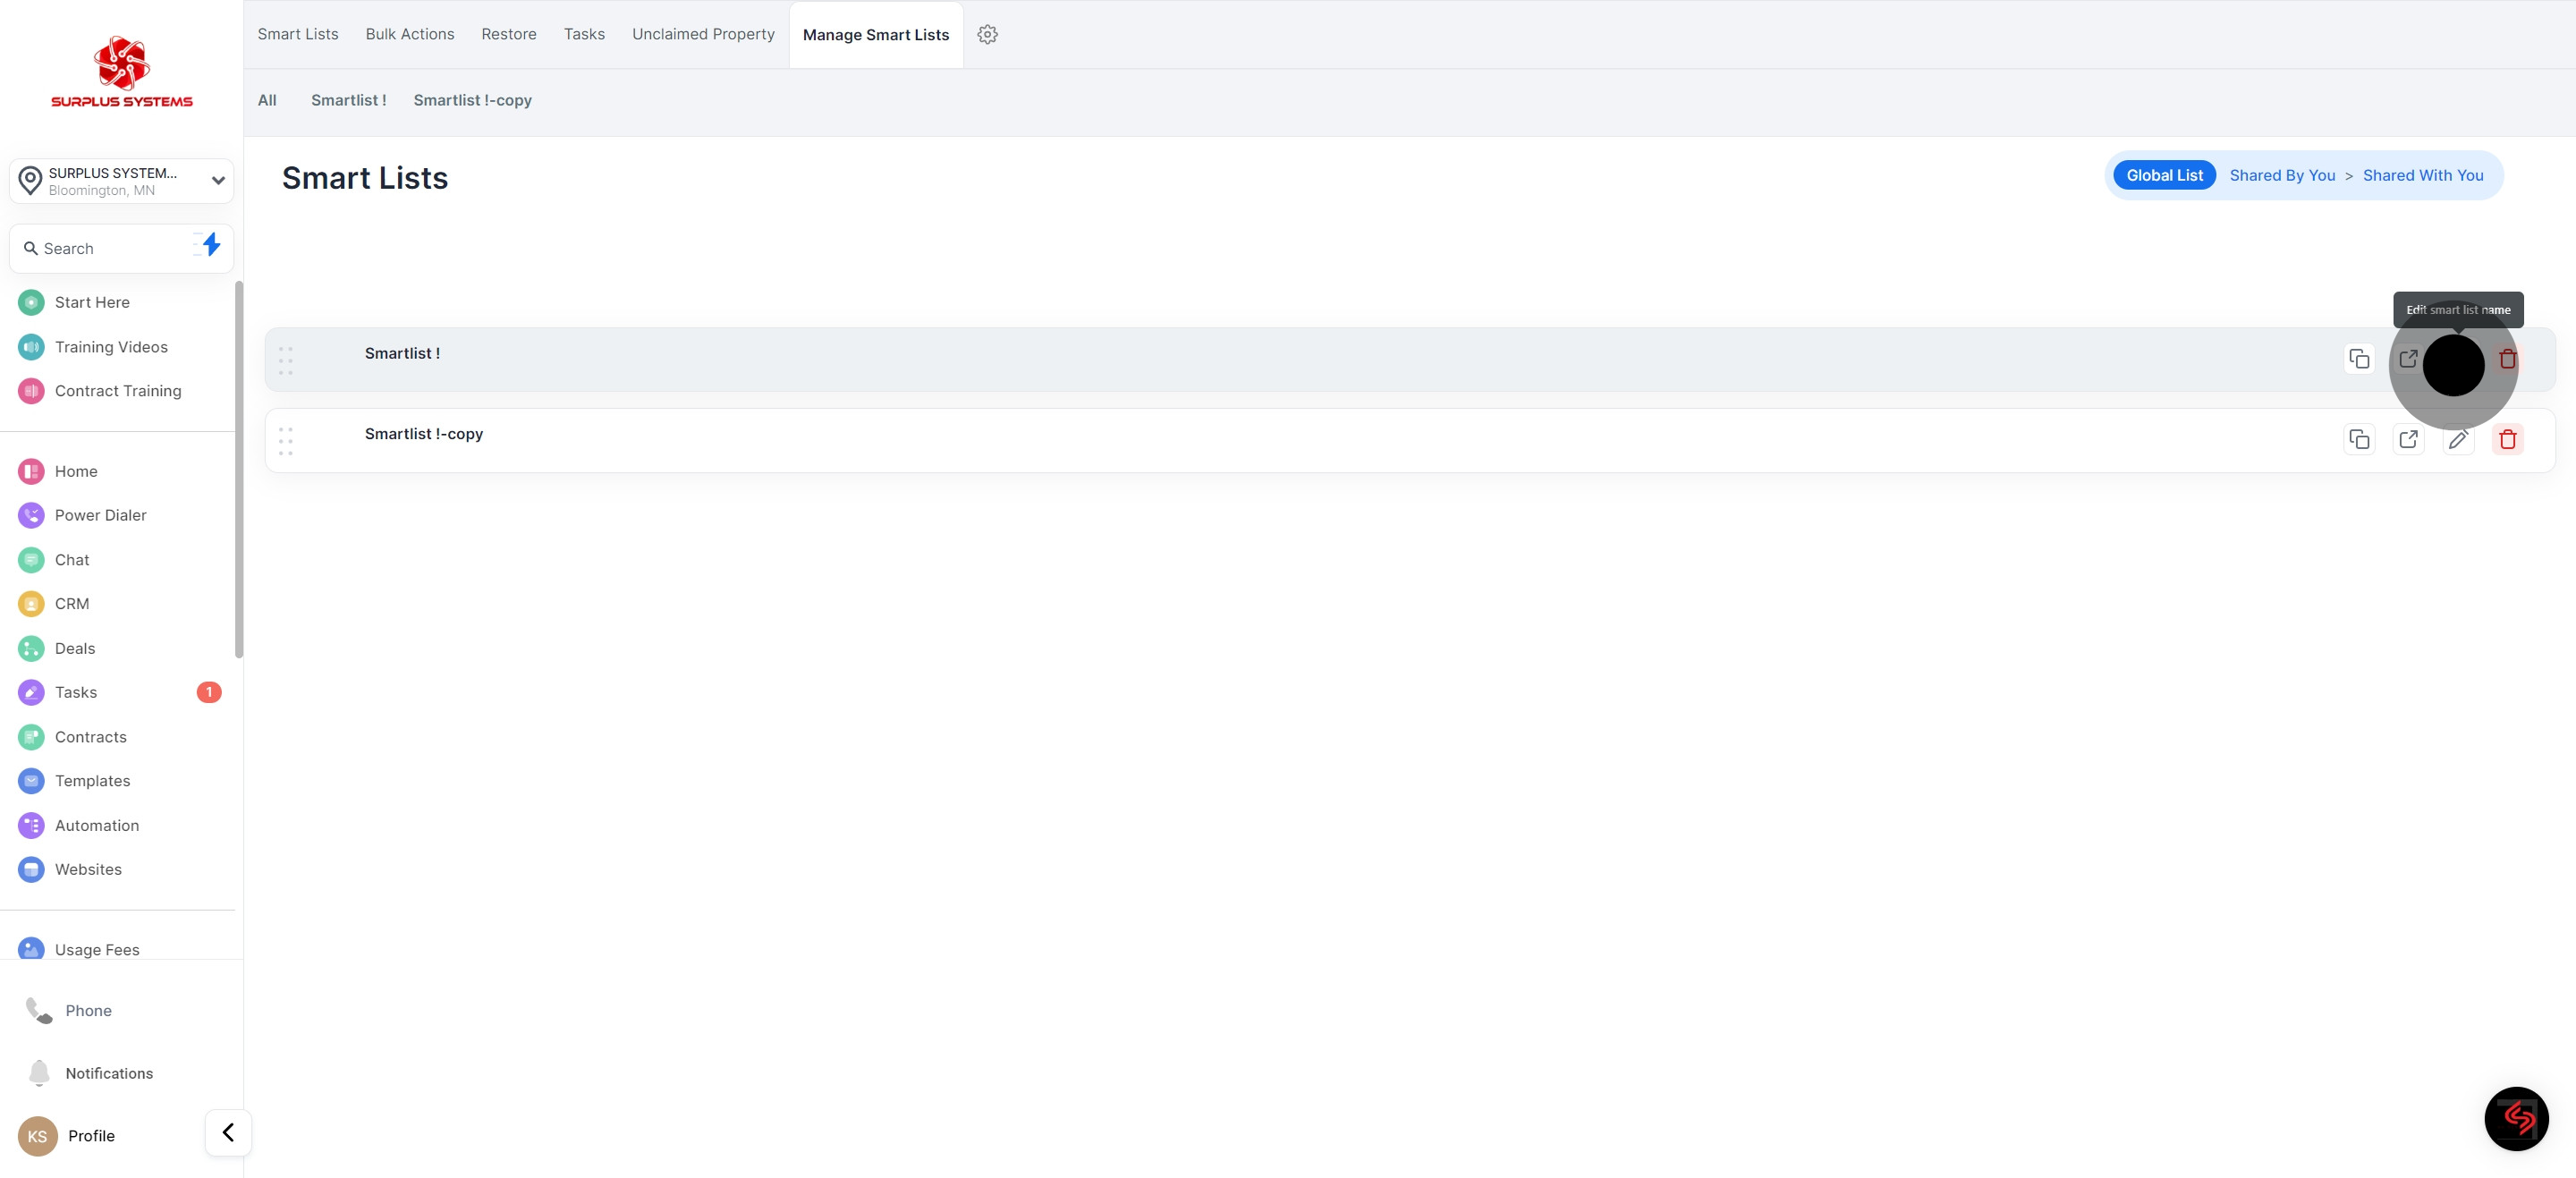
11. Next, click on edit Smart List icon.
12. To conclude, click on 'Save' to confirm actions.
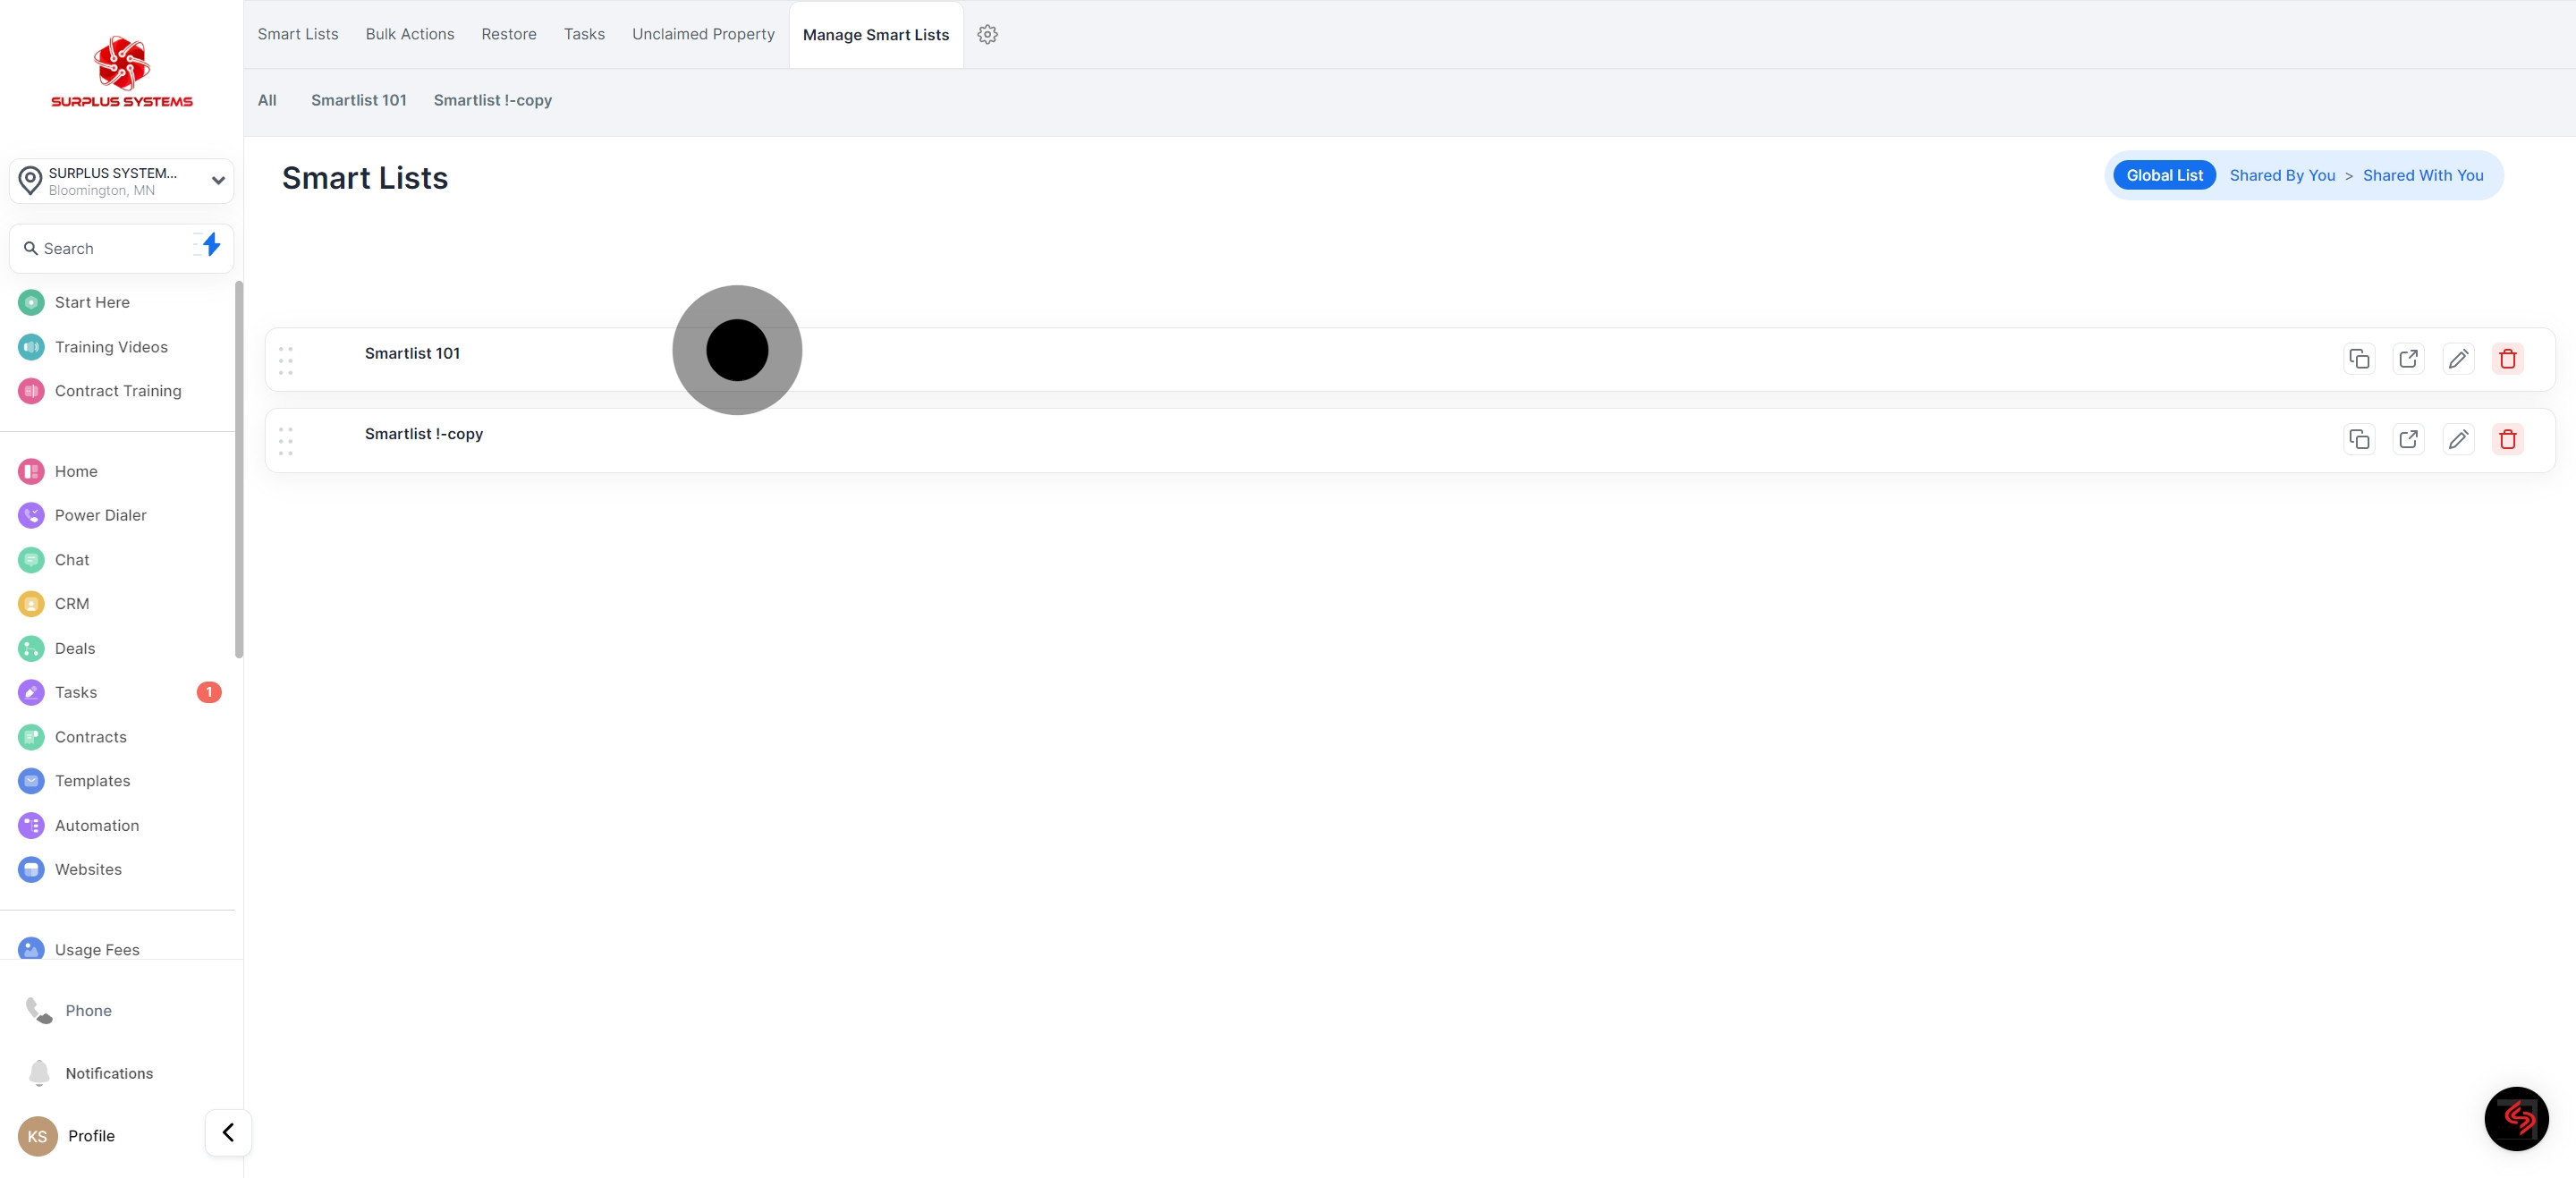
13. You have successfully edited your Smart List!
14. Last action is to click 'Delete' icon
15. Click 'OK' to confirm
16. Smart List successfully deleted.
Did this answer your question?
😞
😐
😁
Optimizing Outreach with SmartLists in Surplus Systems | SURPLUS SYSTEMS