Creating a Collective Booking Calendar in Surplus Systems: Simplify Group Appointments
Streamline the booking process for group events and appointments by setting up a collective booking calendar in Surplus Systems. This article guides you through the steps to efficiently organize collective sessions, from initial creation to managing participant lists, ensuring an organized approach to group scheduling and engagement.
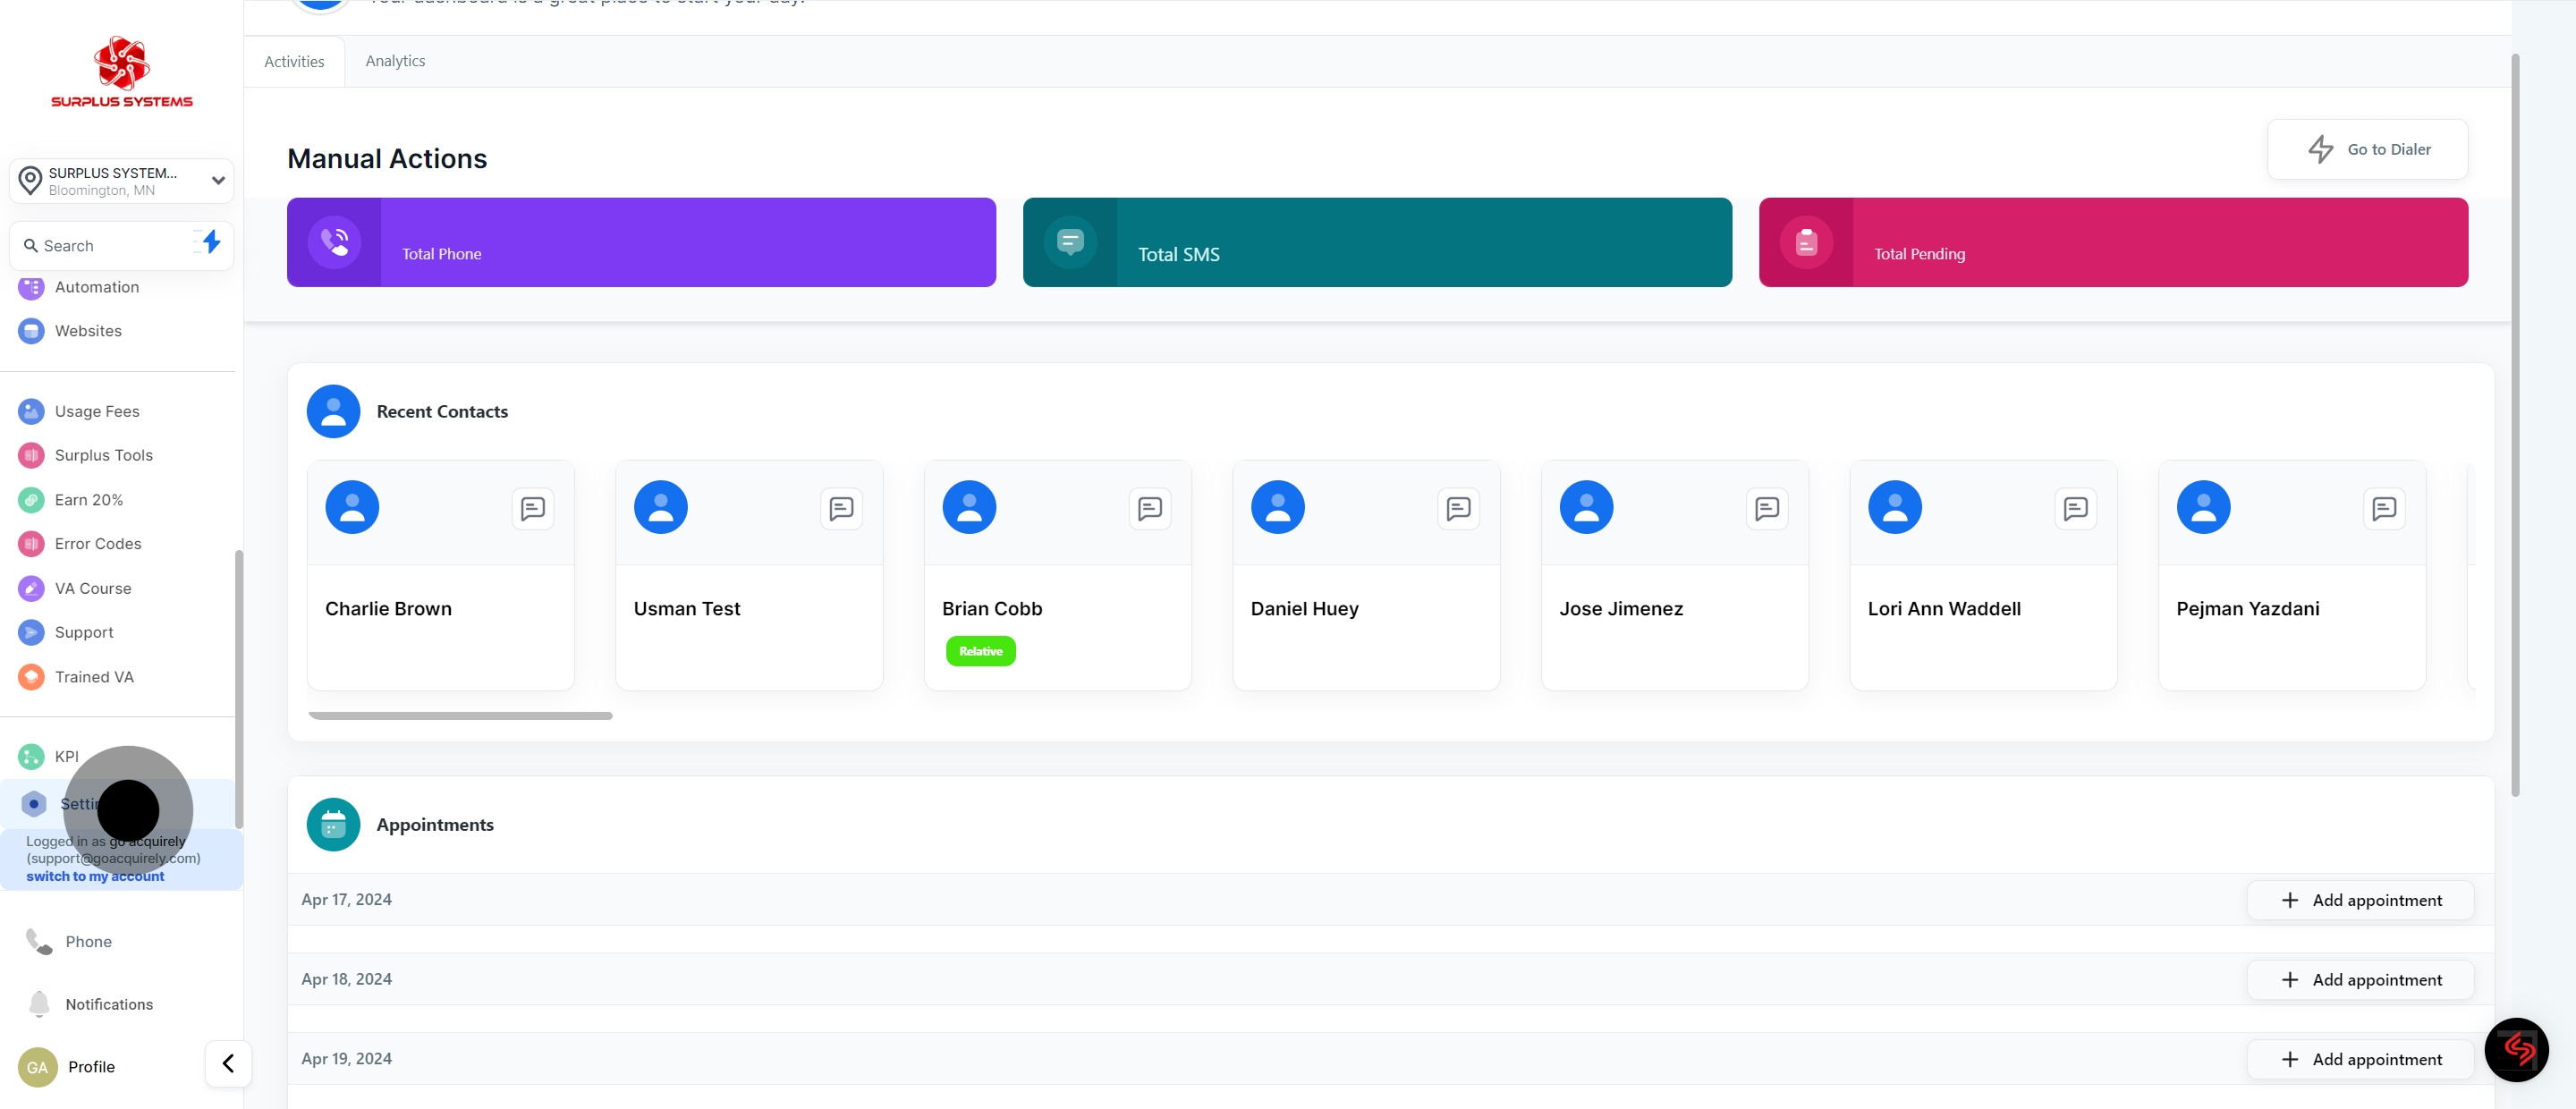
1. Access the settings.
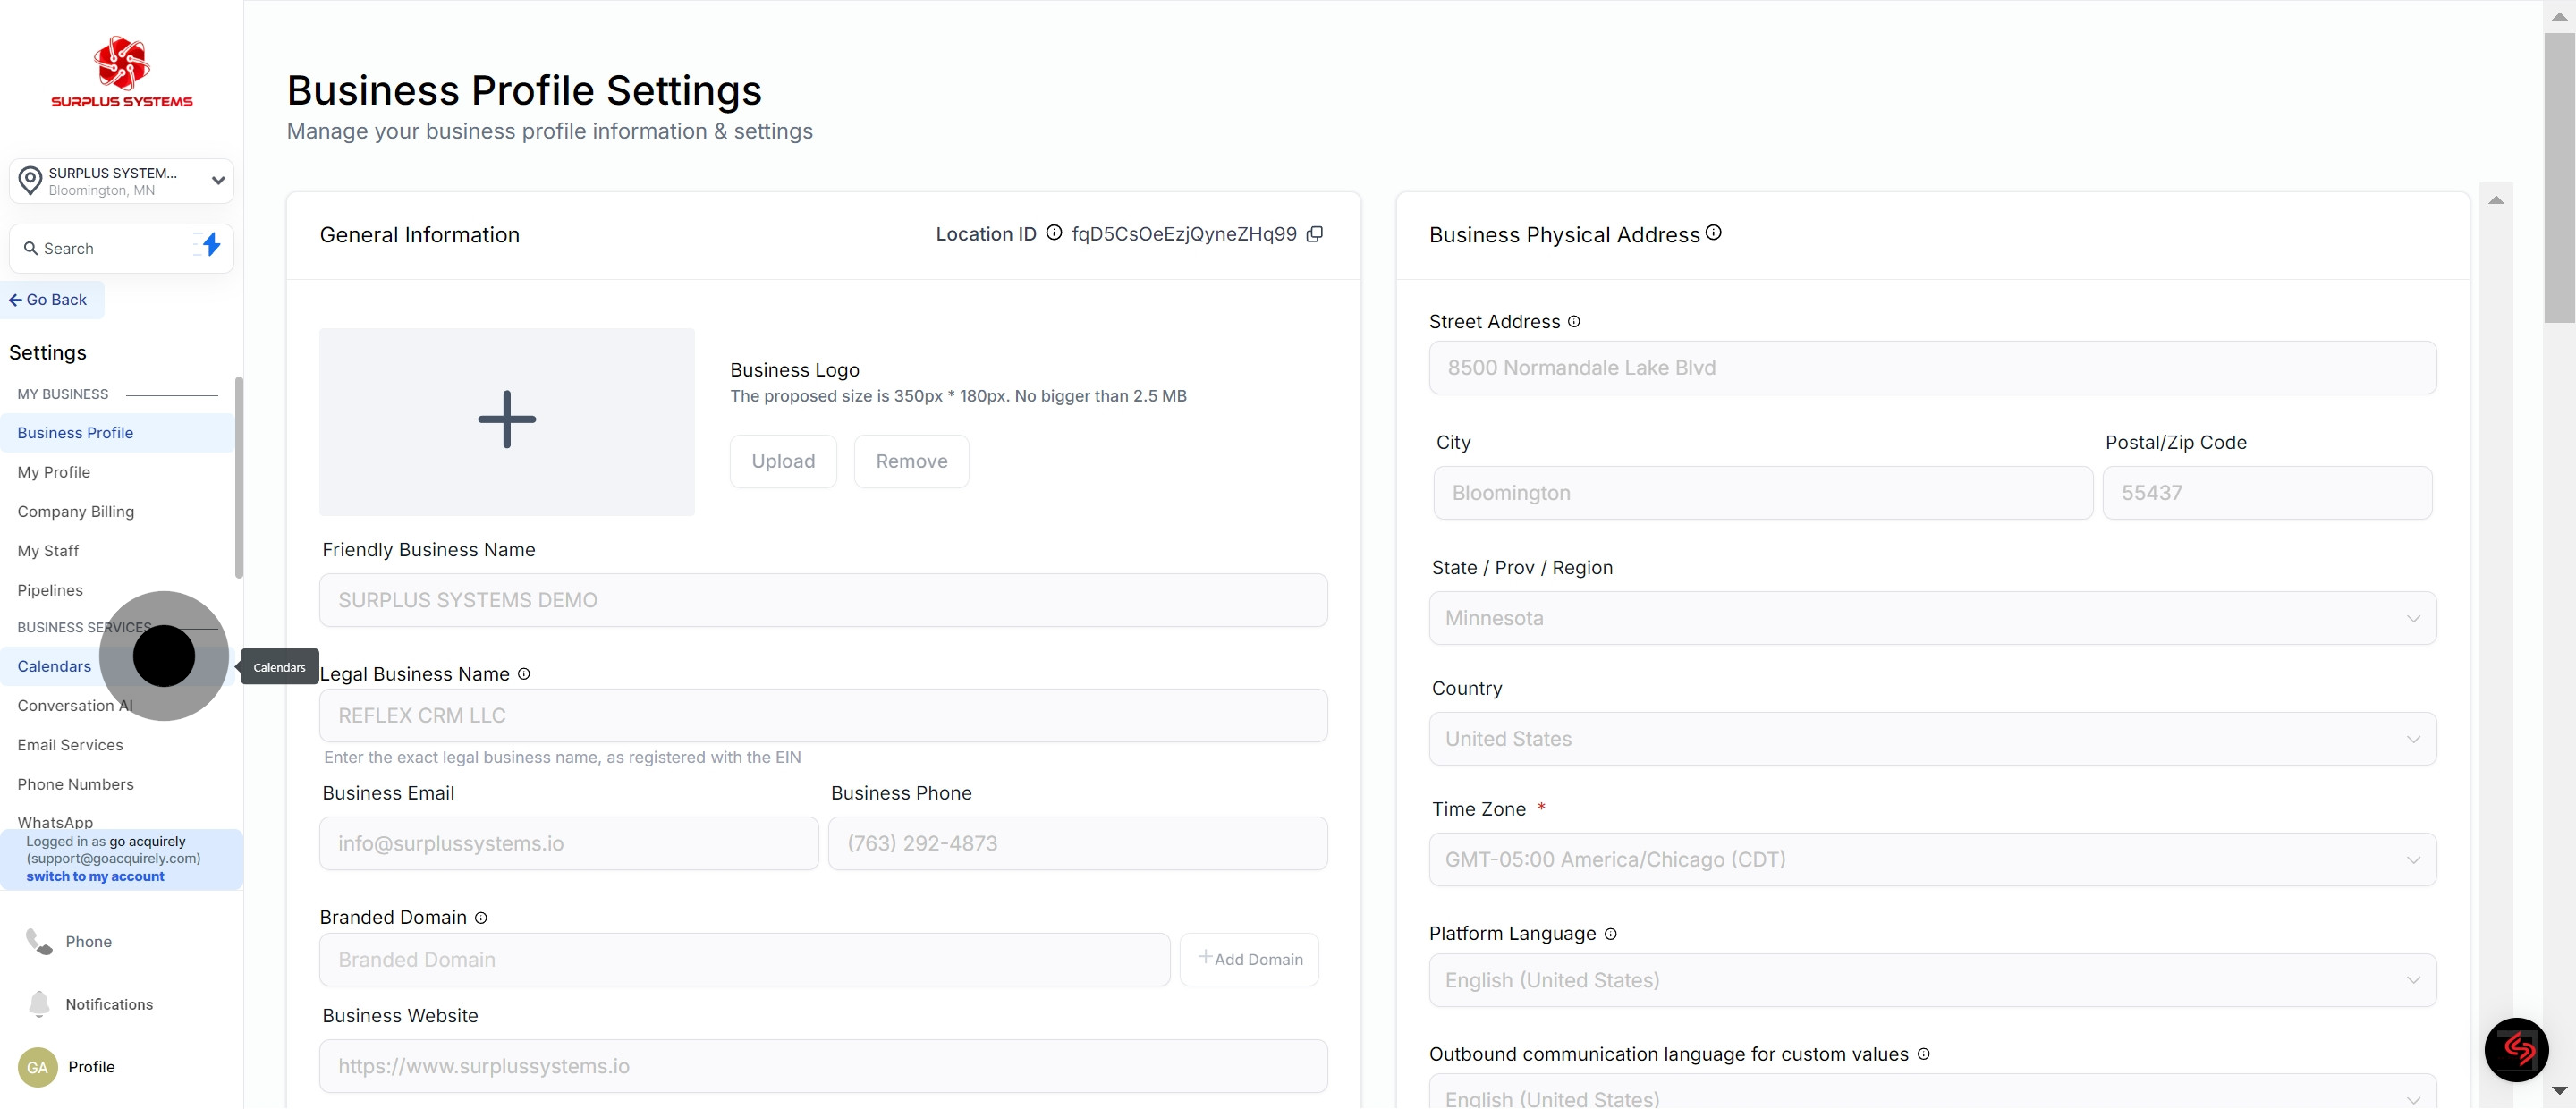
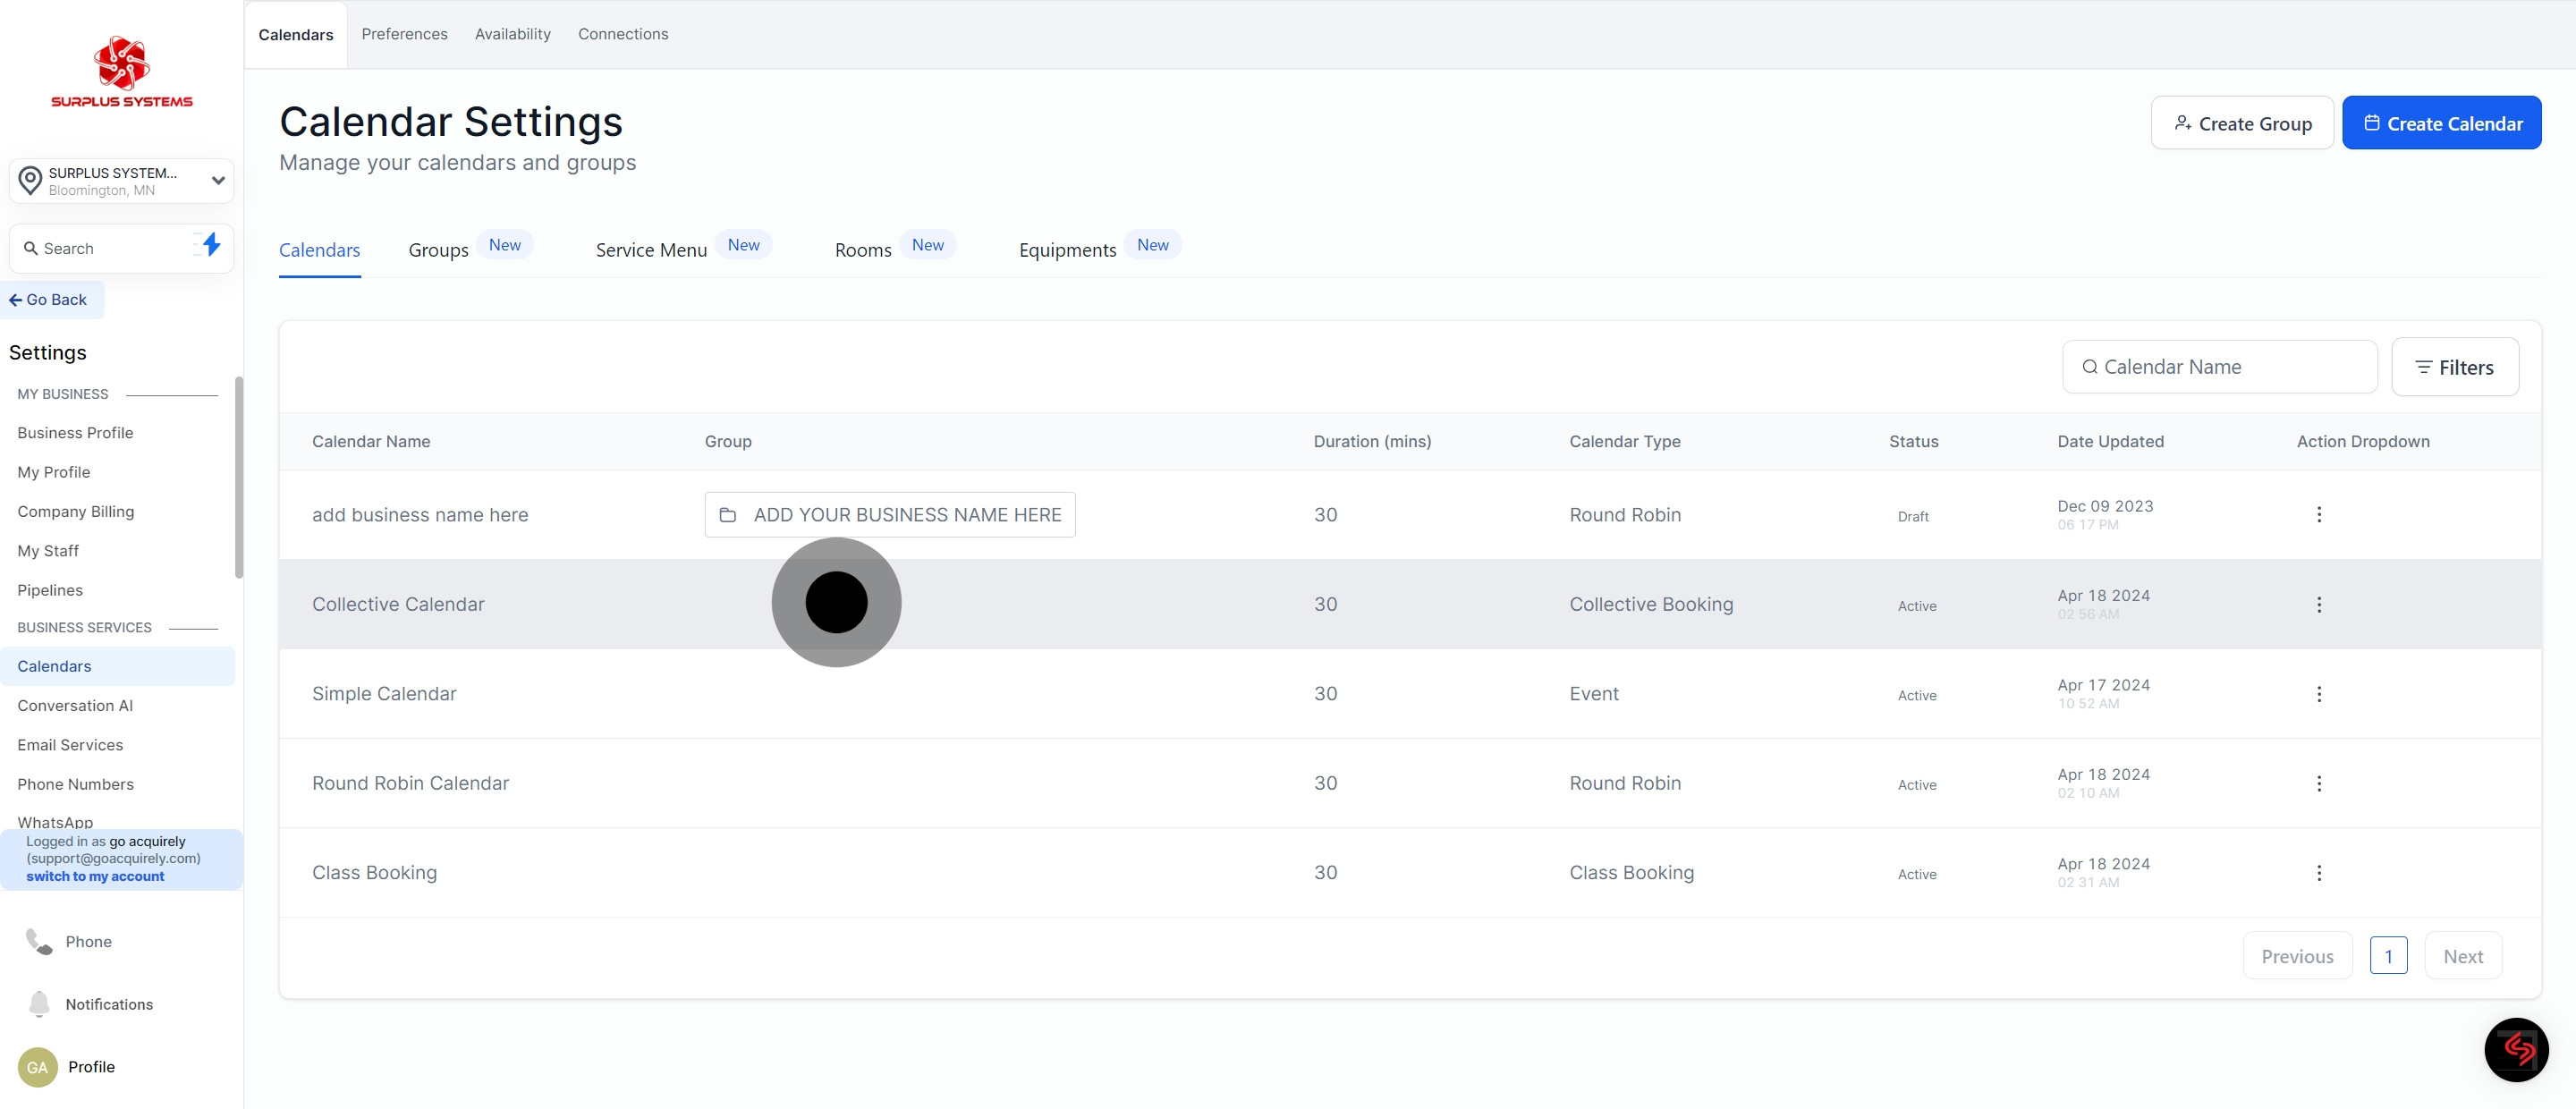
2. Choose 'Calendars'.
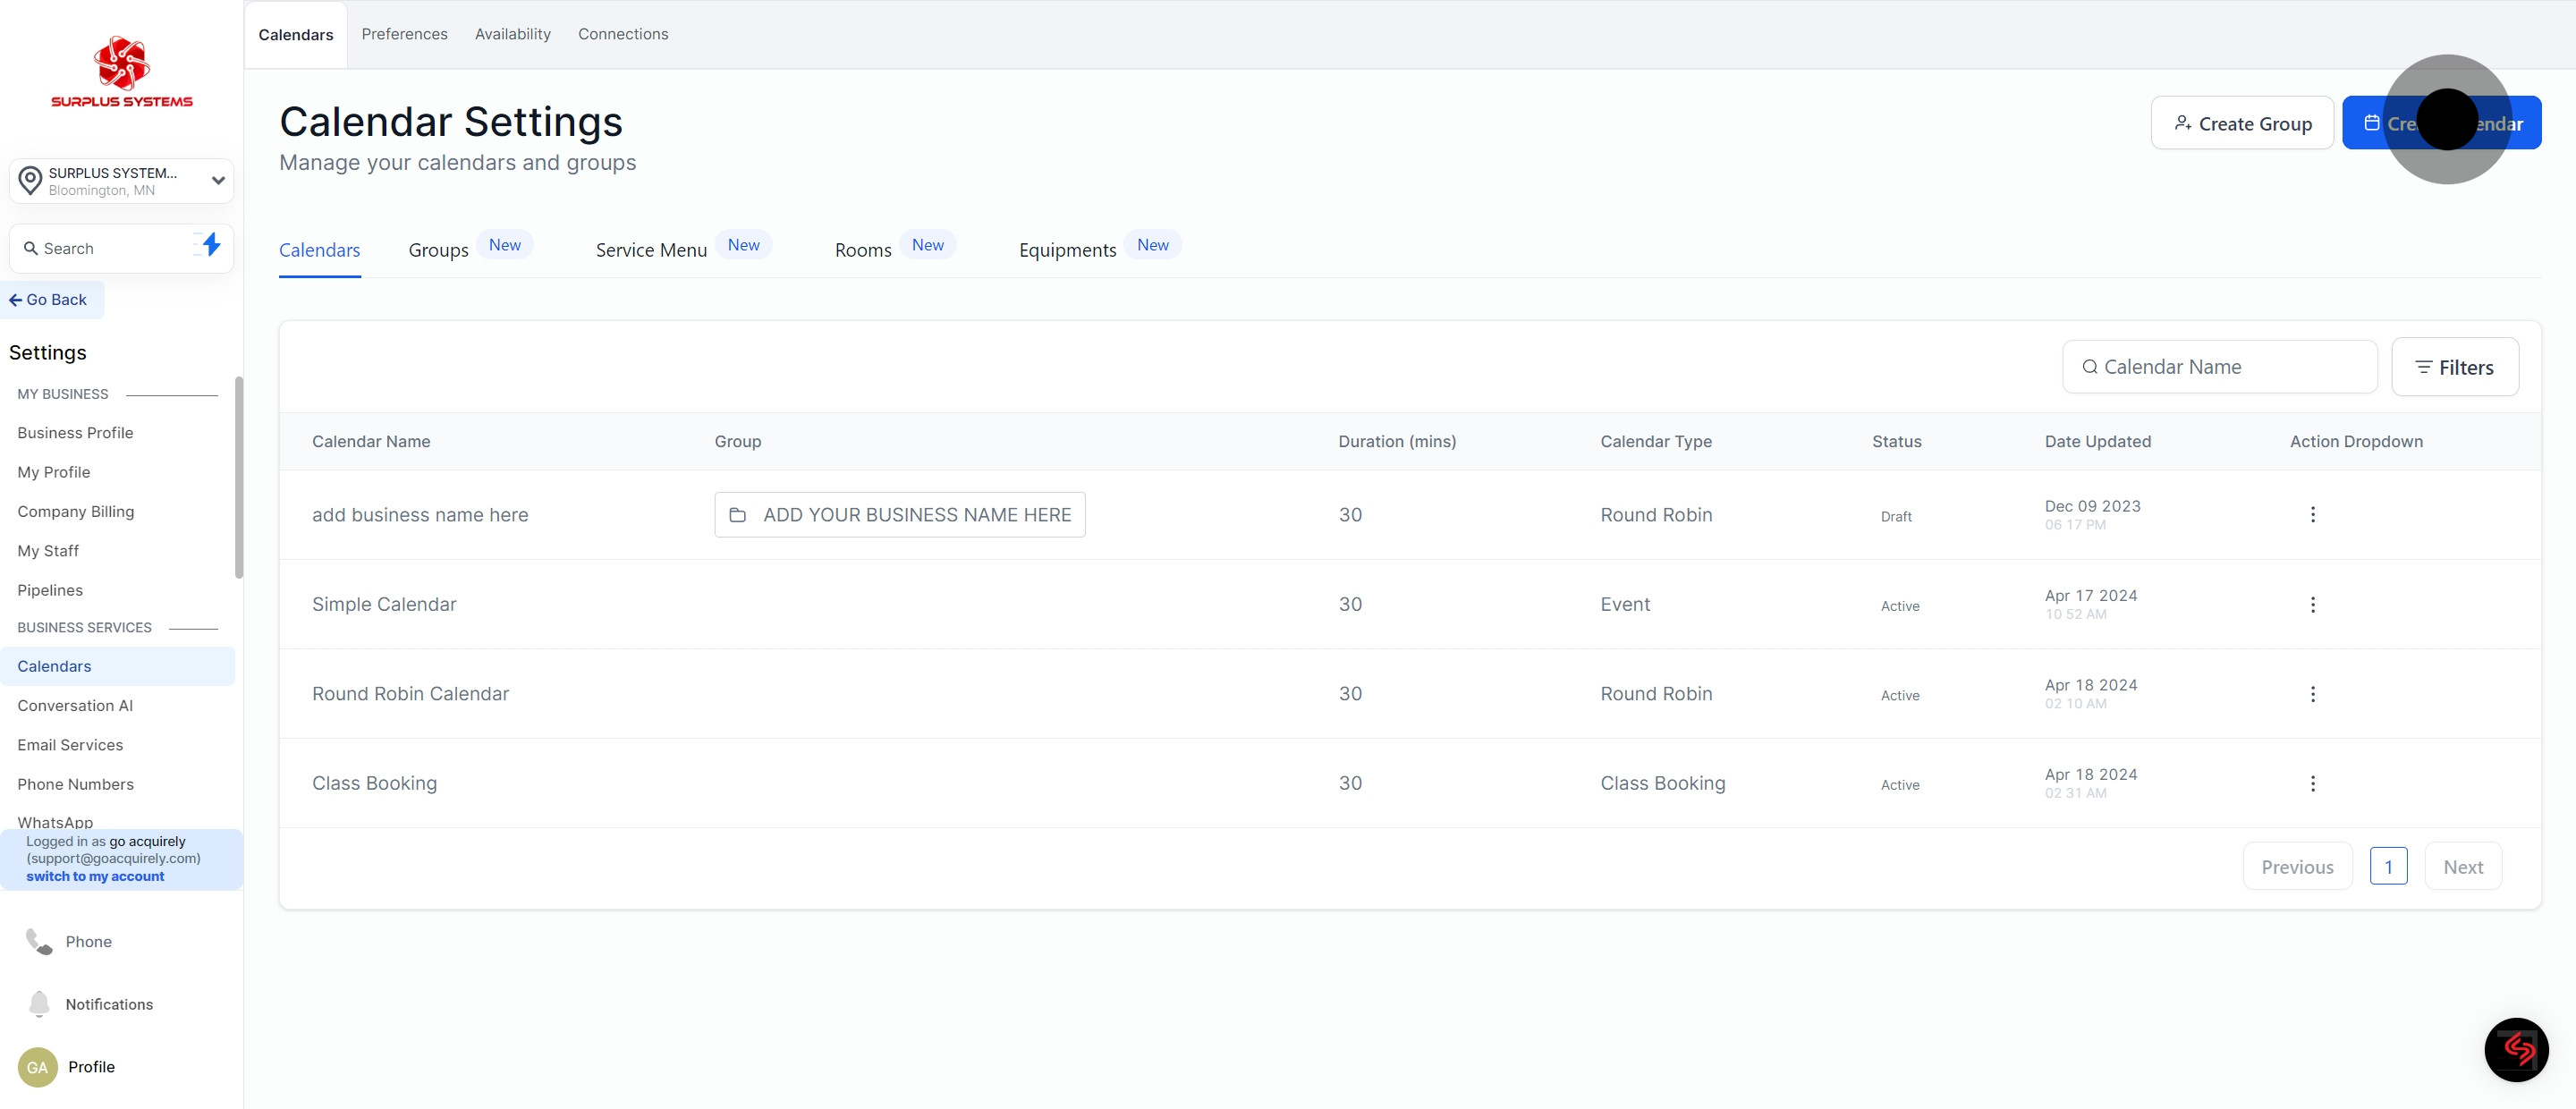
3. Press 'Create Calendar'.
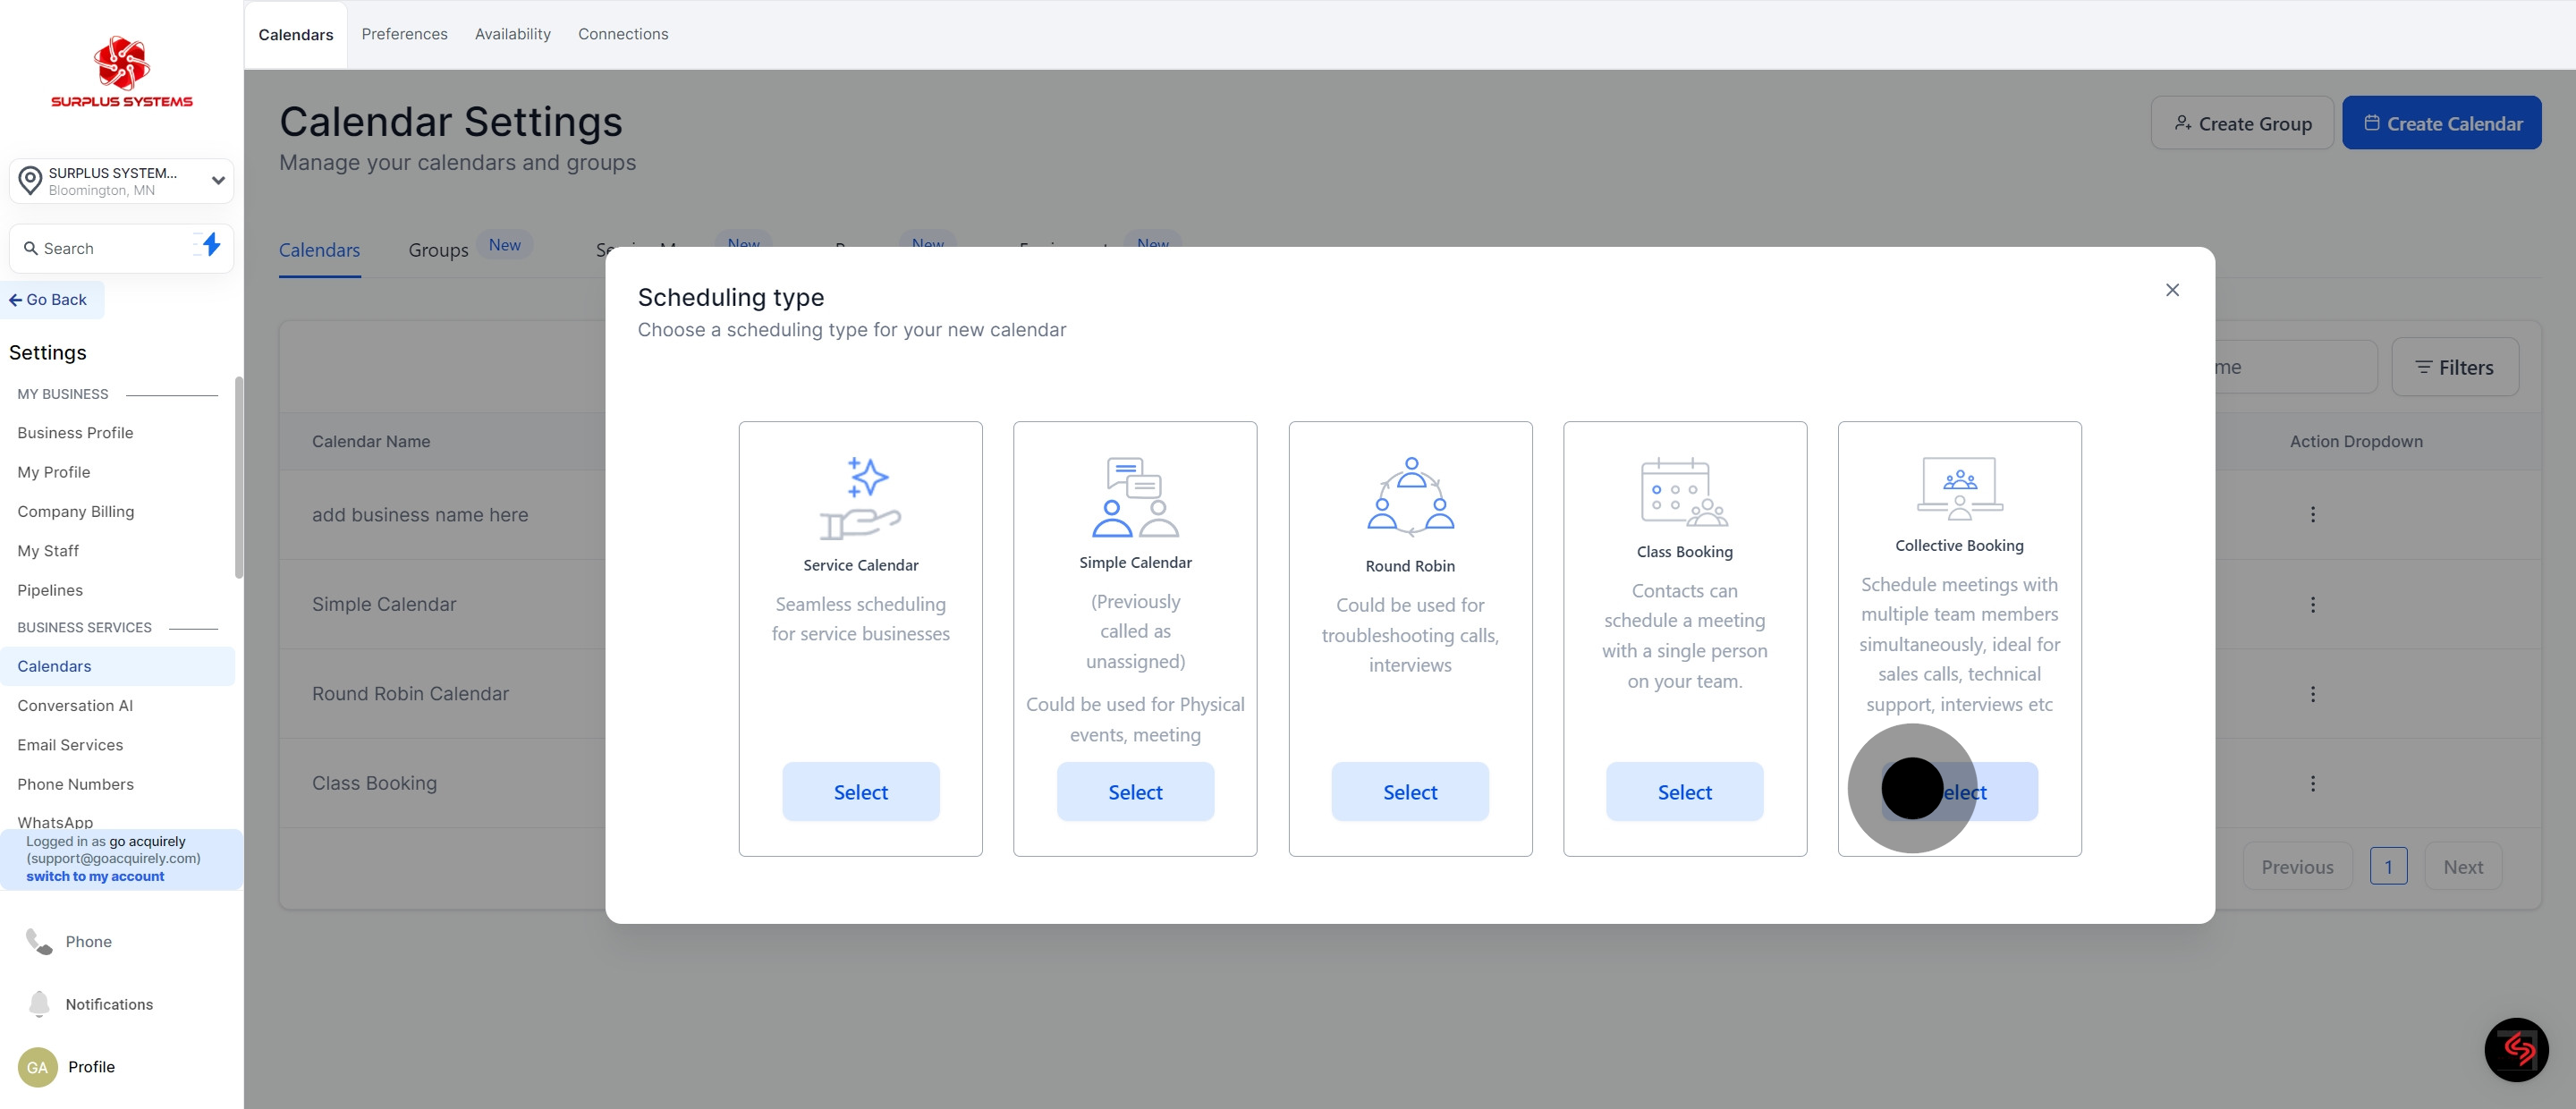
4. Proceed by selecting 'Collective Booking'
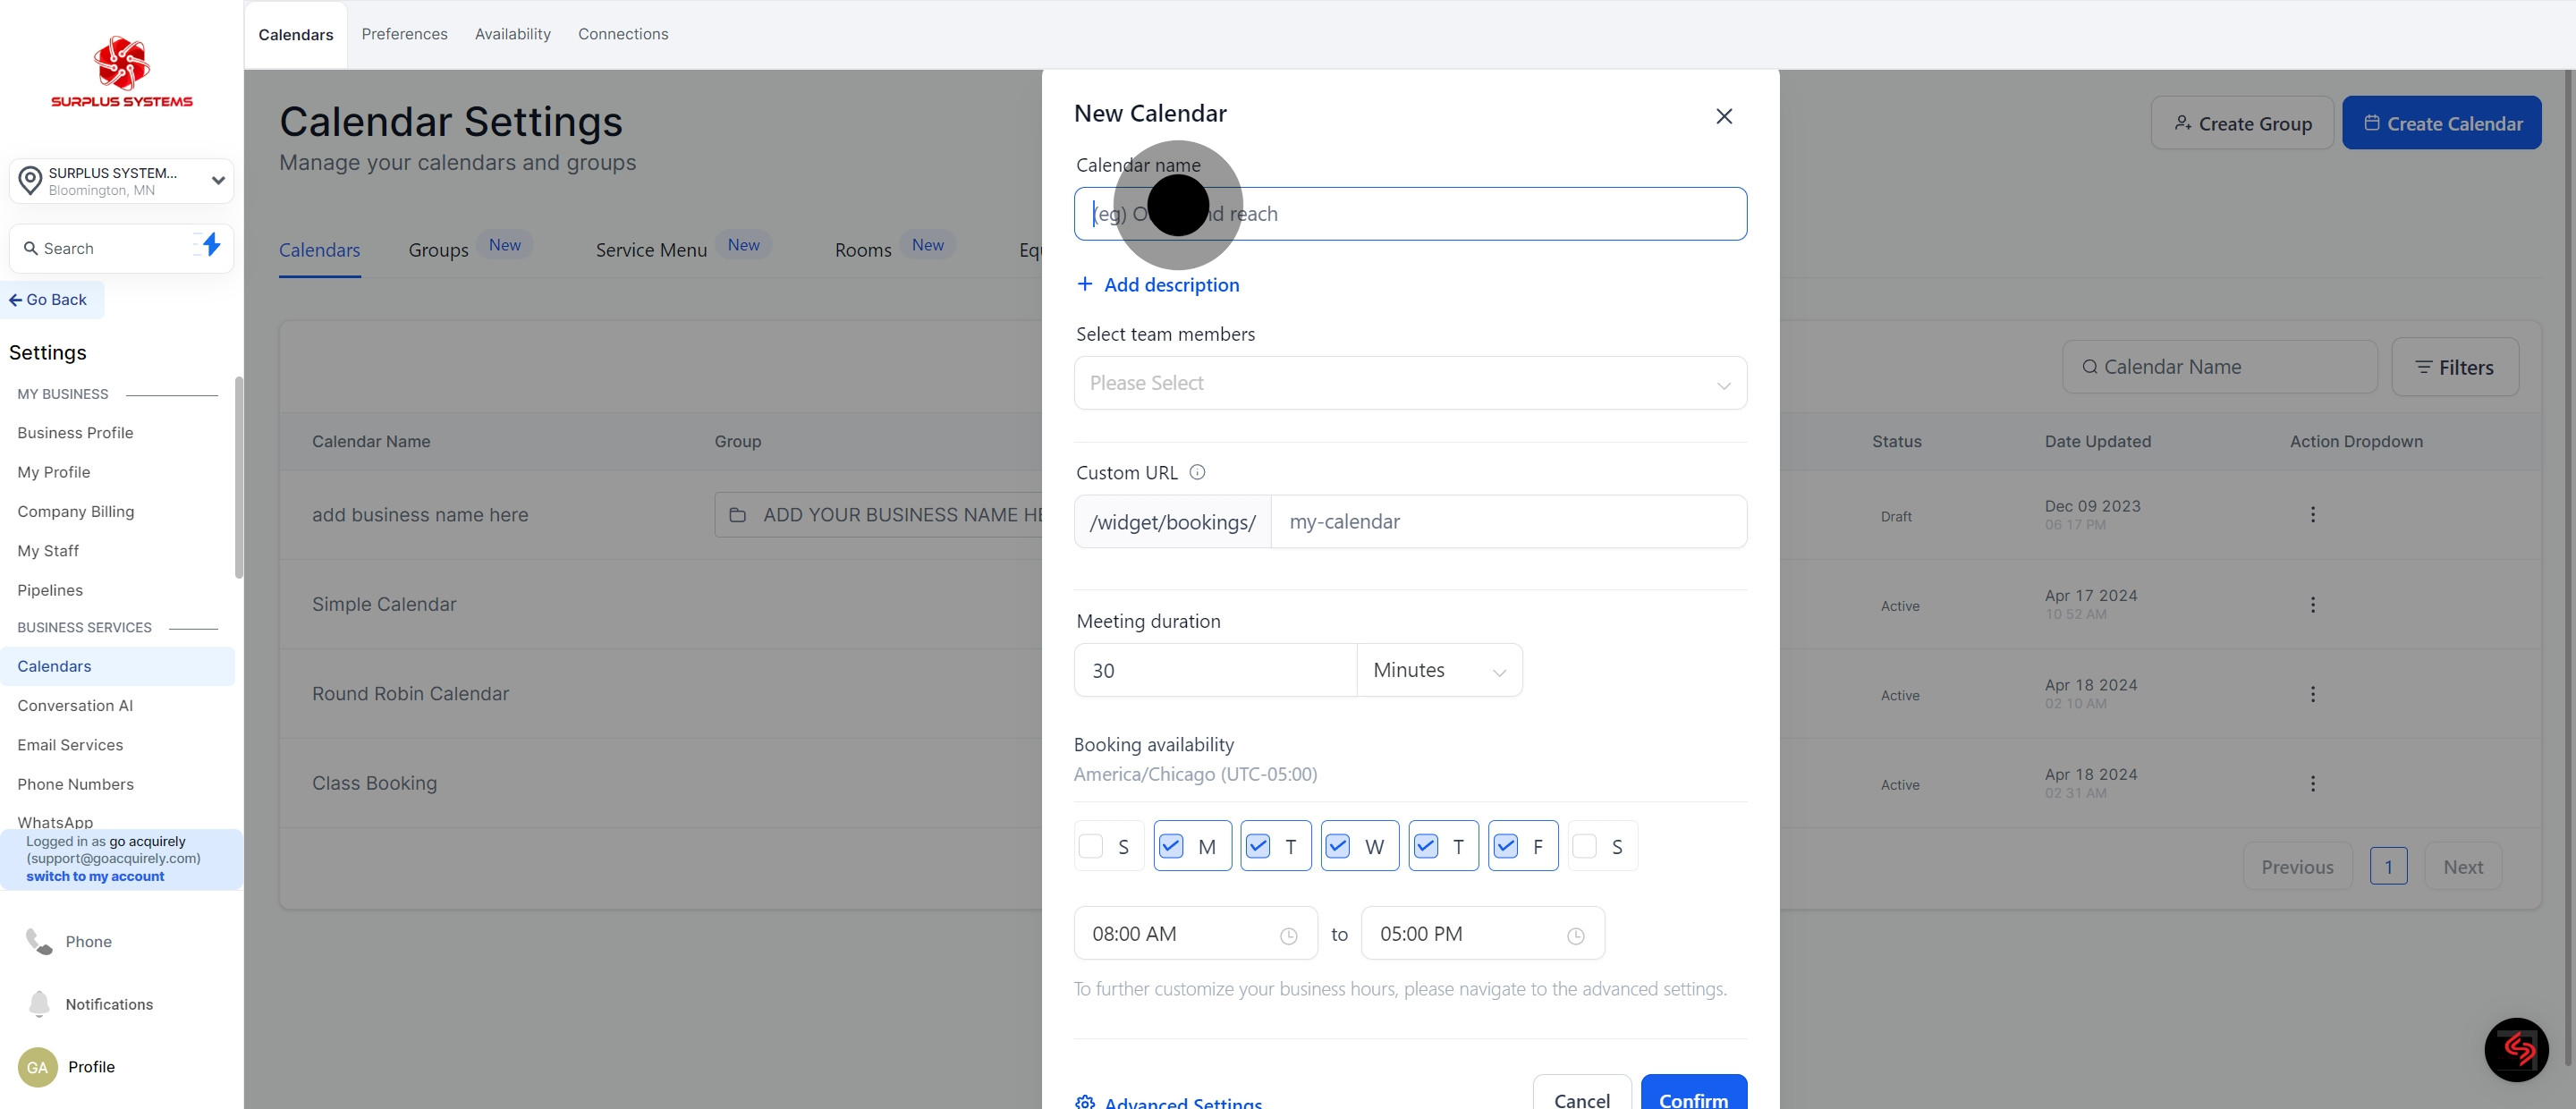
5. Insert the name for your calendar.
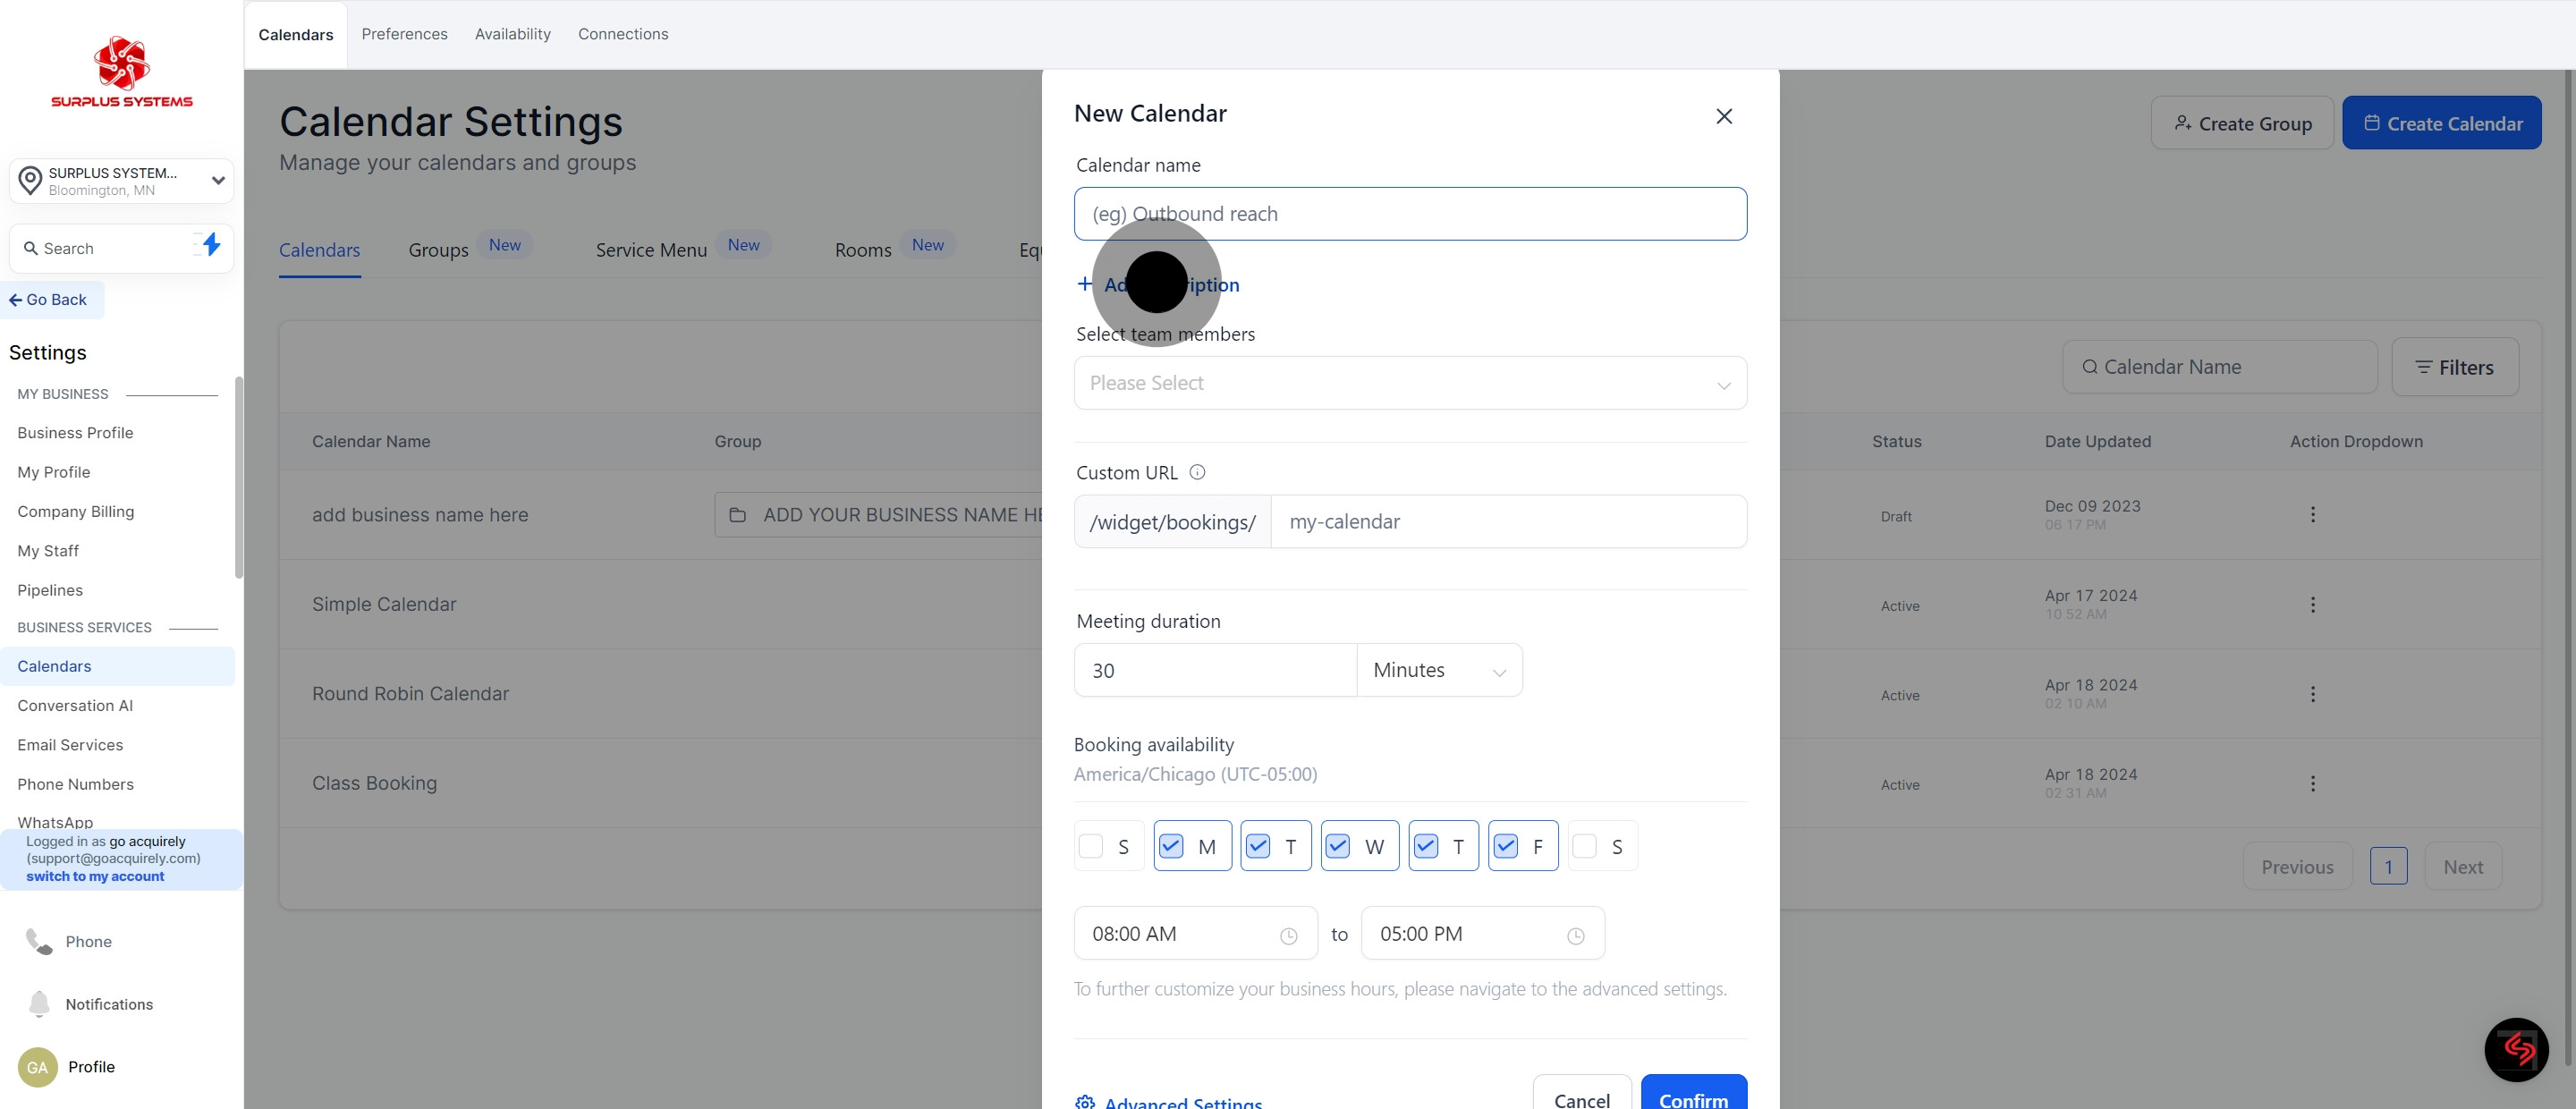
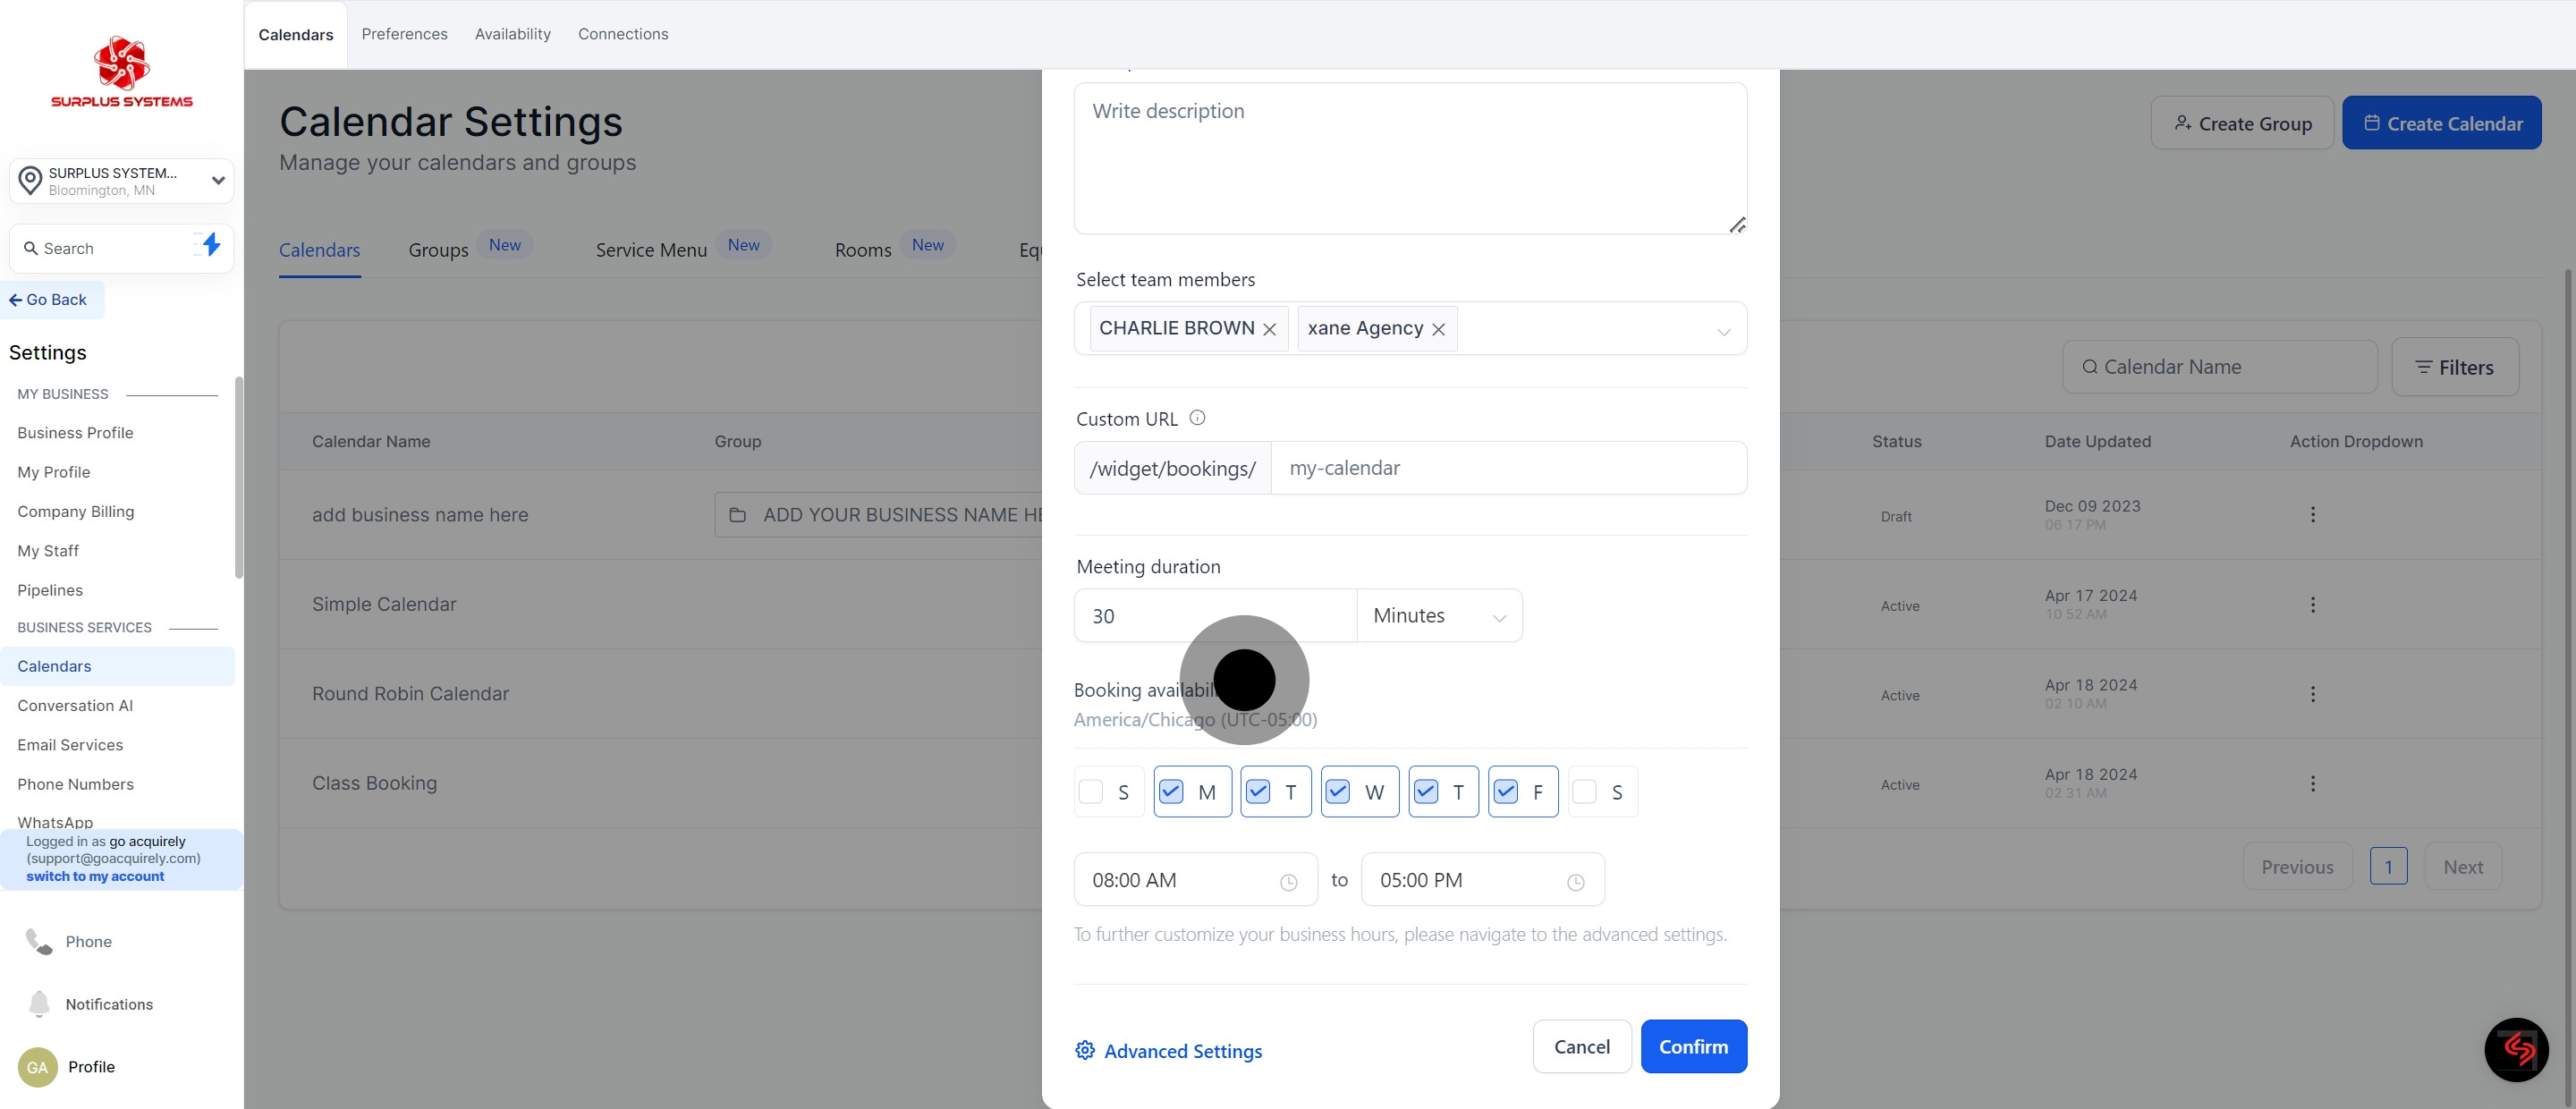
6. Add a description.
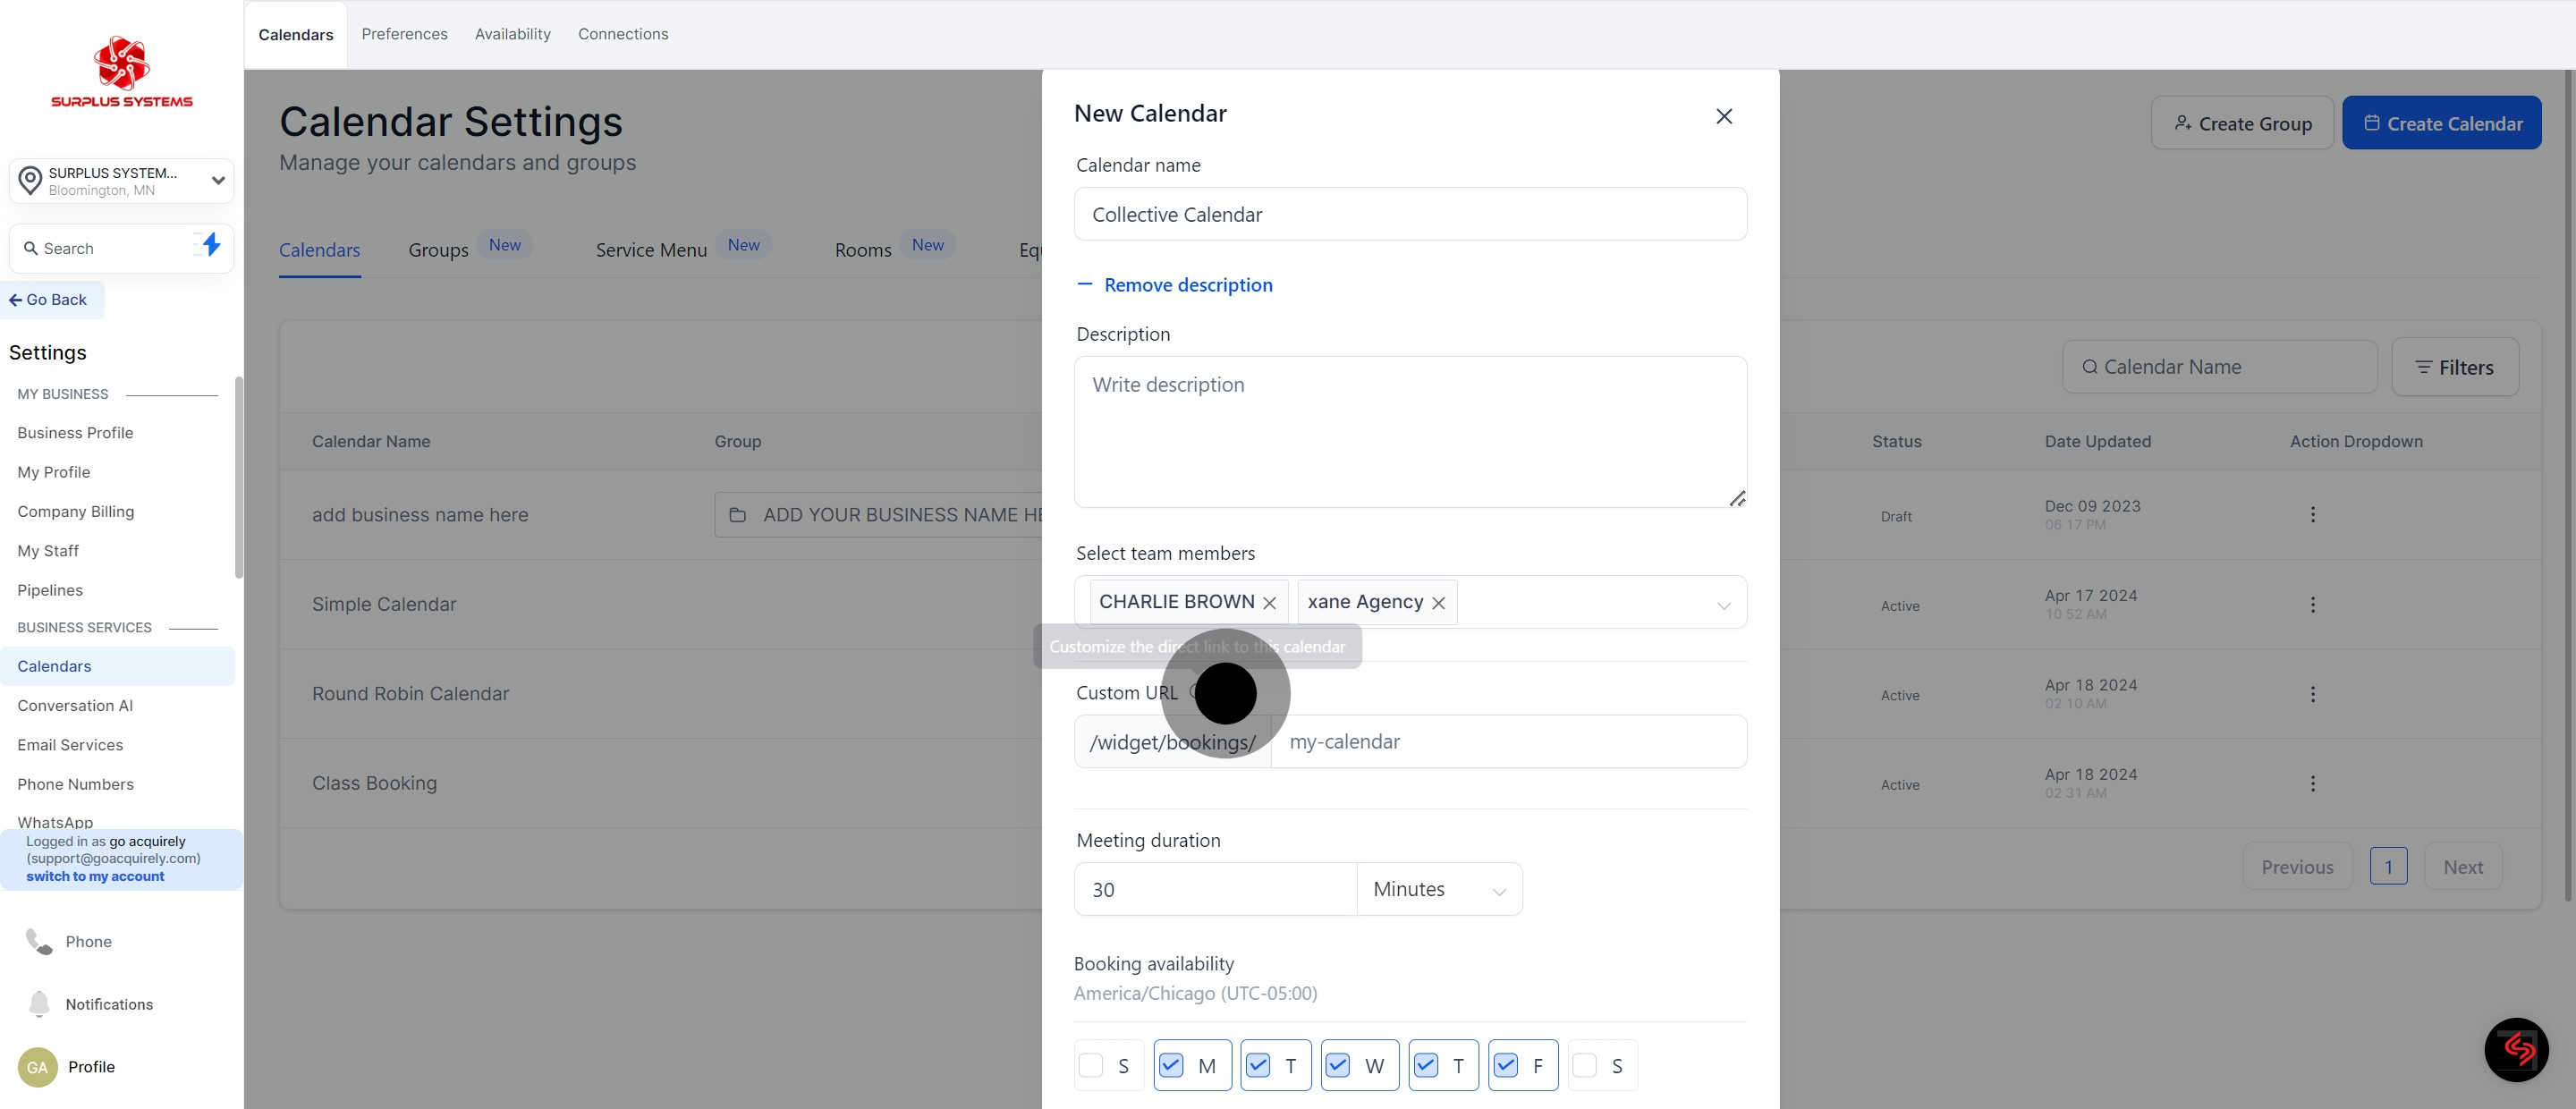
7. Select two team members
8. Provide unique 'Custom URL'.
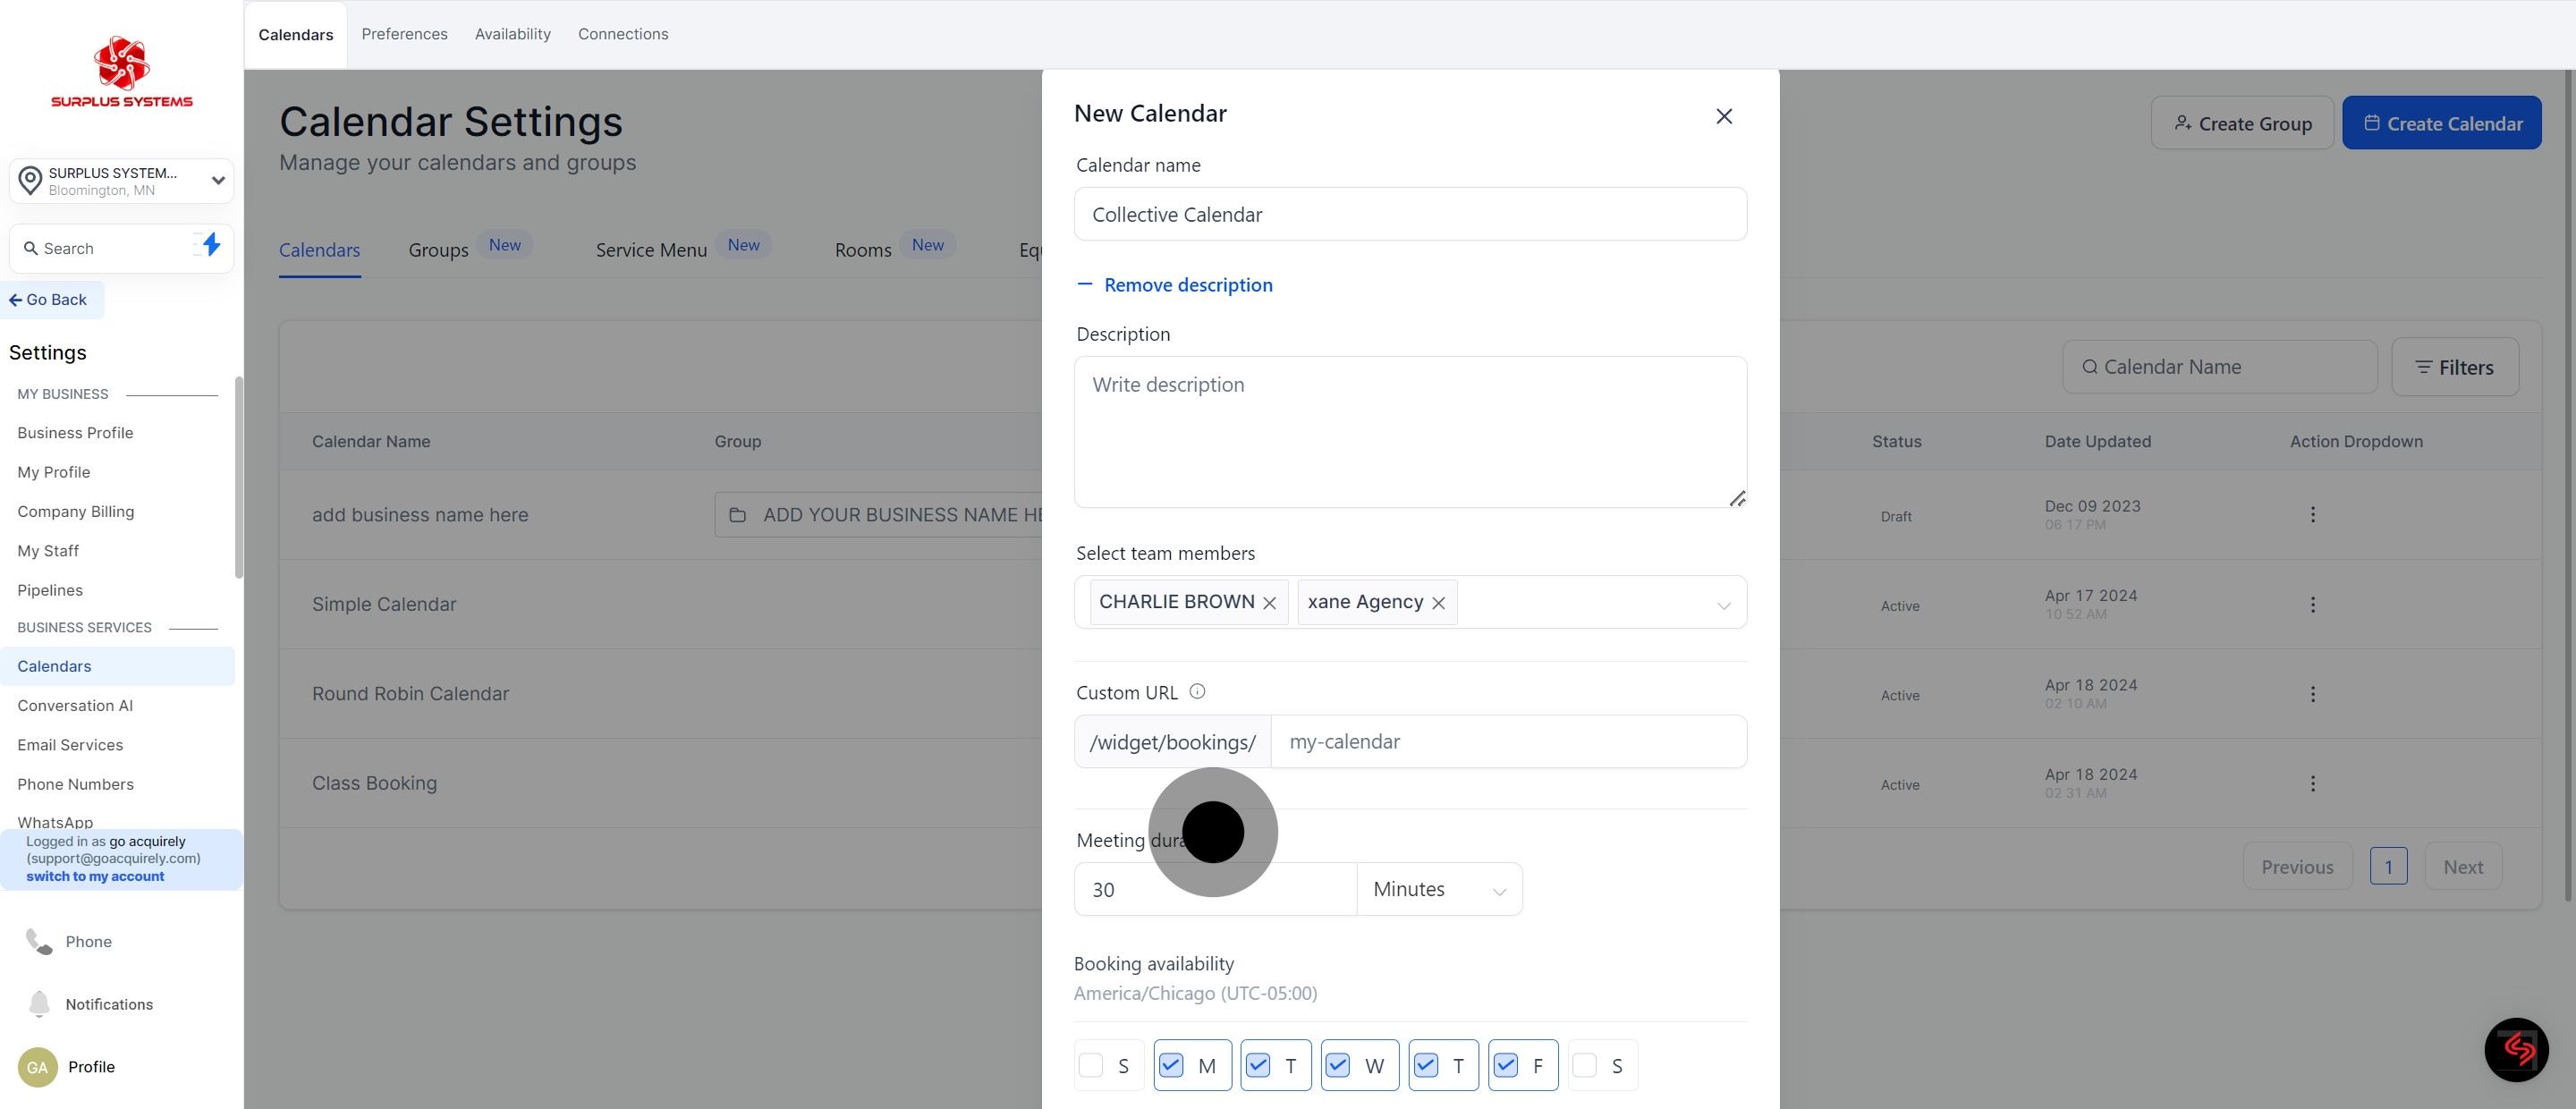
9. Set 'Meeting duration'.
10. Go to 'Booking availability'.
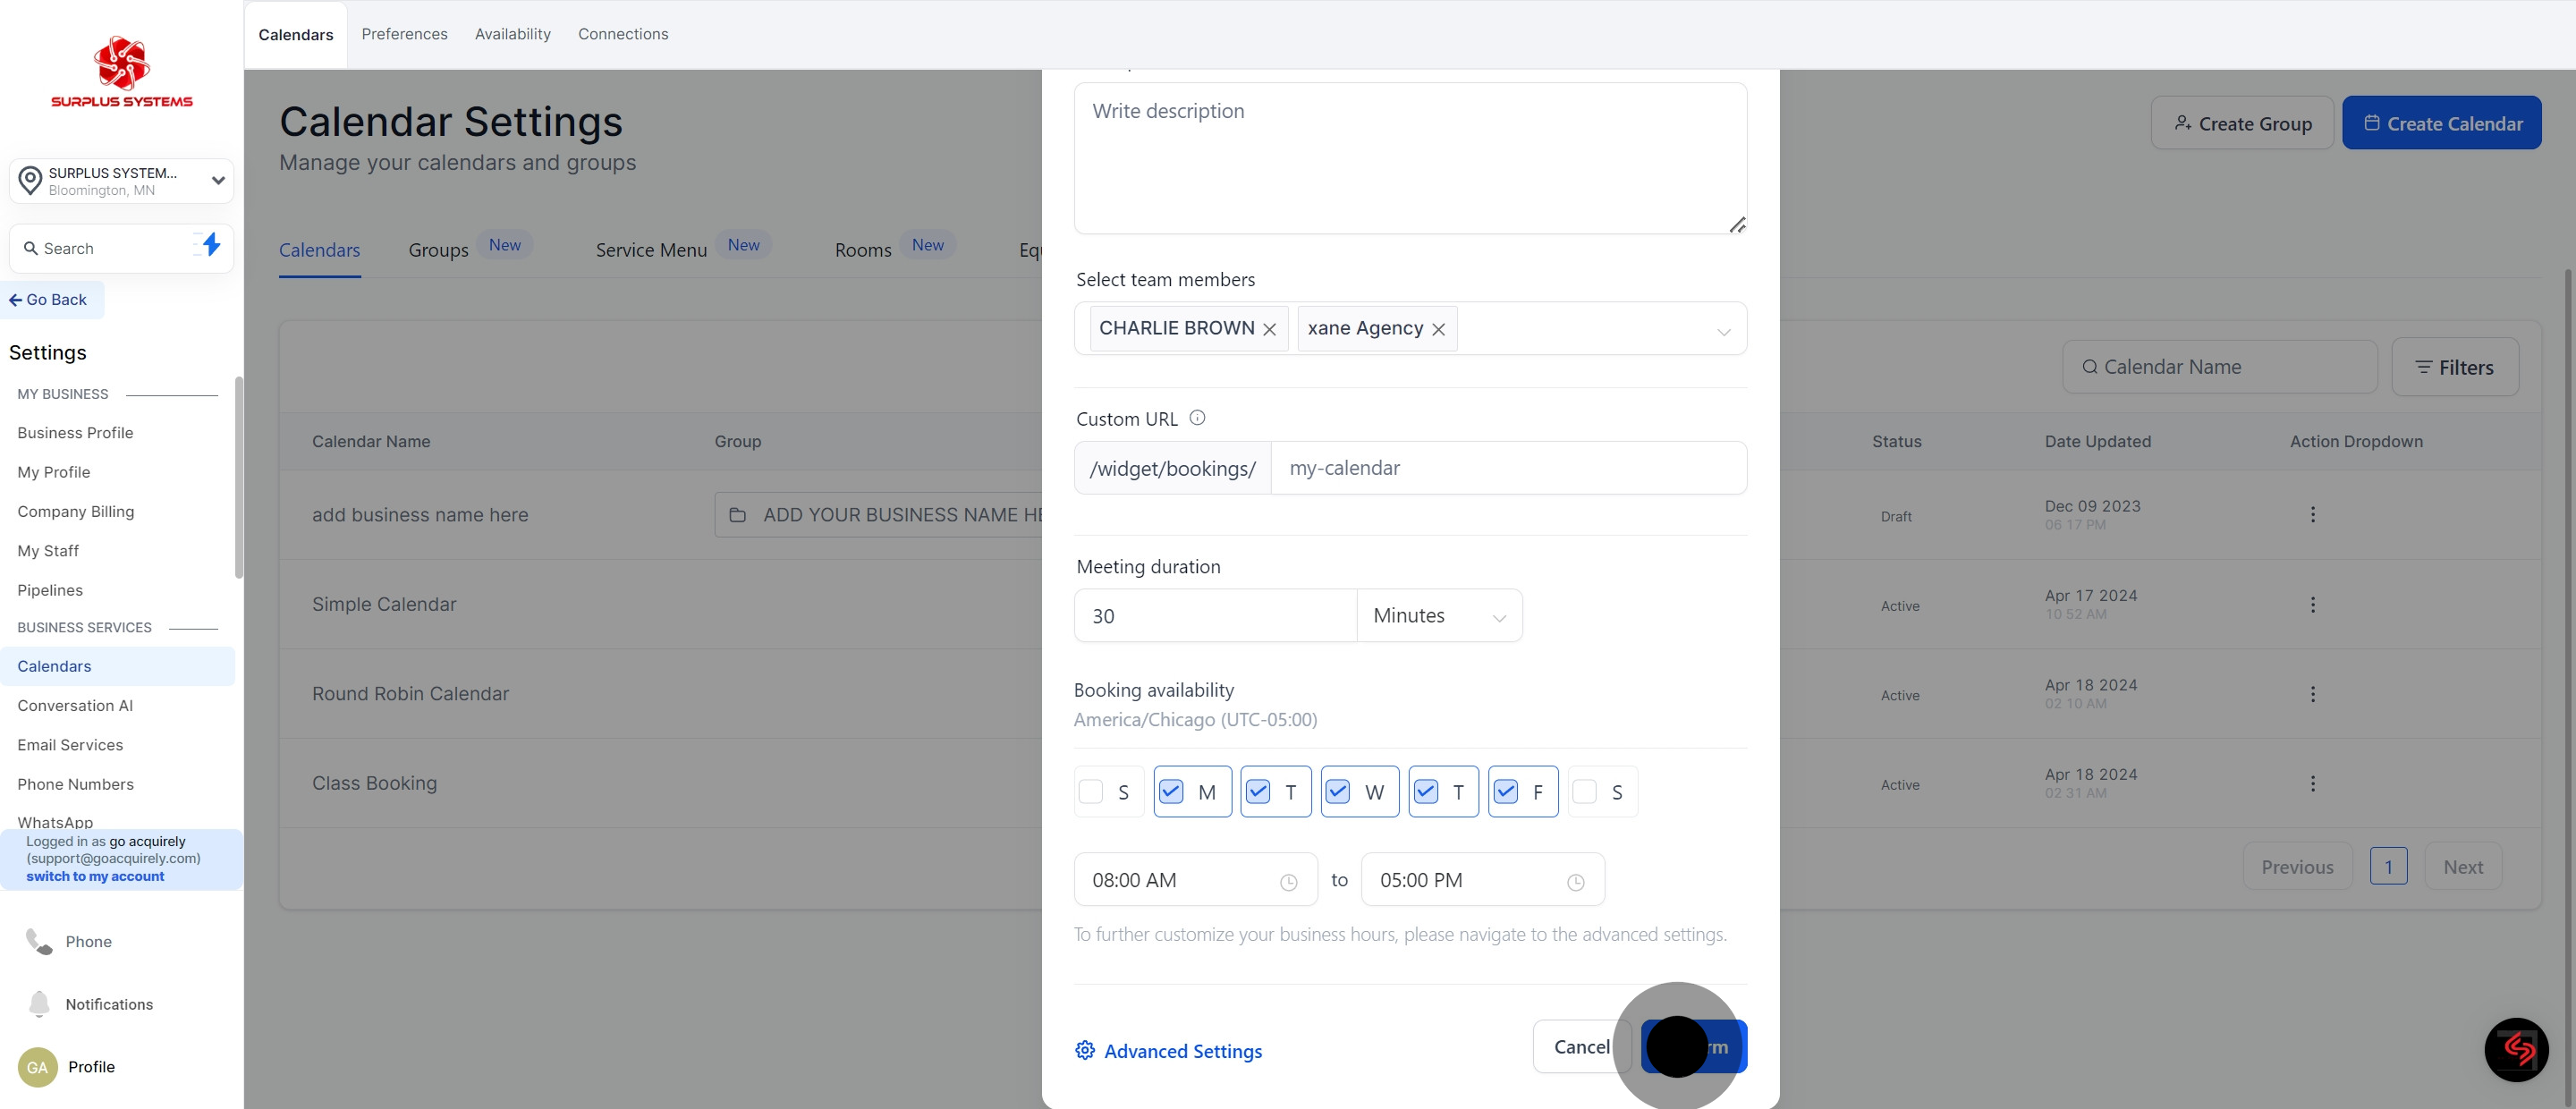
11. Confirm by pressing 'Confirm'.
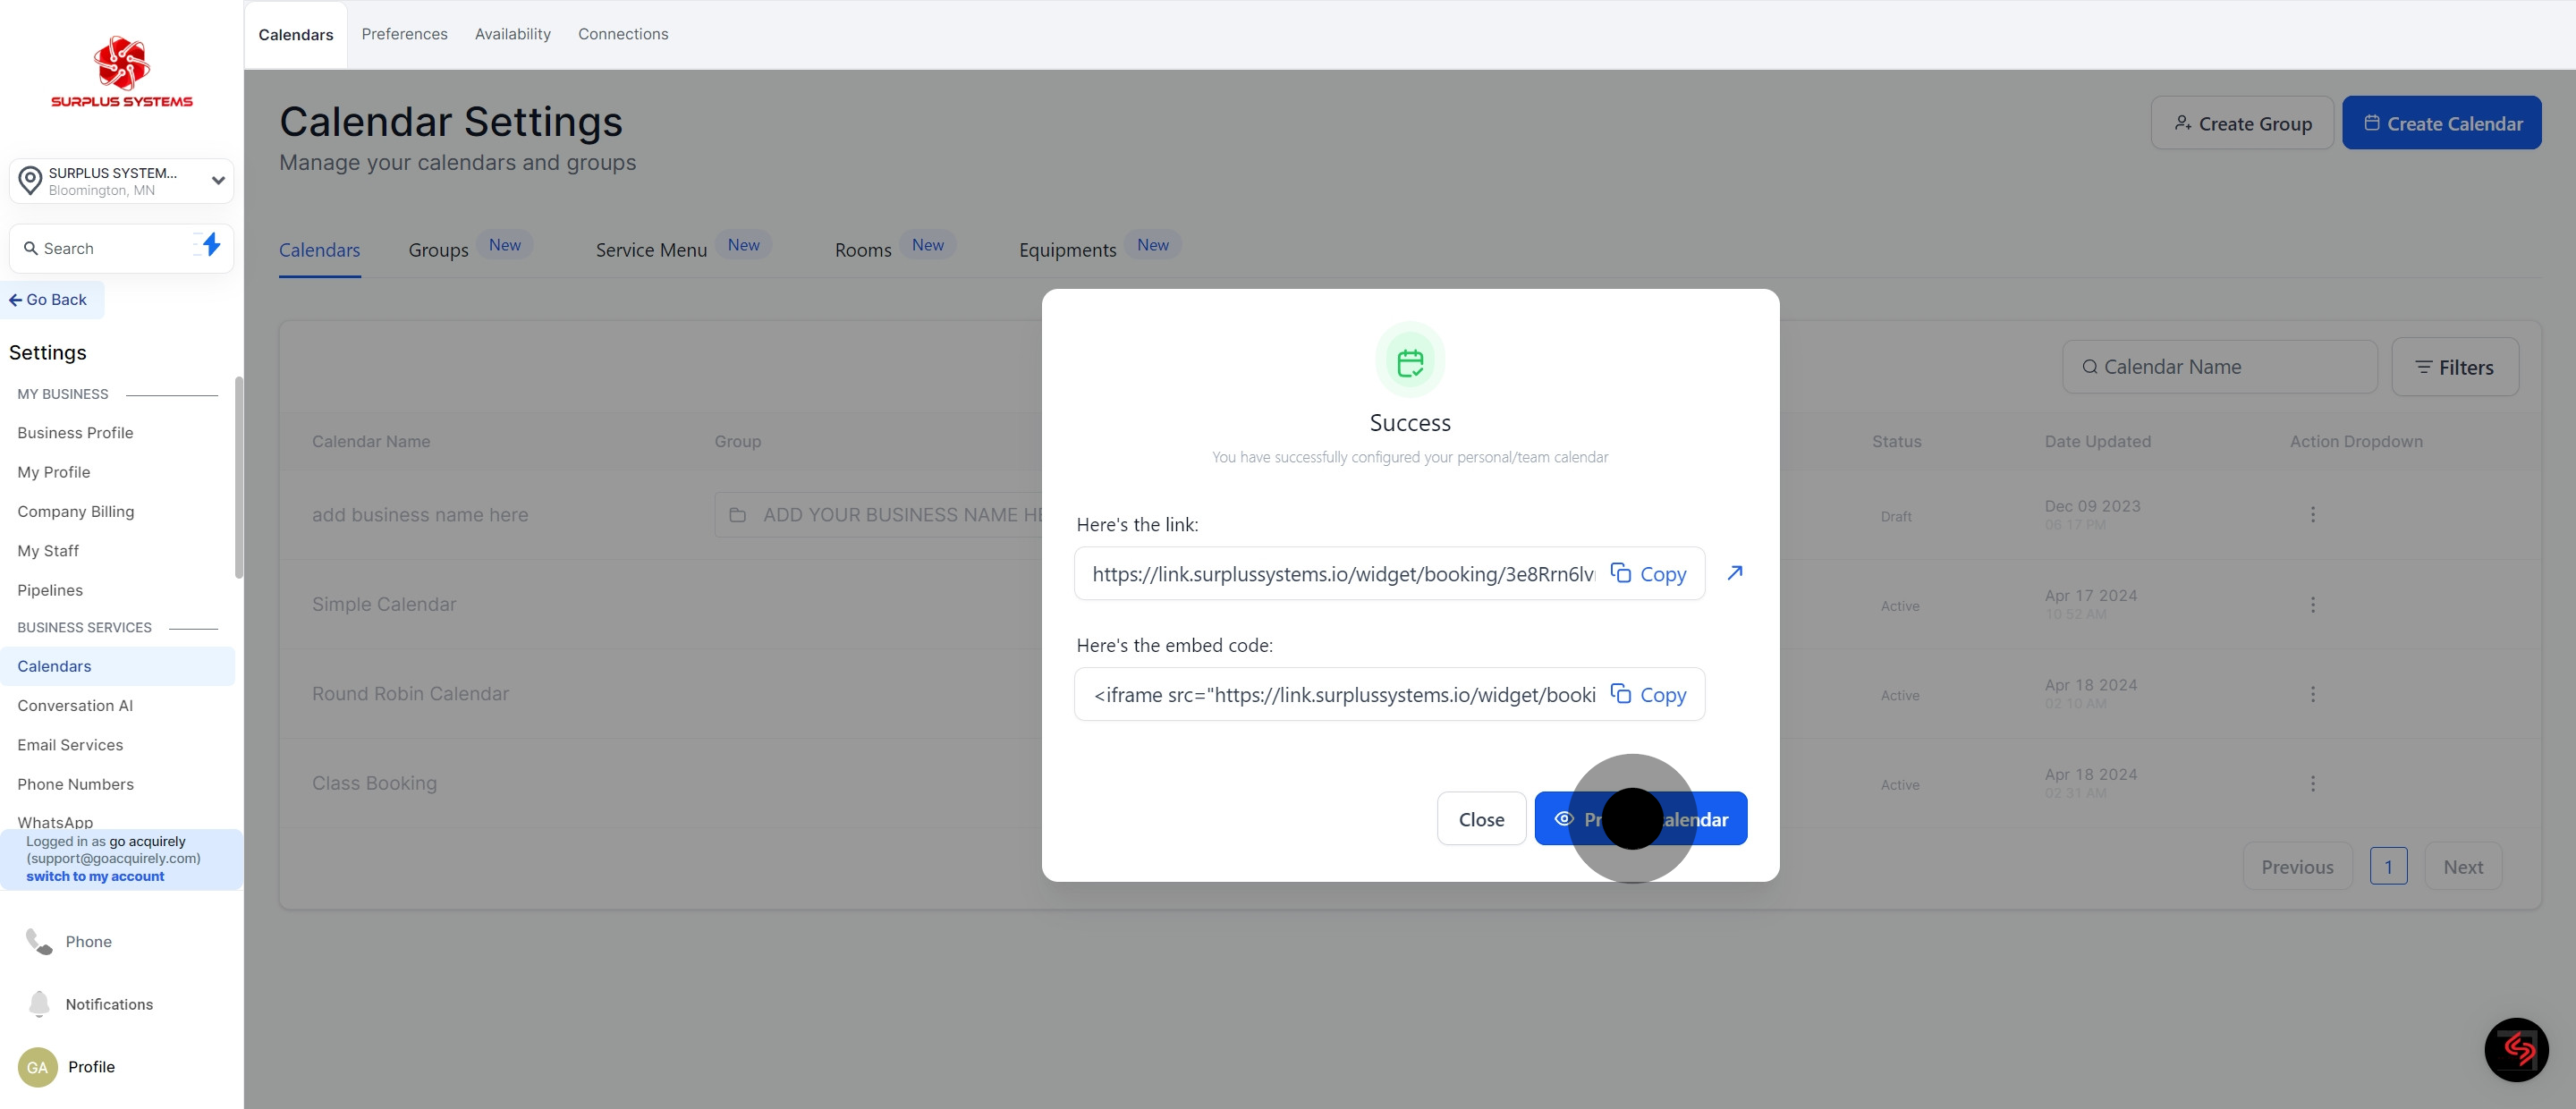
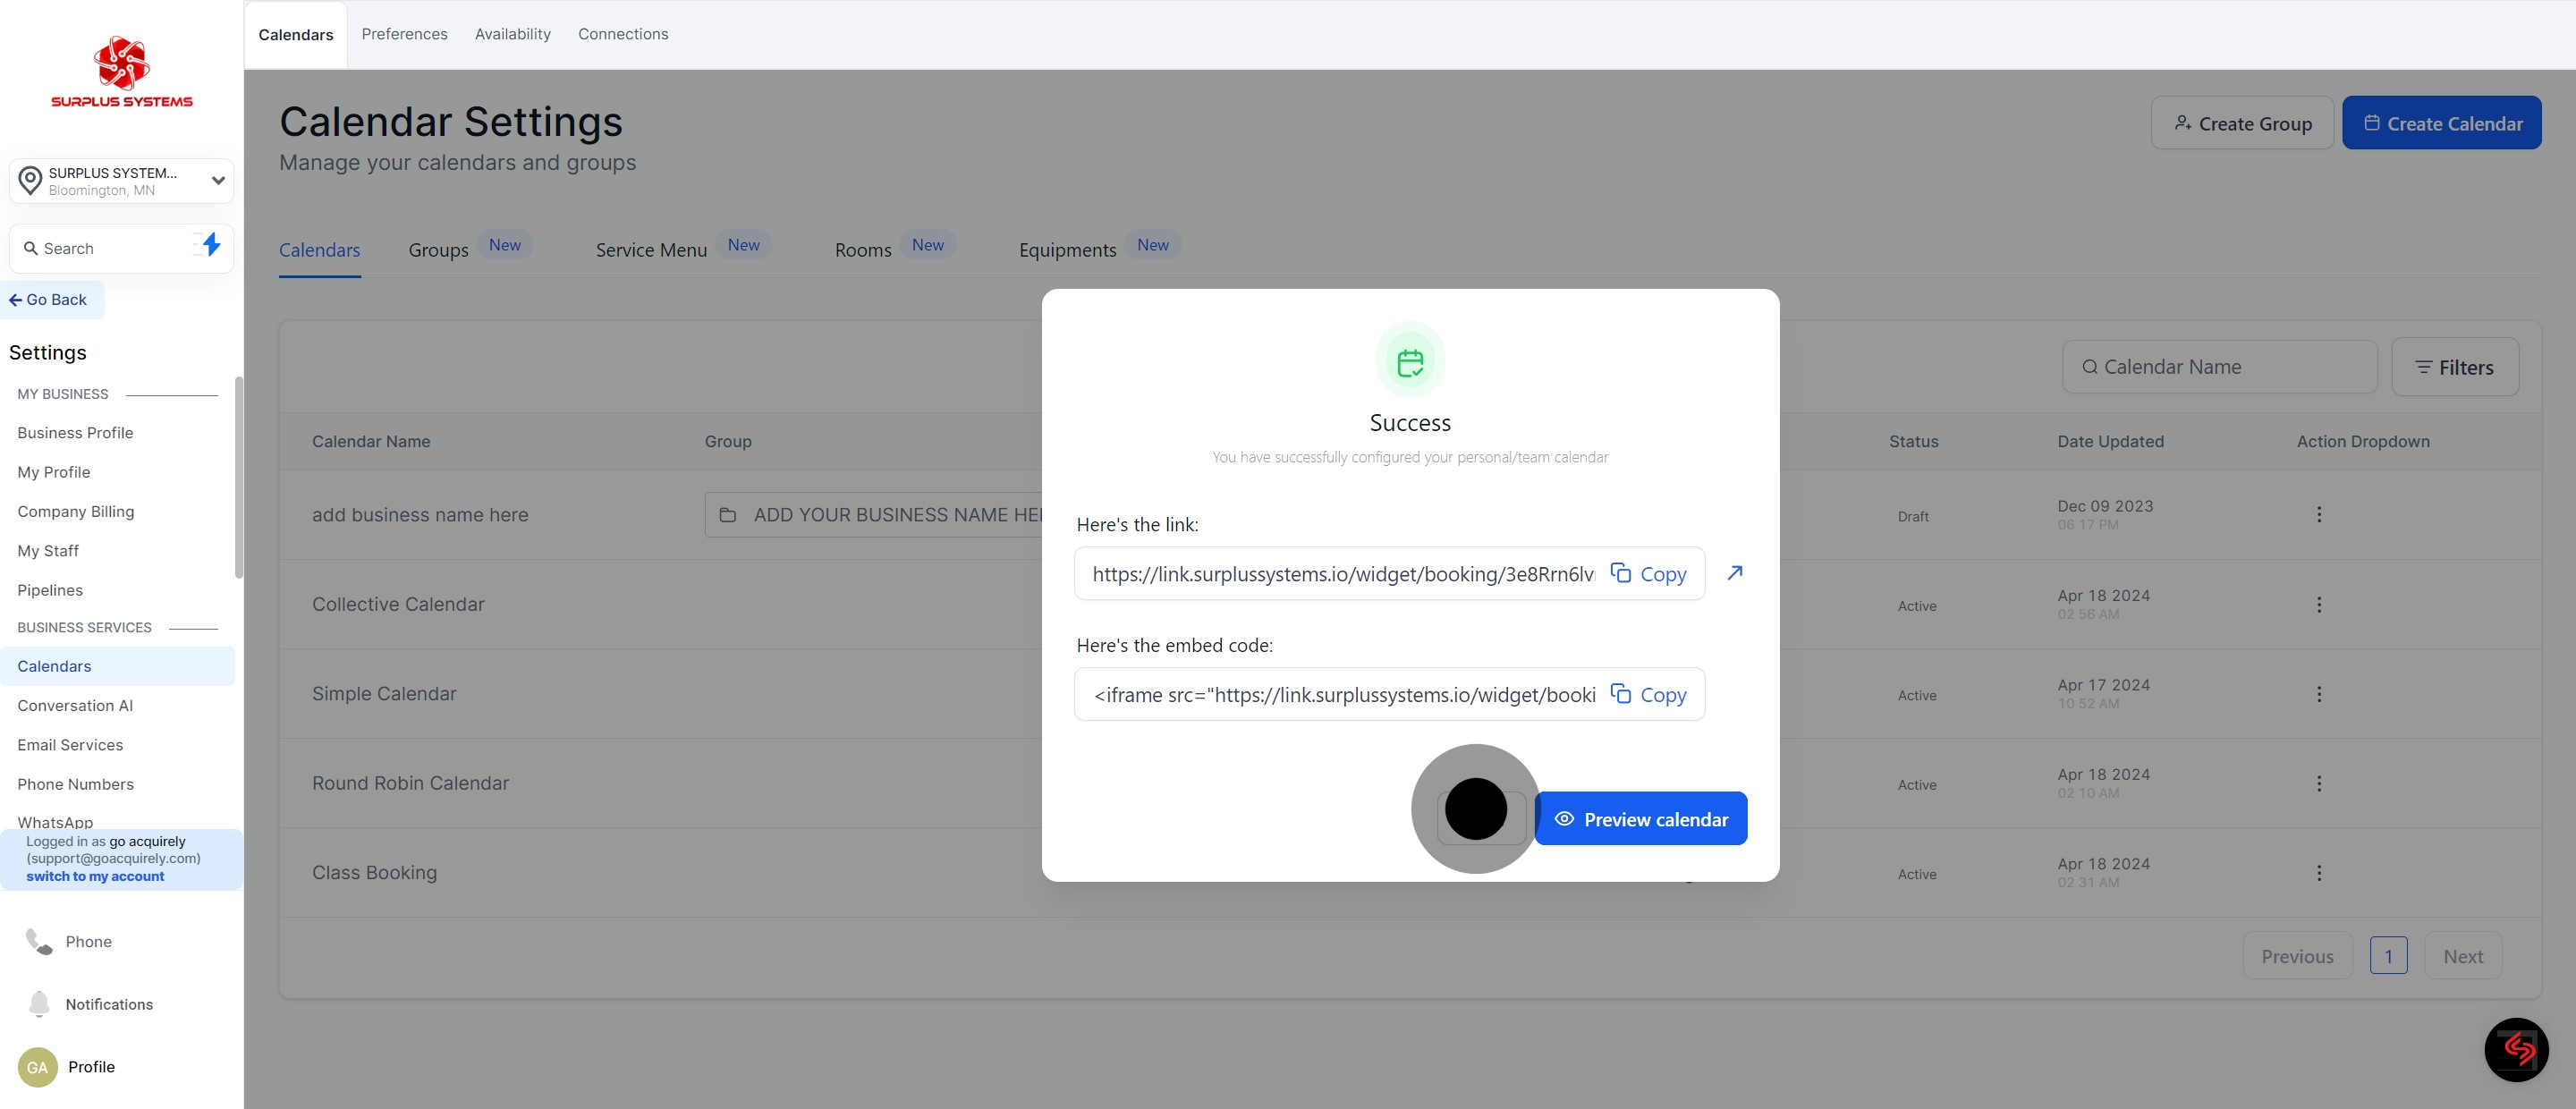
12. Preview your Collective Booking Calendar
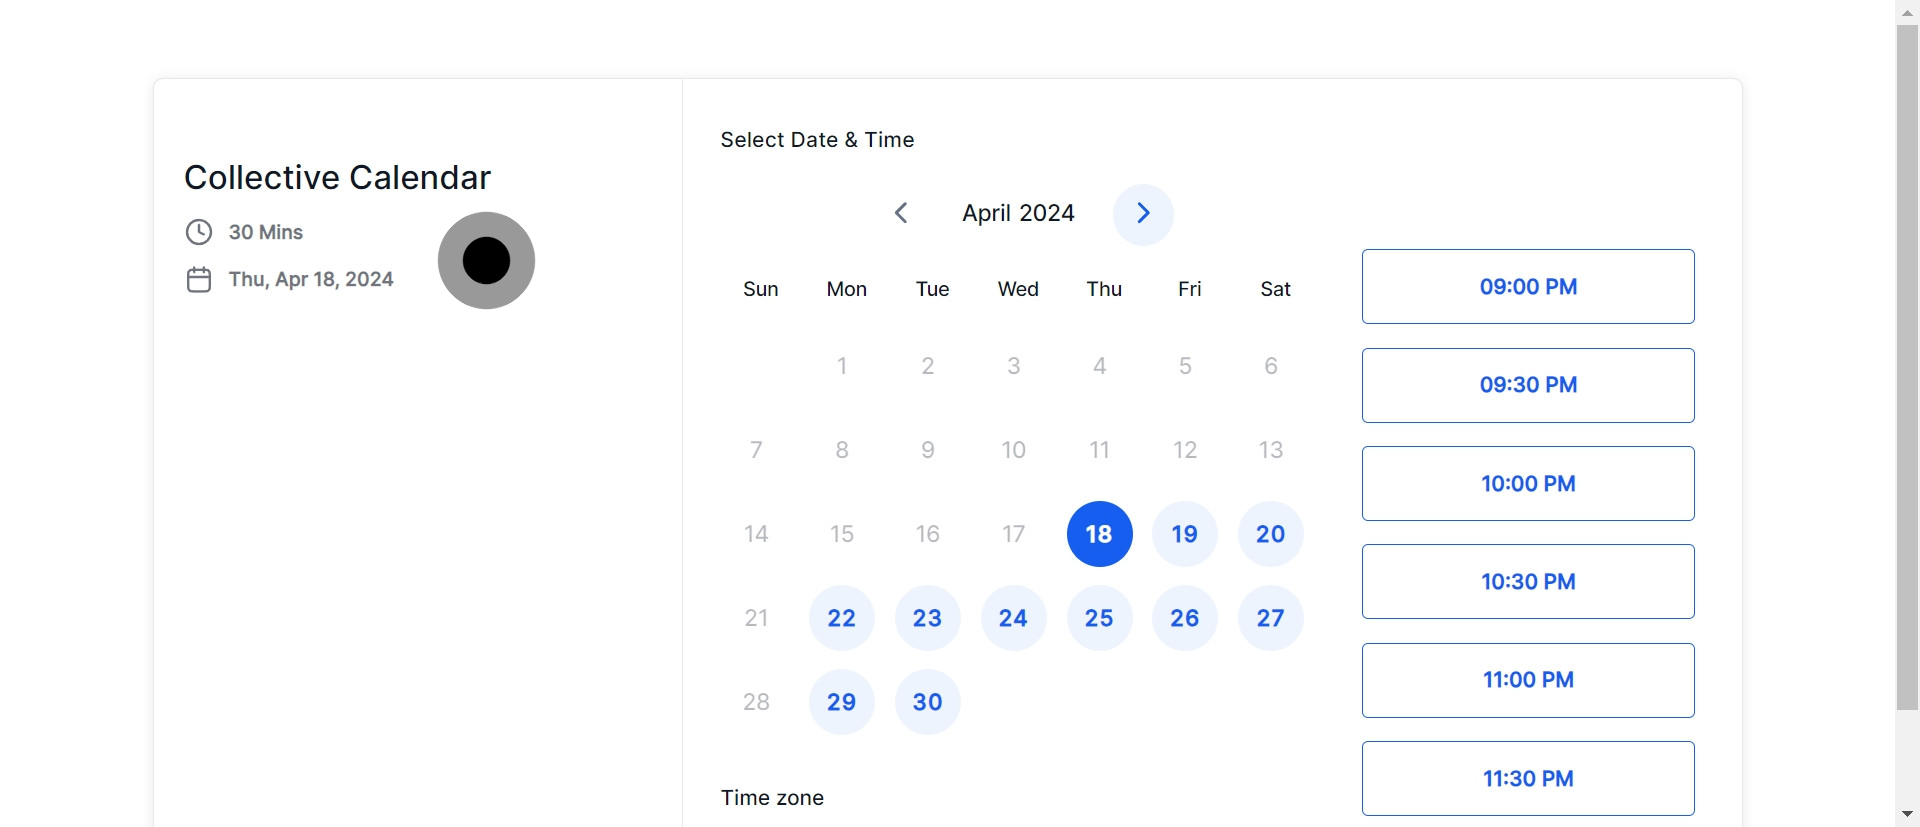
13. This is what your calendar looks like.
14. Conclude by closing once again.
15. Your Collective Calendar is now saved!
Did this answer your question?
😞
😐
😁
Creating a Collective Booking Calendar in Surplus Systems: Simplify Group Appointments | SURPLUS SYSTEMS