Designing a Class Booking Calendar in Surplus Systems: A Complete Guide
Learn to create a class booking calendar on Surplus Systems, facilitating easy registration and management of your class schedules. This detailed guide provides tips on setting up your classes, customizing booking options, and managing attendee lists, ensuring a smooth and efficient enrollment process for both you and your participants.
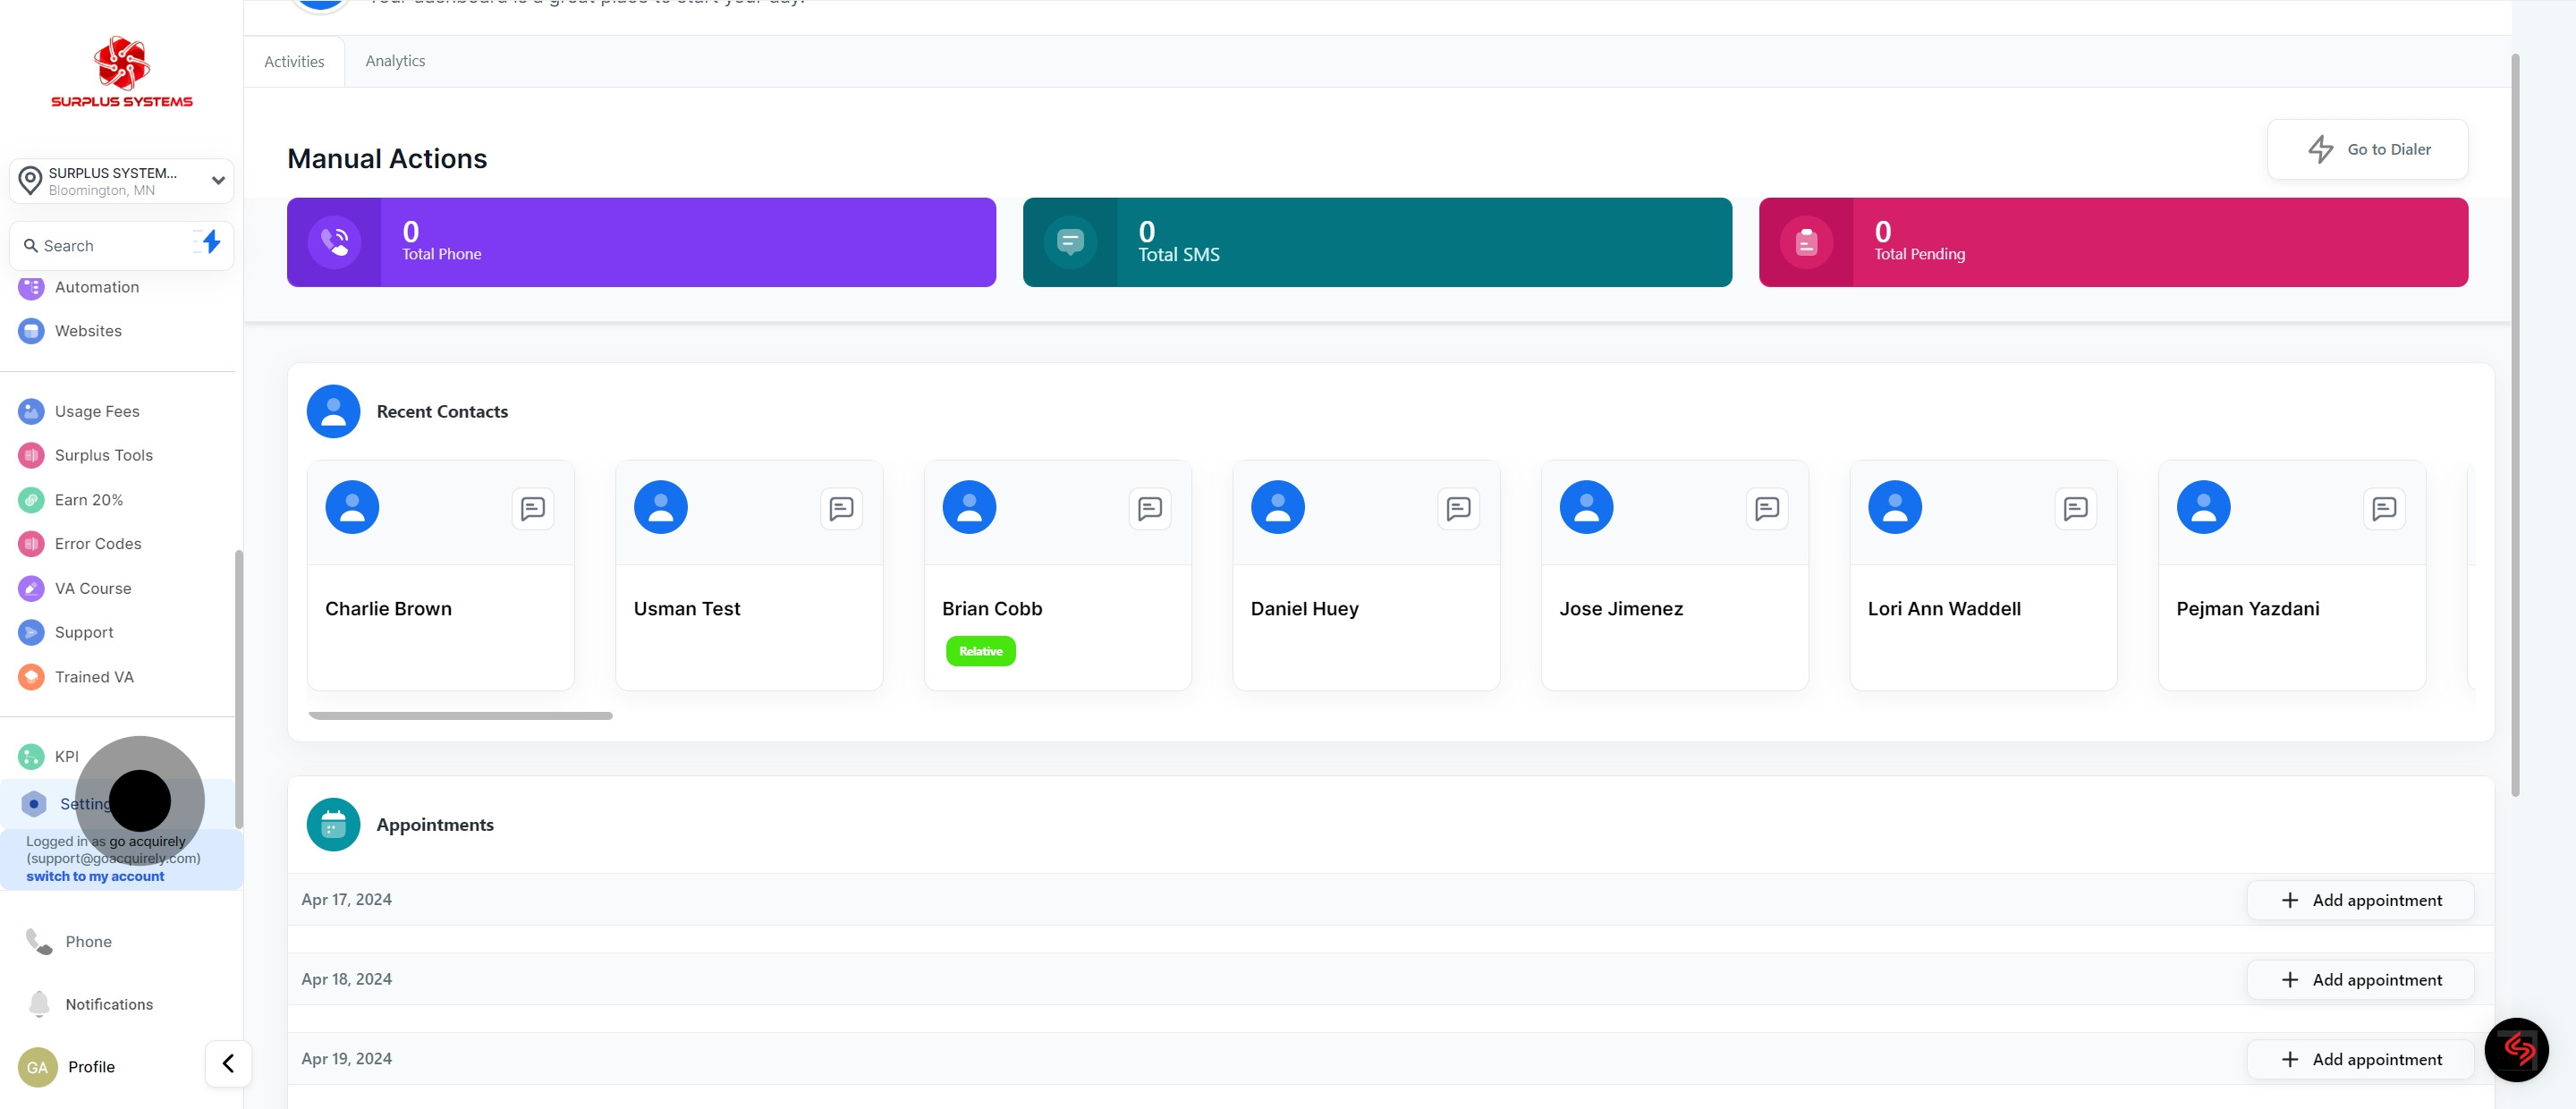
1. Start by clicking Settings Tab
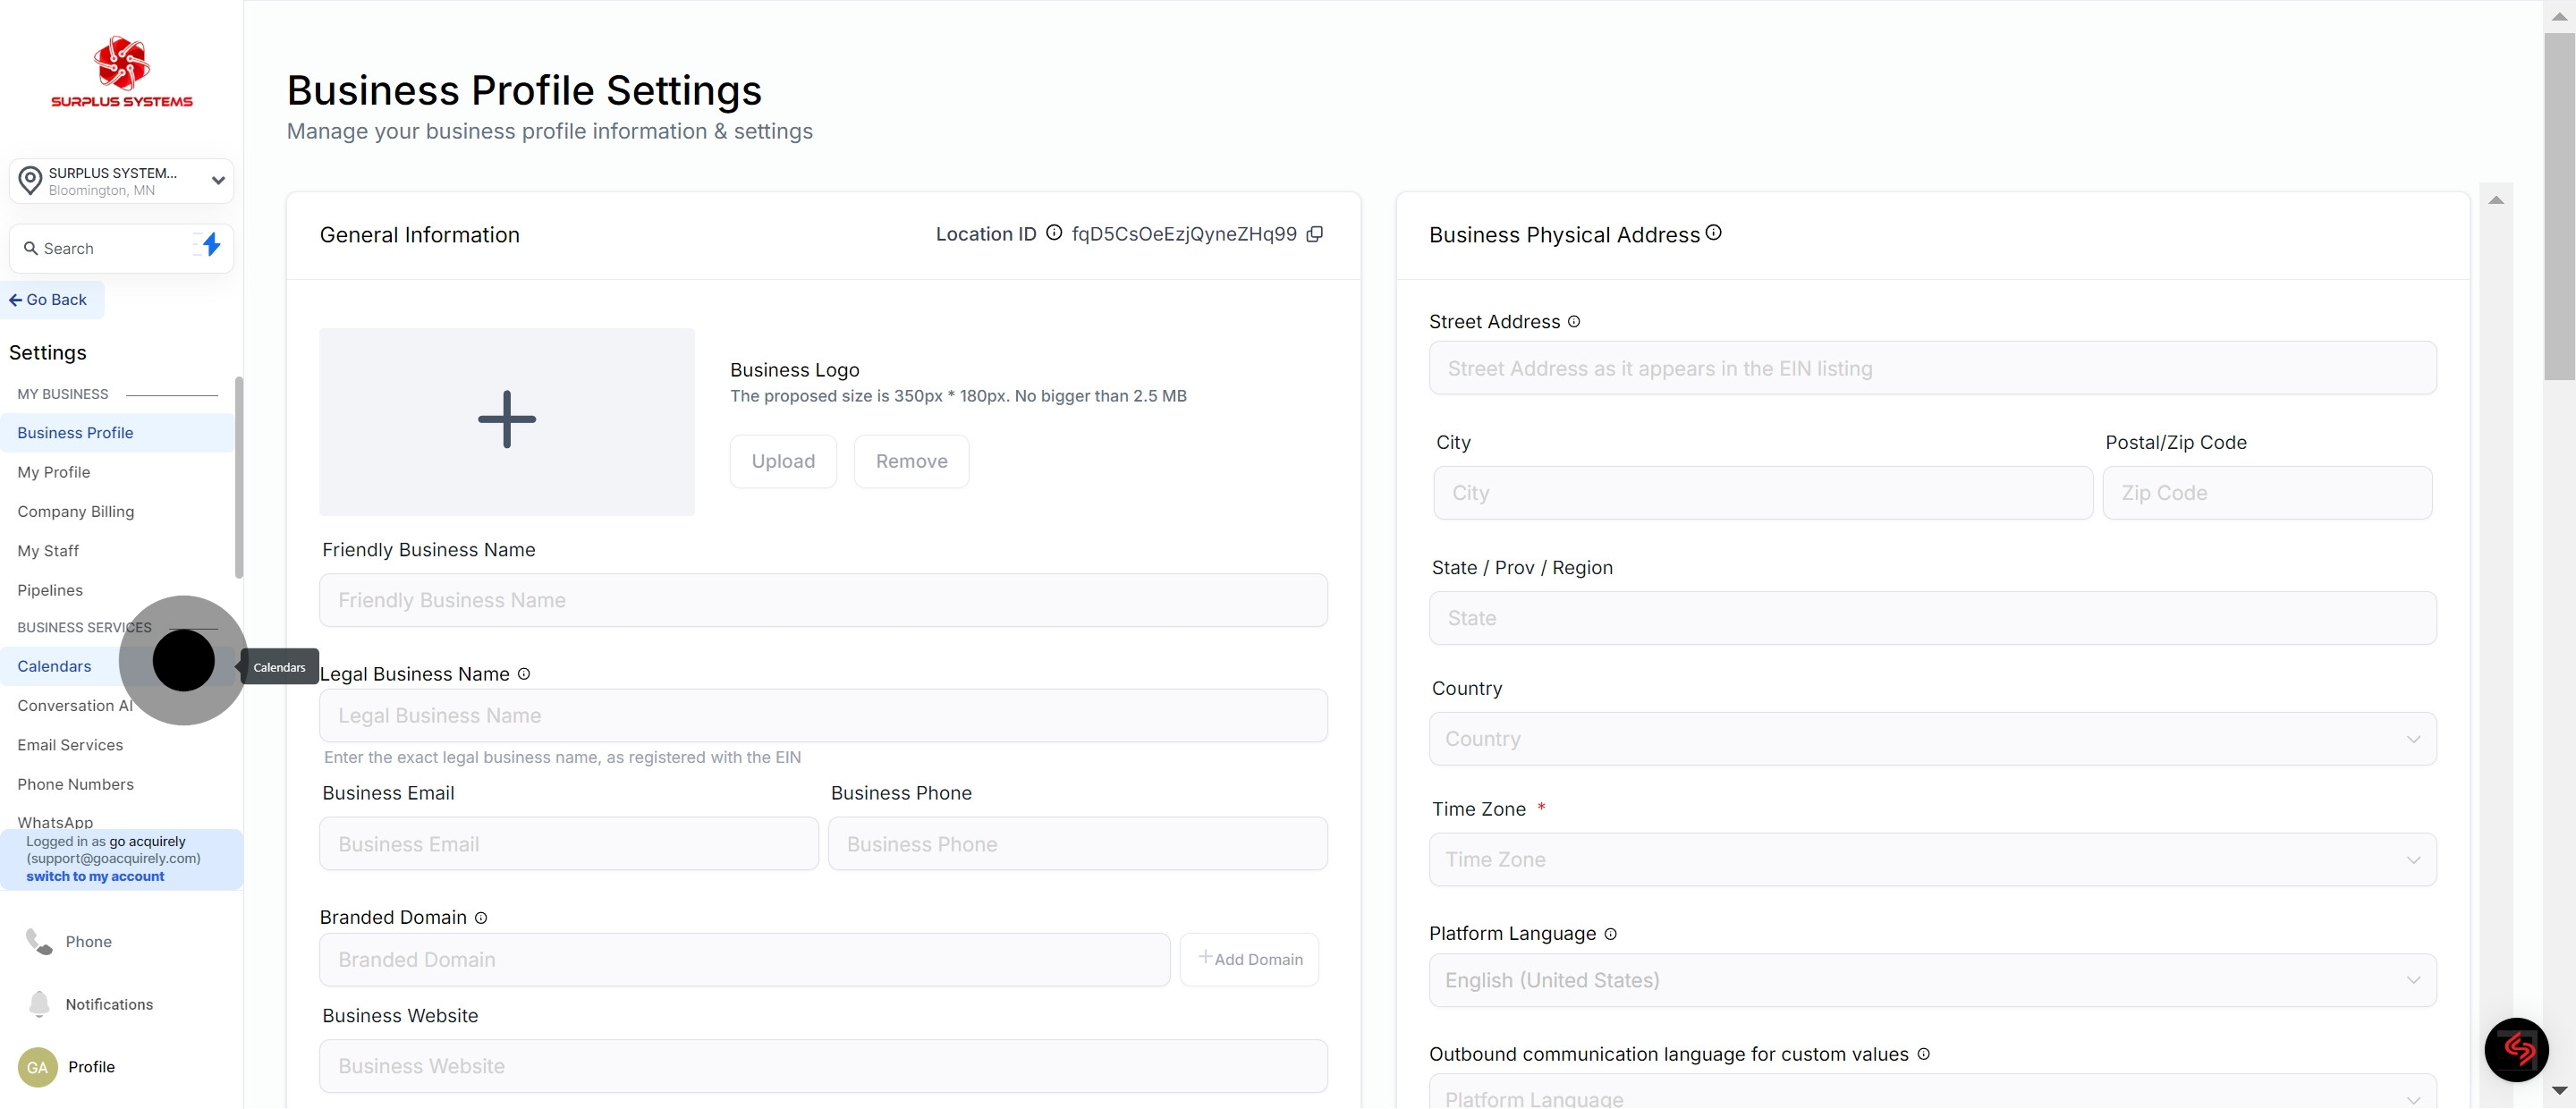
2. Next, select the 'Calendars' option.
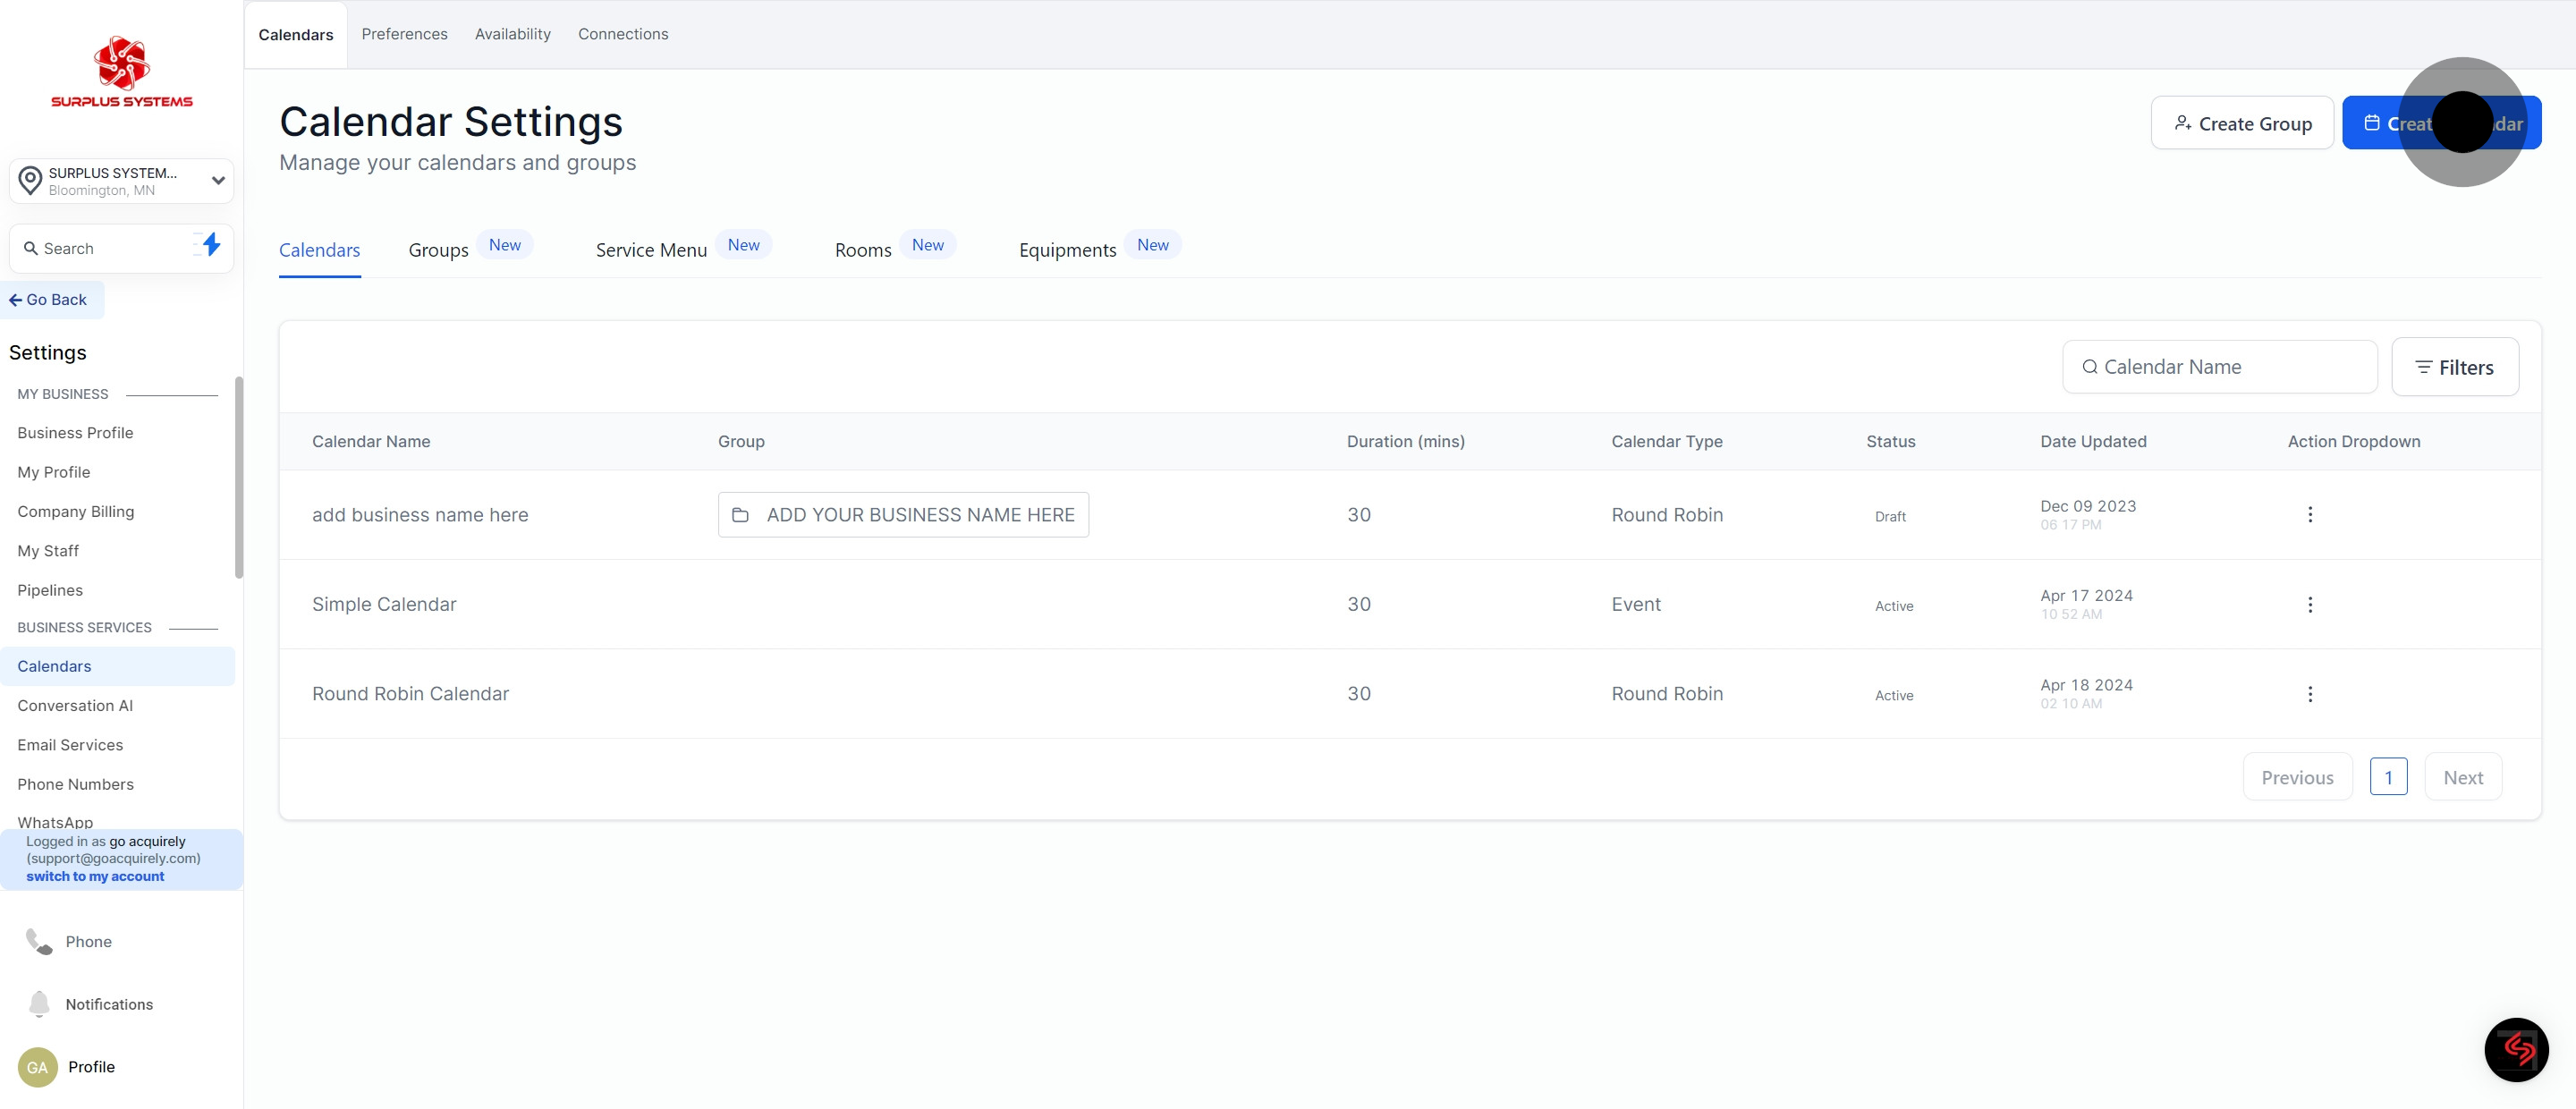
3. Now, click on 'Create Calendar'.
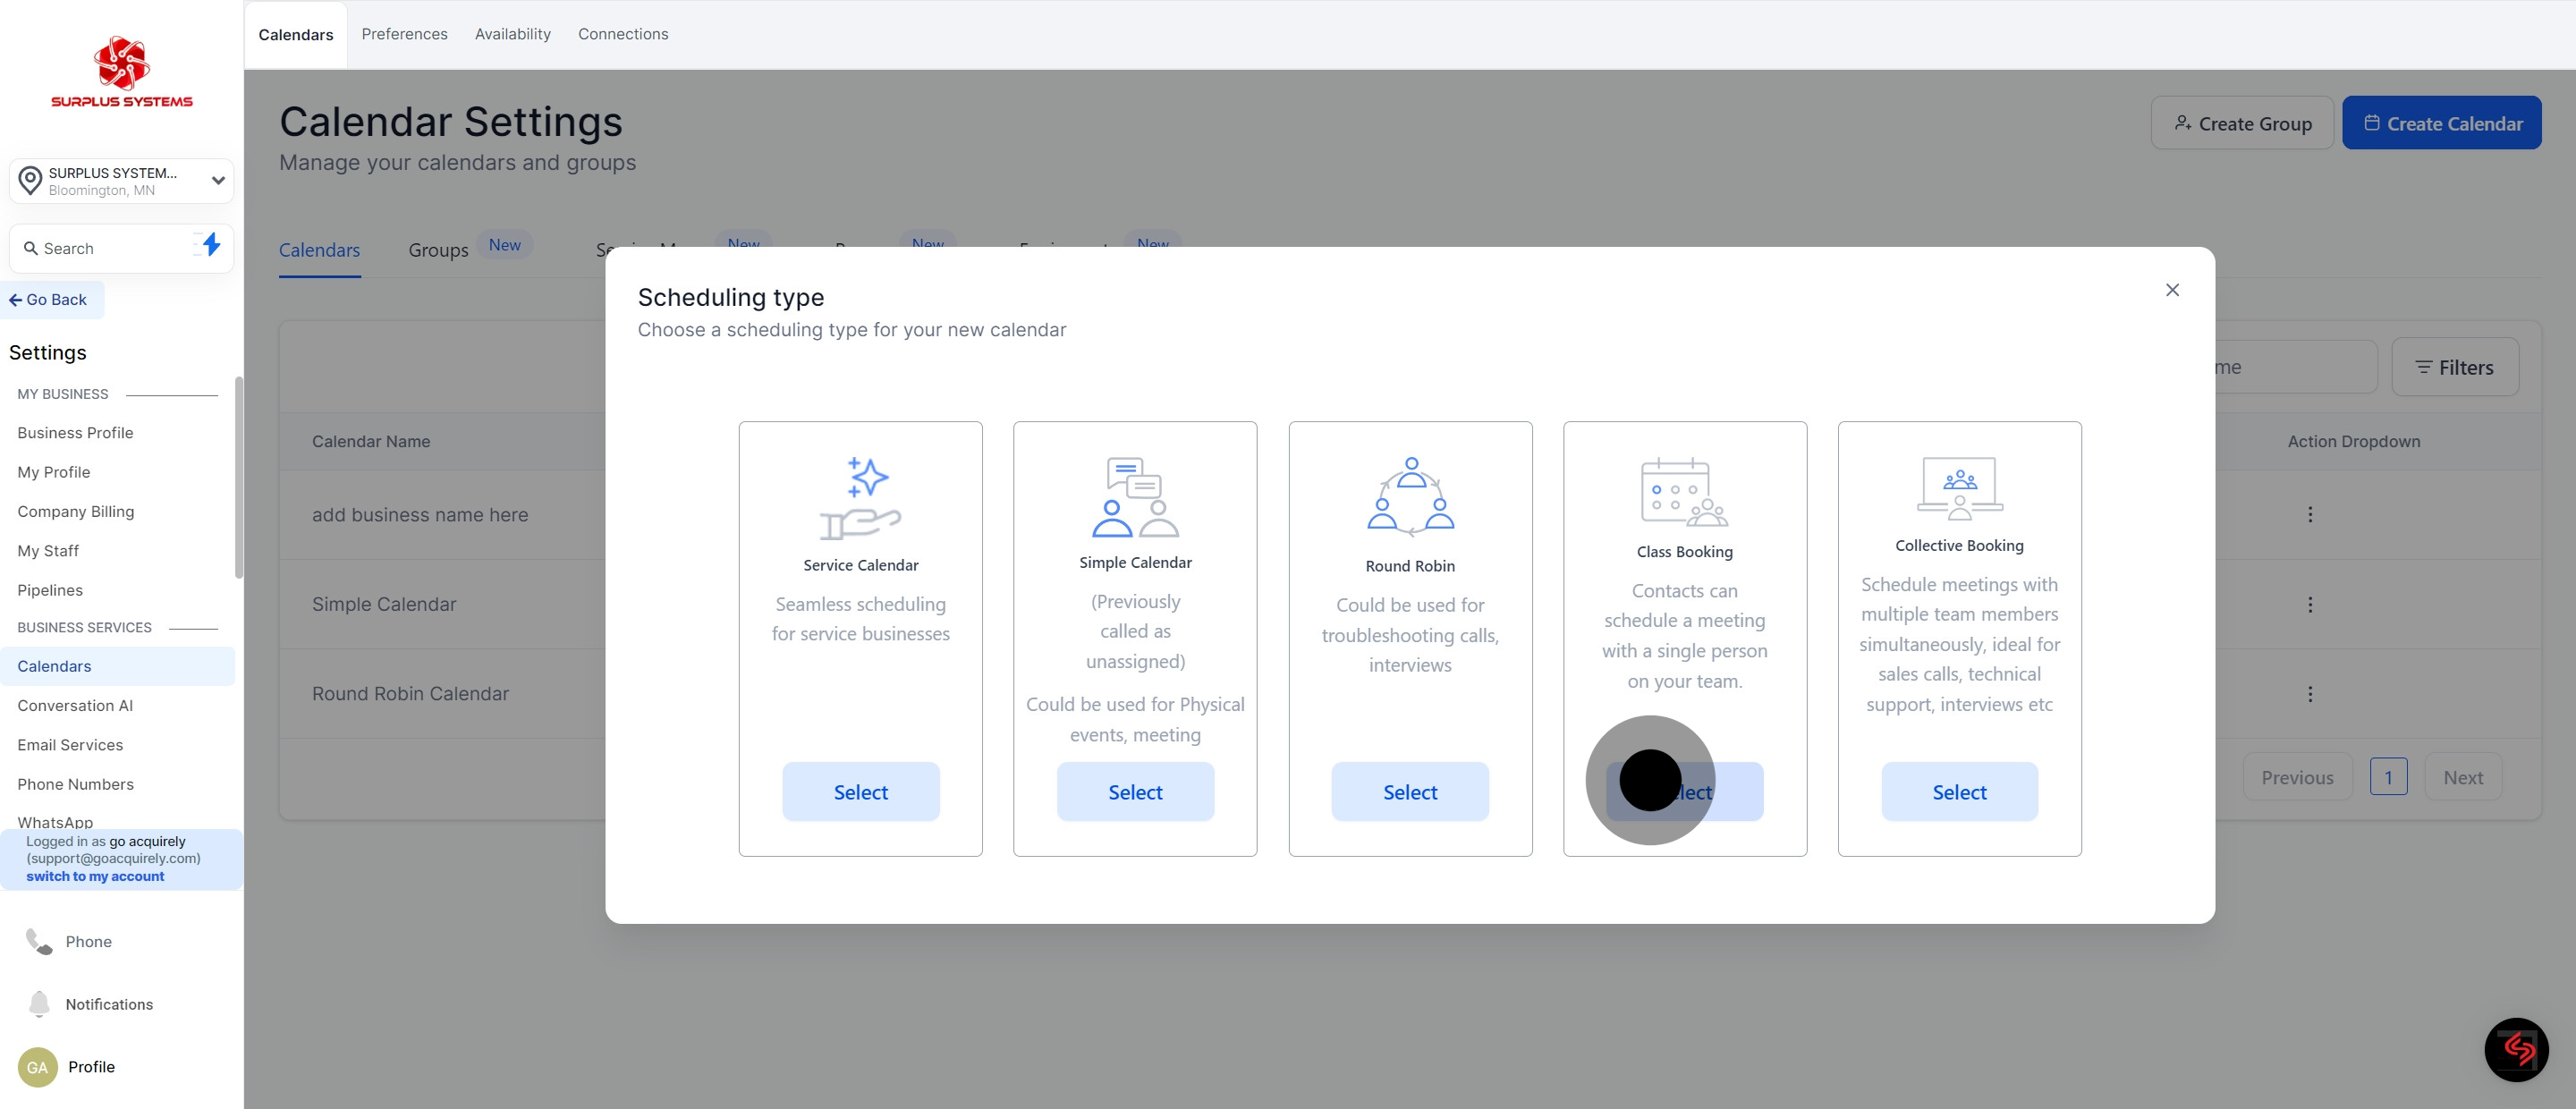
4. Choose Class Booking option.
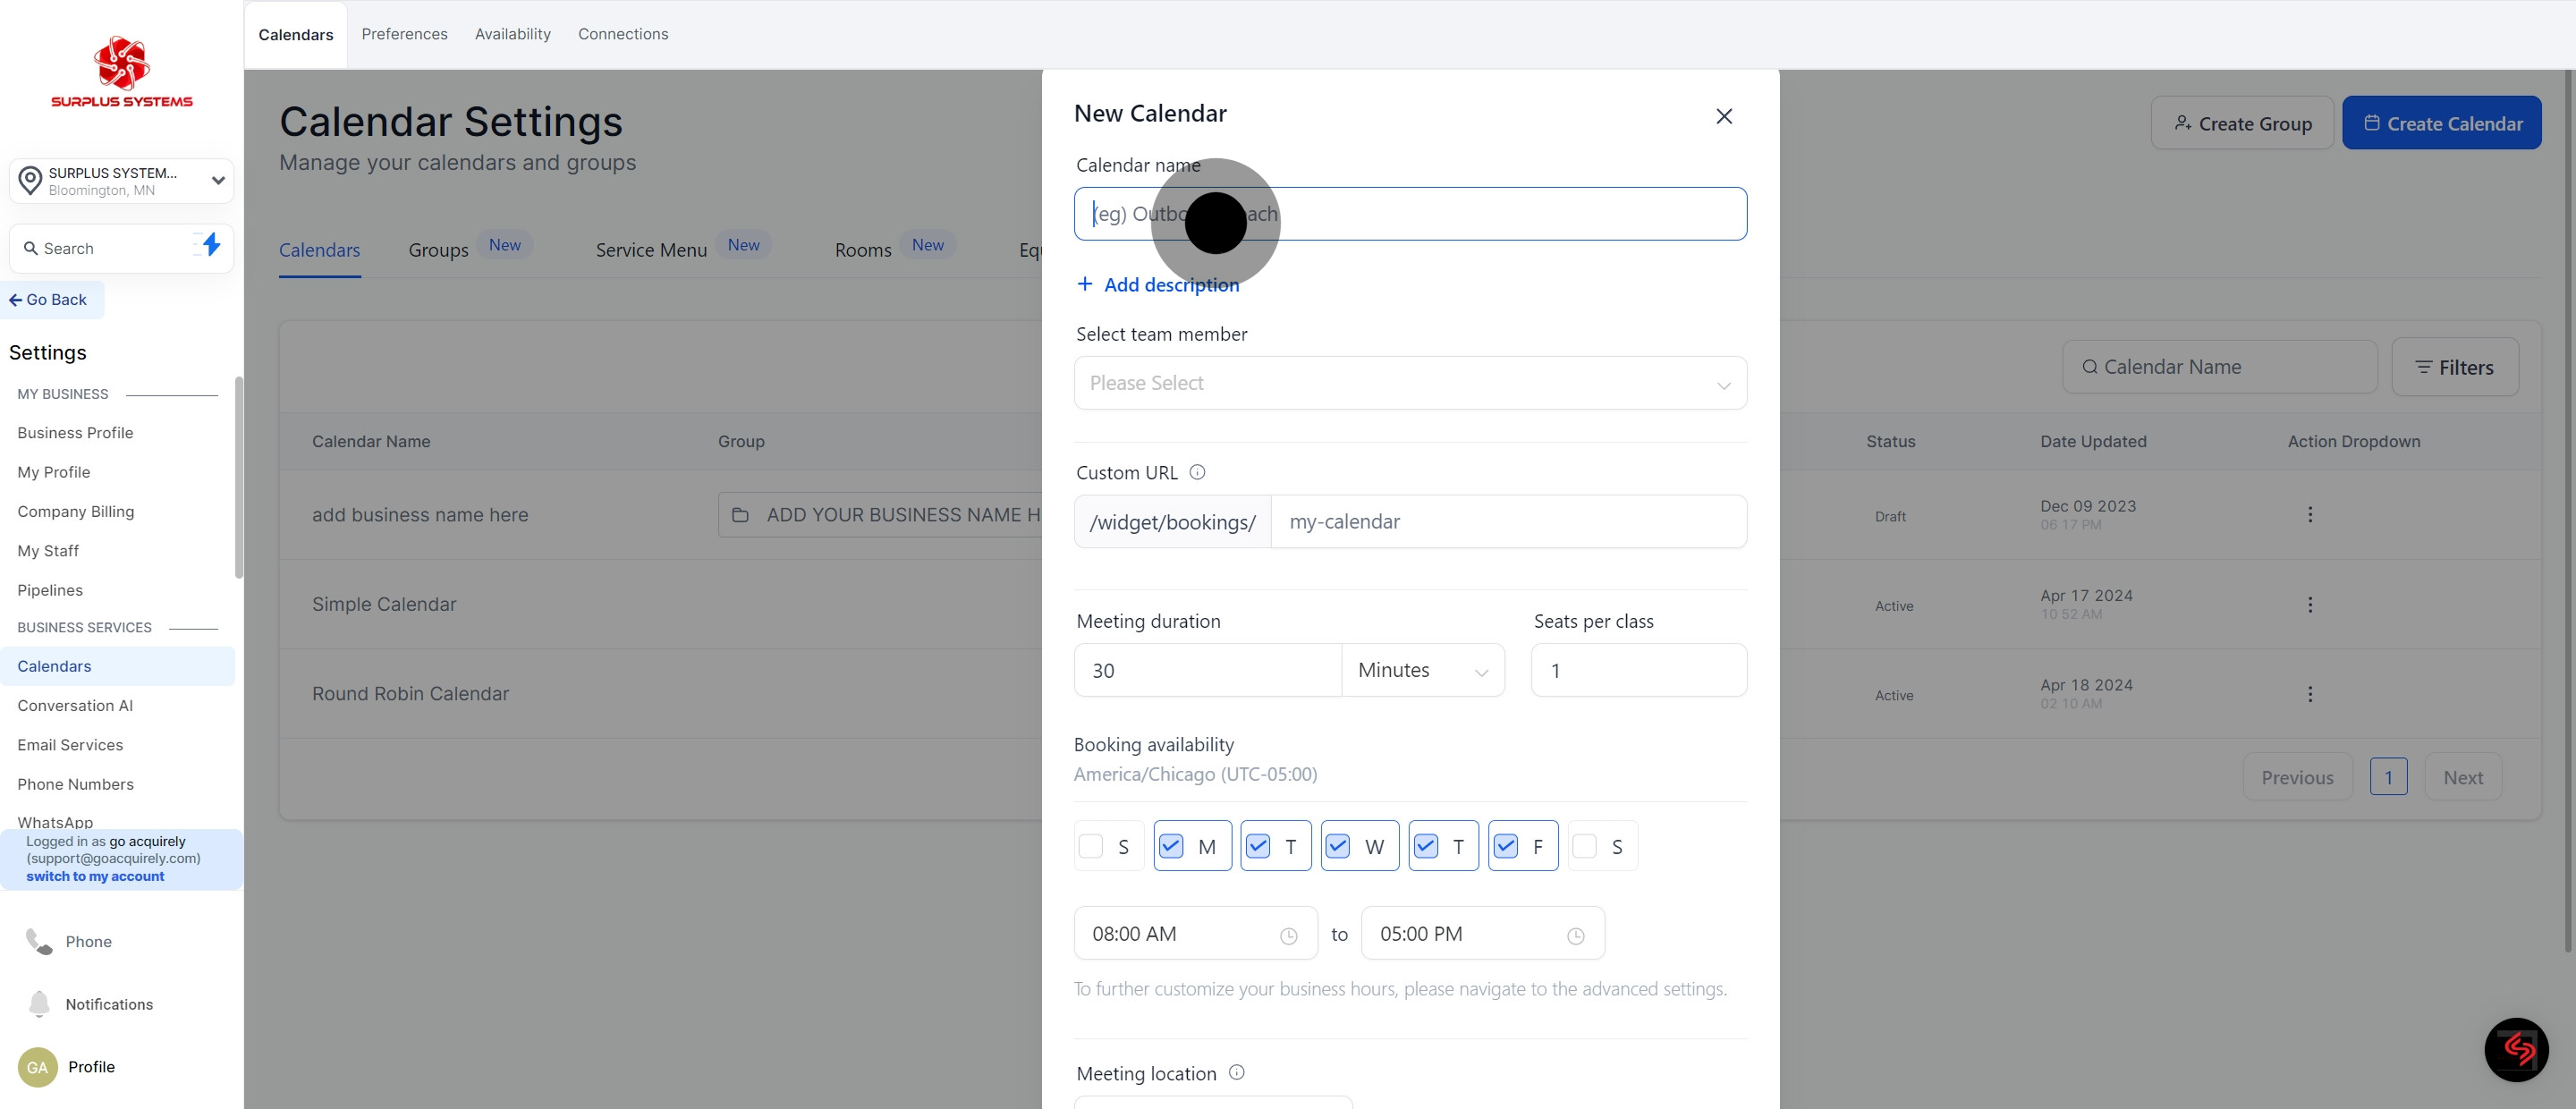
5. Fill in details for your Calendar name
6. Click on 'Add description'.
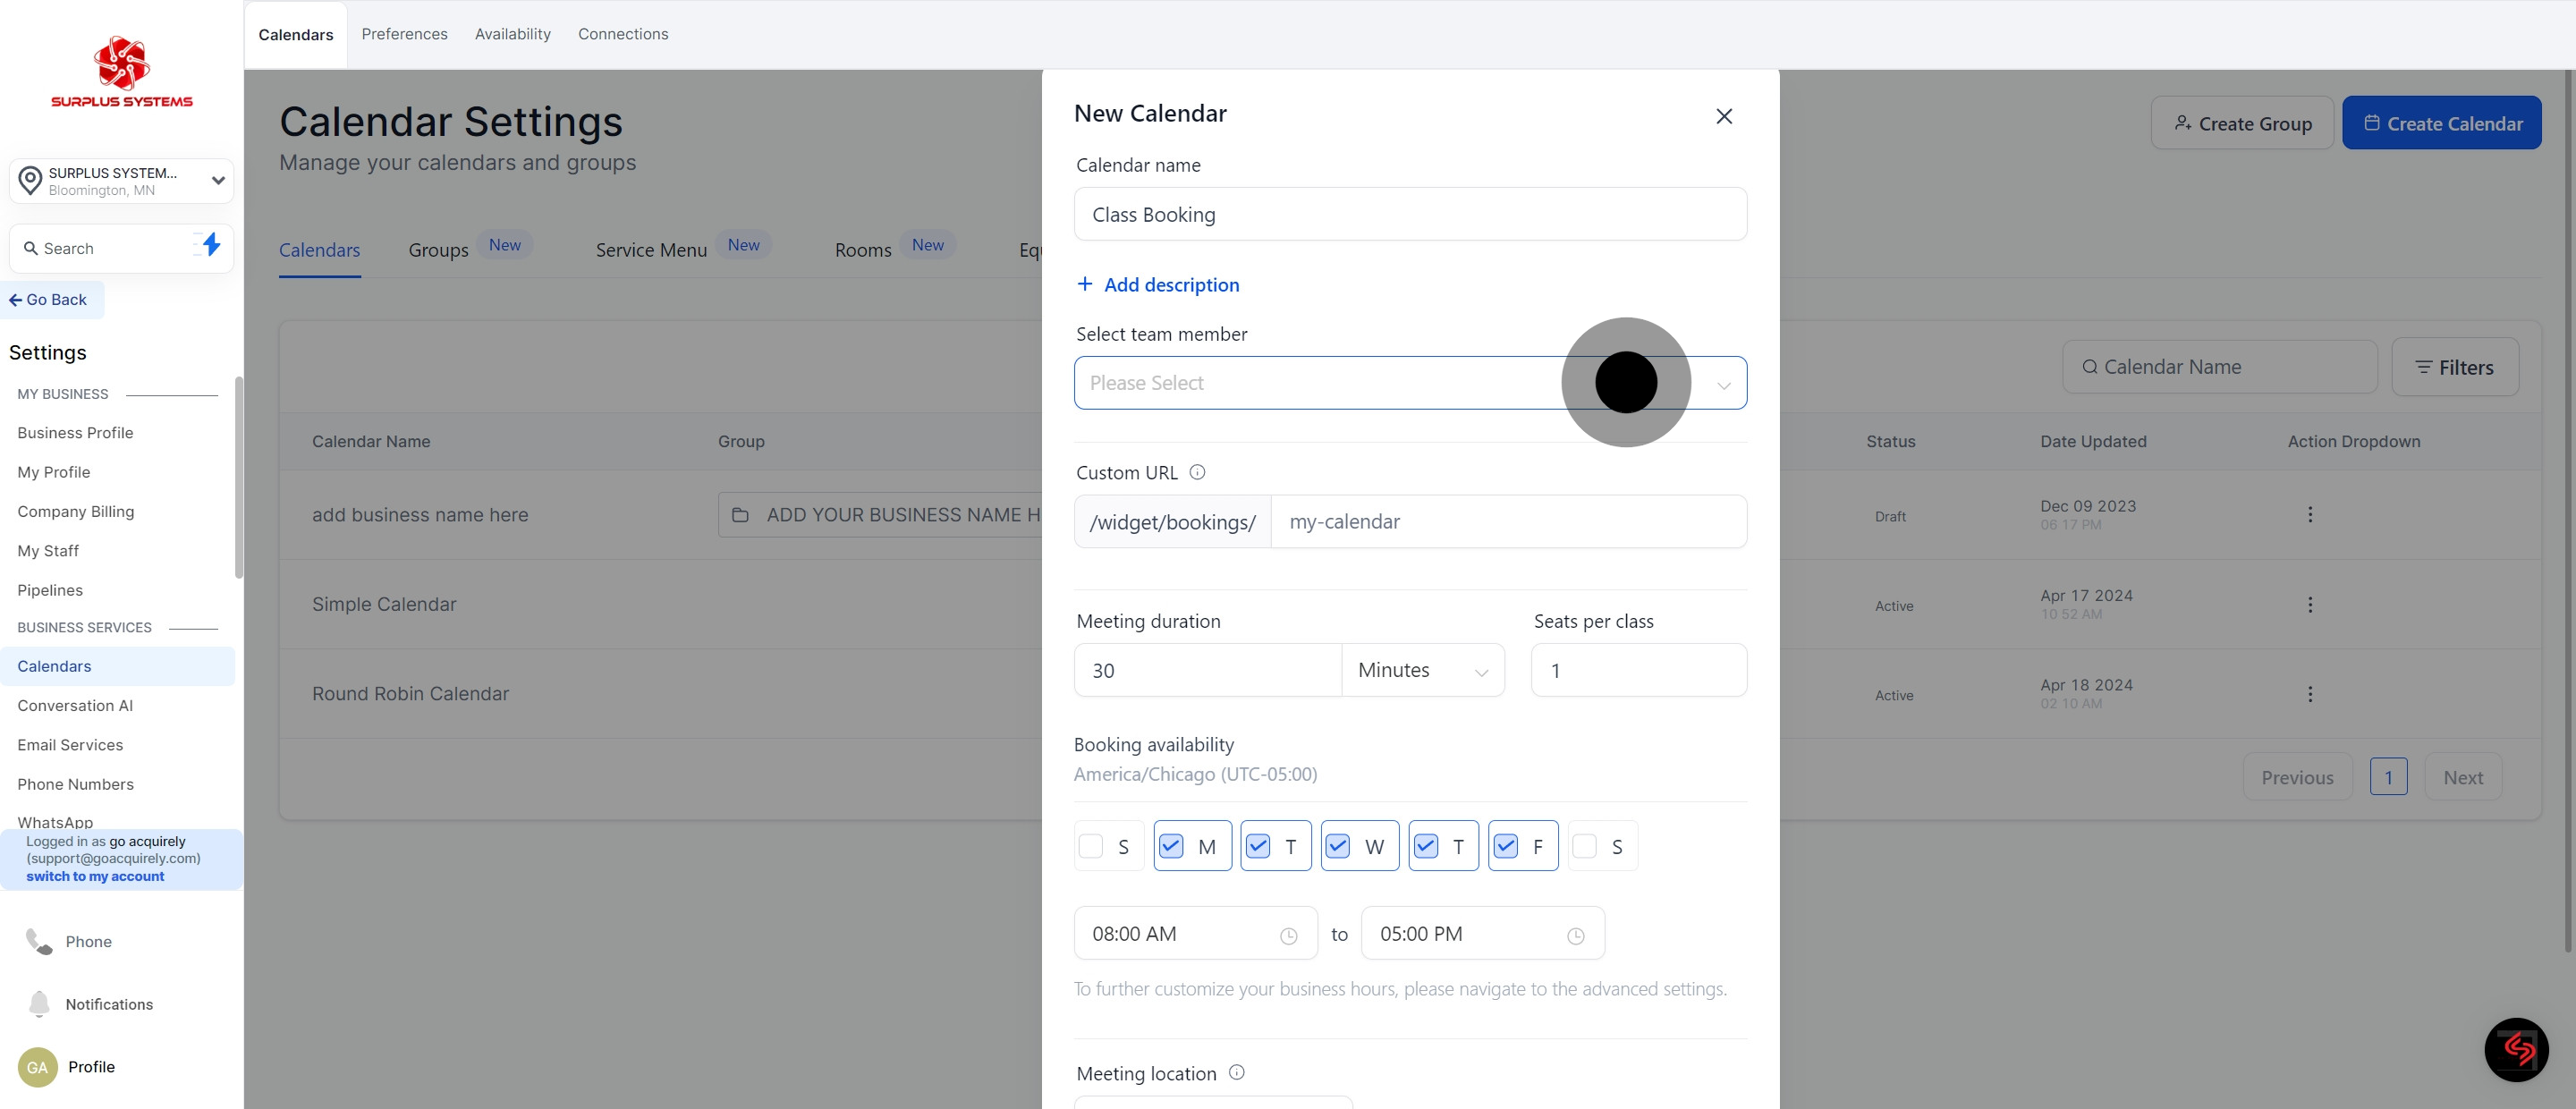
7. Click on the field for team member selection.
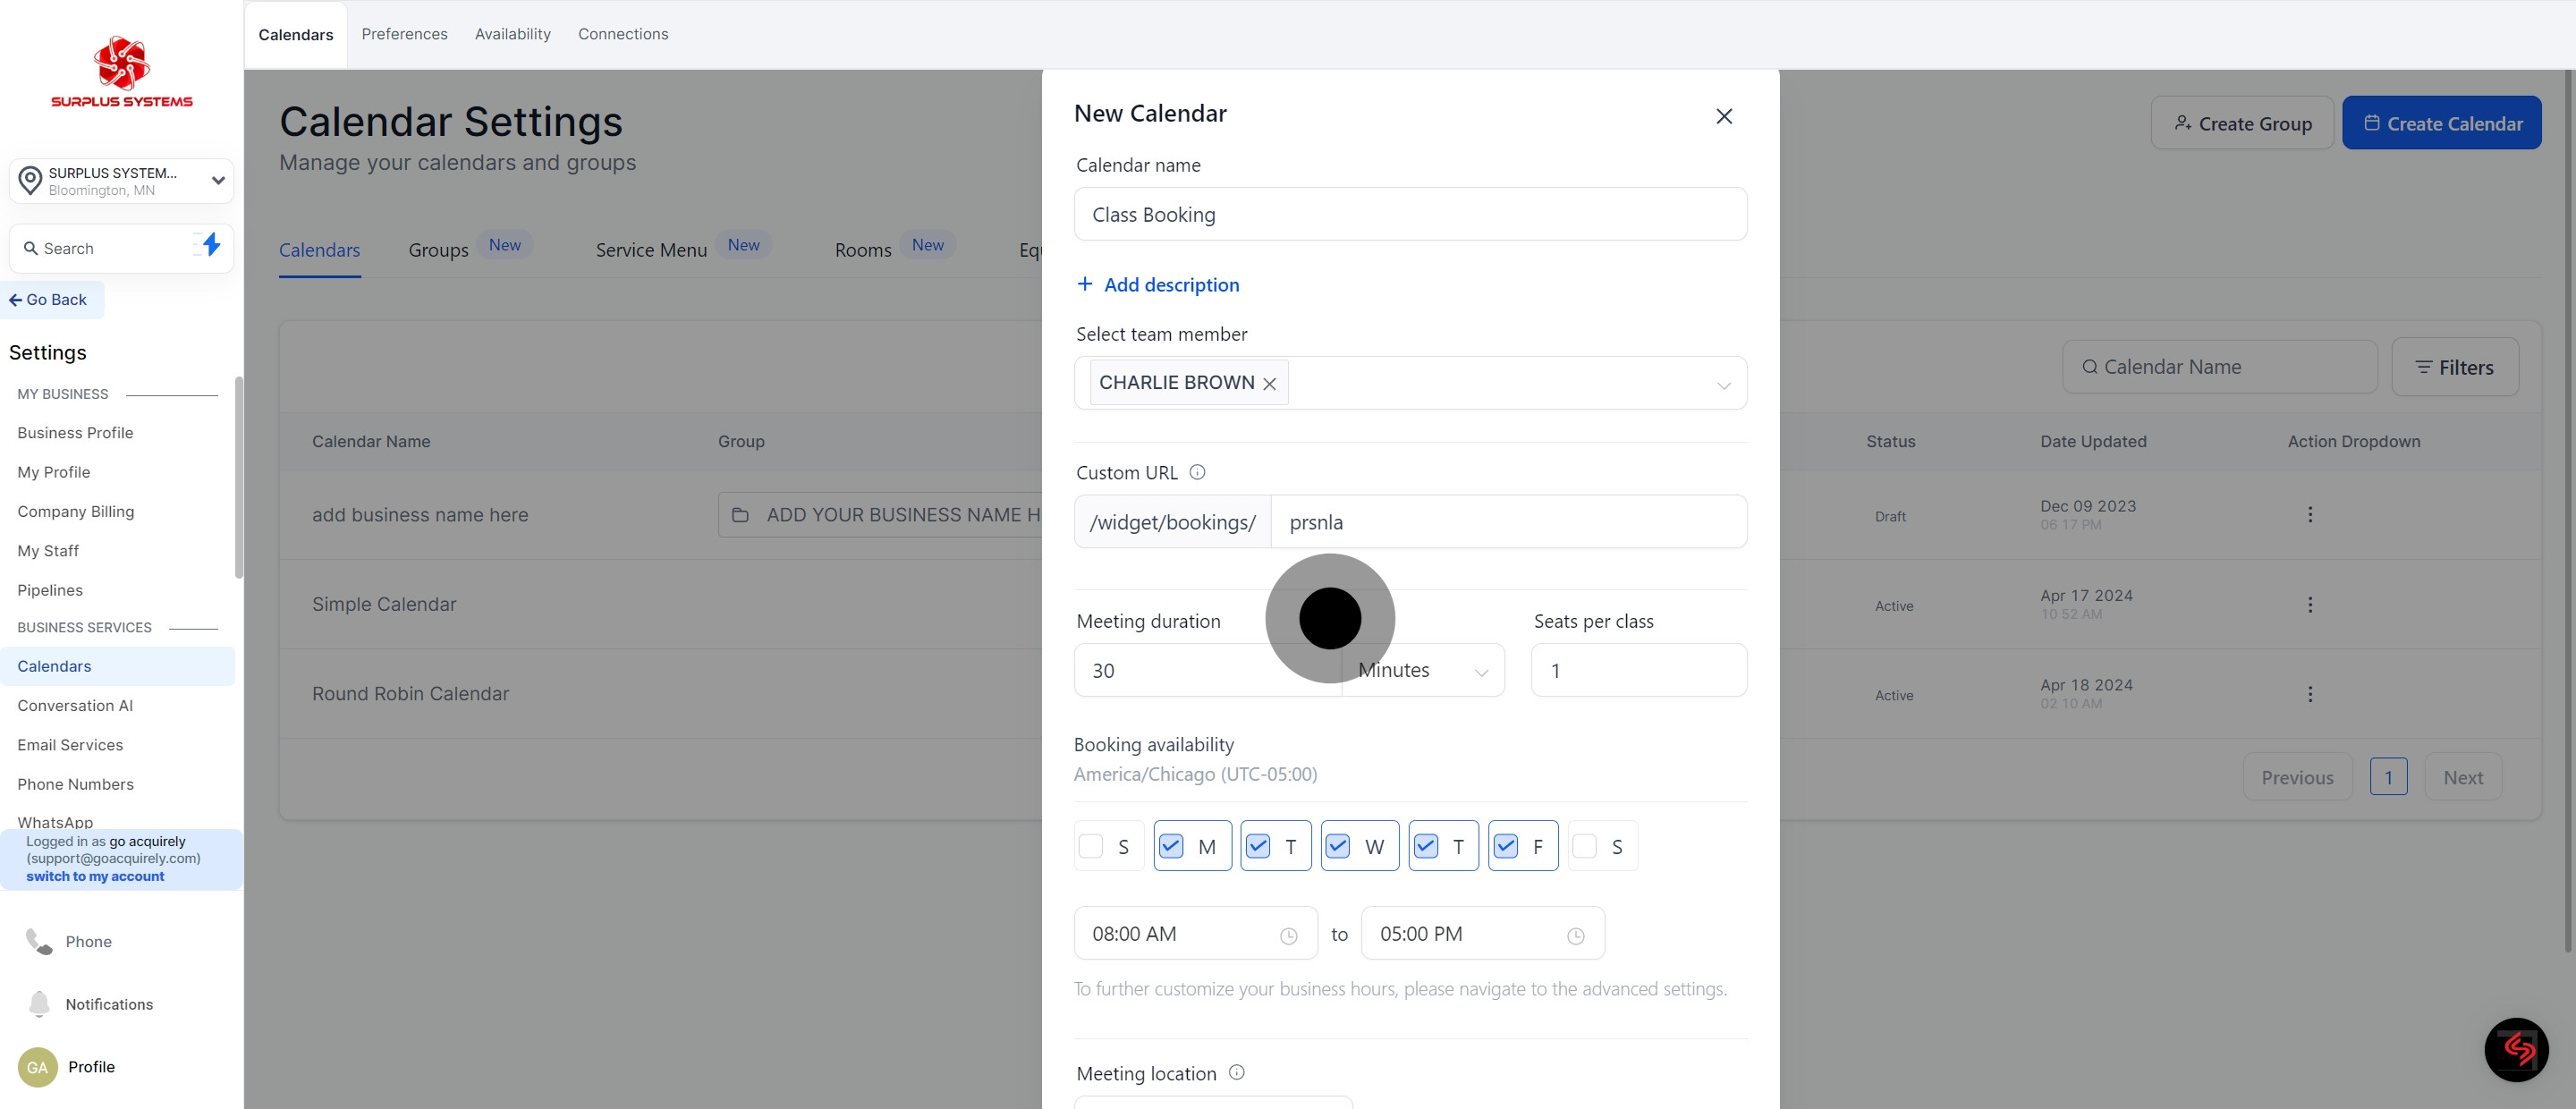
8. Provide a unique name for your Custom URL.
9. Set the 'Meeting duration' option.
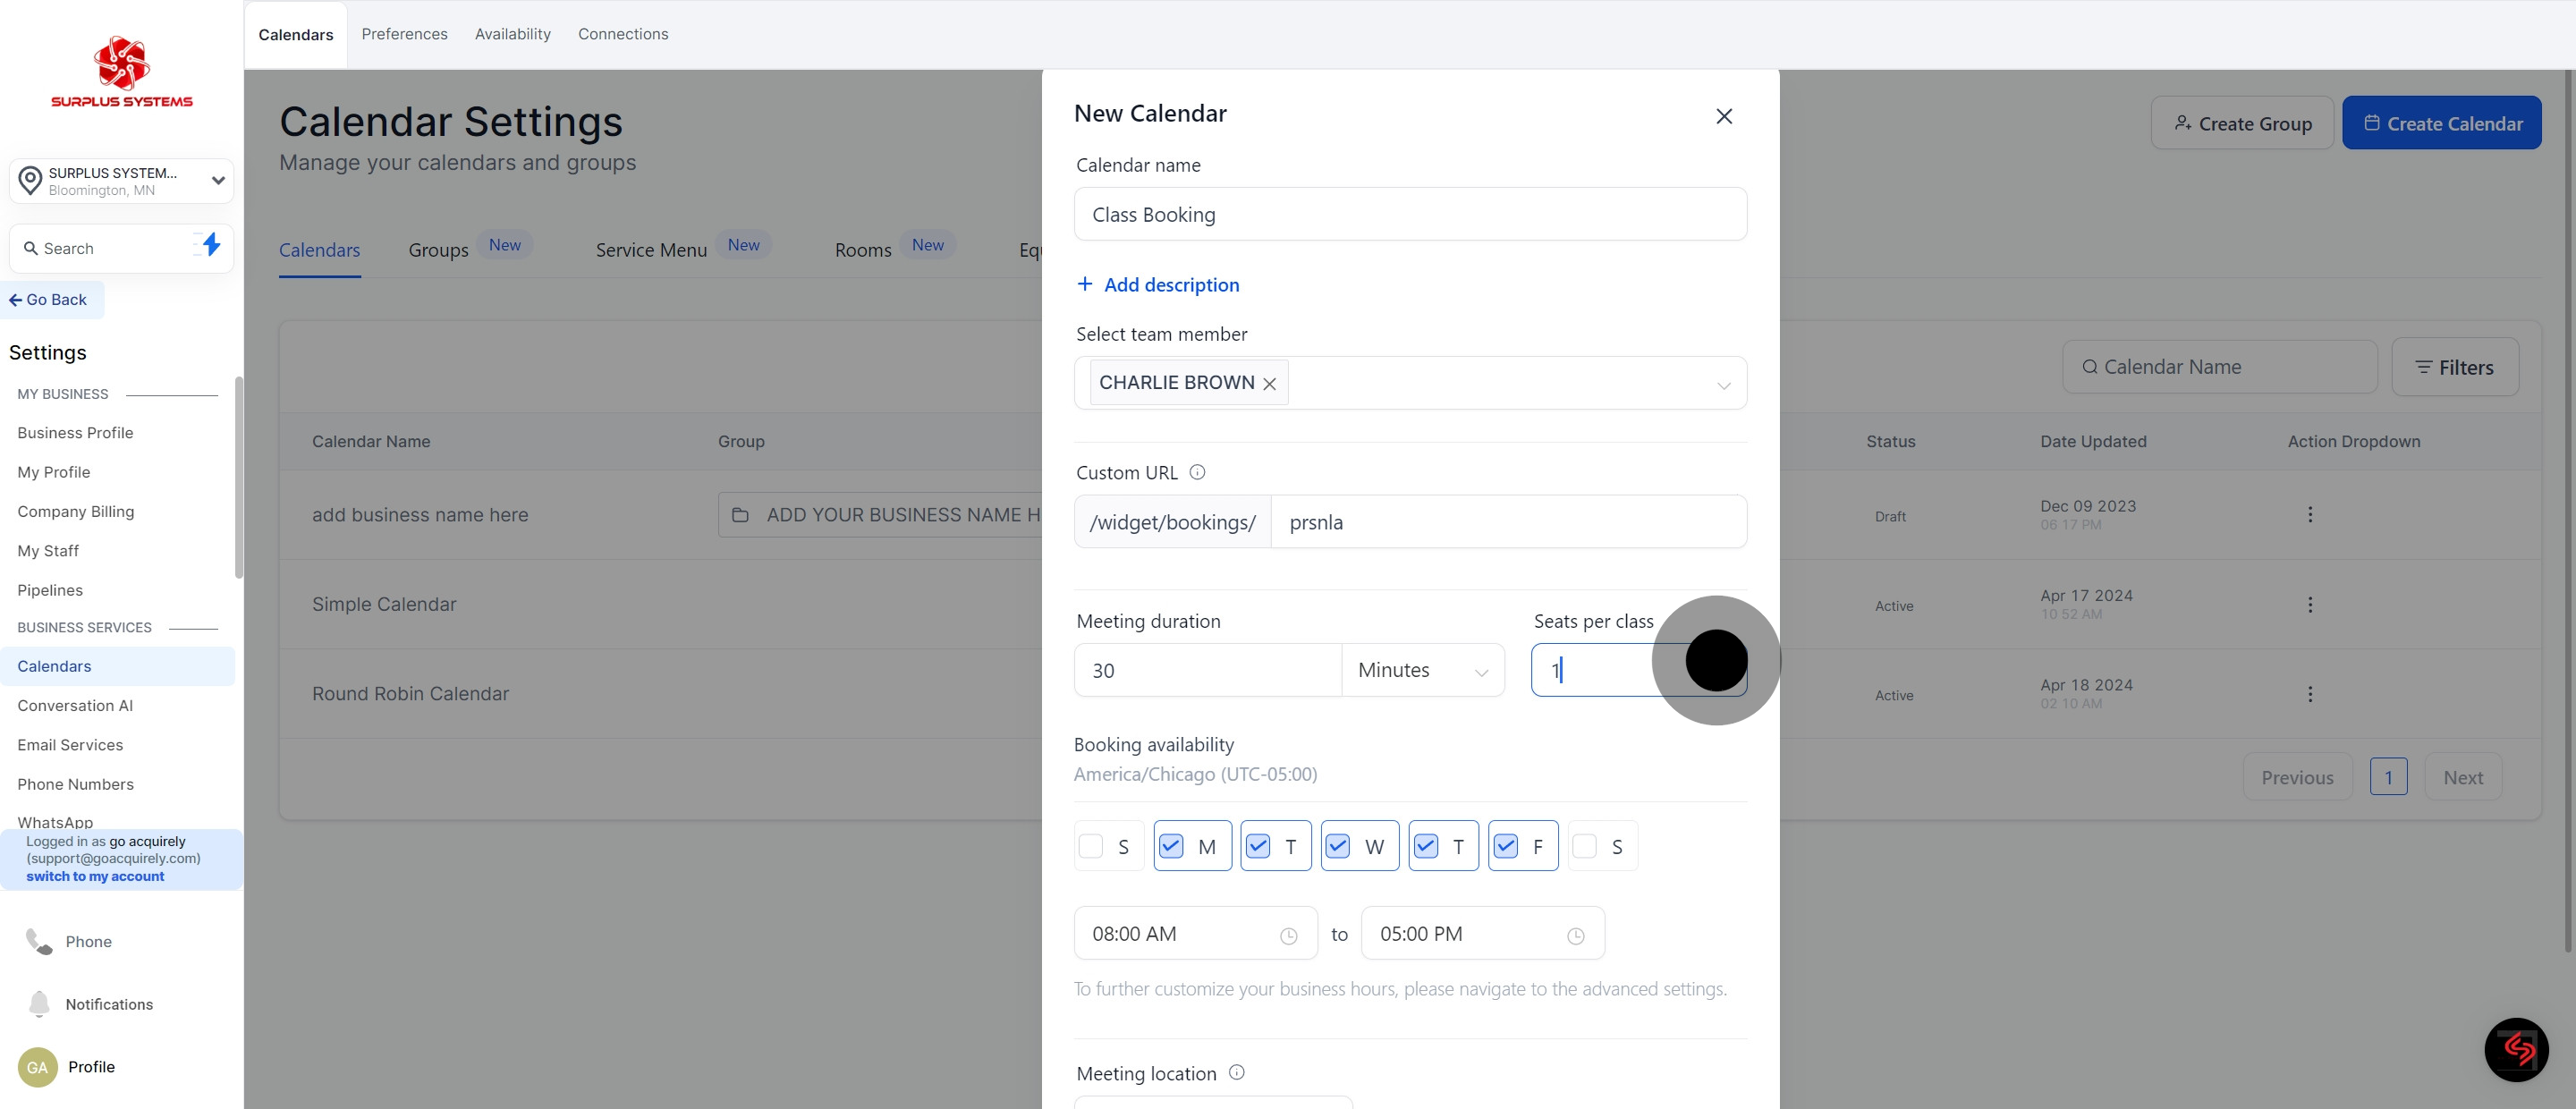
10. Specify the seat per class of the meeting.
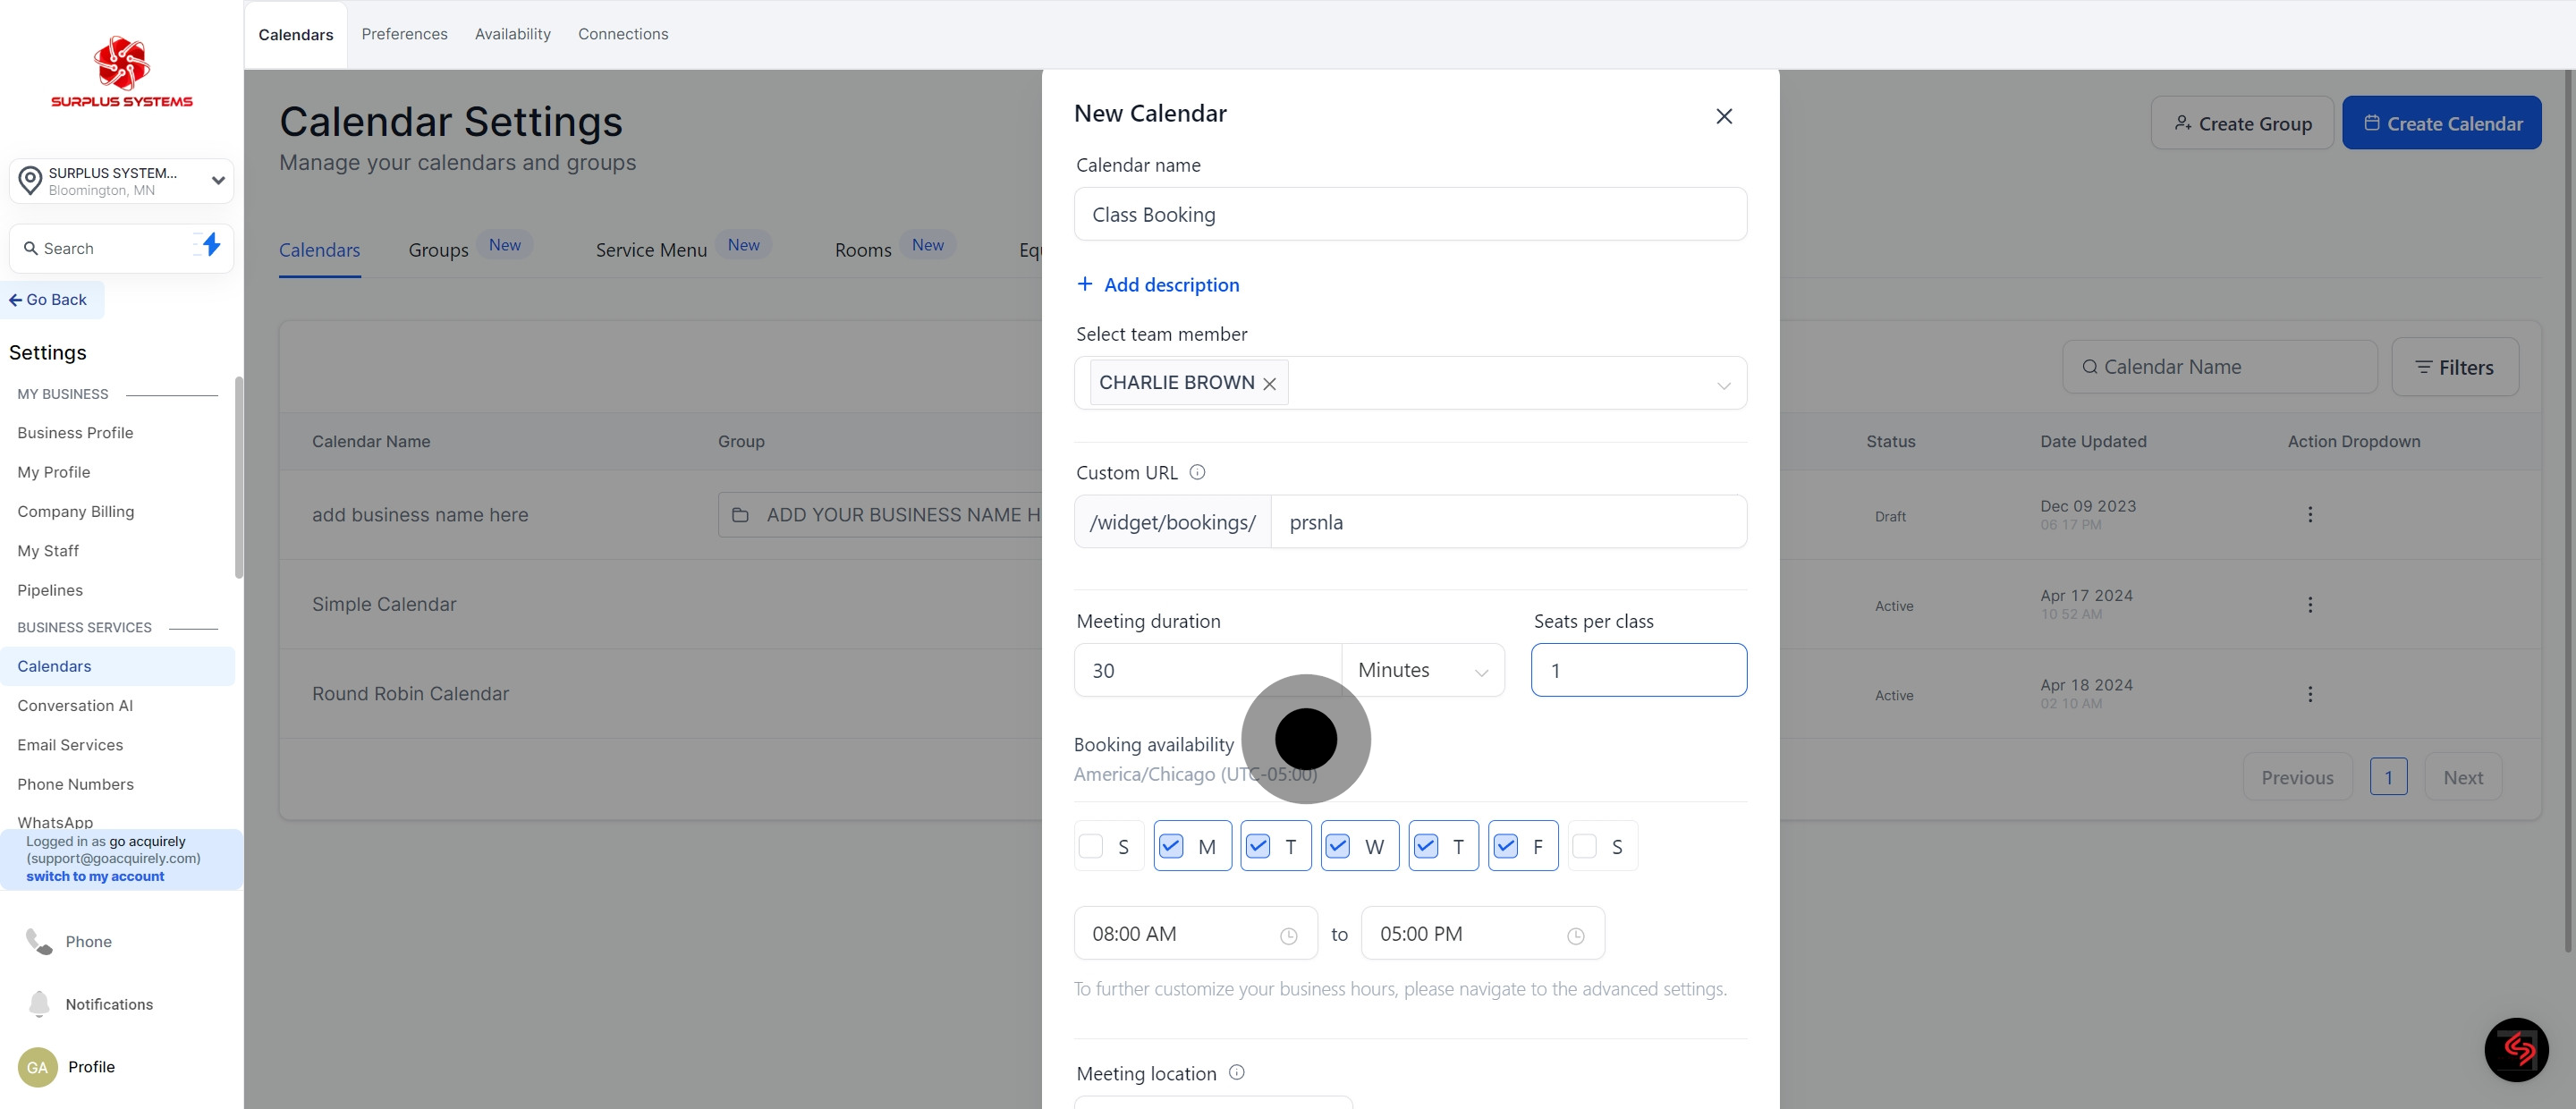
11. Set schedule with the 'Booking availability'.
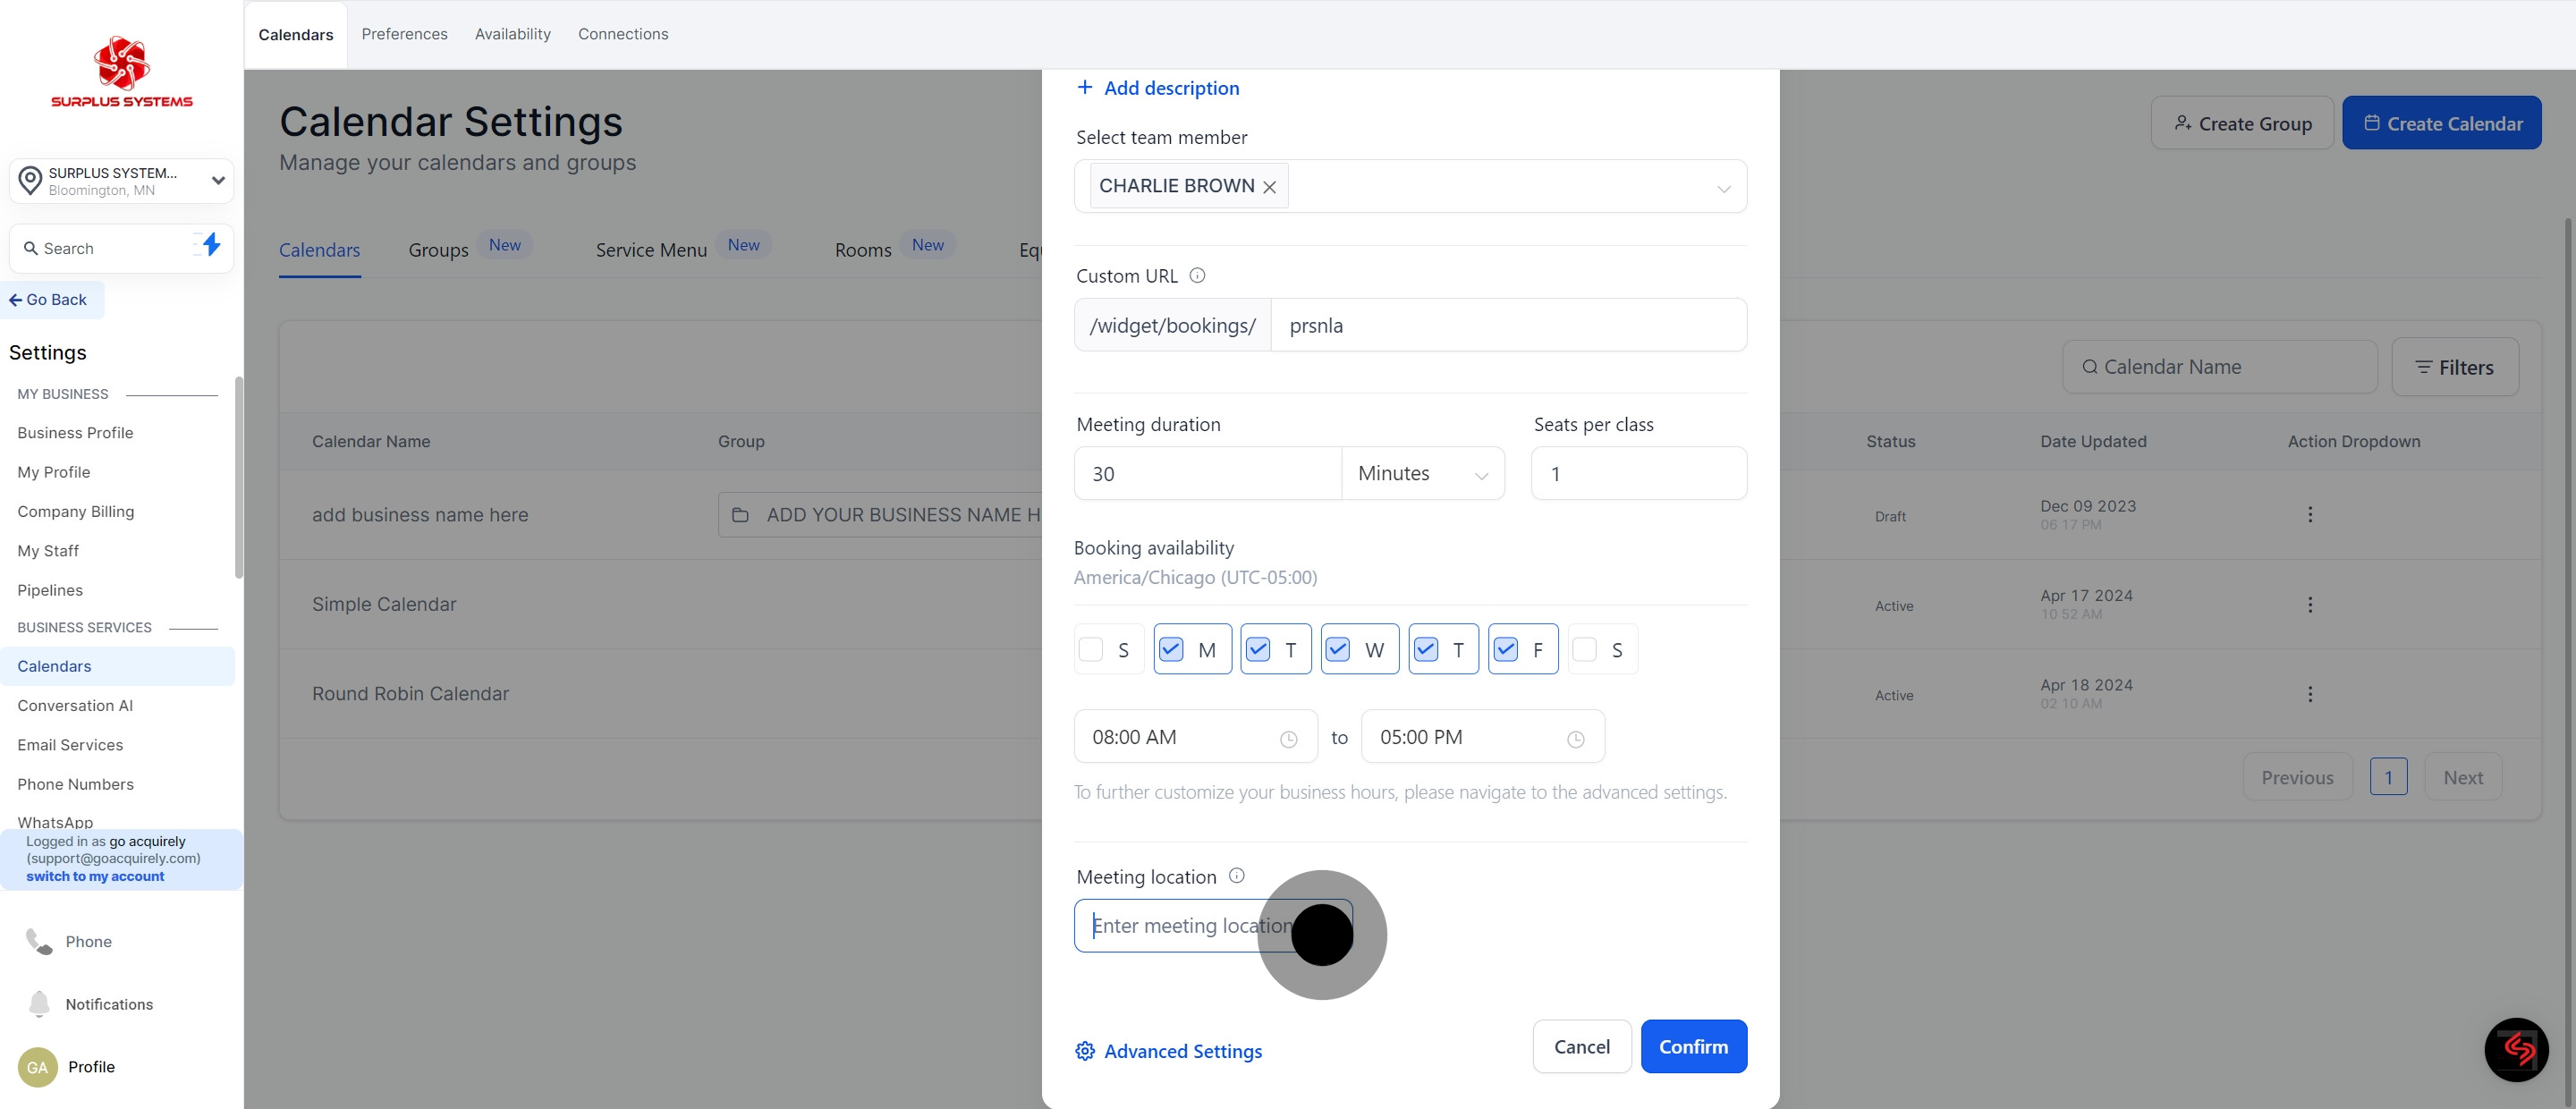
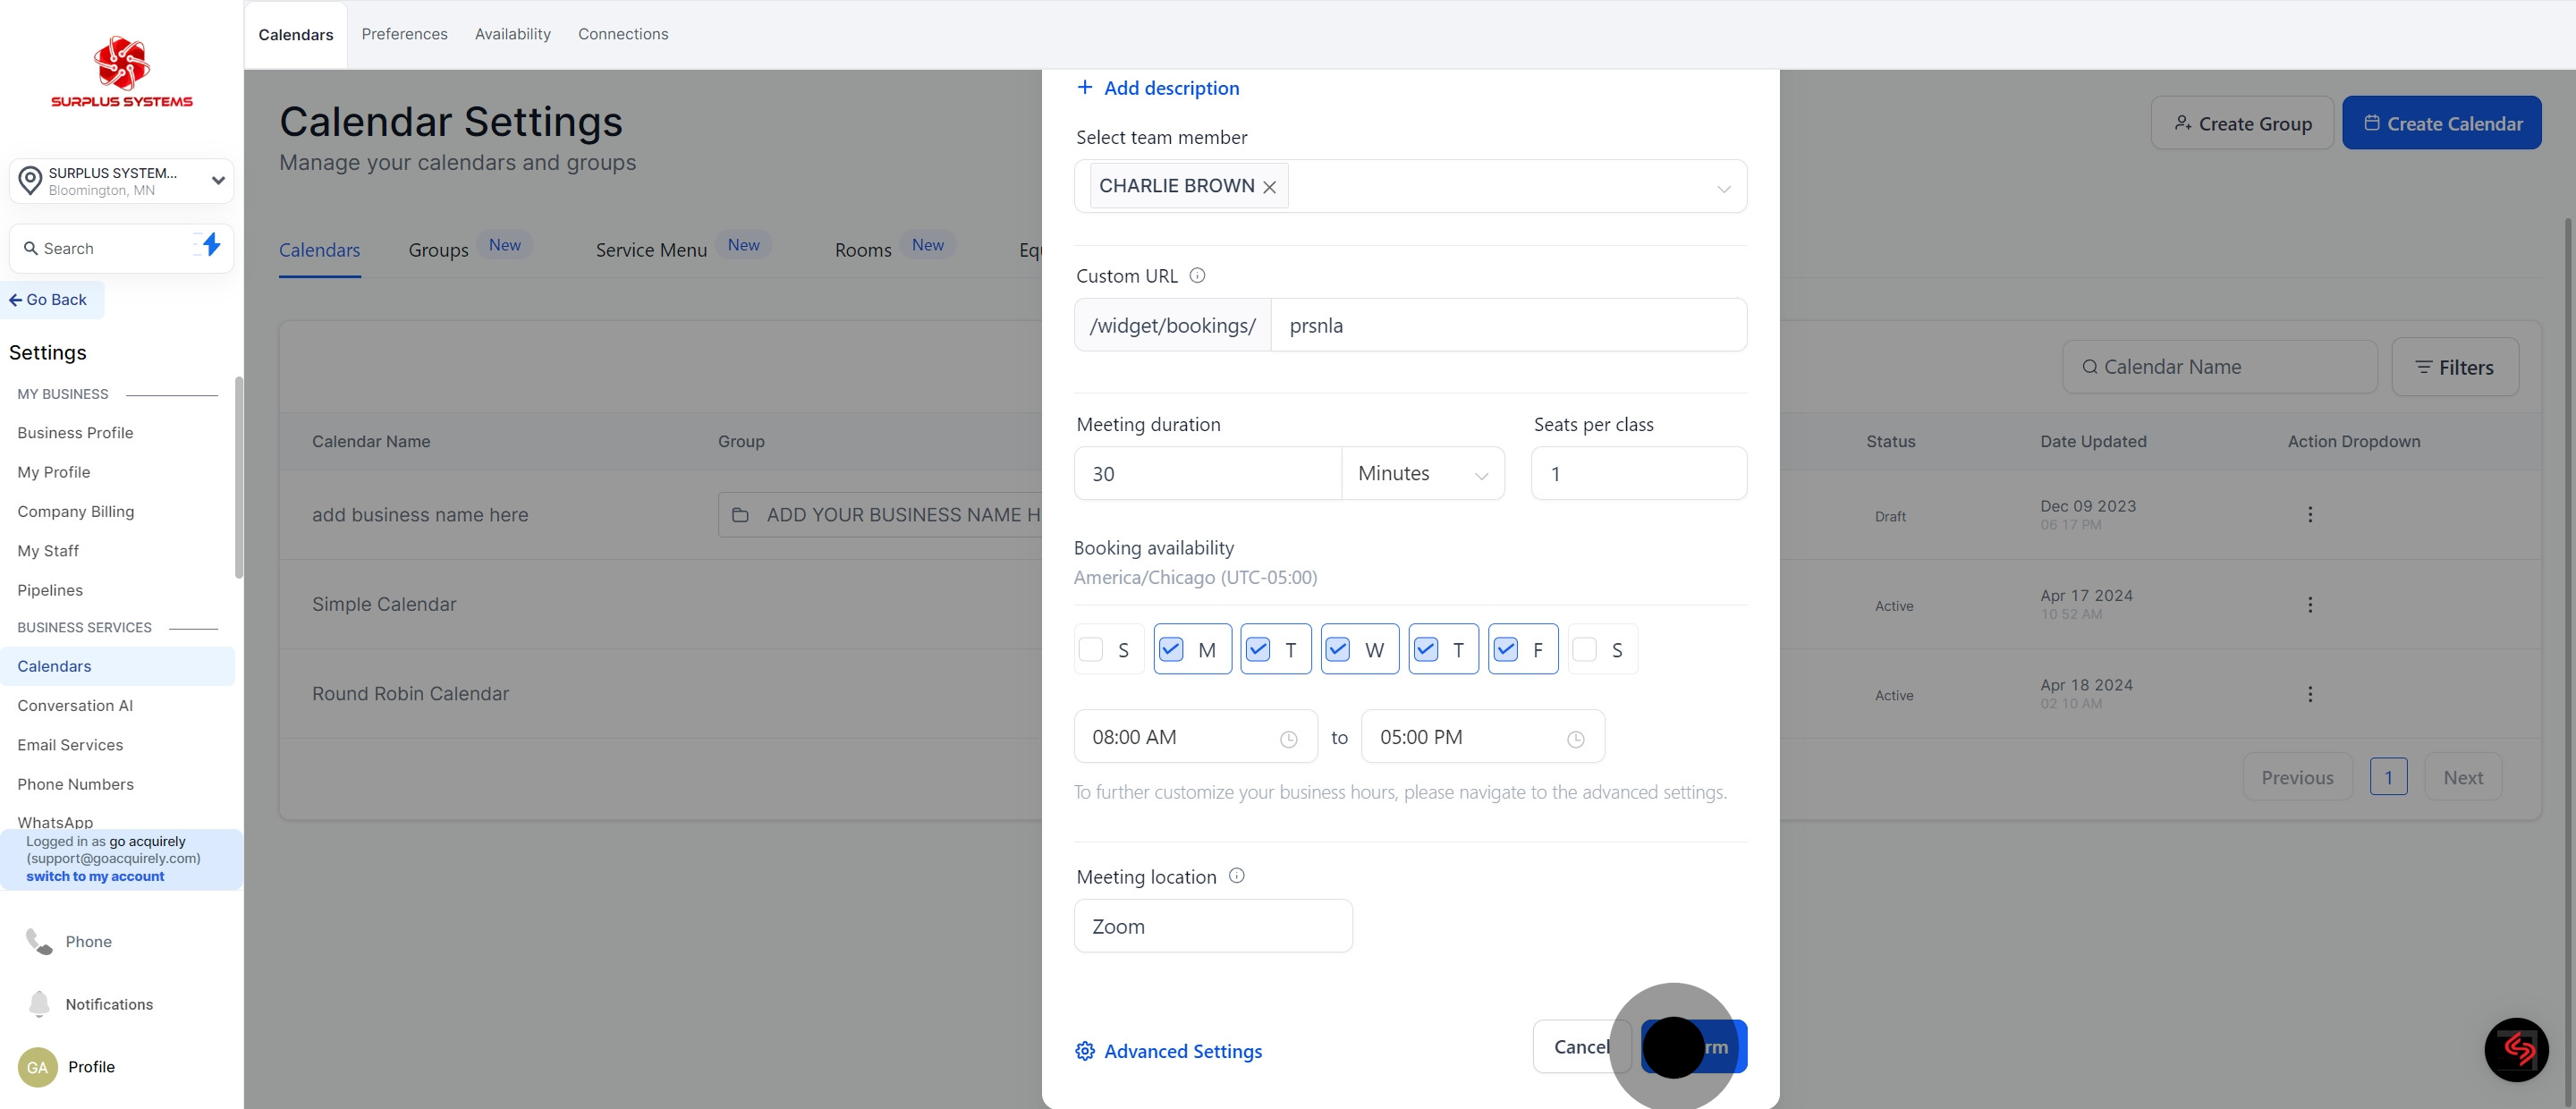
12. Input details for the 'meeting location'.
13. Hit 'Confirm' to finalize.
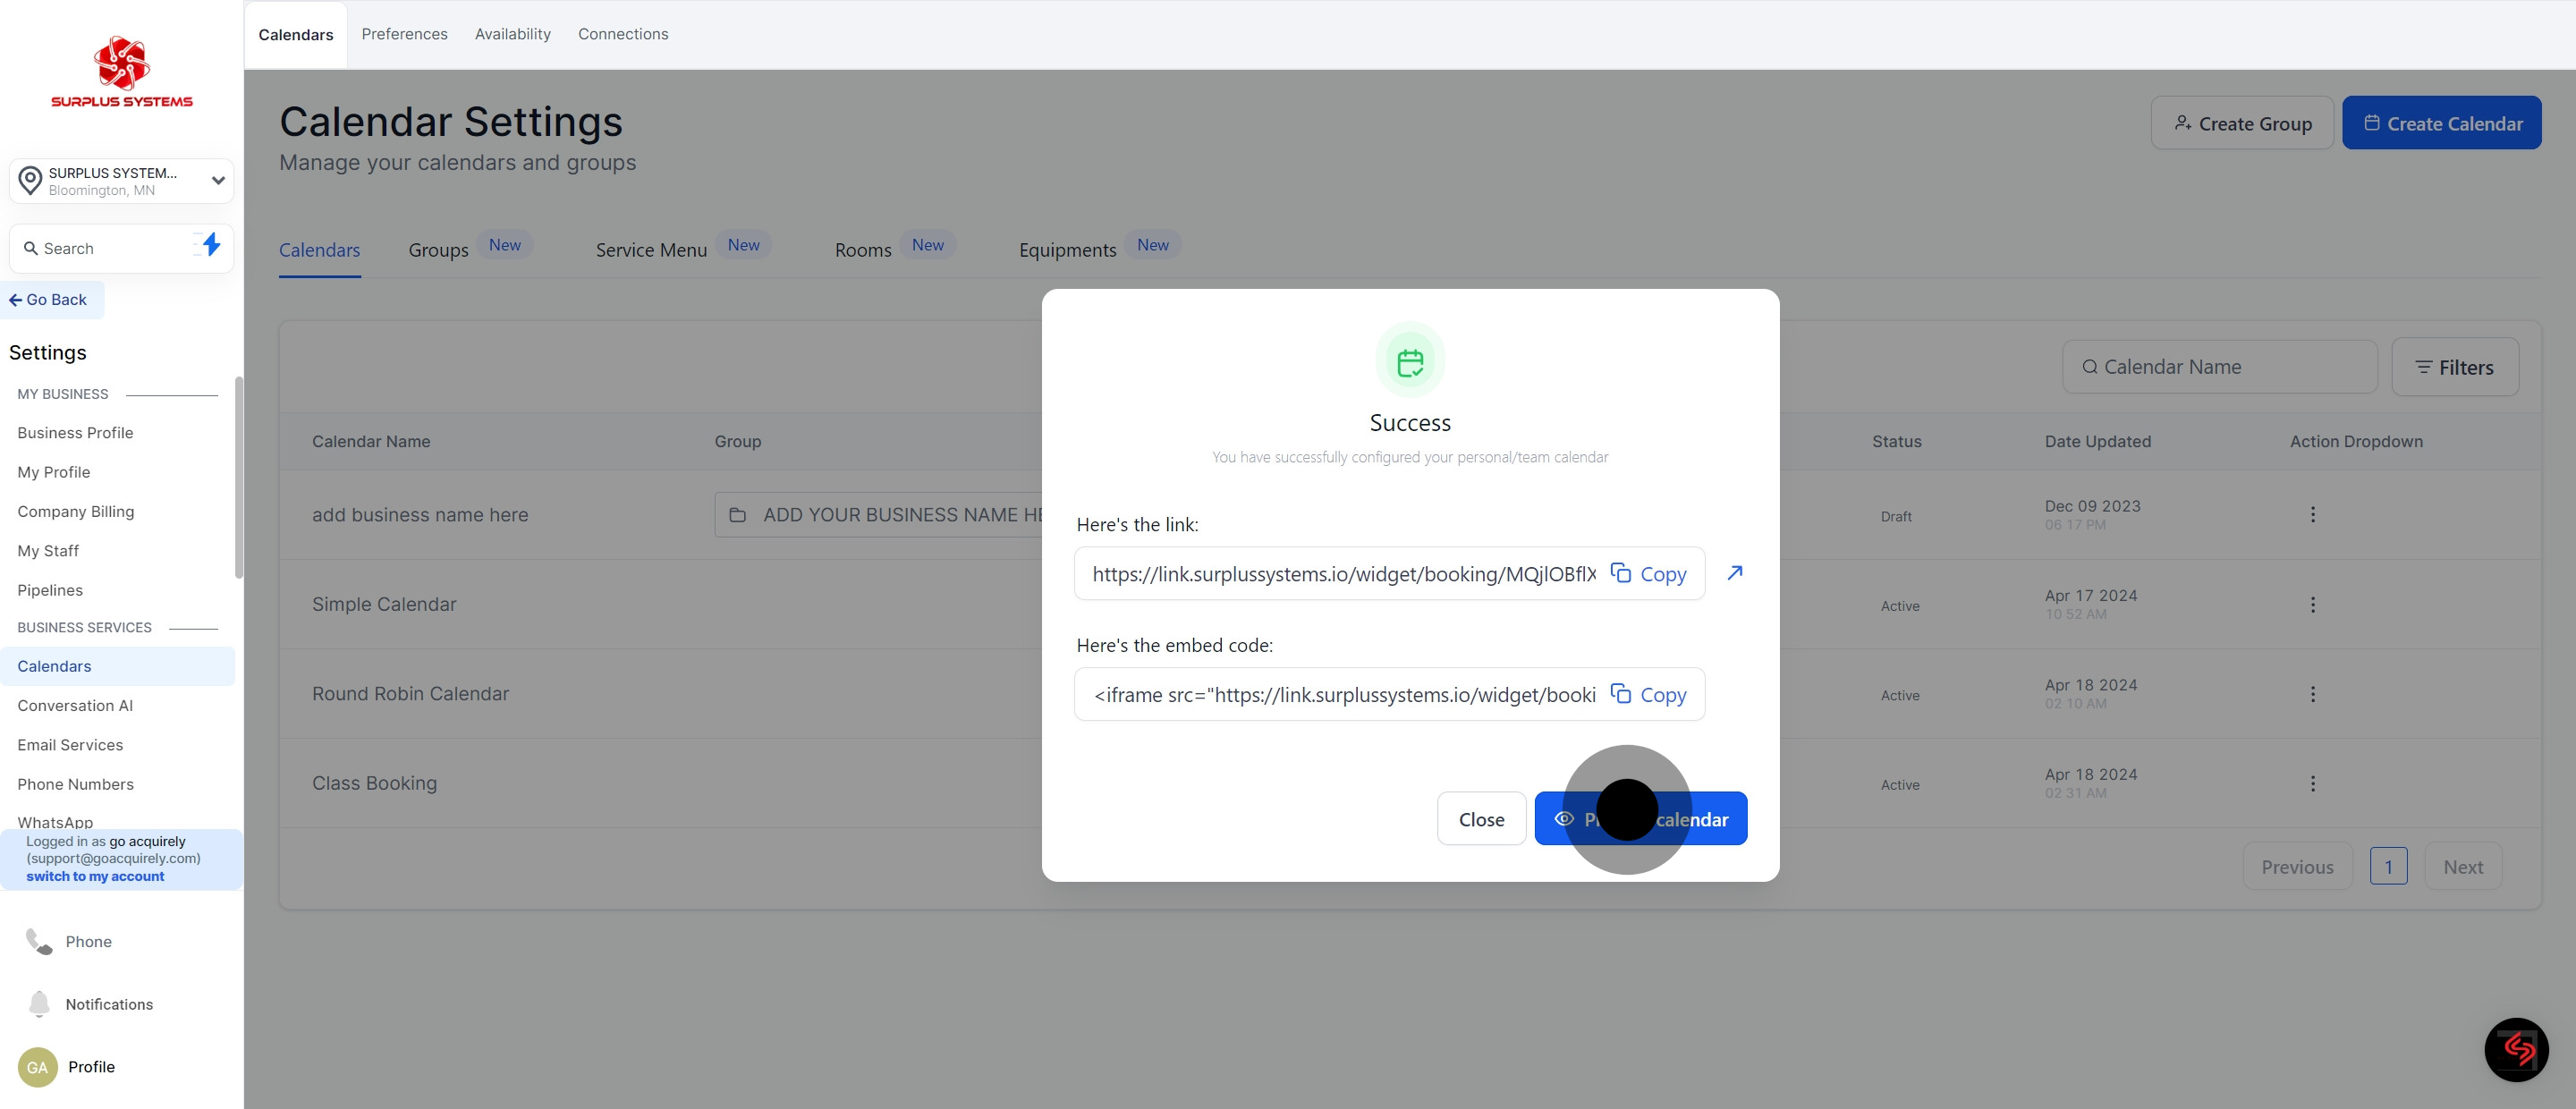
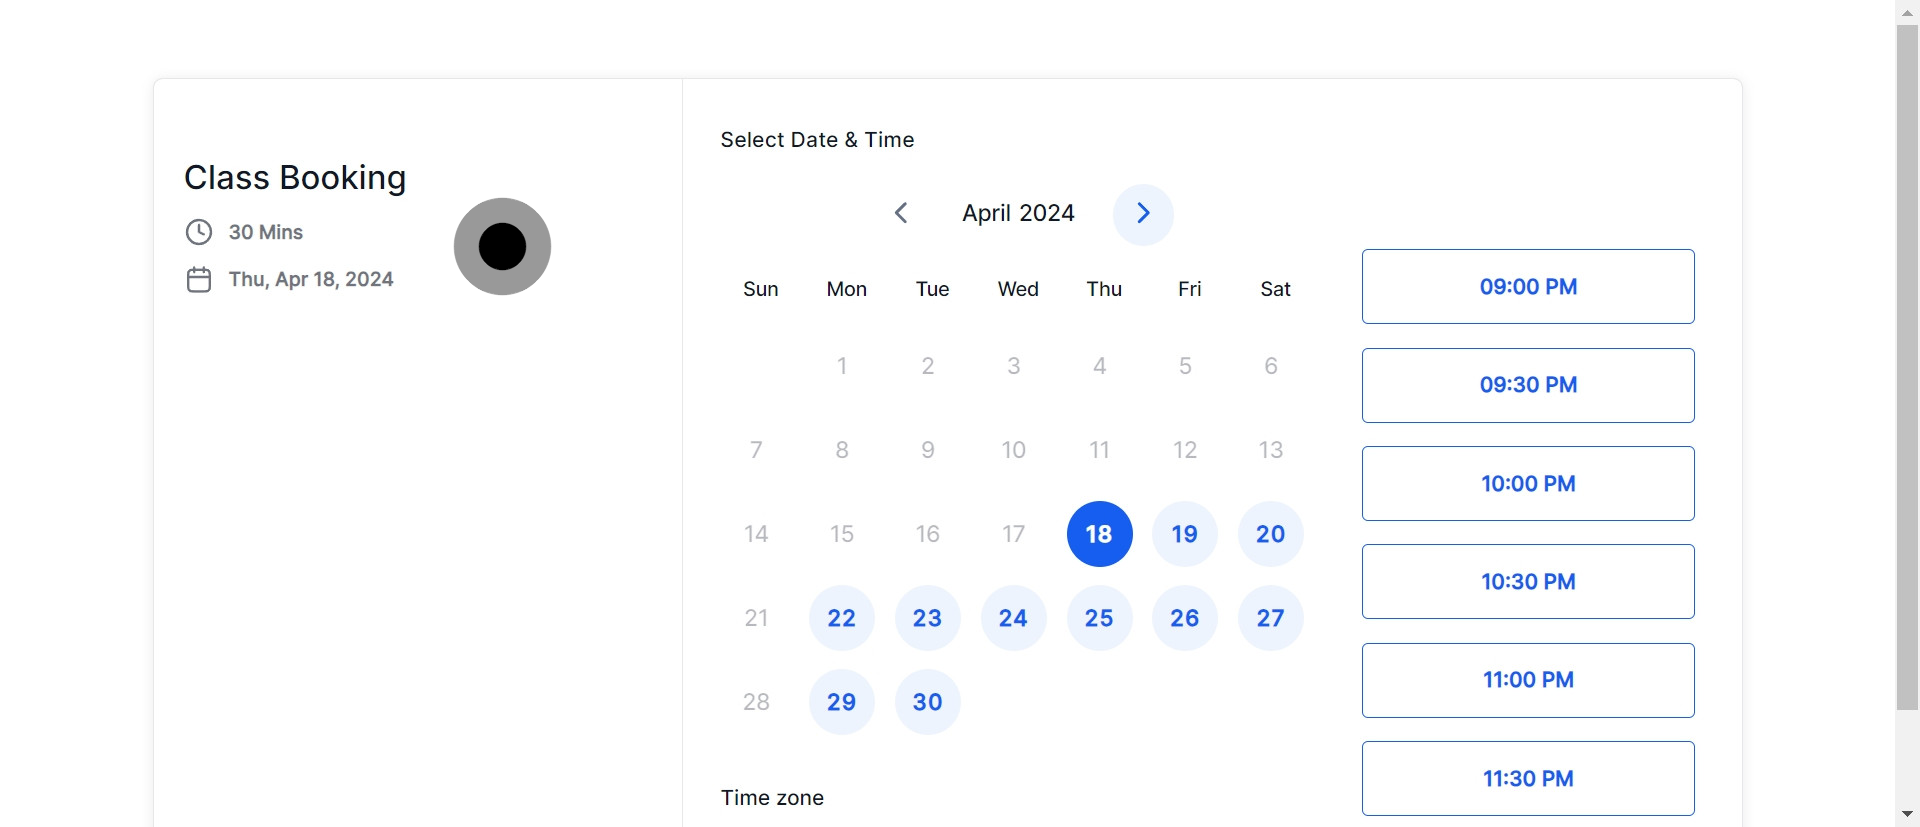
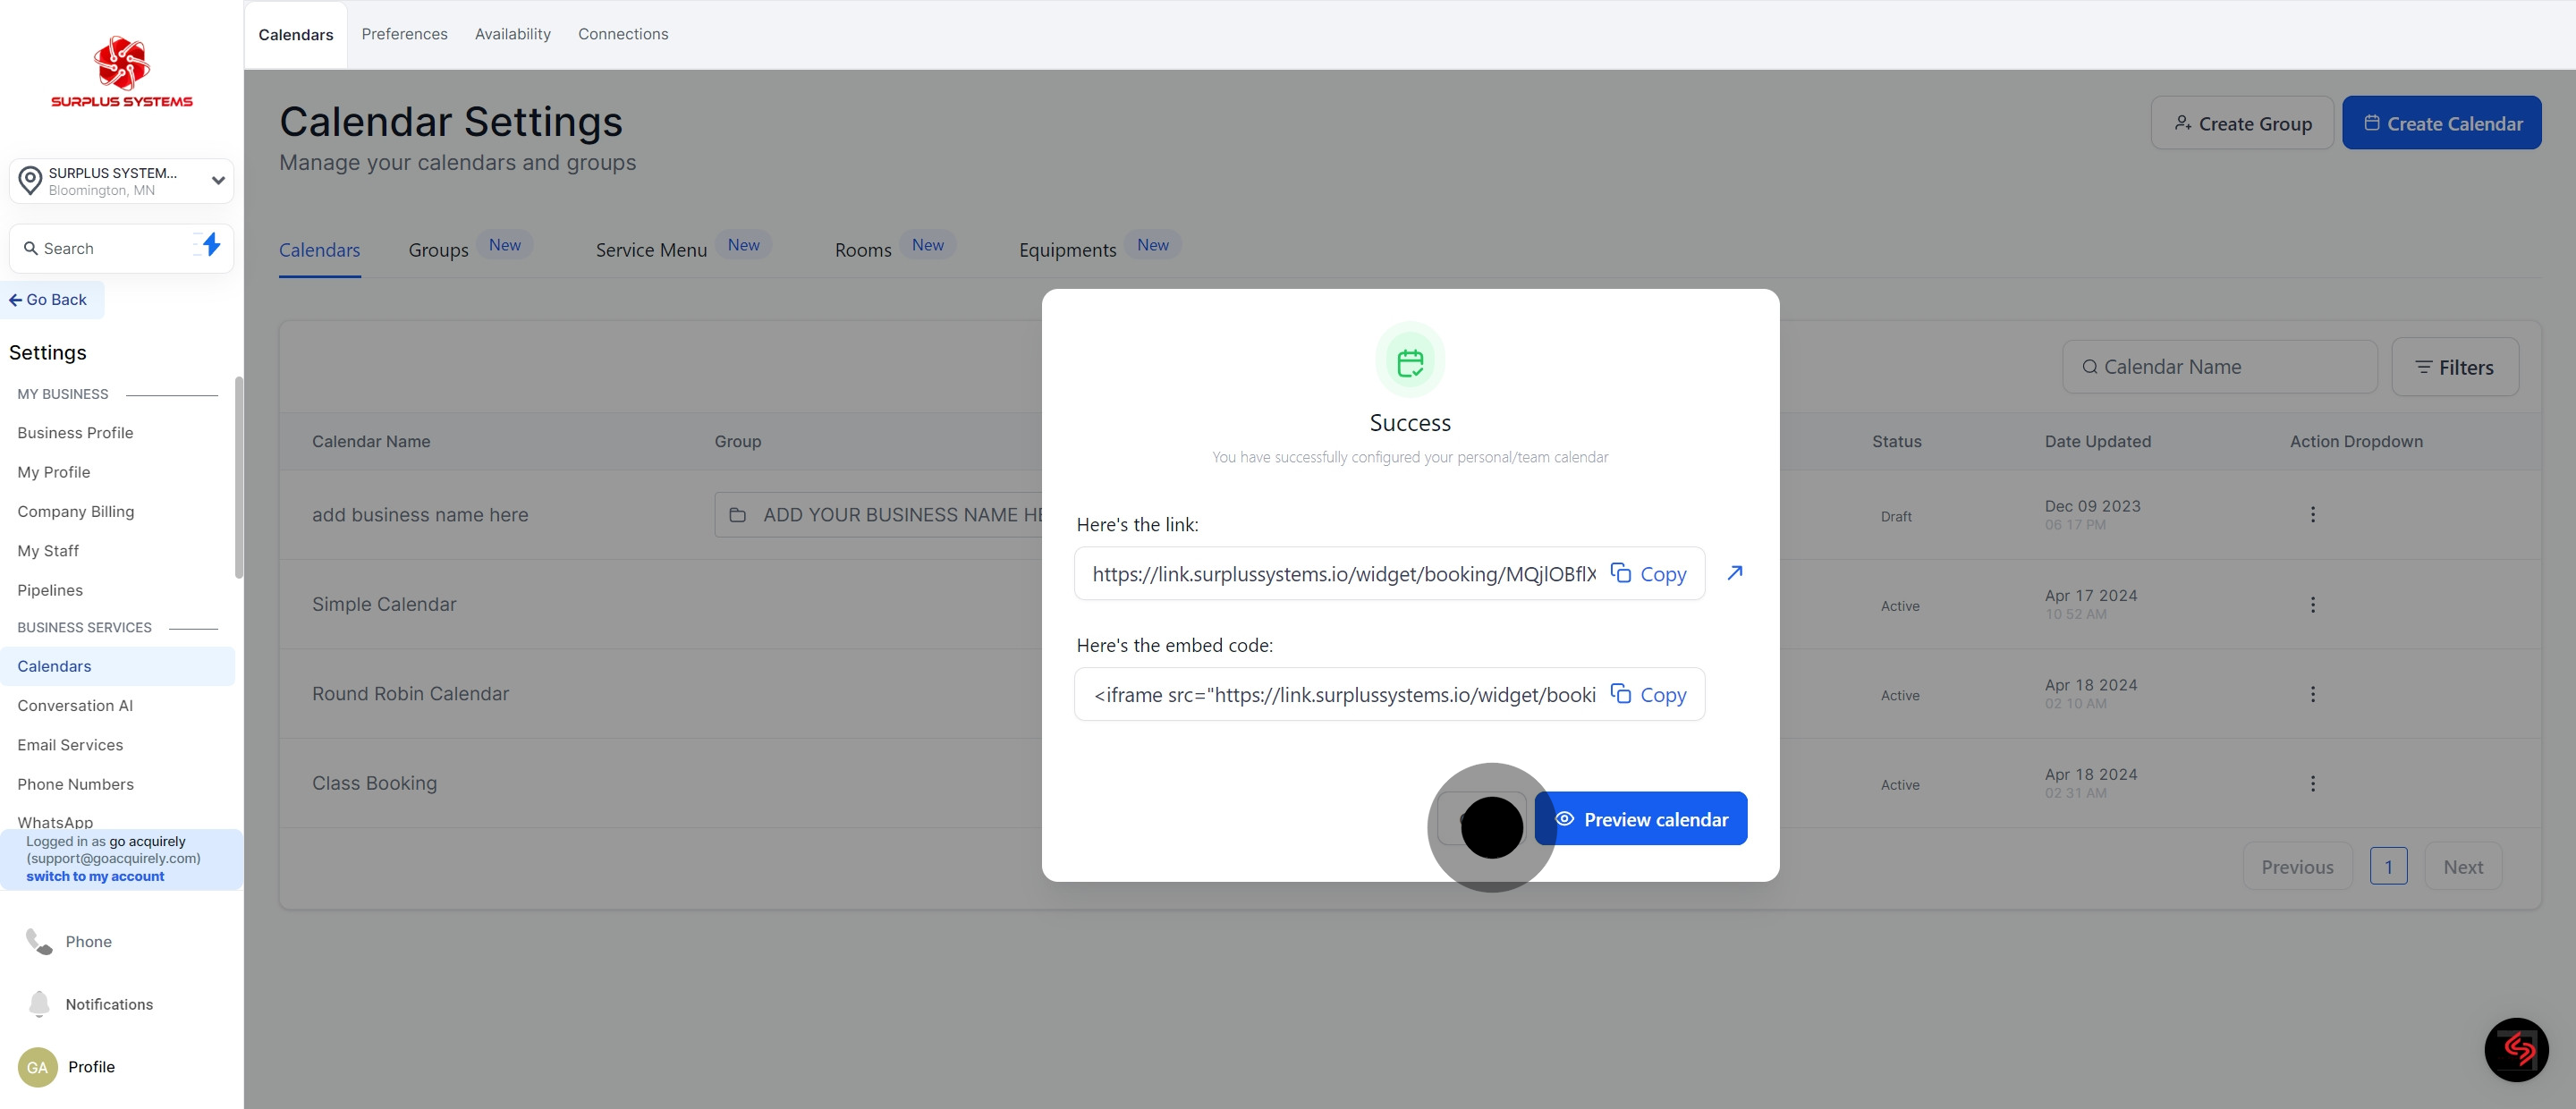
14. Proceed by clicking this button if you wish to preview your calendar.
15. This is your Class Booking Calendar
16. Click 'Close' option.
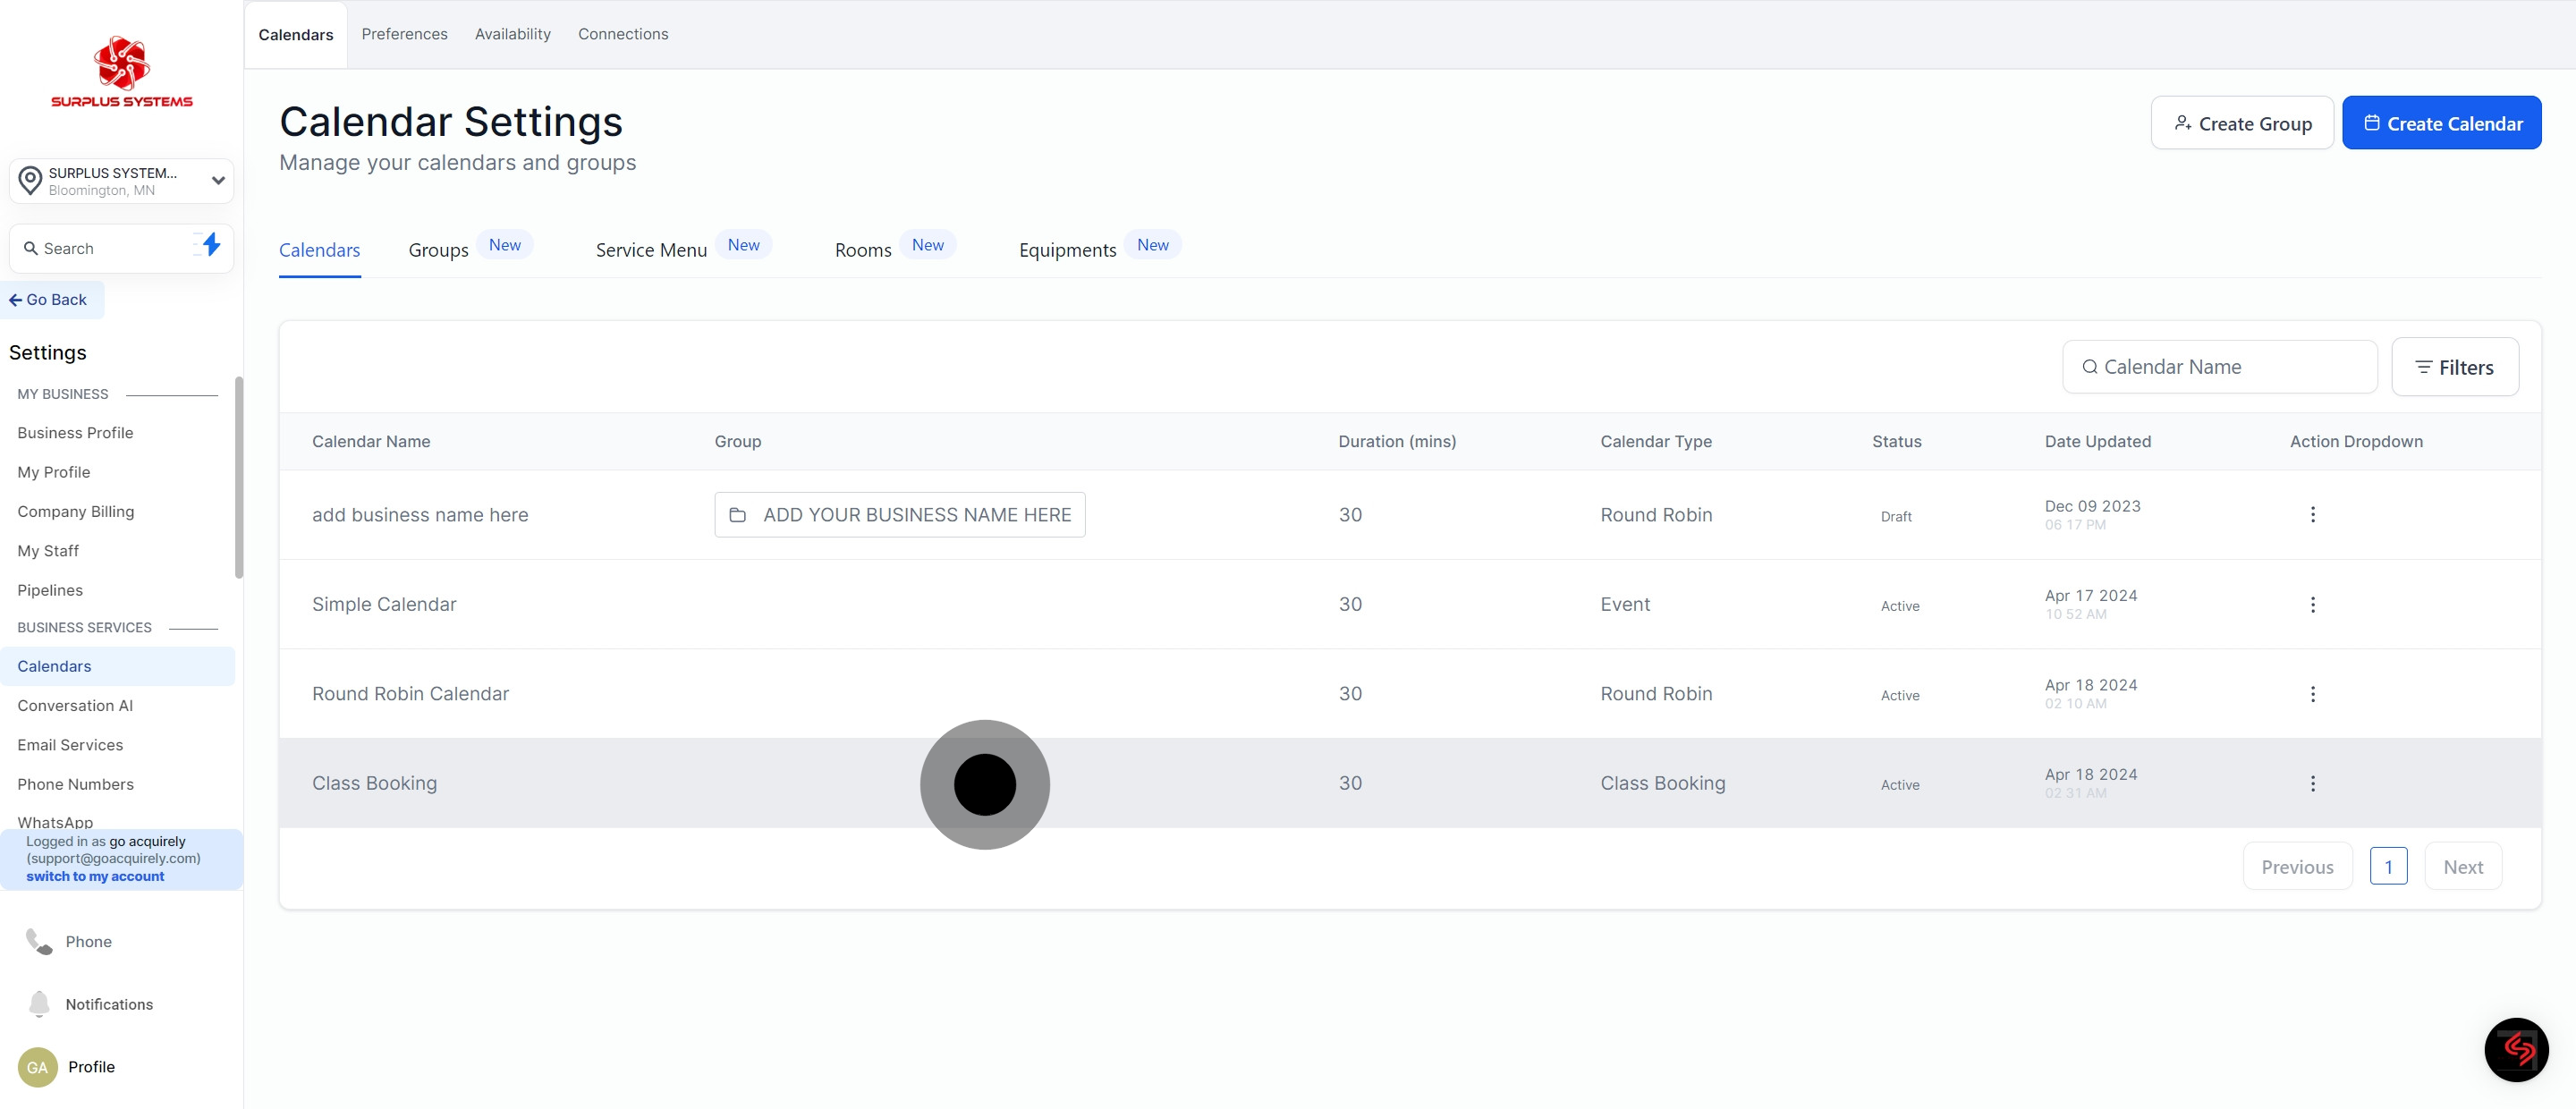
17. You can now see here your Class Booking Calendar
Did this answer your question?
😞
😐
😁
Designing a Class Booking Calendar in Surplus Systems: A Complete Guide | SURPLUS SYSTEMS