Setting Up a Round Robin Calendar in Surplus Systems: Ensure Fair Scheduling
Discover how to create a round robin calendar in Surplus Systems, ideal for distributing appointments or meetings evenly among team members. This guide will take you through the steps to set up a fair and efficient scheduling system, helping to balance workloads and improve team availability for clients.
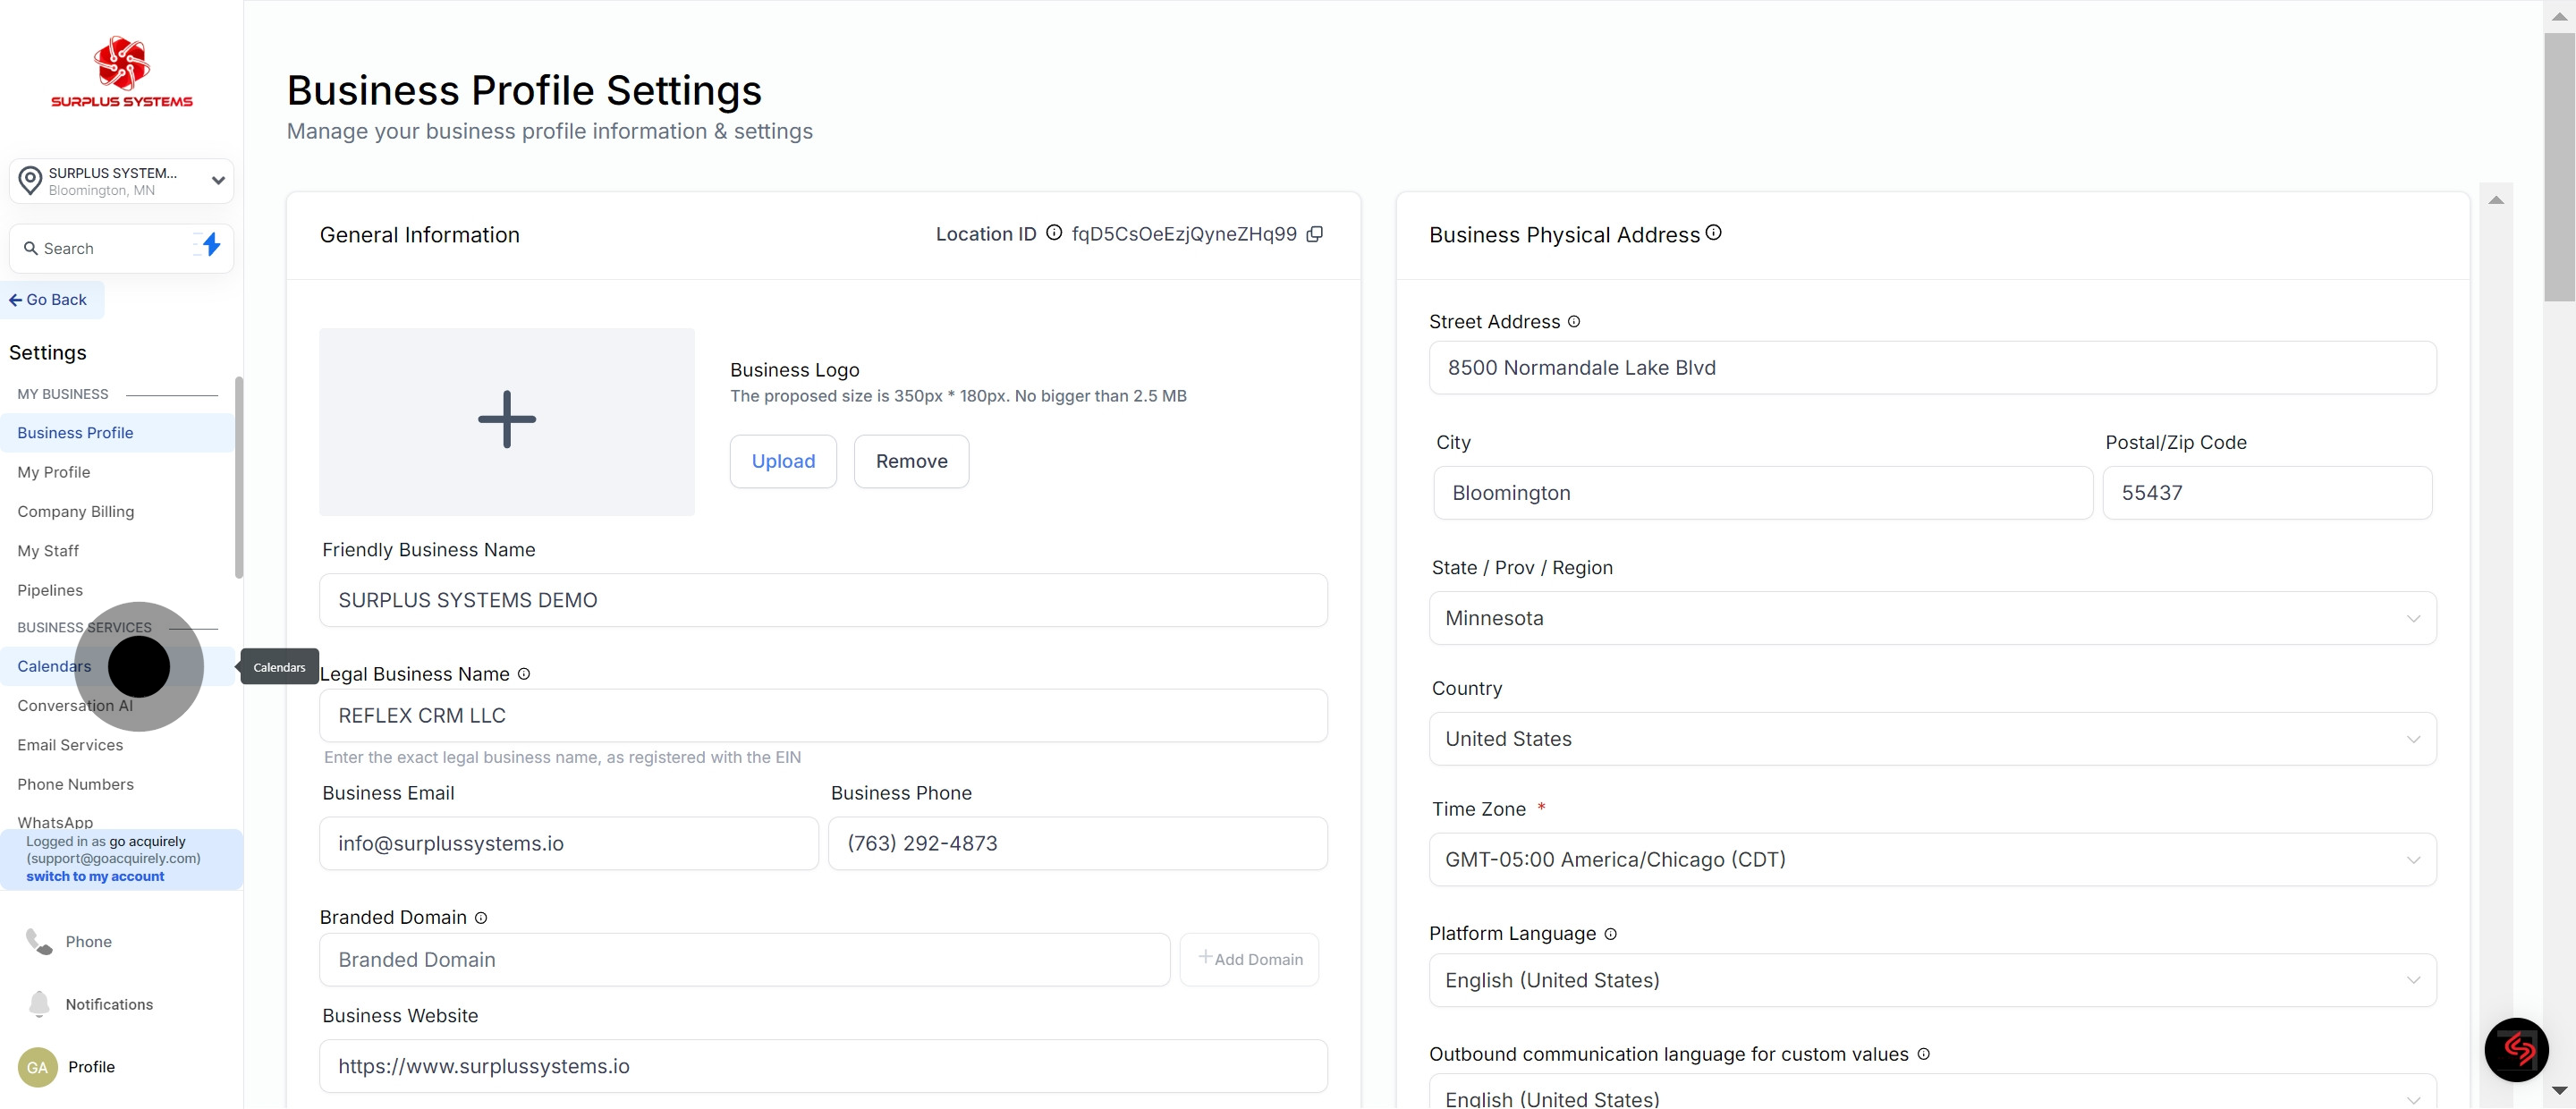
1. Start by clicking on the Settings icon.
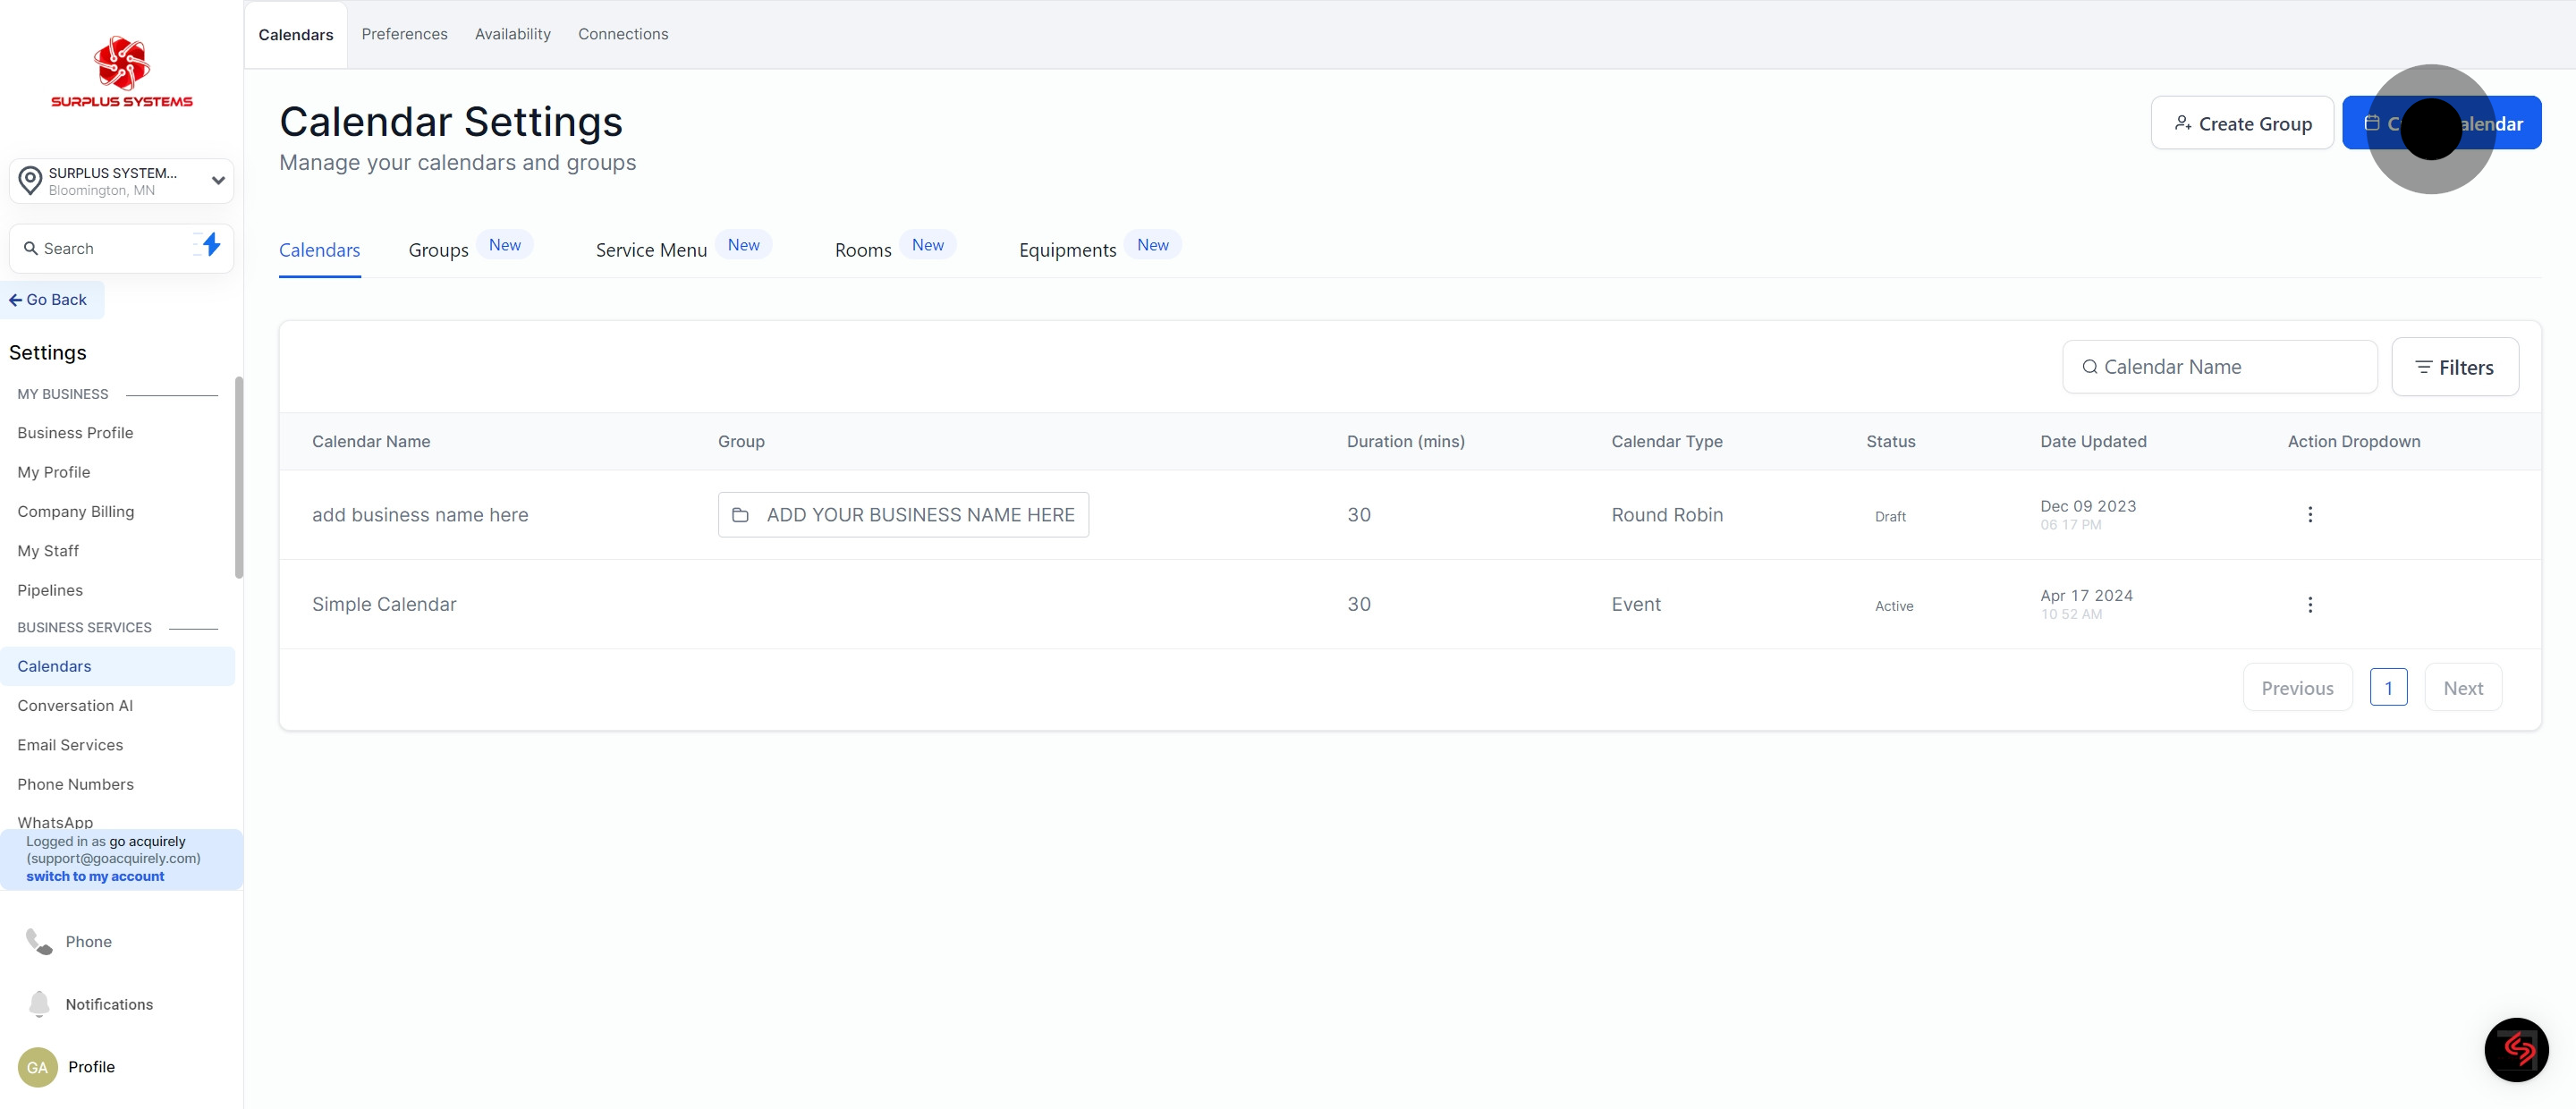
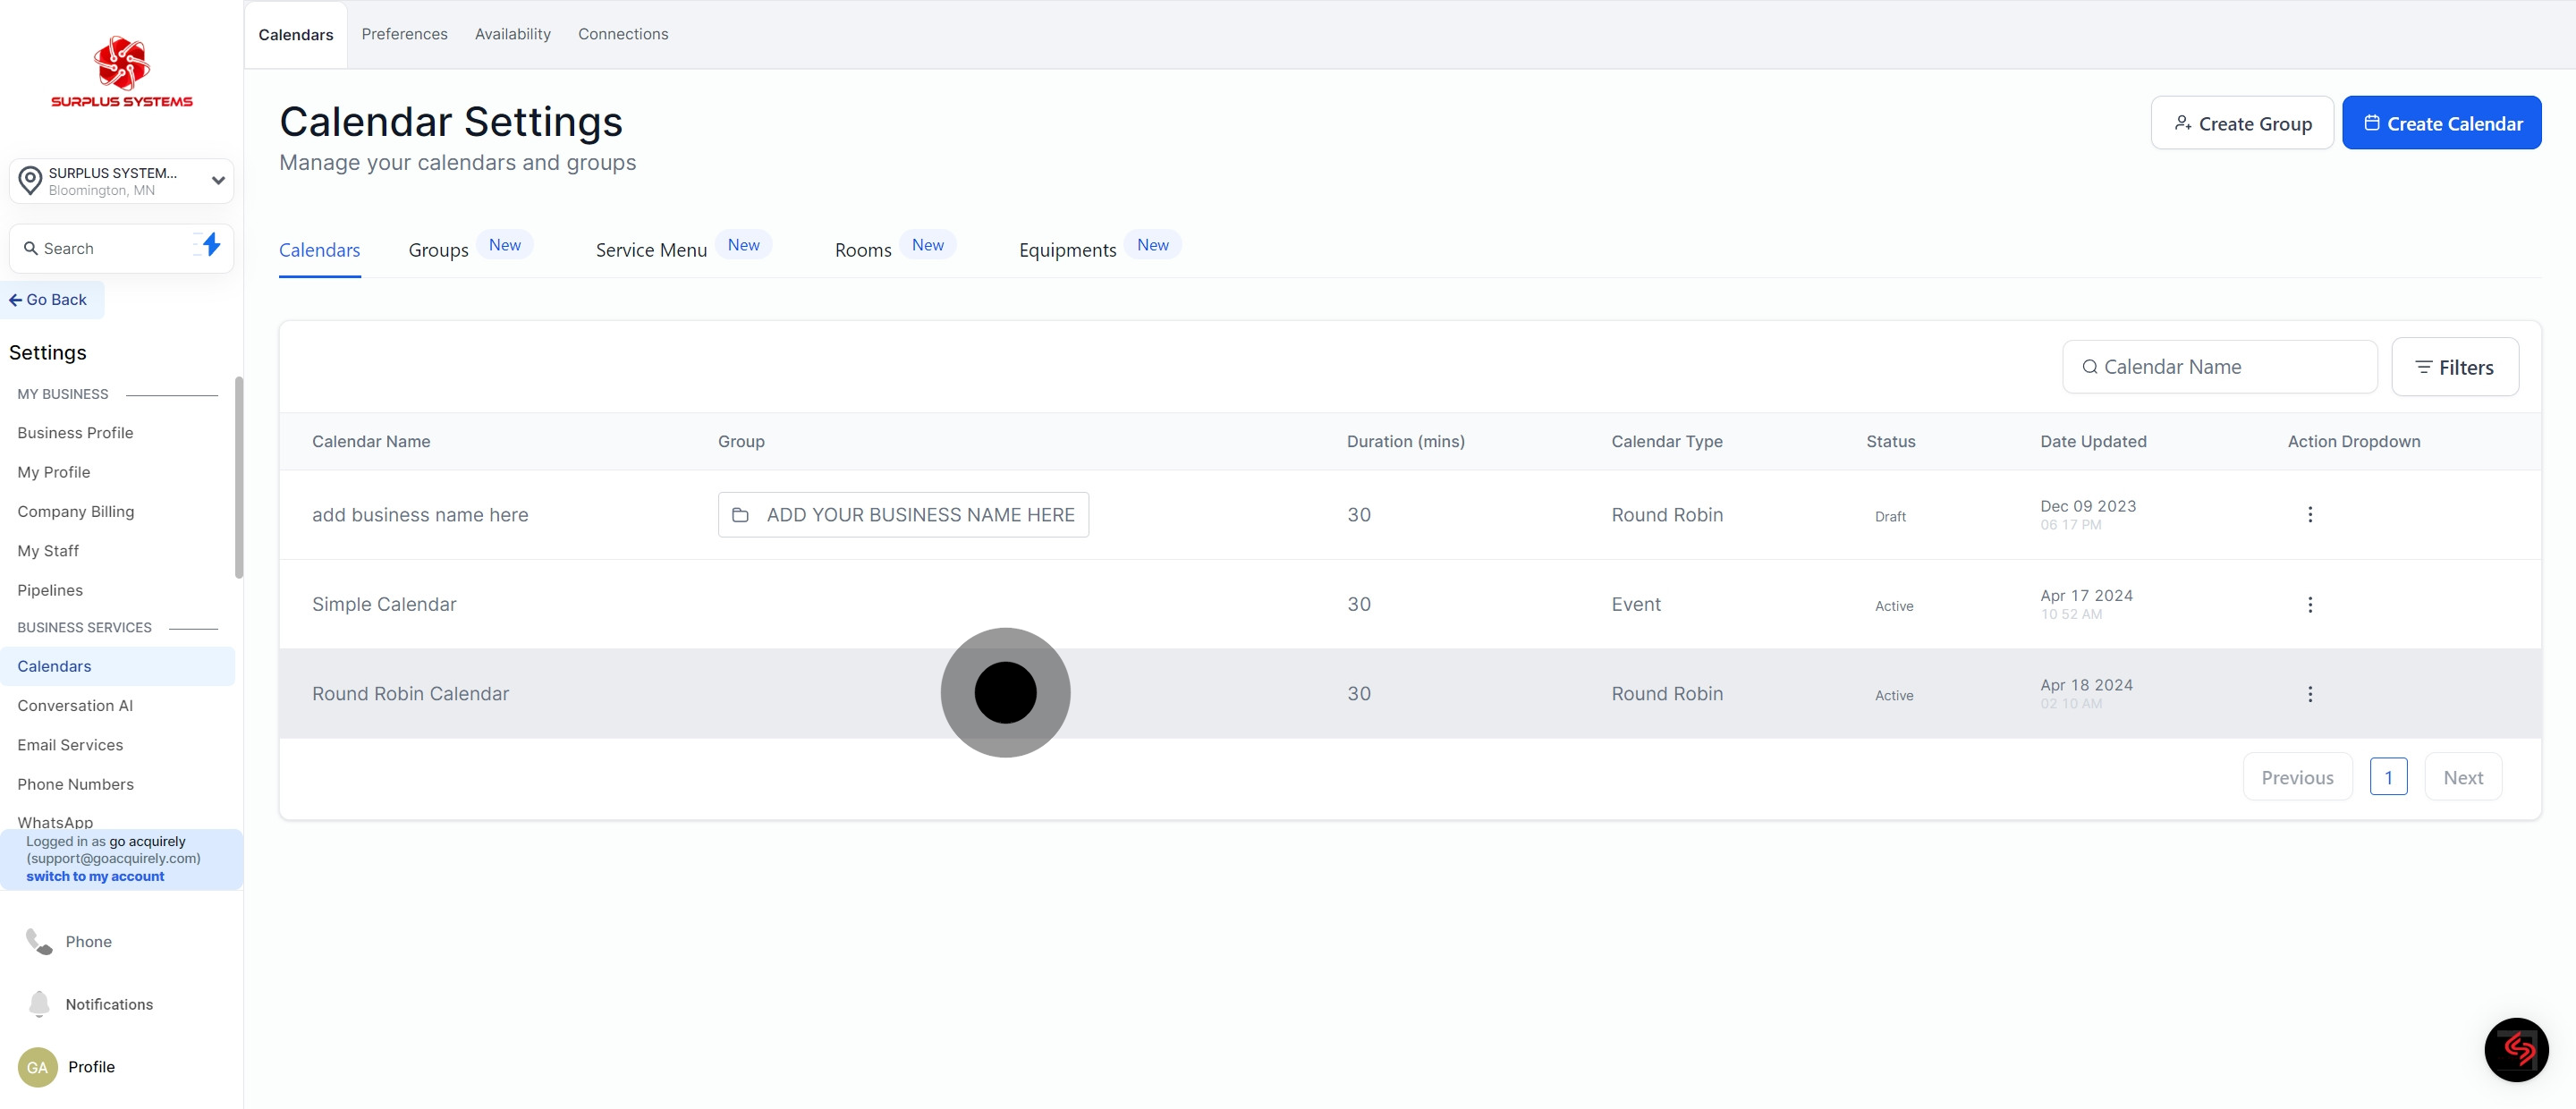
2. Next, click on Calendars to view all calendars.
3. Click on Create Calendar to start a new calendar.
4. Select the Round Robin calendar option.
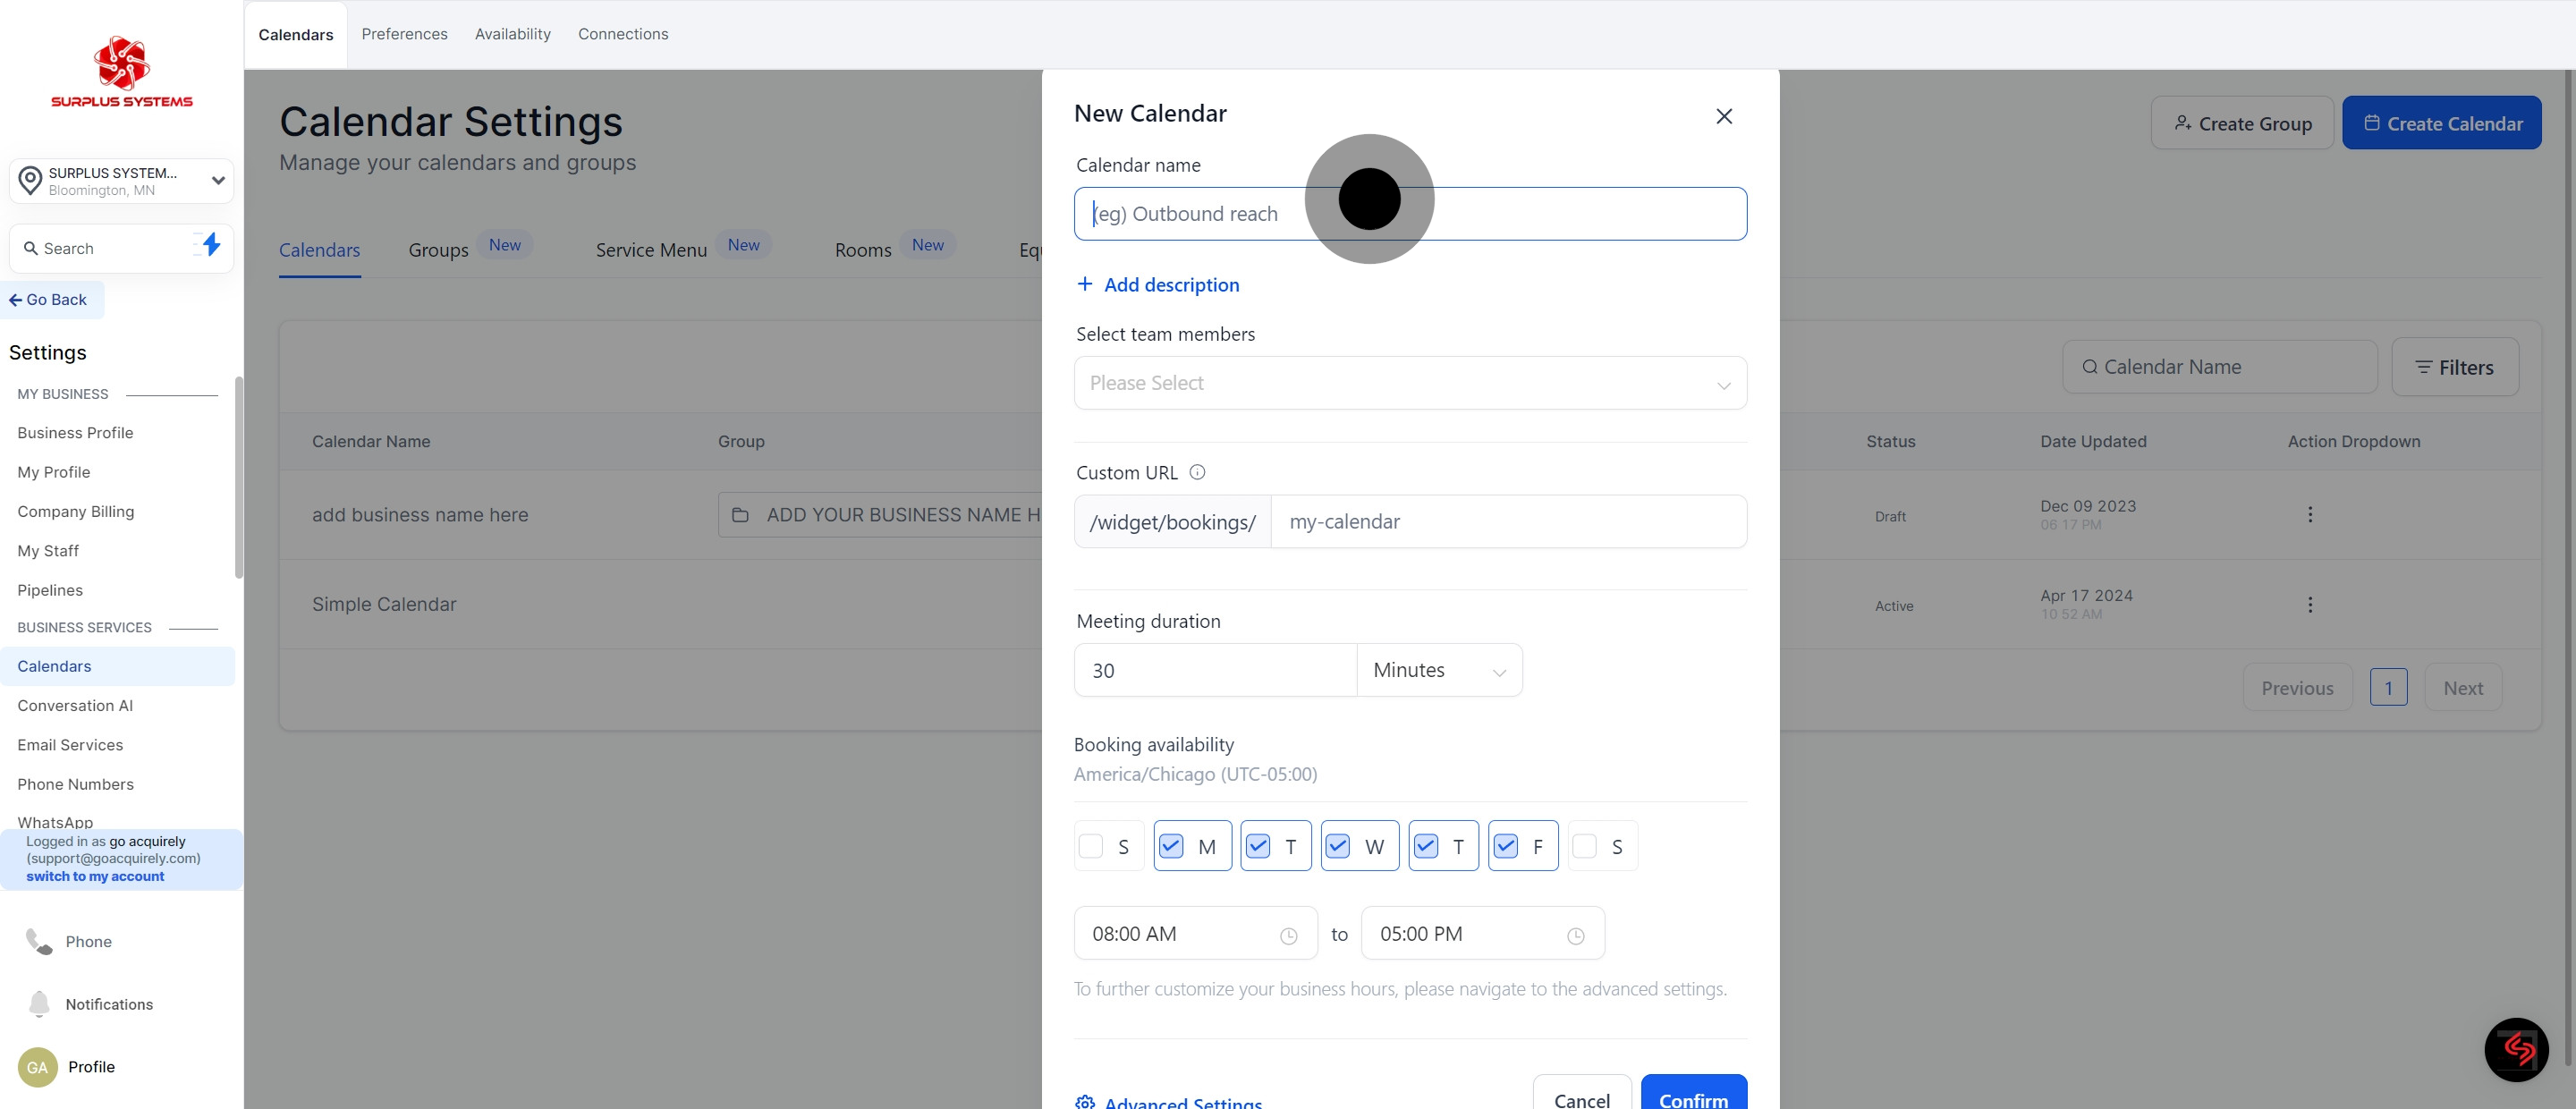
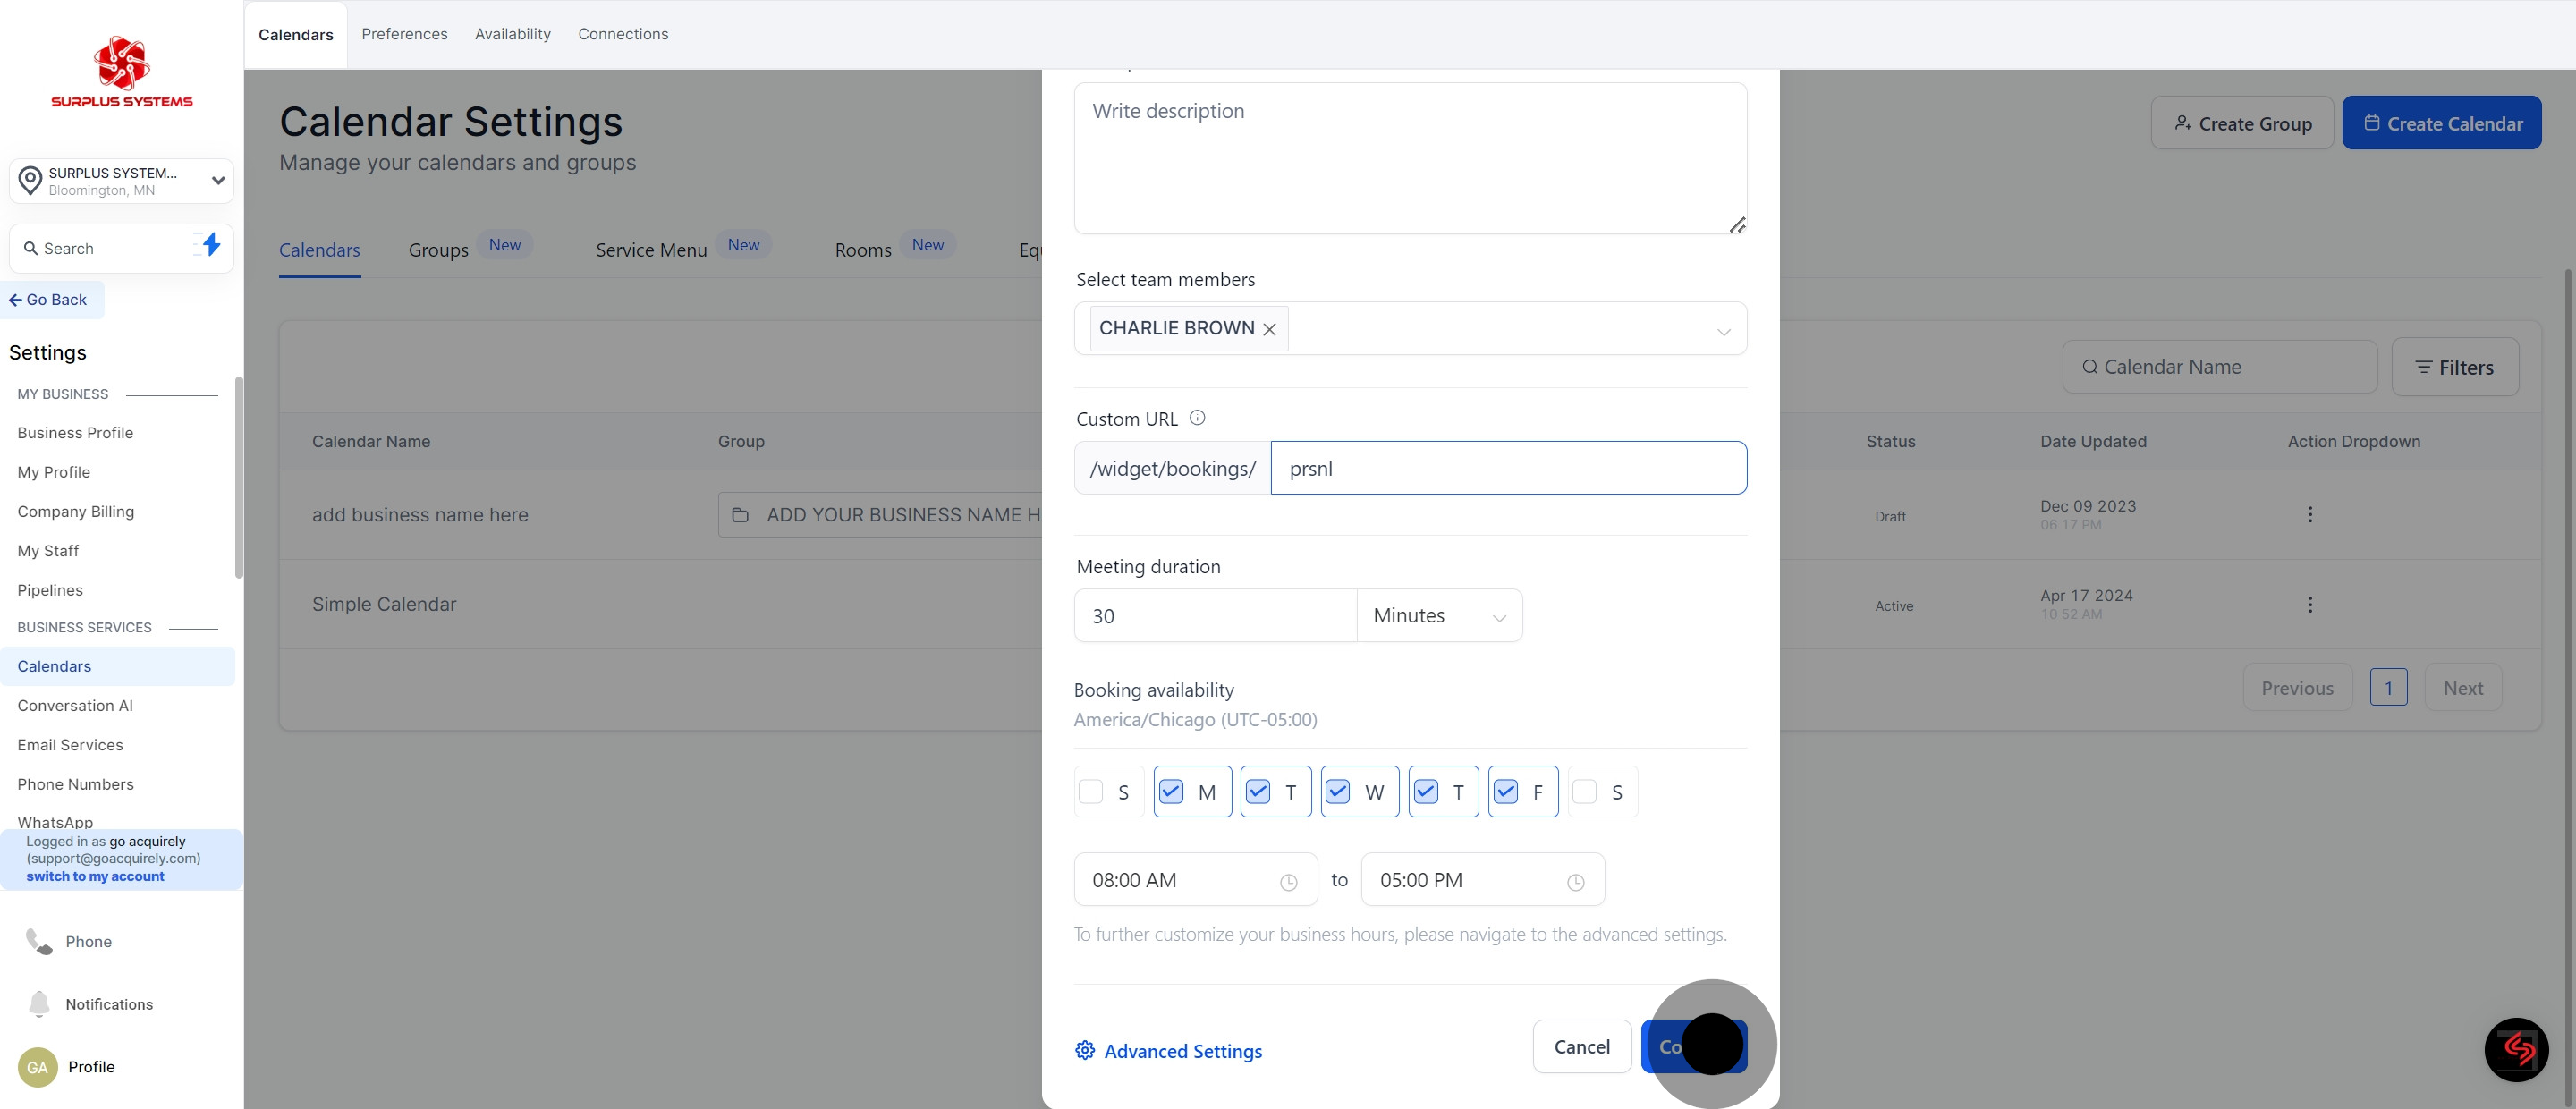
5. Enter the name of your new calendar here.
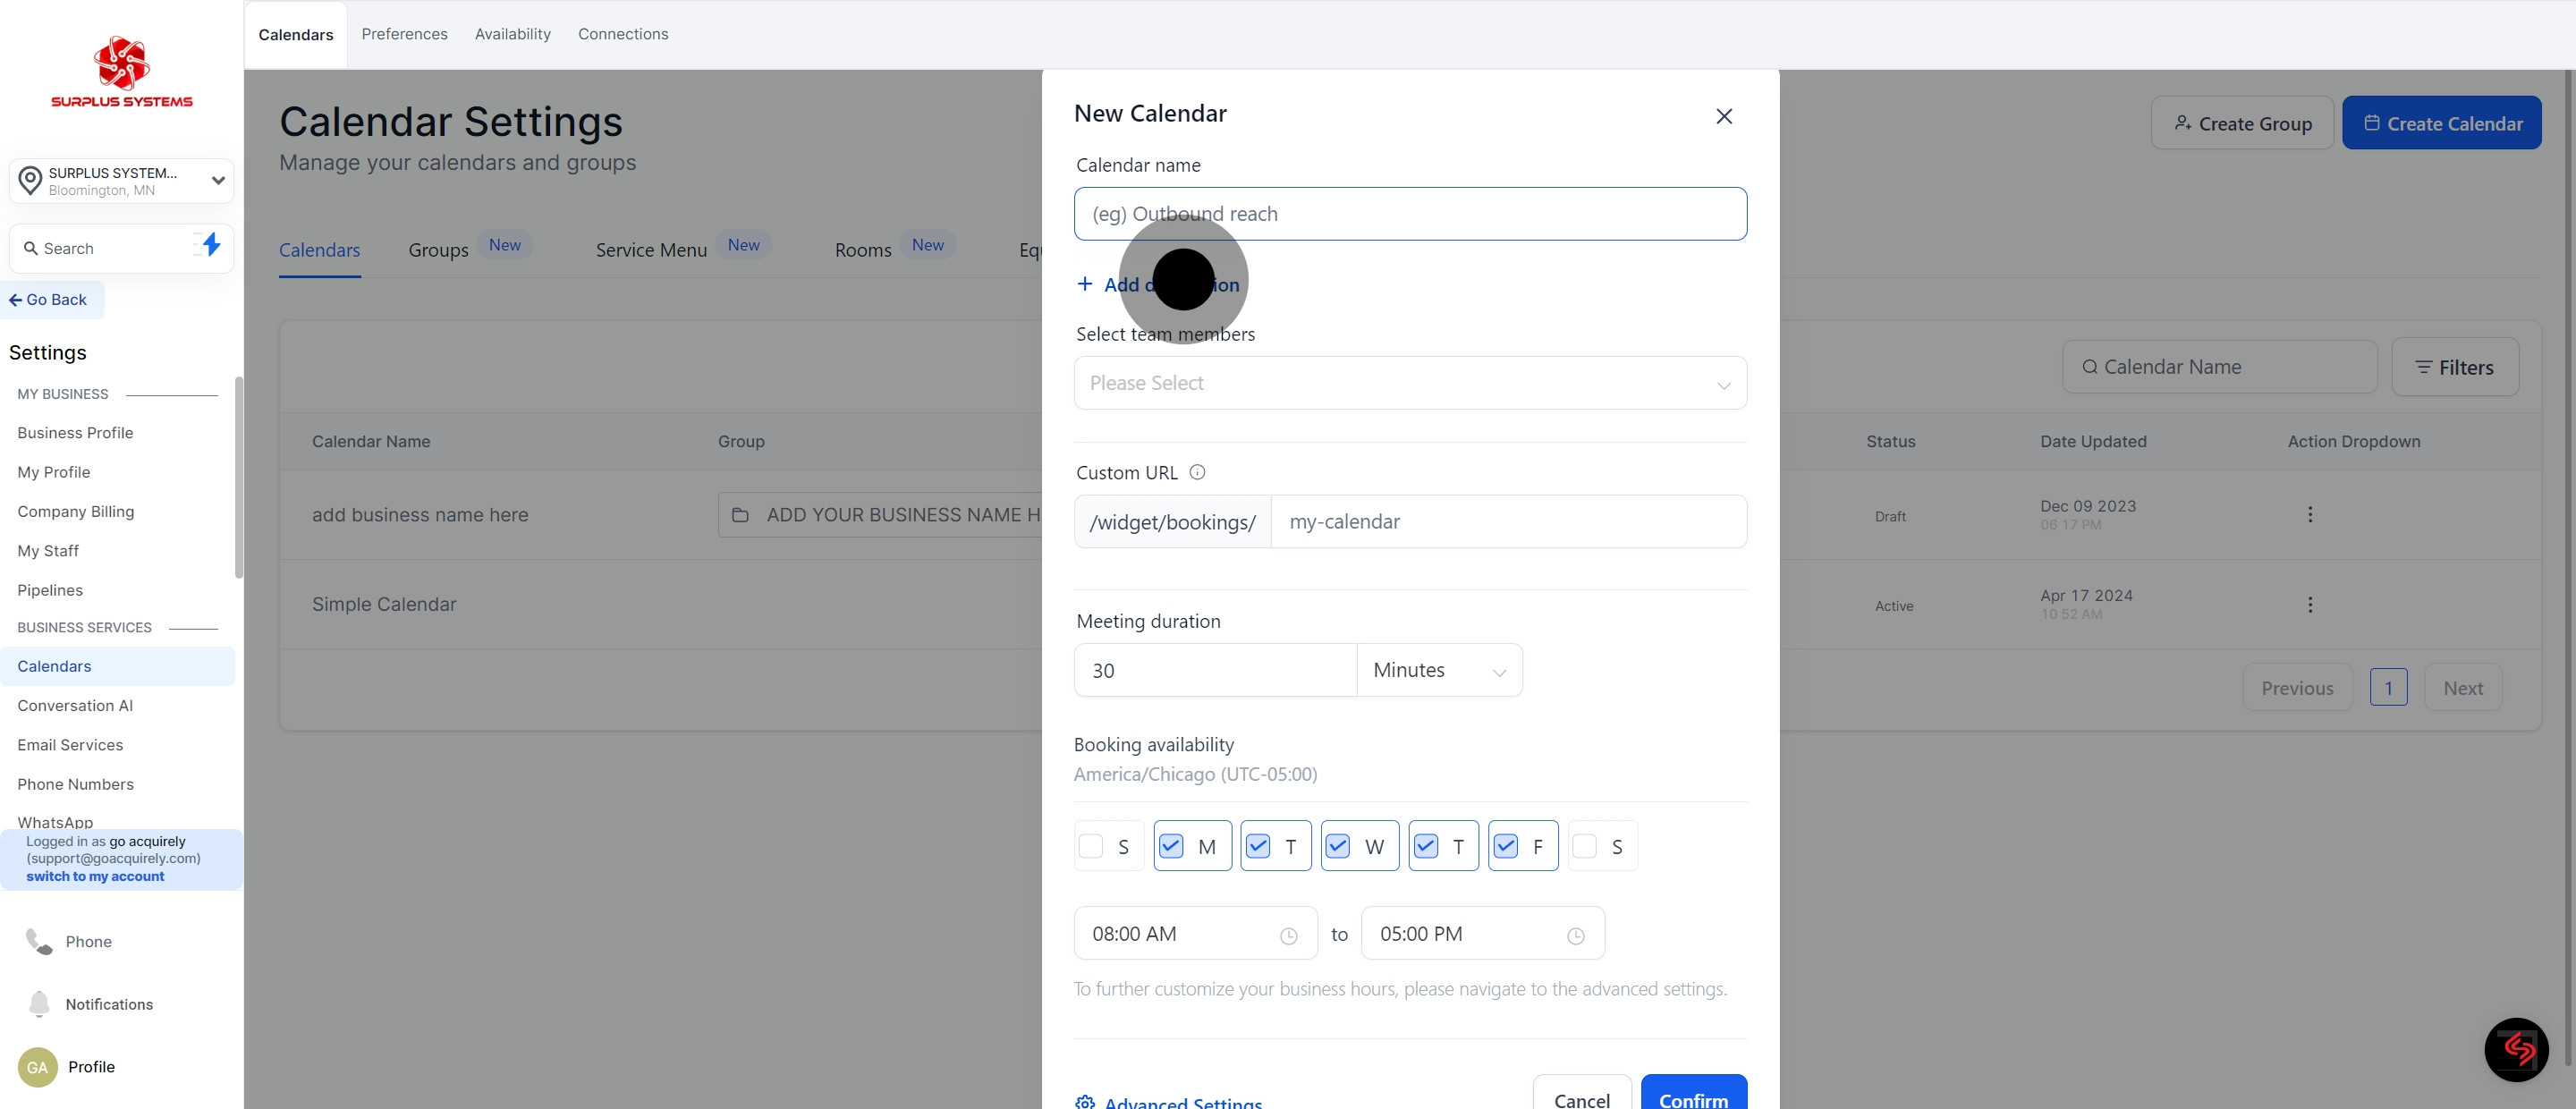
6. Add more details by clicking on Add Description.
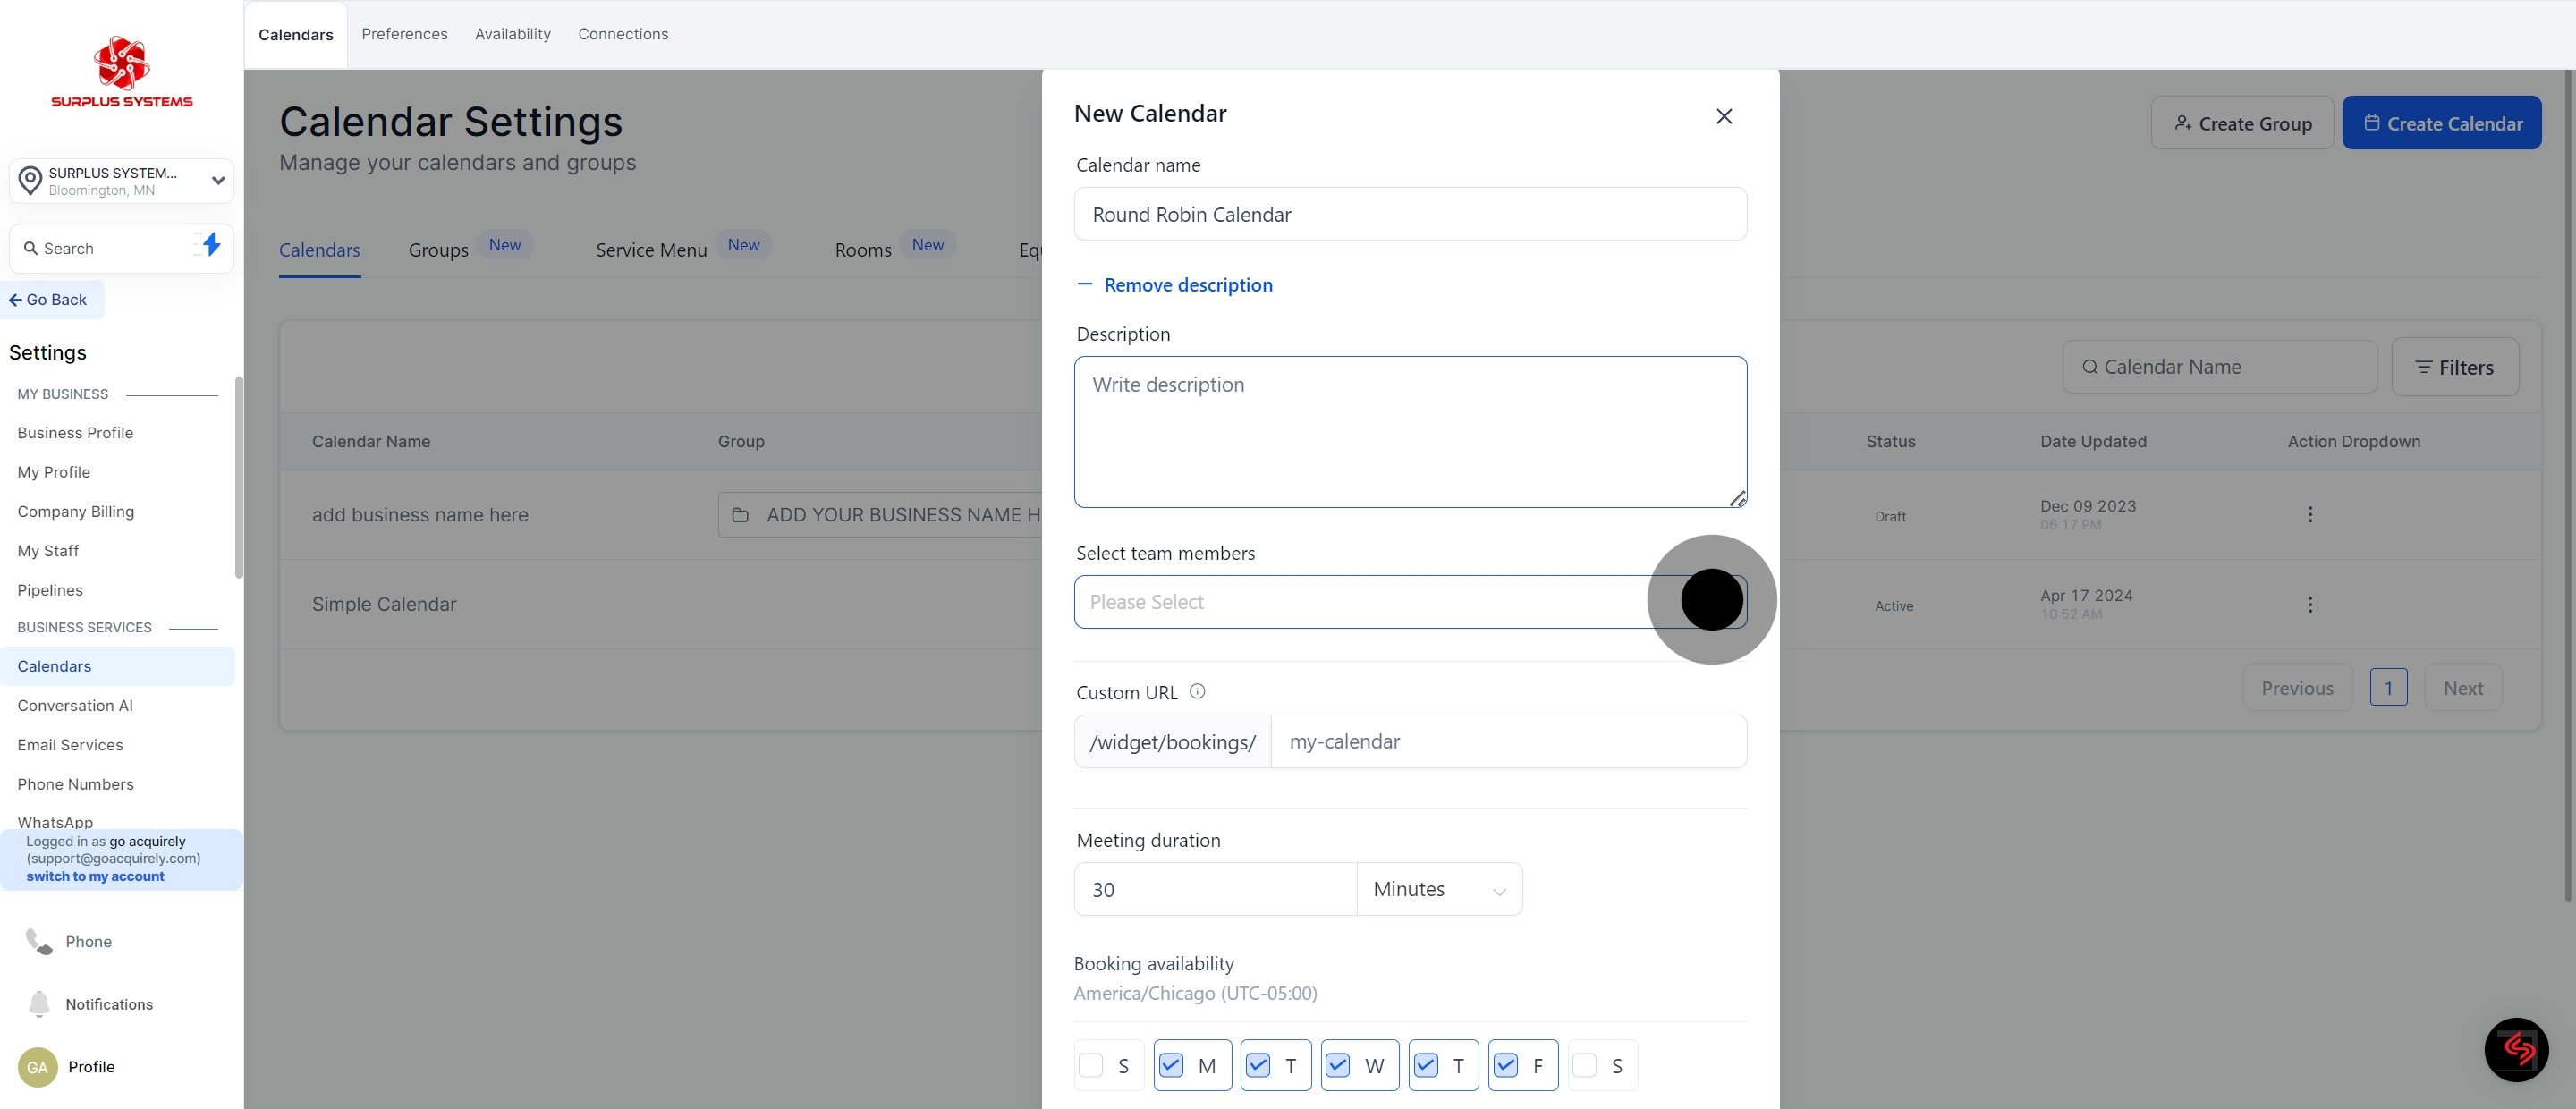
7. Now select team members by clicking here.
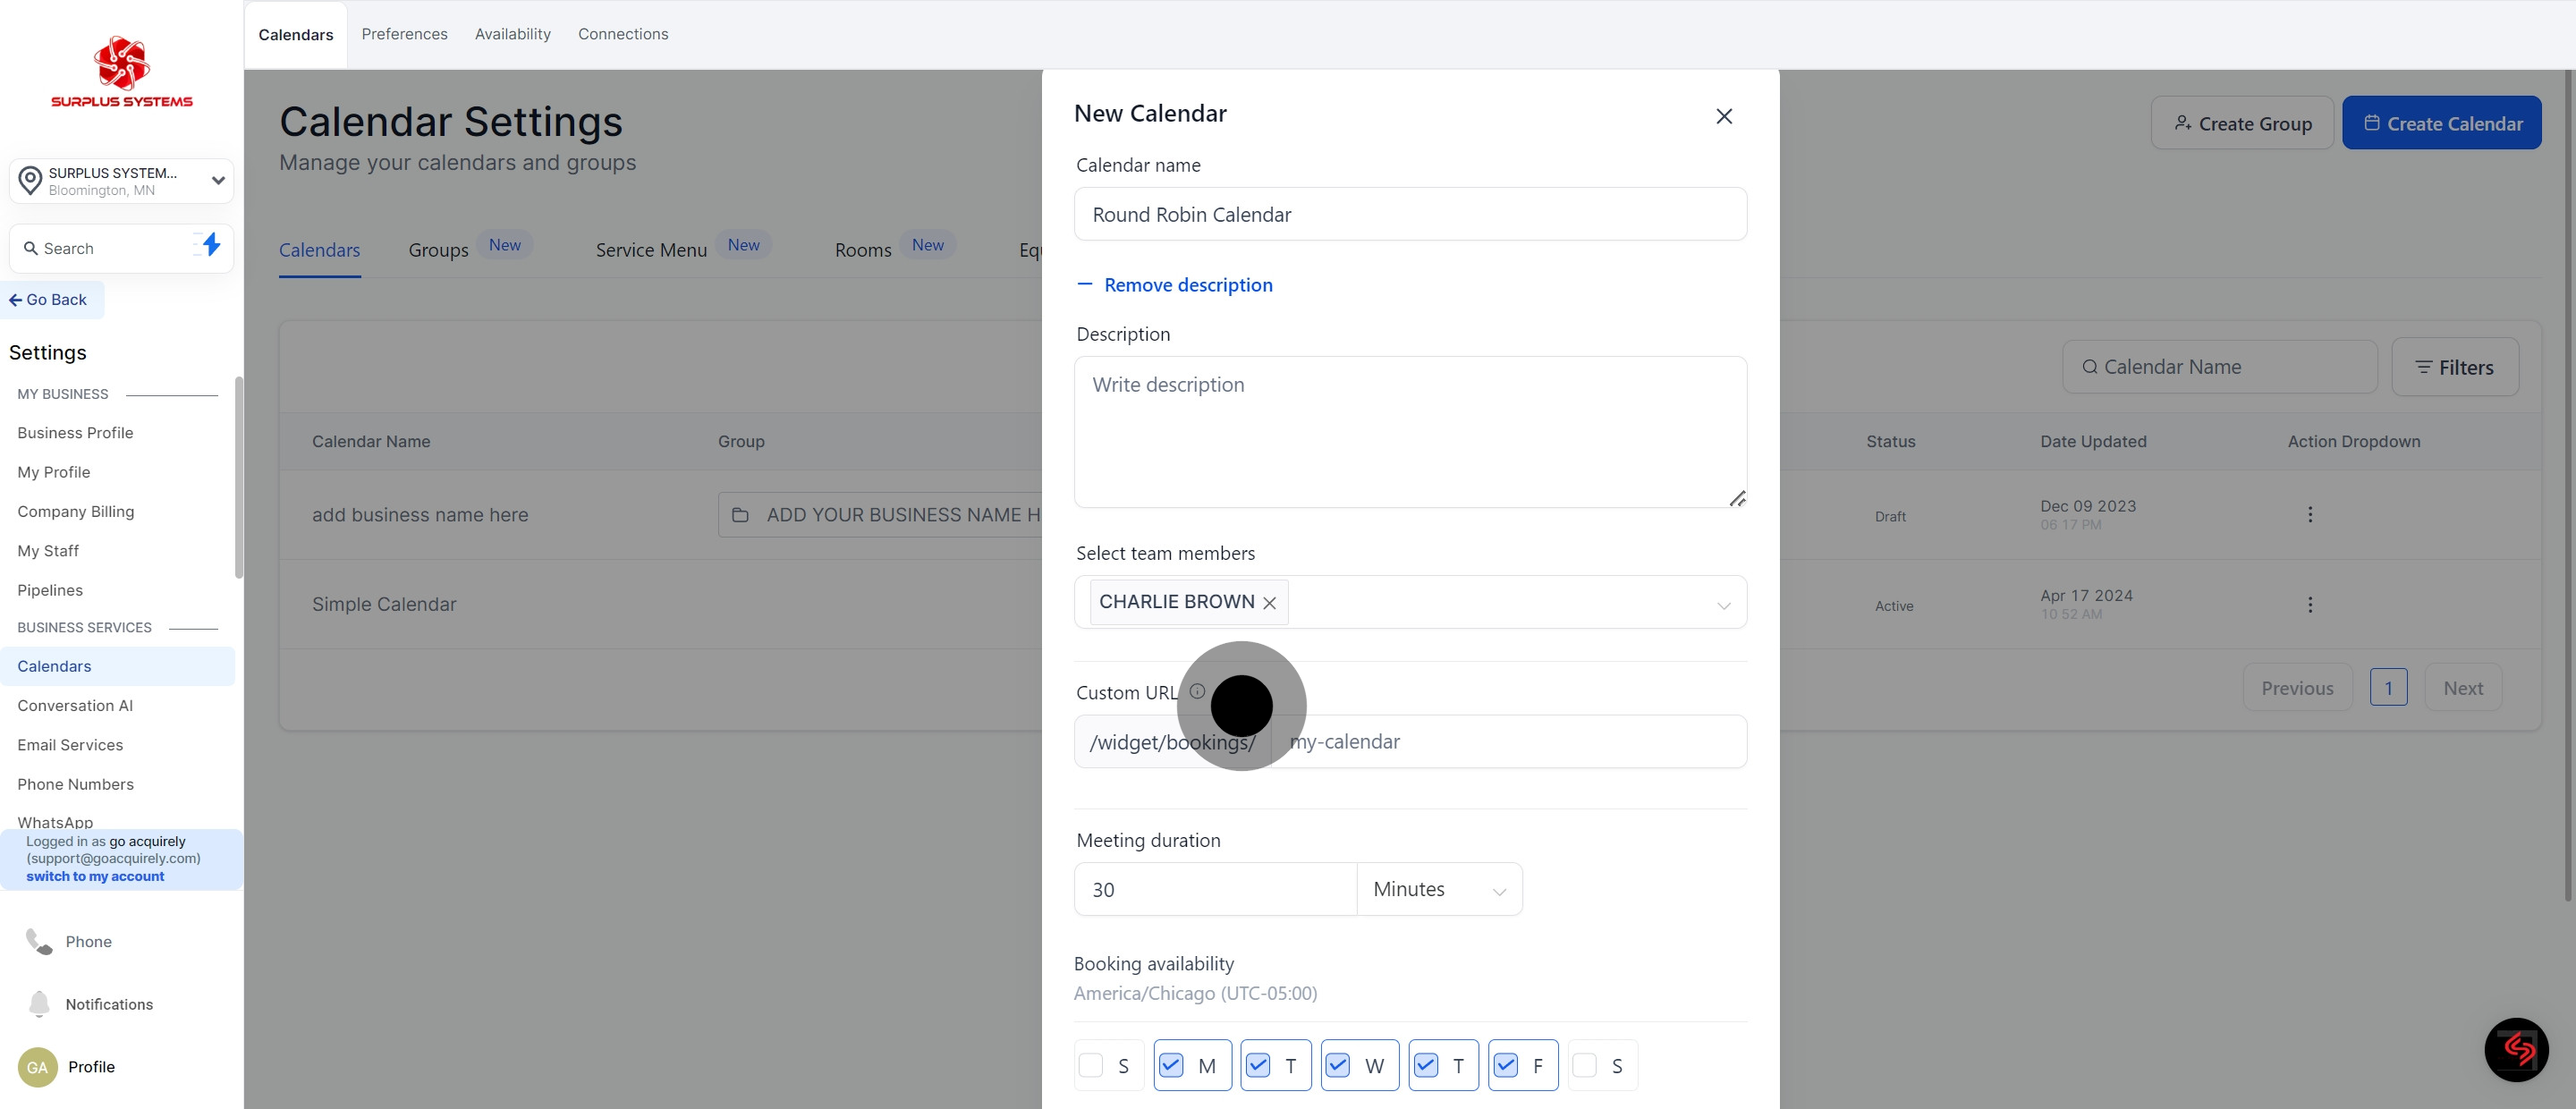
8. Click on Custom URL to customize your calendar link.
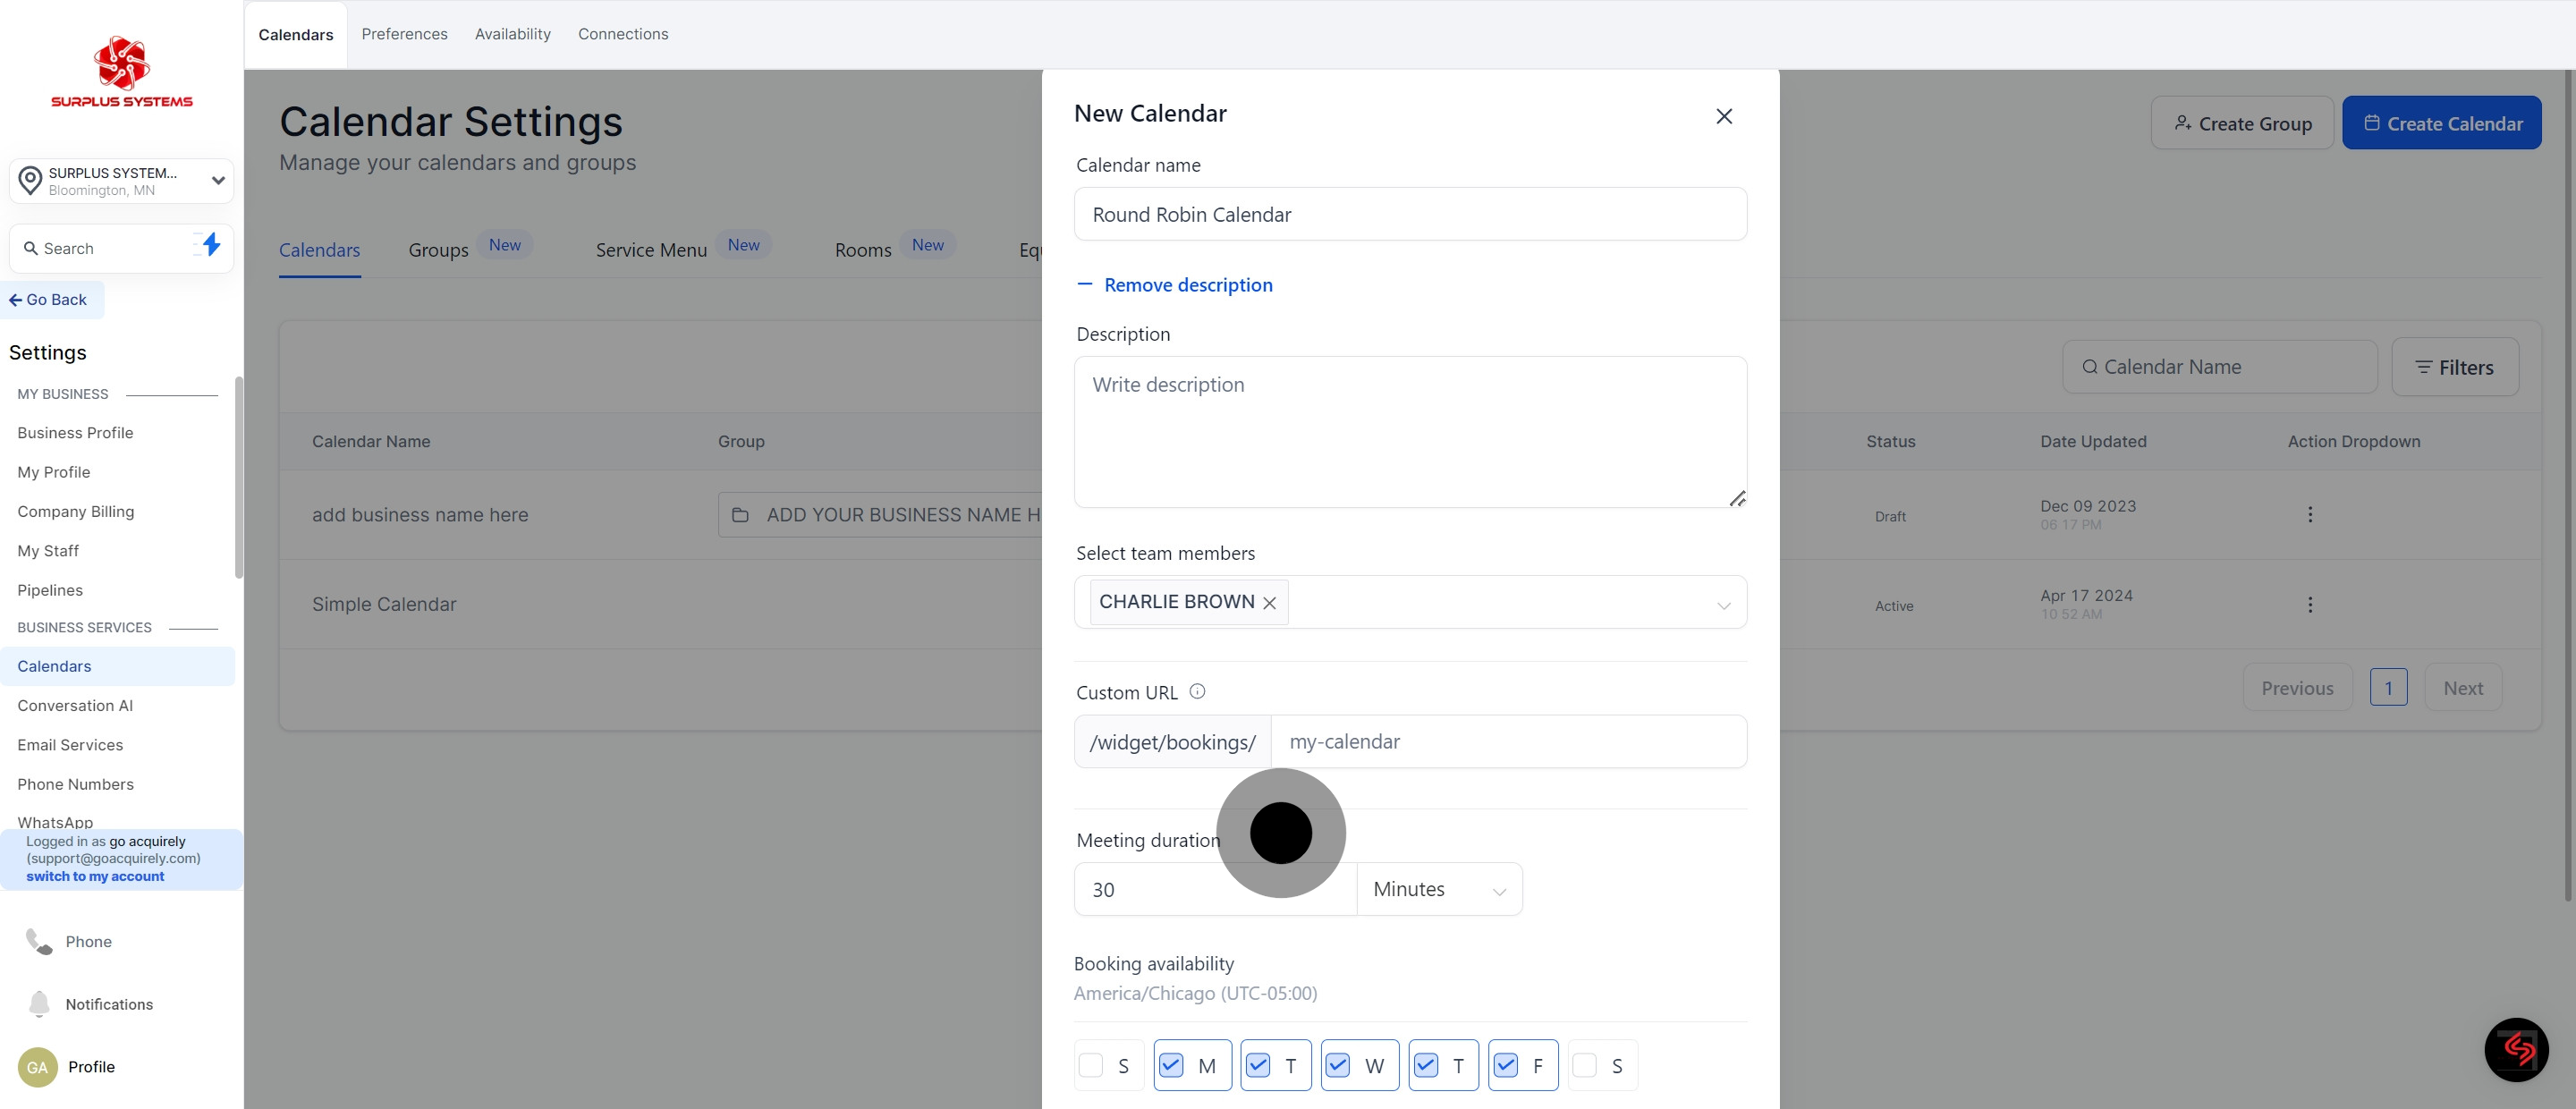
9. Again, click on Meeting Duration.
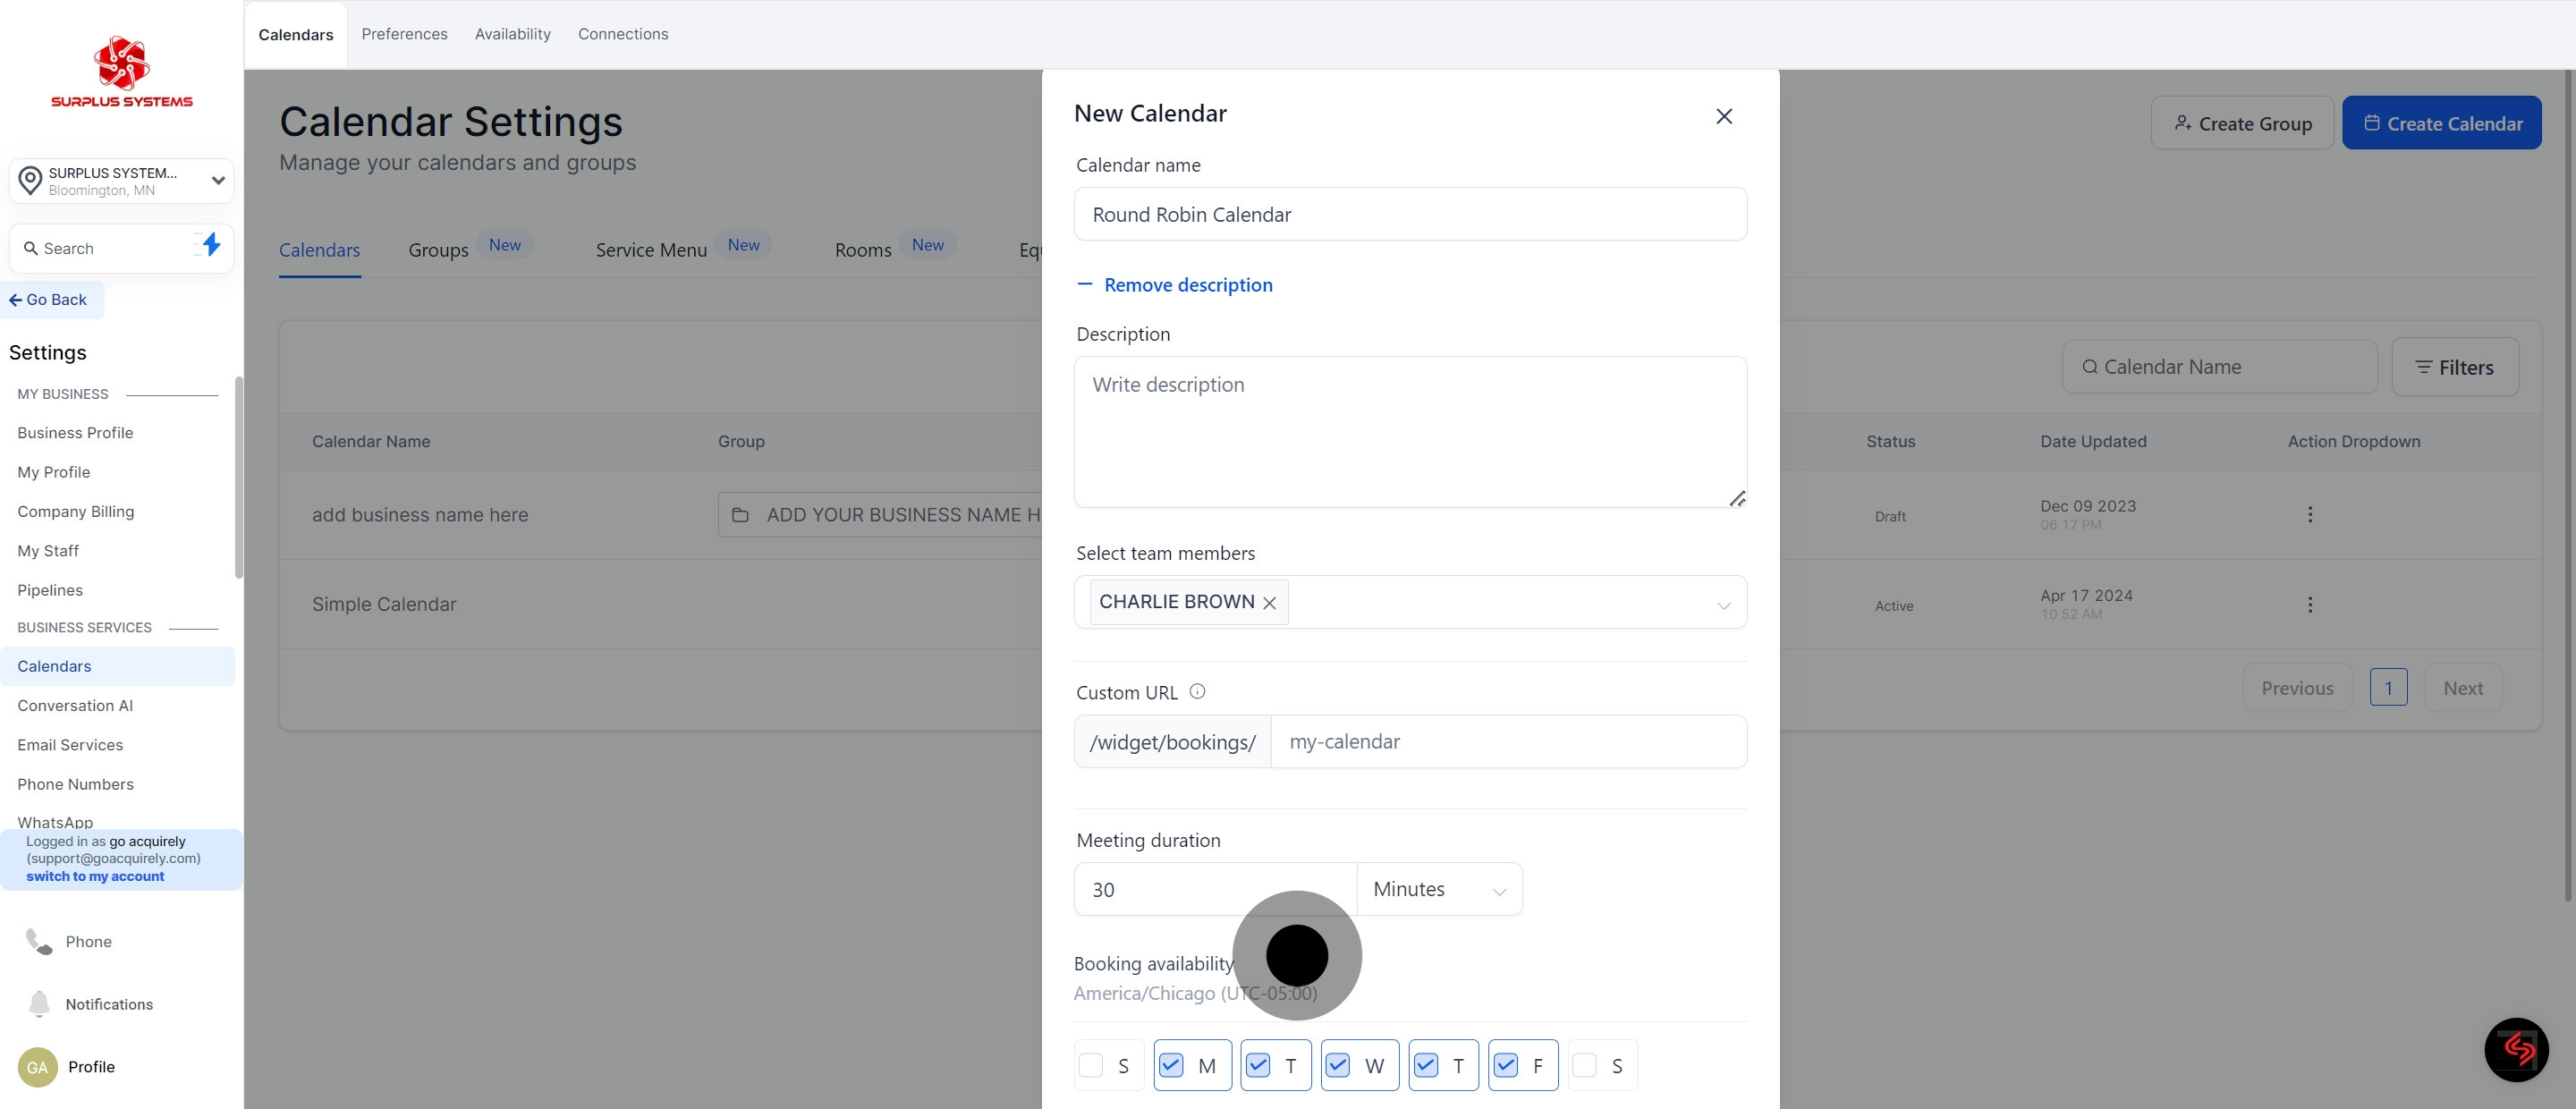
10. Proceed to Booking Availability.
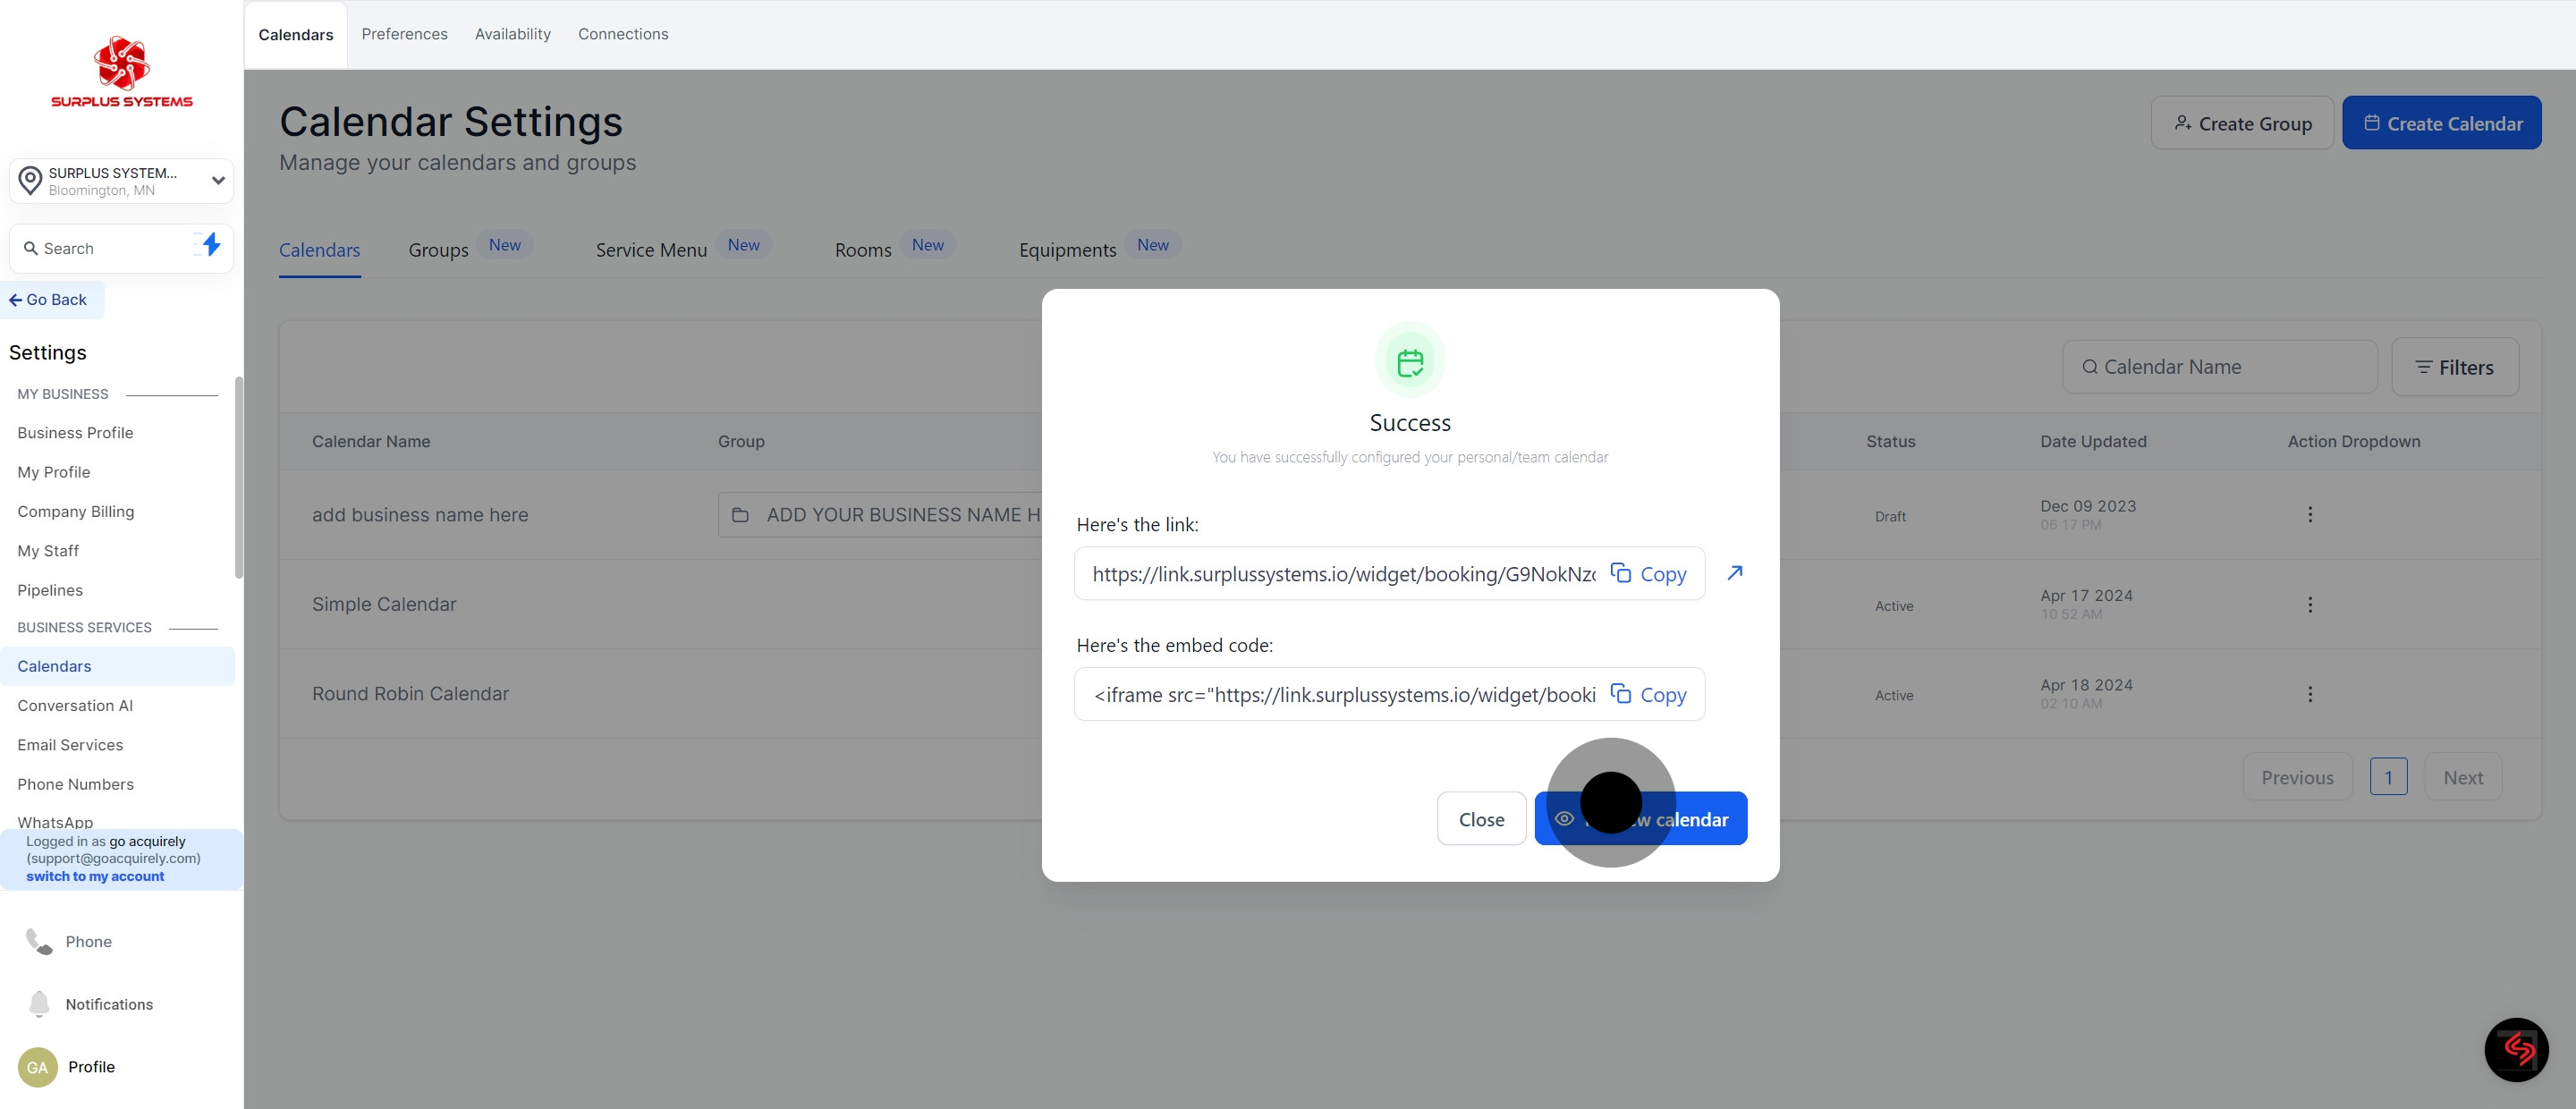
11. Confirm your settings and create the calendar by clicking on Confirm.
12. IF you wish to view the calendar. click this button.
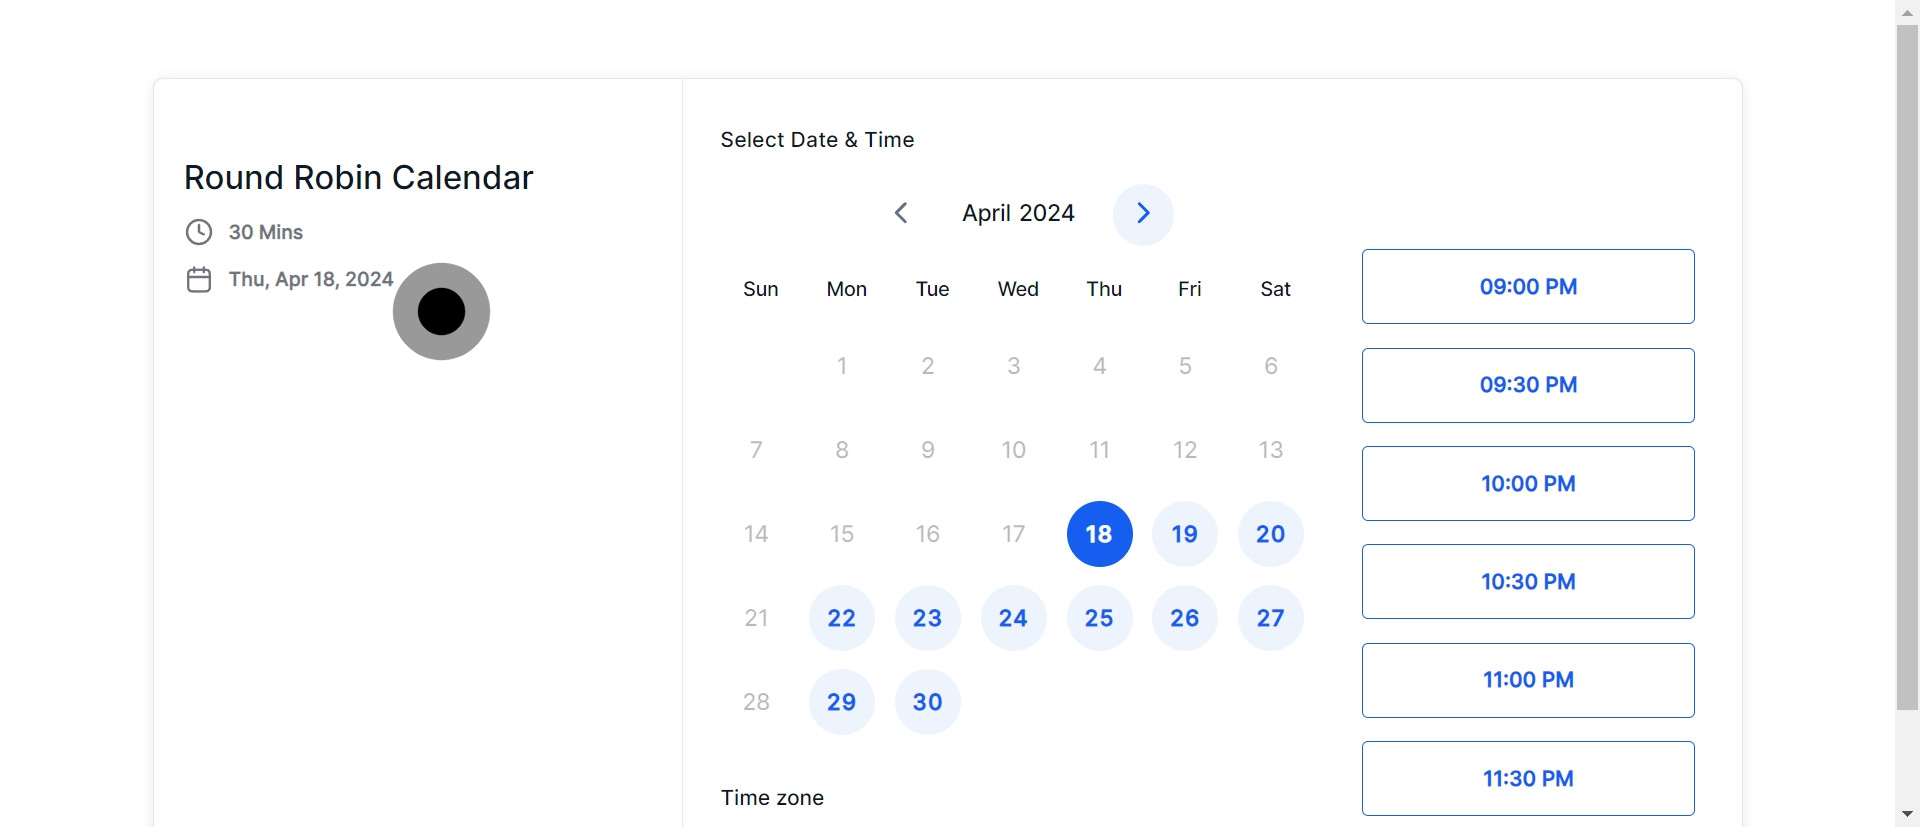
13. Proceed to set the date and time for the round robin schedule.
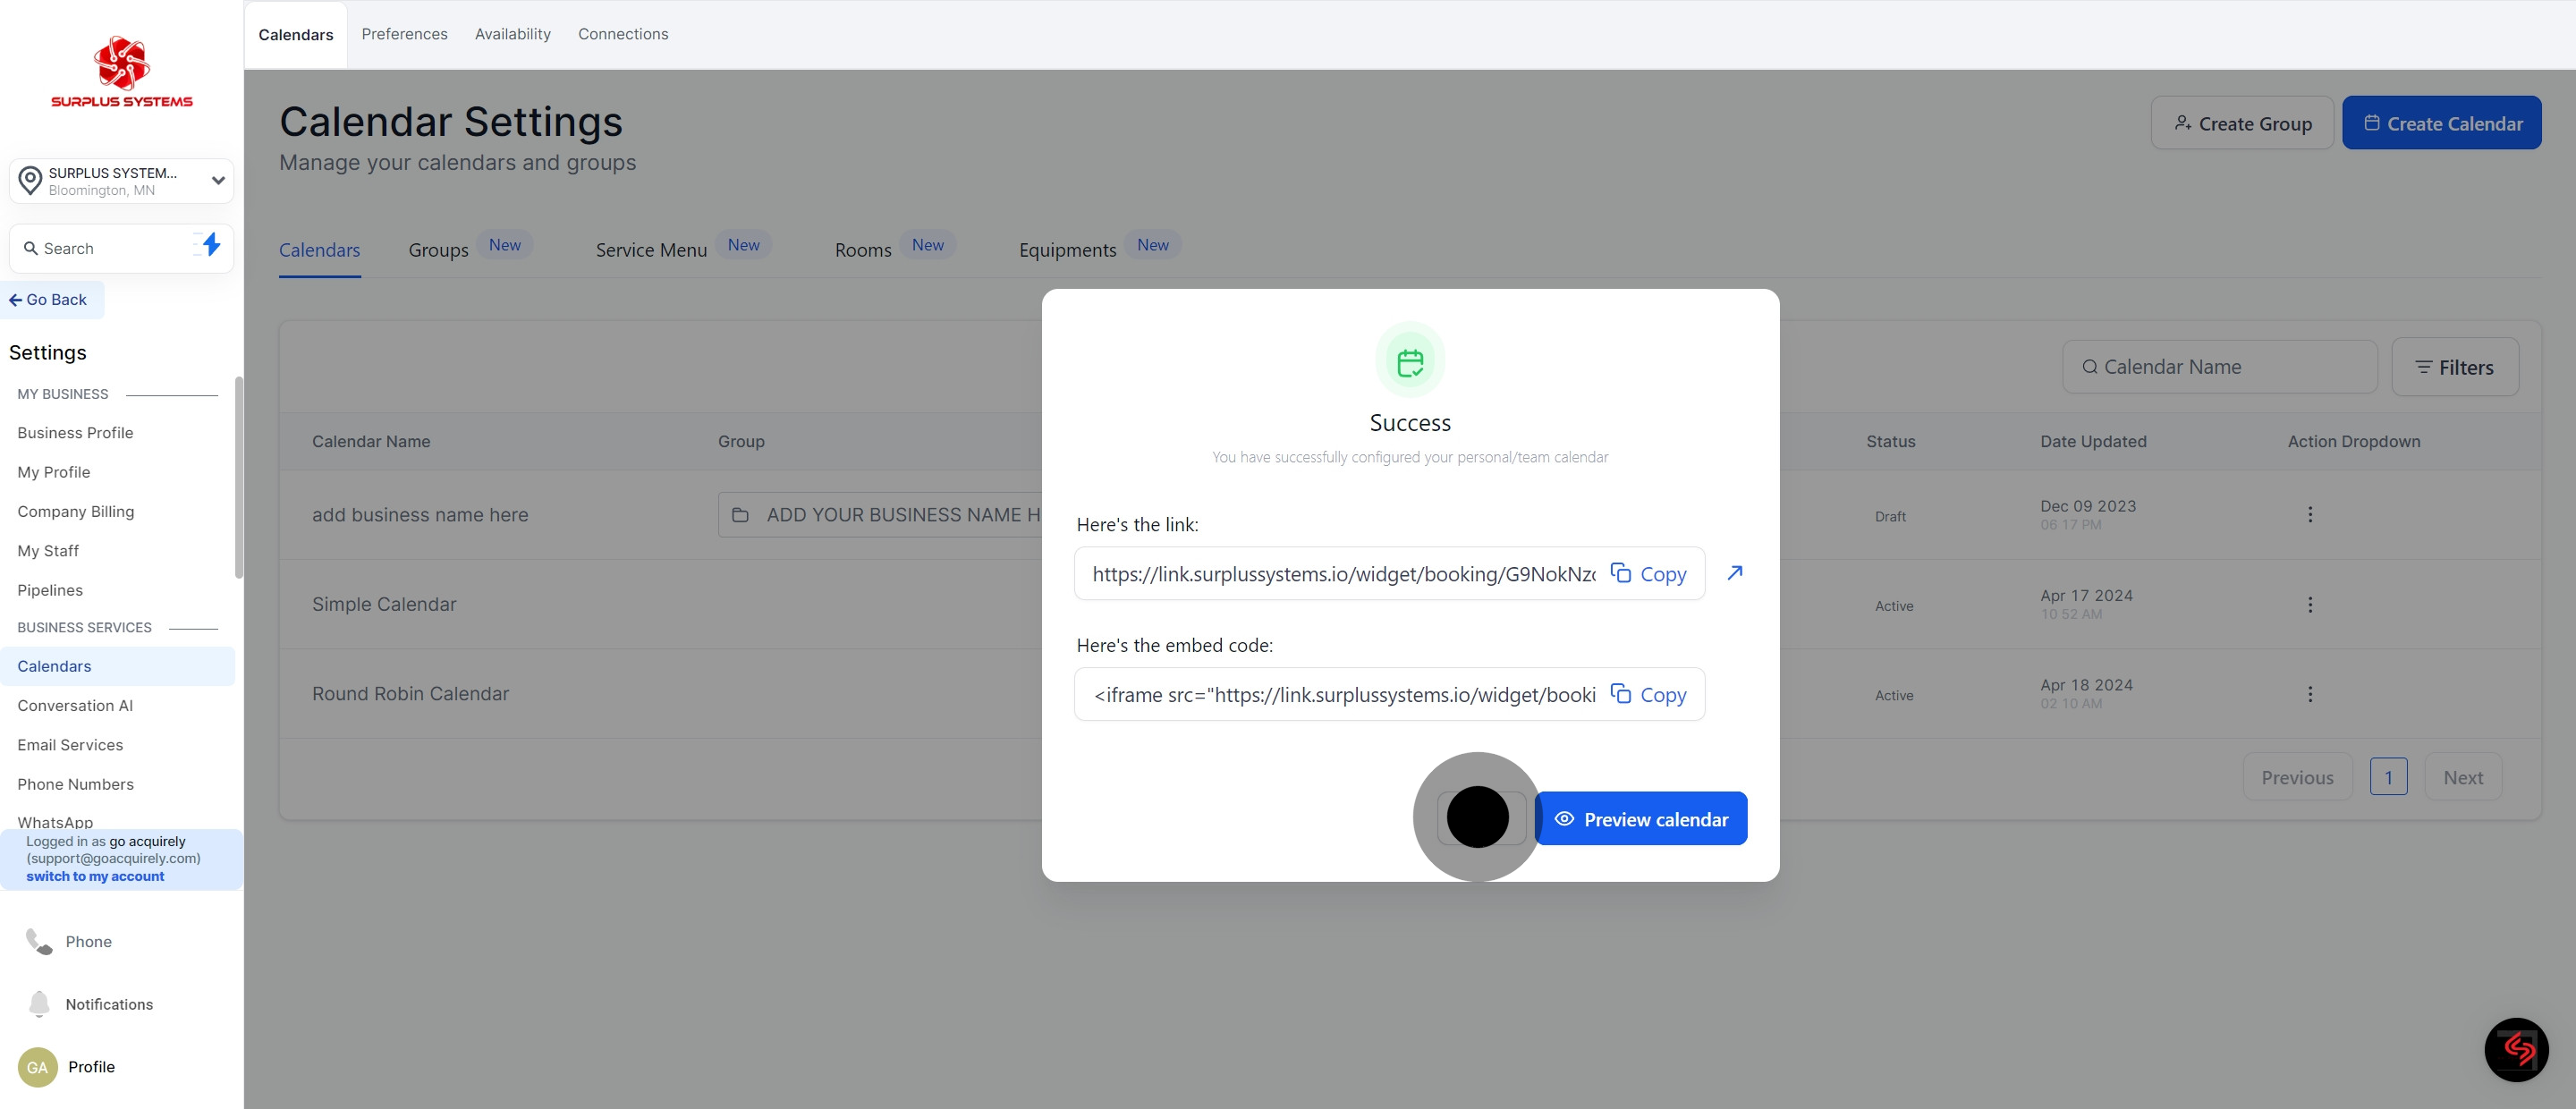
14. Click 'Close' to view the Calendar on the list.
15. And you're done! You can click here to view the new Round Robin Calendar you've just created.