Creating a Service Calendar in Surplus Systems: Simplify Your Bookings
Learn how to set up a dedicated service calendar in Surplus Systems, designed to streamline the booking process for your services. This guide takes you through every step to create, customize, and manage your service appointments effectively, ensuring a smooth scheduling experience for you and your clients.
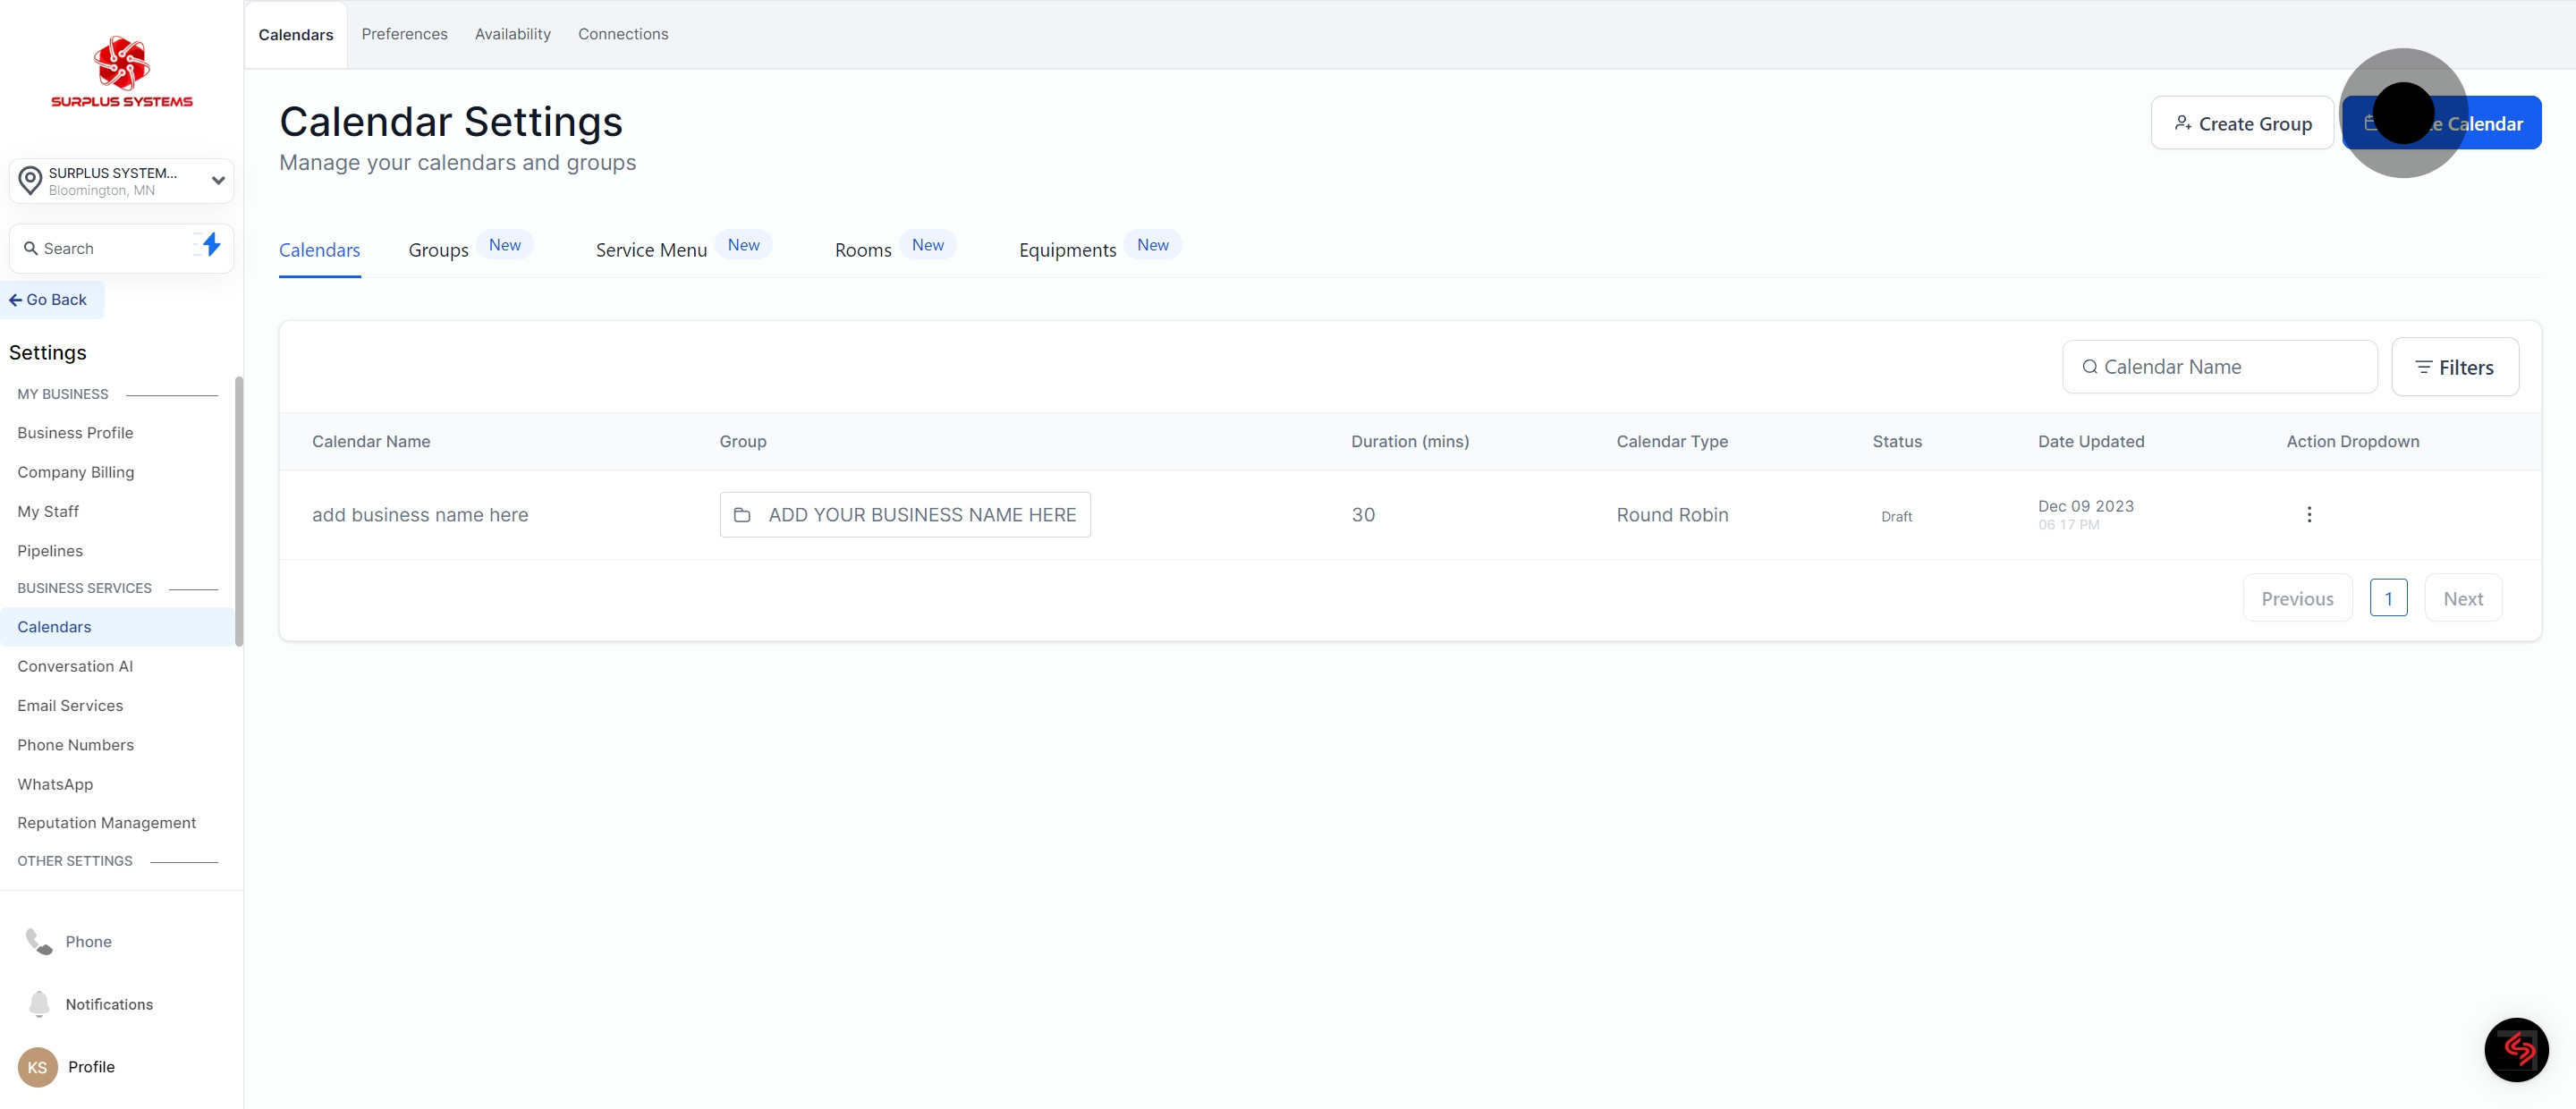
1. Navigate to start your calendar setup.
2. Access the 'Calendars' section.
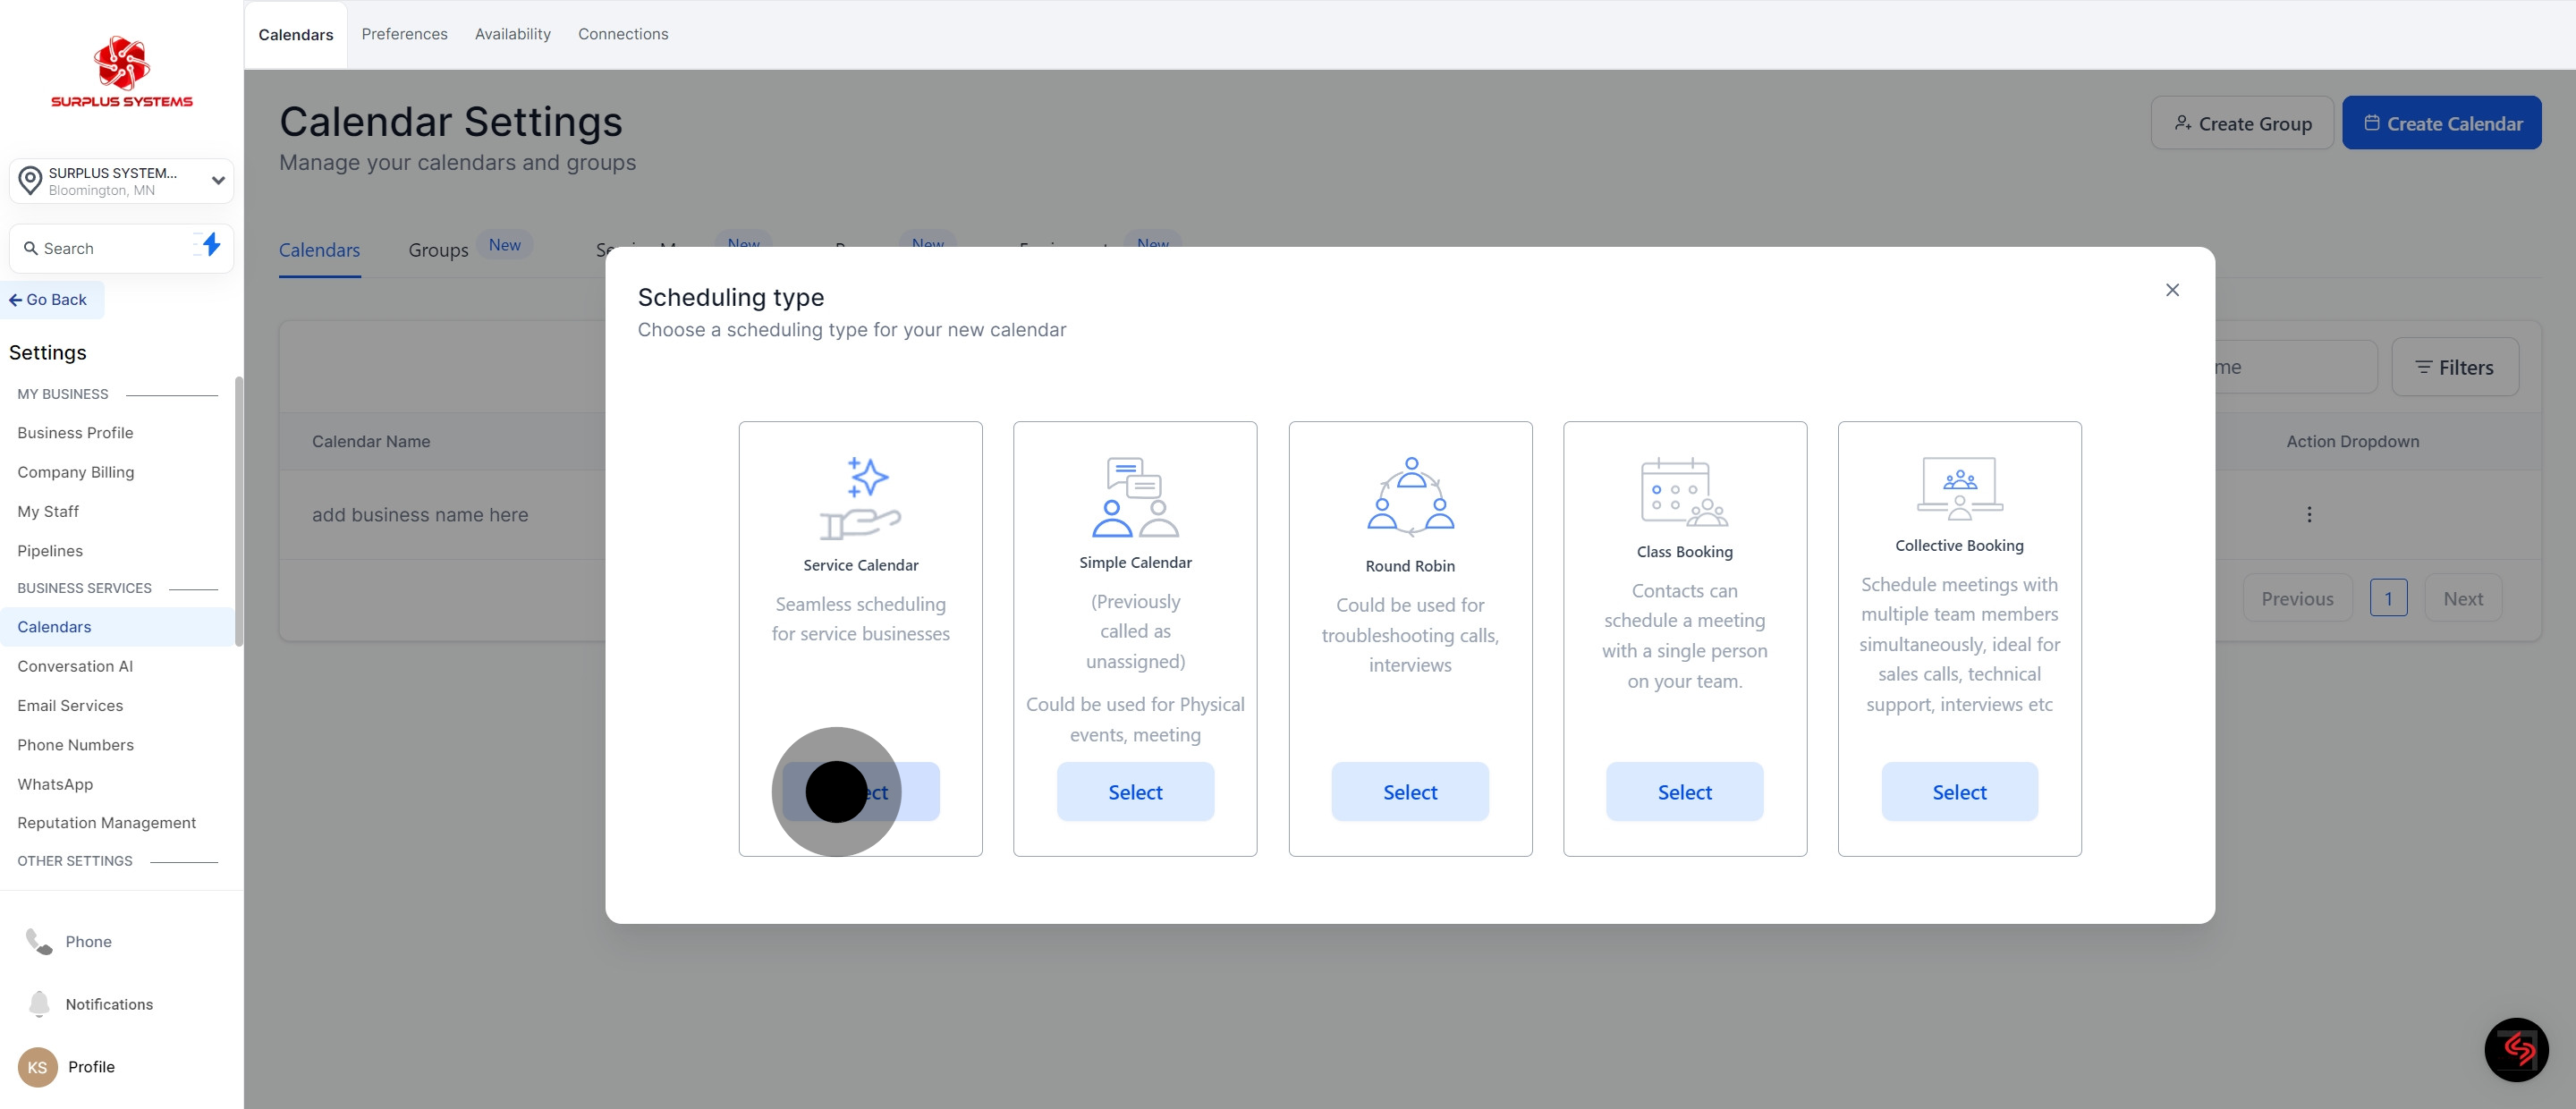
3. Initiate the creation of the calendar.
4. Choose a template for the service booking.
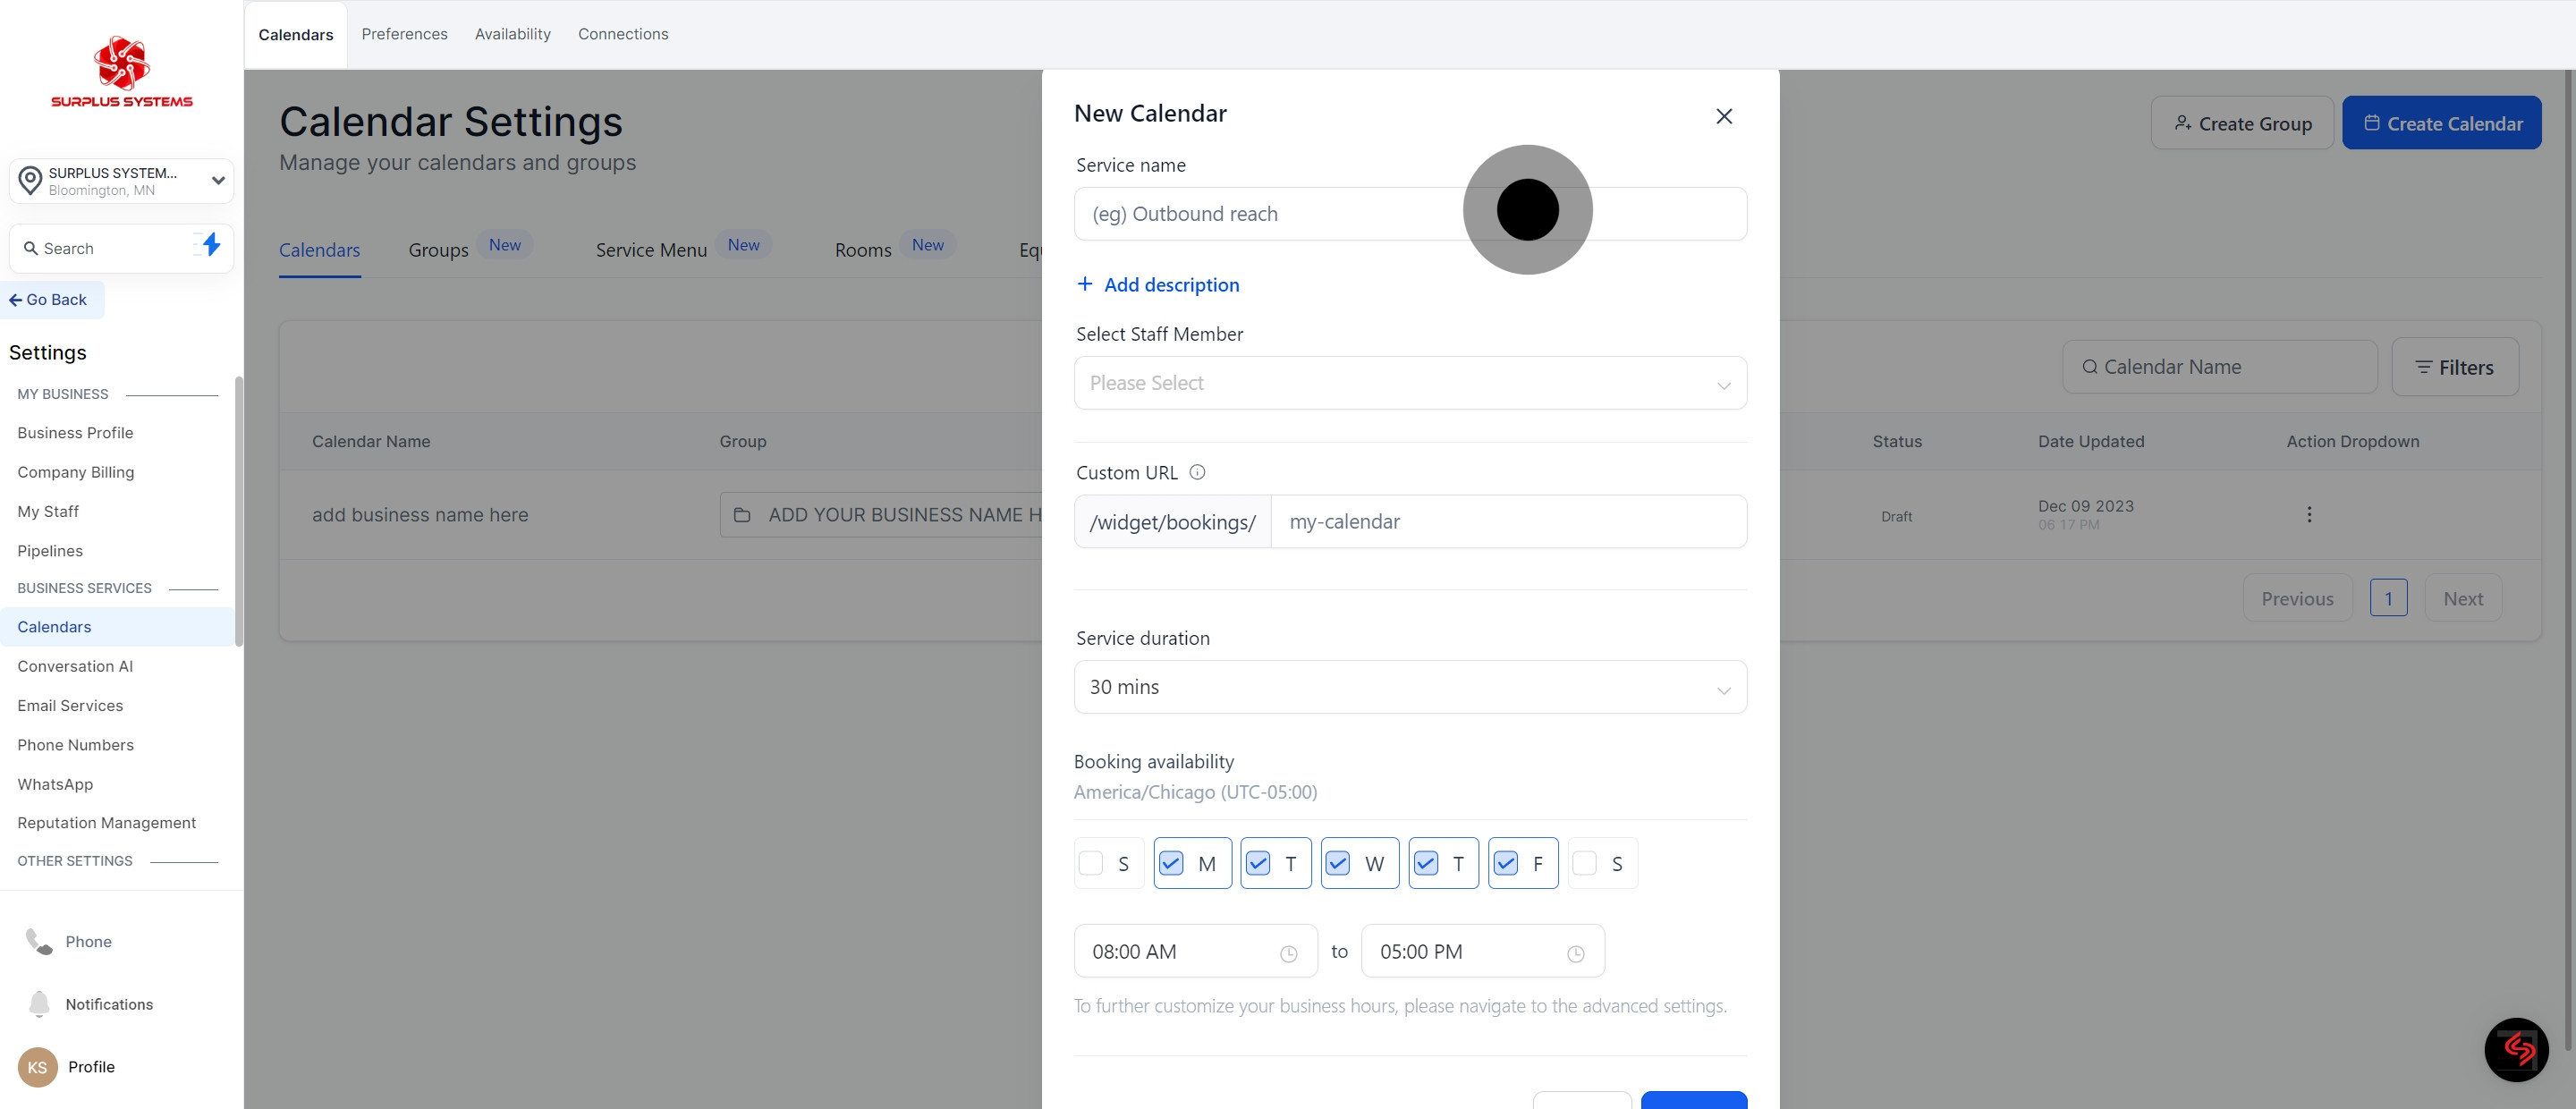
5. Name your service for easier identification.
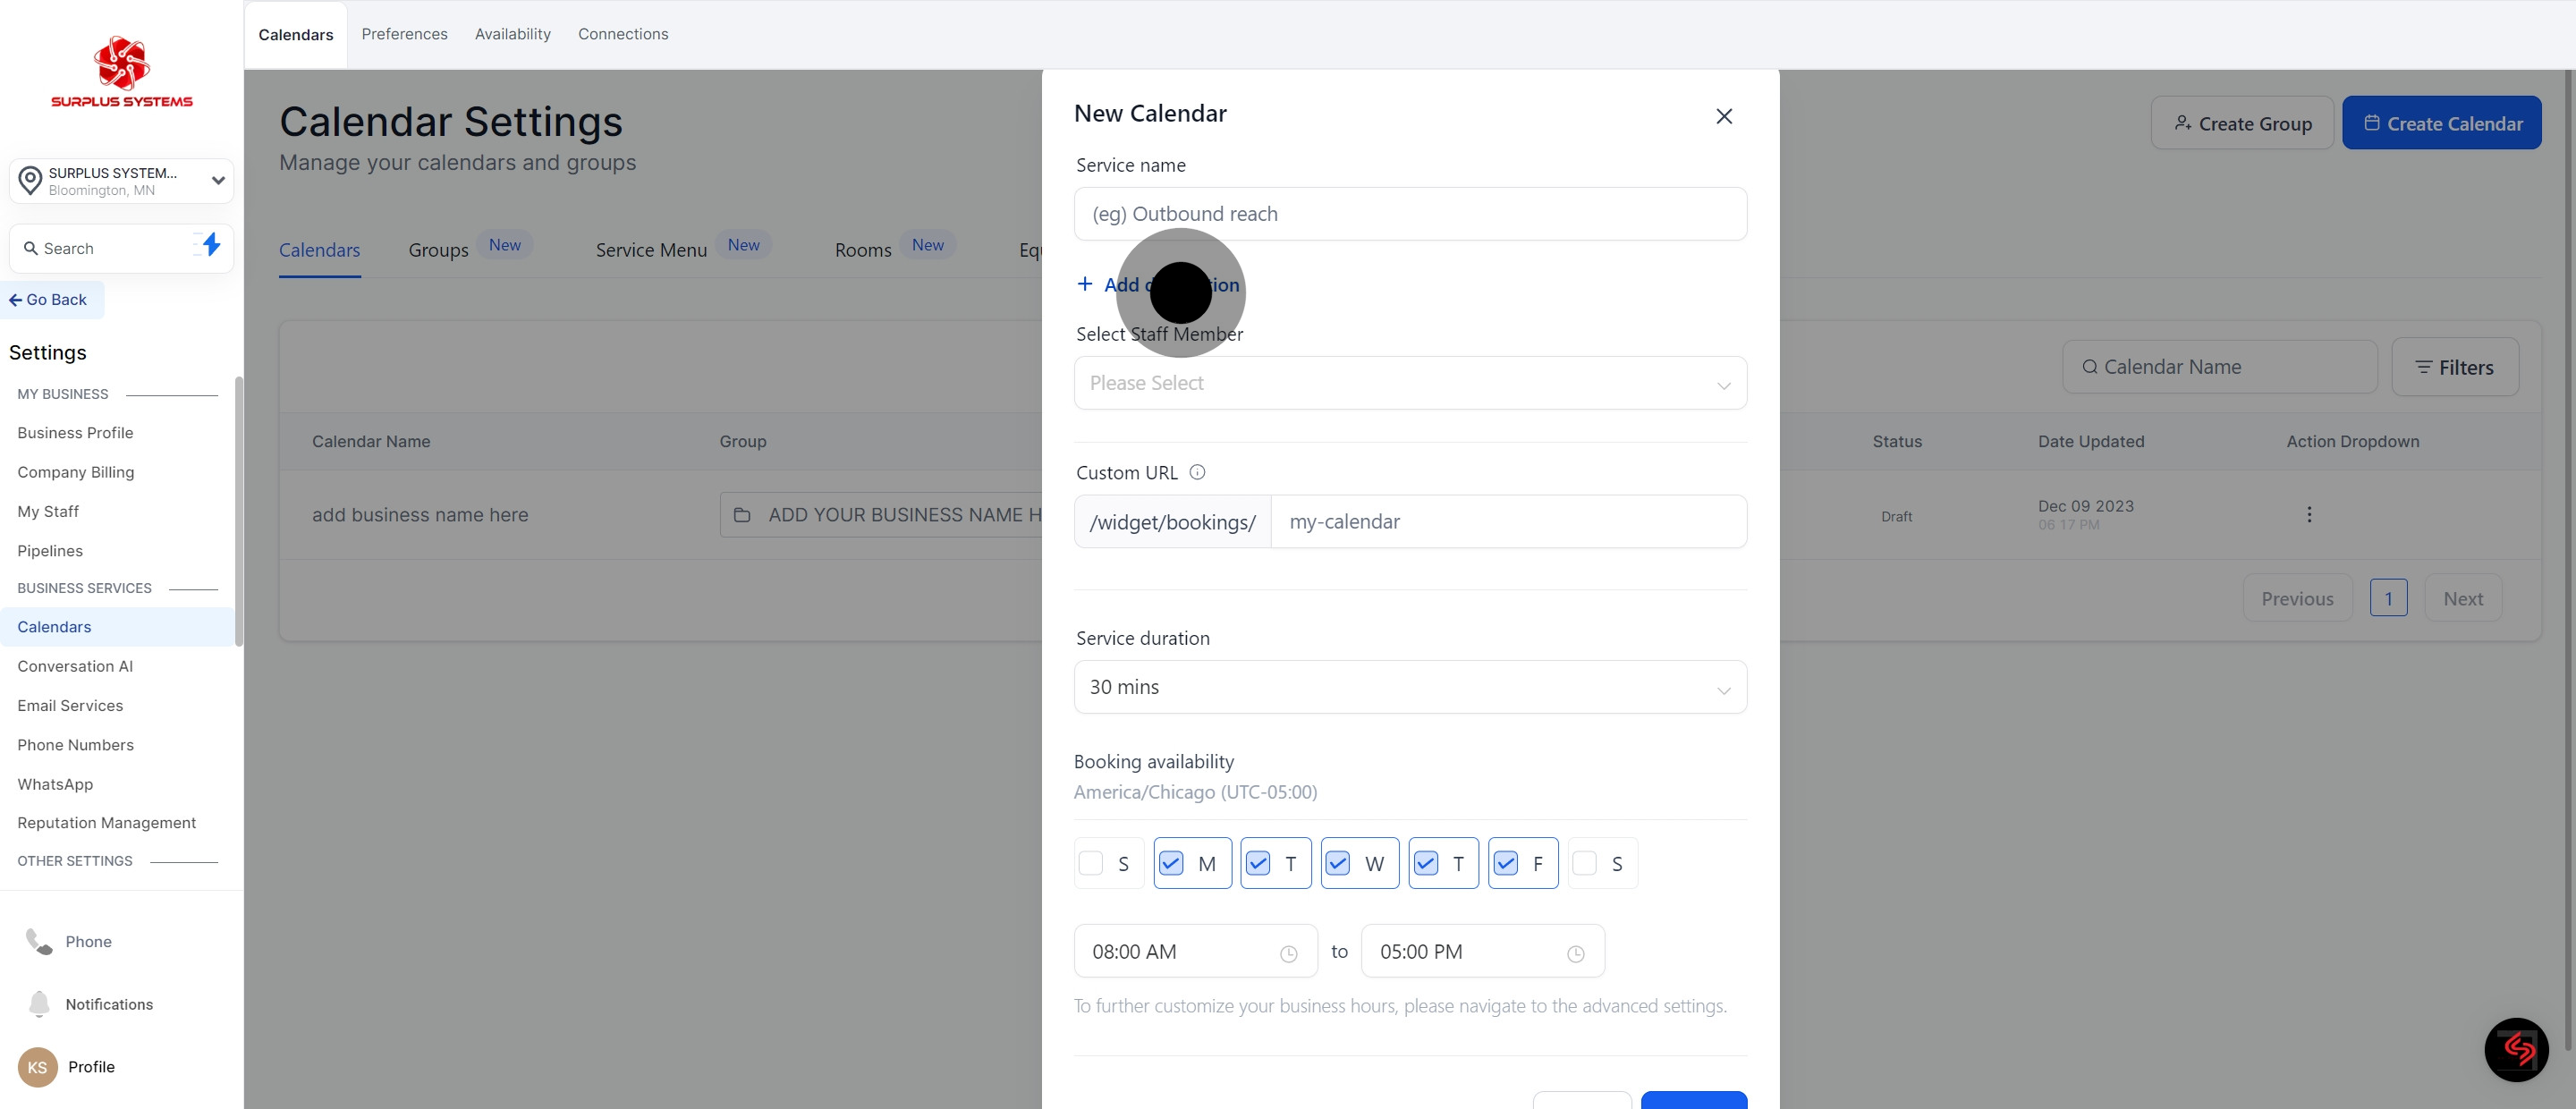
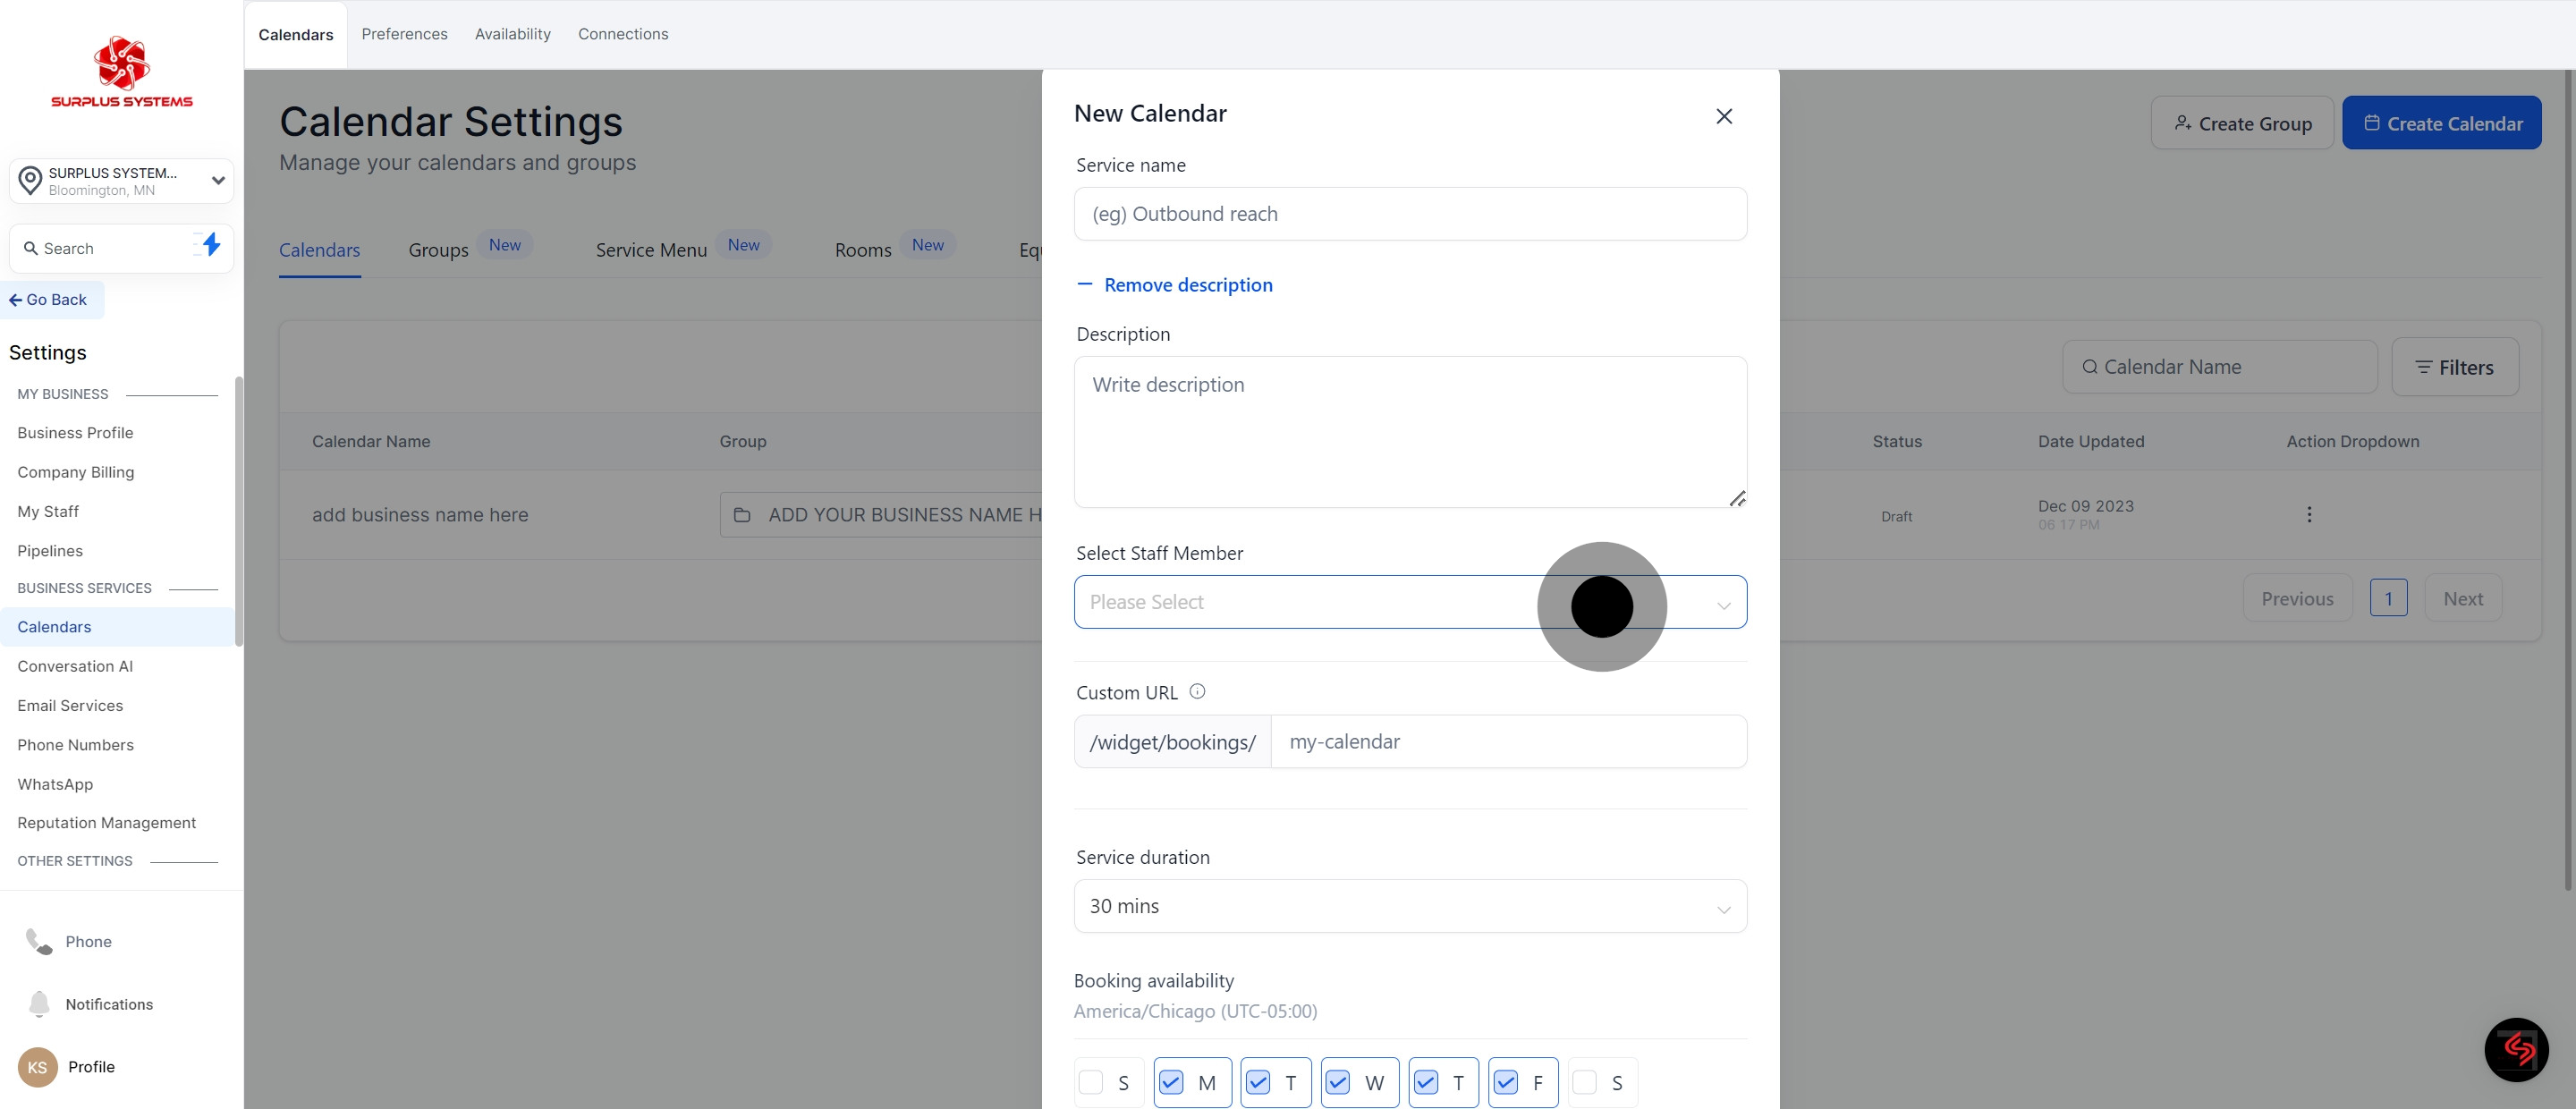
6. Incorporate details by adding a description.
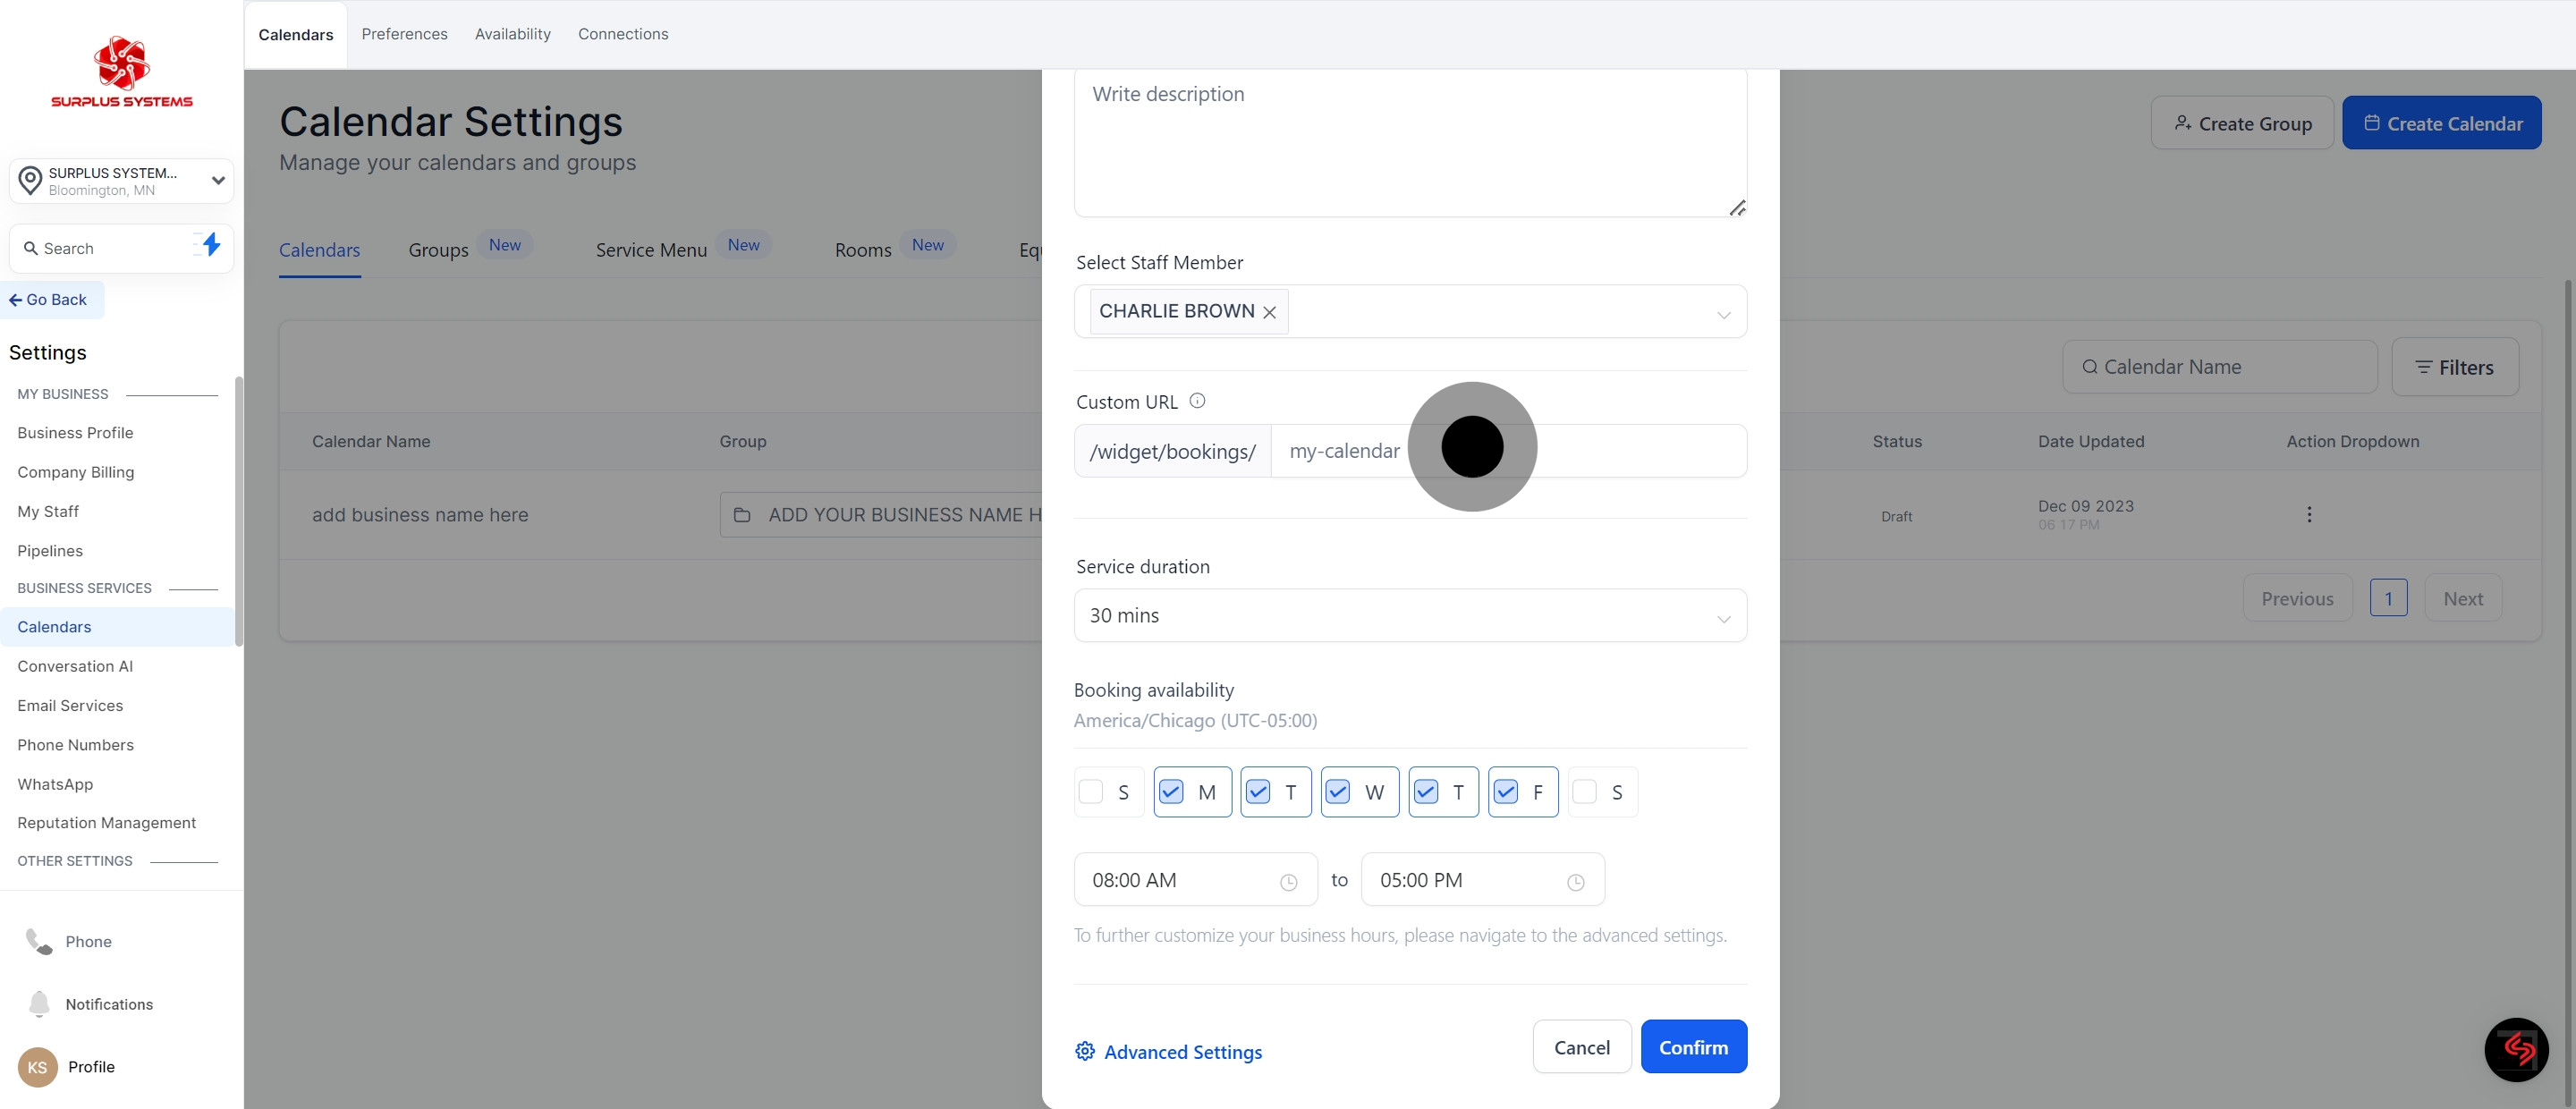
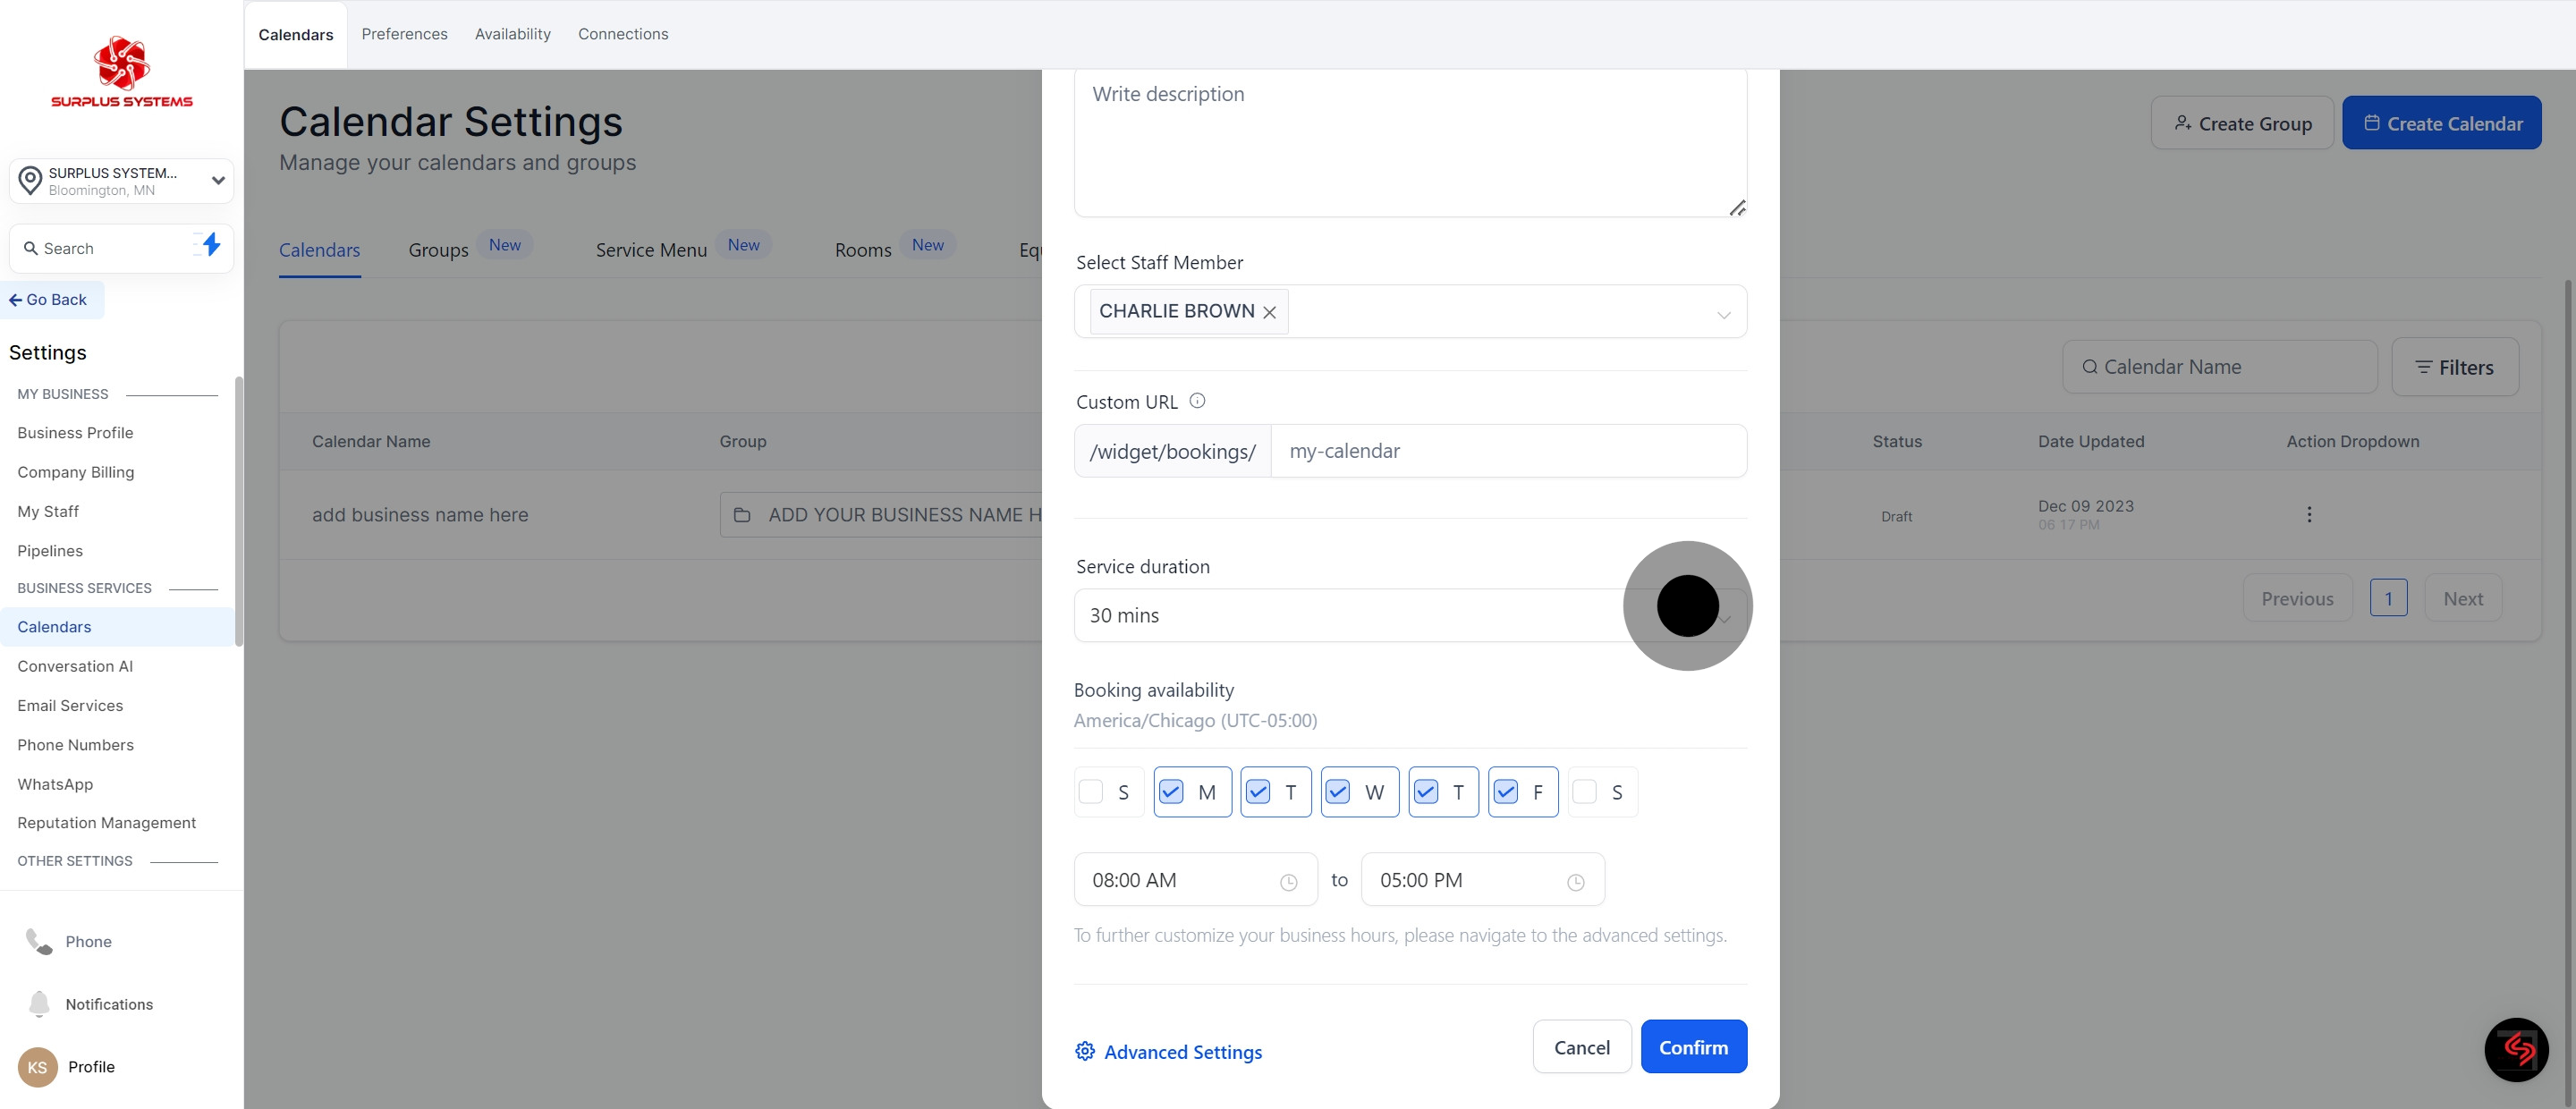
7. Proceed to member selection.
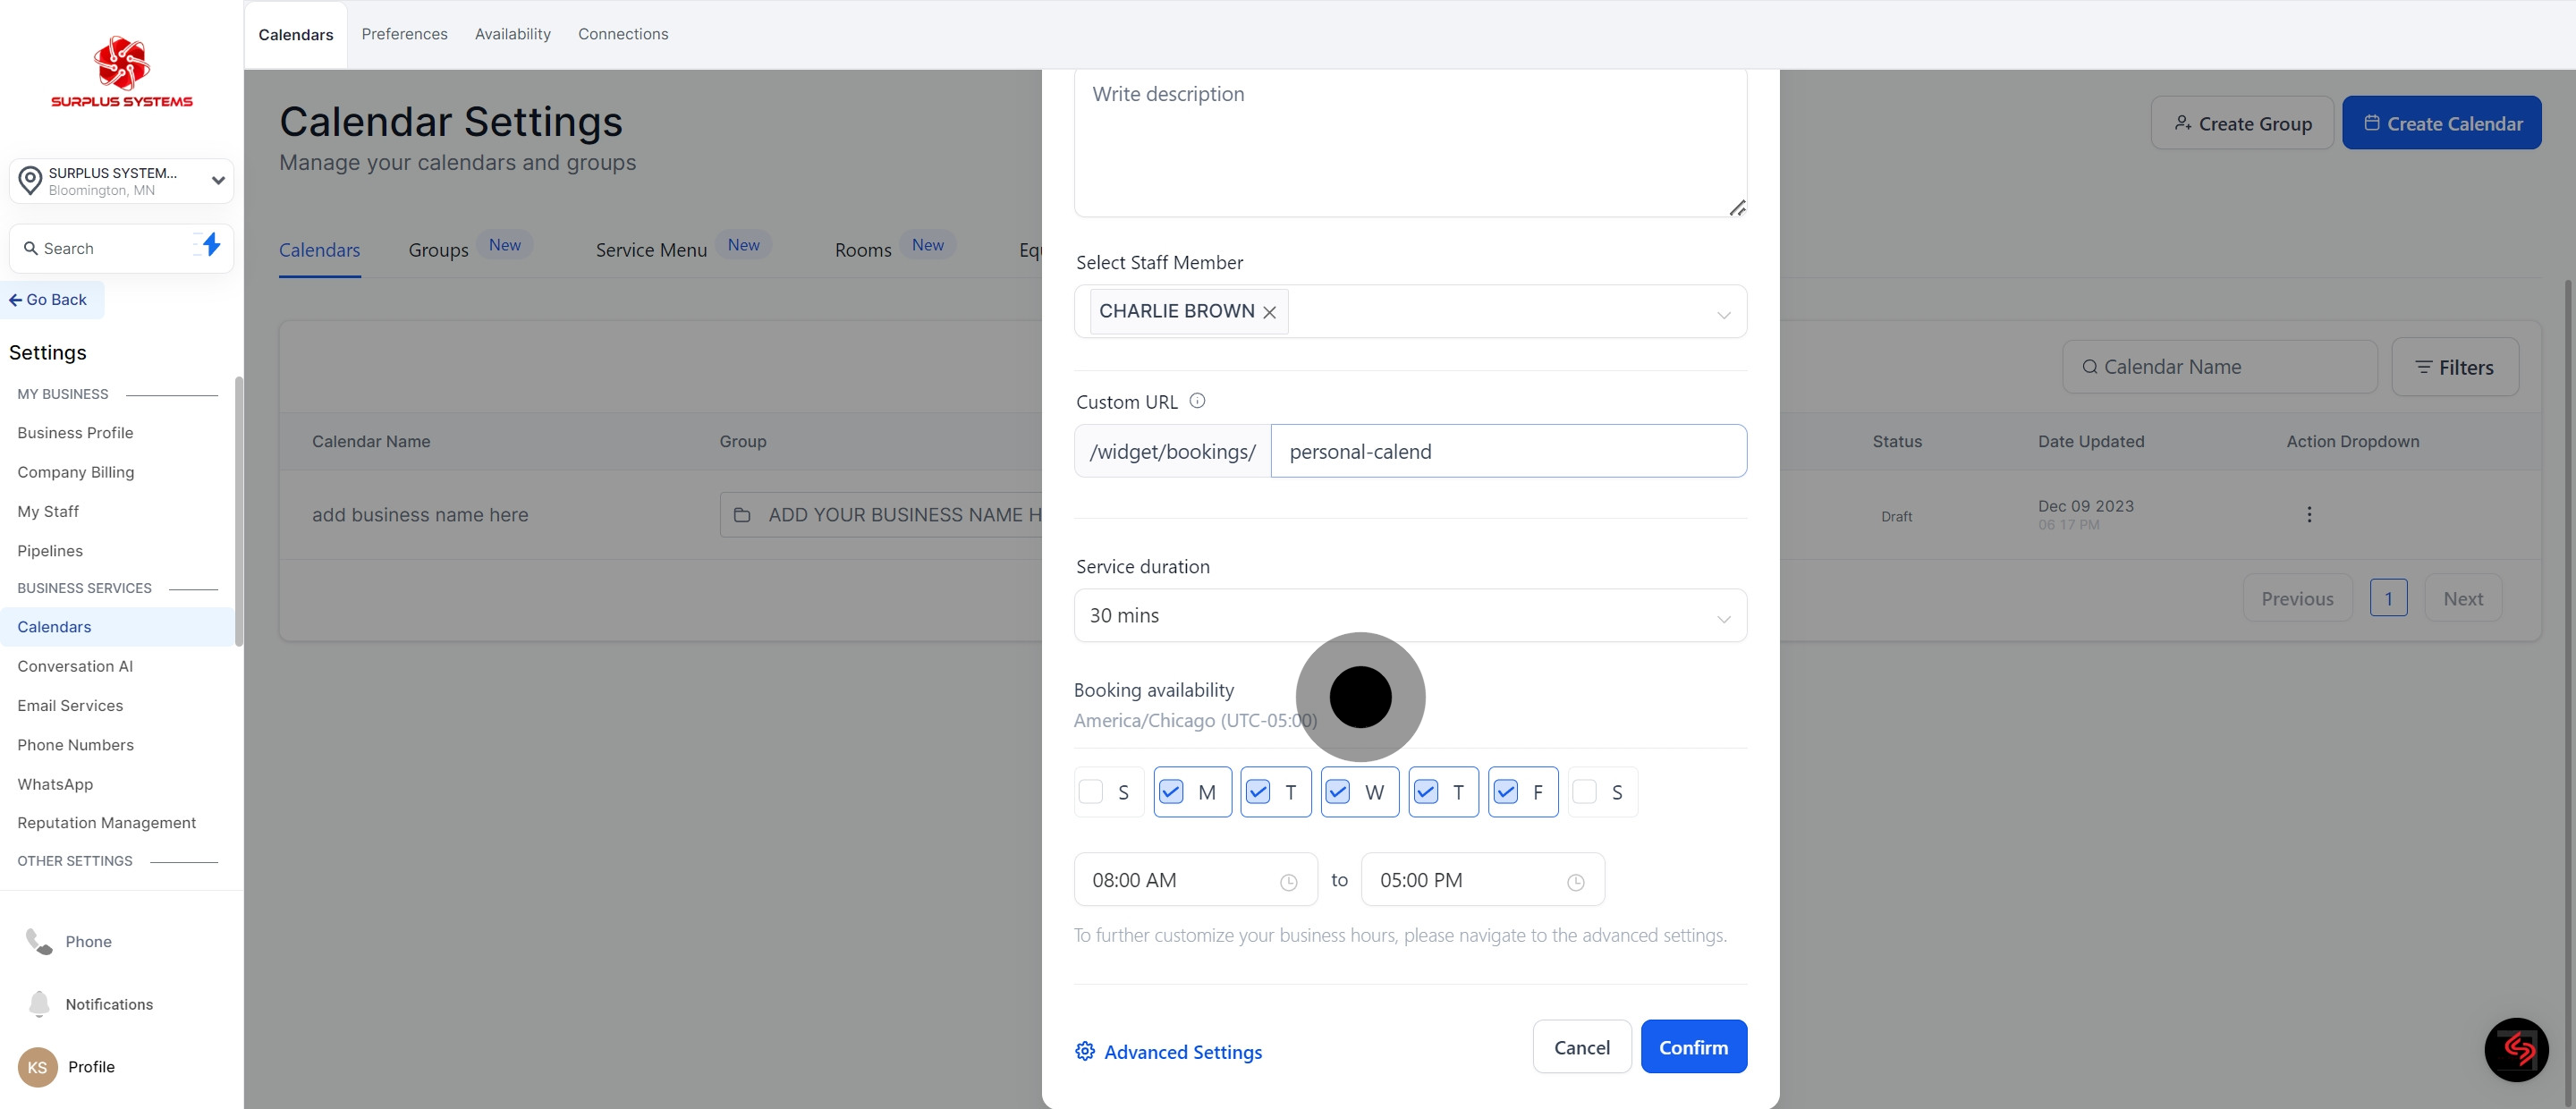
8. Proceed by providing Custom URL
9. Set Service duration for each appointment
10. Choose your time zone, days available and setup your time availability
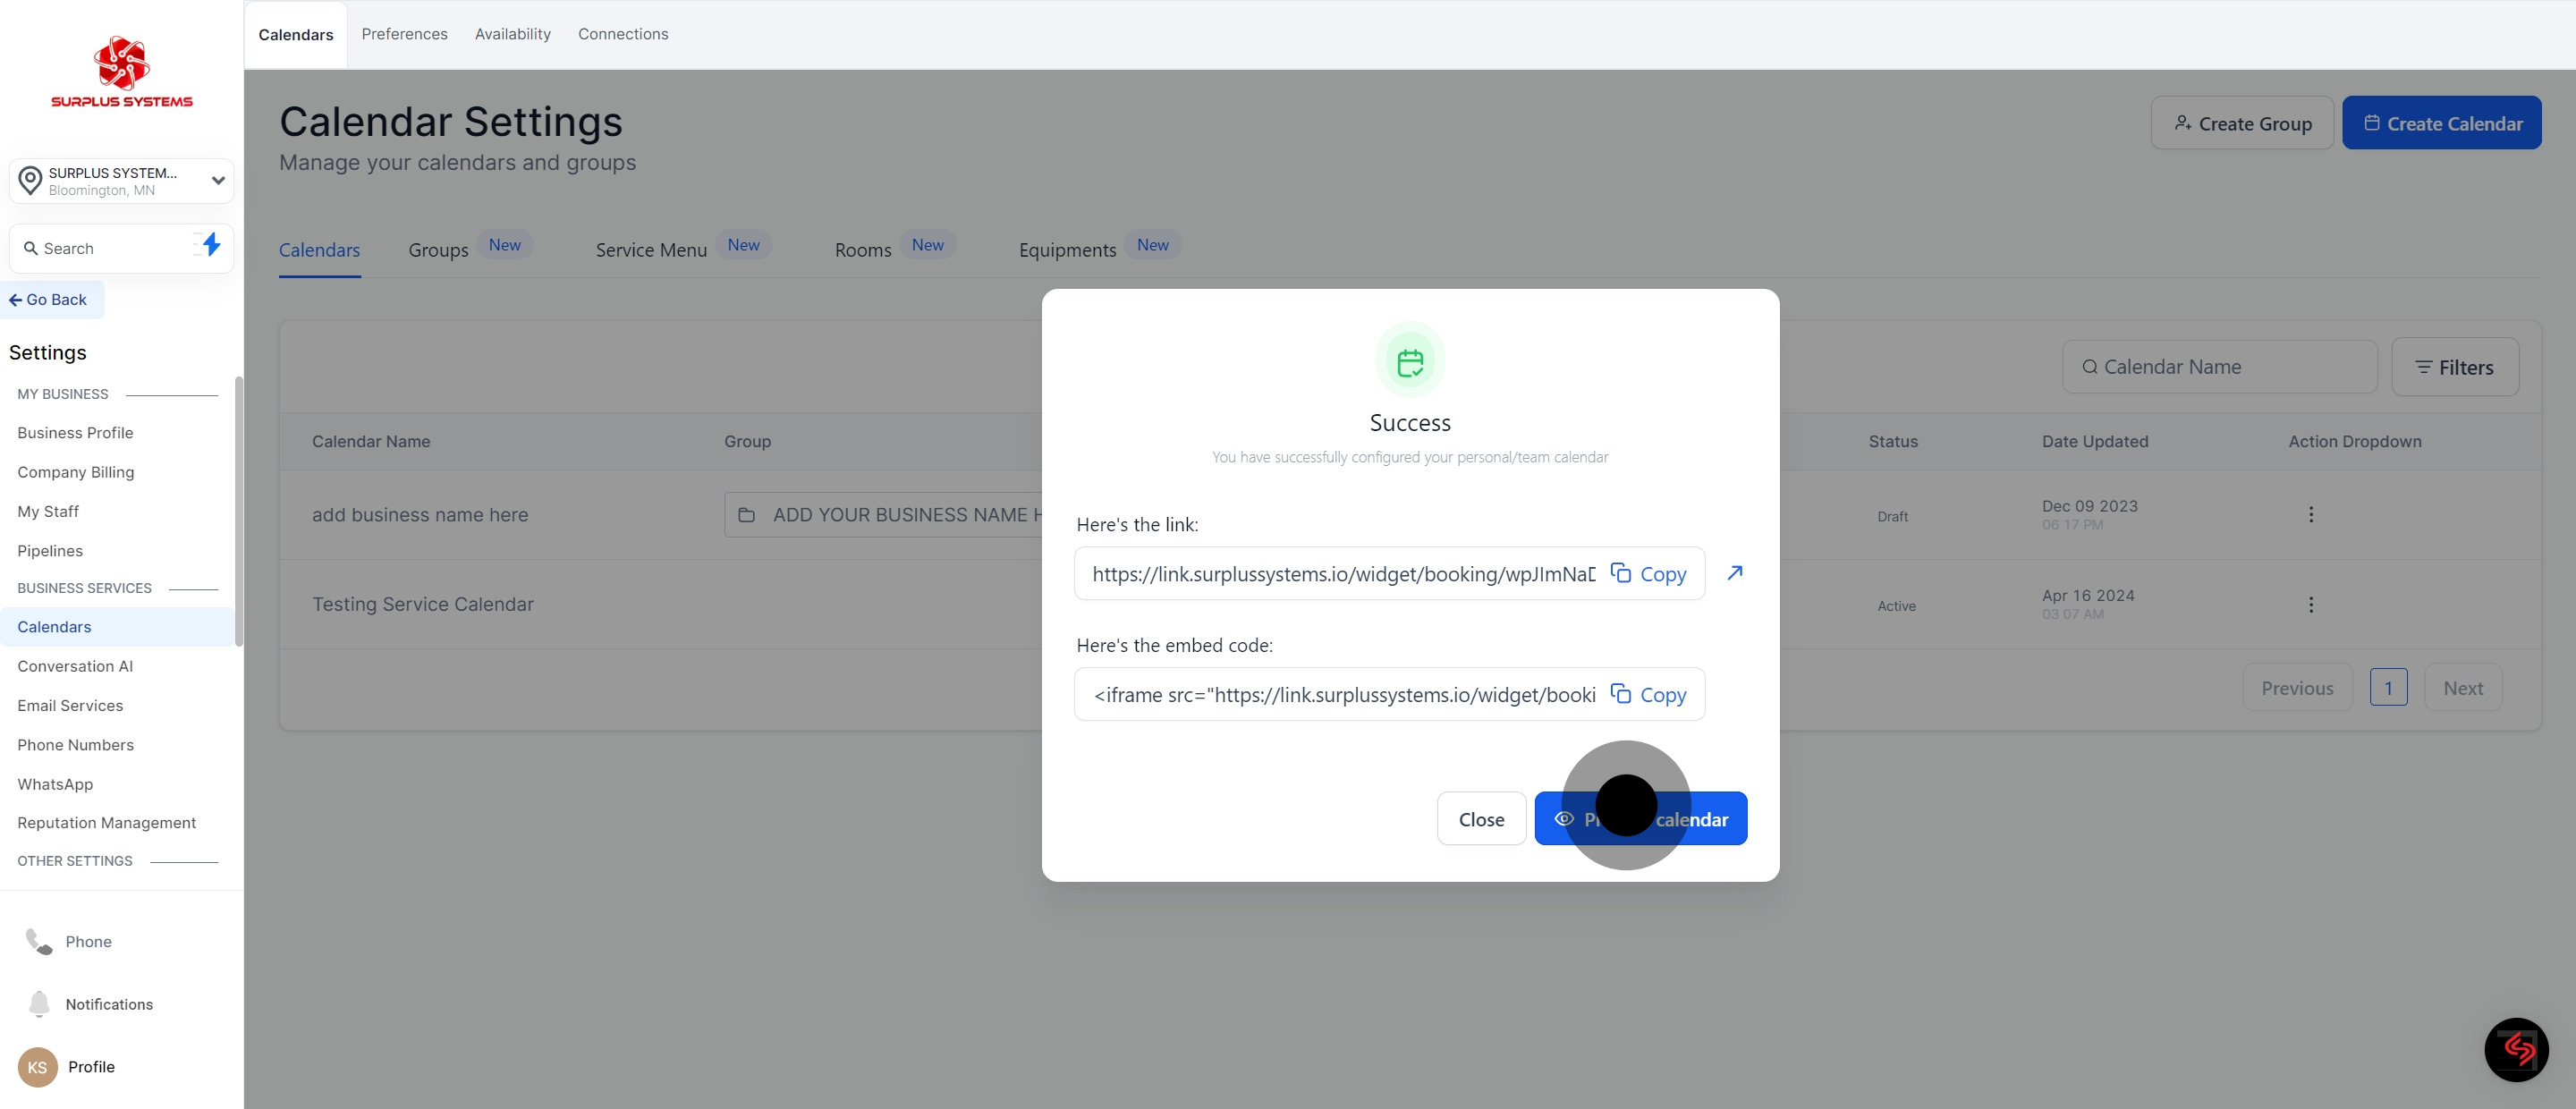
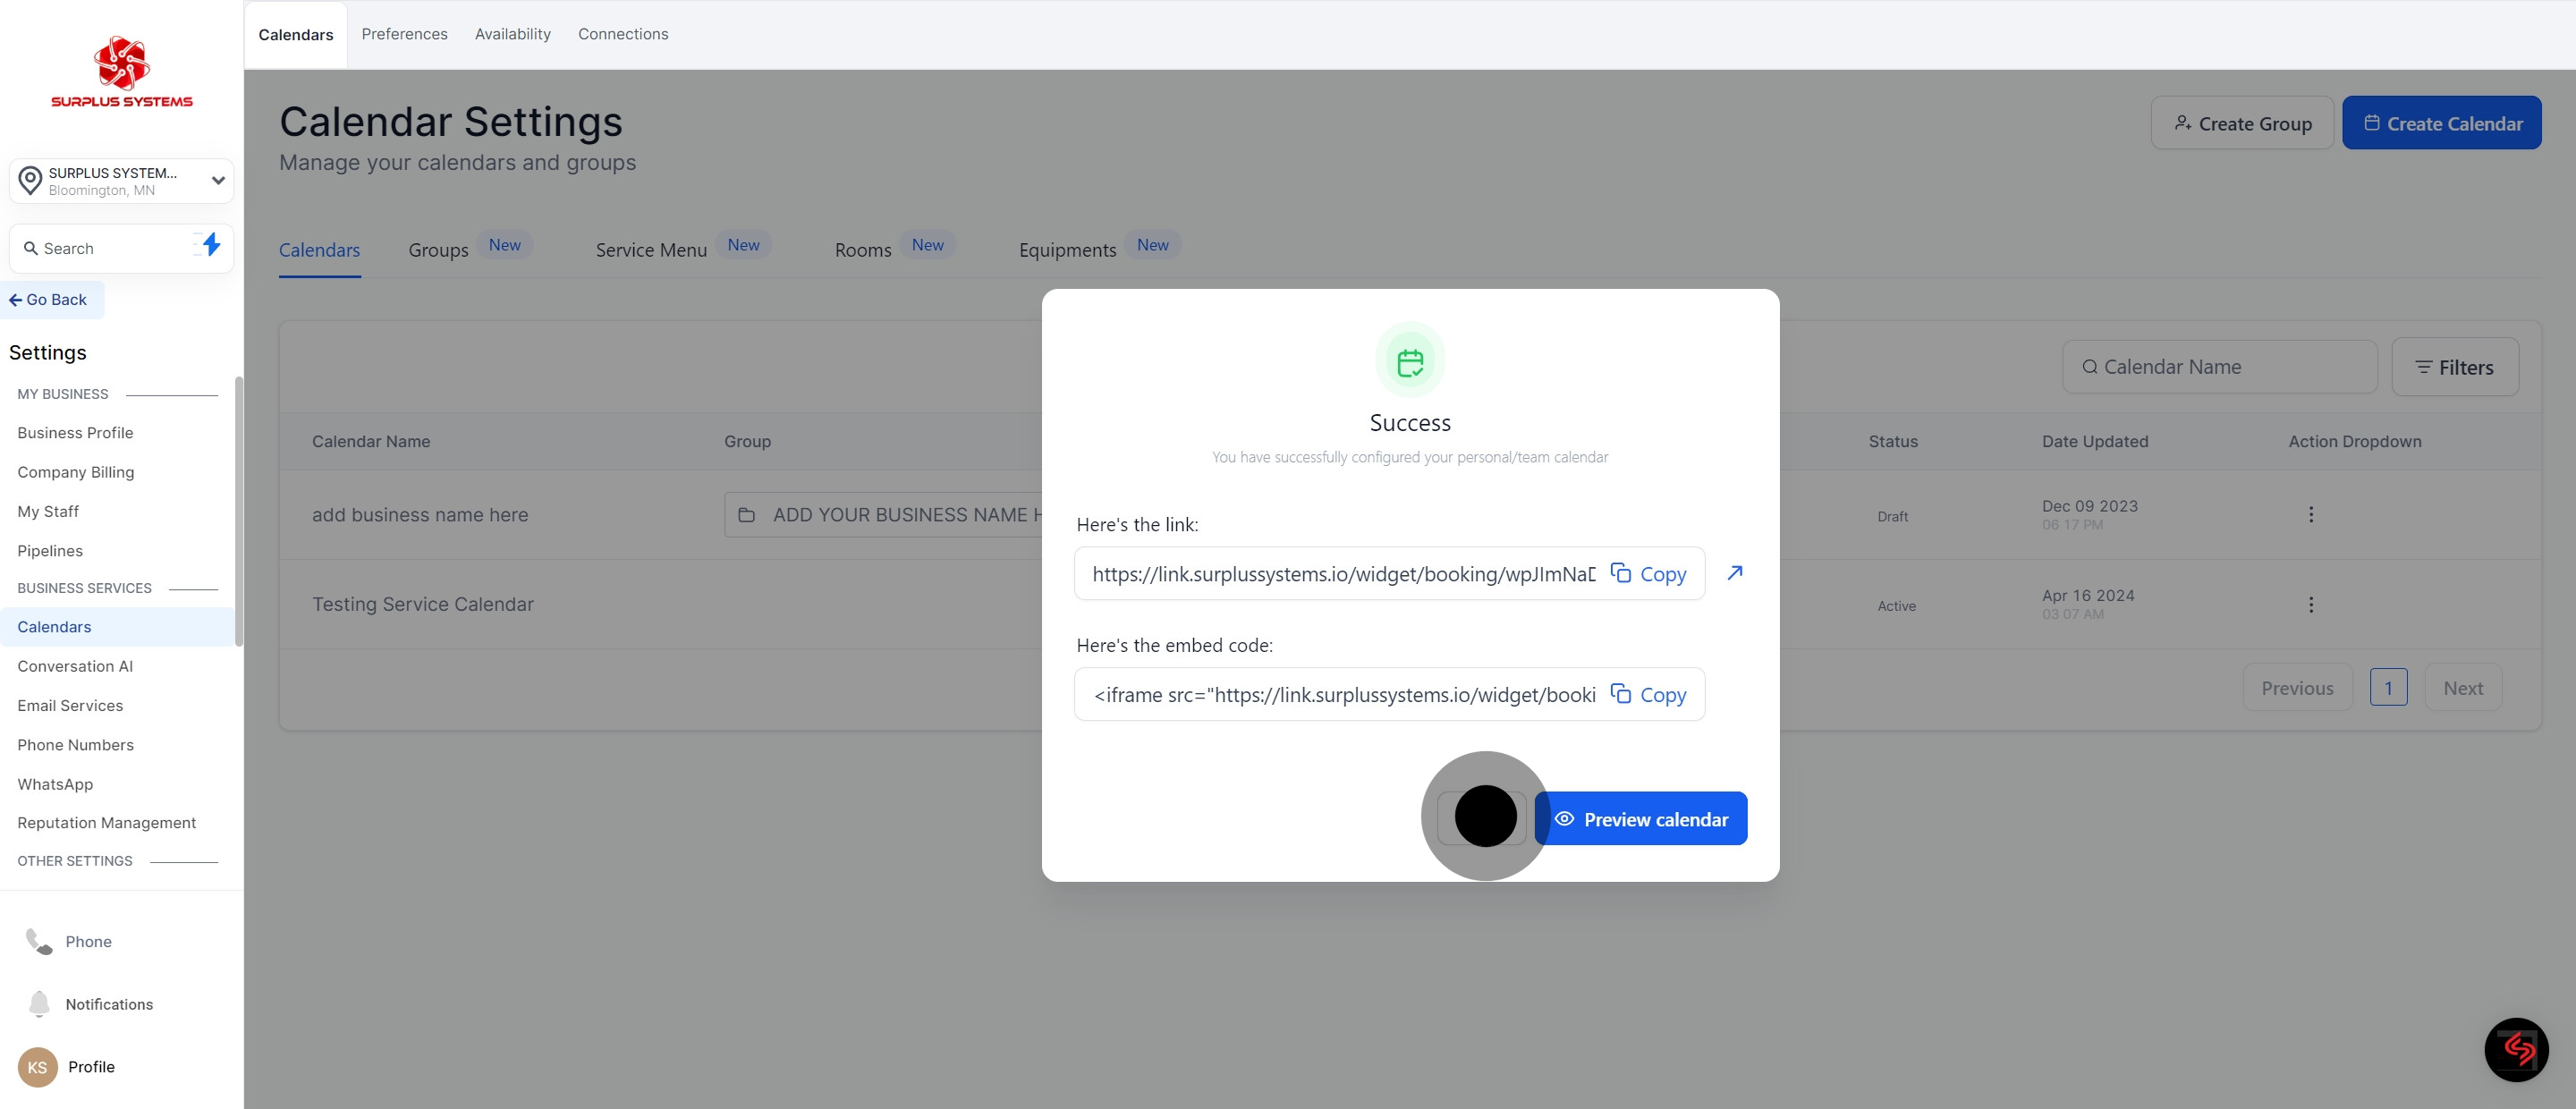
11. Finalize the setup by clicking 'Confirm'.
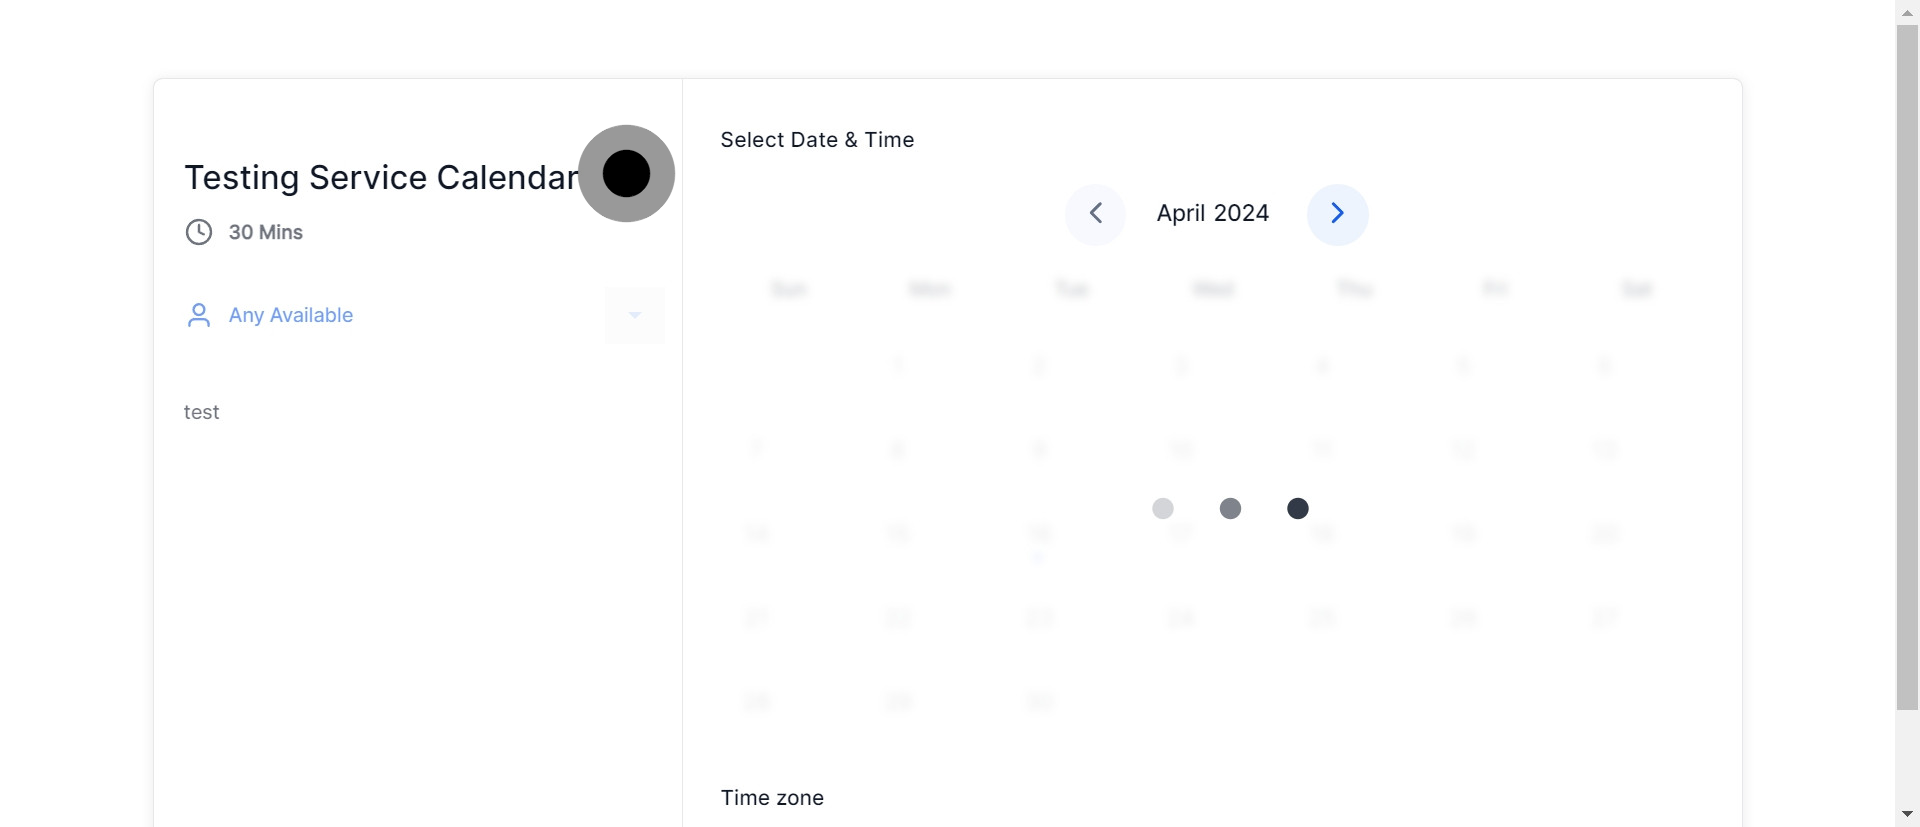
12. If you wish to Preview your calendar, click this button.
13. Check out the new calendar booking widget.
14. Finish by closing the window.
15. Service Calendar added successfully.
Did this answer your question?
😞
😐
😁
Creating a Service Calendar in Surplus Systems: Simplify Your Bookings | SURPLUS SYSTEMS