Creating and Managing Website Pages with Surplus Systems
Dive into the essentials of building and overseeing your website's pages directly within Surplus Systems. This guide highlights the simple steps to create, edit, and organize your web pages, ensuring a vibrant and user-friendly online presence for your business.
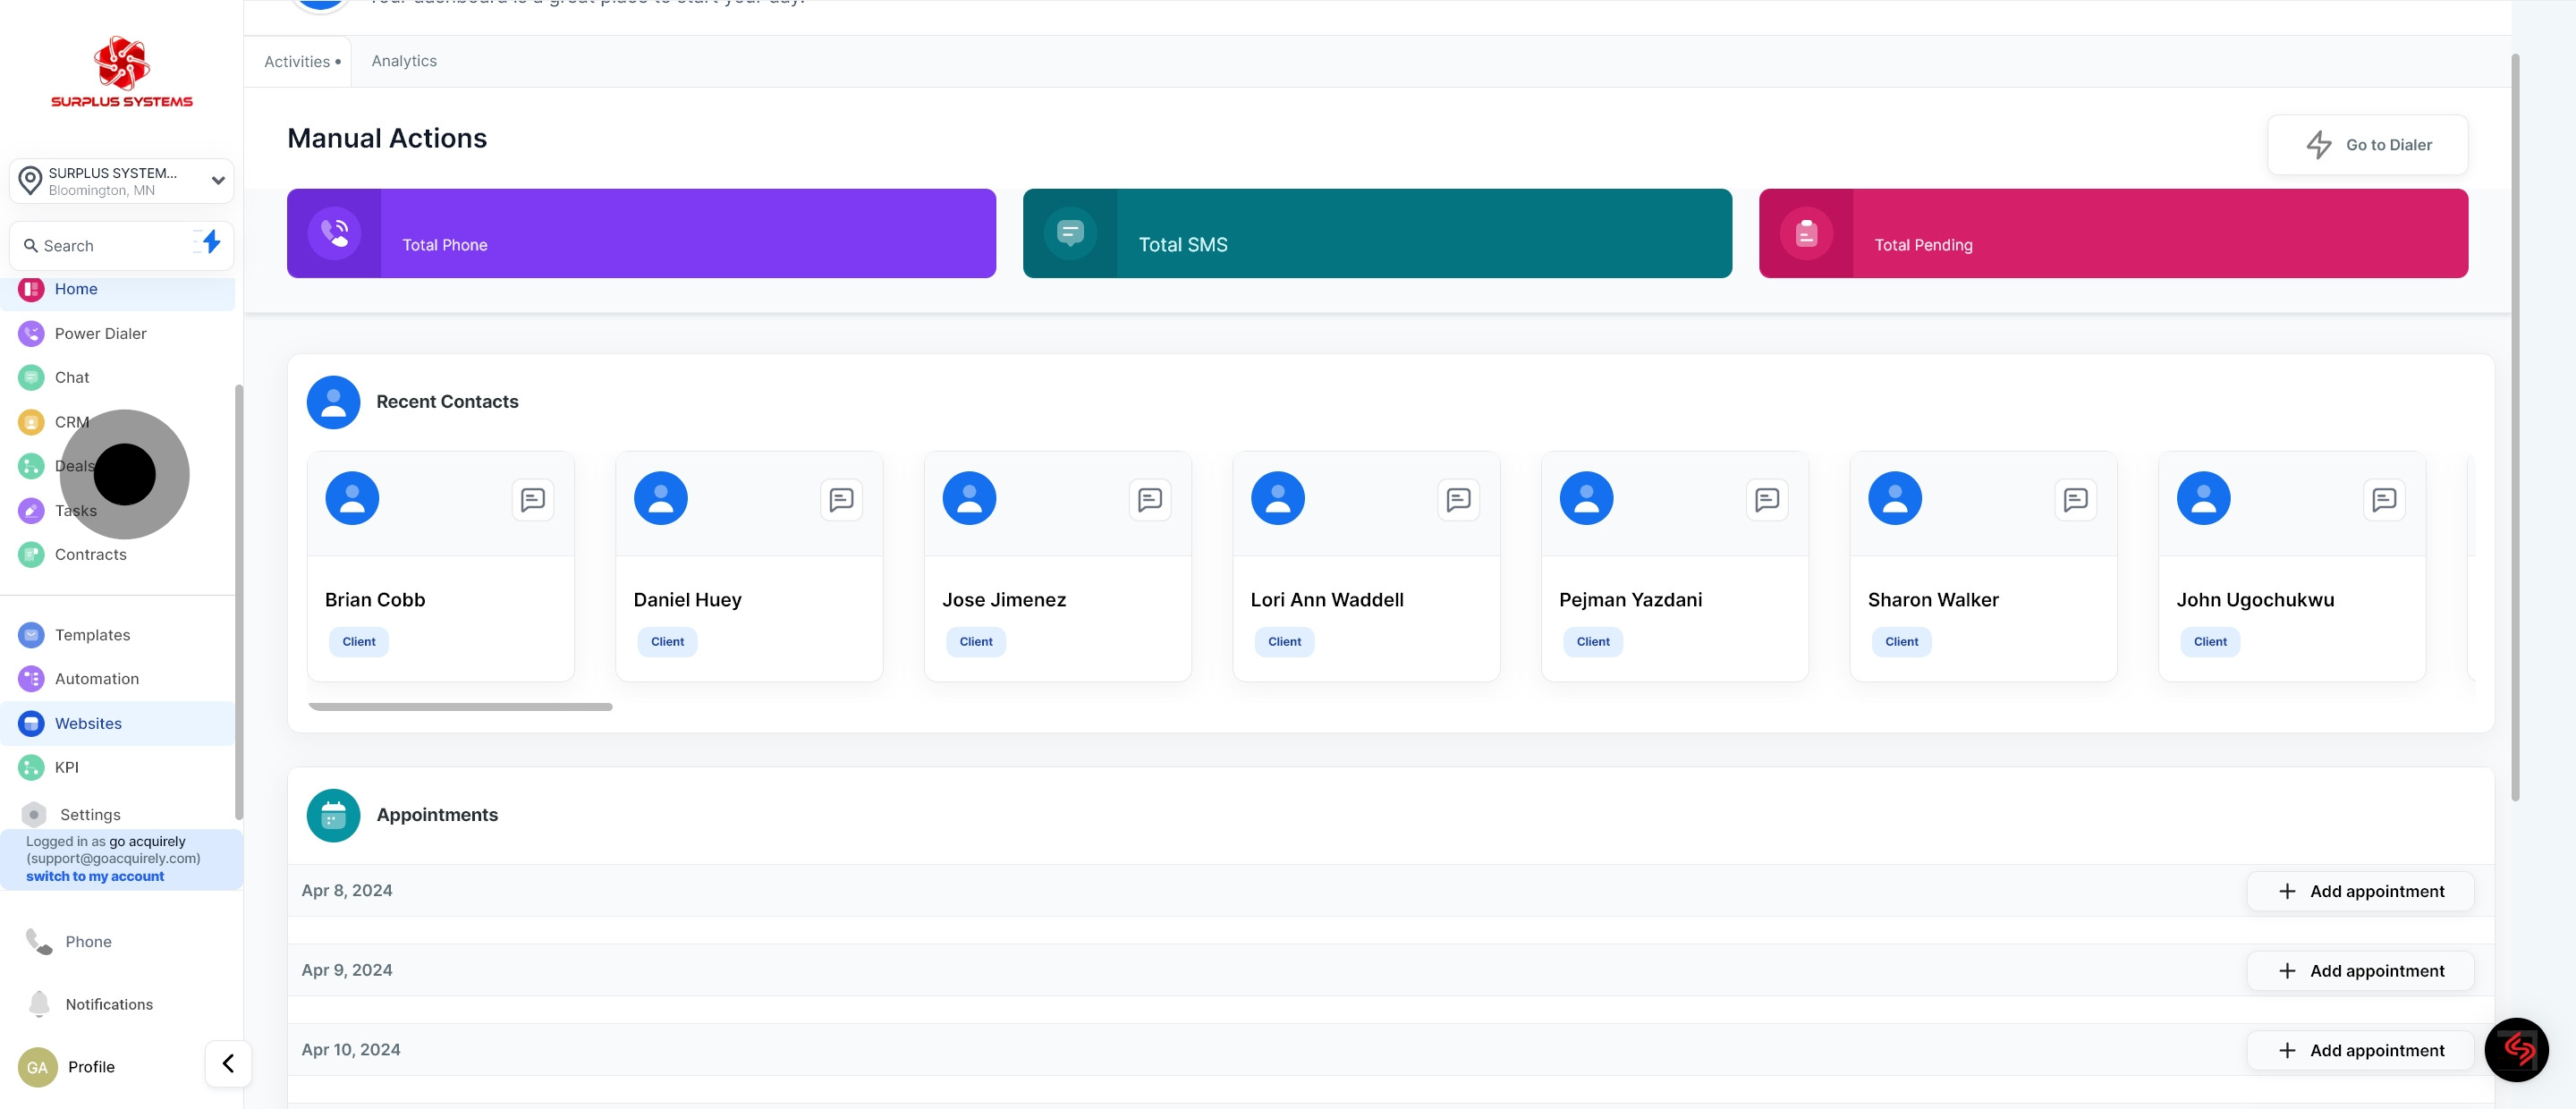
1. Start by clicking 'Websites'
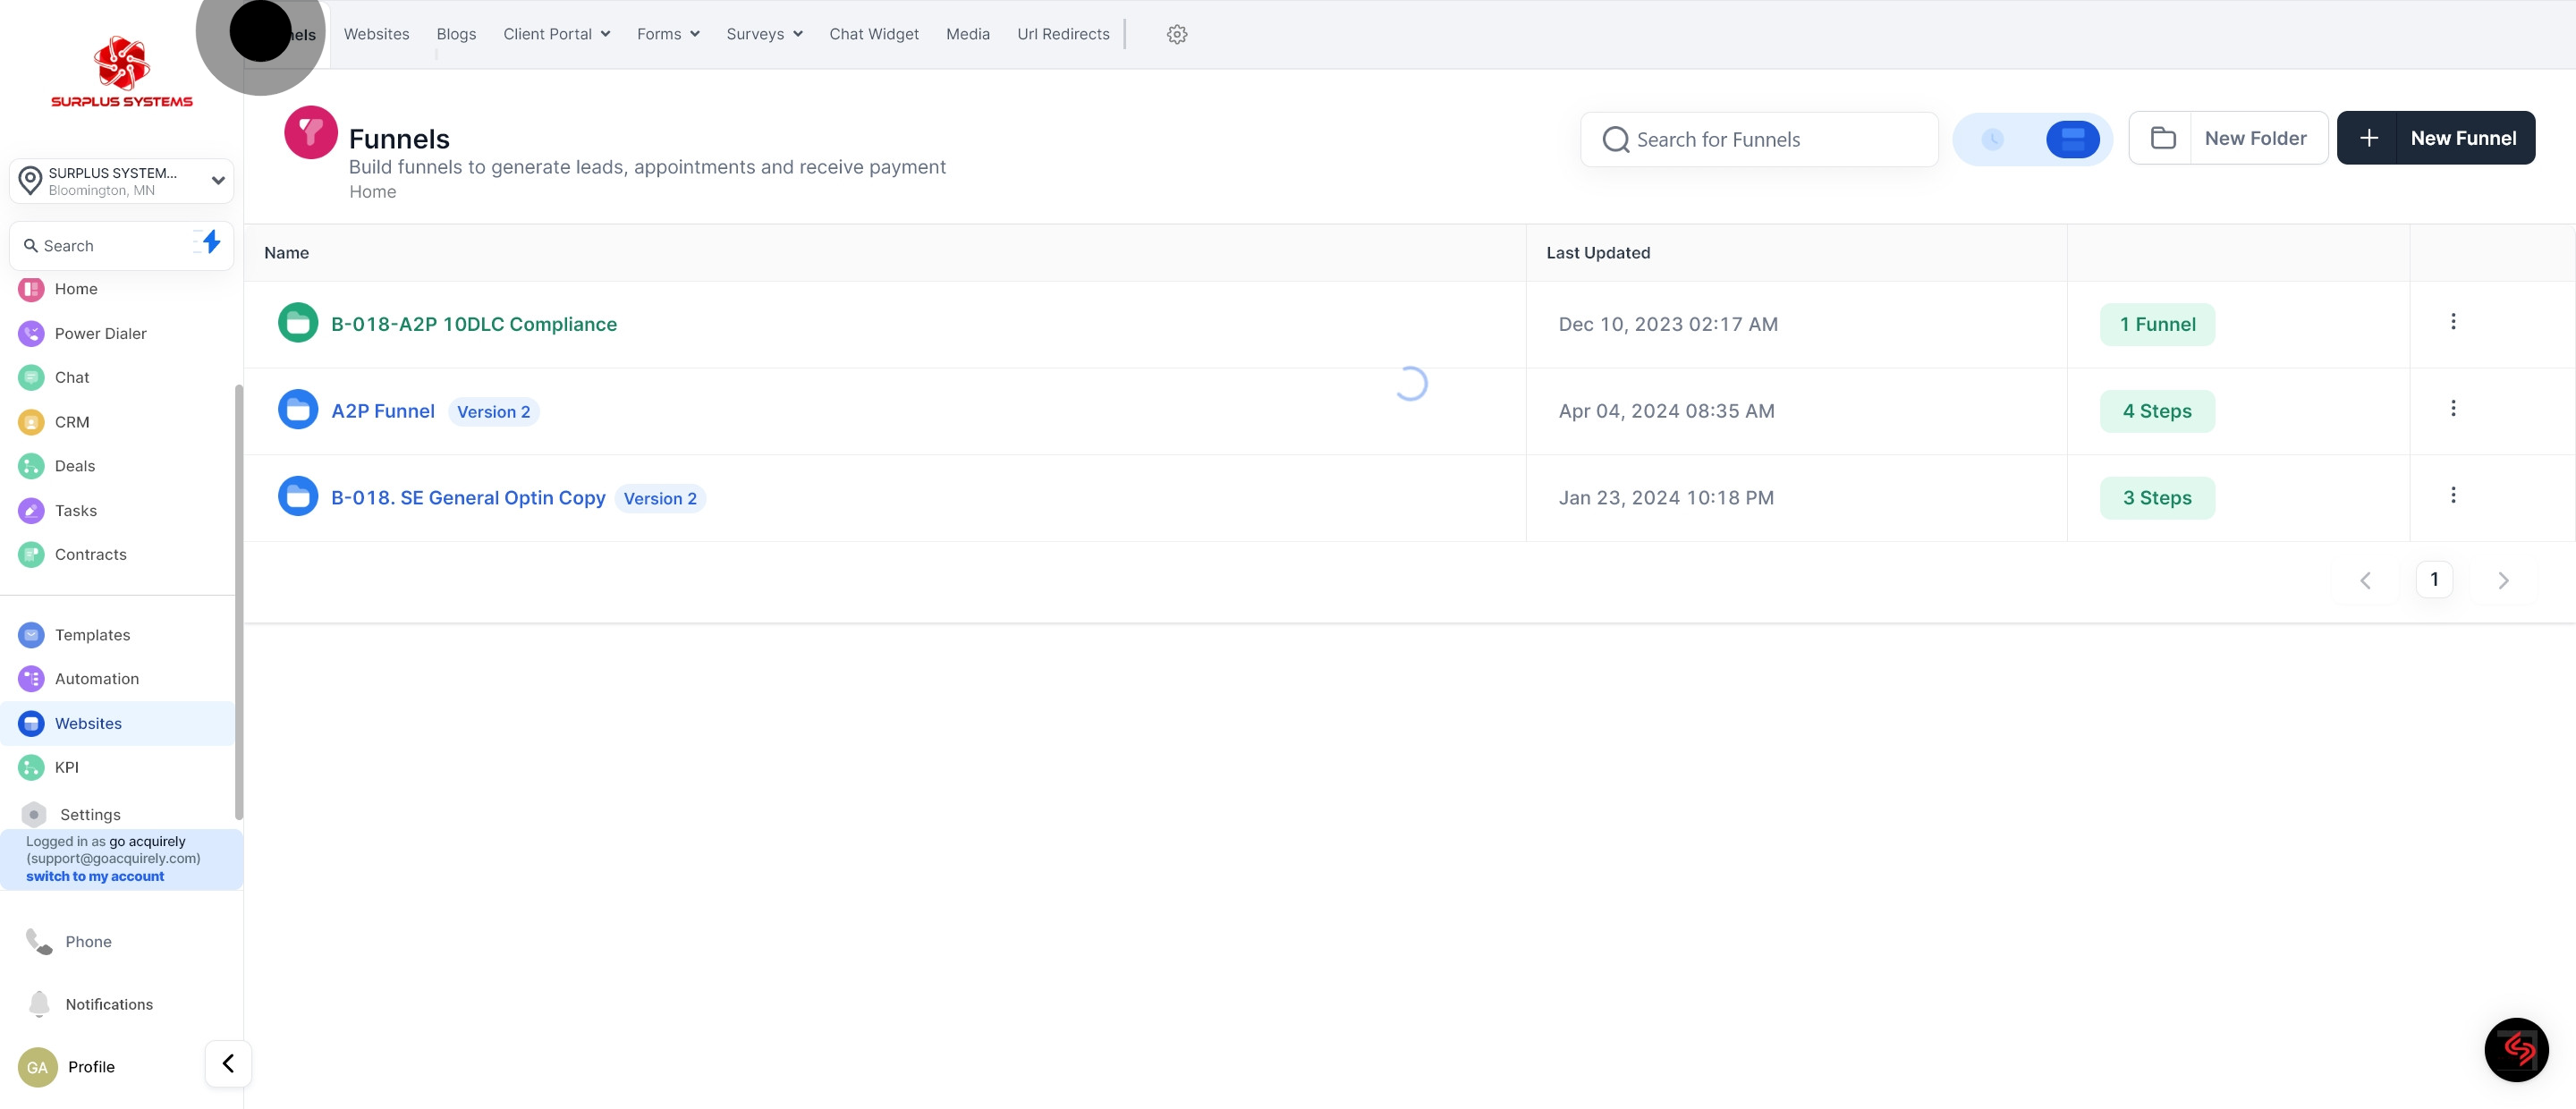
2. Proceed by selecting 'Websites'.
3. Next, select a funnel.
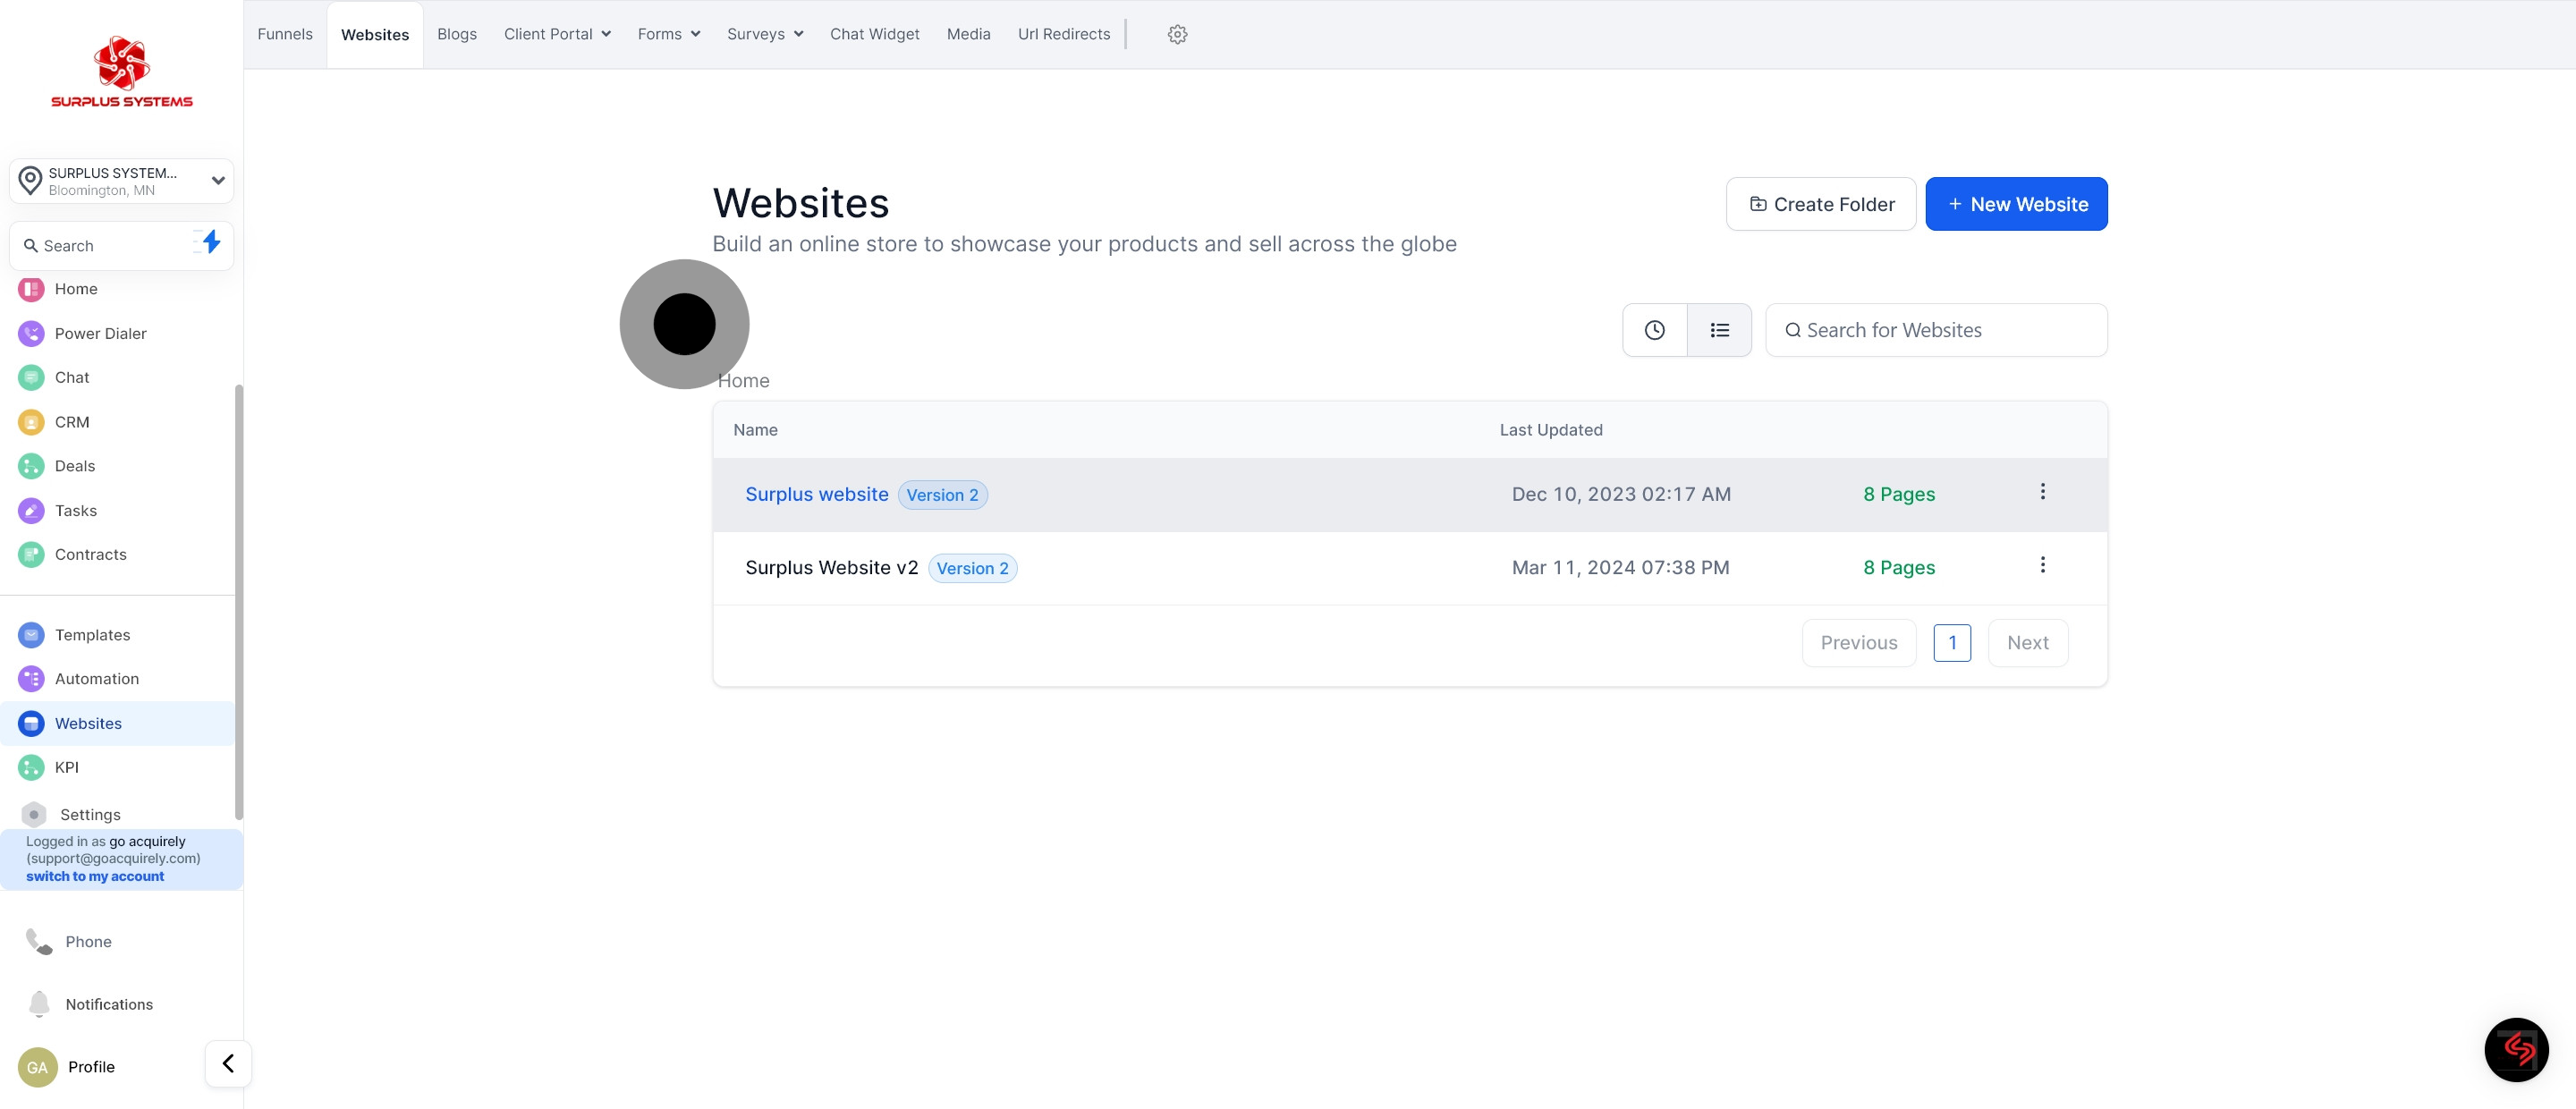
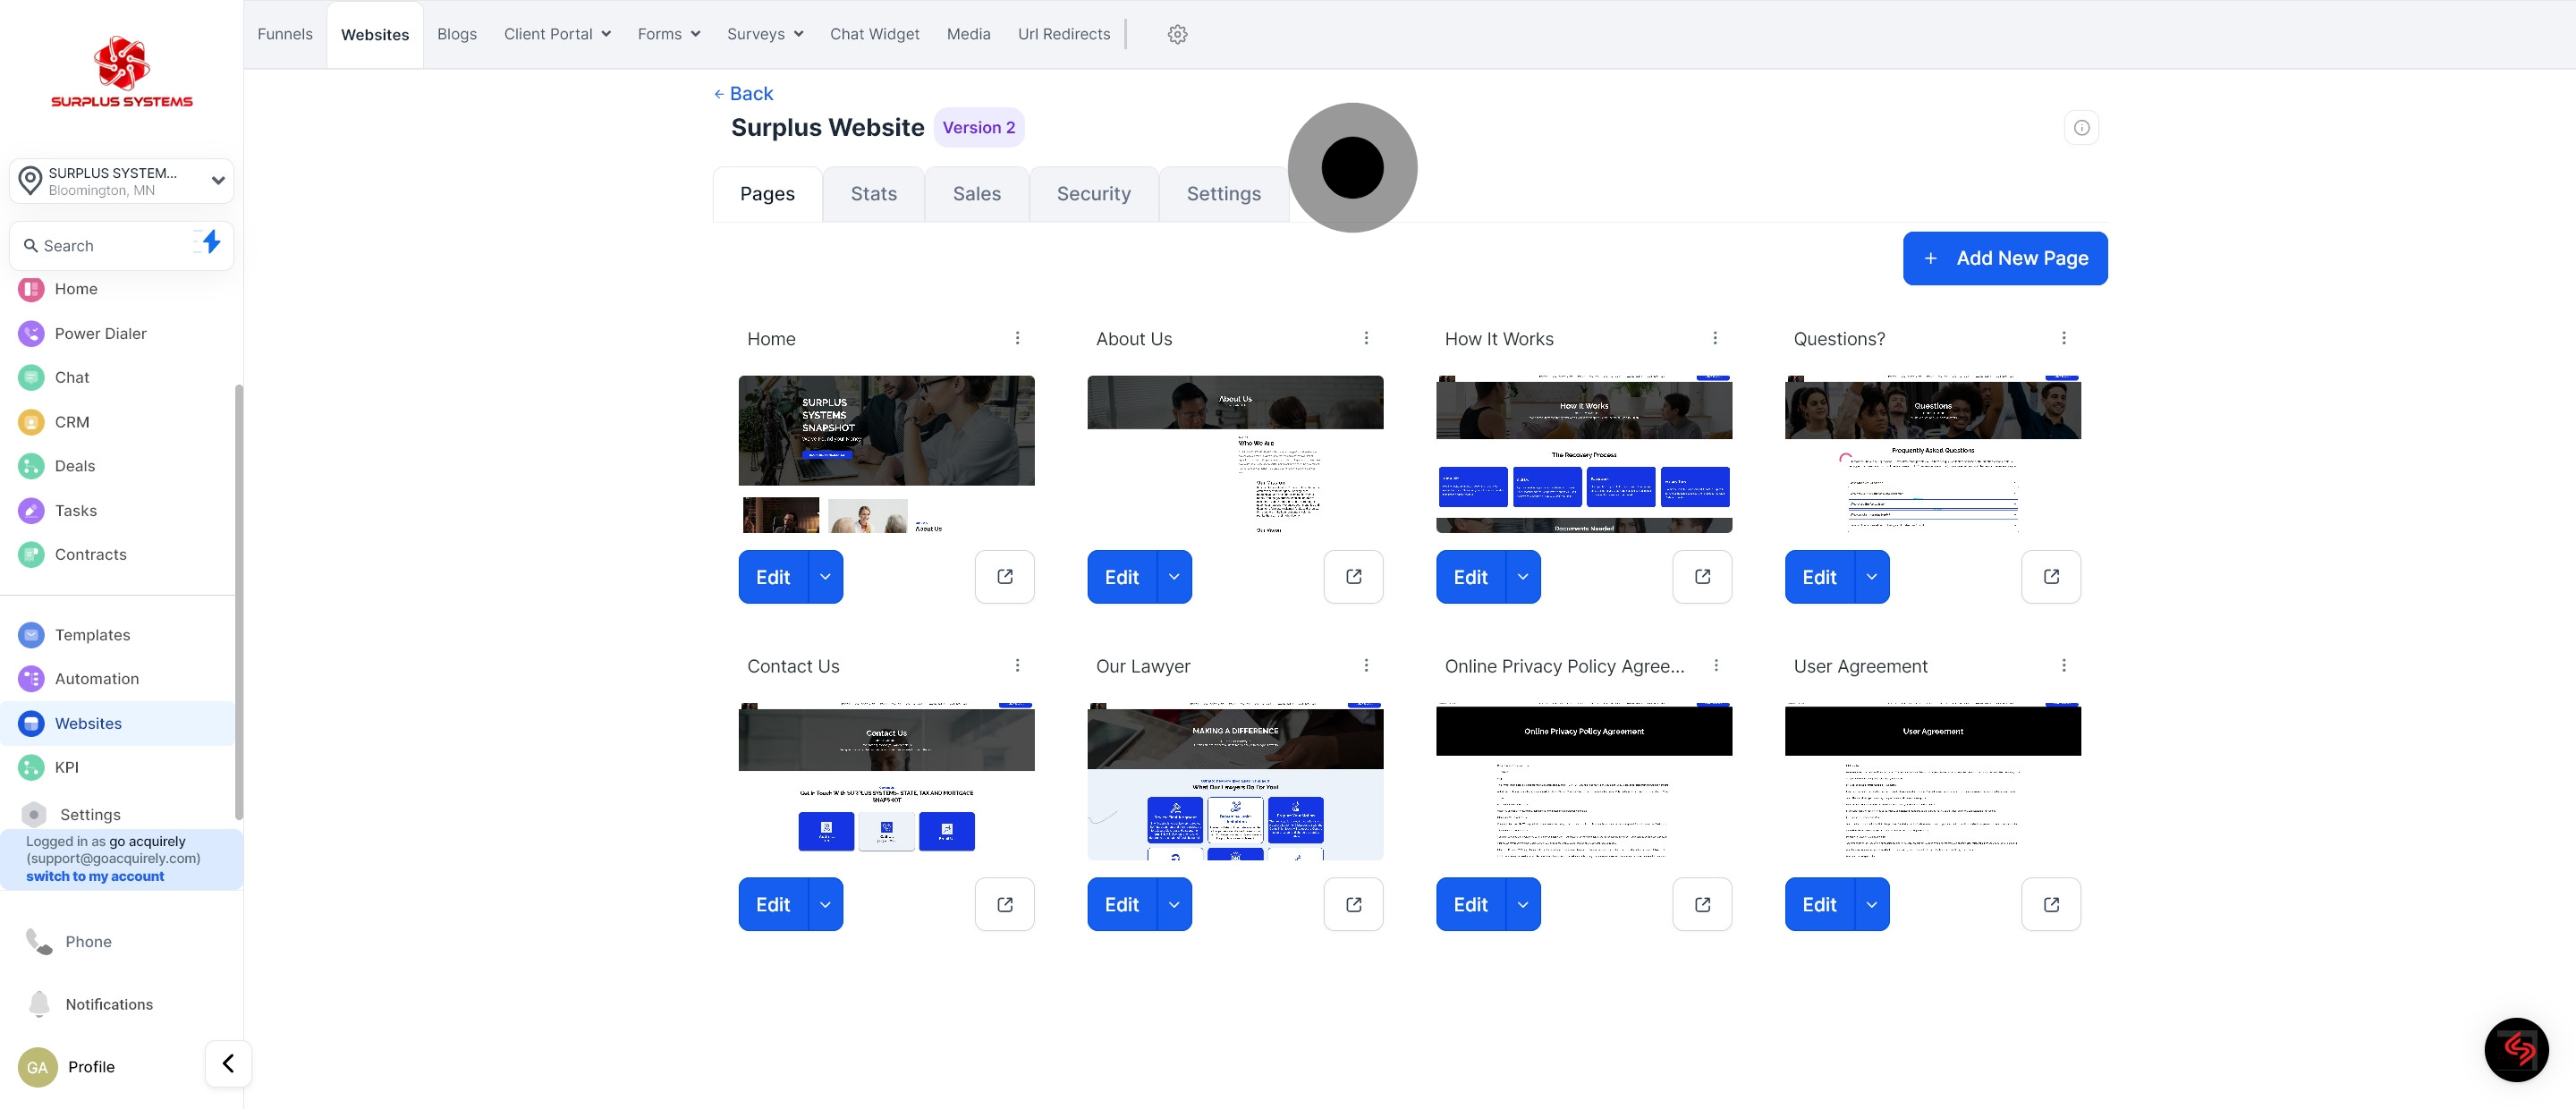
4. These are all your website pages.
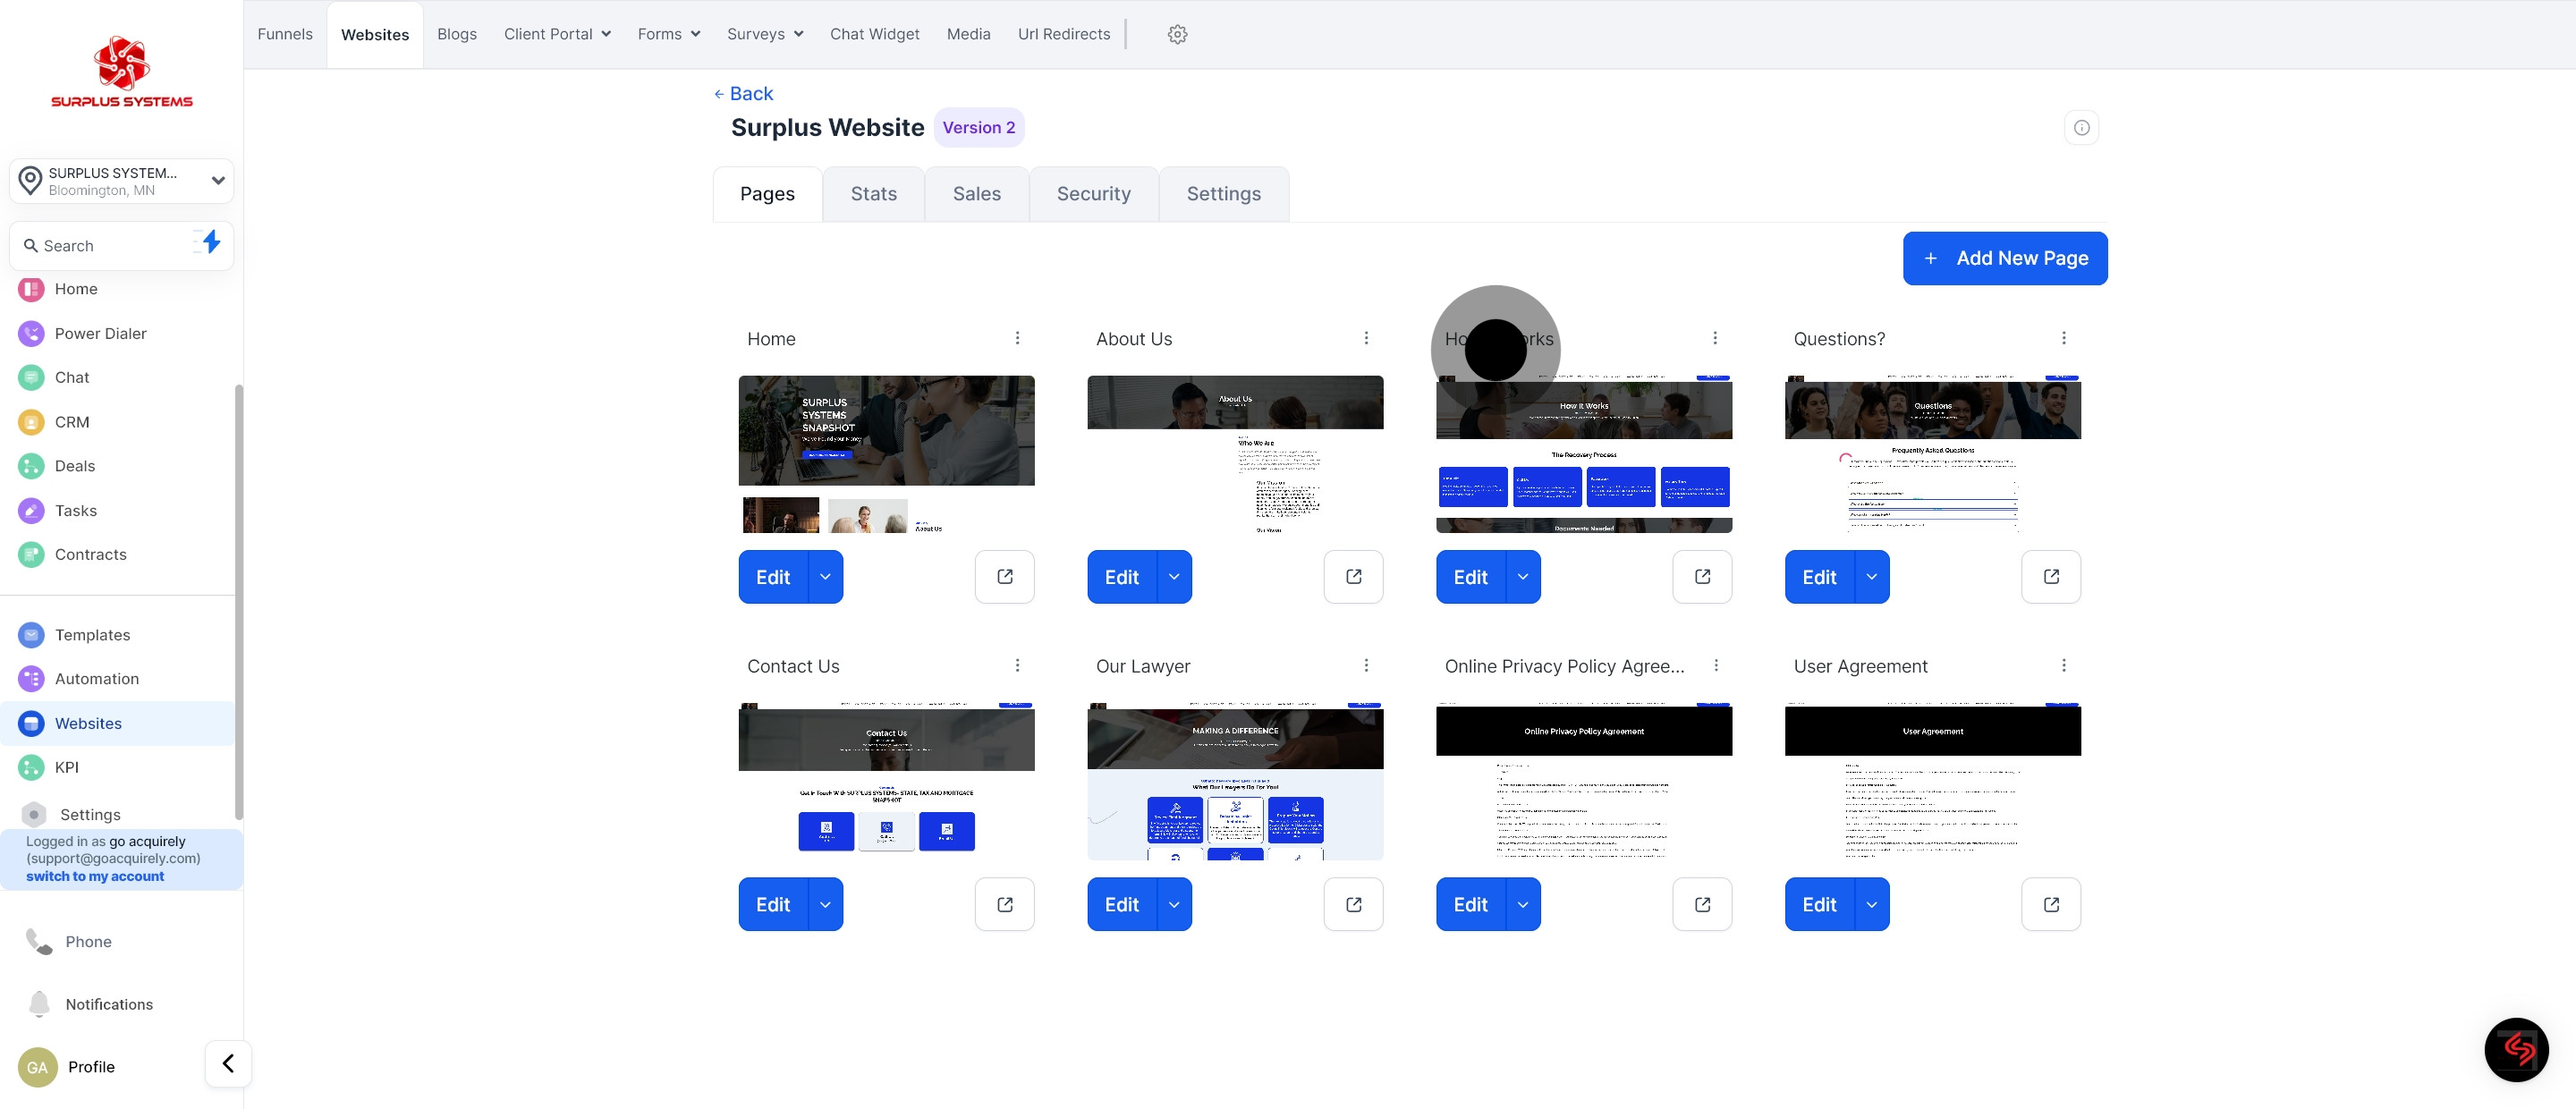
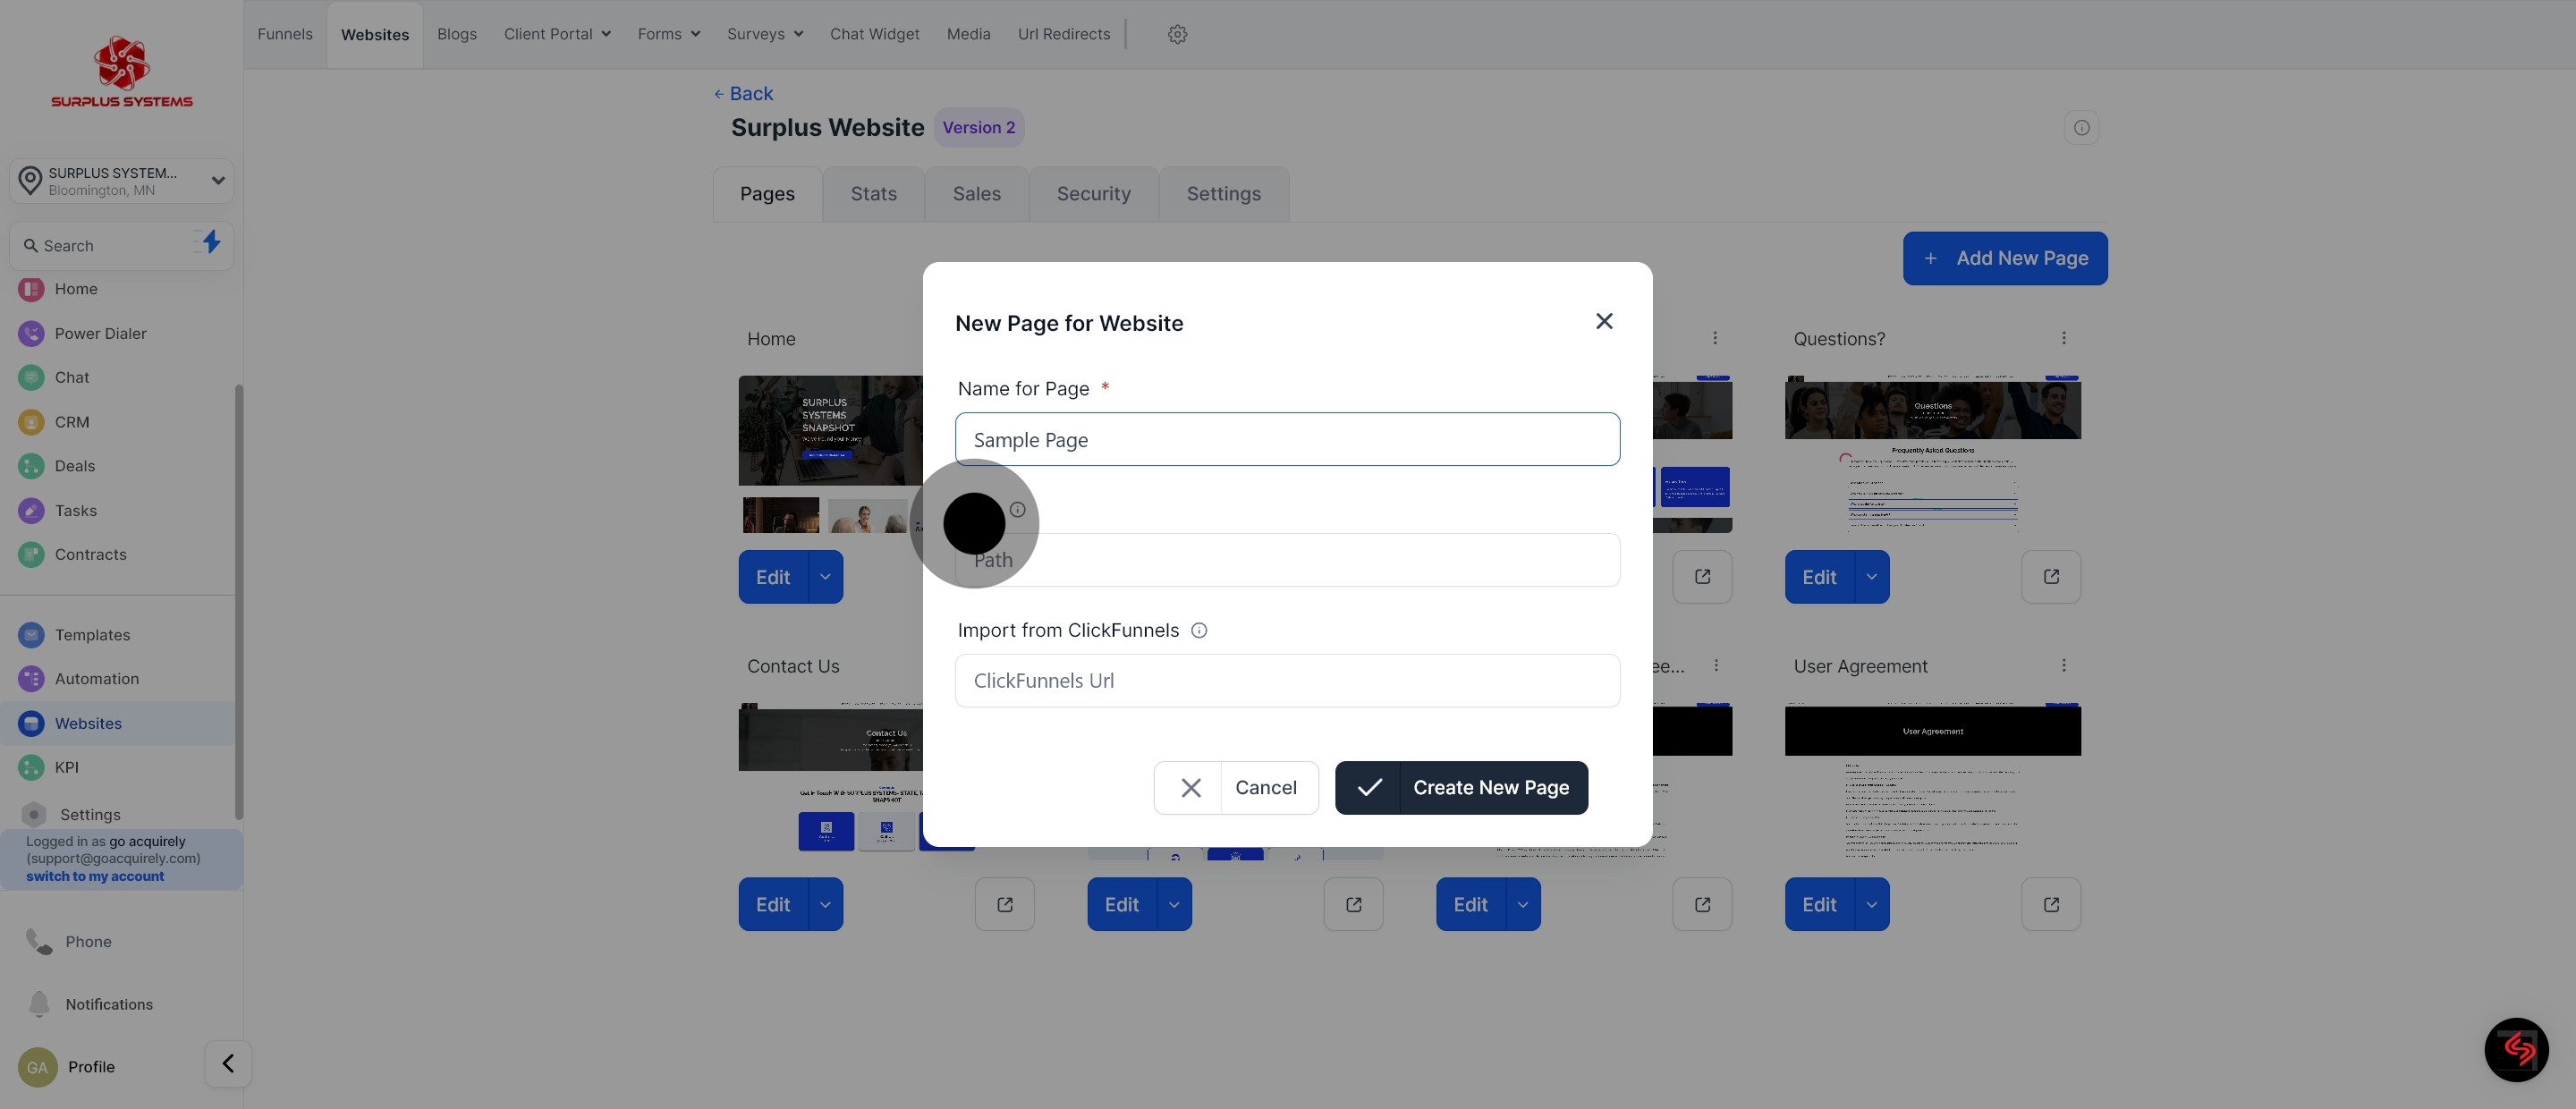
5. Then, add a new website page.
6. Proceed, by filling in the details of your added page then hit 'Create New Page' to save changes.
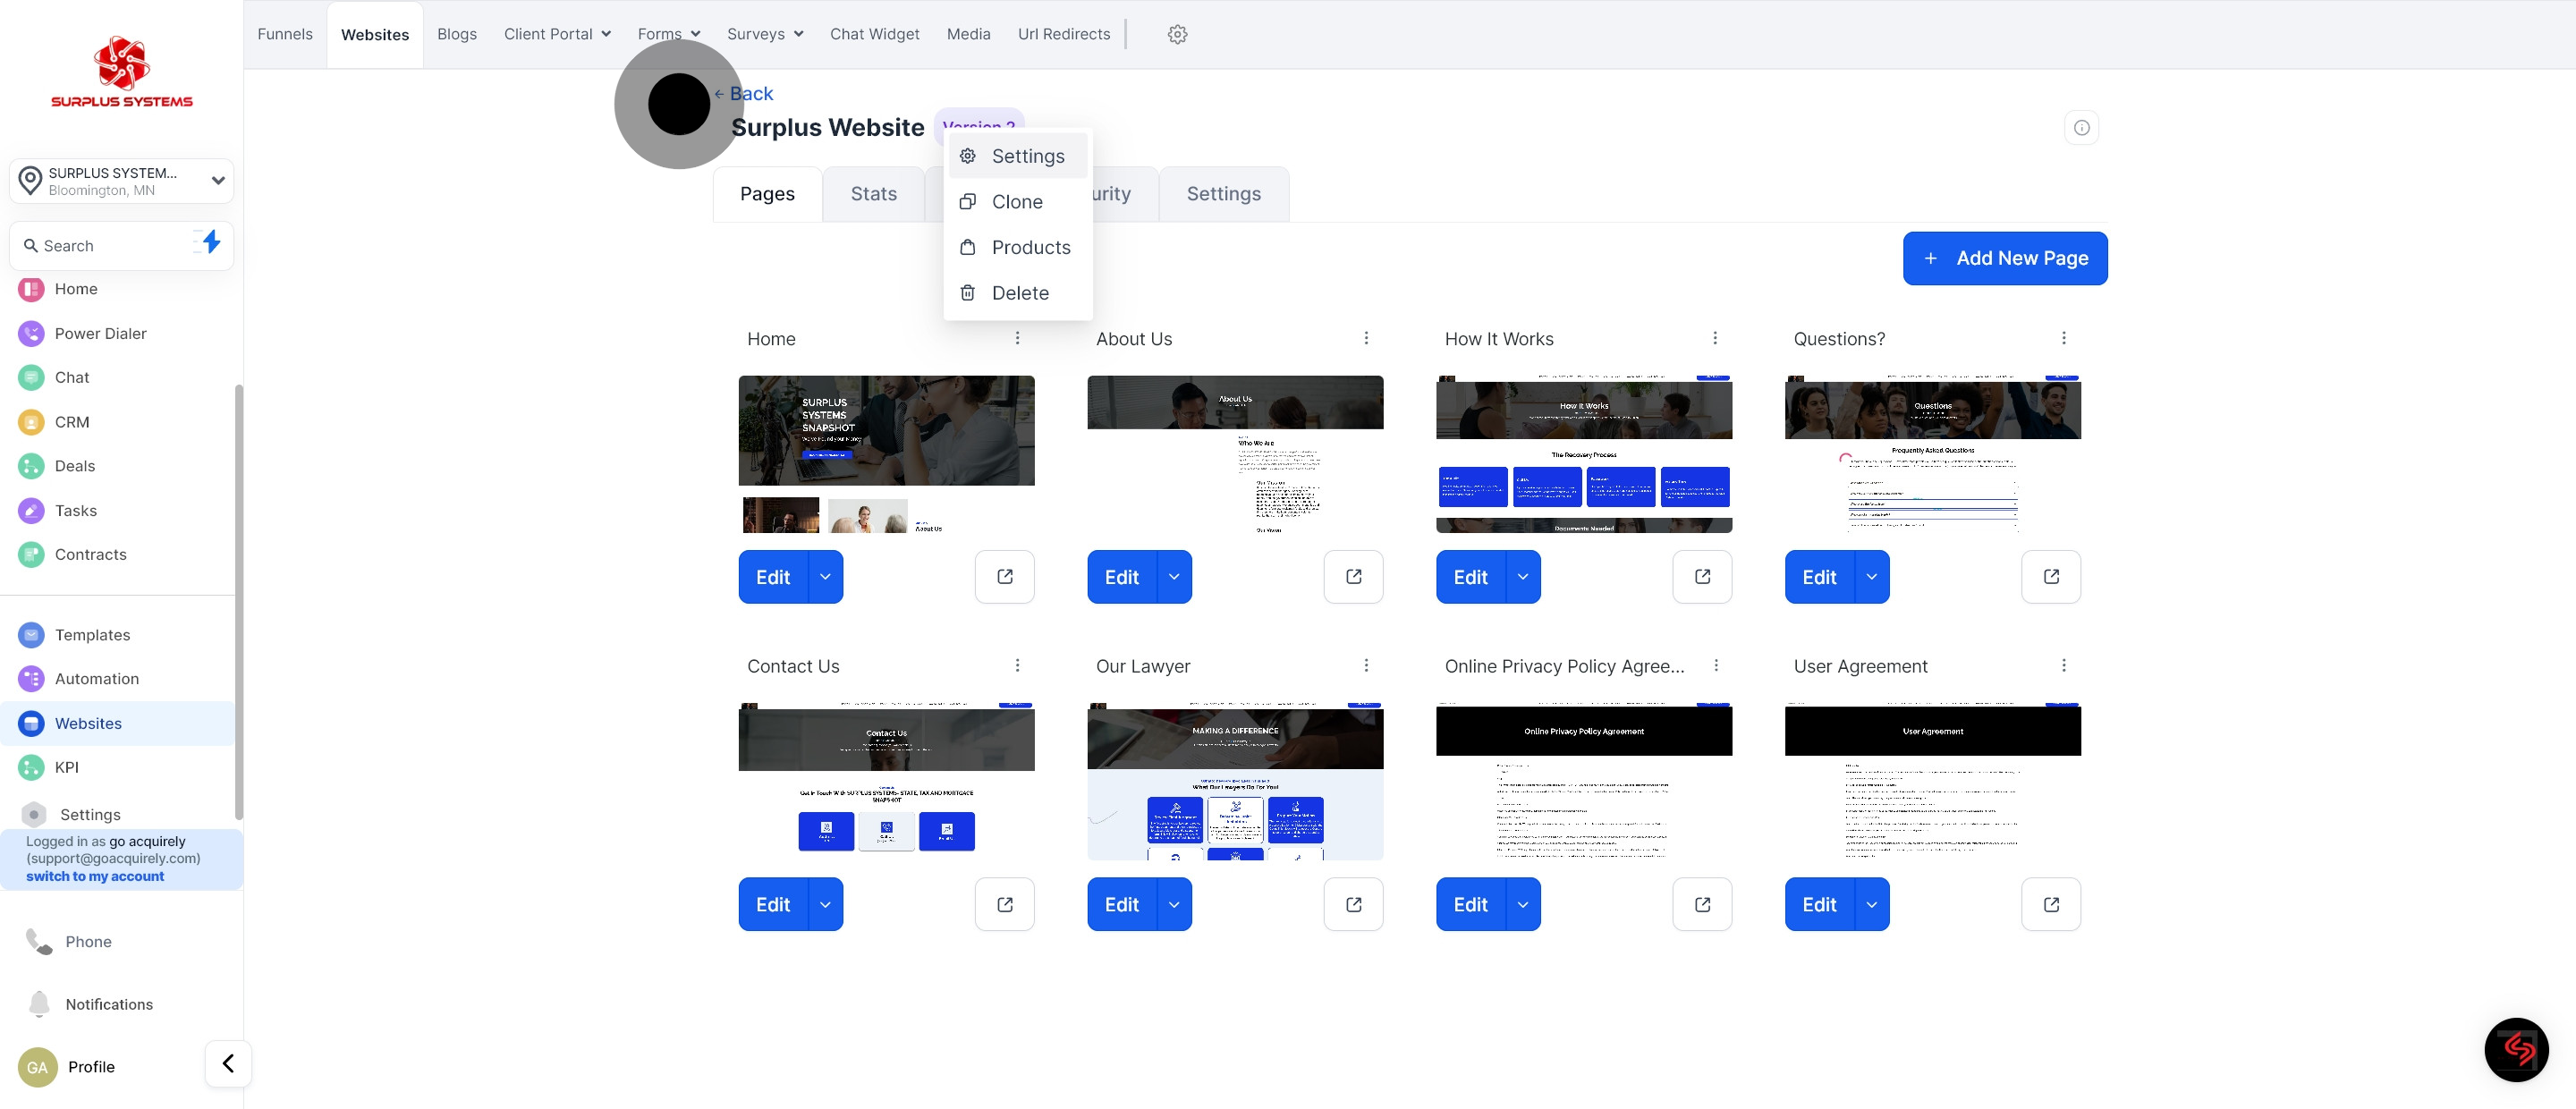
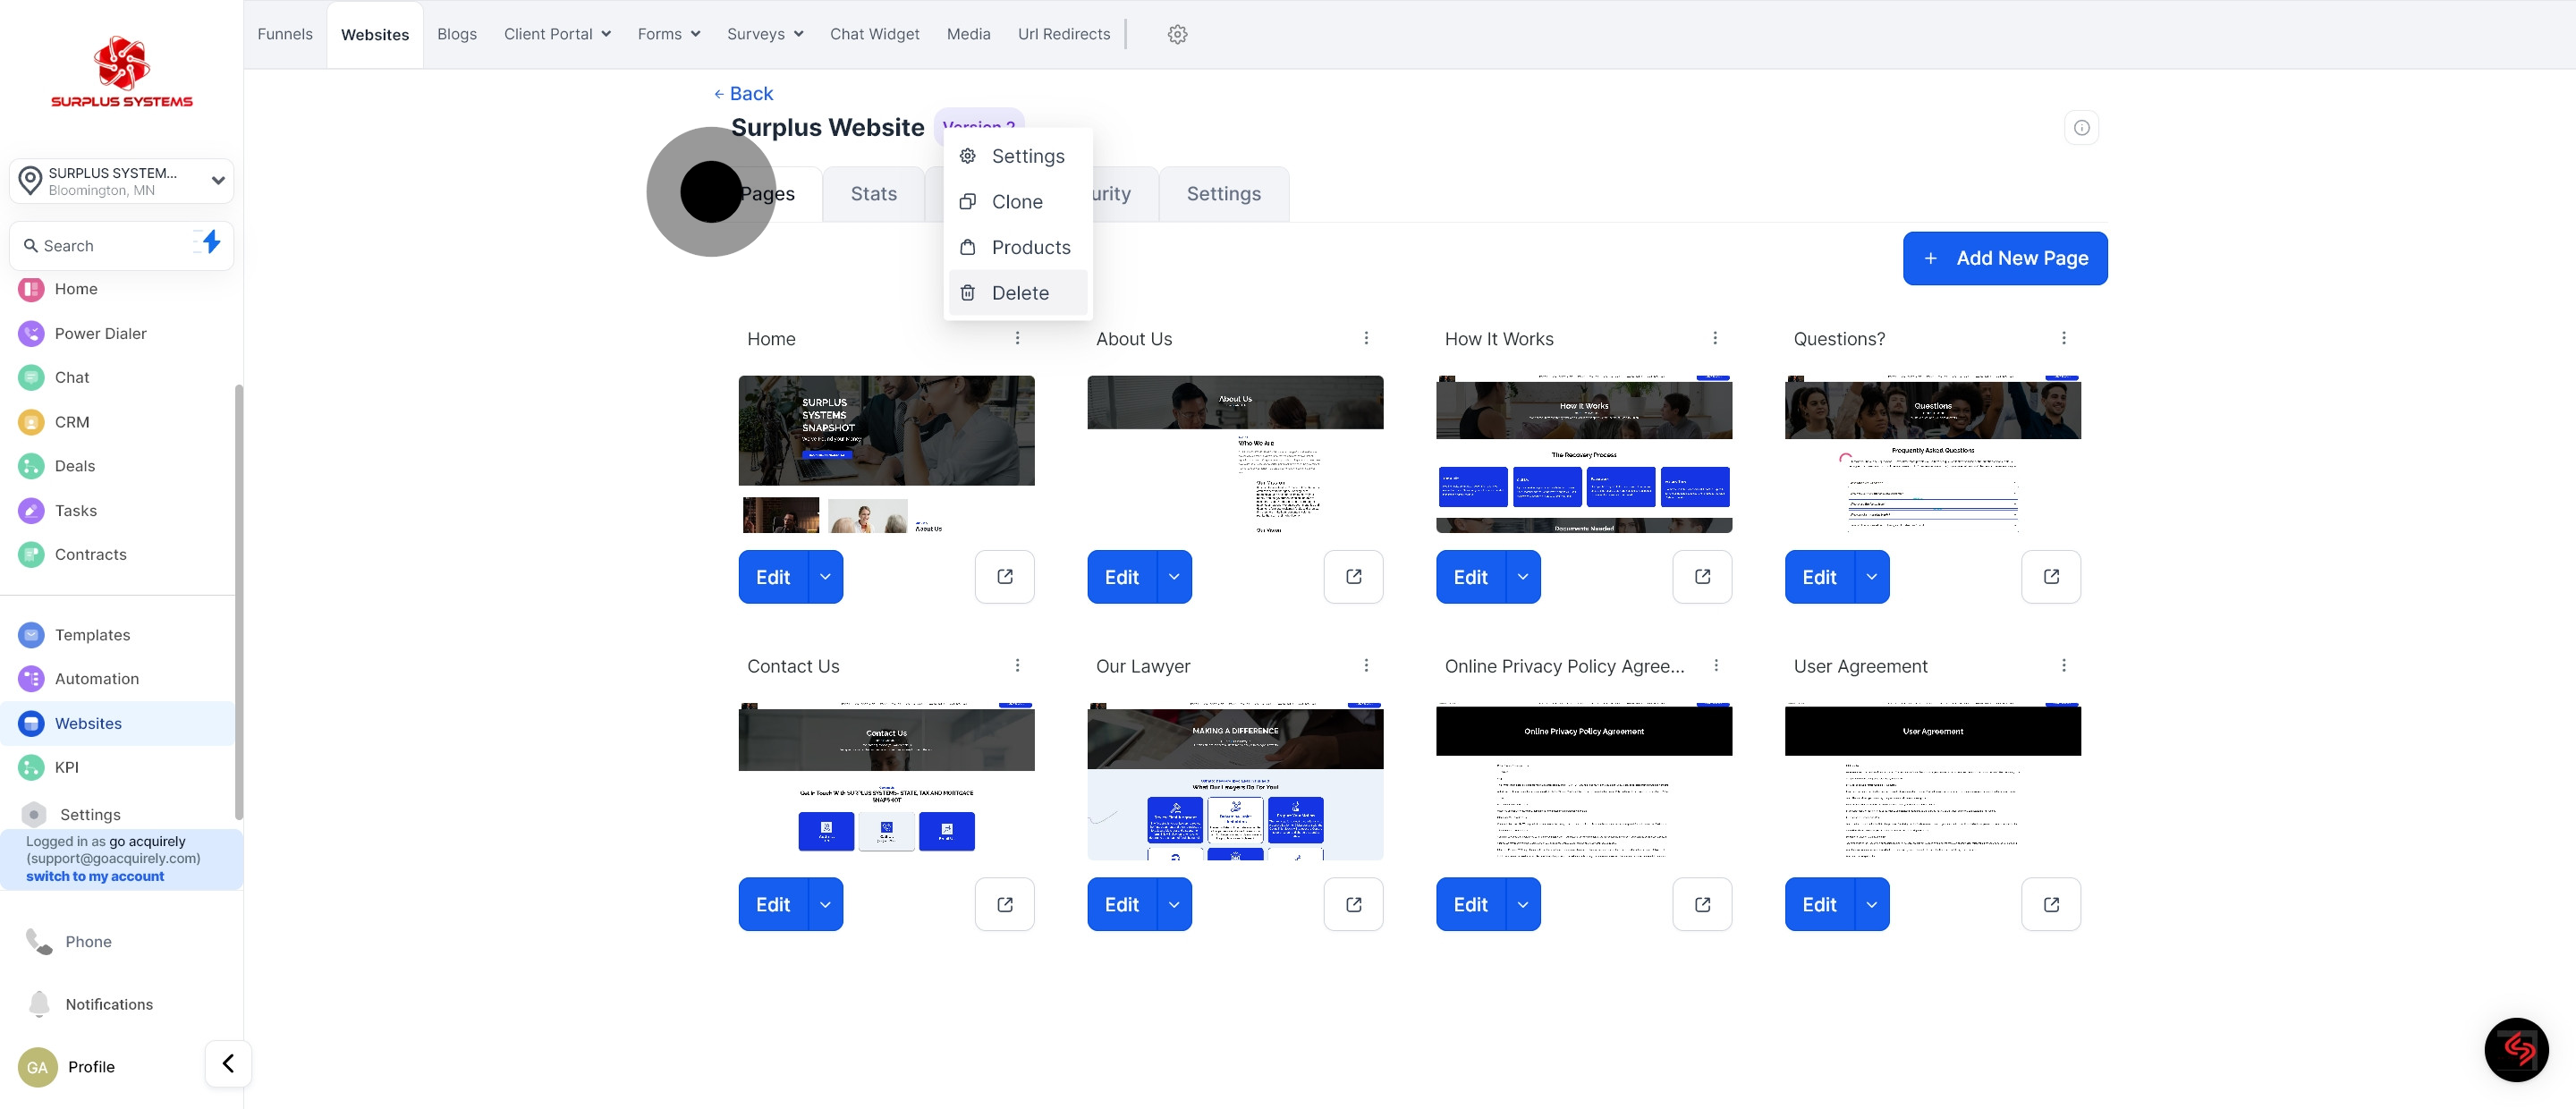
7. Proceed by clicking this icon to show more option.
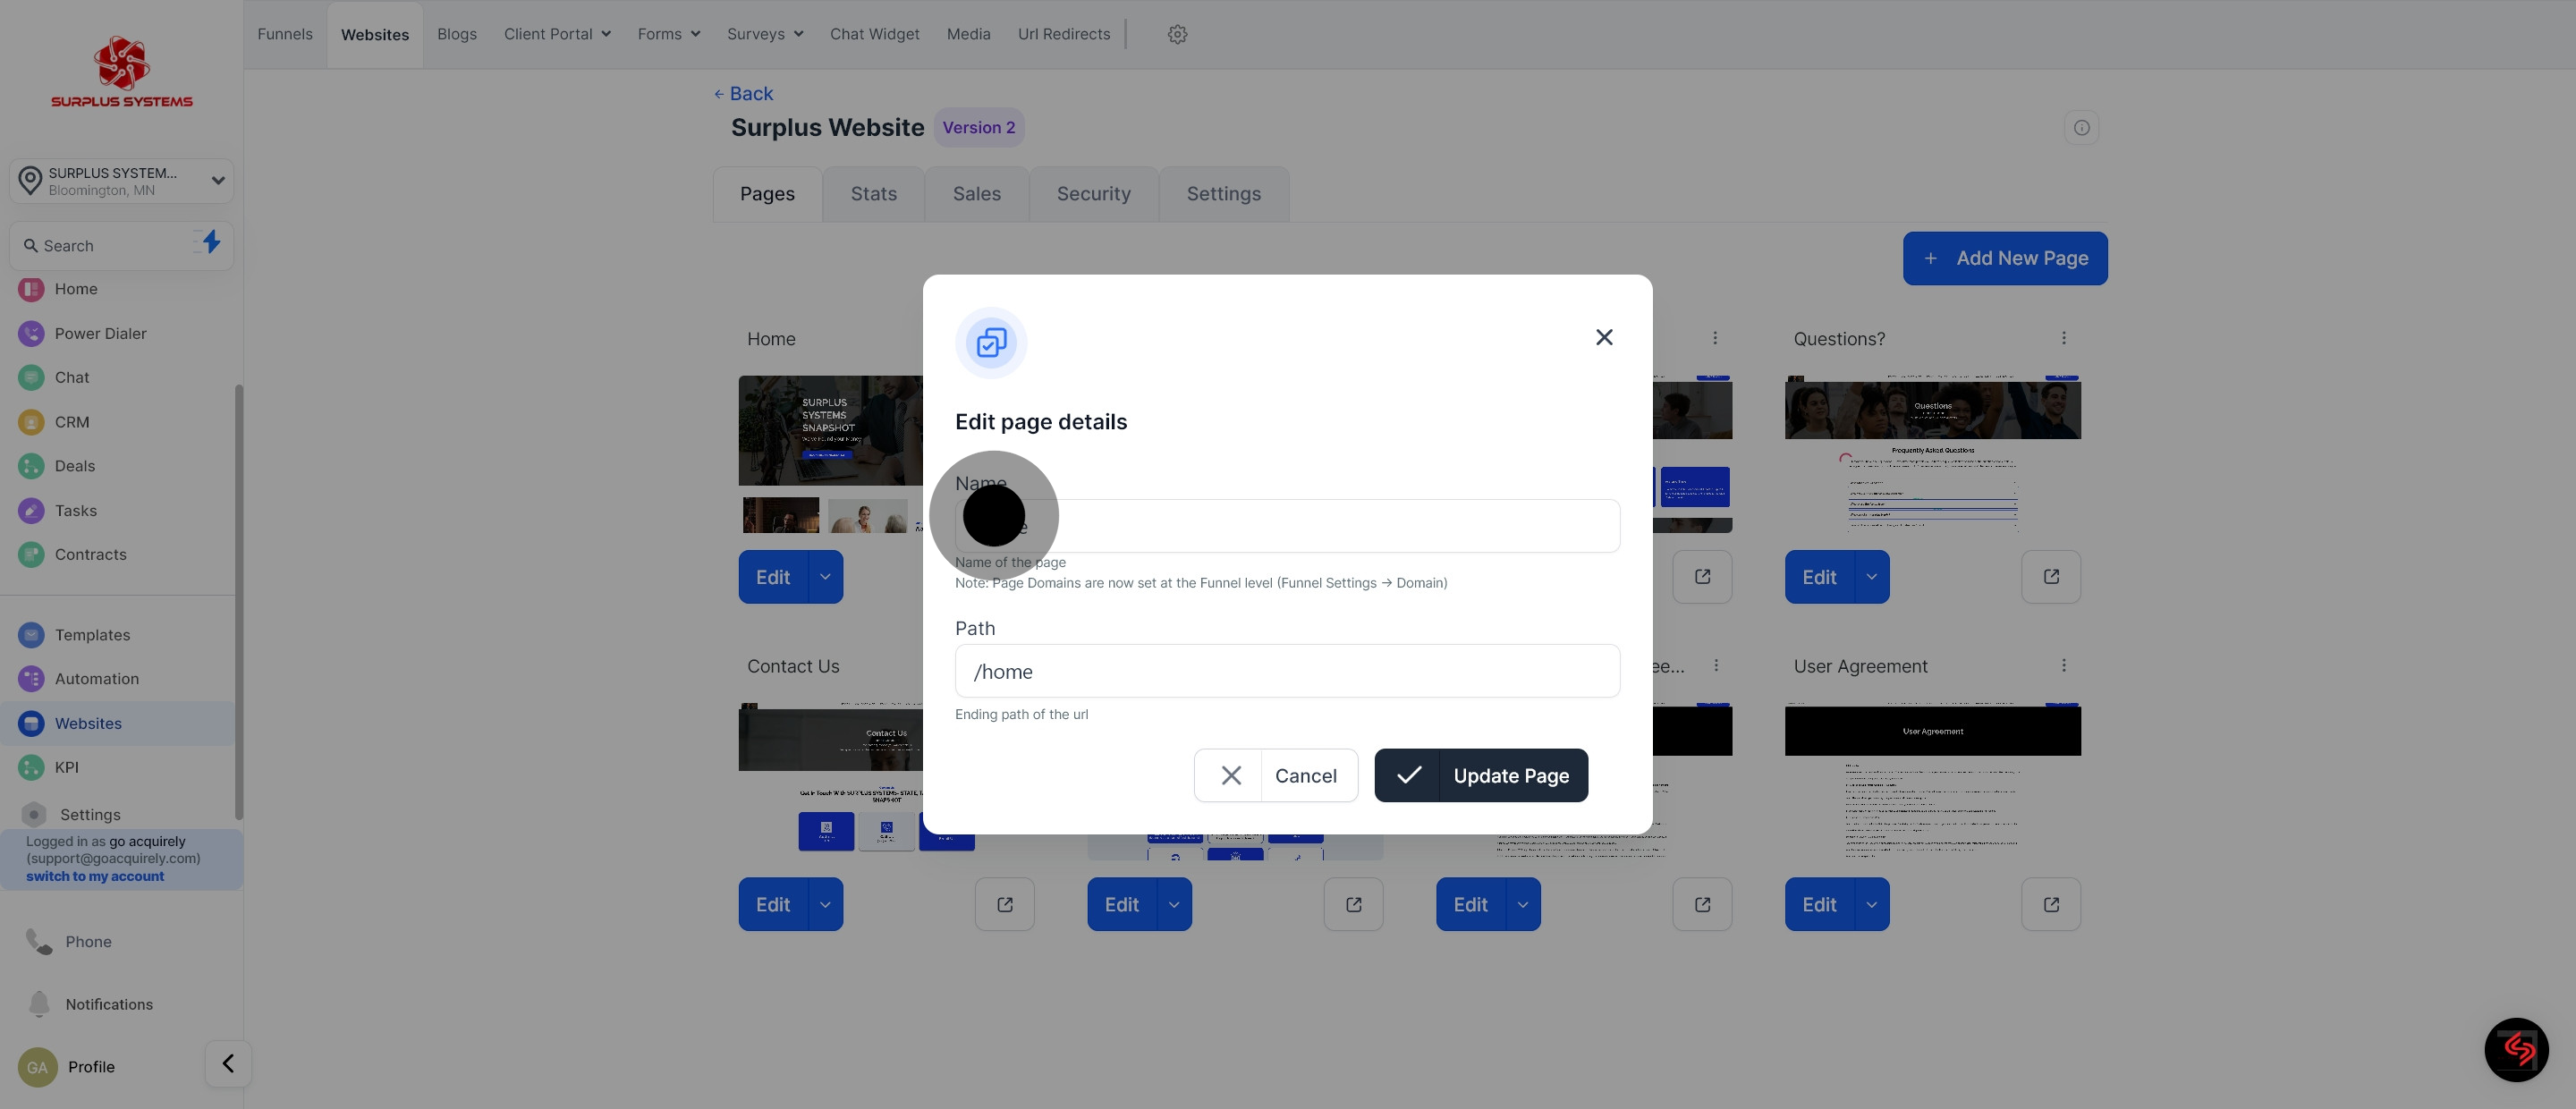
8. First option, go to 'Settings'.
9. Proceed by filling in changes 'Edit page details' then hit 'Update Page'
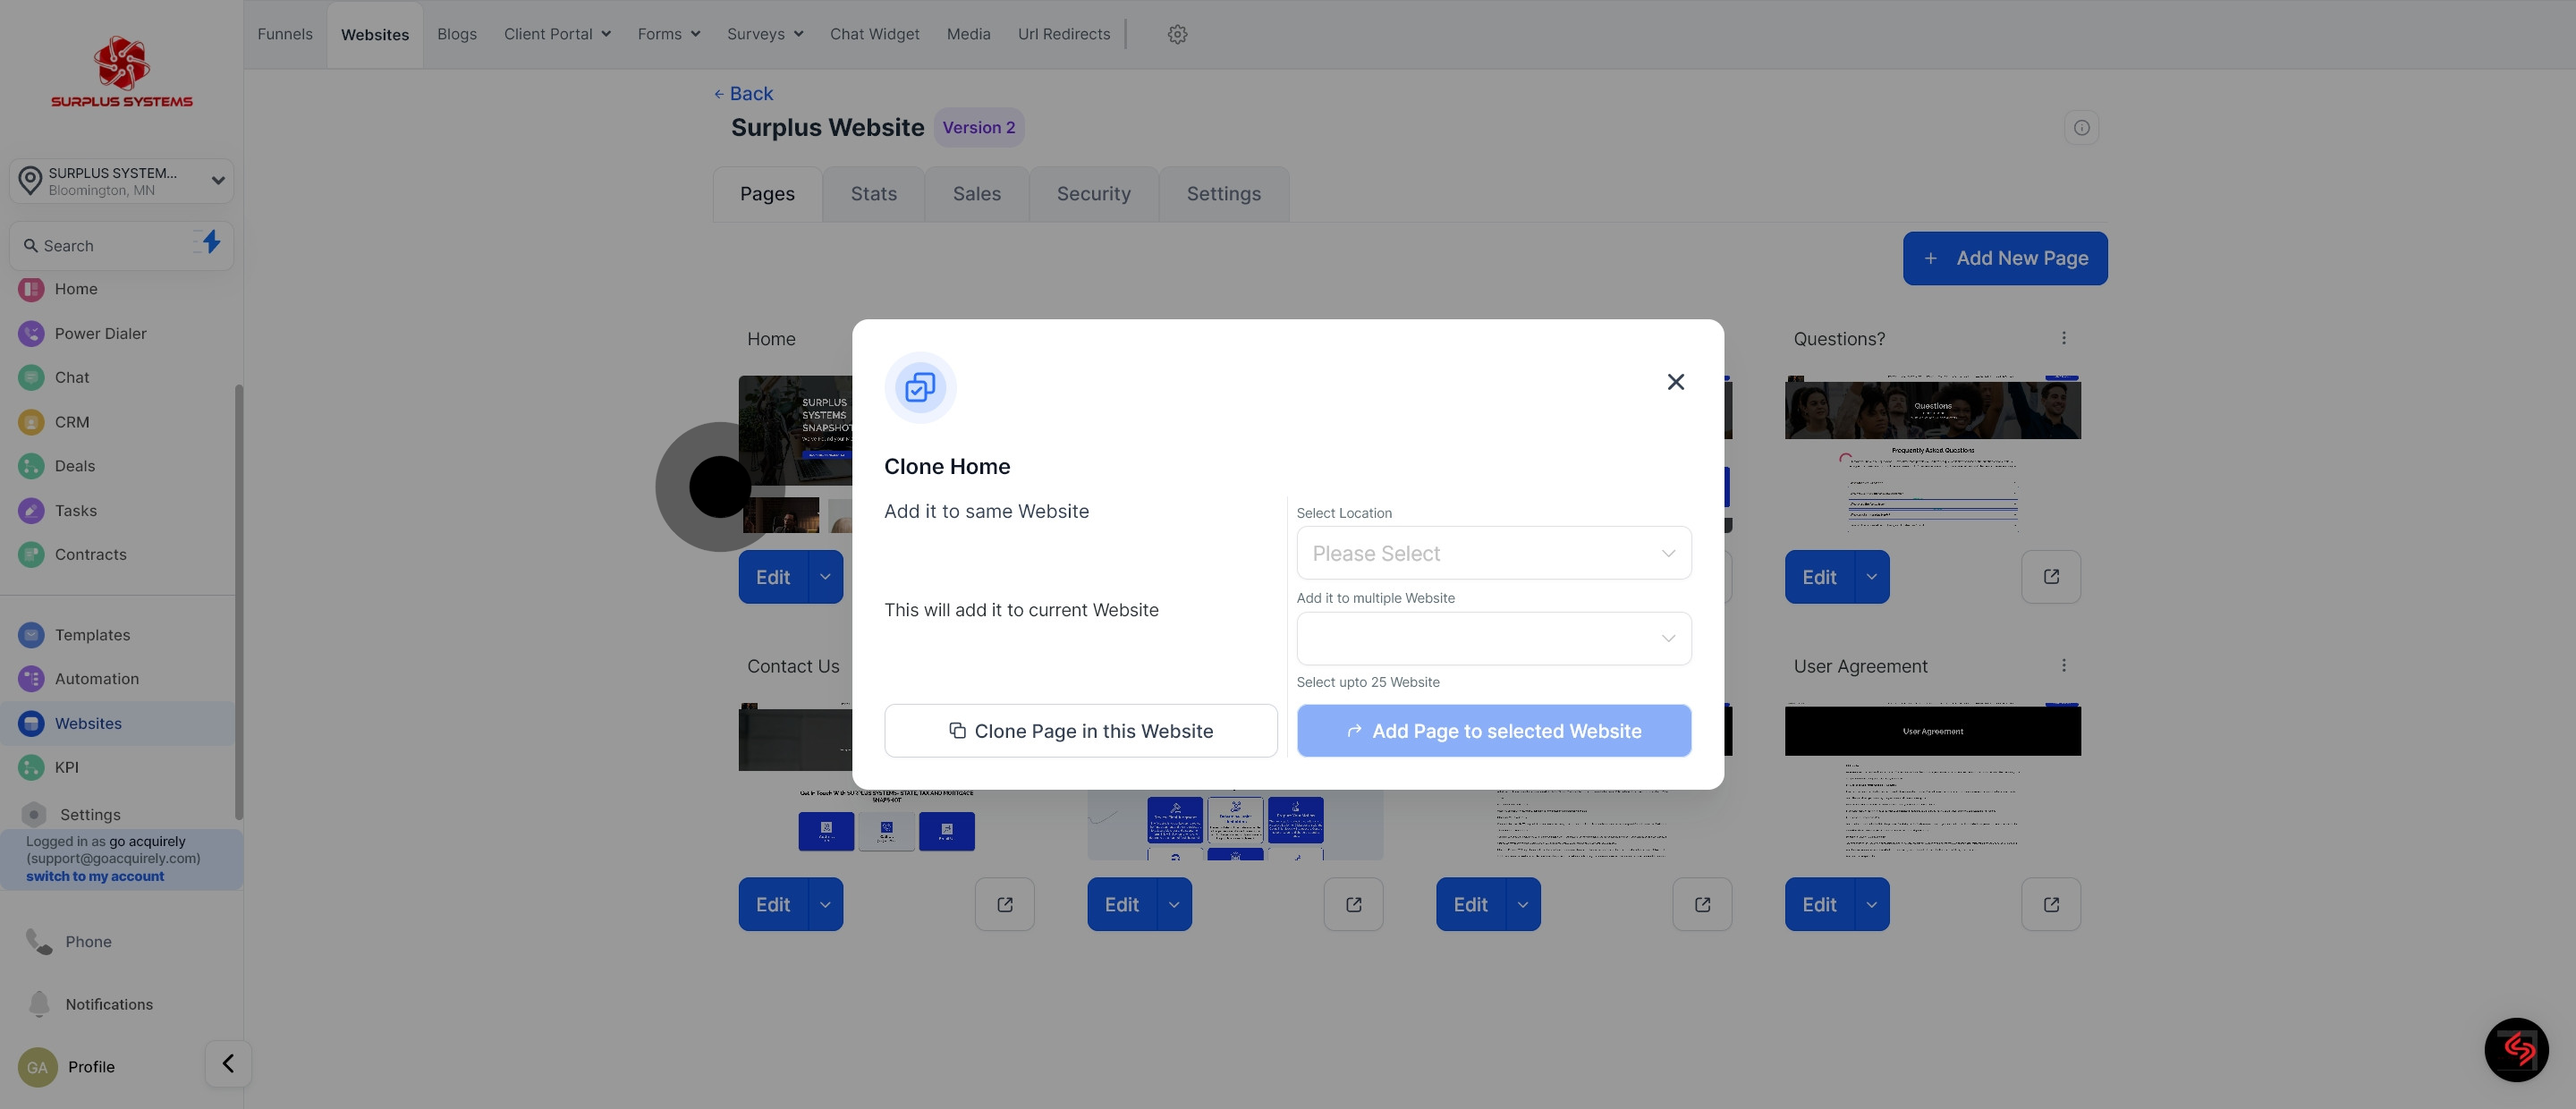
10. Next, choose the option 'Clone'.
11. Proceed by filling in details needed for cloning website page.
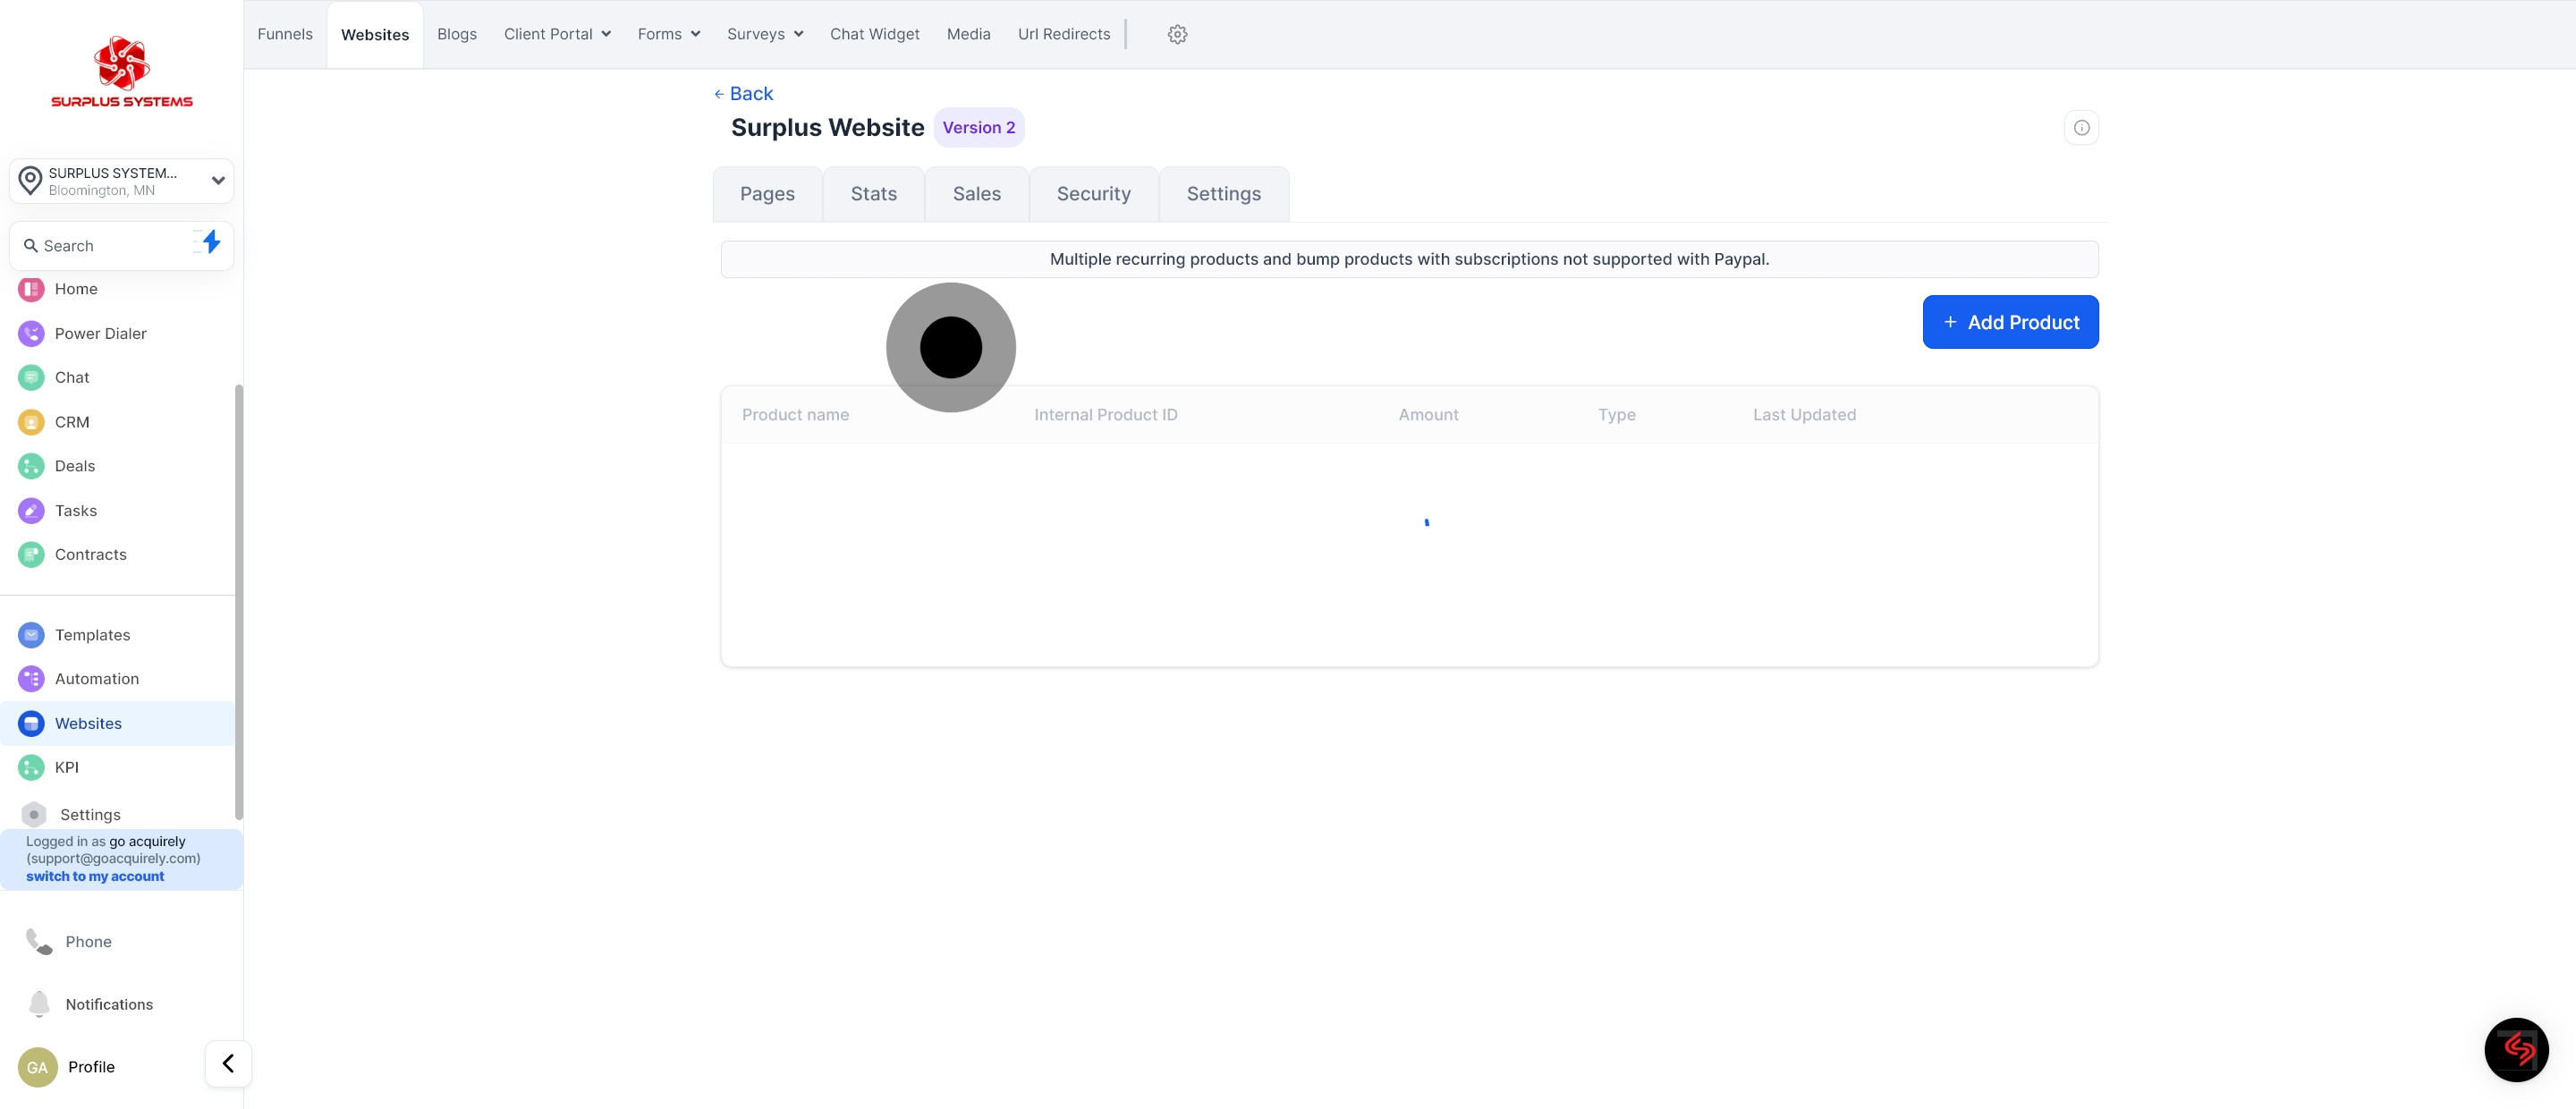
12. Subsequently, select 'Products'.
13. You can see product lists here
14. Lastly, choose 'Delete'.
15. Type 'Delete' to confirm deletion. Take note that this action cannot be reversed.