Exploring the Essentials of Websites in Surplus Systems

Dive into the functionalities and benefits of utilizing websites within Surplus Systems with this comprehensive overview. Discover how to leverage website integration to enhance your online presence, streamline user engagement, and drive business objectives efficiently.


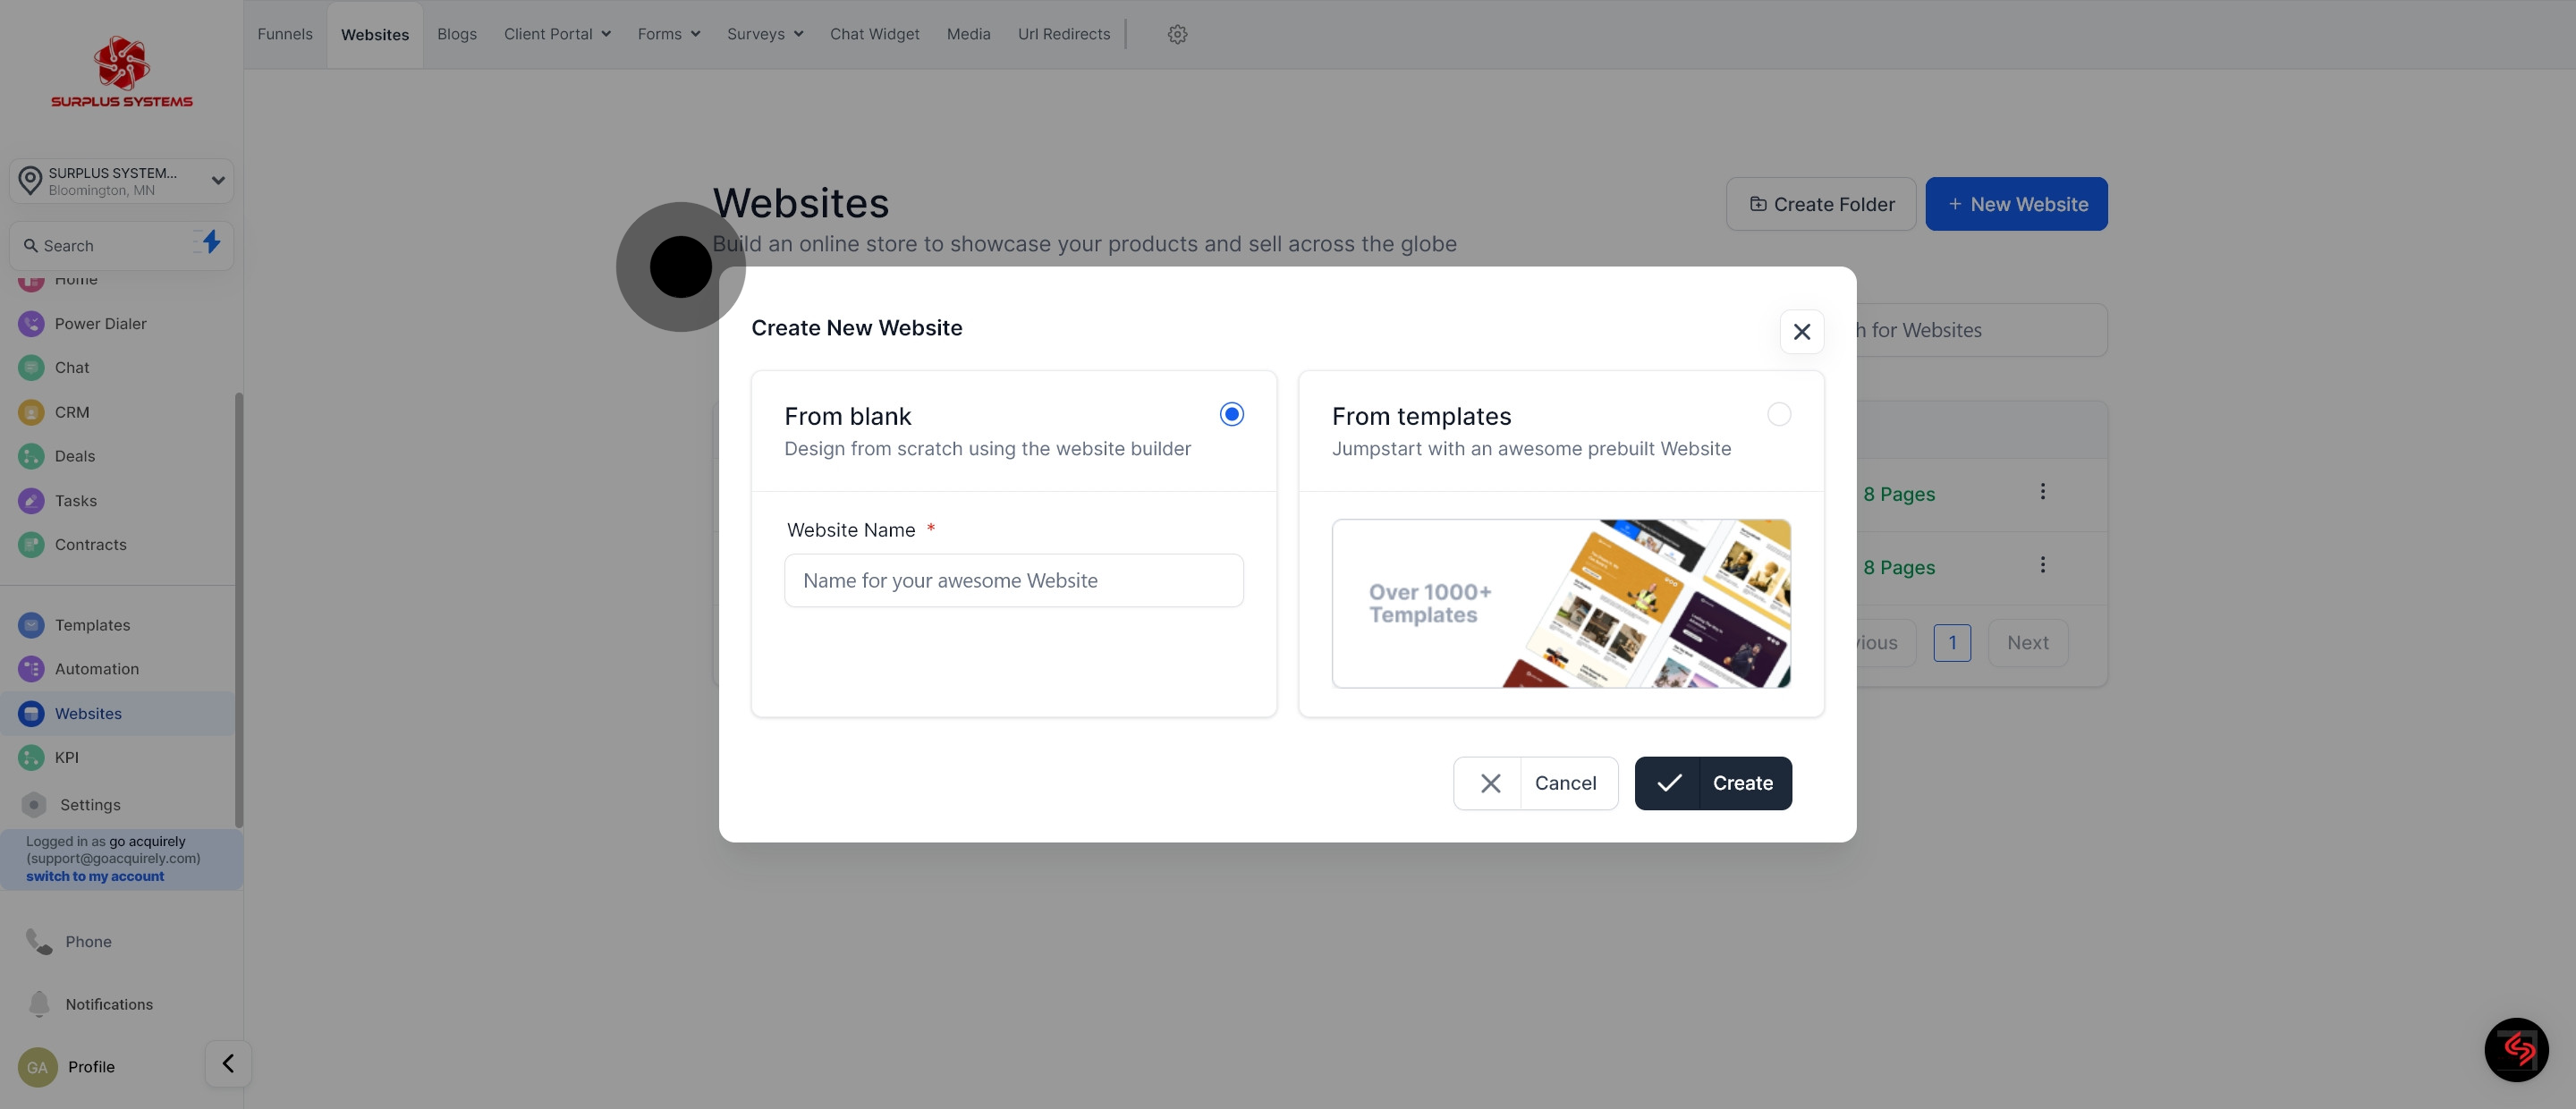
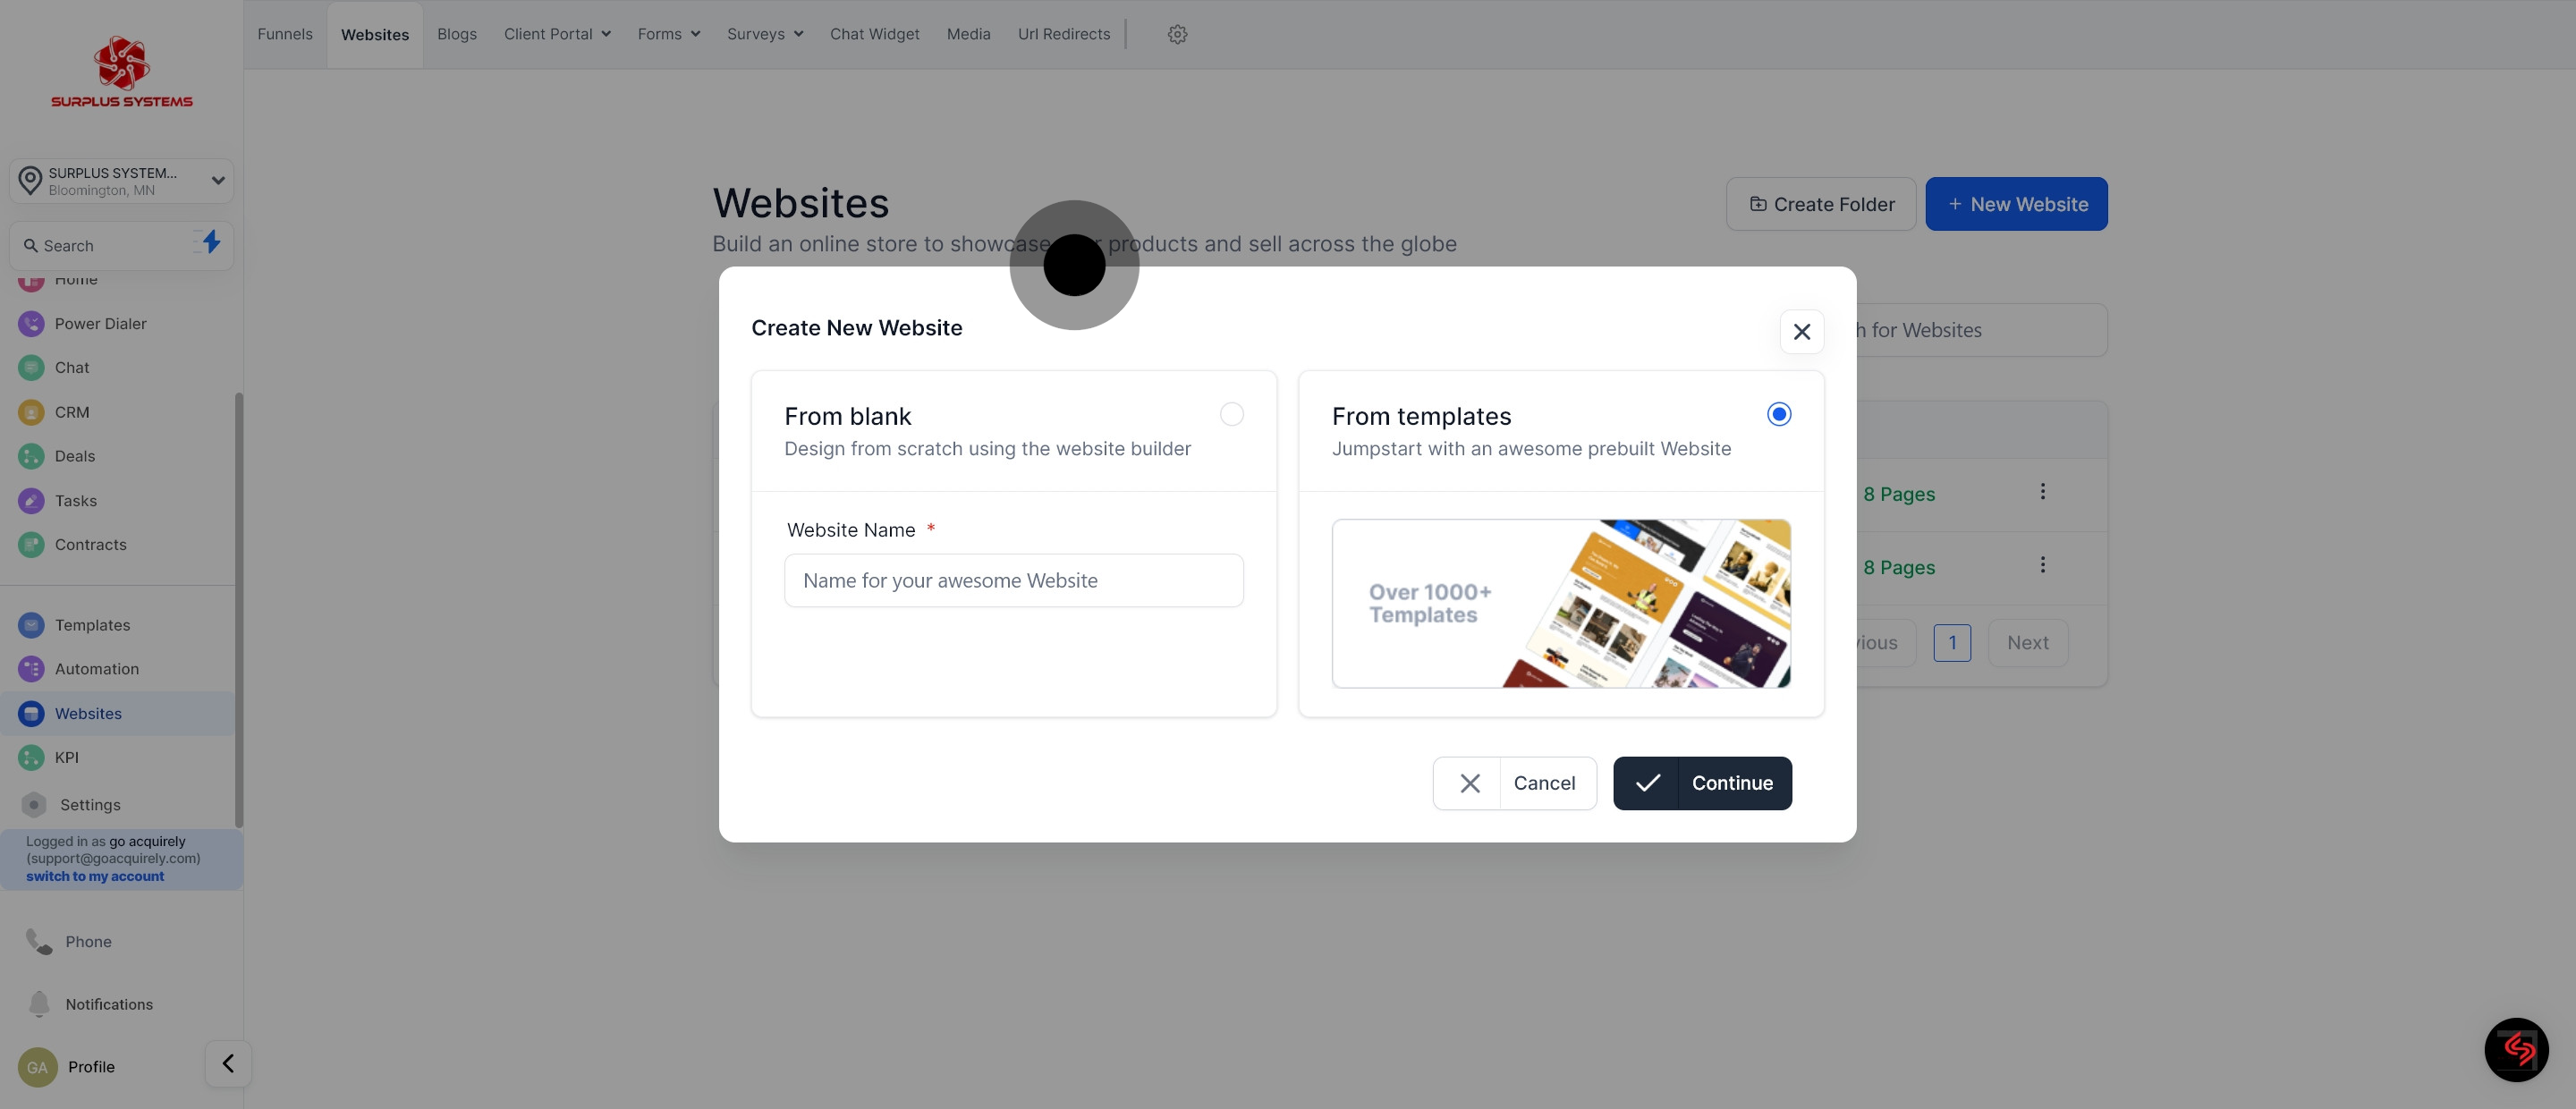
1. First off, click 'Websites'

1 First off, click here.

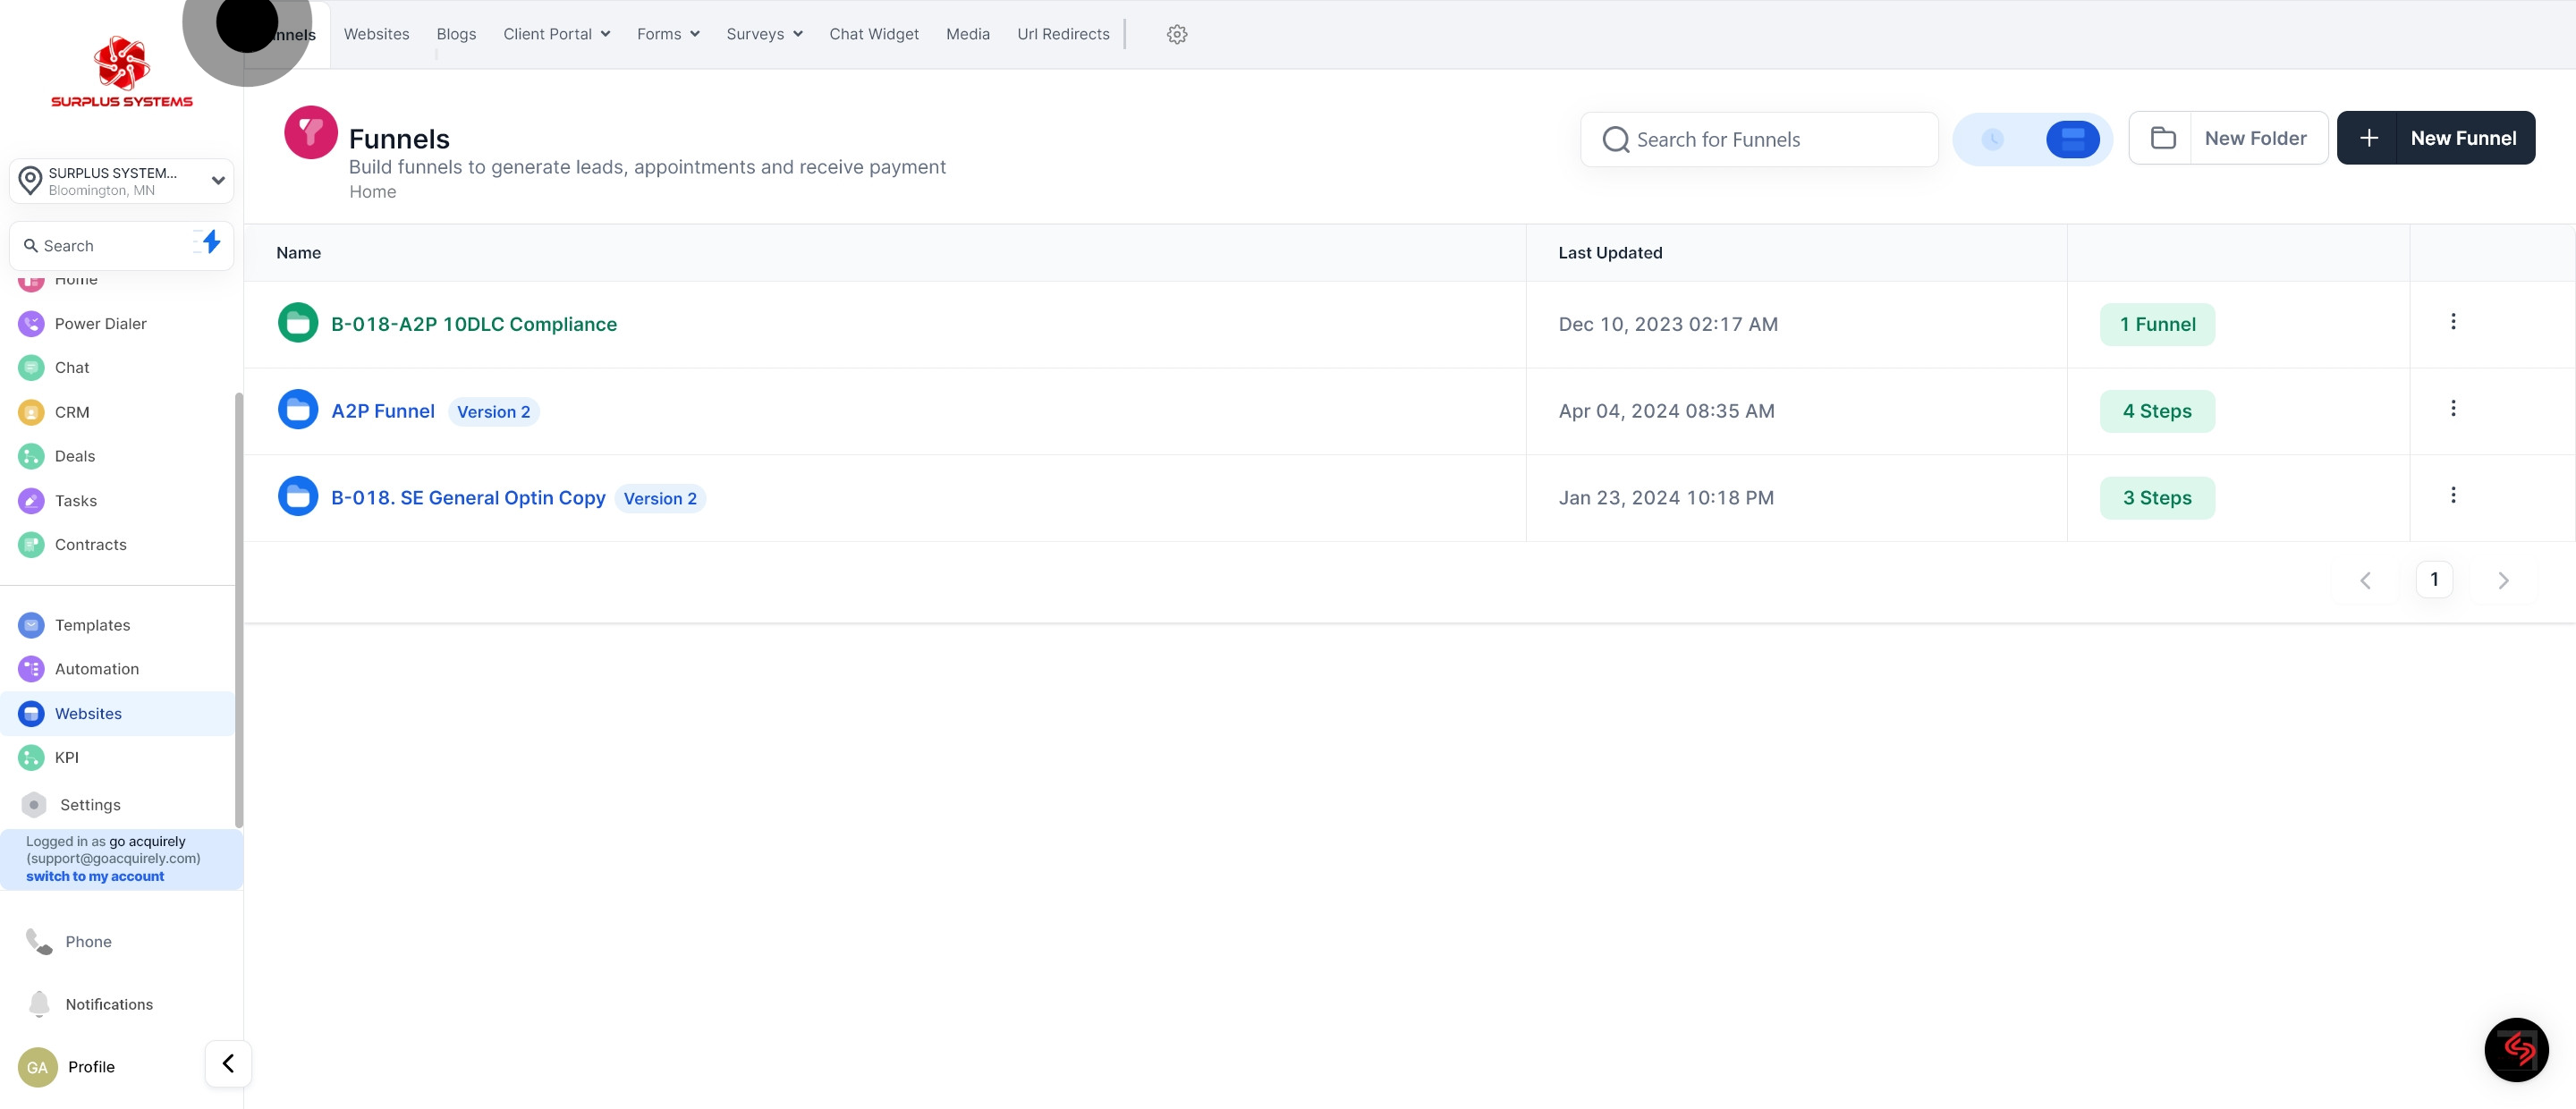
2. Click on "Websites".

2 Click on "Websites".

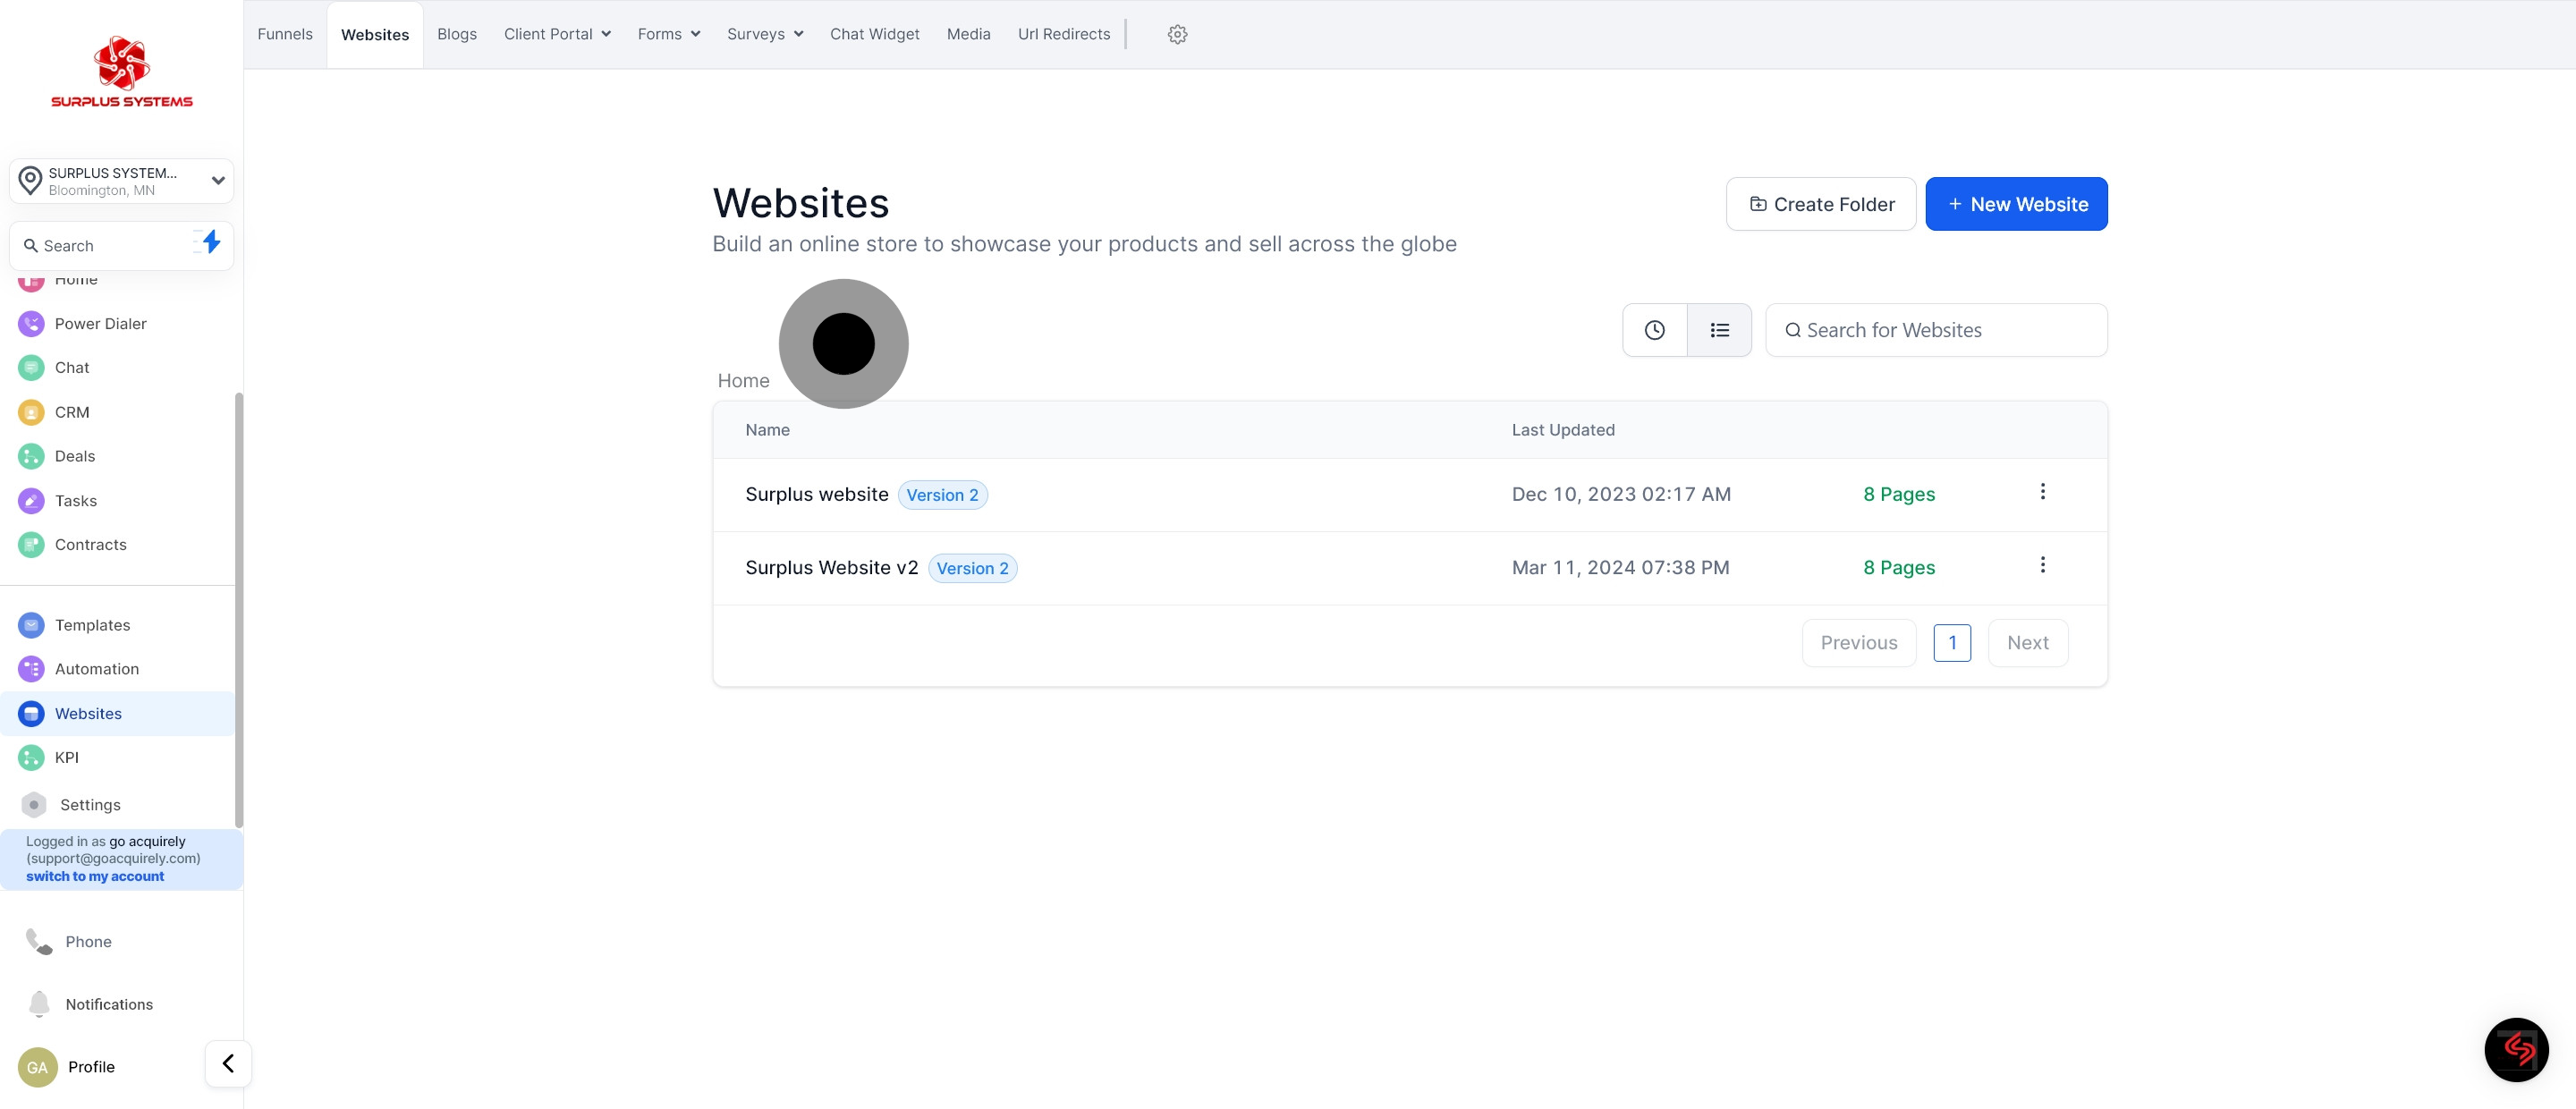
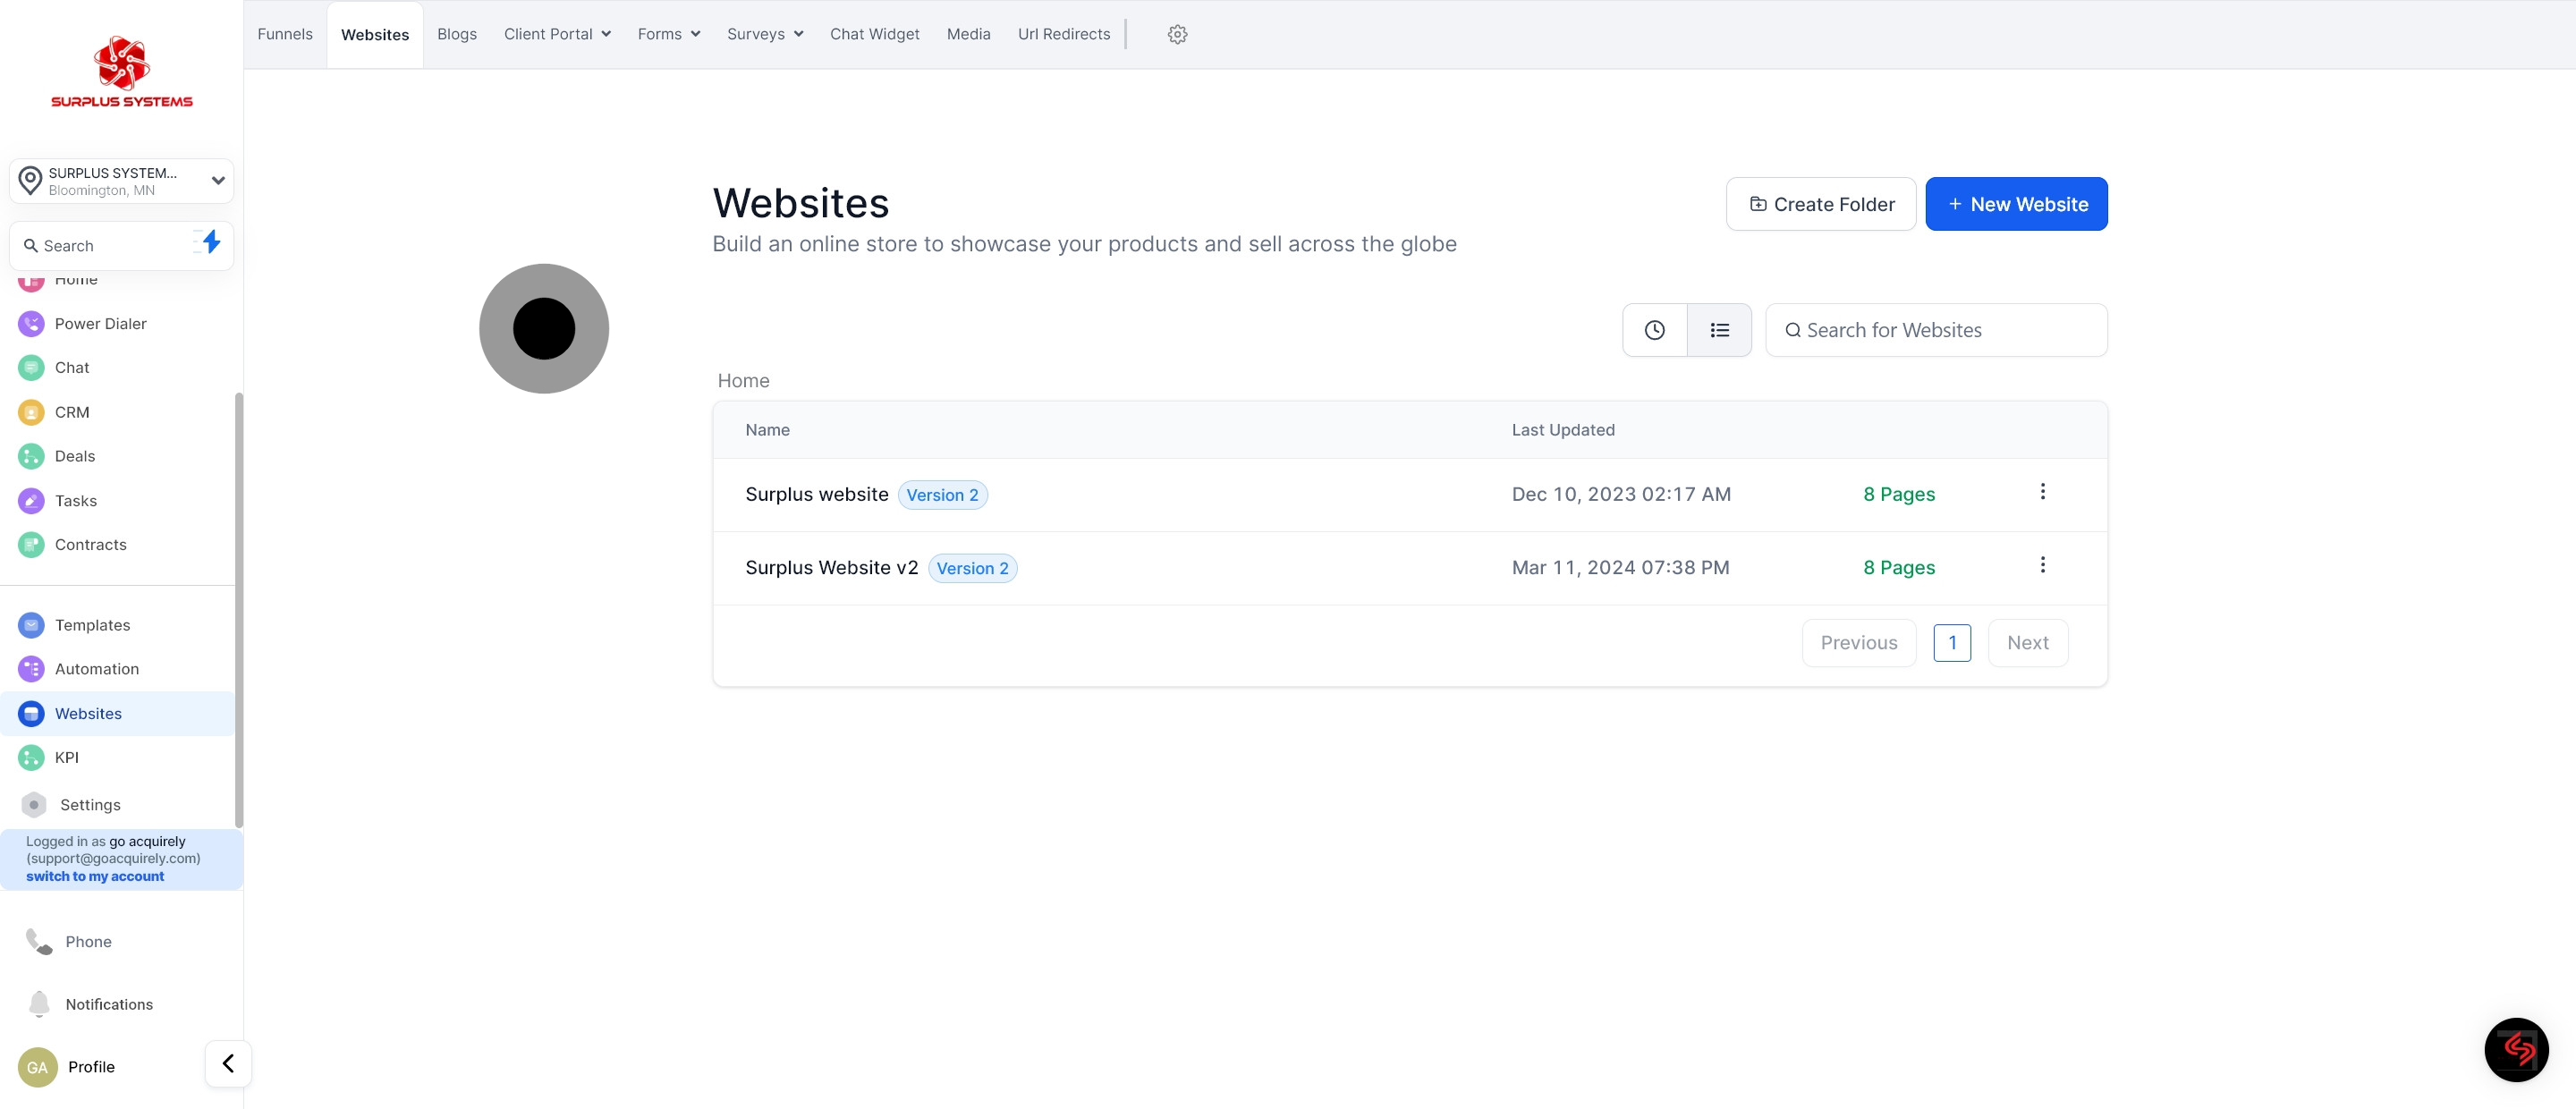
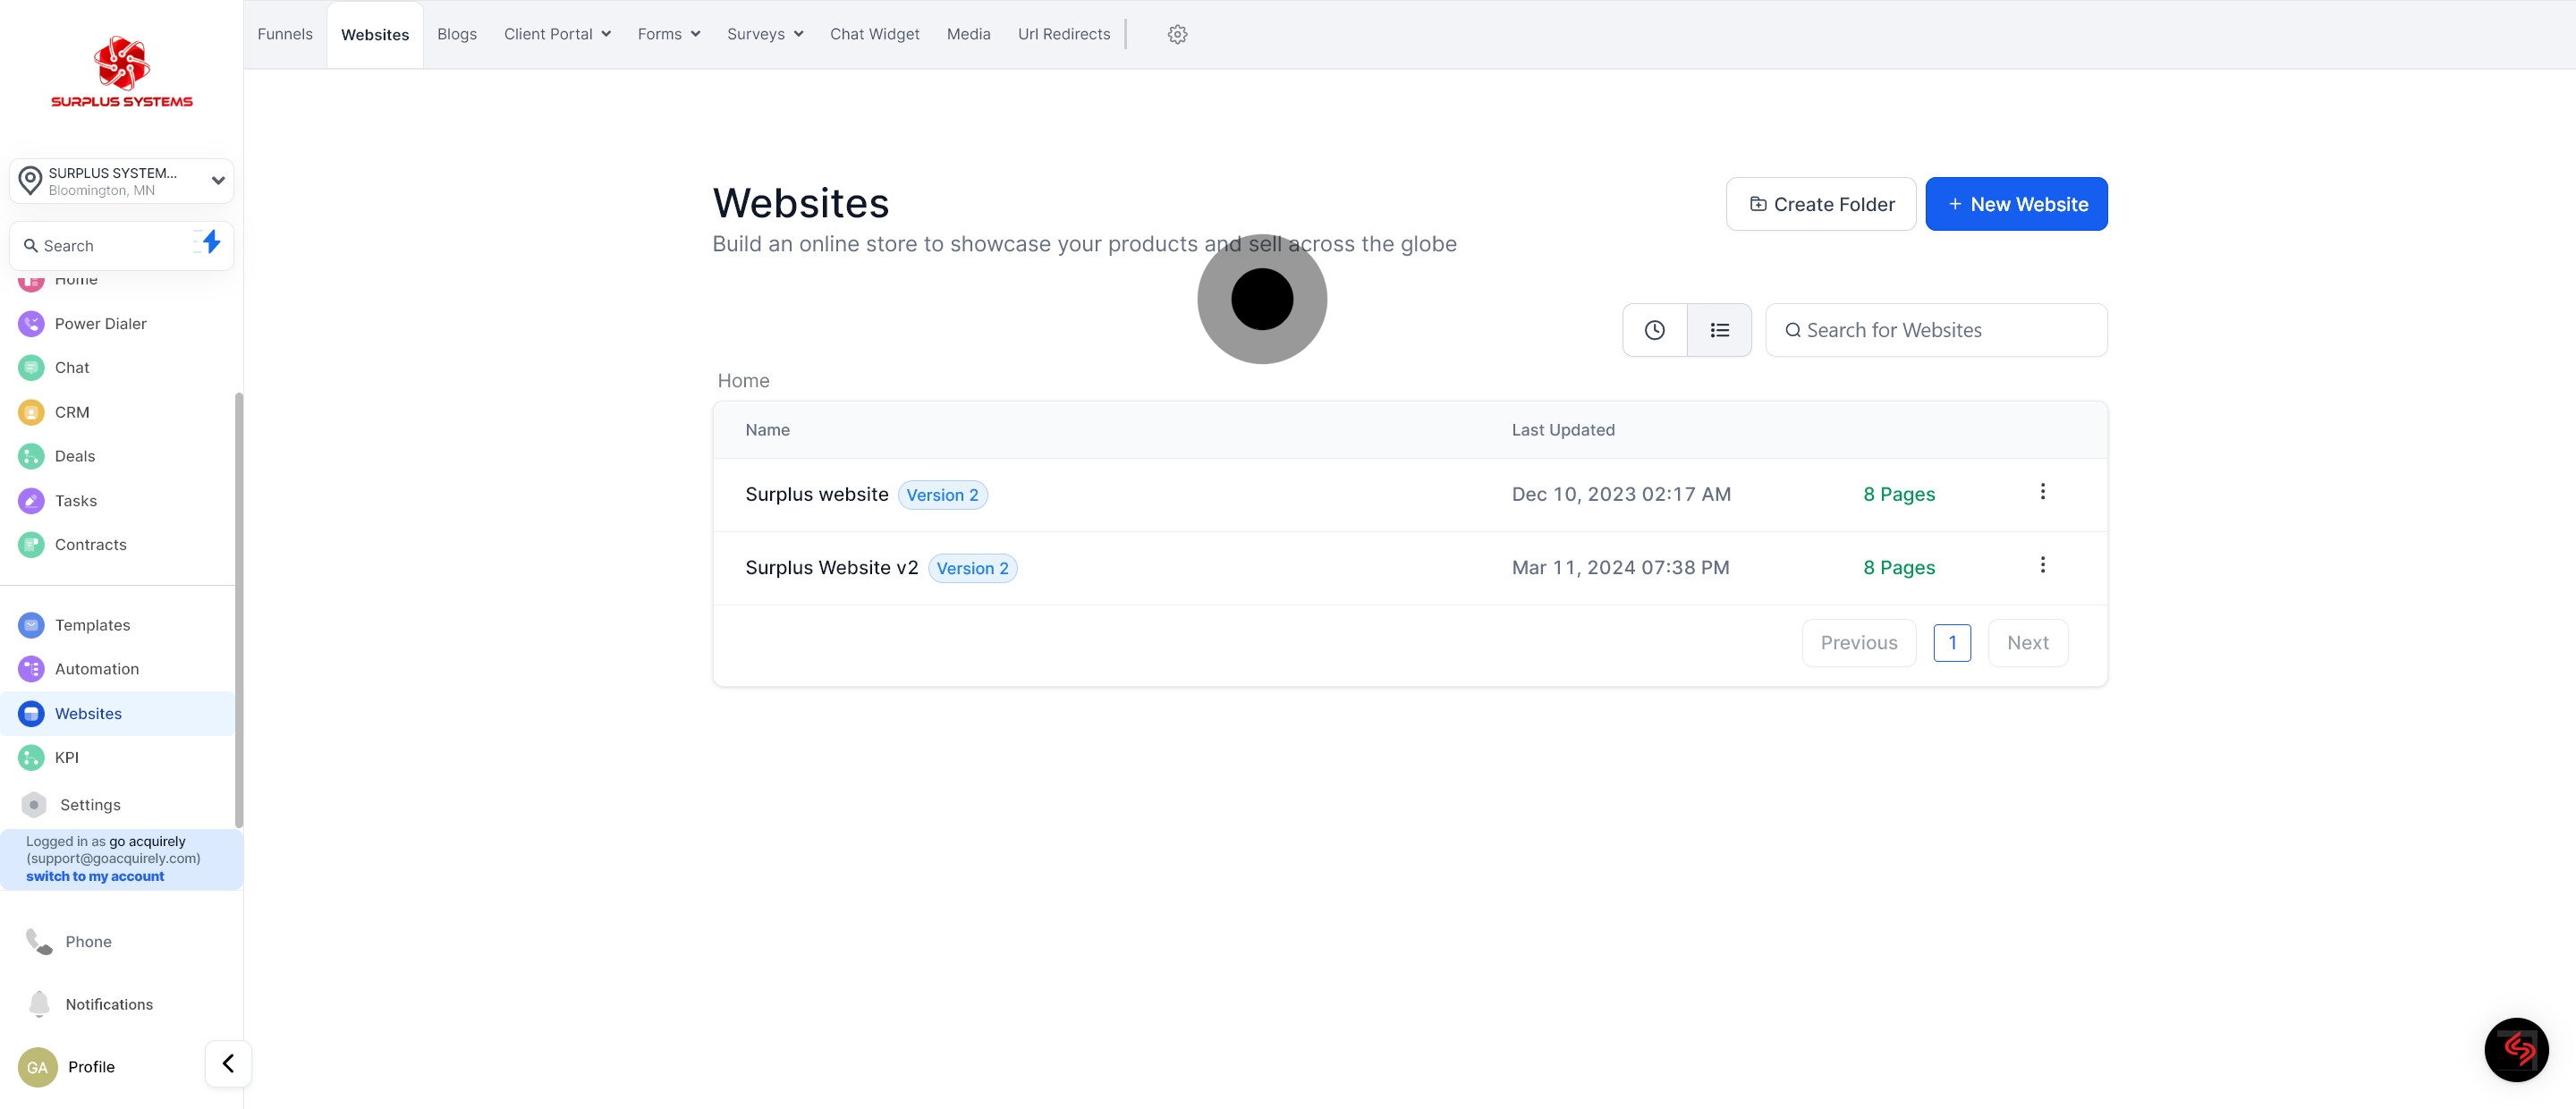
3. Search your website here

3 Then, click on "Websites".

4. This is your Websites list

4 Click on "Websites".

5. Website Name

5 Upload

6. Website's last update

6 Upload

7. Website's total number of page/s

7 Upload

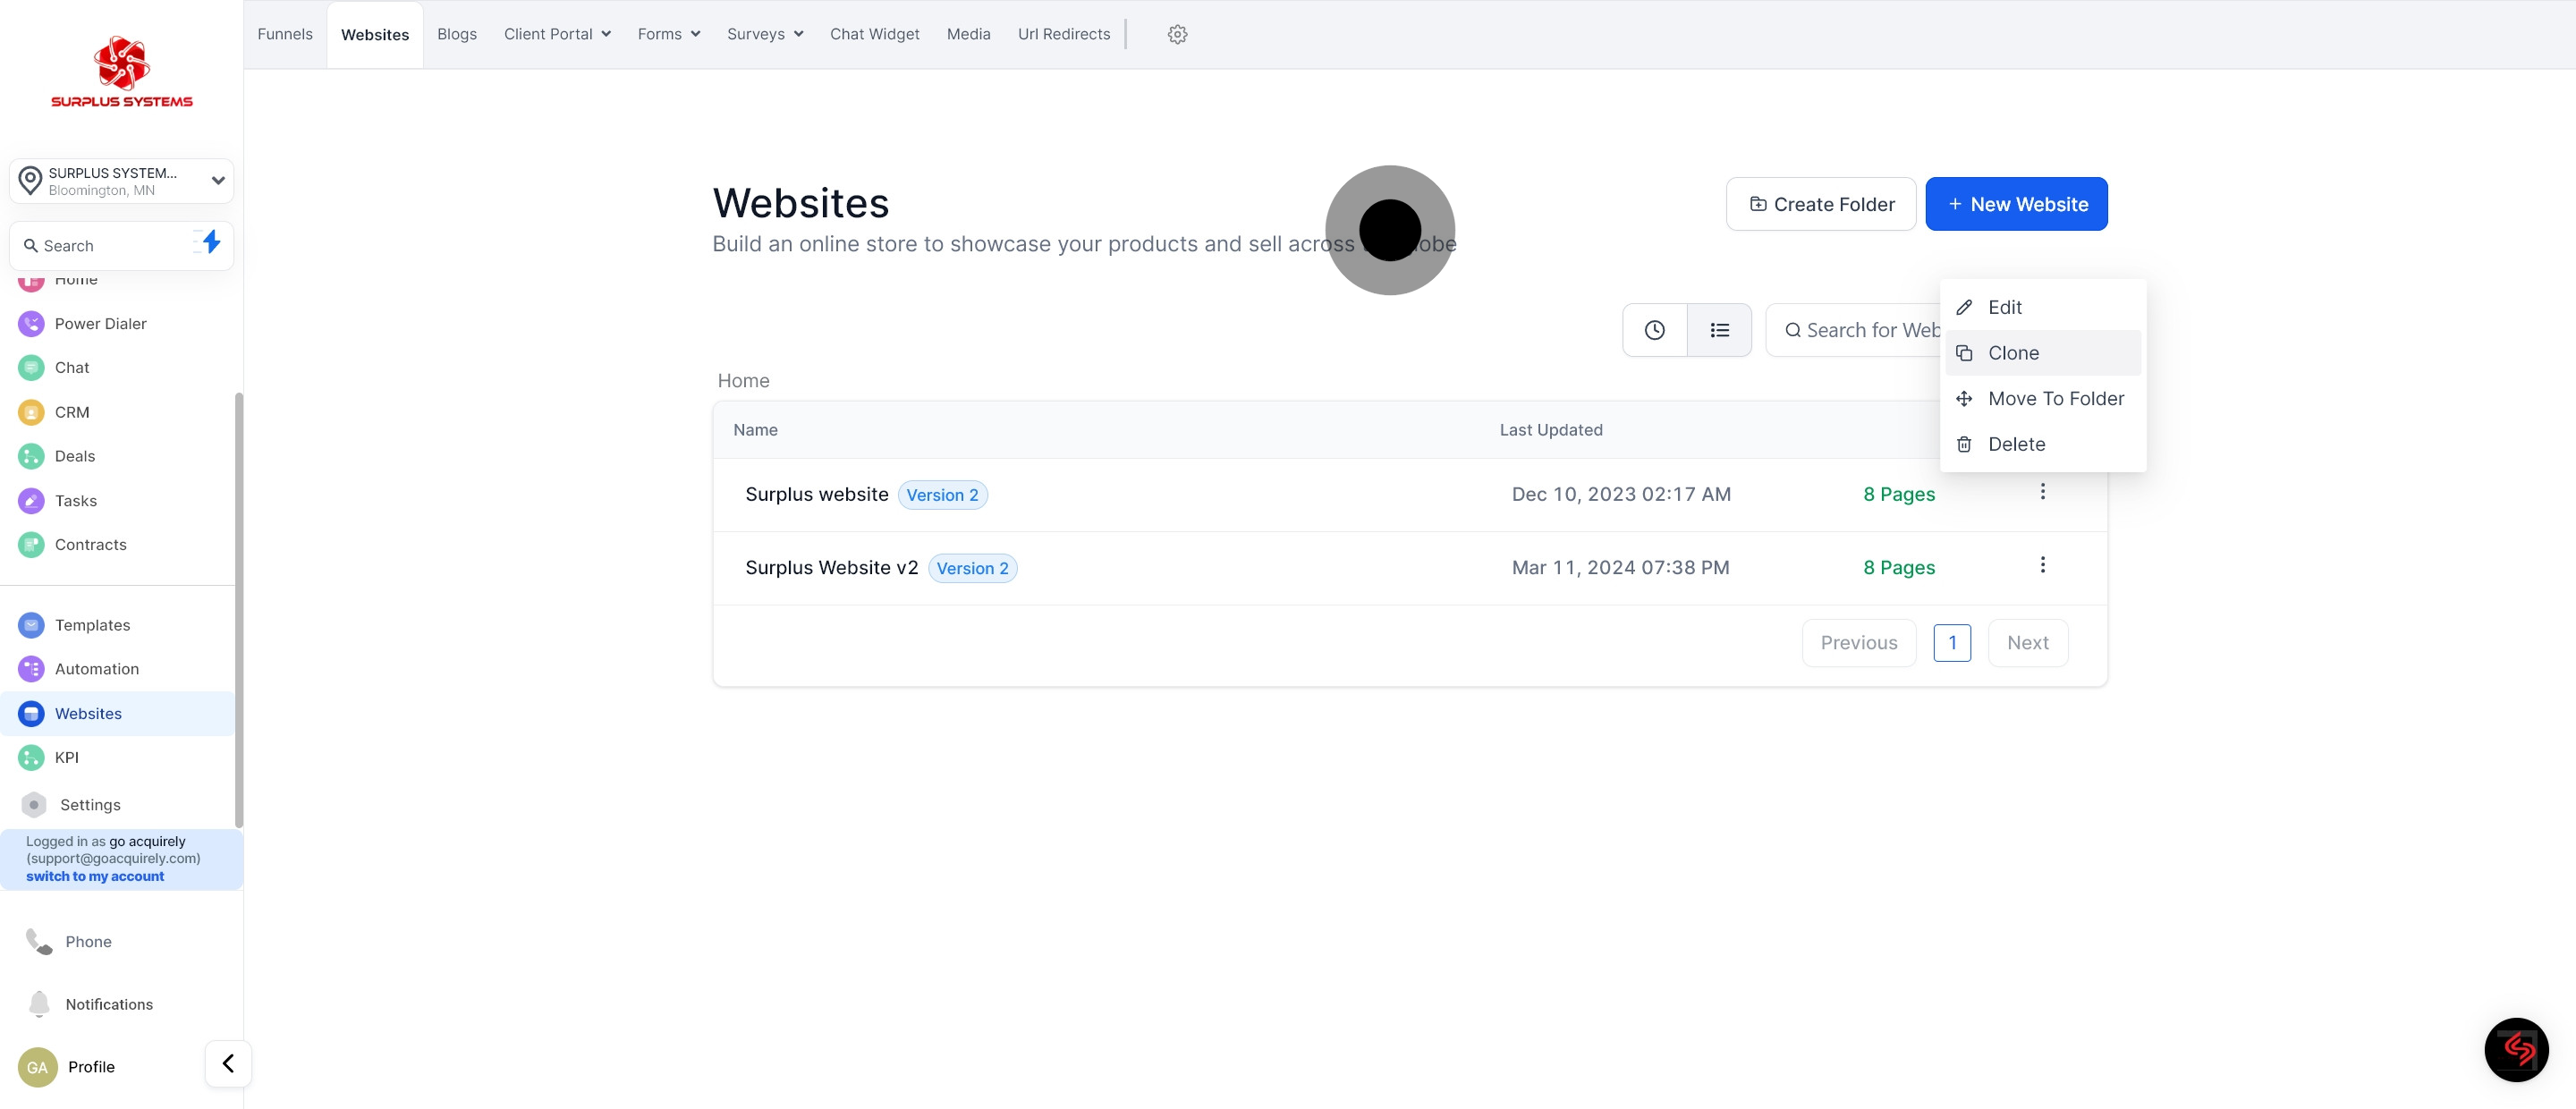
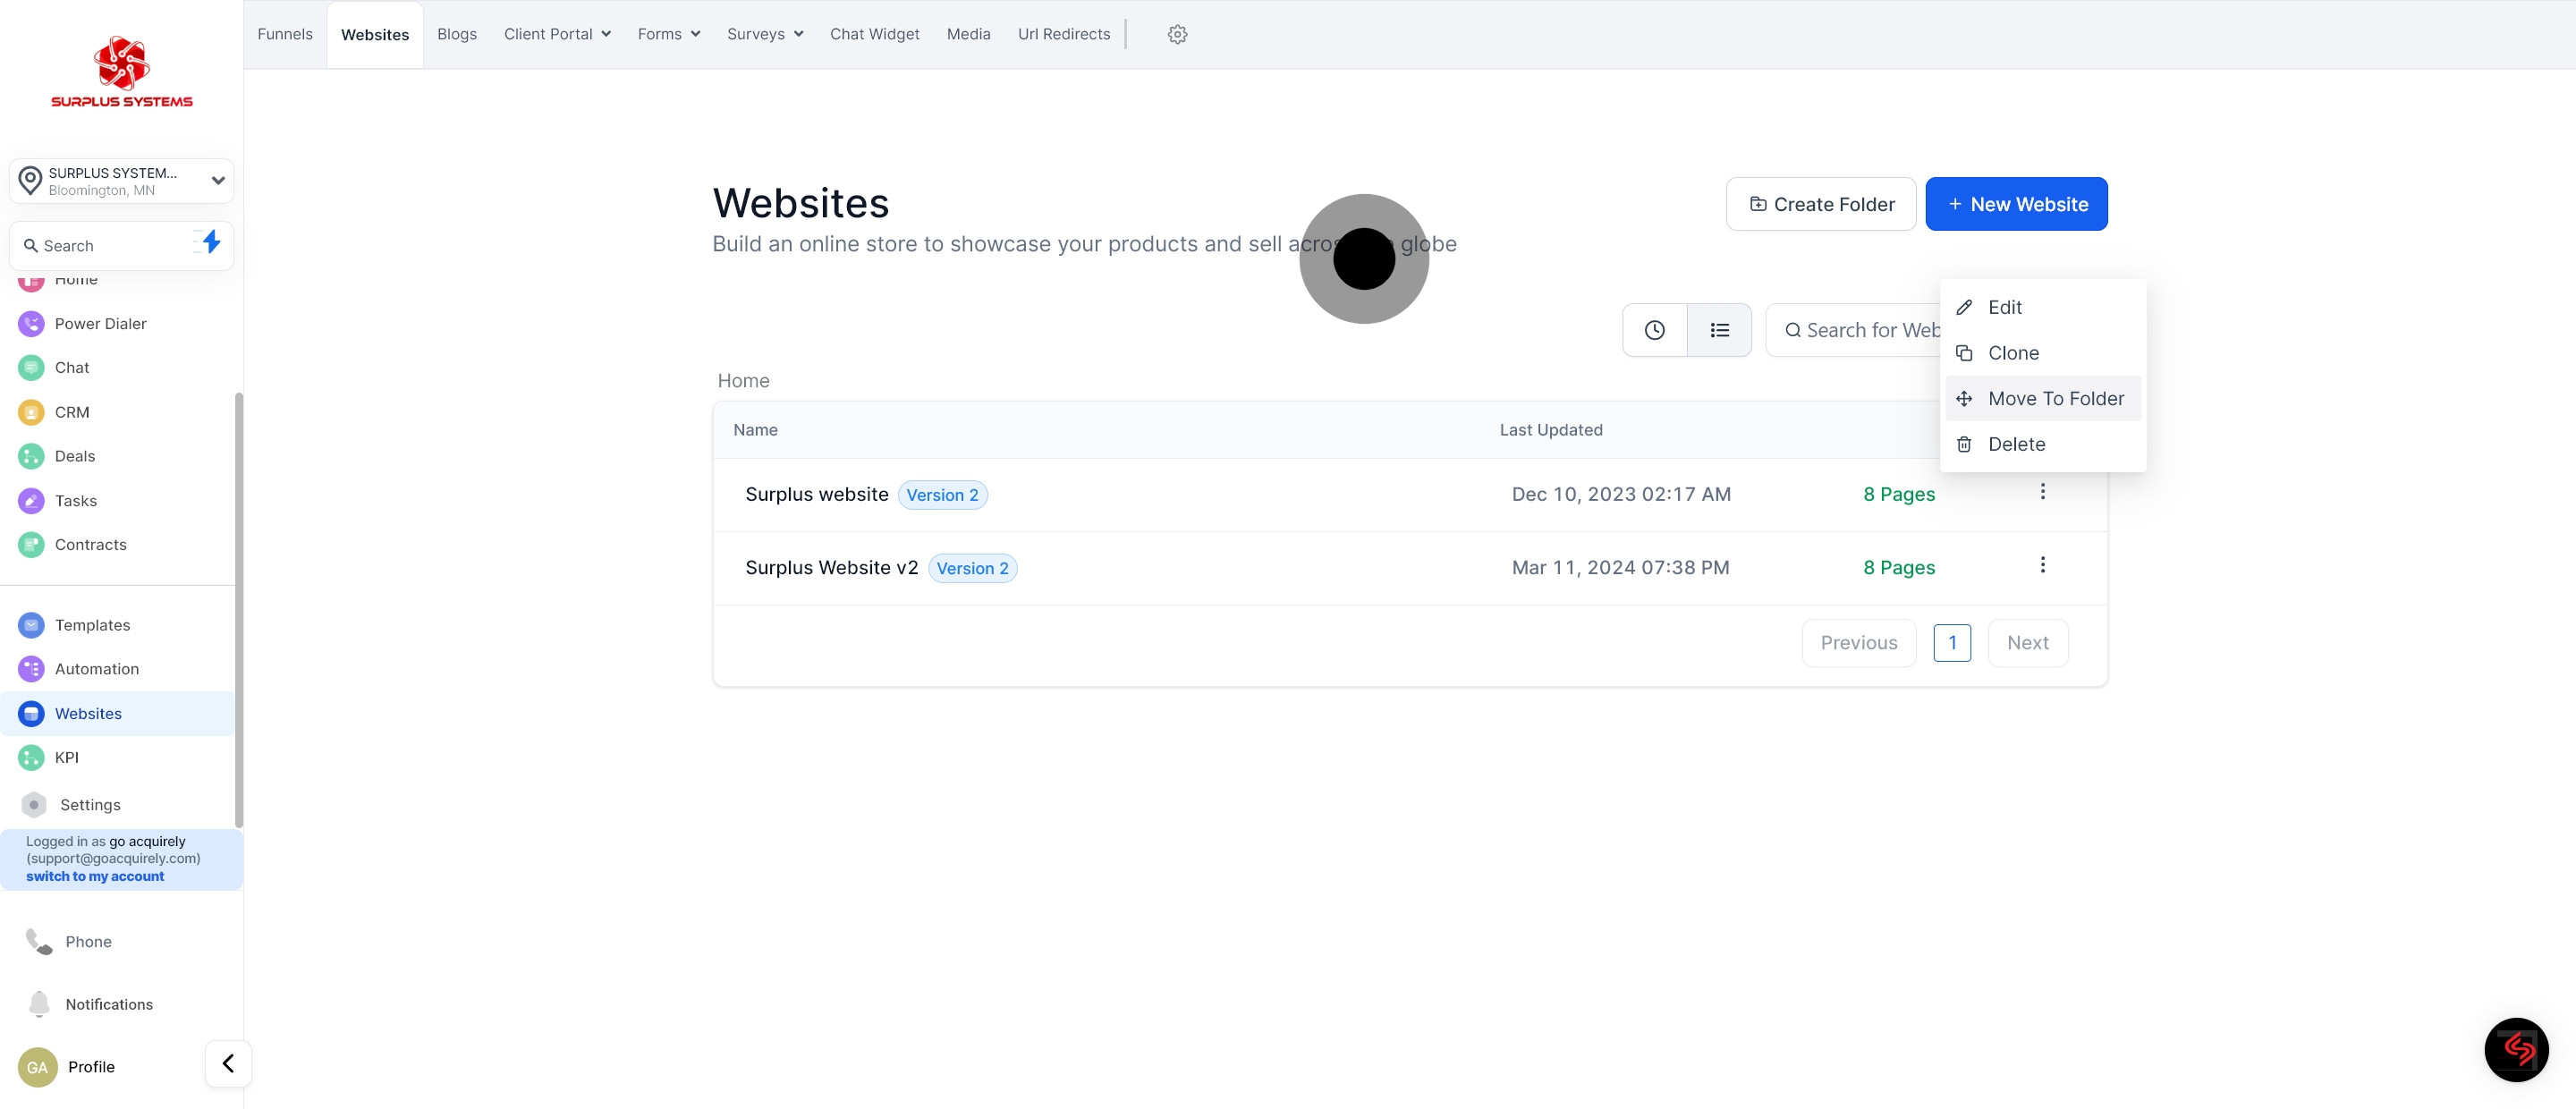
8. Click here for more actions
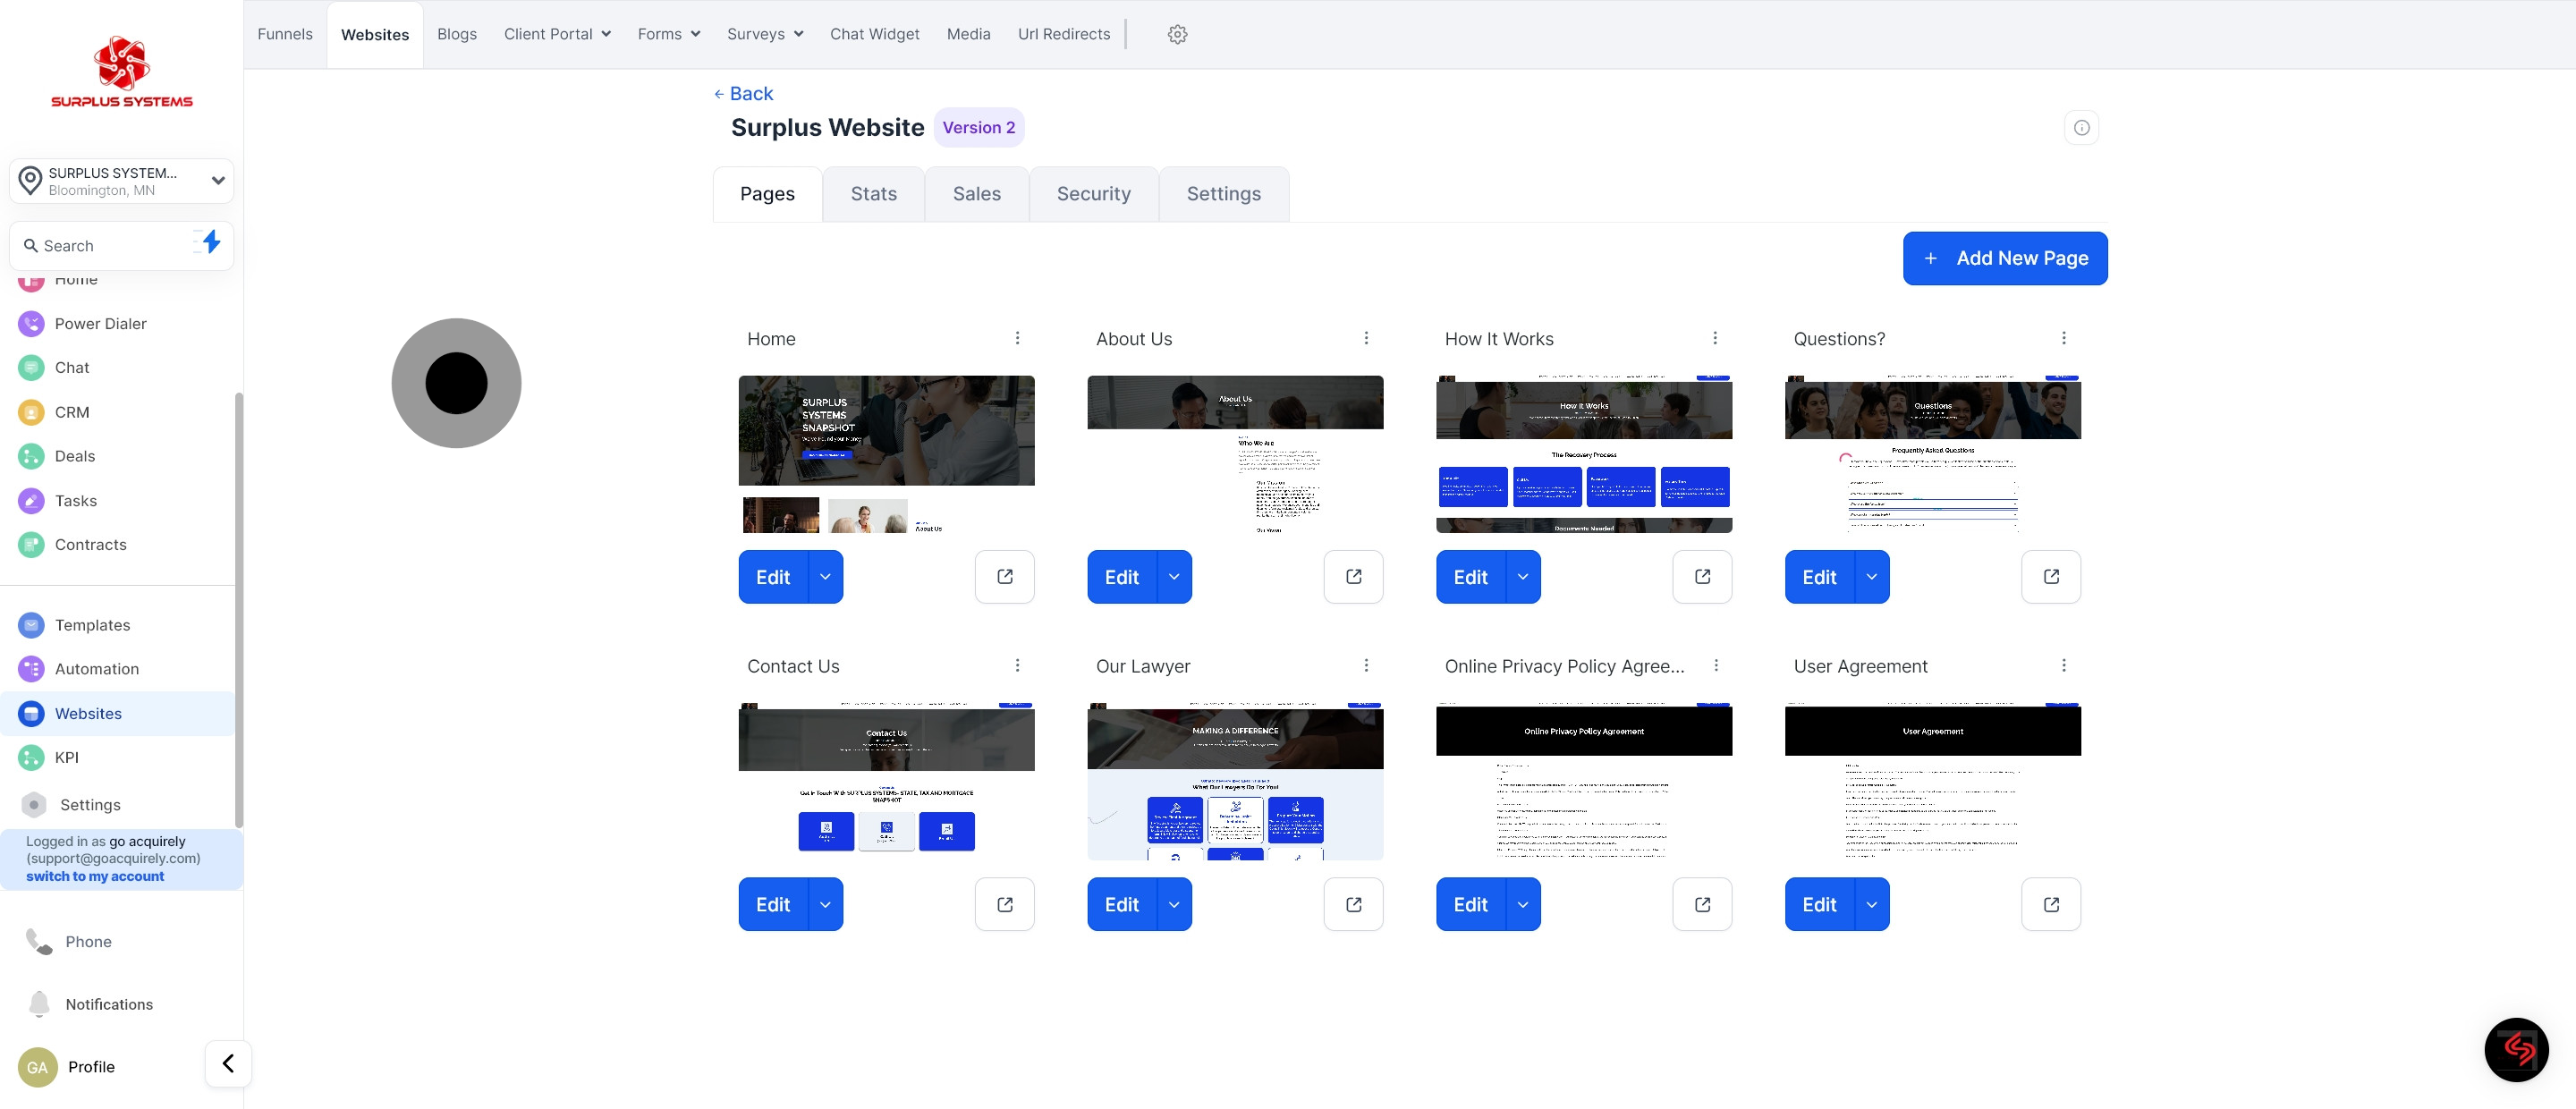
8 Click here.

9. Click on "Edit".

9 Click on "Edit".

10. You may edit your website here

10 Click on the element.

11. Then, click on "Clone".

11 Then, click on "Clone".

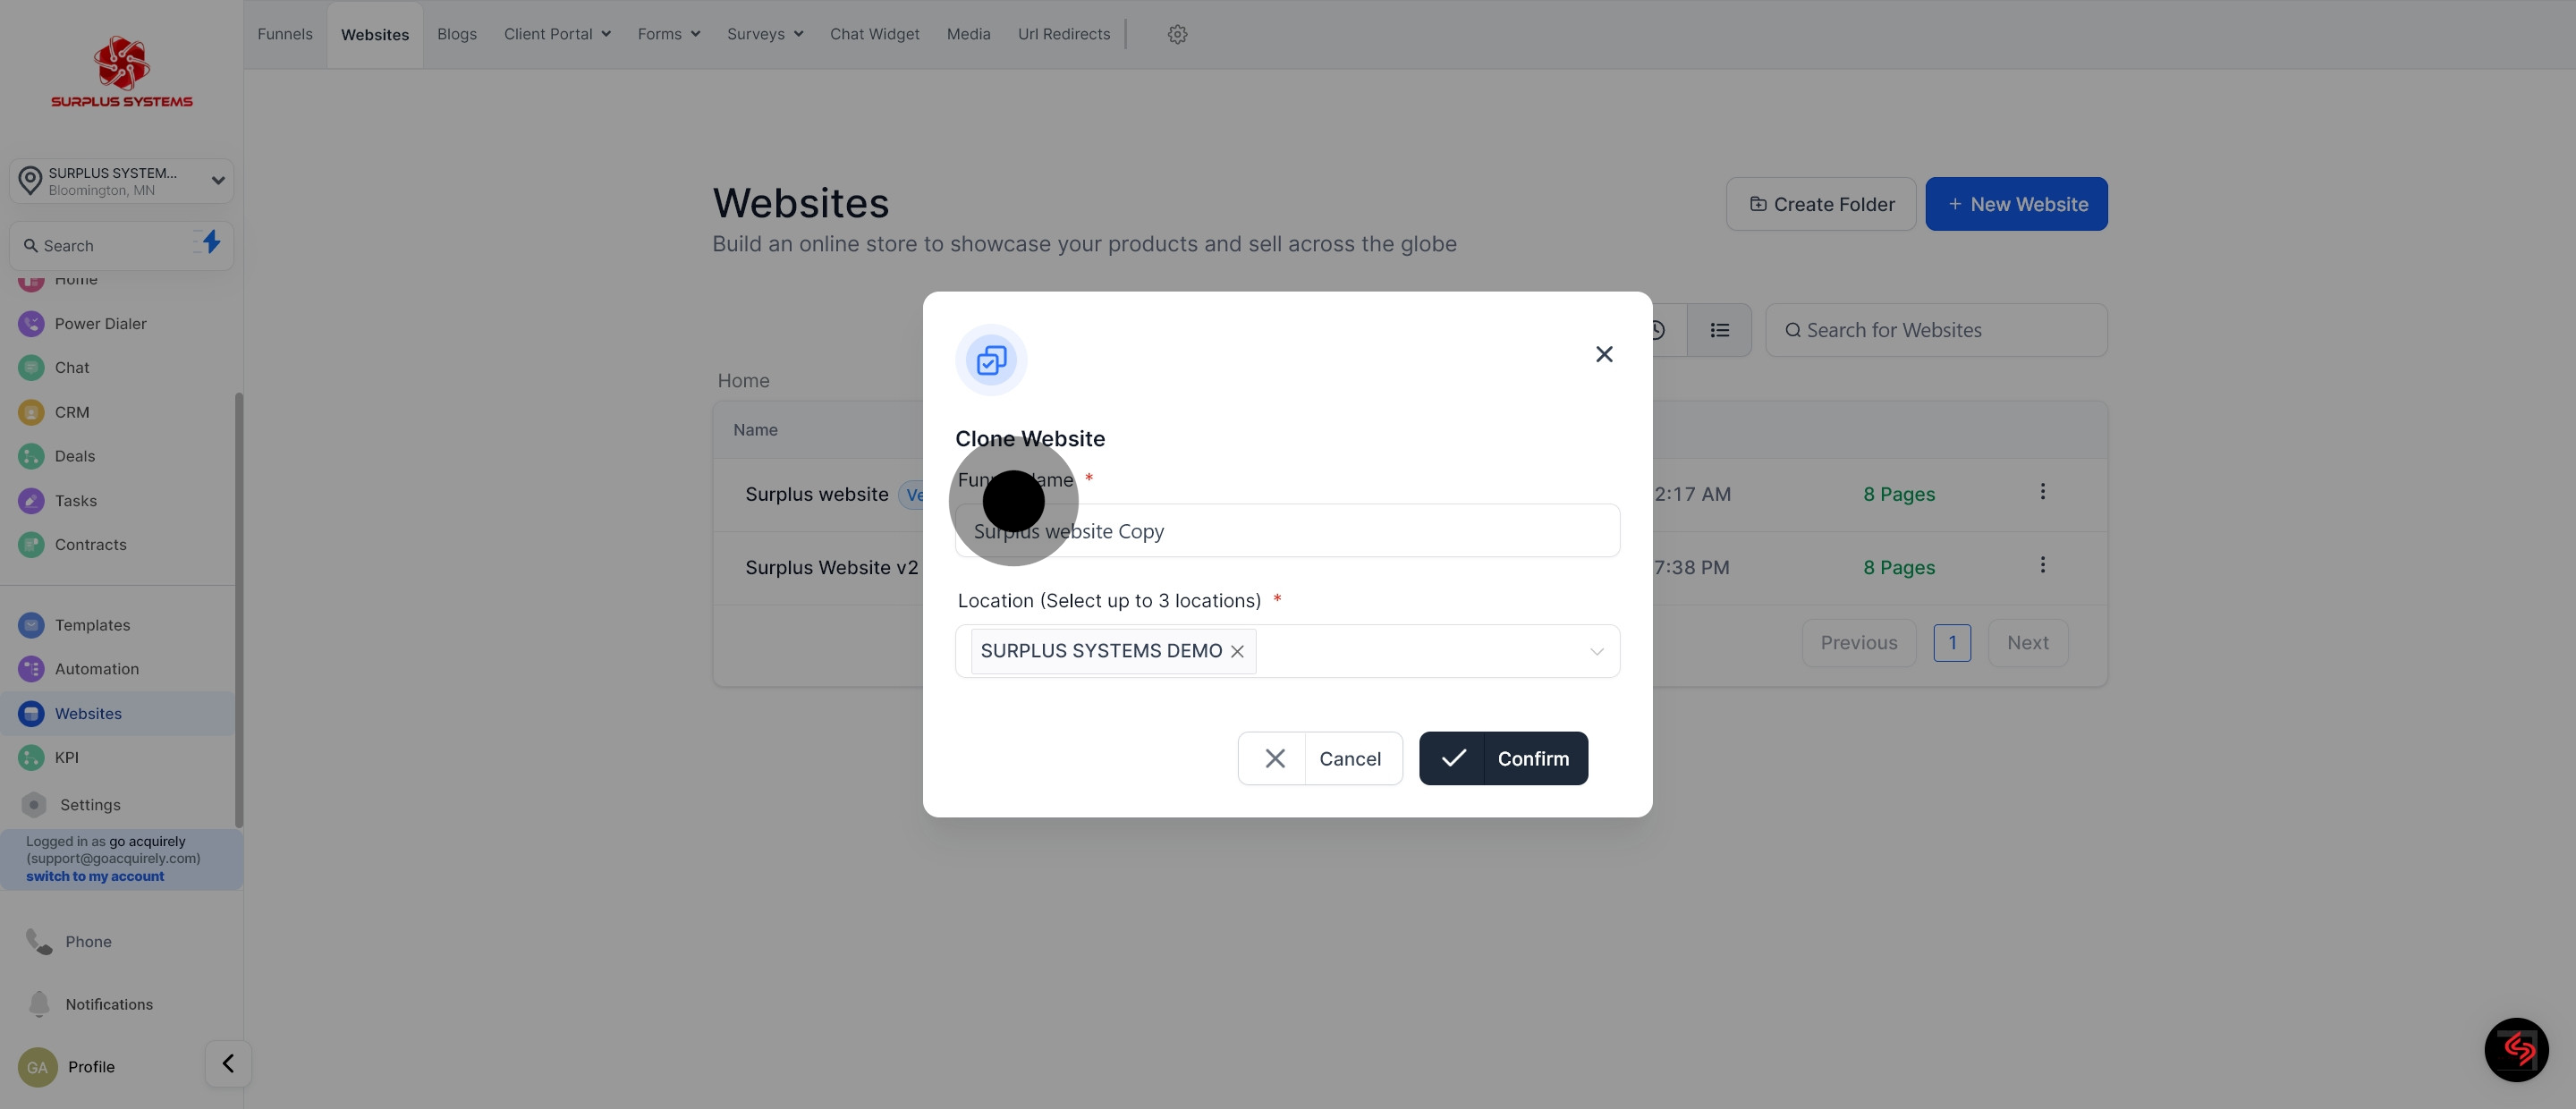
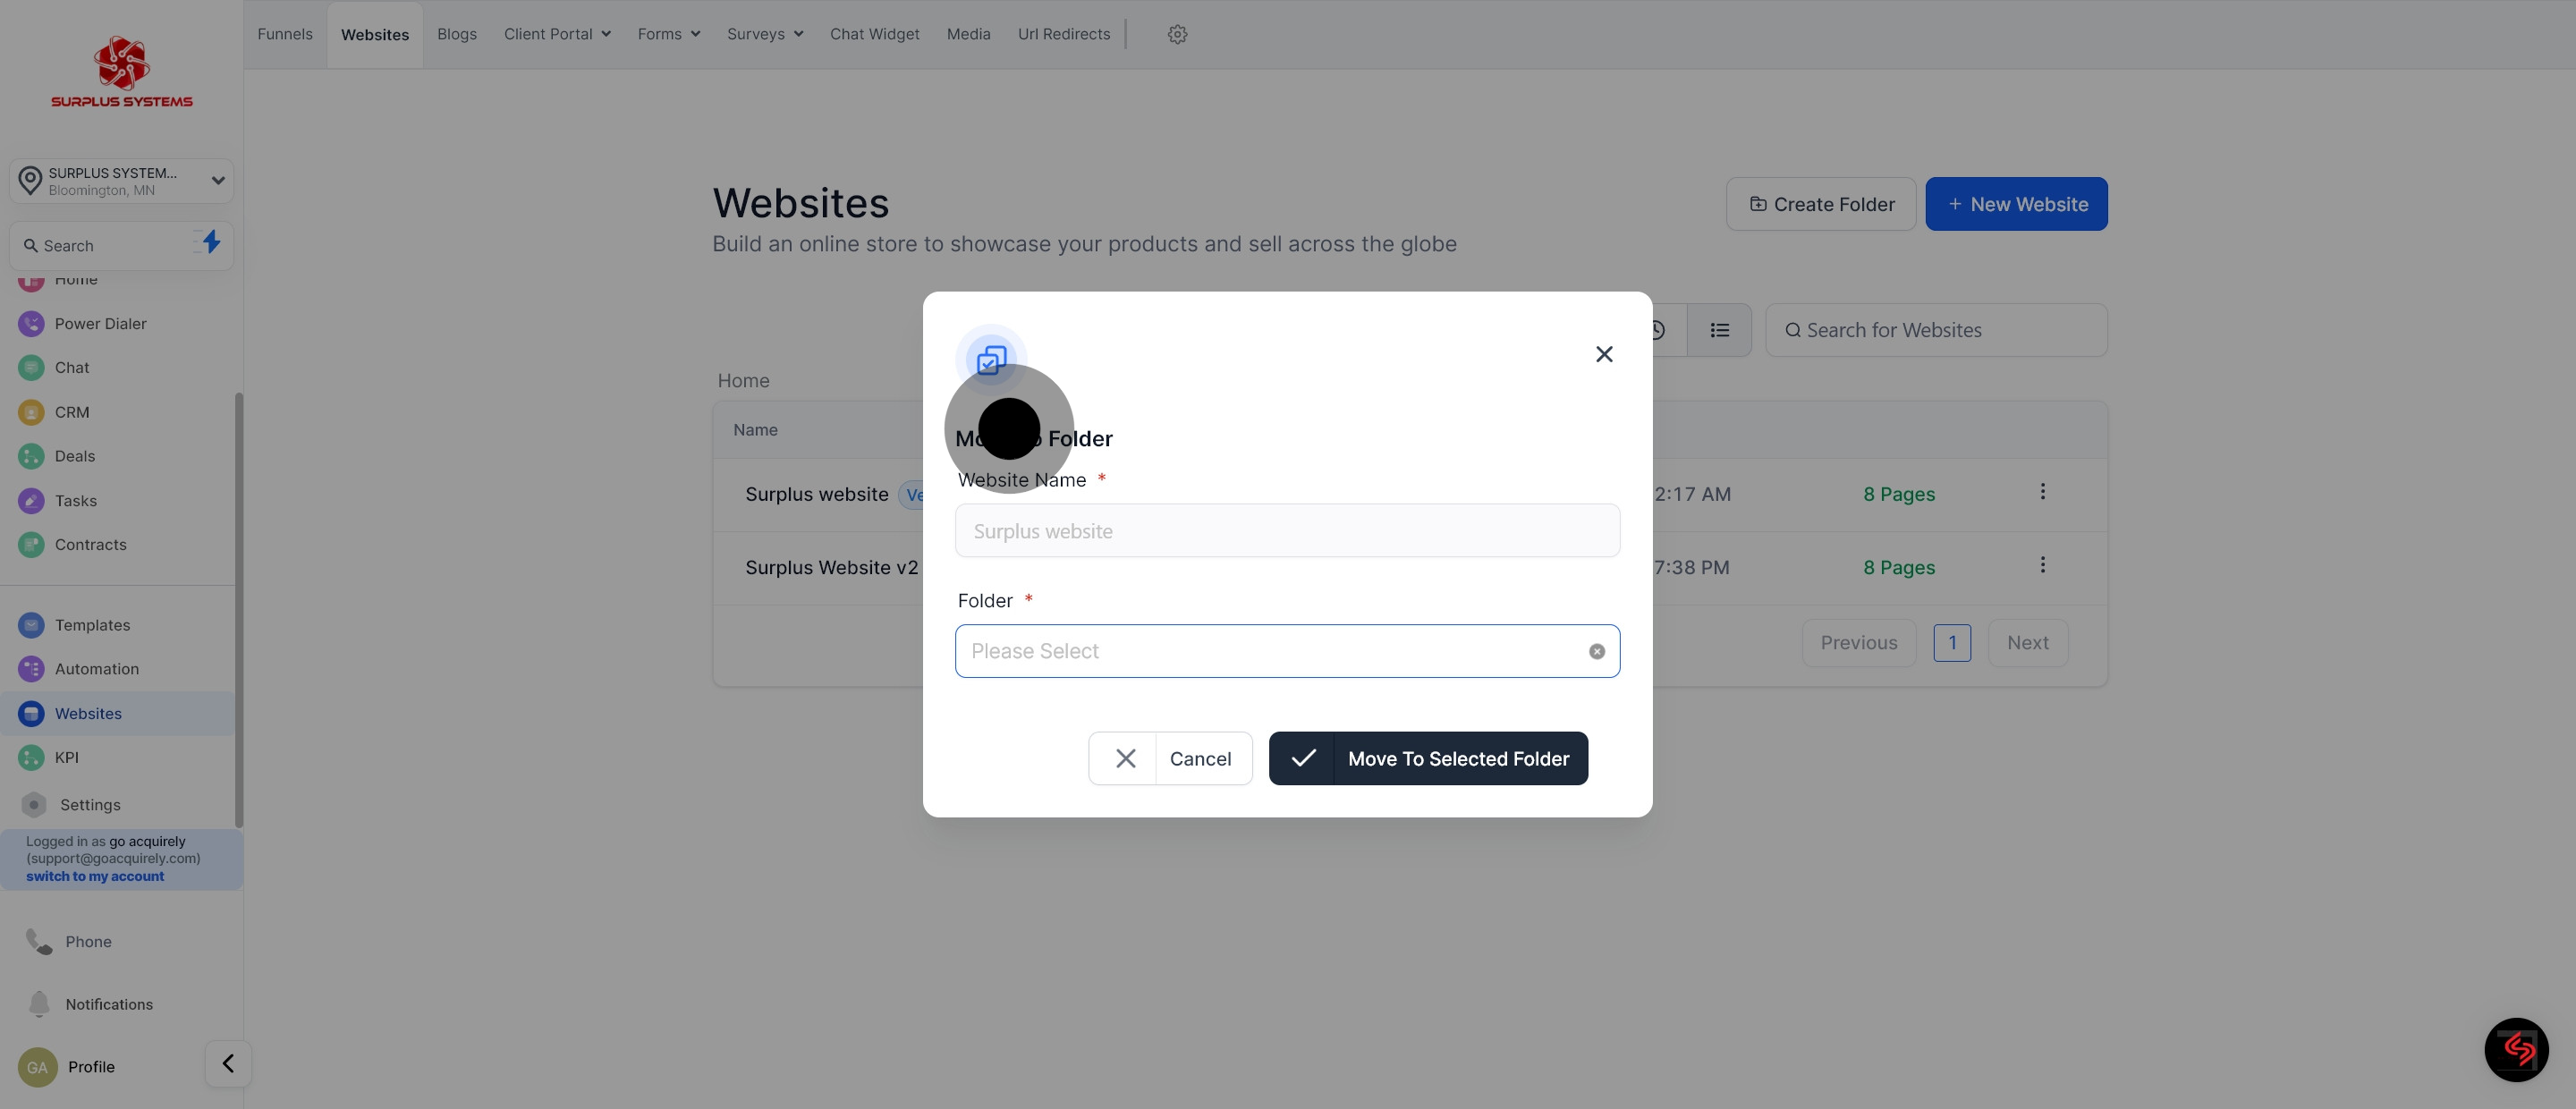
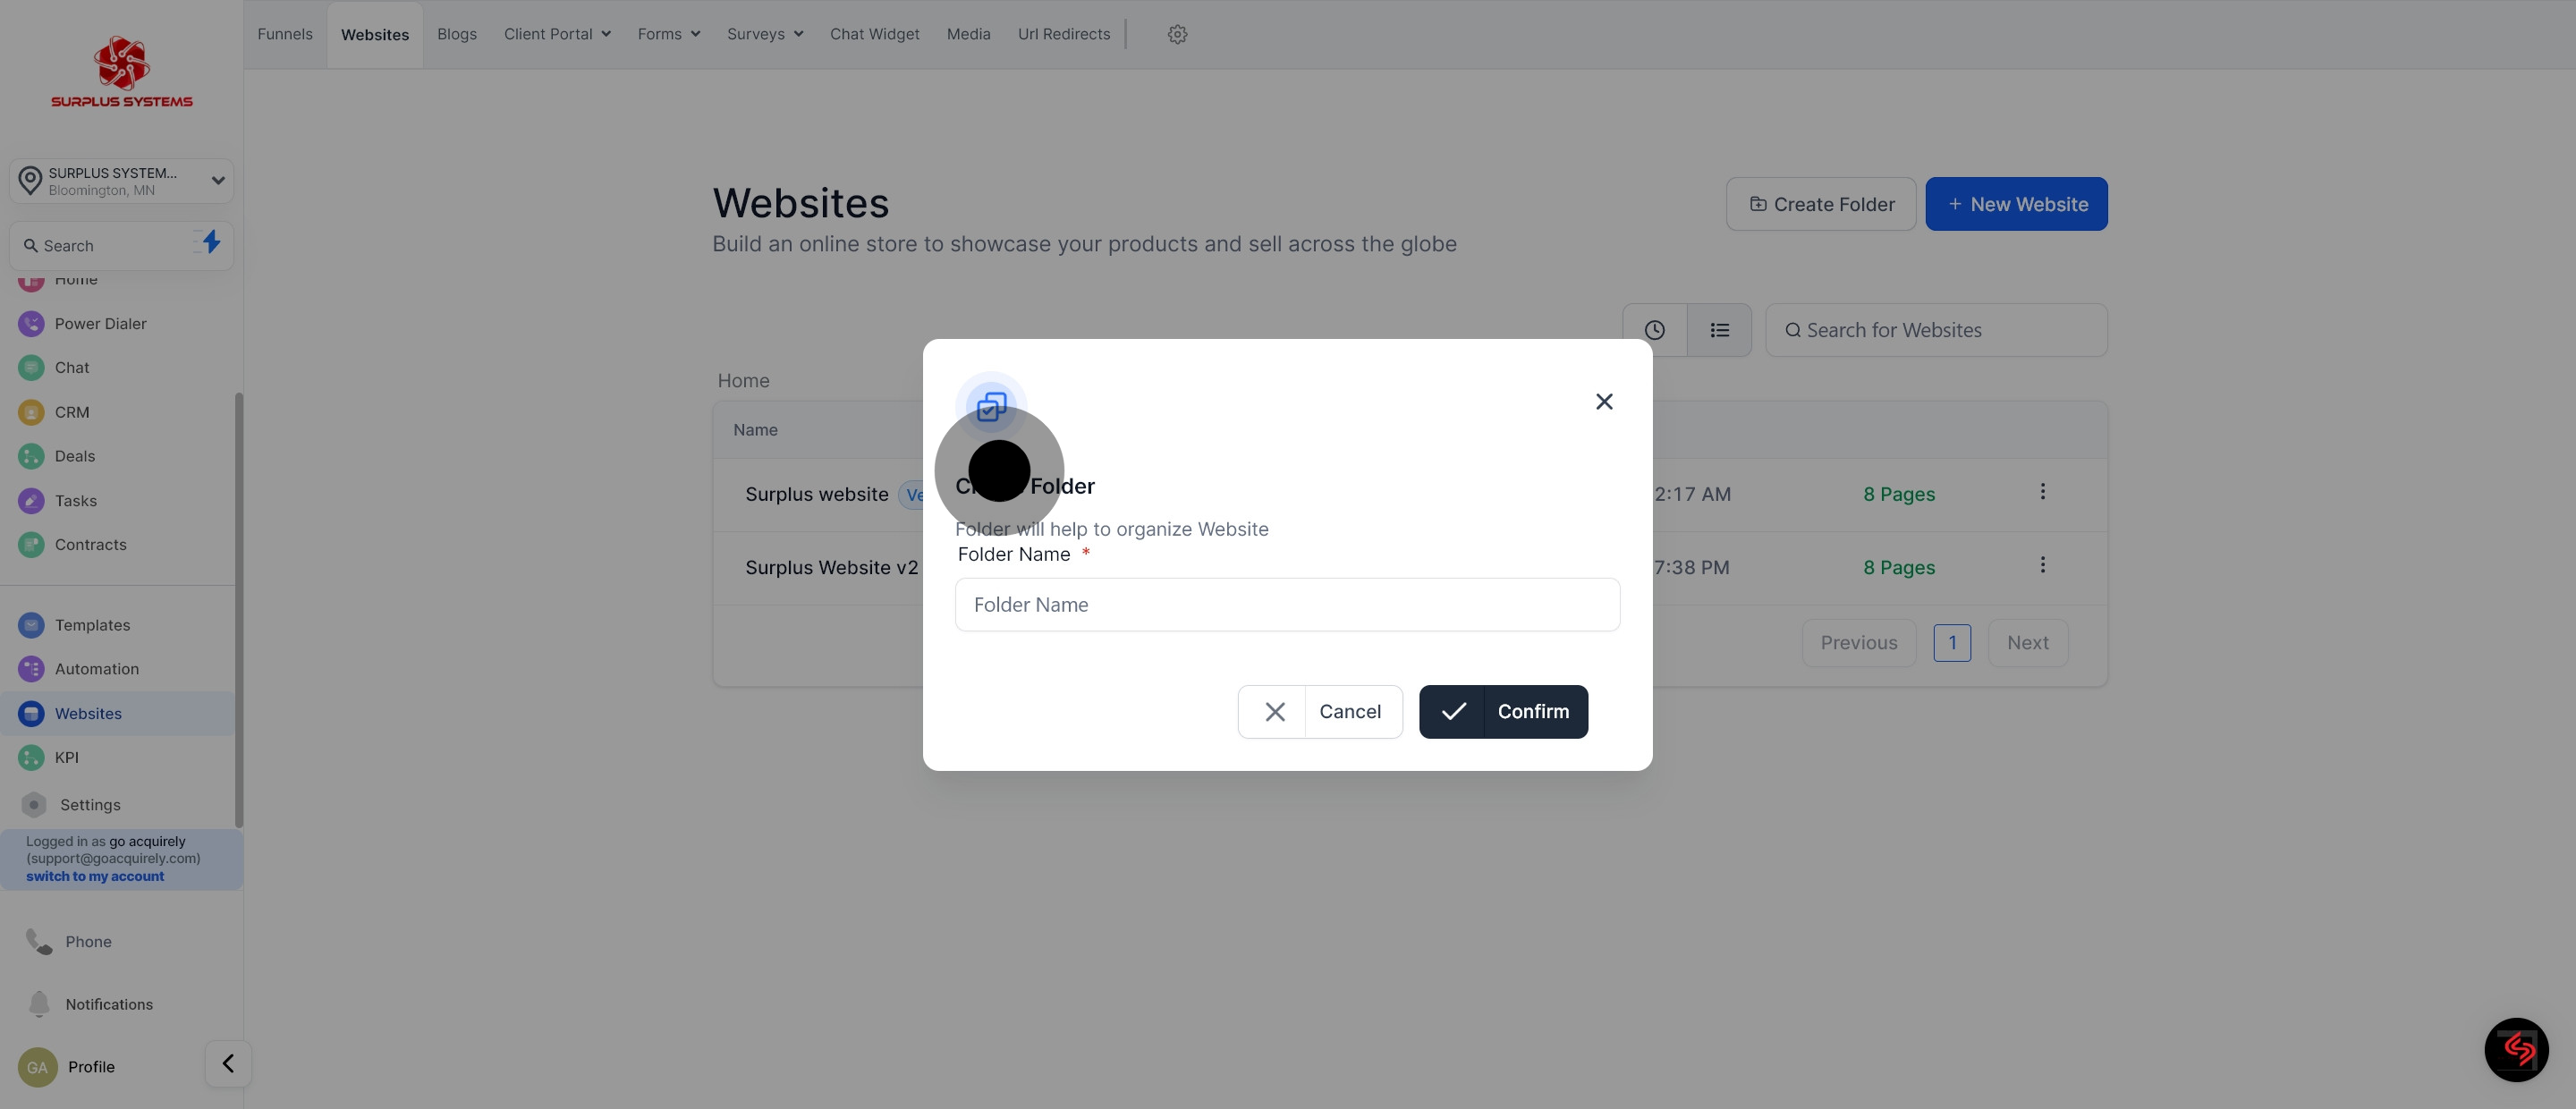
12. Fill in details then click 'Confirm' to clone the website

12 Click on the element.

13. Next, click on "Move To Folder".

13 Next, click on "Move To Folder".

14. Choose folder to move the Website

14 Click on the element.

15. Lastly, click on "Delete".

15 After, click on "Delete".

16. Click button to Confirm deletion

16 Next, click on the element.

17. Then, click on "Create Folder".

17 Then, click on "Create Folder".

18. Fill in Folder Name then hit 'Confirm'

18 Once that's done, click on the element.

19. Once that's done, click on "New Website".

19 Once that's done, click on "New Website".

20. You can create a Website from Blank

20 Click here.

21. Or Create a Website from Templates

21 Once that's done, click here.
Did this answer your question?
😞
😐
😁