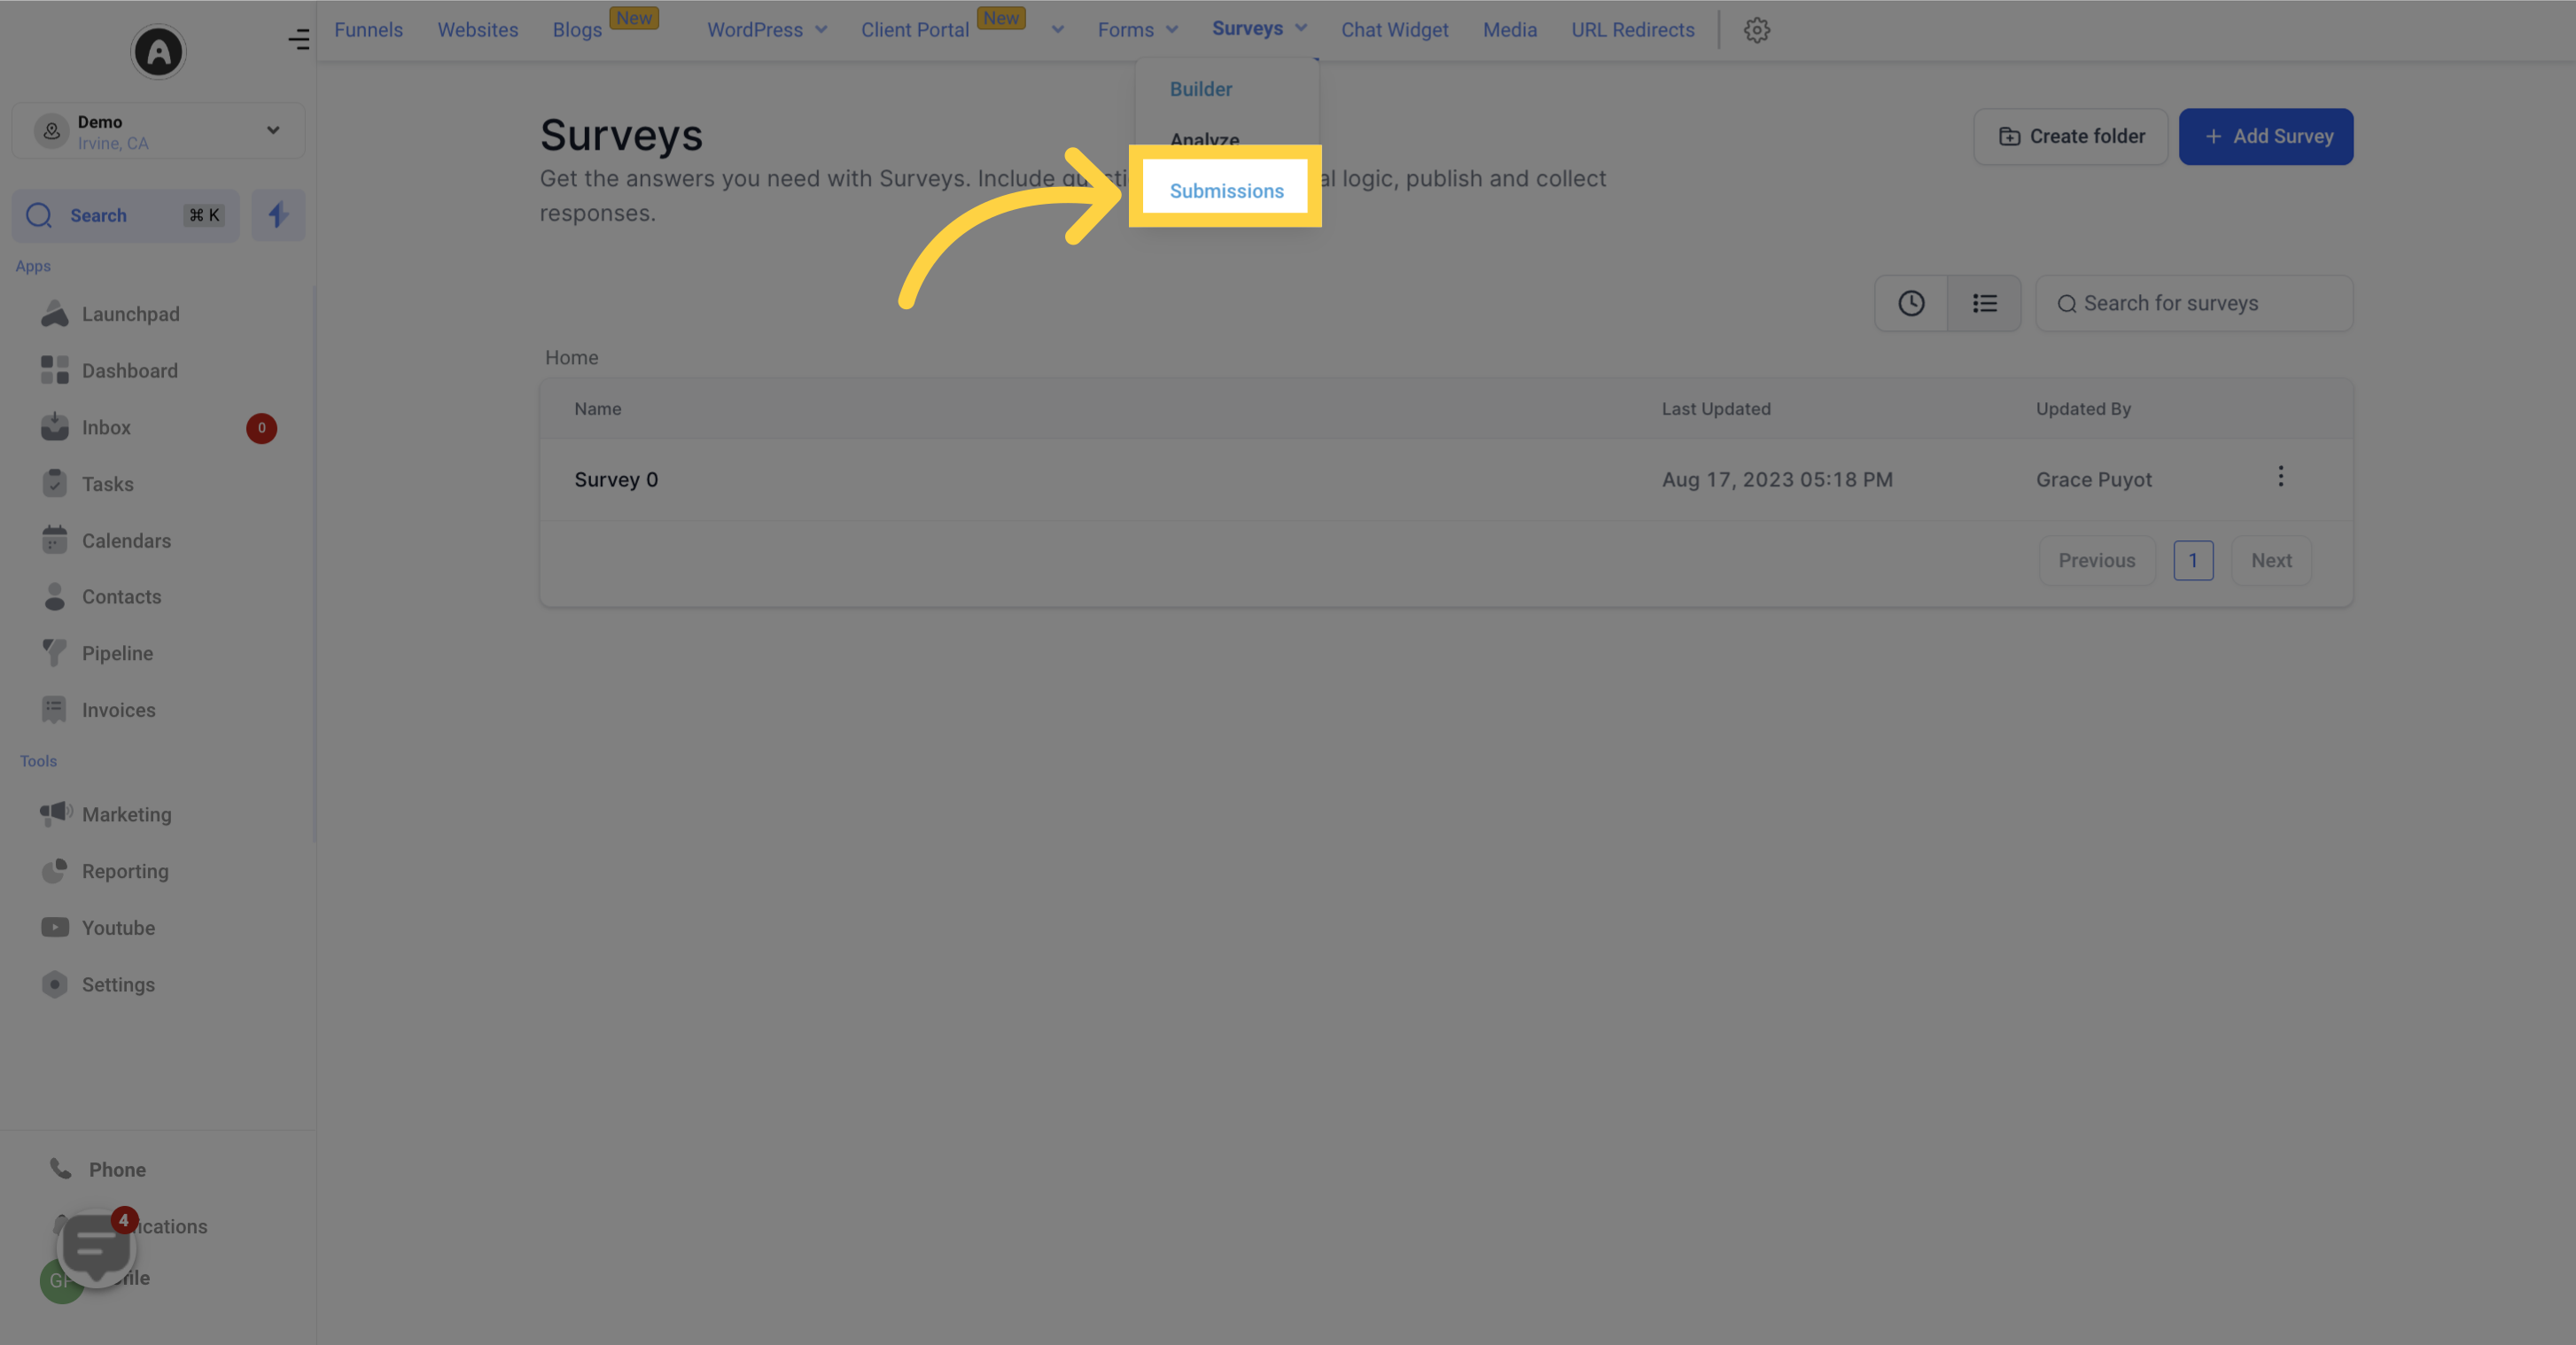
The Submissions section within your CRM's Surveys feature provides a convenient way to store and organize all the responses received. Take advantage of this powerful tool to analyze data, generate reports, and manage online polls effectively.
Please note that your access to certain components may be limited based on your user permissions.
To view survey submissions from a specific time frame, simply click on the date bar located at the top right corner of the page. Here, you will find various options to choose from or select a custom date range. Once you've made your selection, click the checkmark button to refresh the survey submission list.
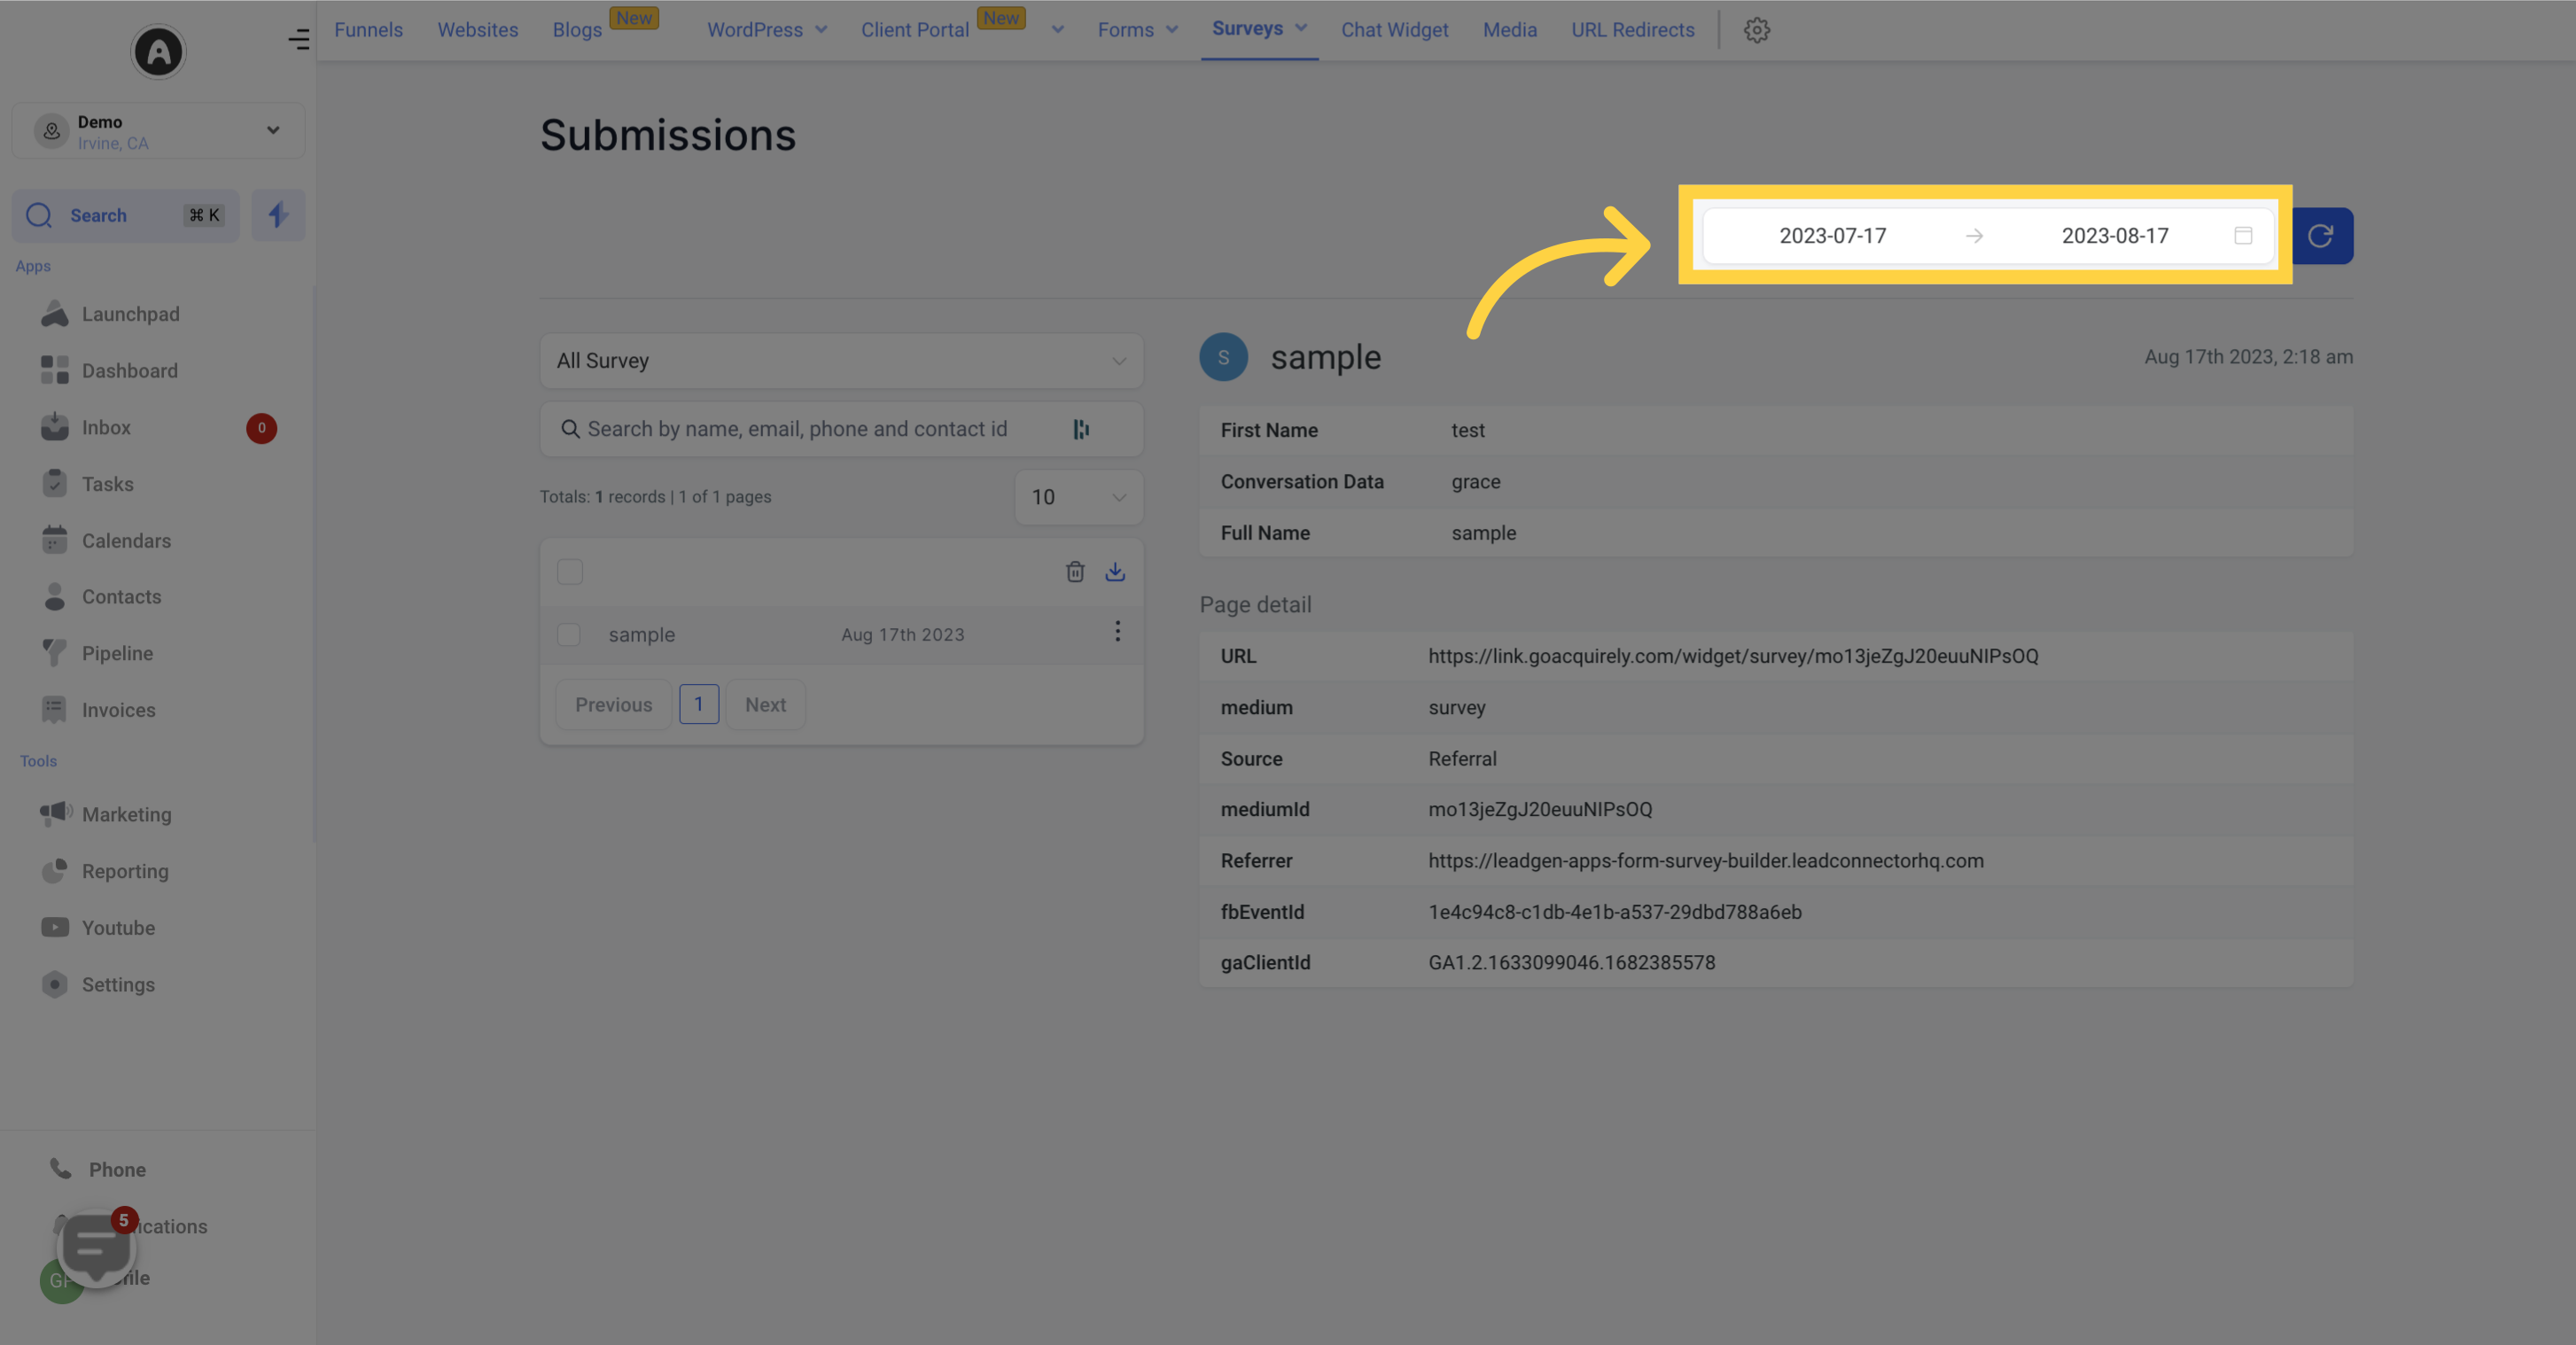
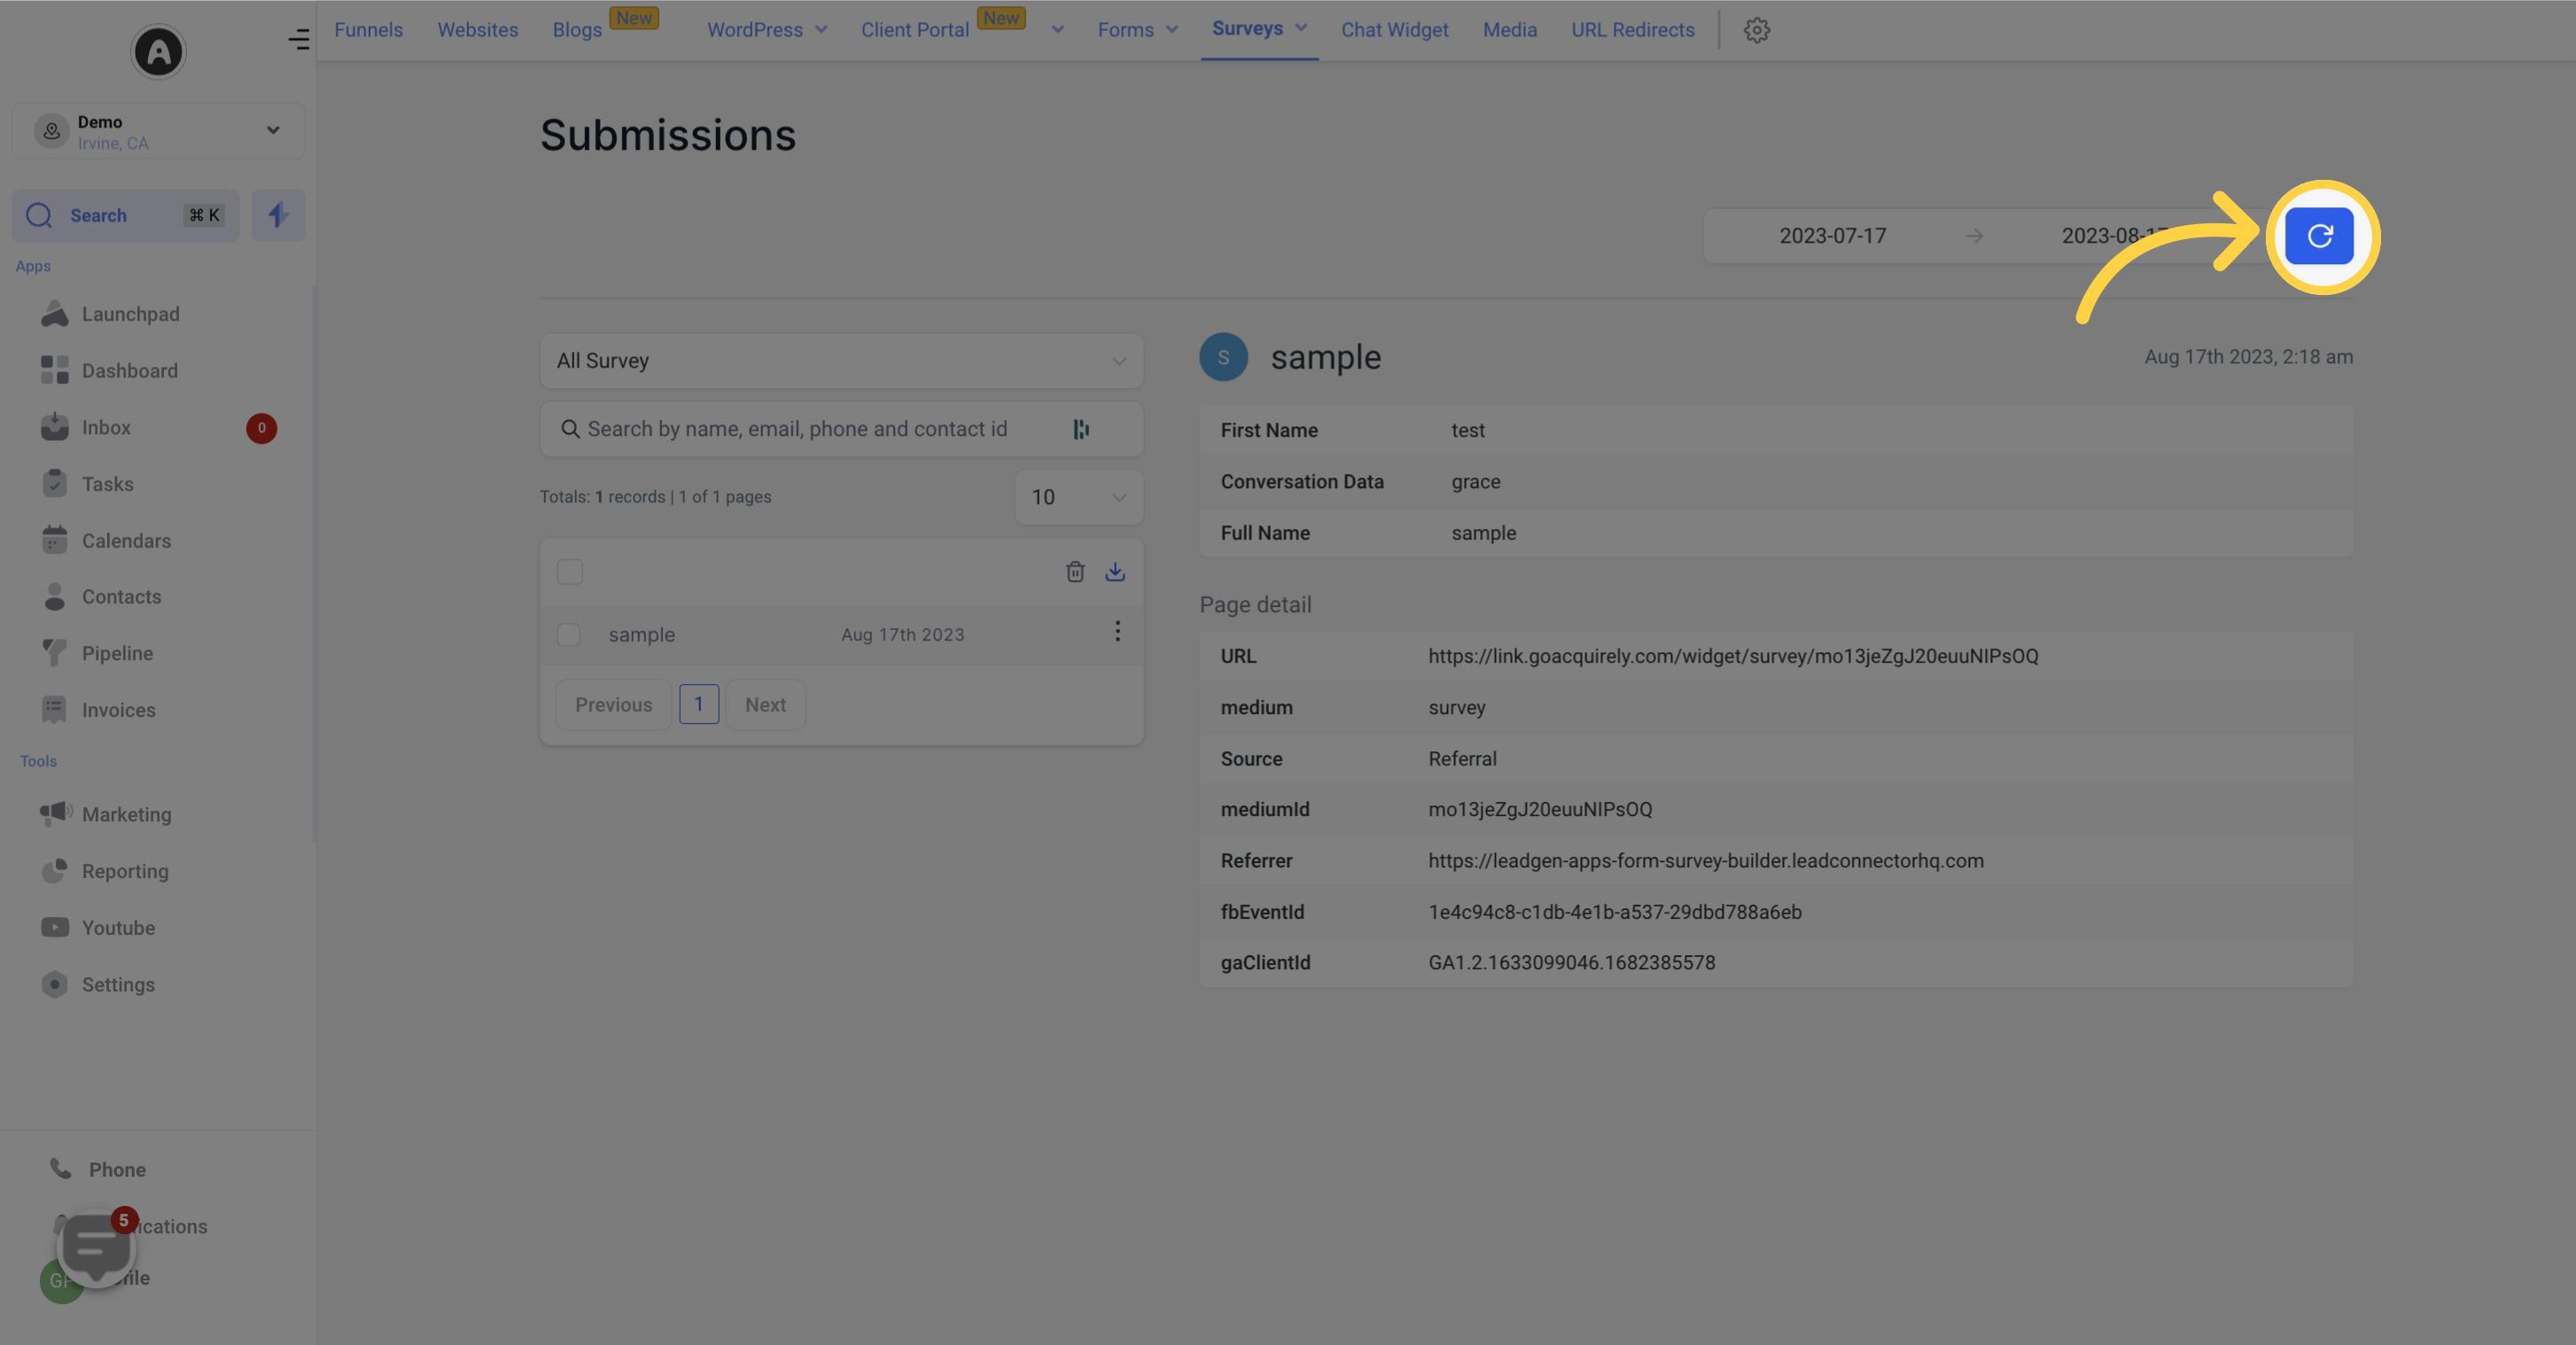
You can update the data at any time by clicking on the refresh button next to the date range selector. This ensures that you have the most recent and accurate information related to your surveys.
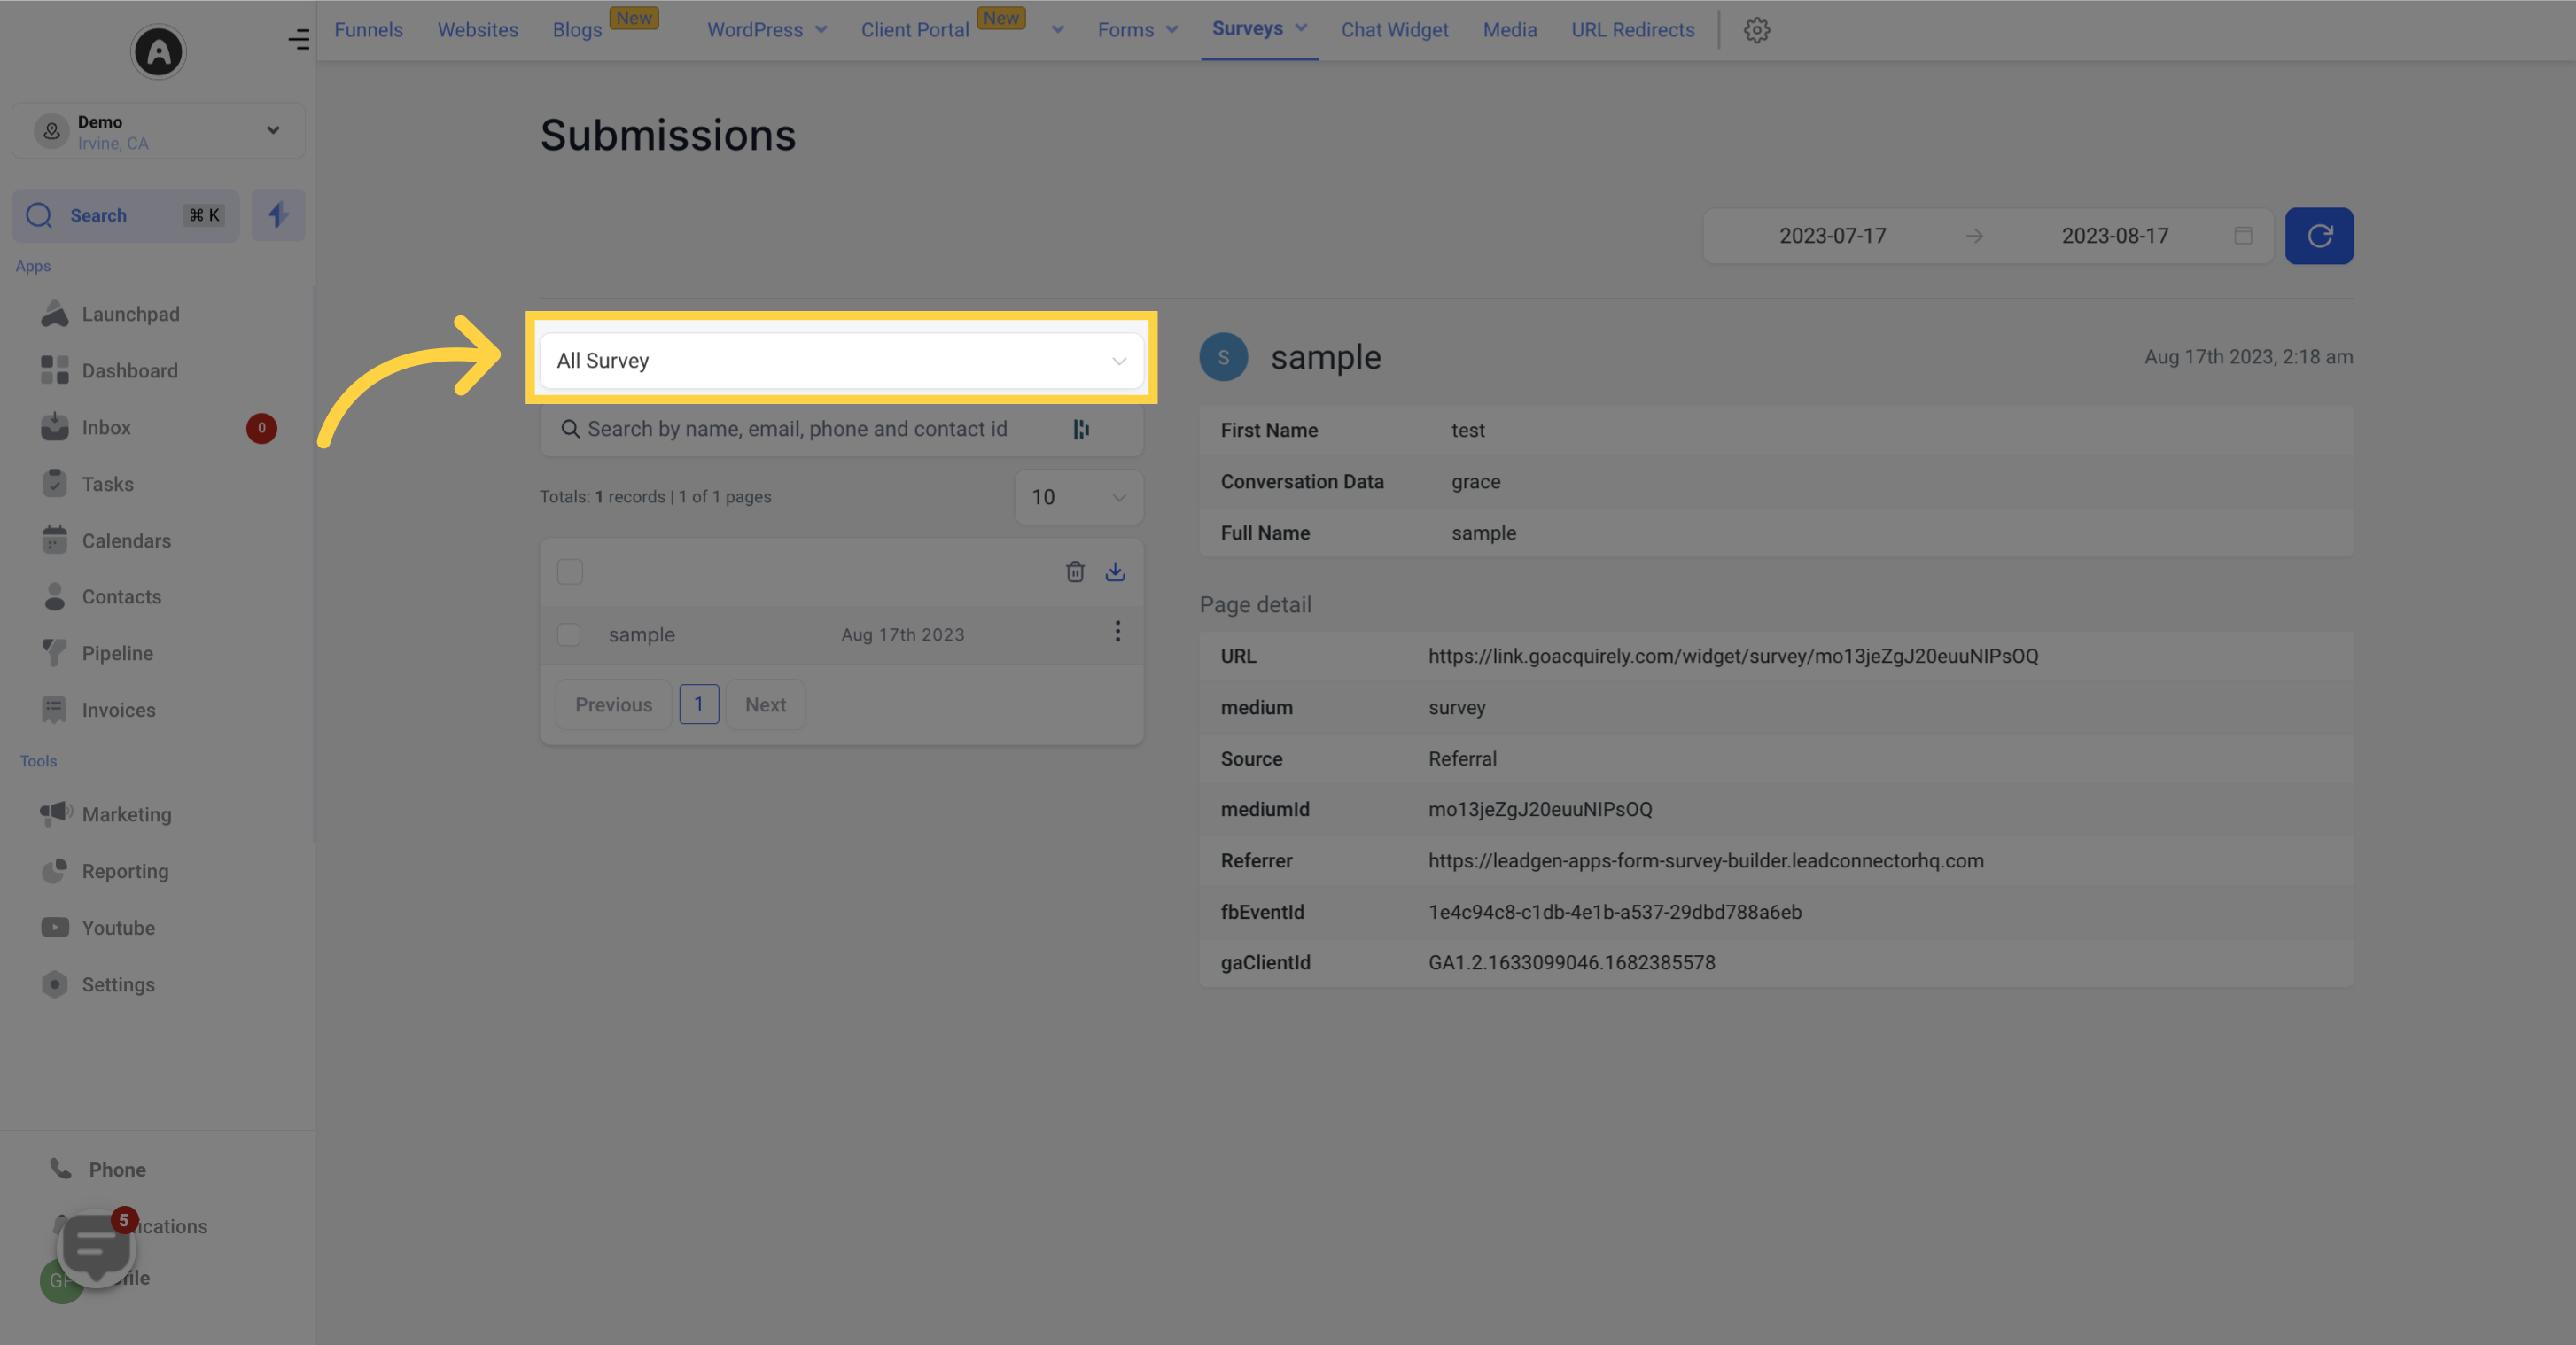
If you have multiple surveys in your CRM and want to view submissions for a particular survey, click on the "All Survey" dropdown and choose the desired survey. The submission list will then refresh to display submissions from the selected survey.
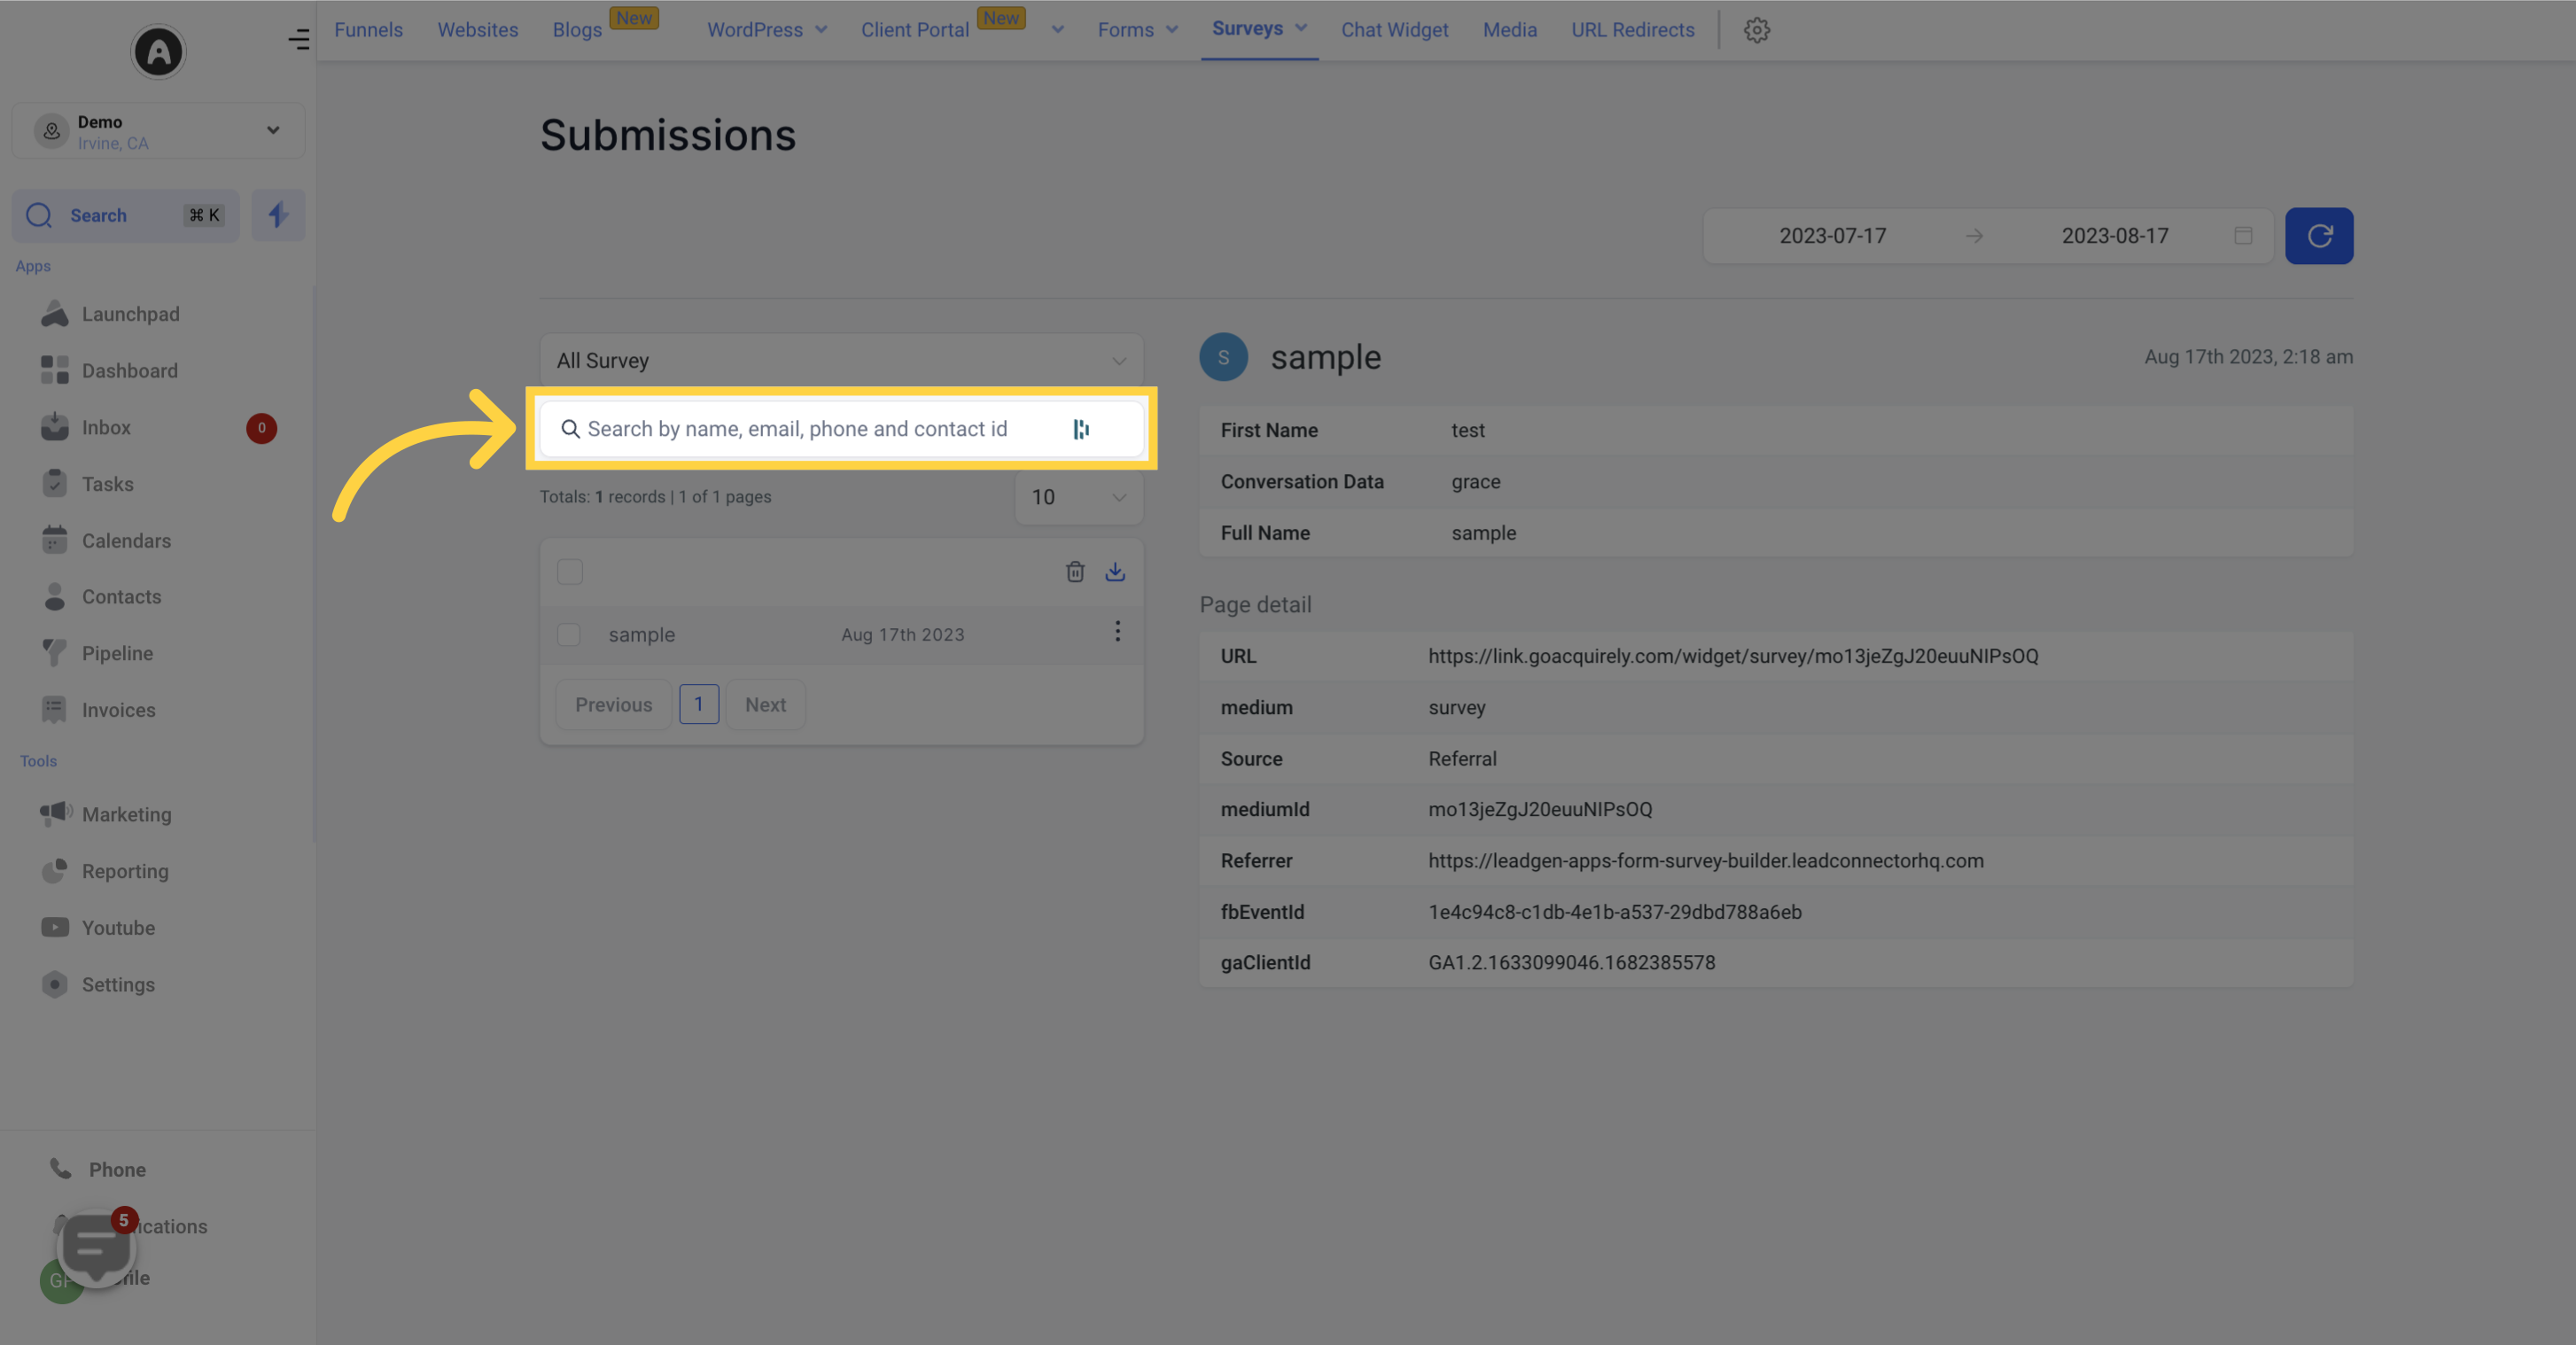
To quickly locate a specific survey submission, use the search bar. Simply type in the customer's name, phone number, or email address, and the relevant submission will be displayed.
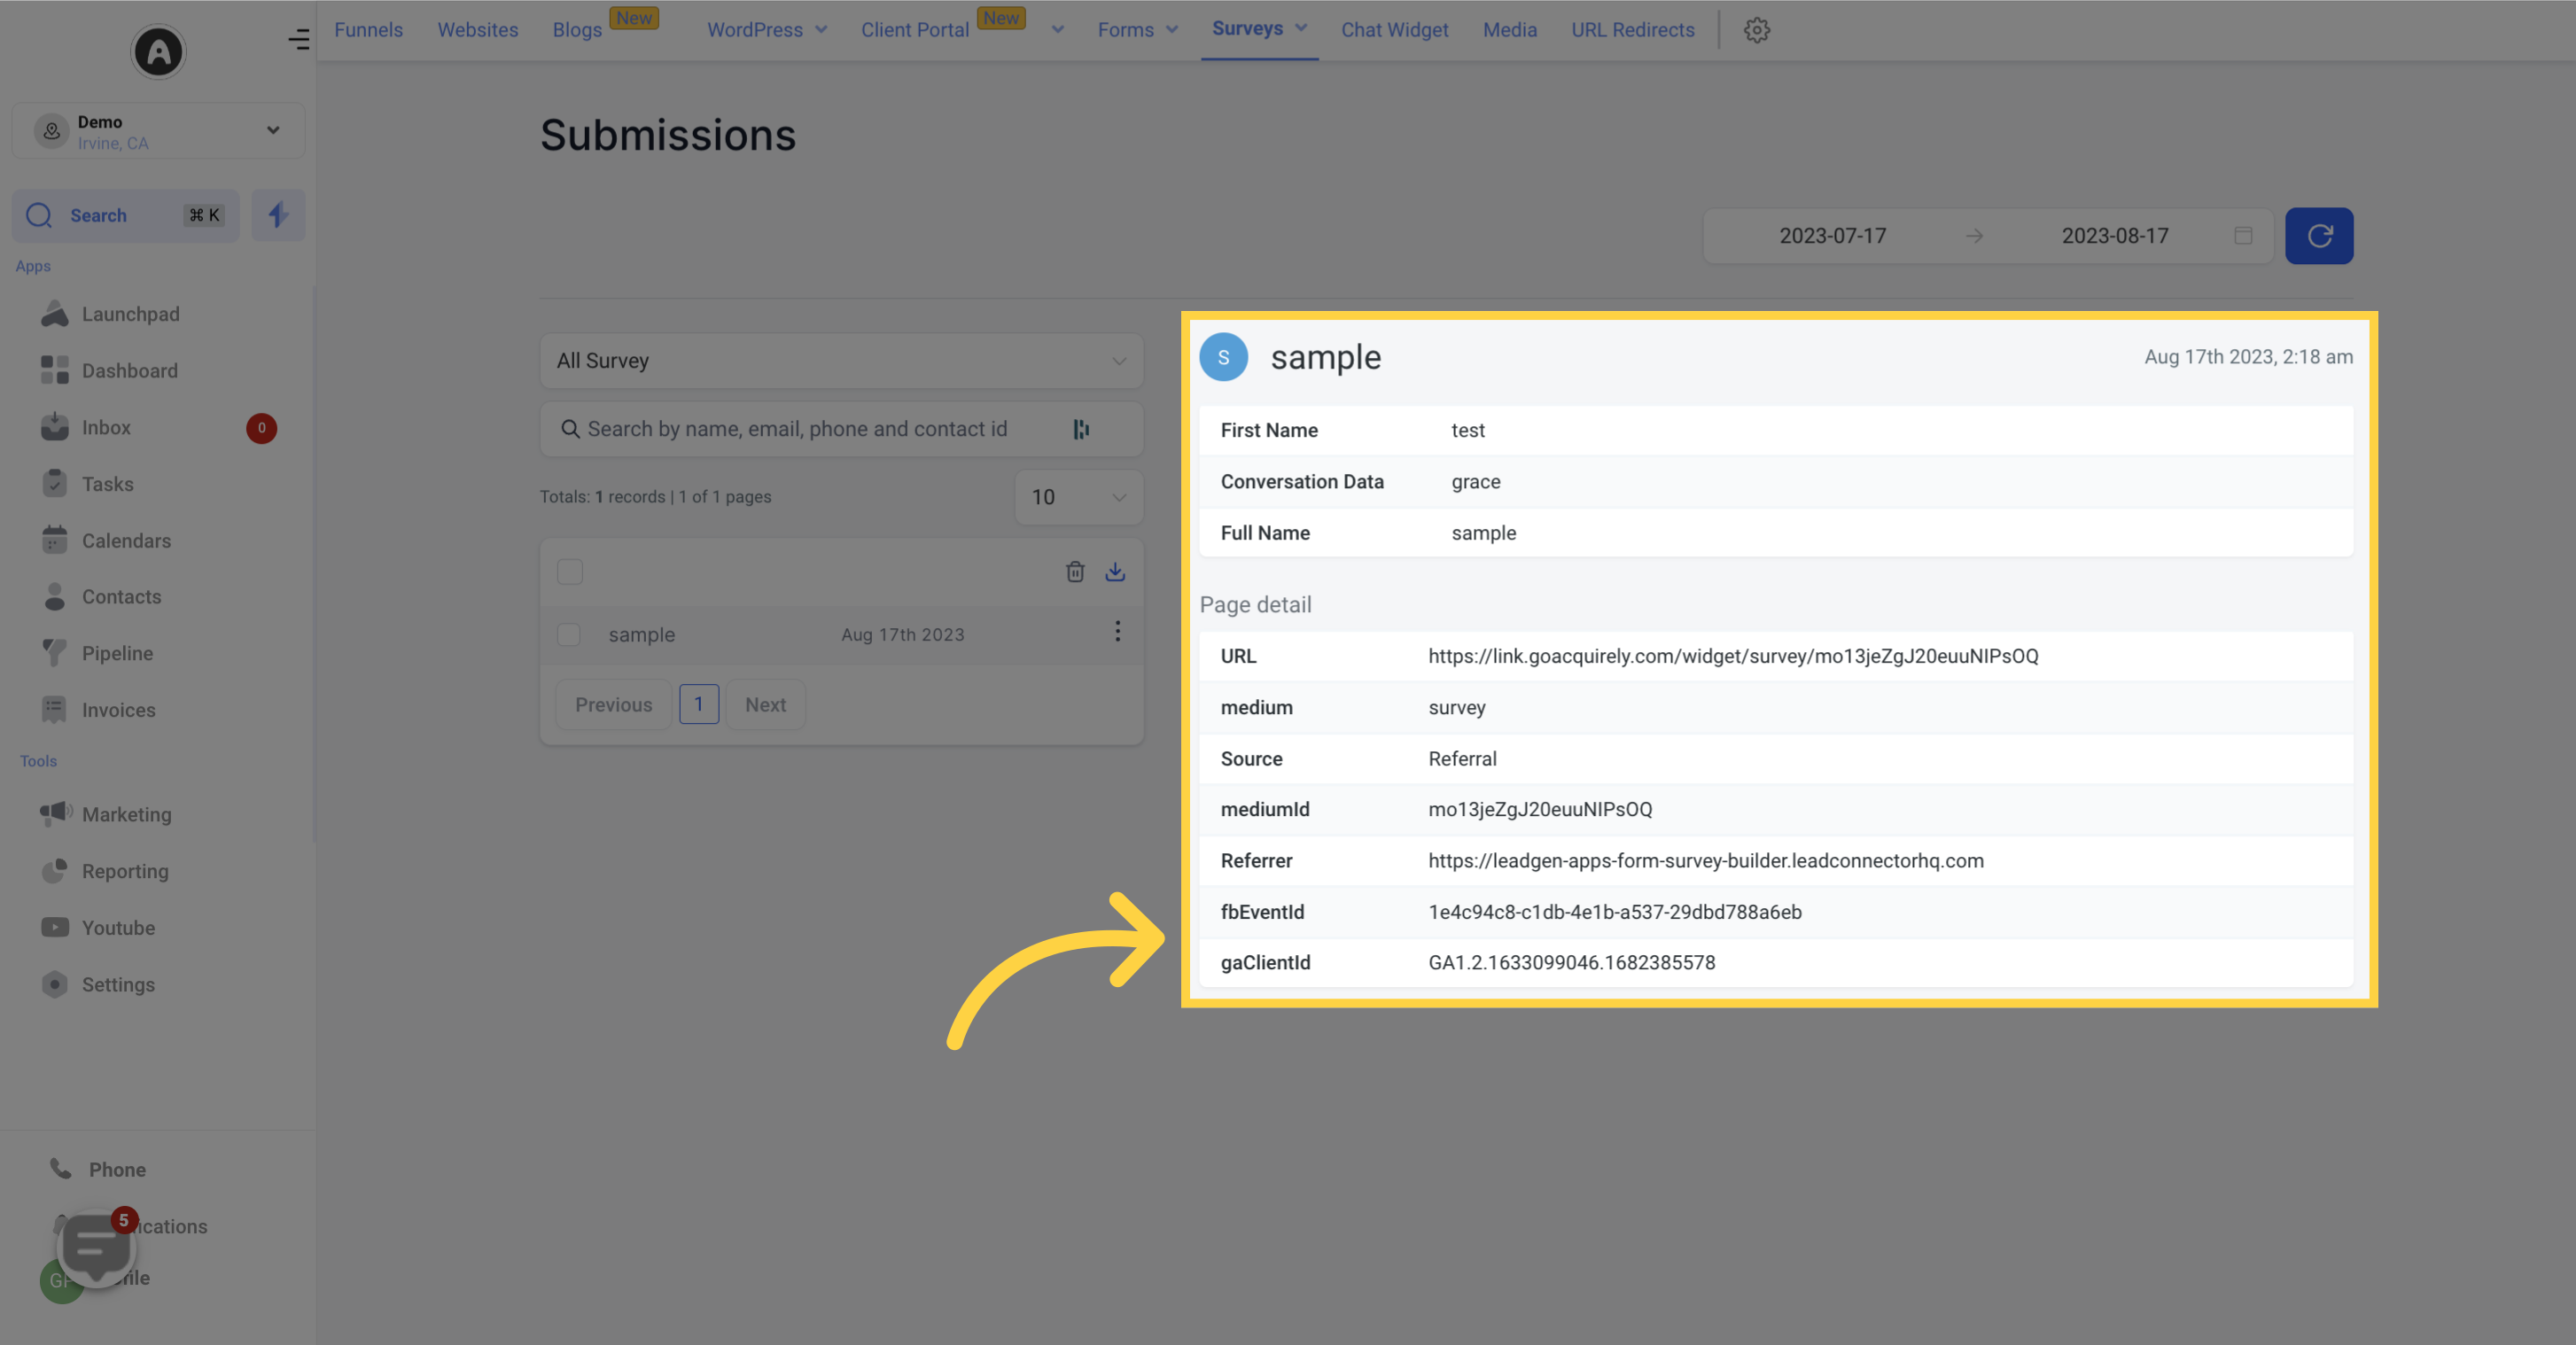
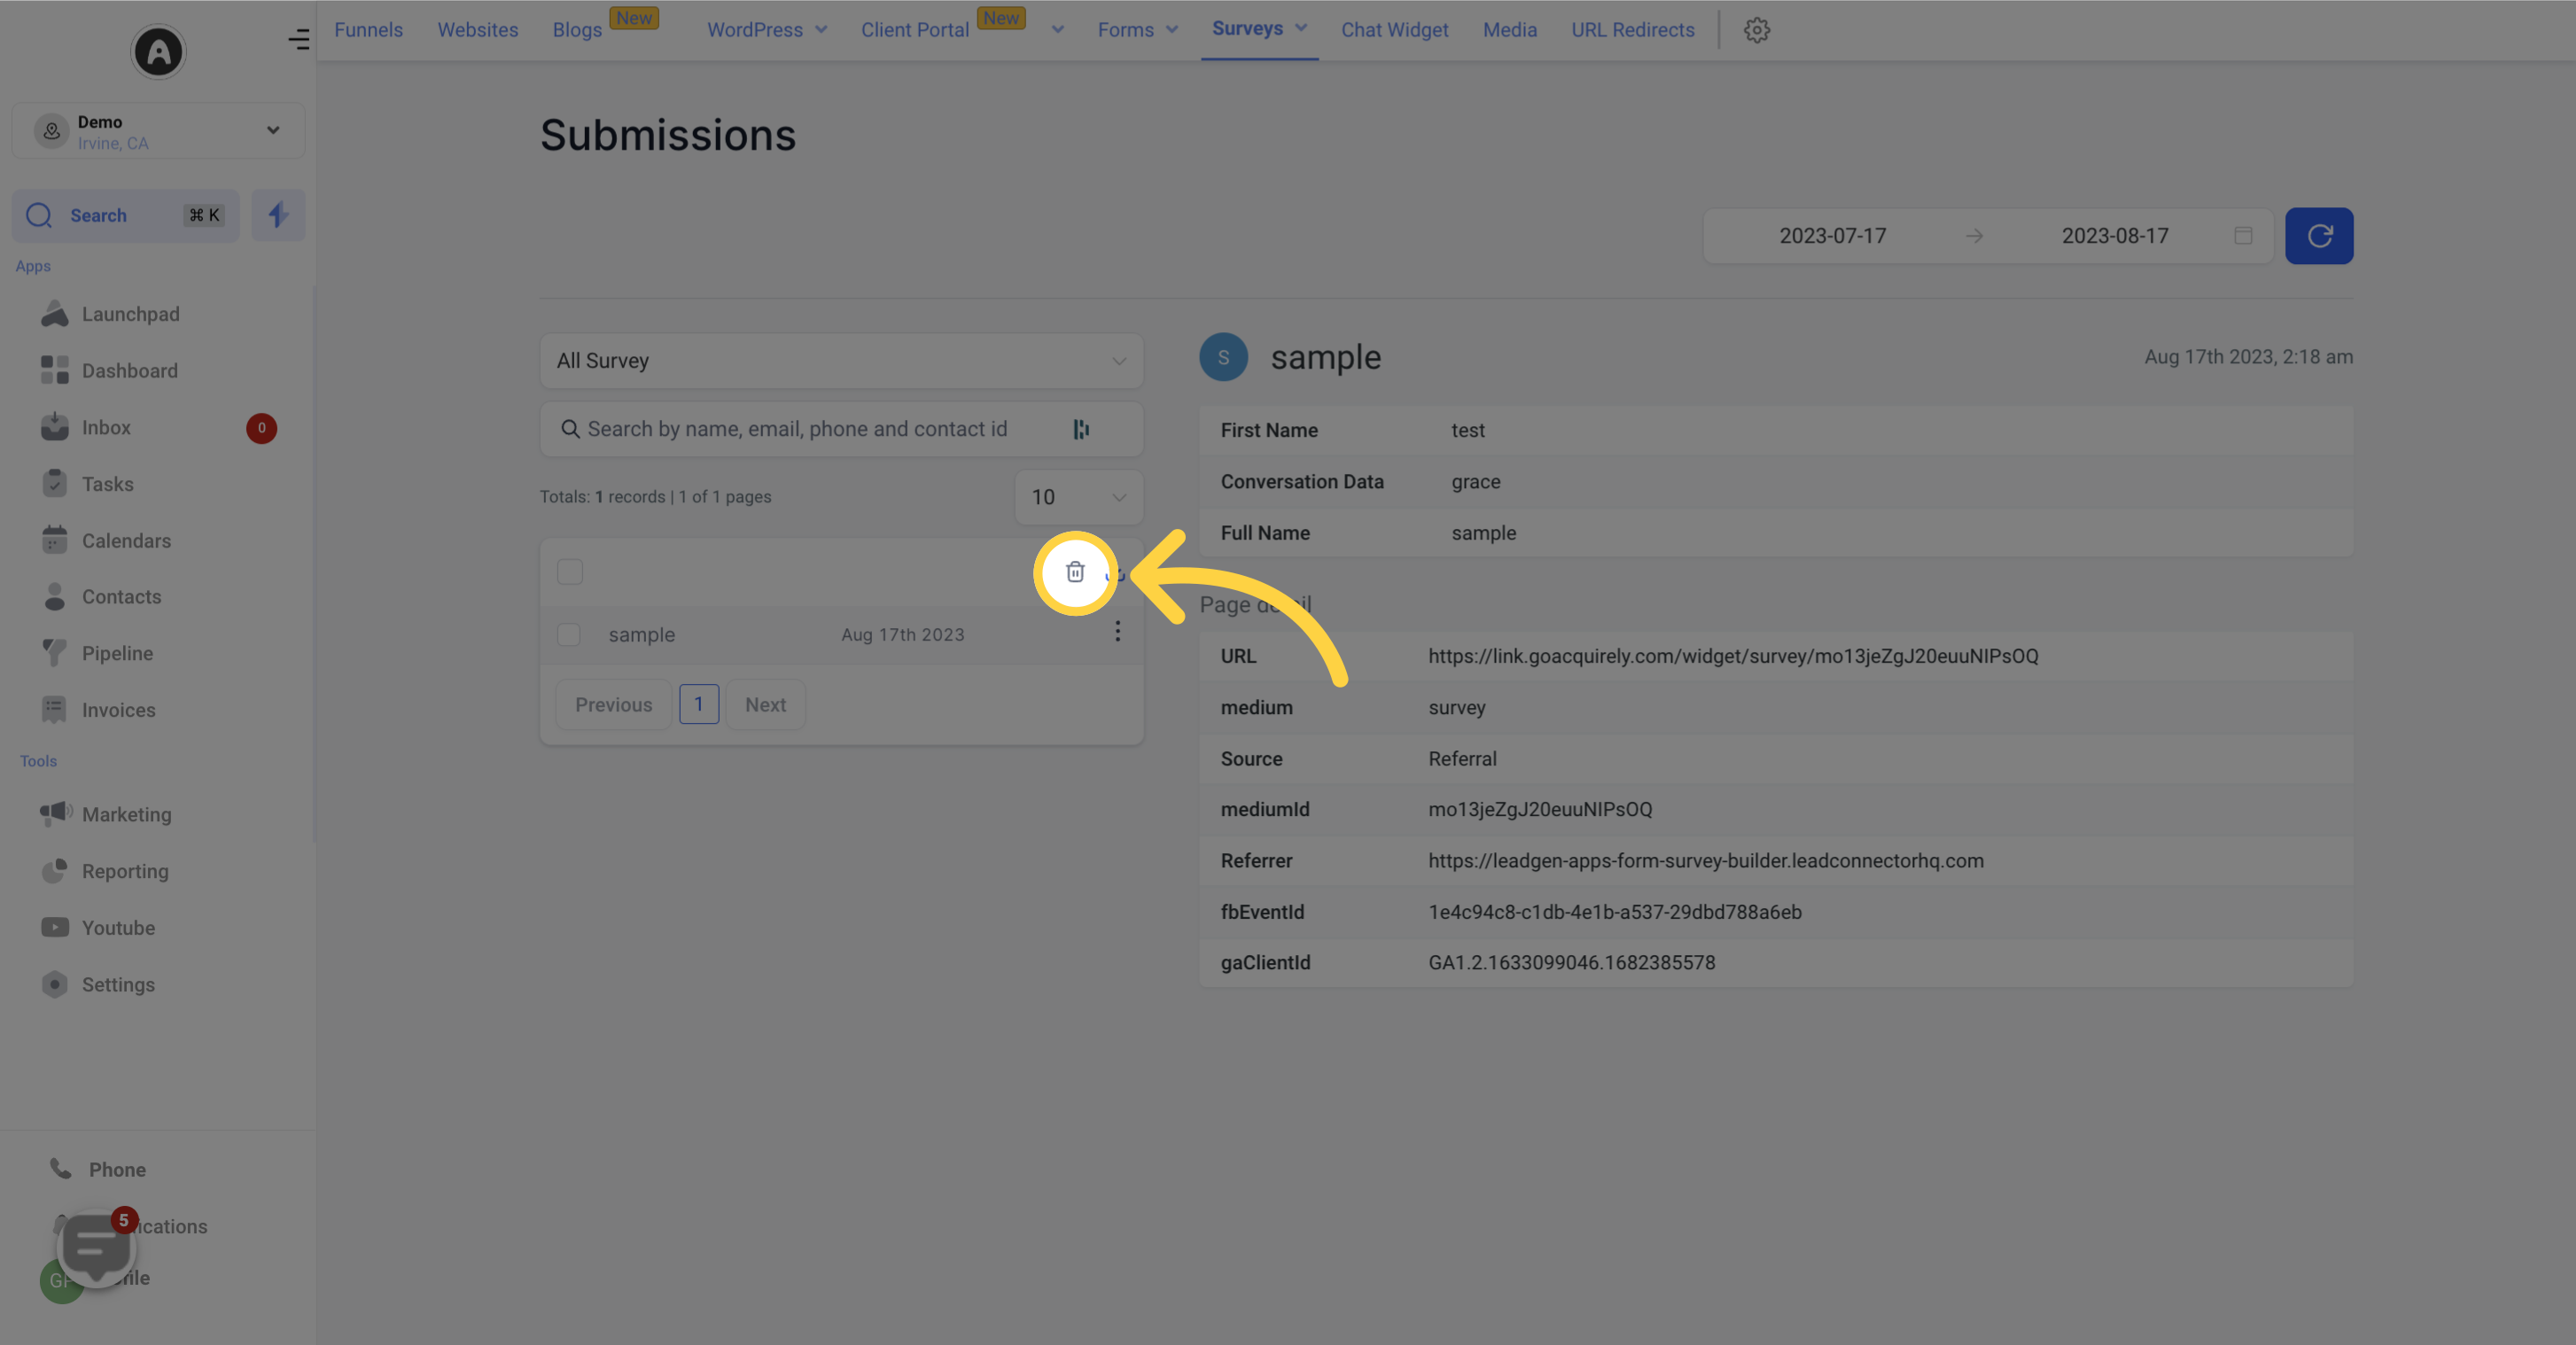
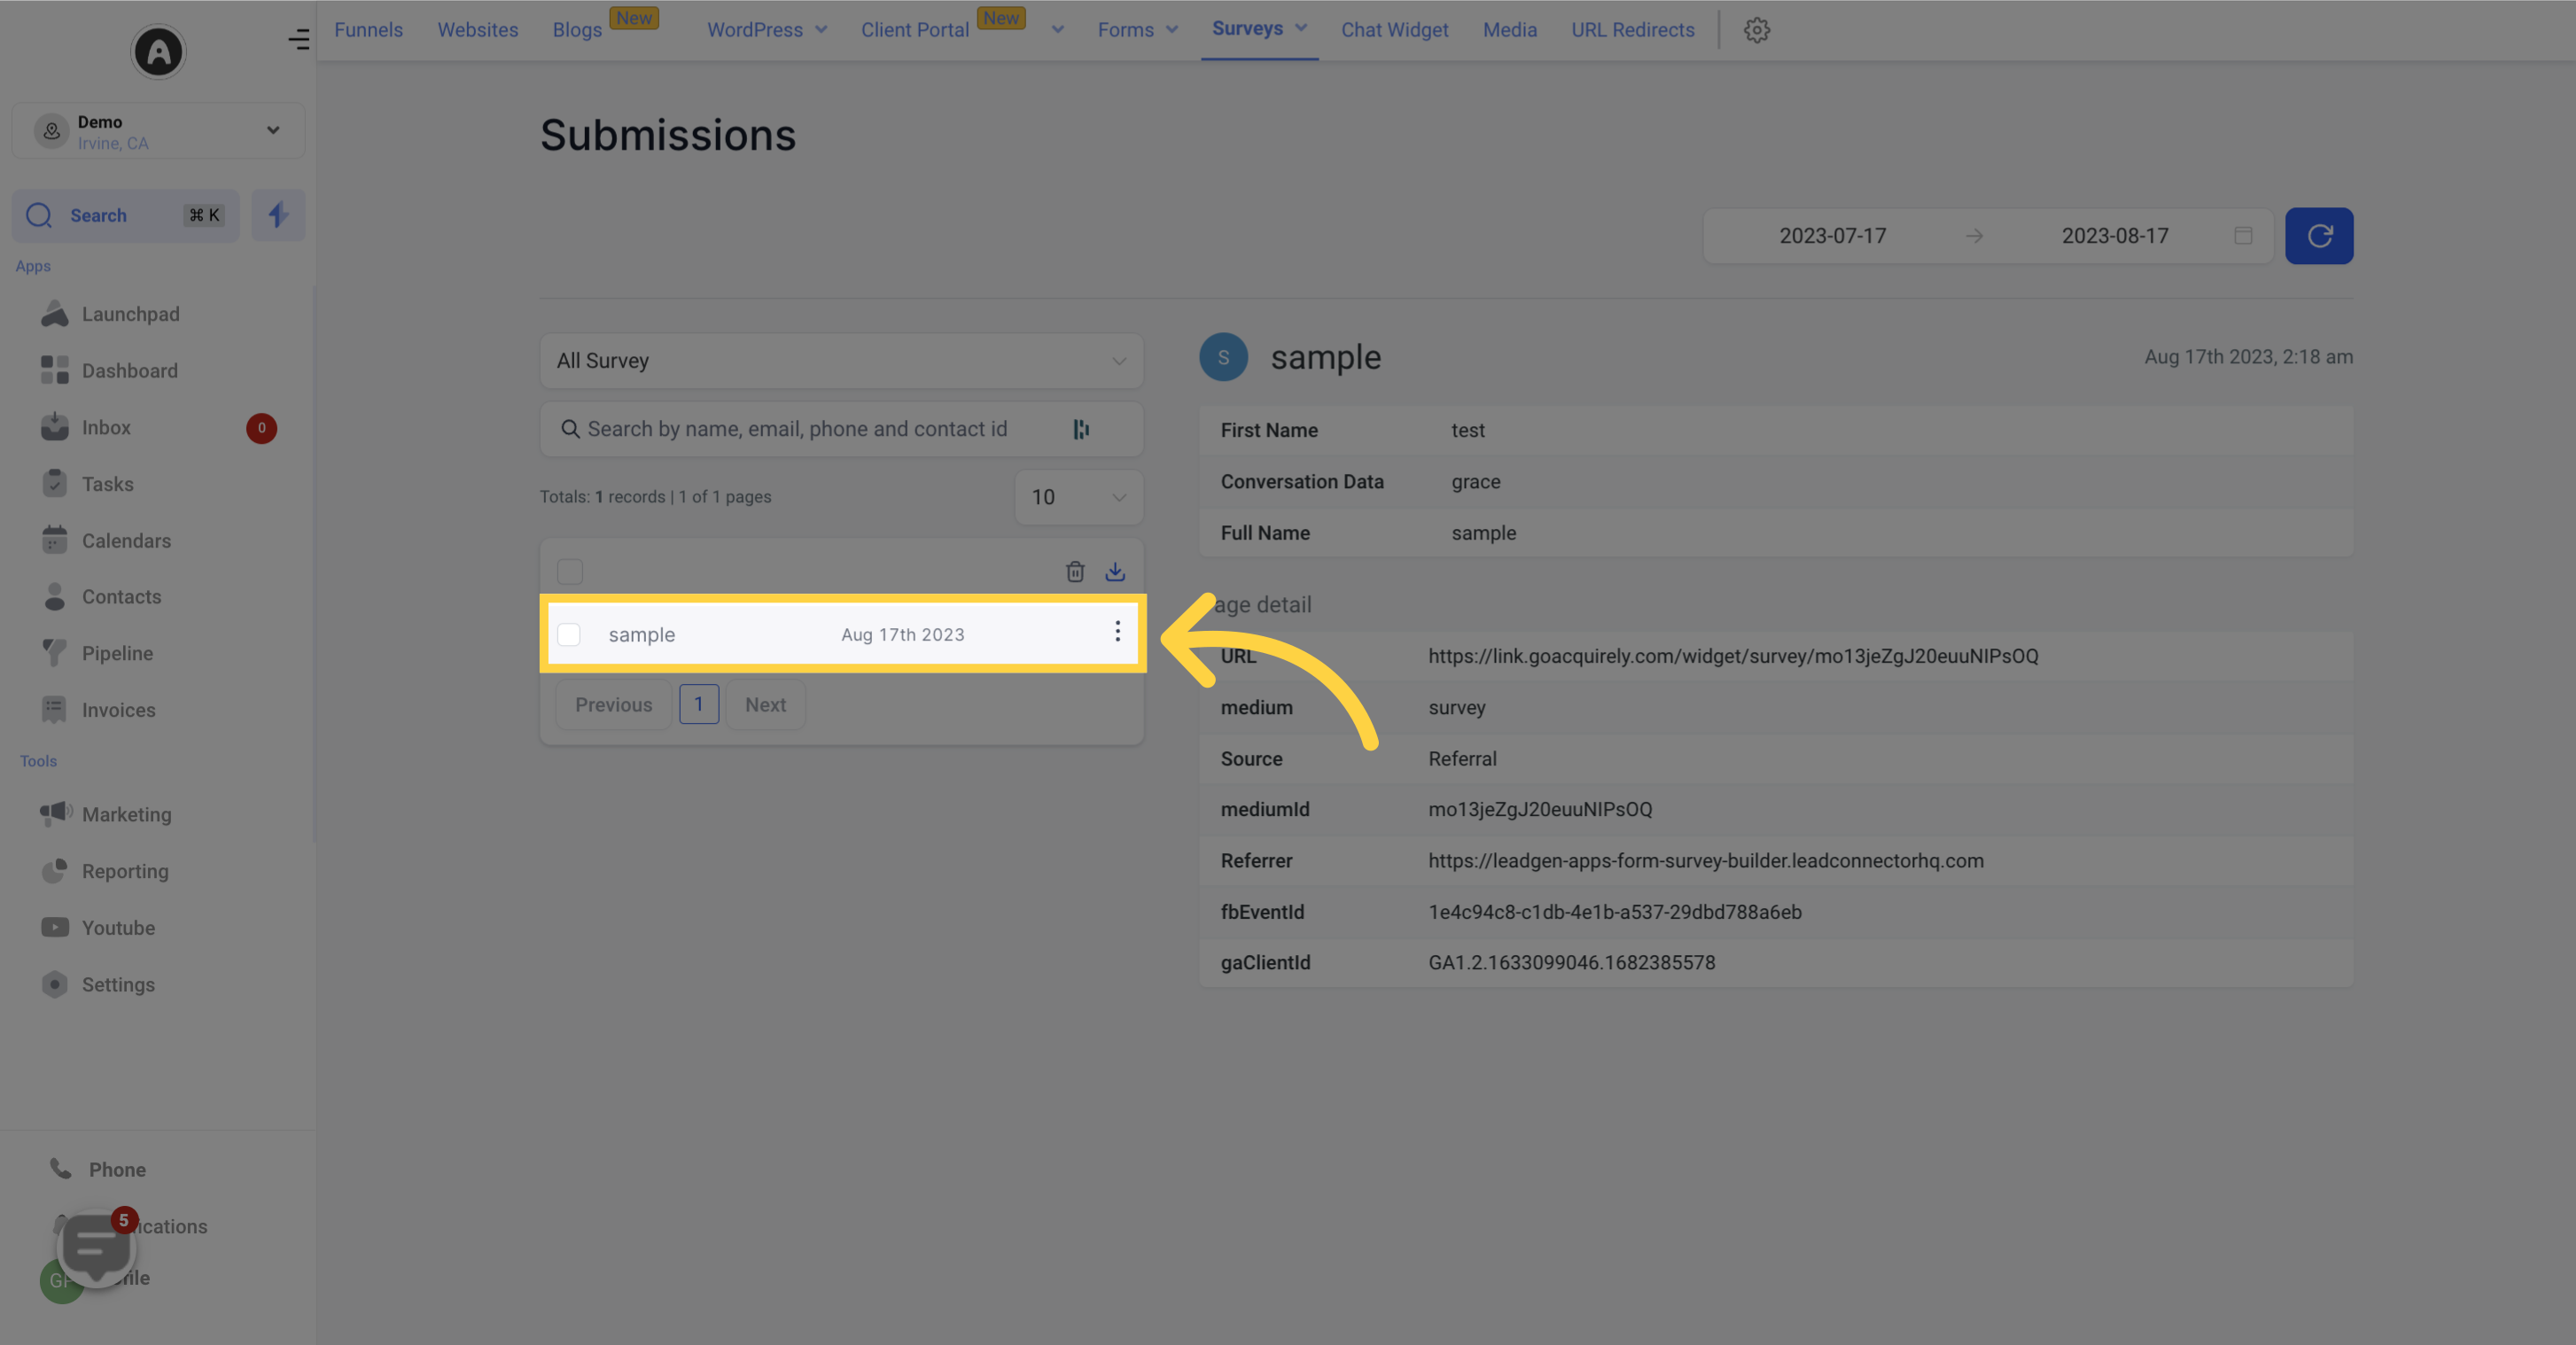
The date and time when the survey was submitted will be shown at the top right corner.

This section displays all submissions for the chosen survey (or all if no survey is selected)
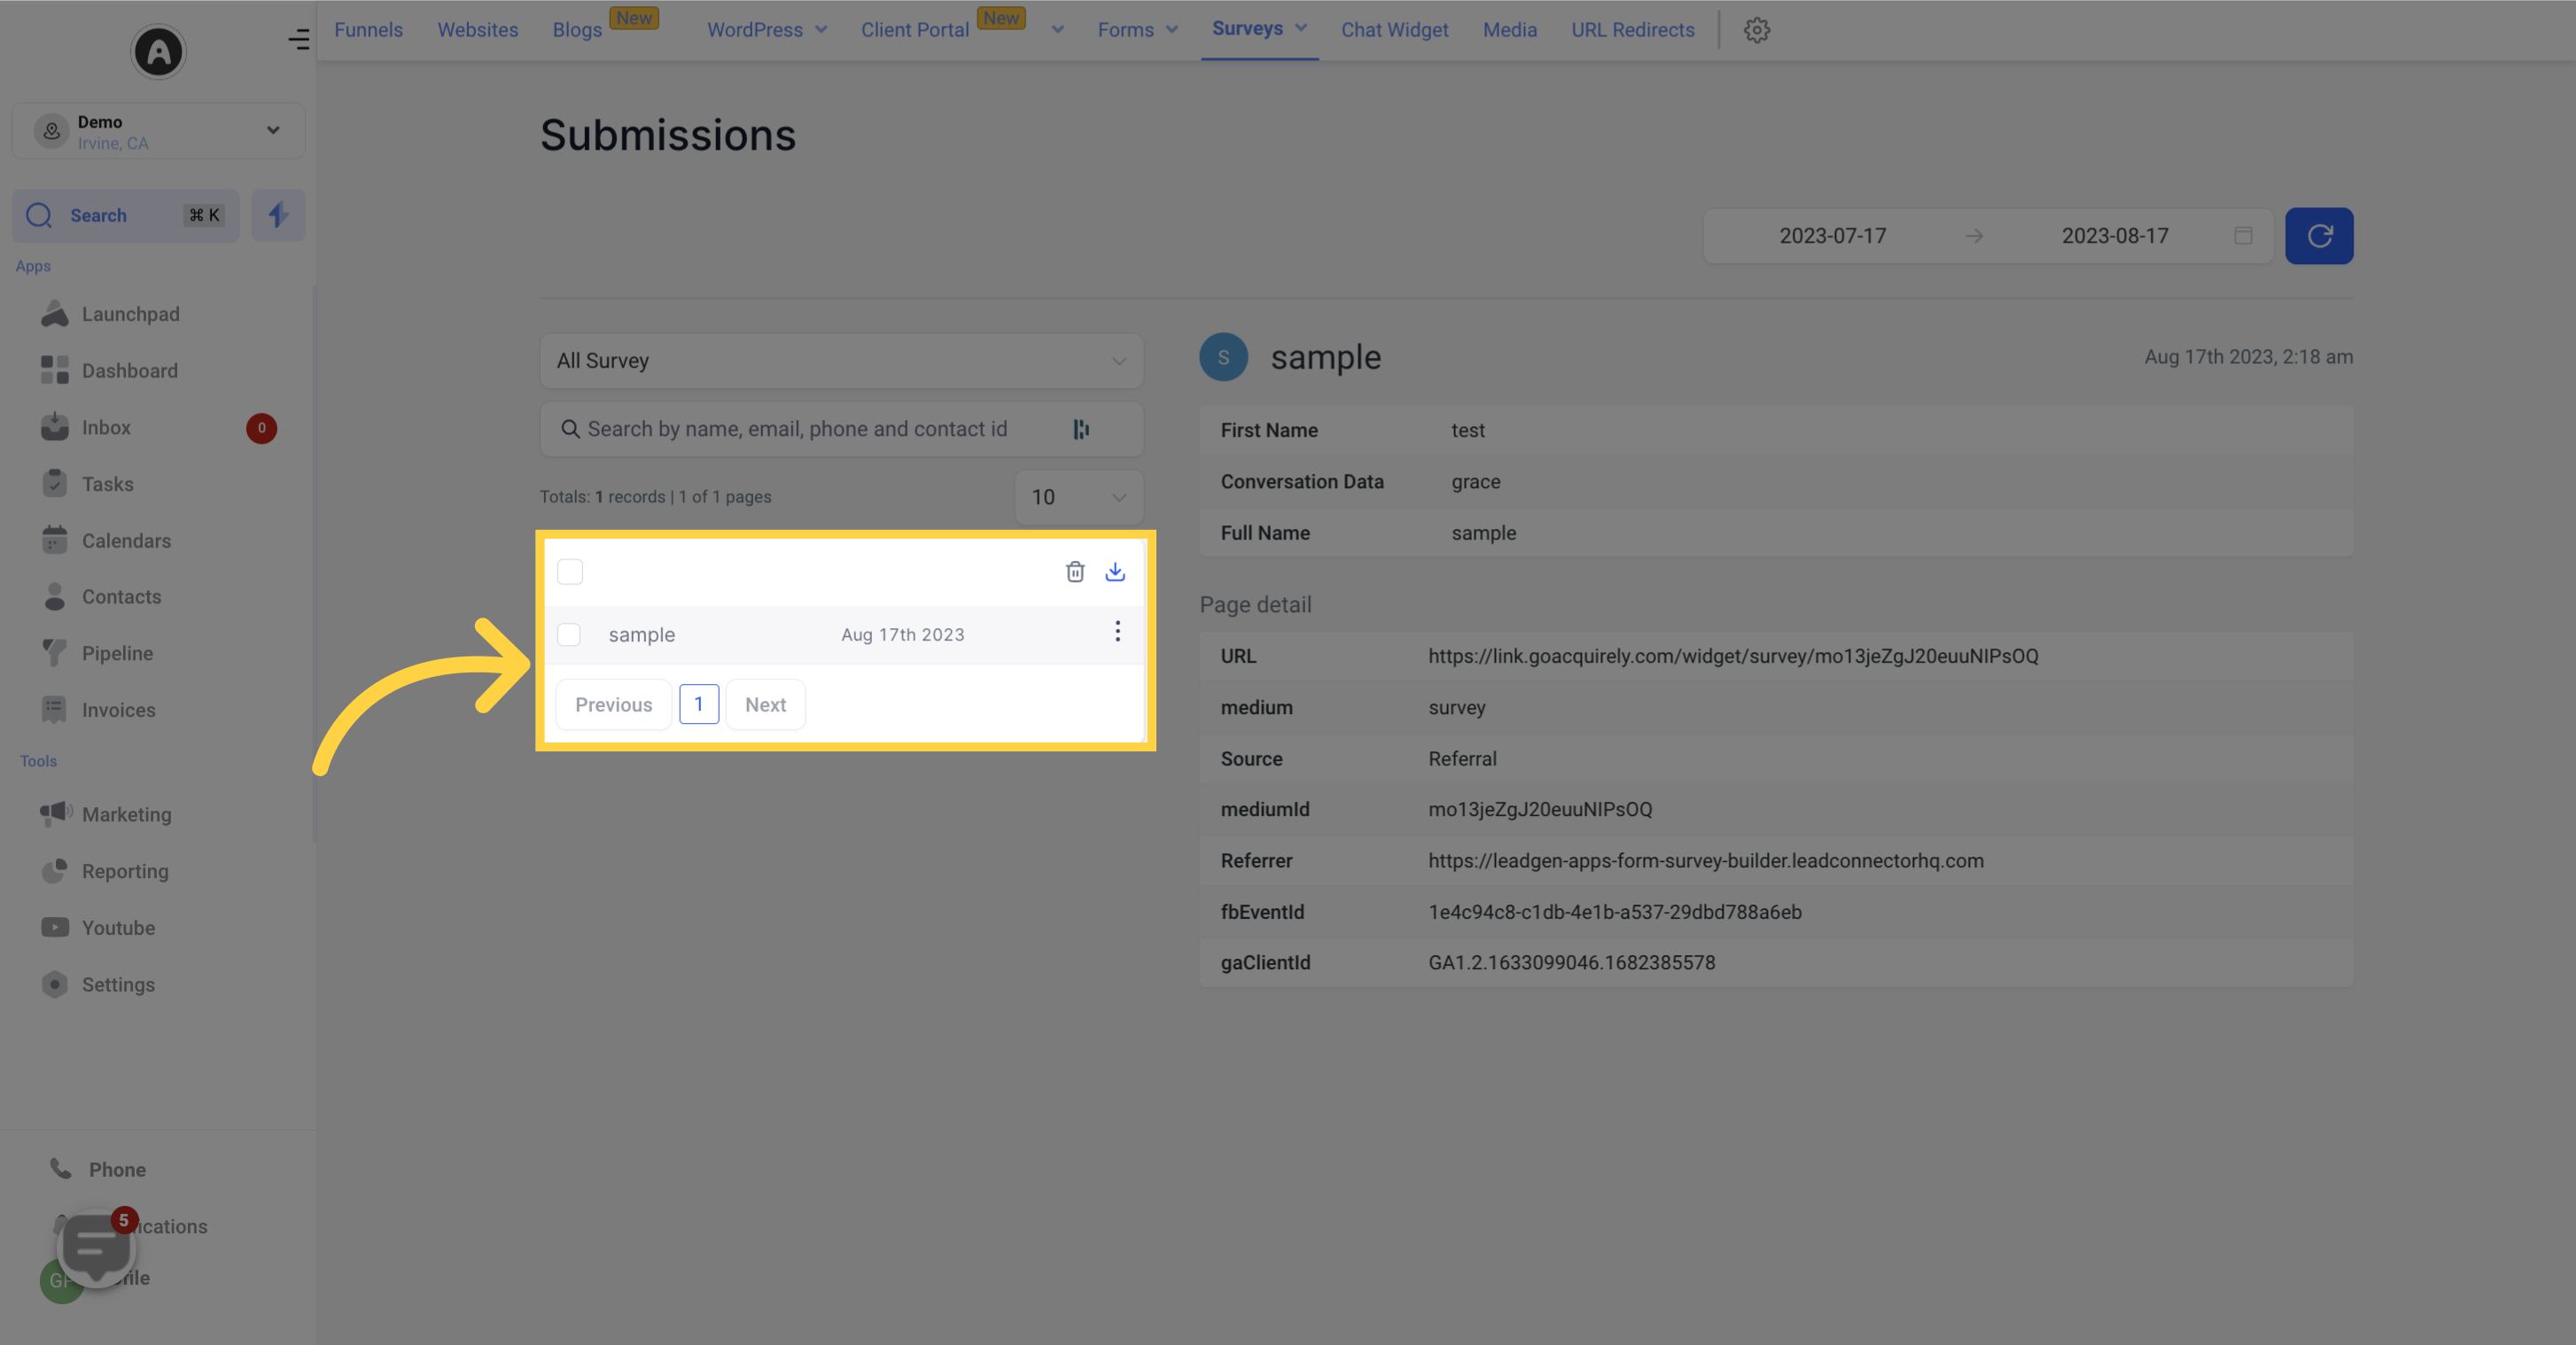
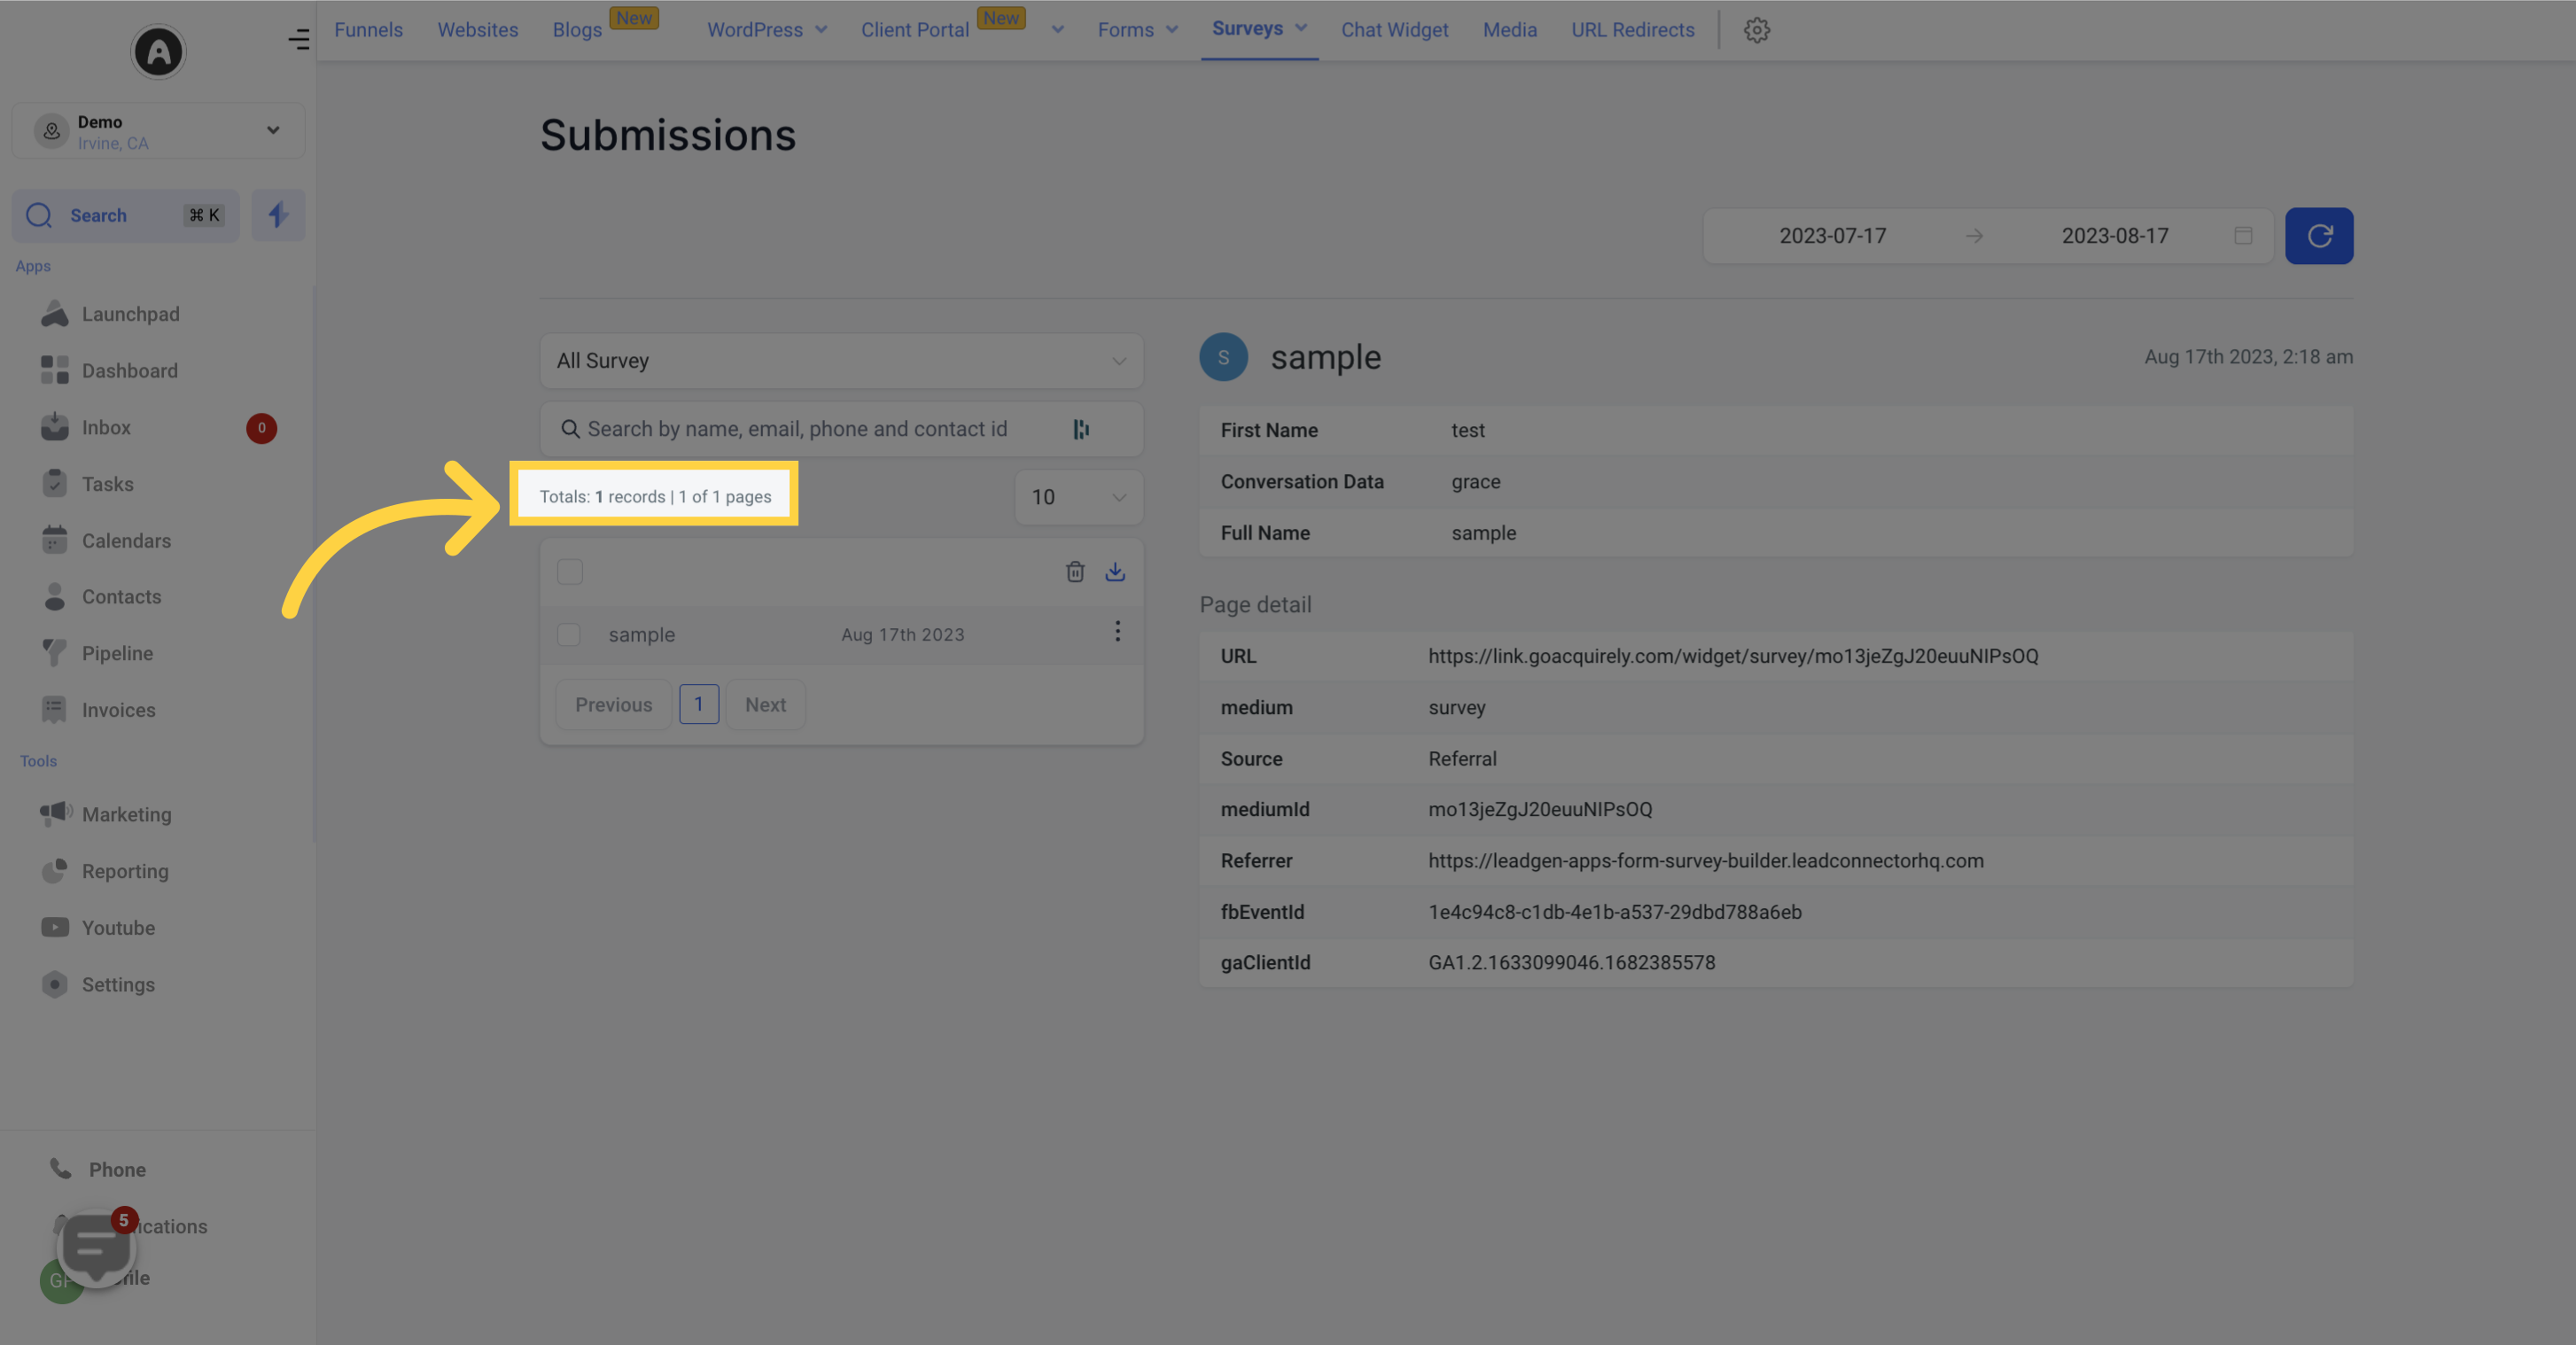
The total number of survey submissions for the selected survey (or all if no survey is selected) is shown here
You can customize the number of submissions displayed per page by selecting your preferred option from the dropdown menu.

Each survey submission is listed with basic information such as name, email, and the date submitted. You can select individual or multiple submissions by clicking the checkboxes on the left side of each entry.
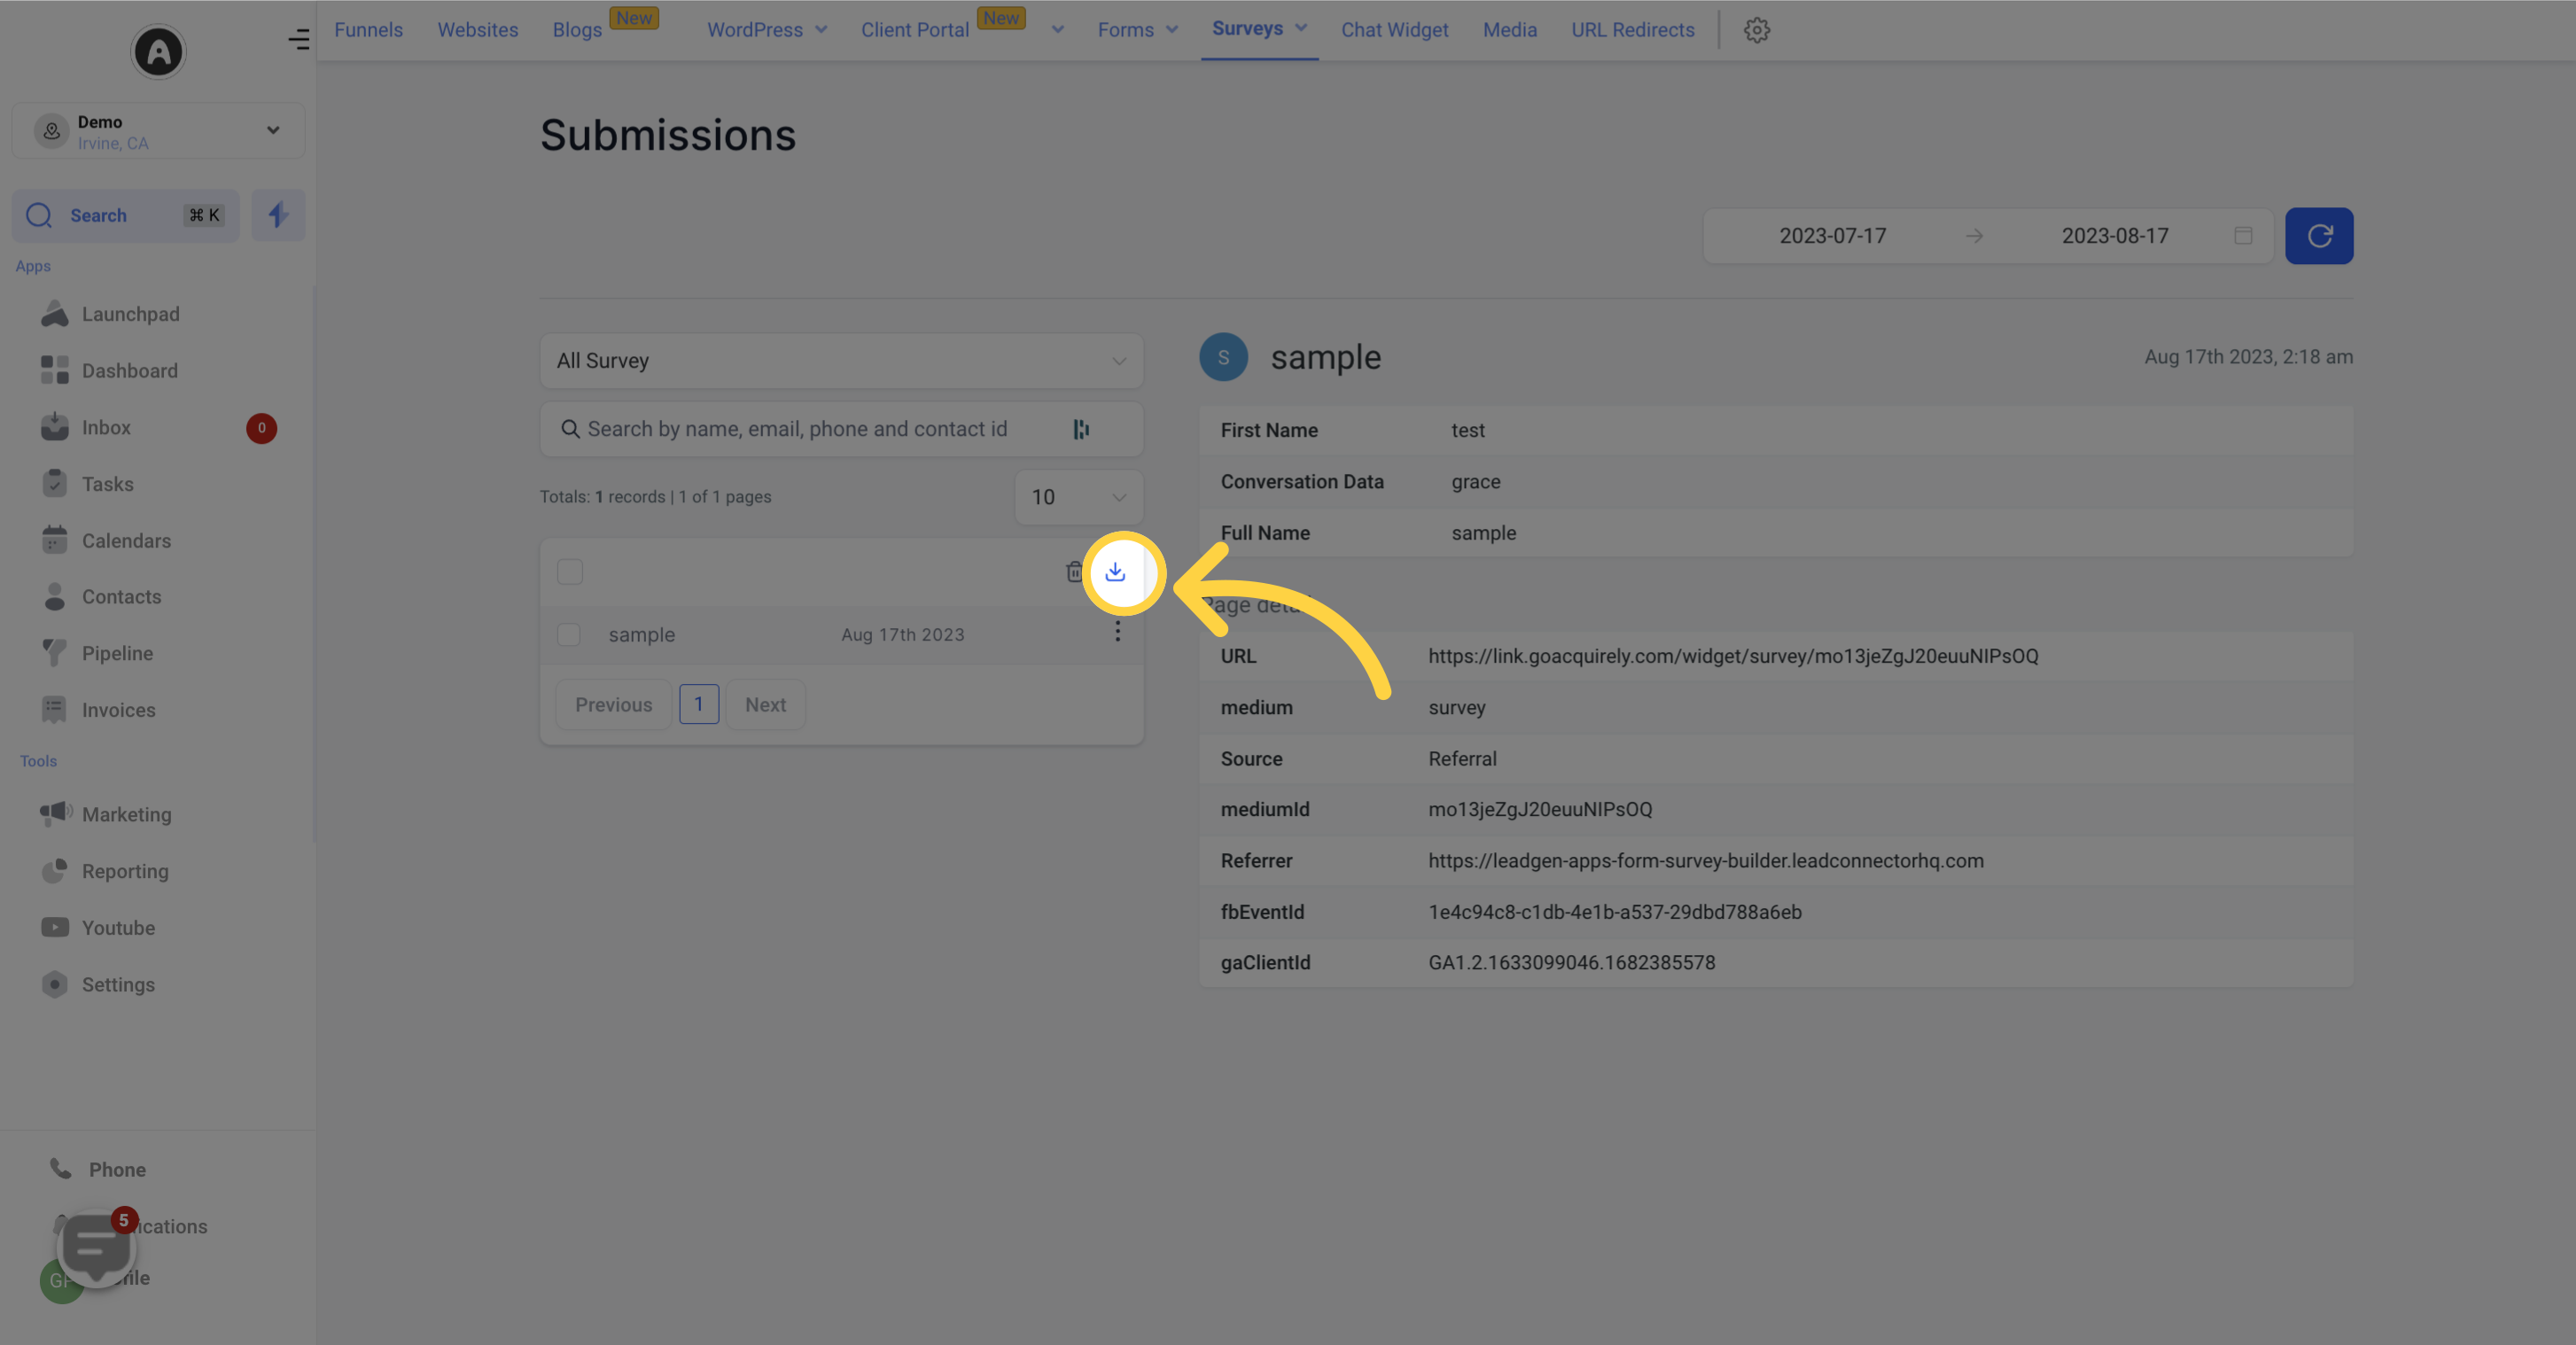
If you wish to download an individual survey submission, simply click on the download icon
You have the option to delete selected survey submissions. Please note that once deleted, the data cannot be recovered.