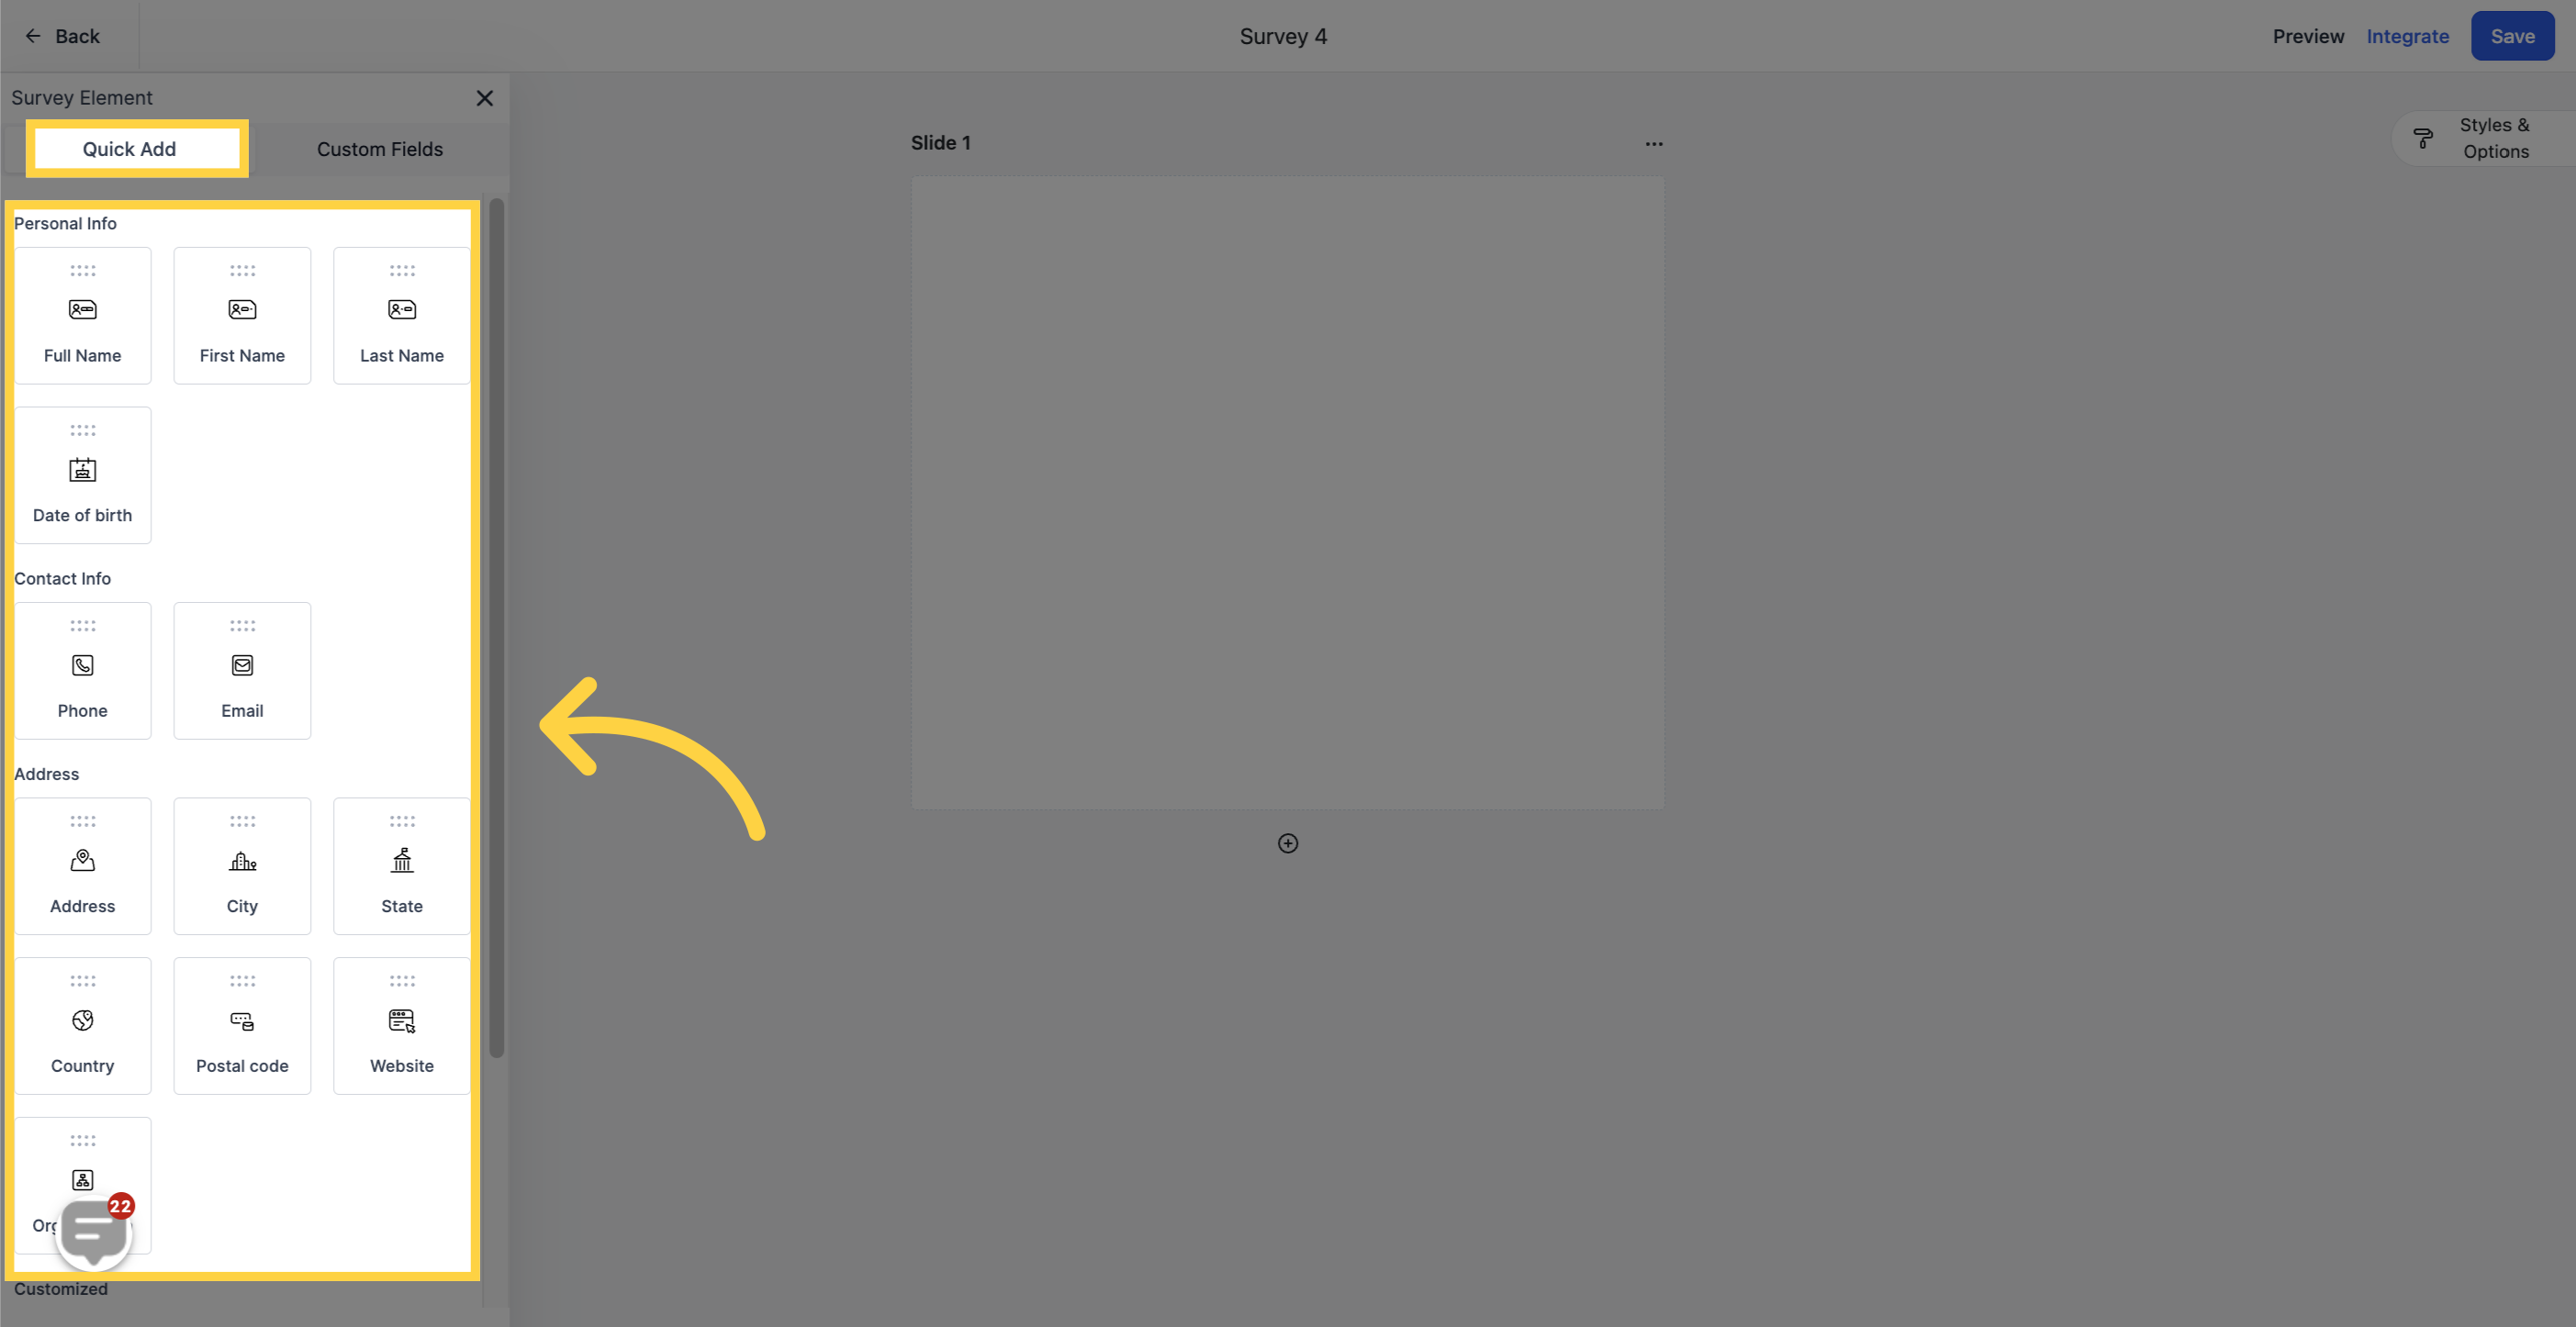
To access the different survey fields for customizing your surveys

This group includes fields like name, email, phone number, and more
To add a field to your form, simply click and drag it onto the survey slide in the middle of the screen.
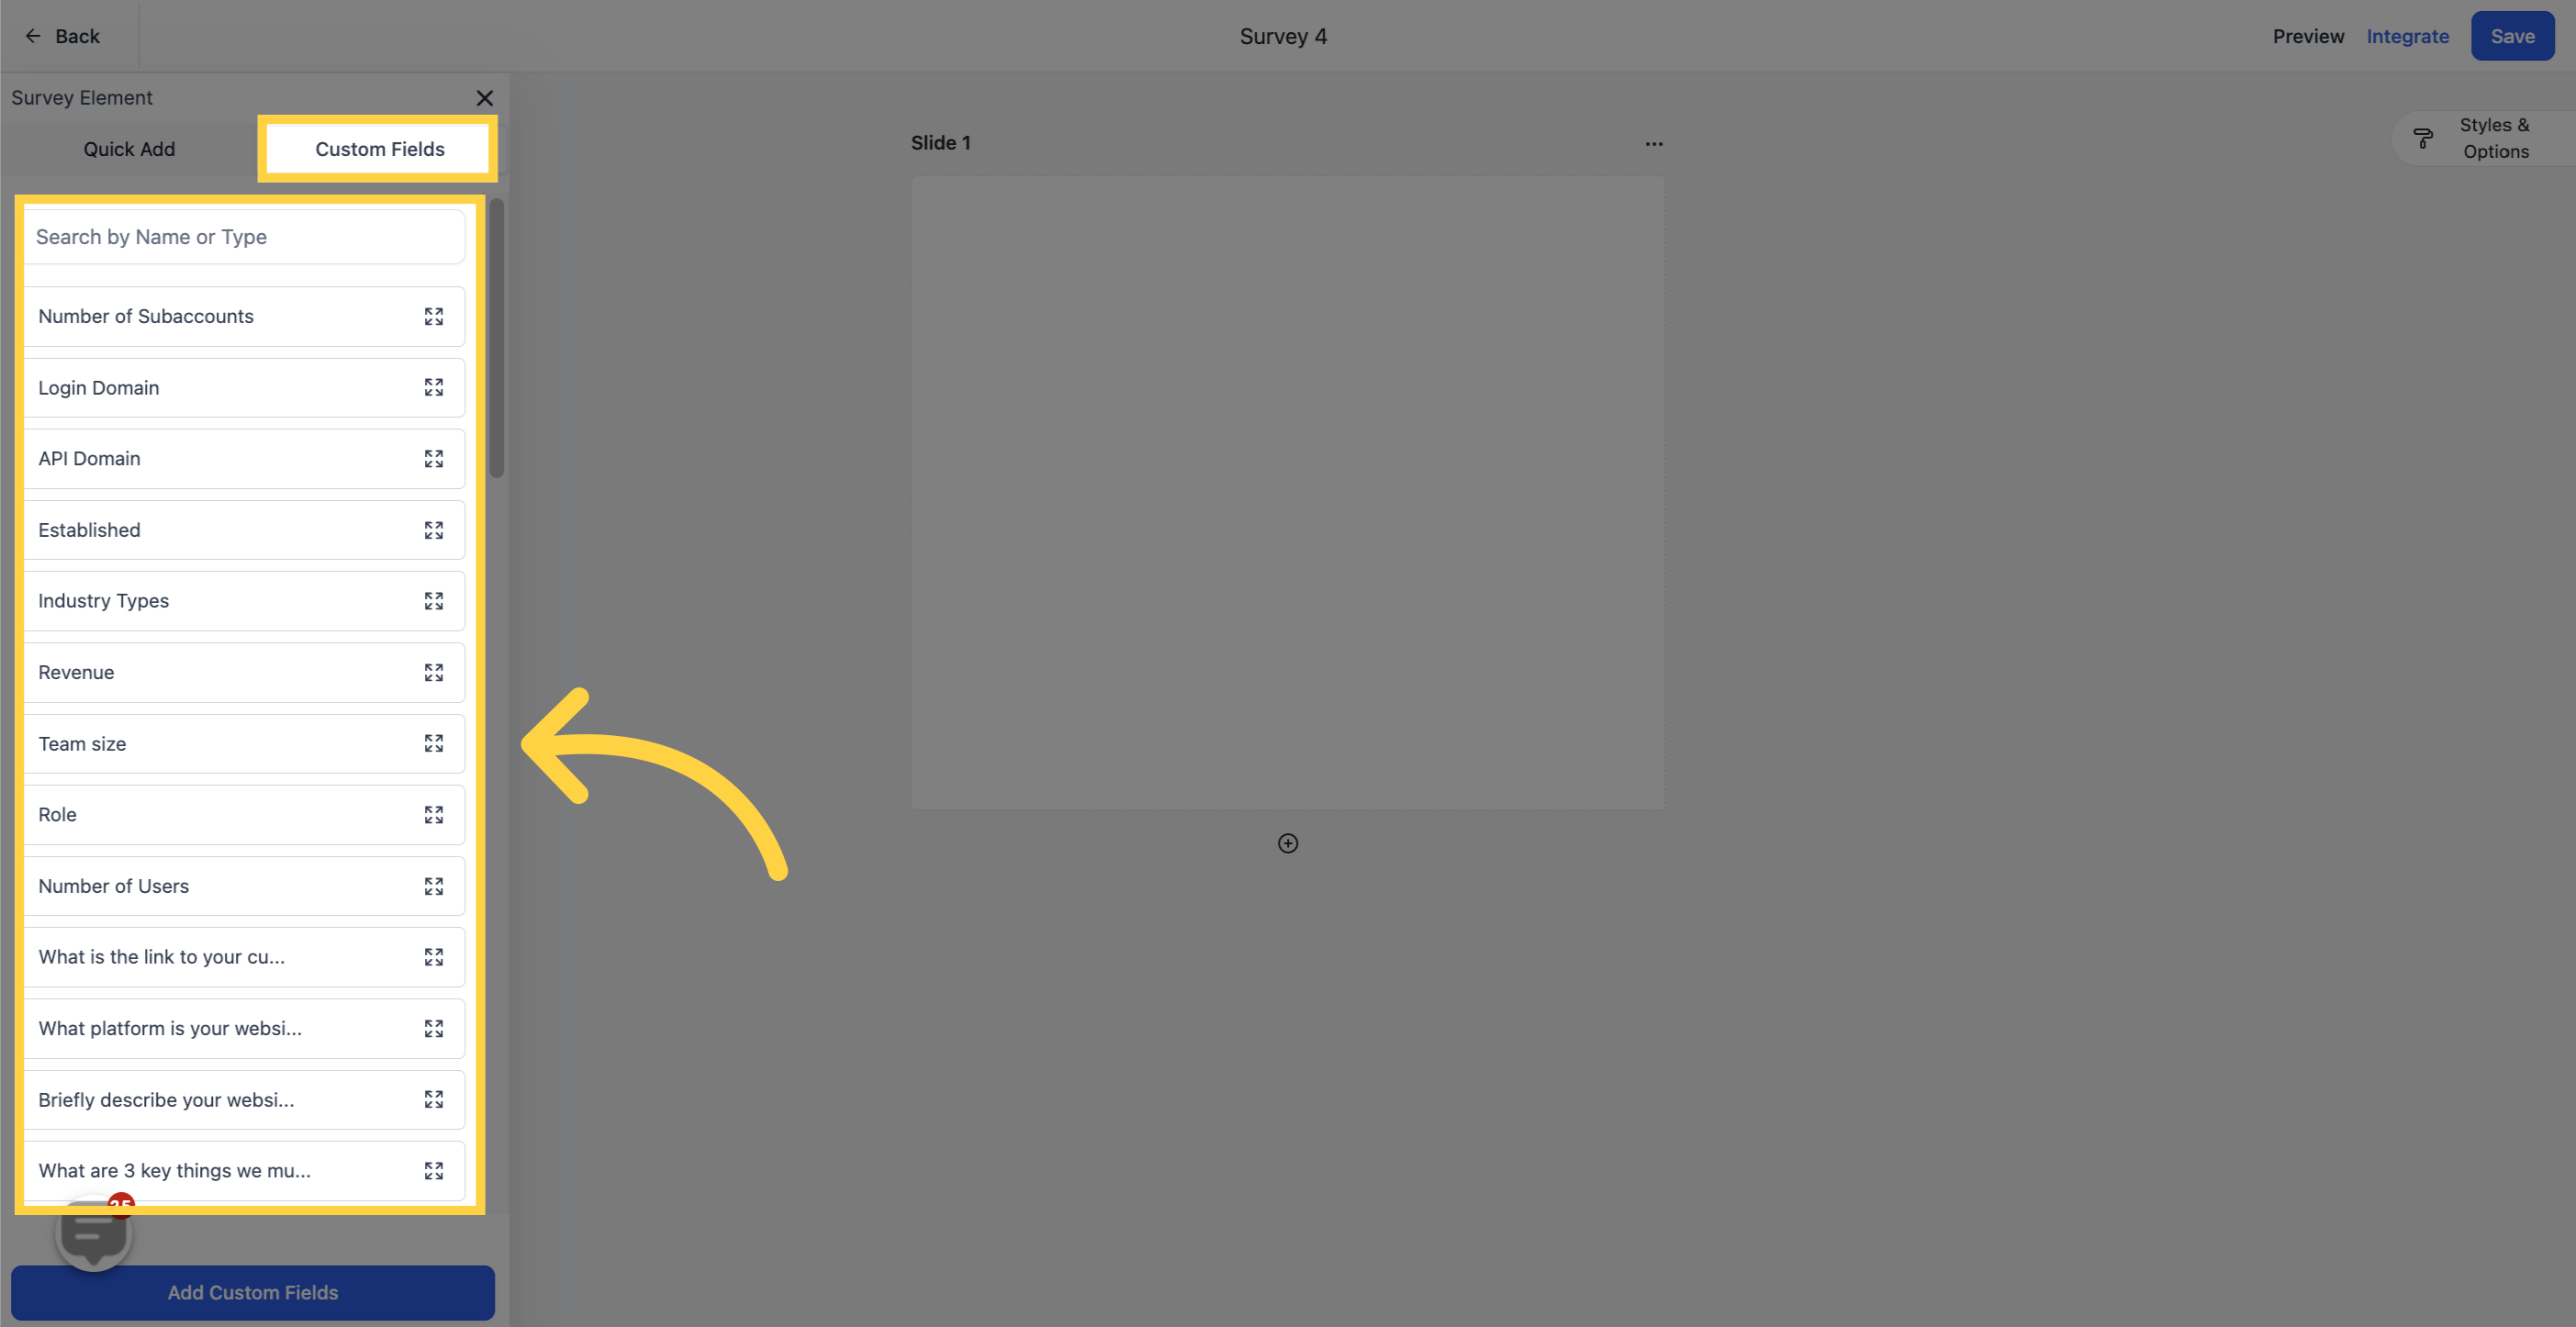
These fields can be created by you or your CRM admin. They offer flexibility, allowing you to include checkboxes, long-form answers, and other custom options.
To add a field to your form, simply click and drag it onto the survey slide in the middle of the screen.
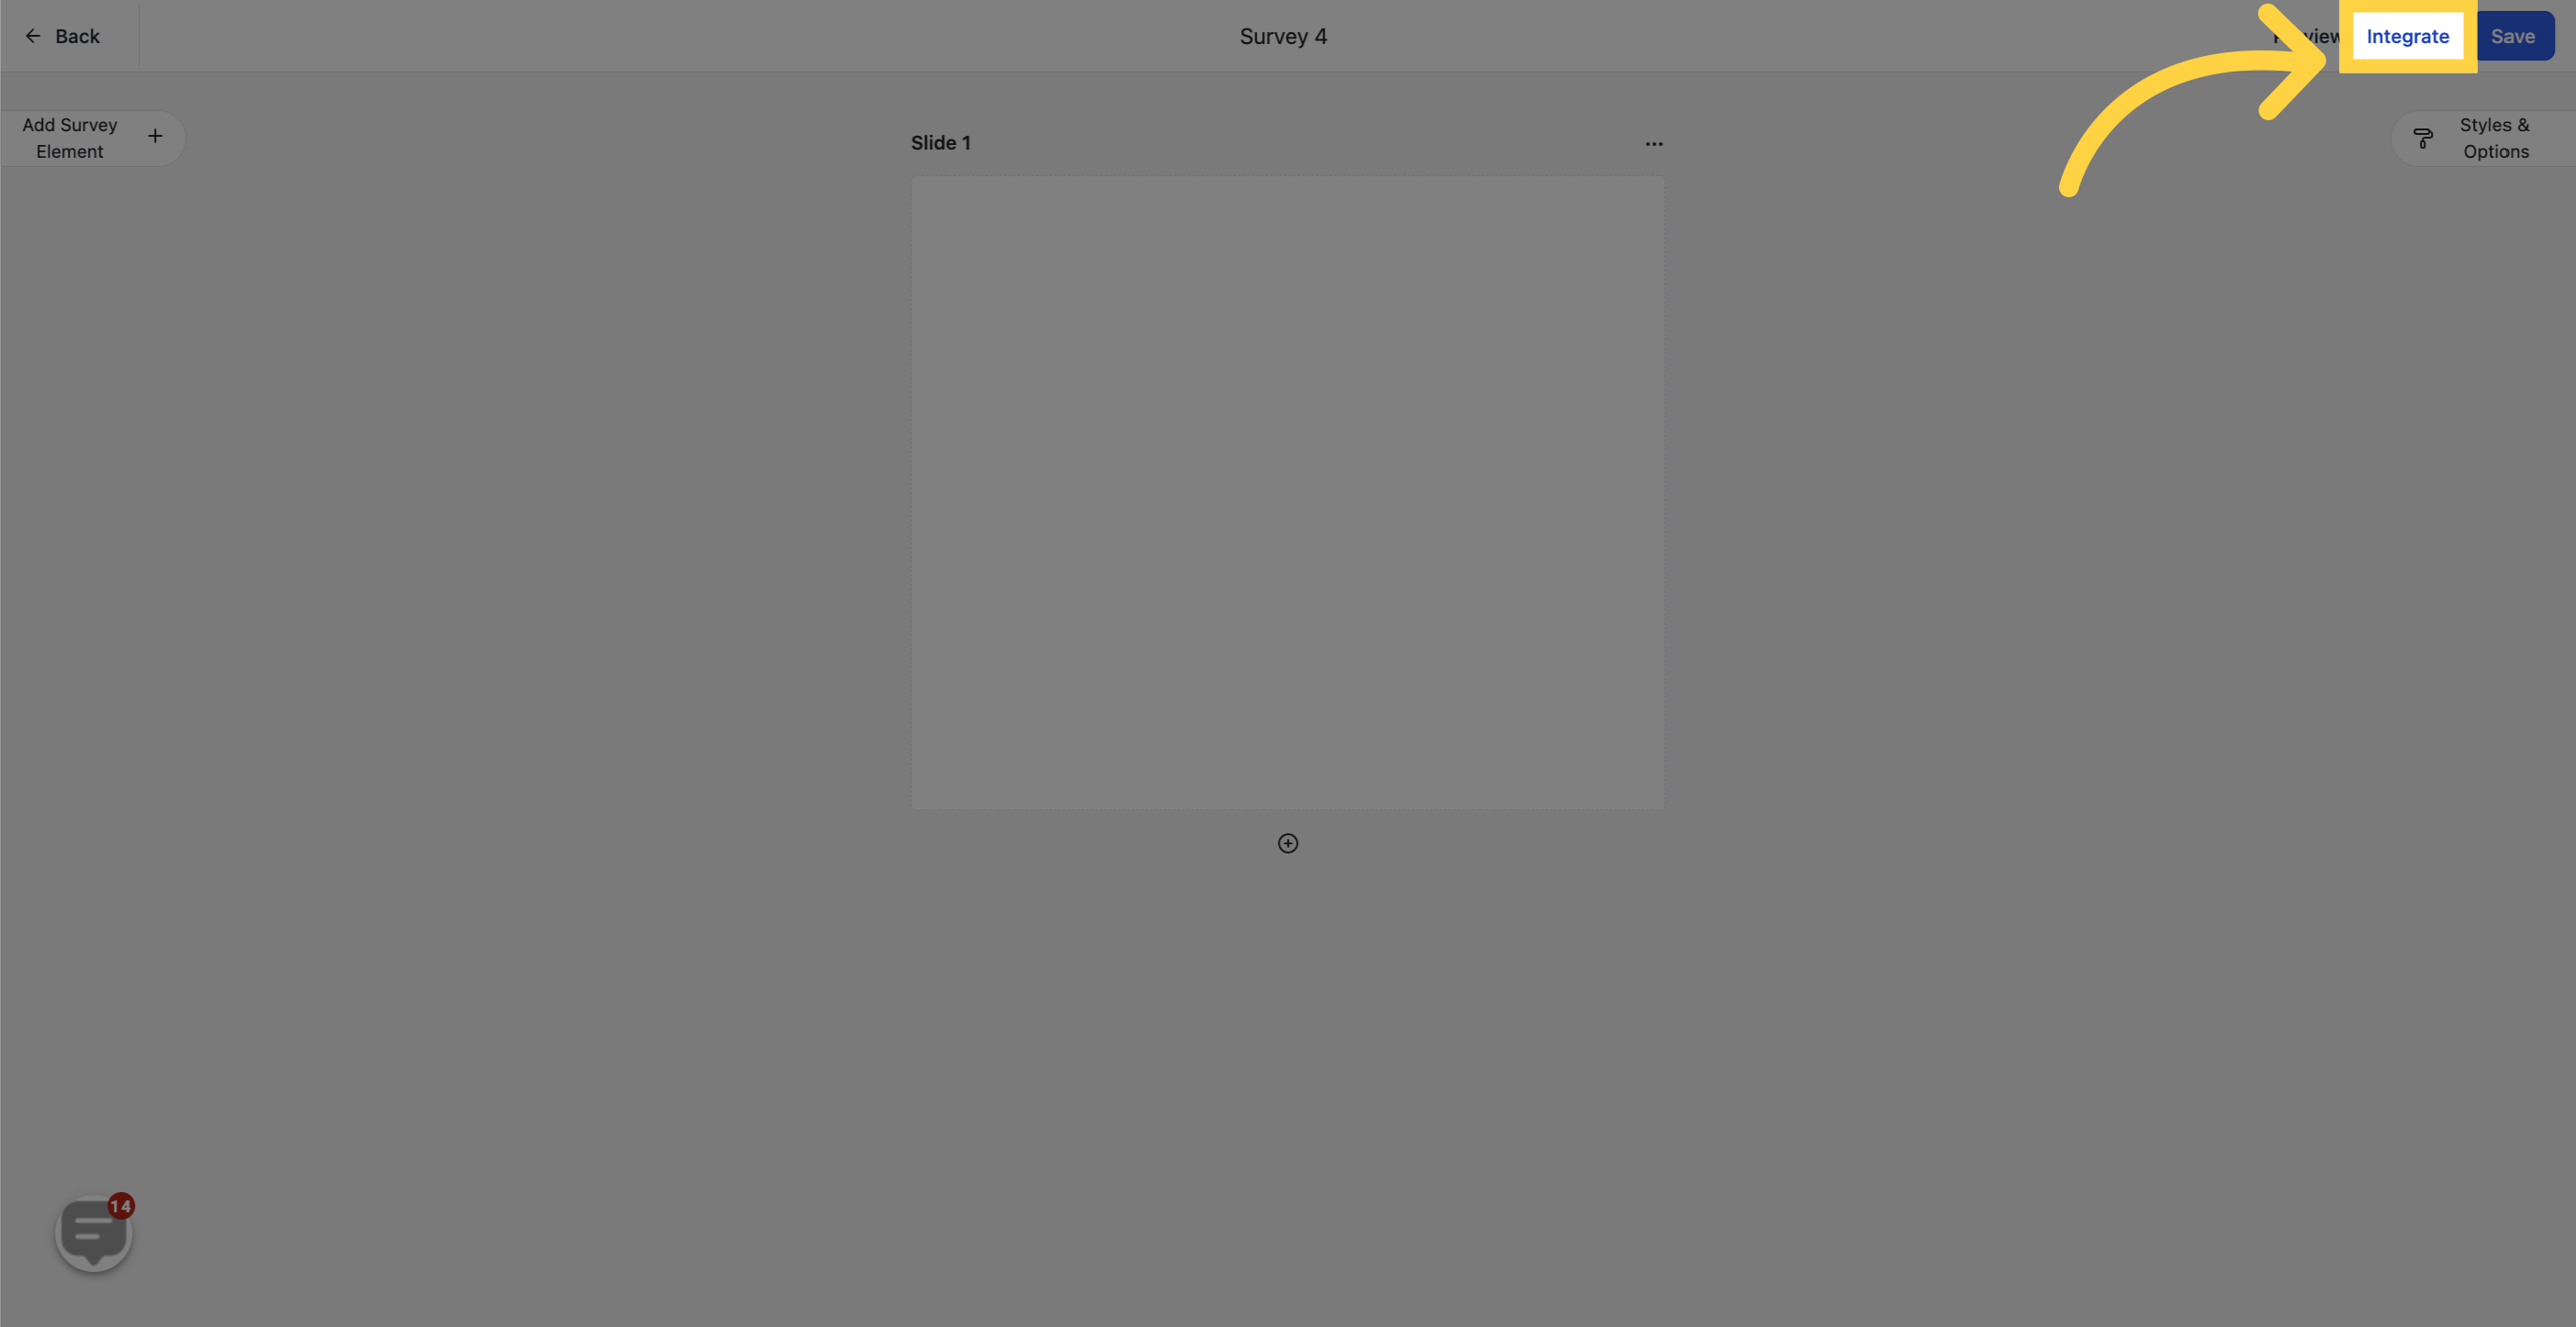
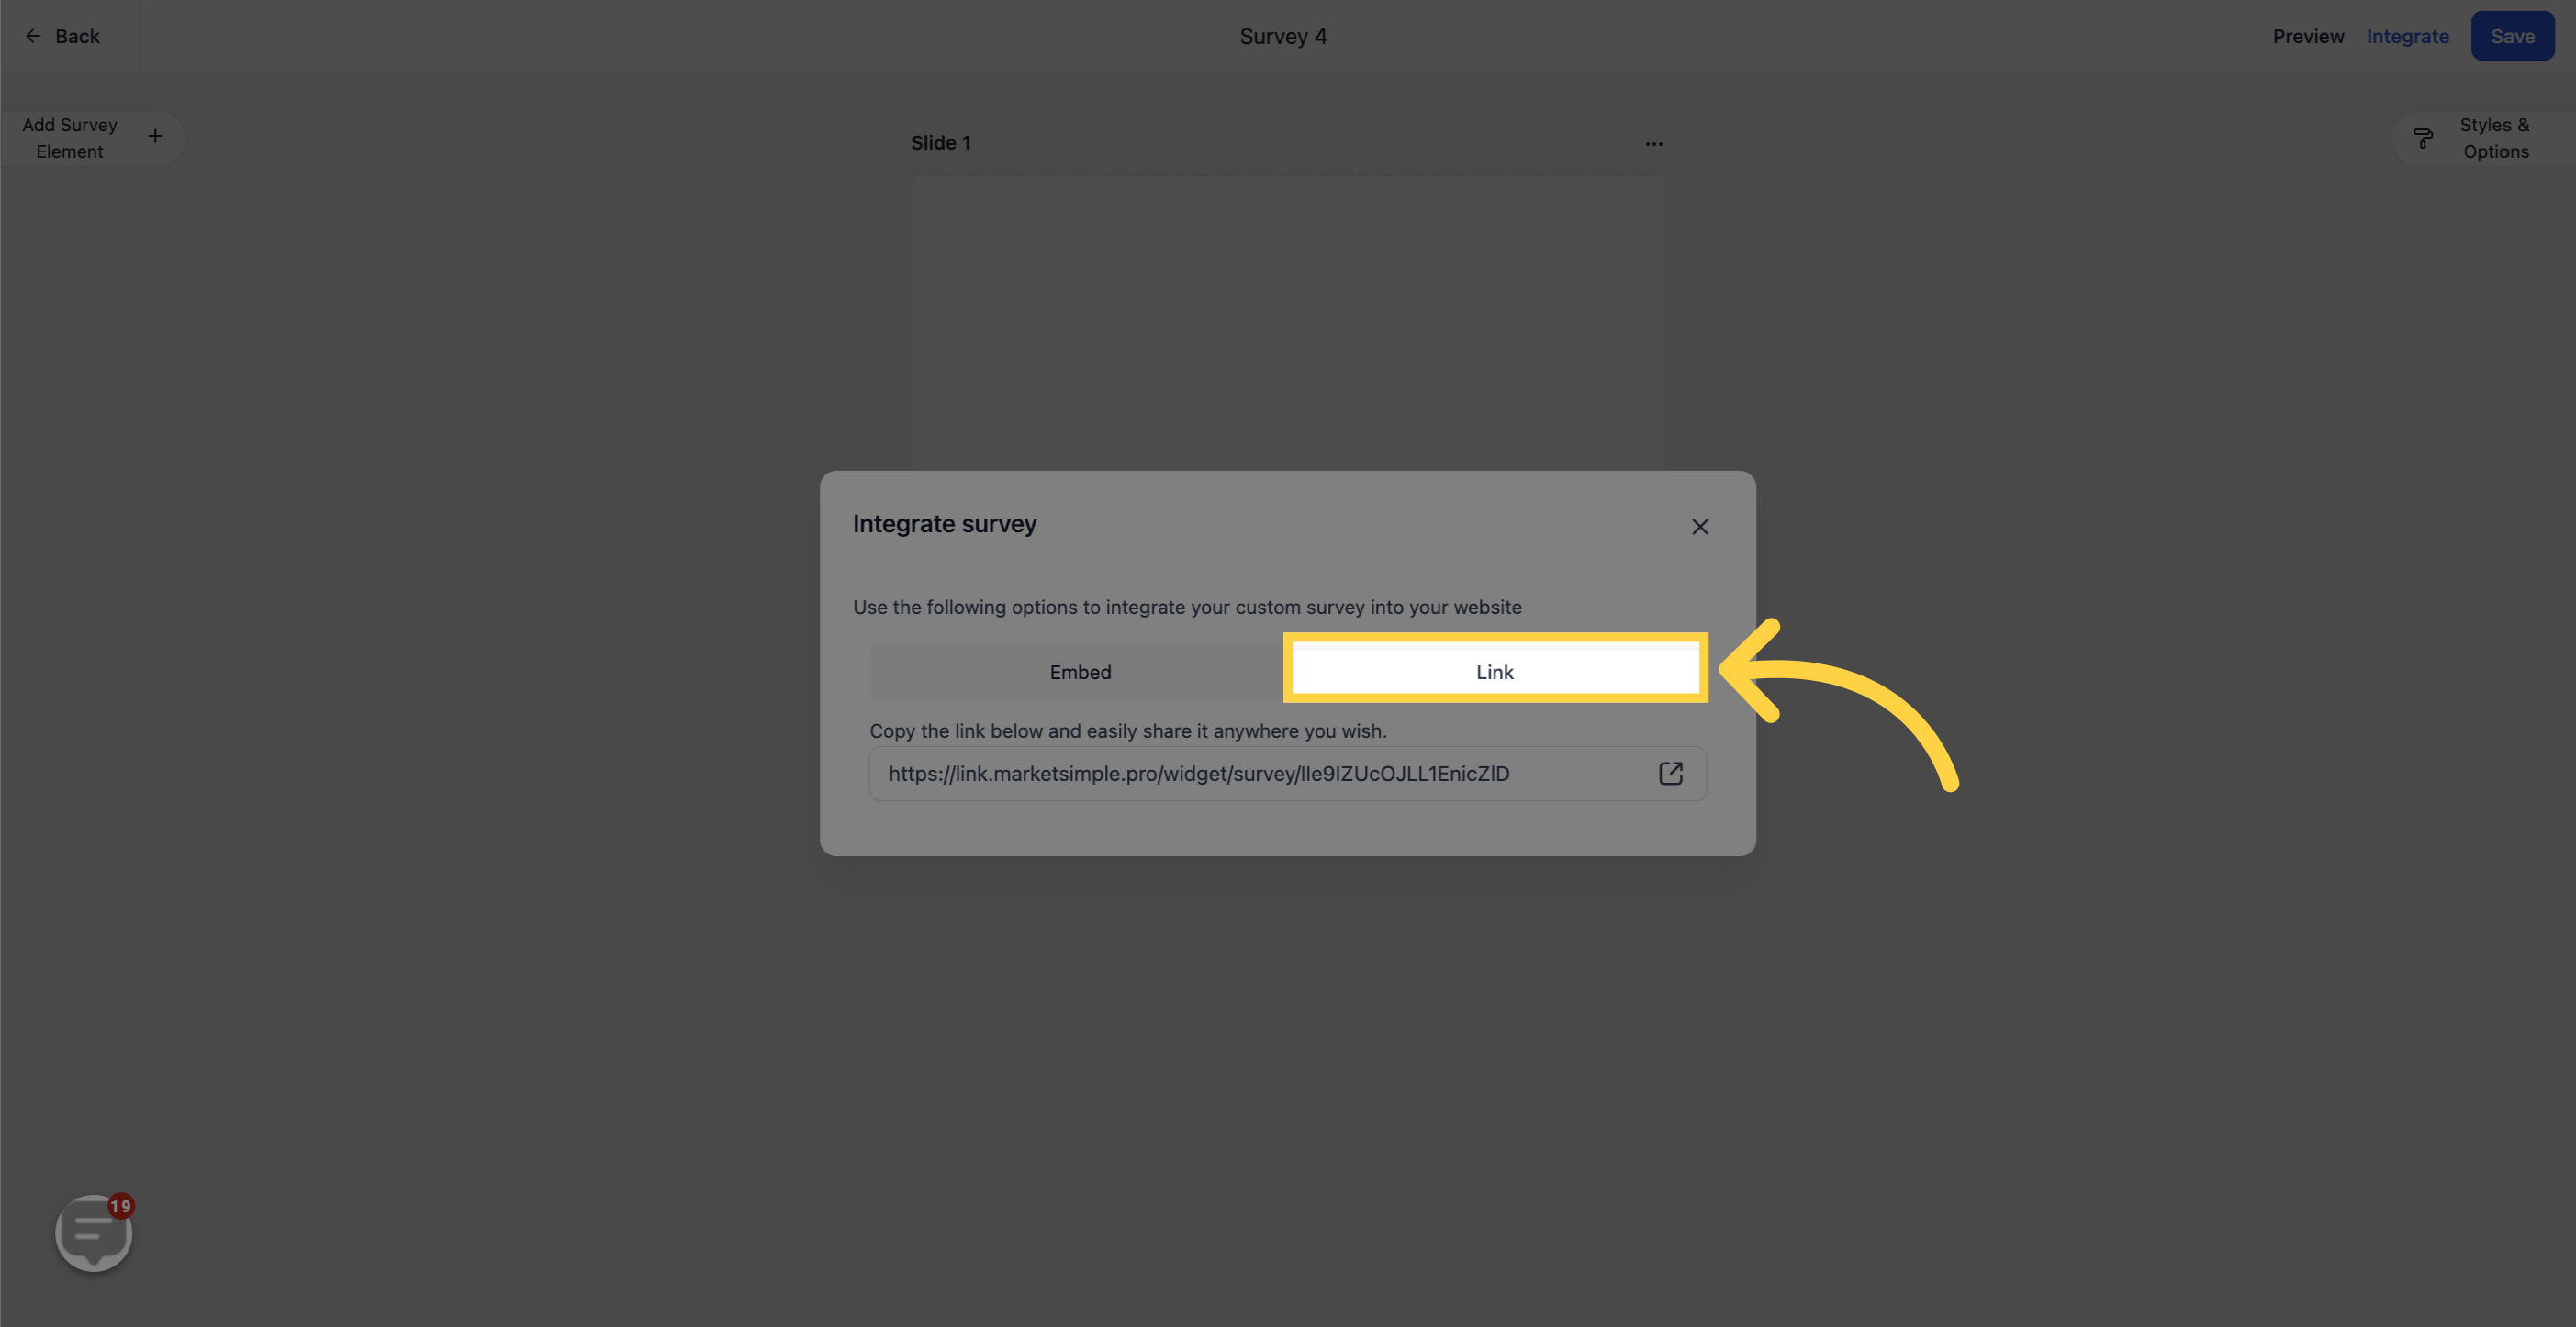
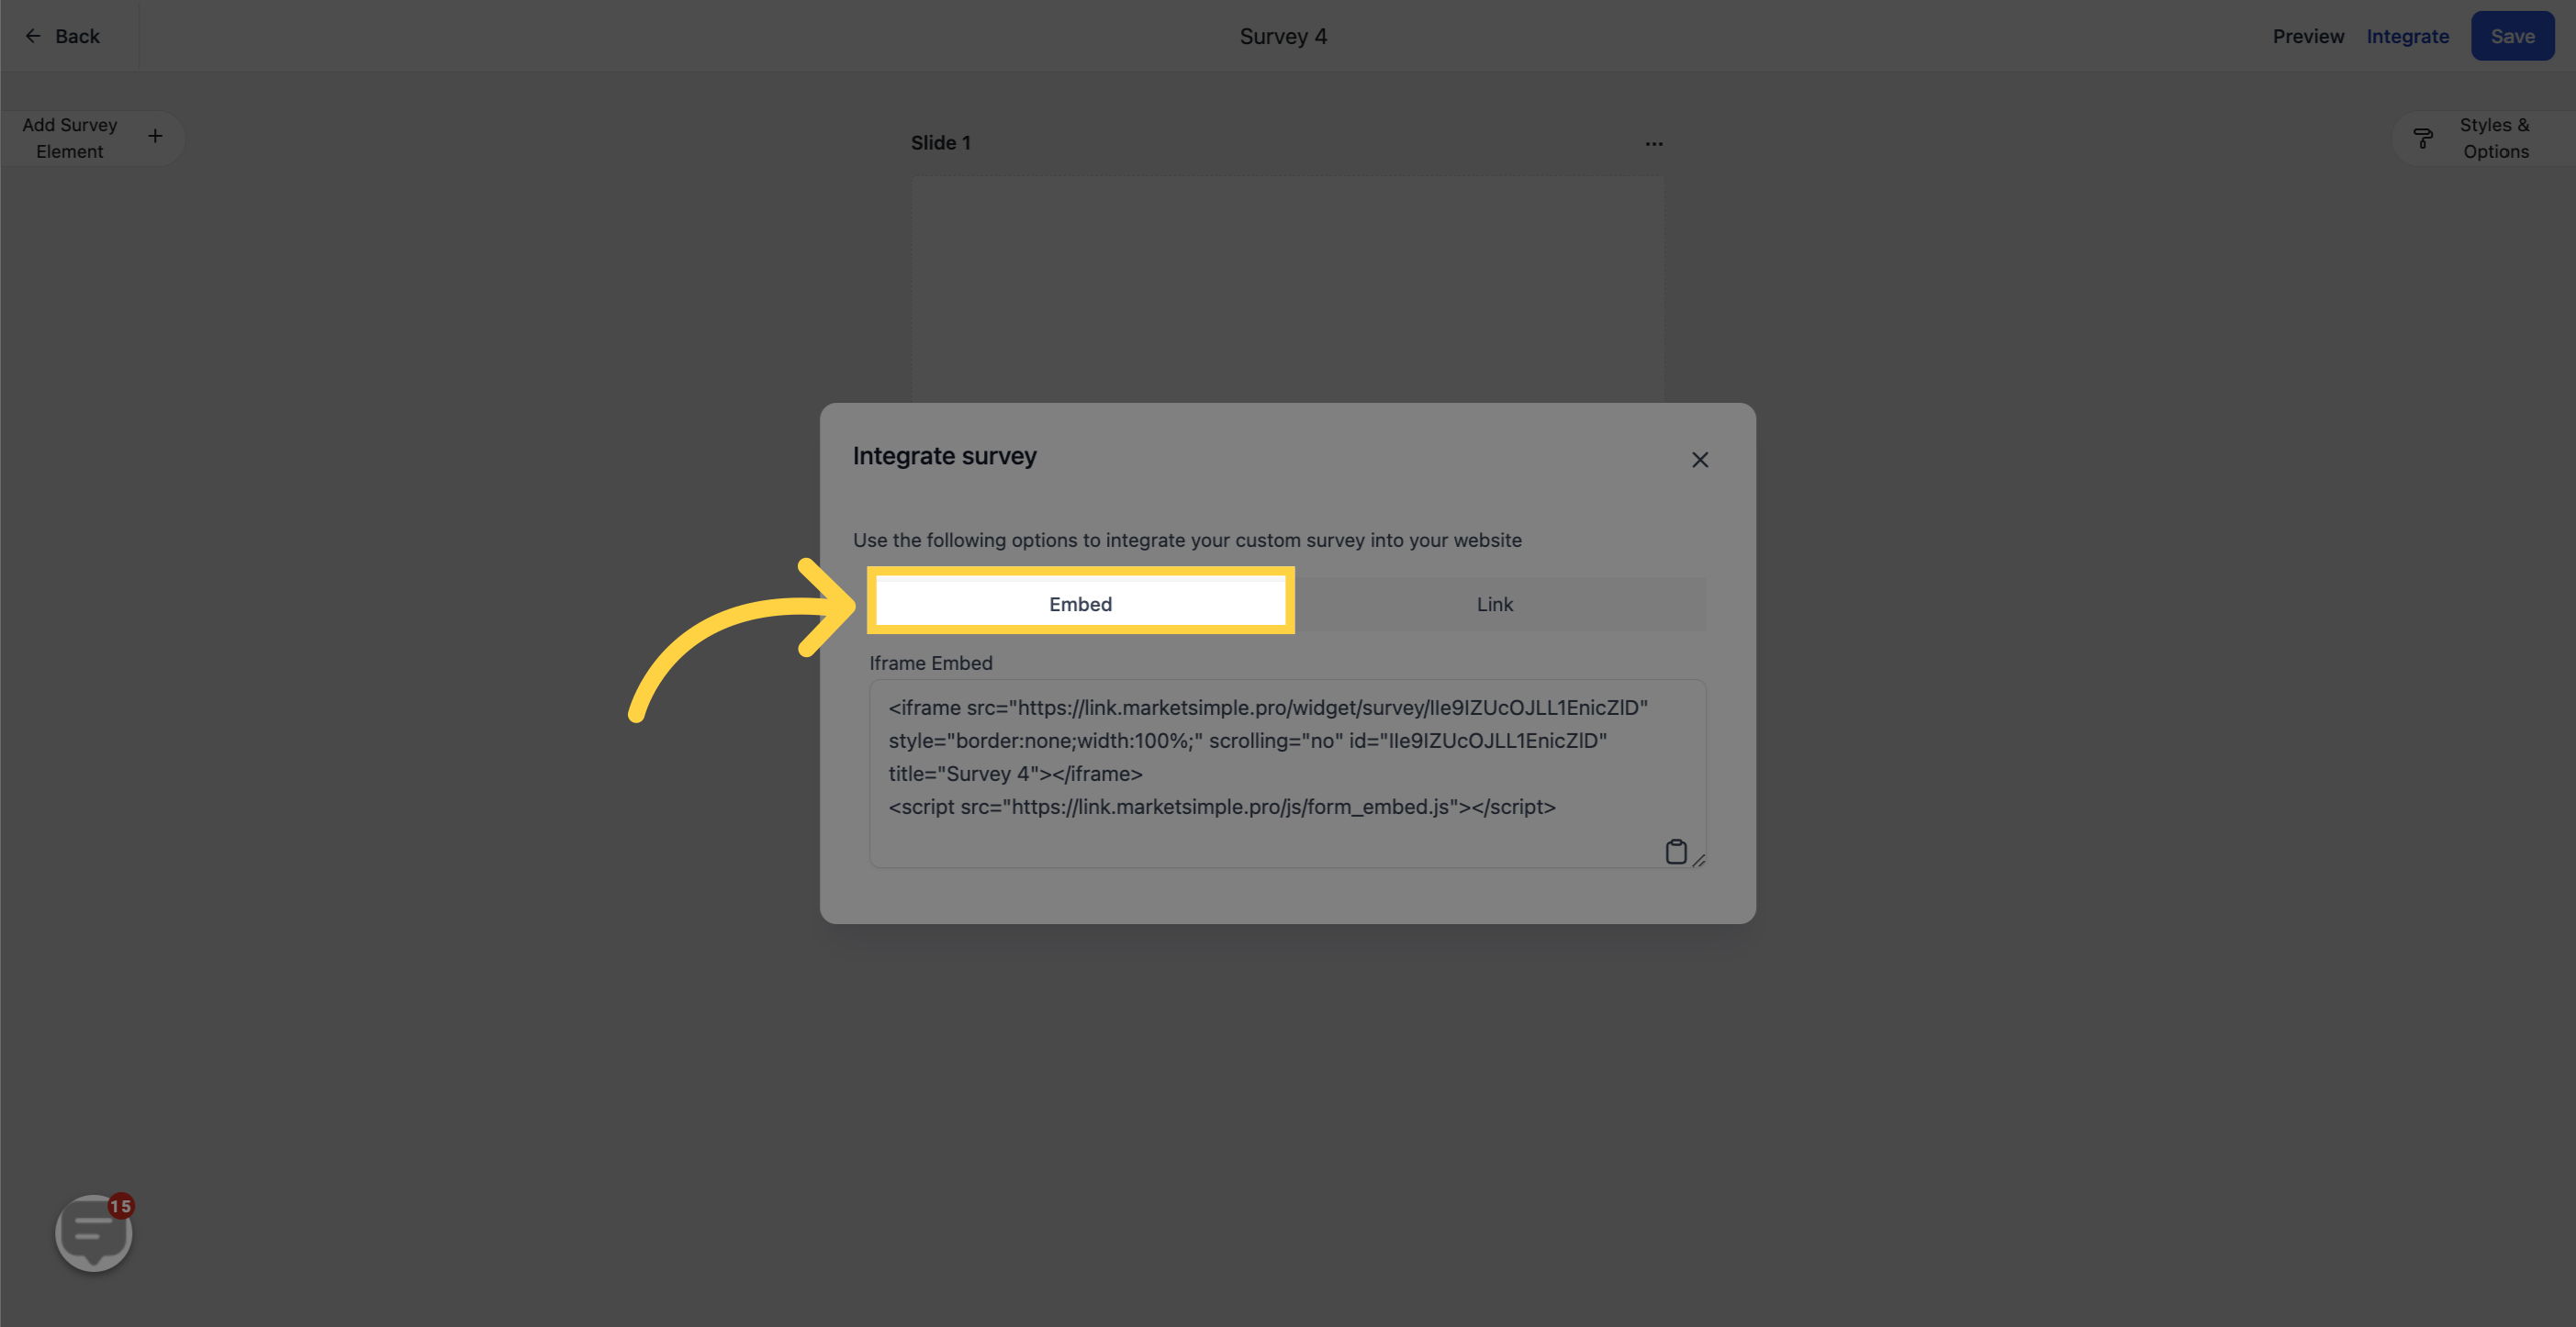
You can embed the survey directly into a website or sales funnel. To do this, copy and paste a snippet of code into your webpage. If you're not familiar with the process, we recommend involving your web developer.
You can also generate a custom link and share it with your customers or prospects. This link will direct them to your survey, ensuring their focus remains on filling it out.