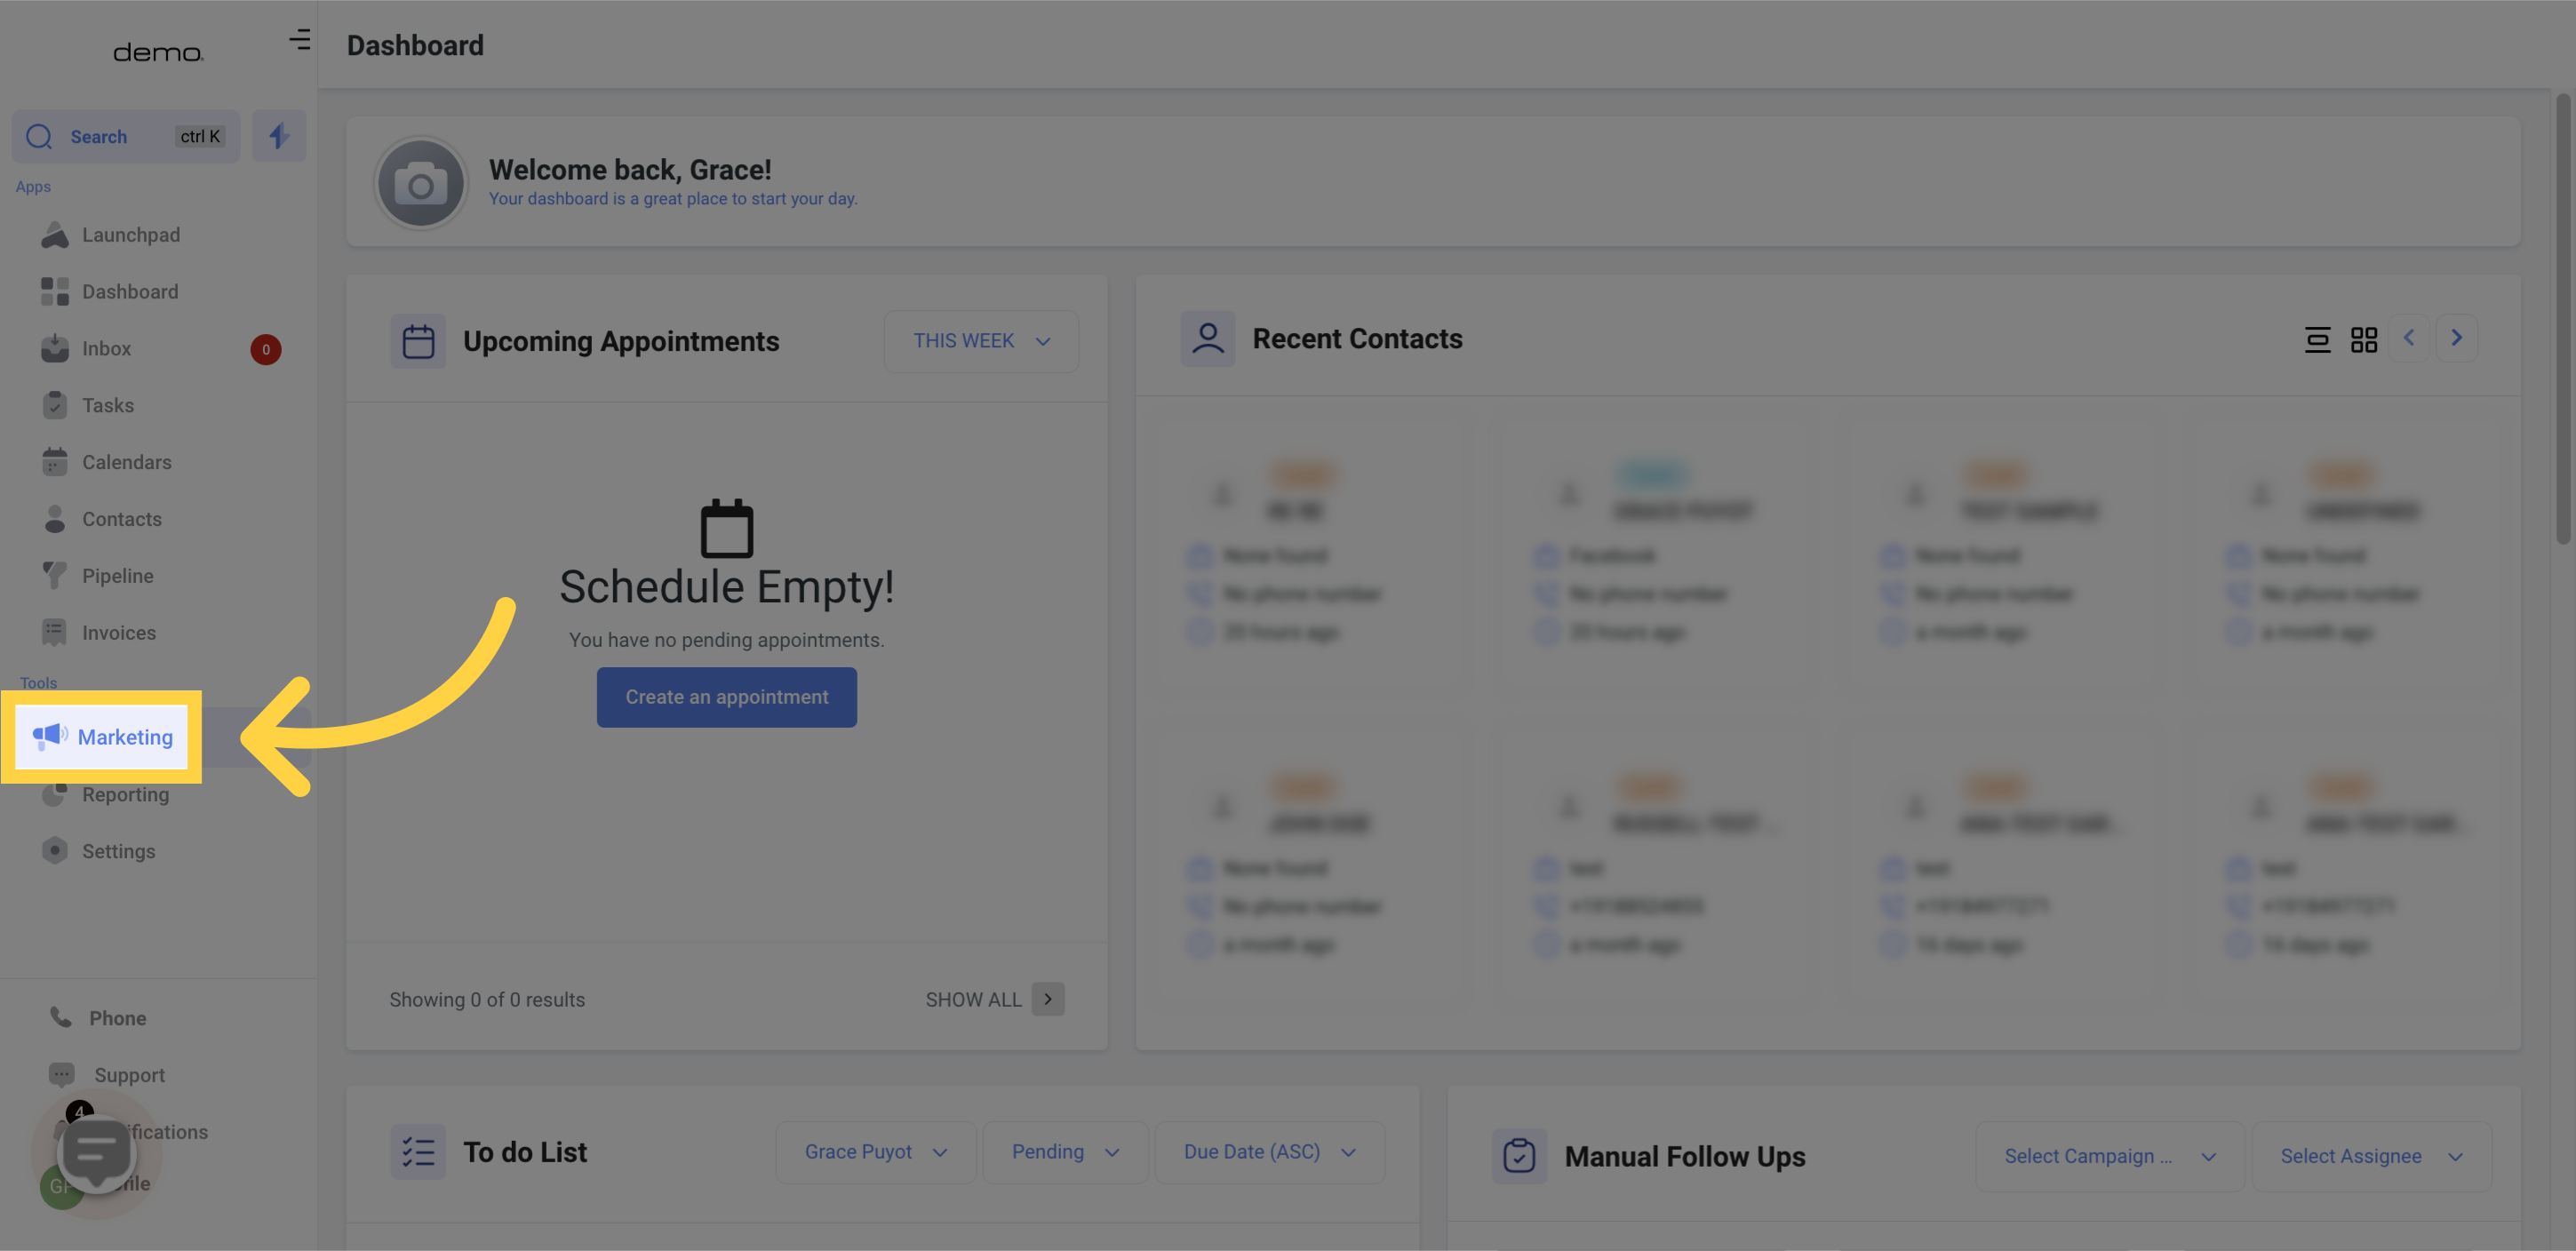
Go to the Marketing section of the application.
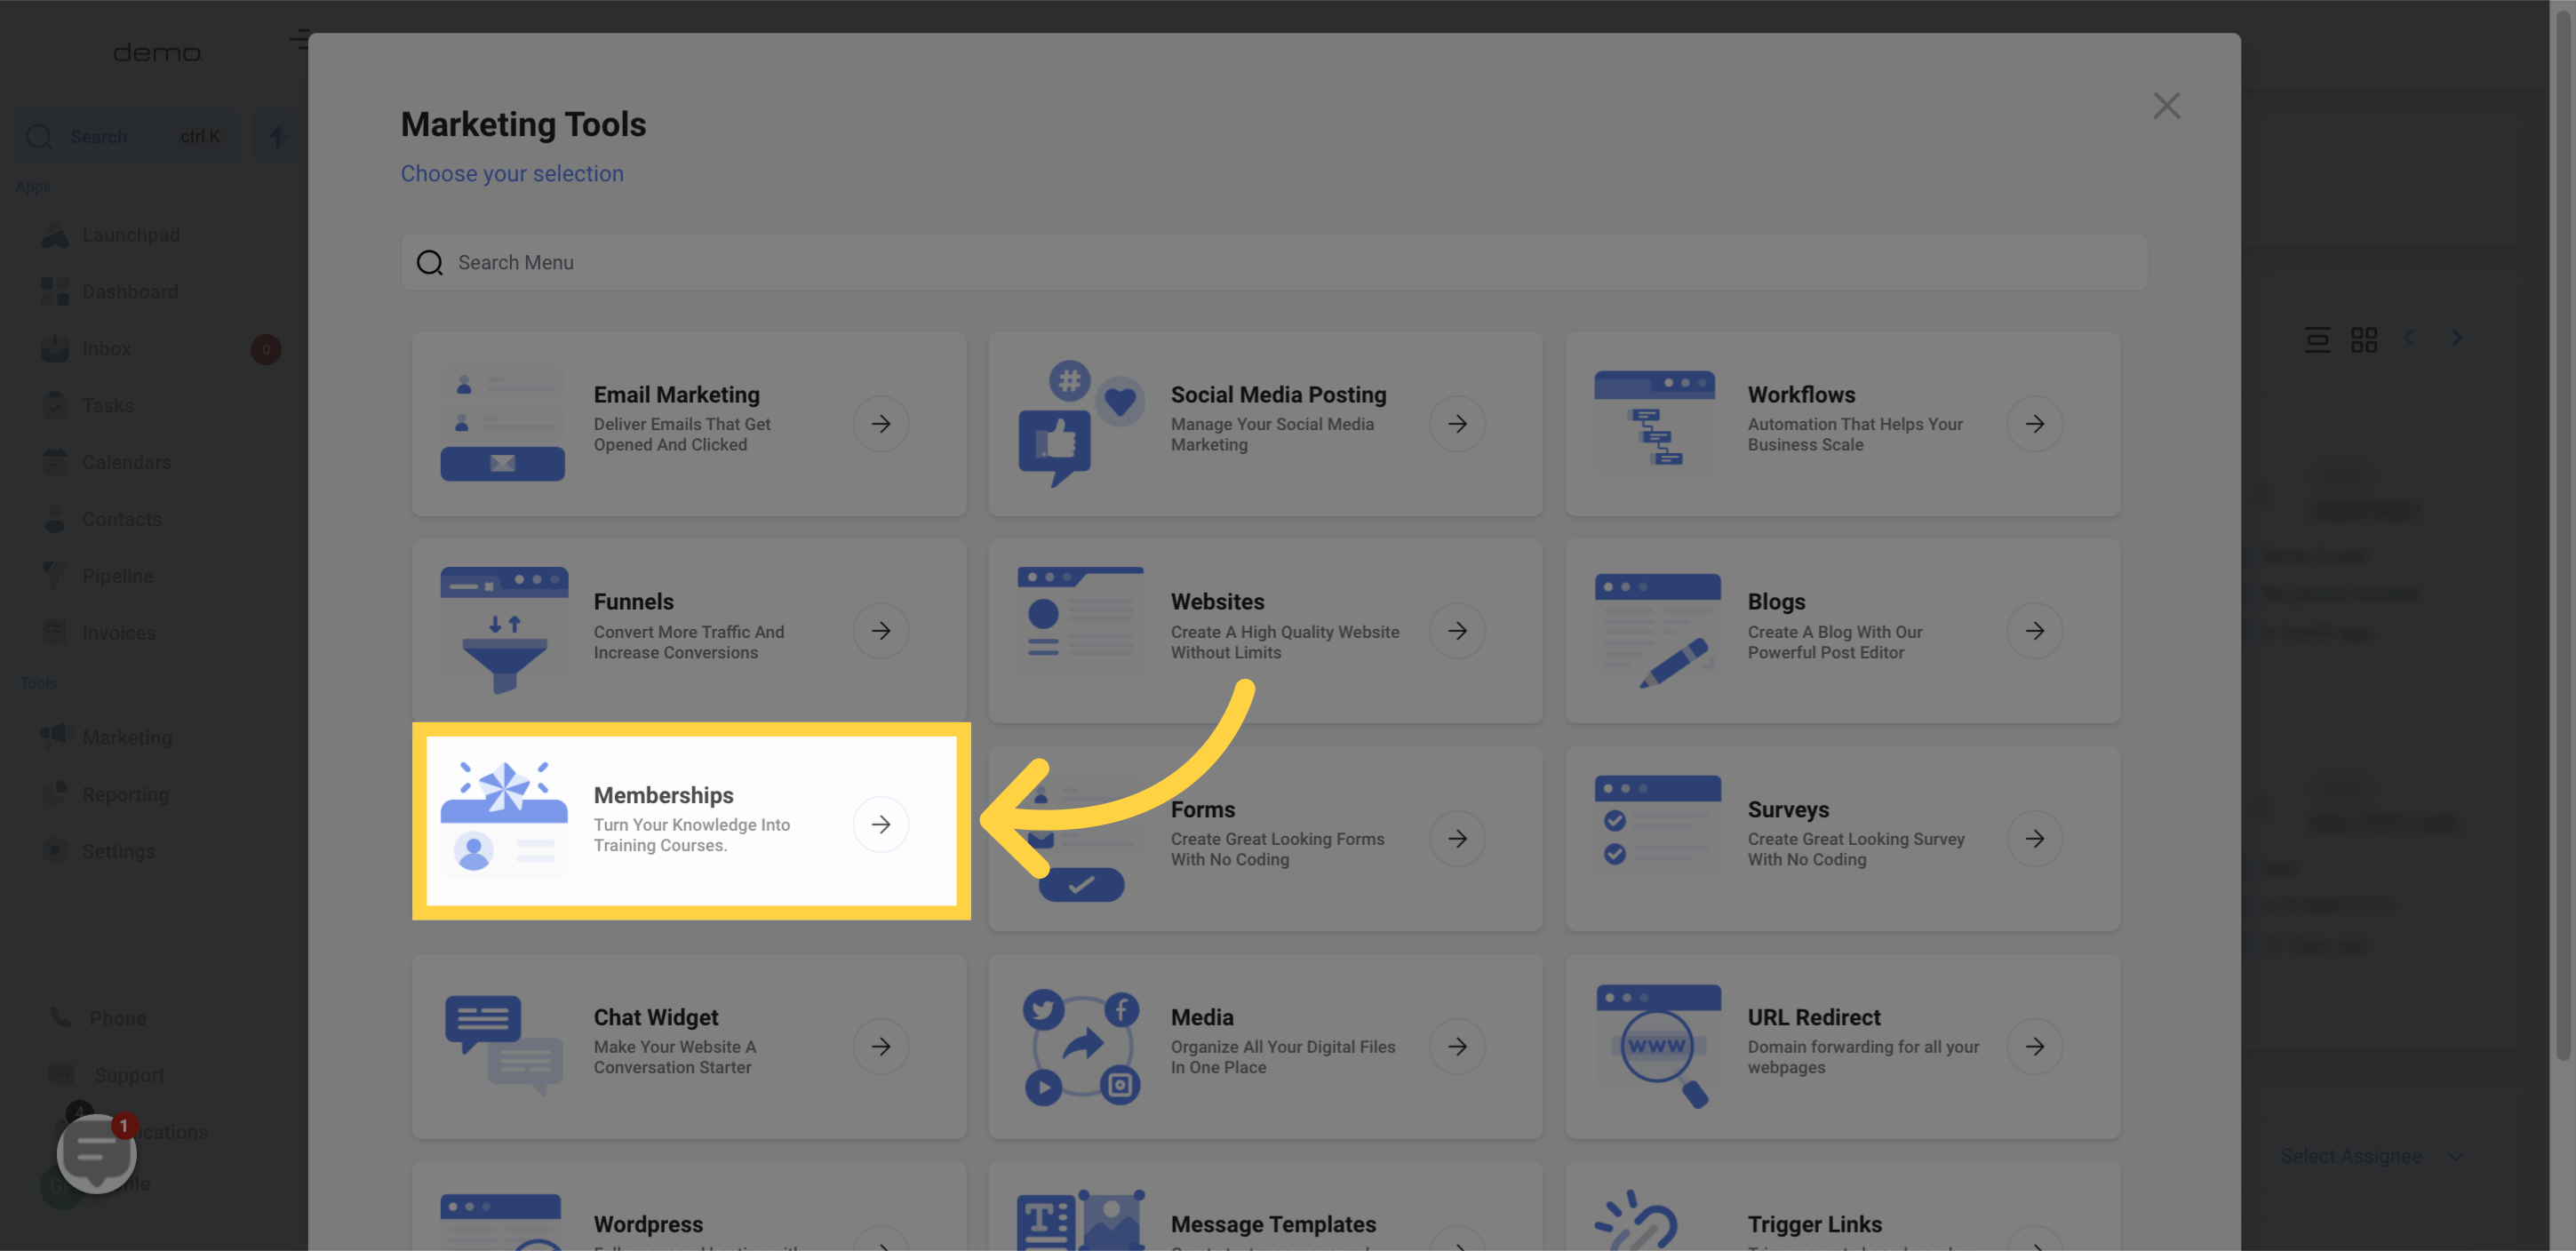
Within this segment, you possess the ability to craft or modify a cost proposal for a course product. To incorporate a monetary value to any course product, an association with a payment processor such as Stripe must be established. The connection to a payment processor is necessary to obtain payments from your clients, without which a price cannot be added (resulting in your product being designated as a Free offer).
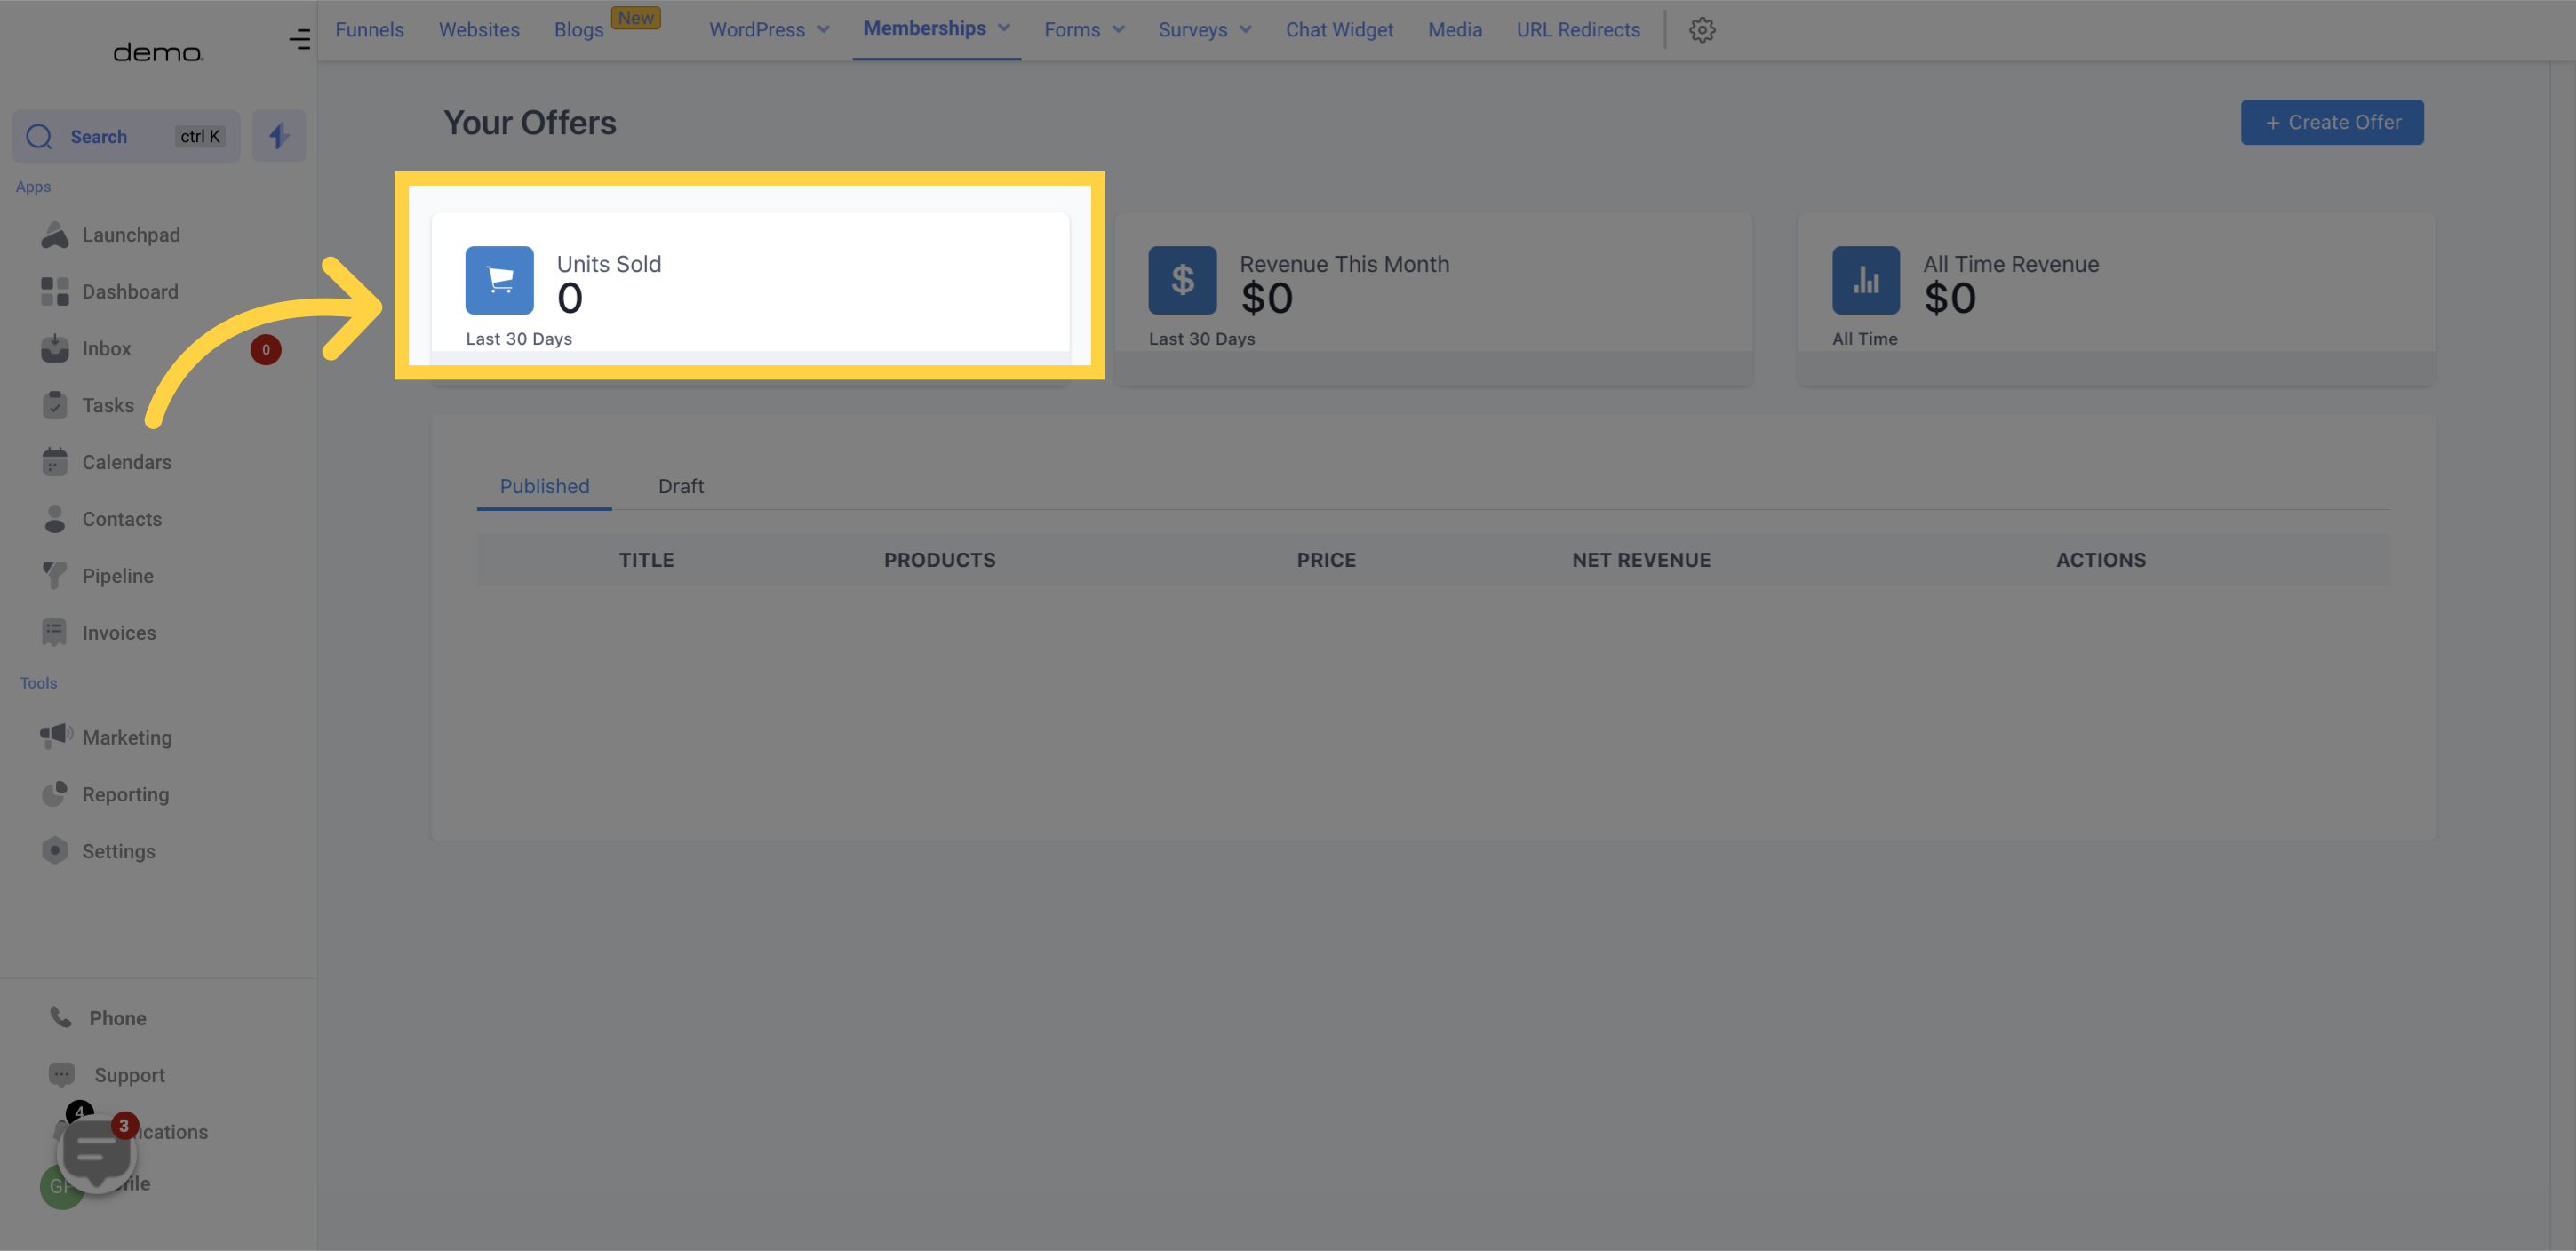
Within 30 days, the complete count of products sold by you will be displayed.
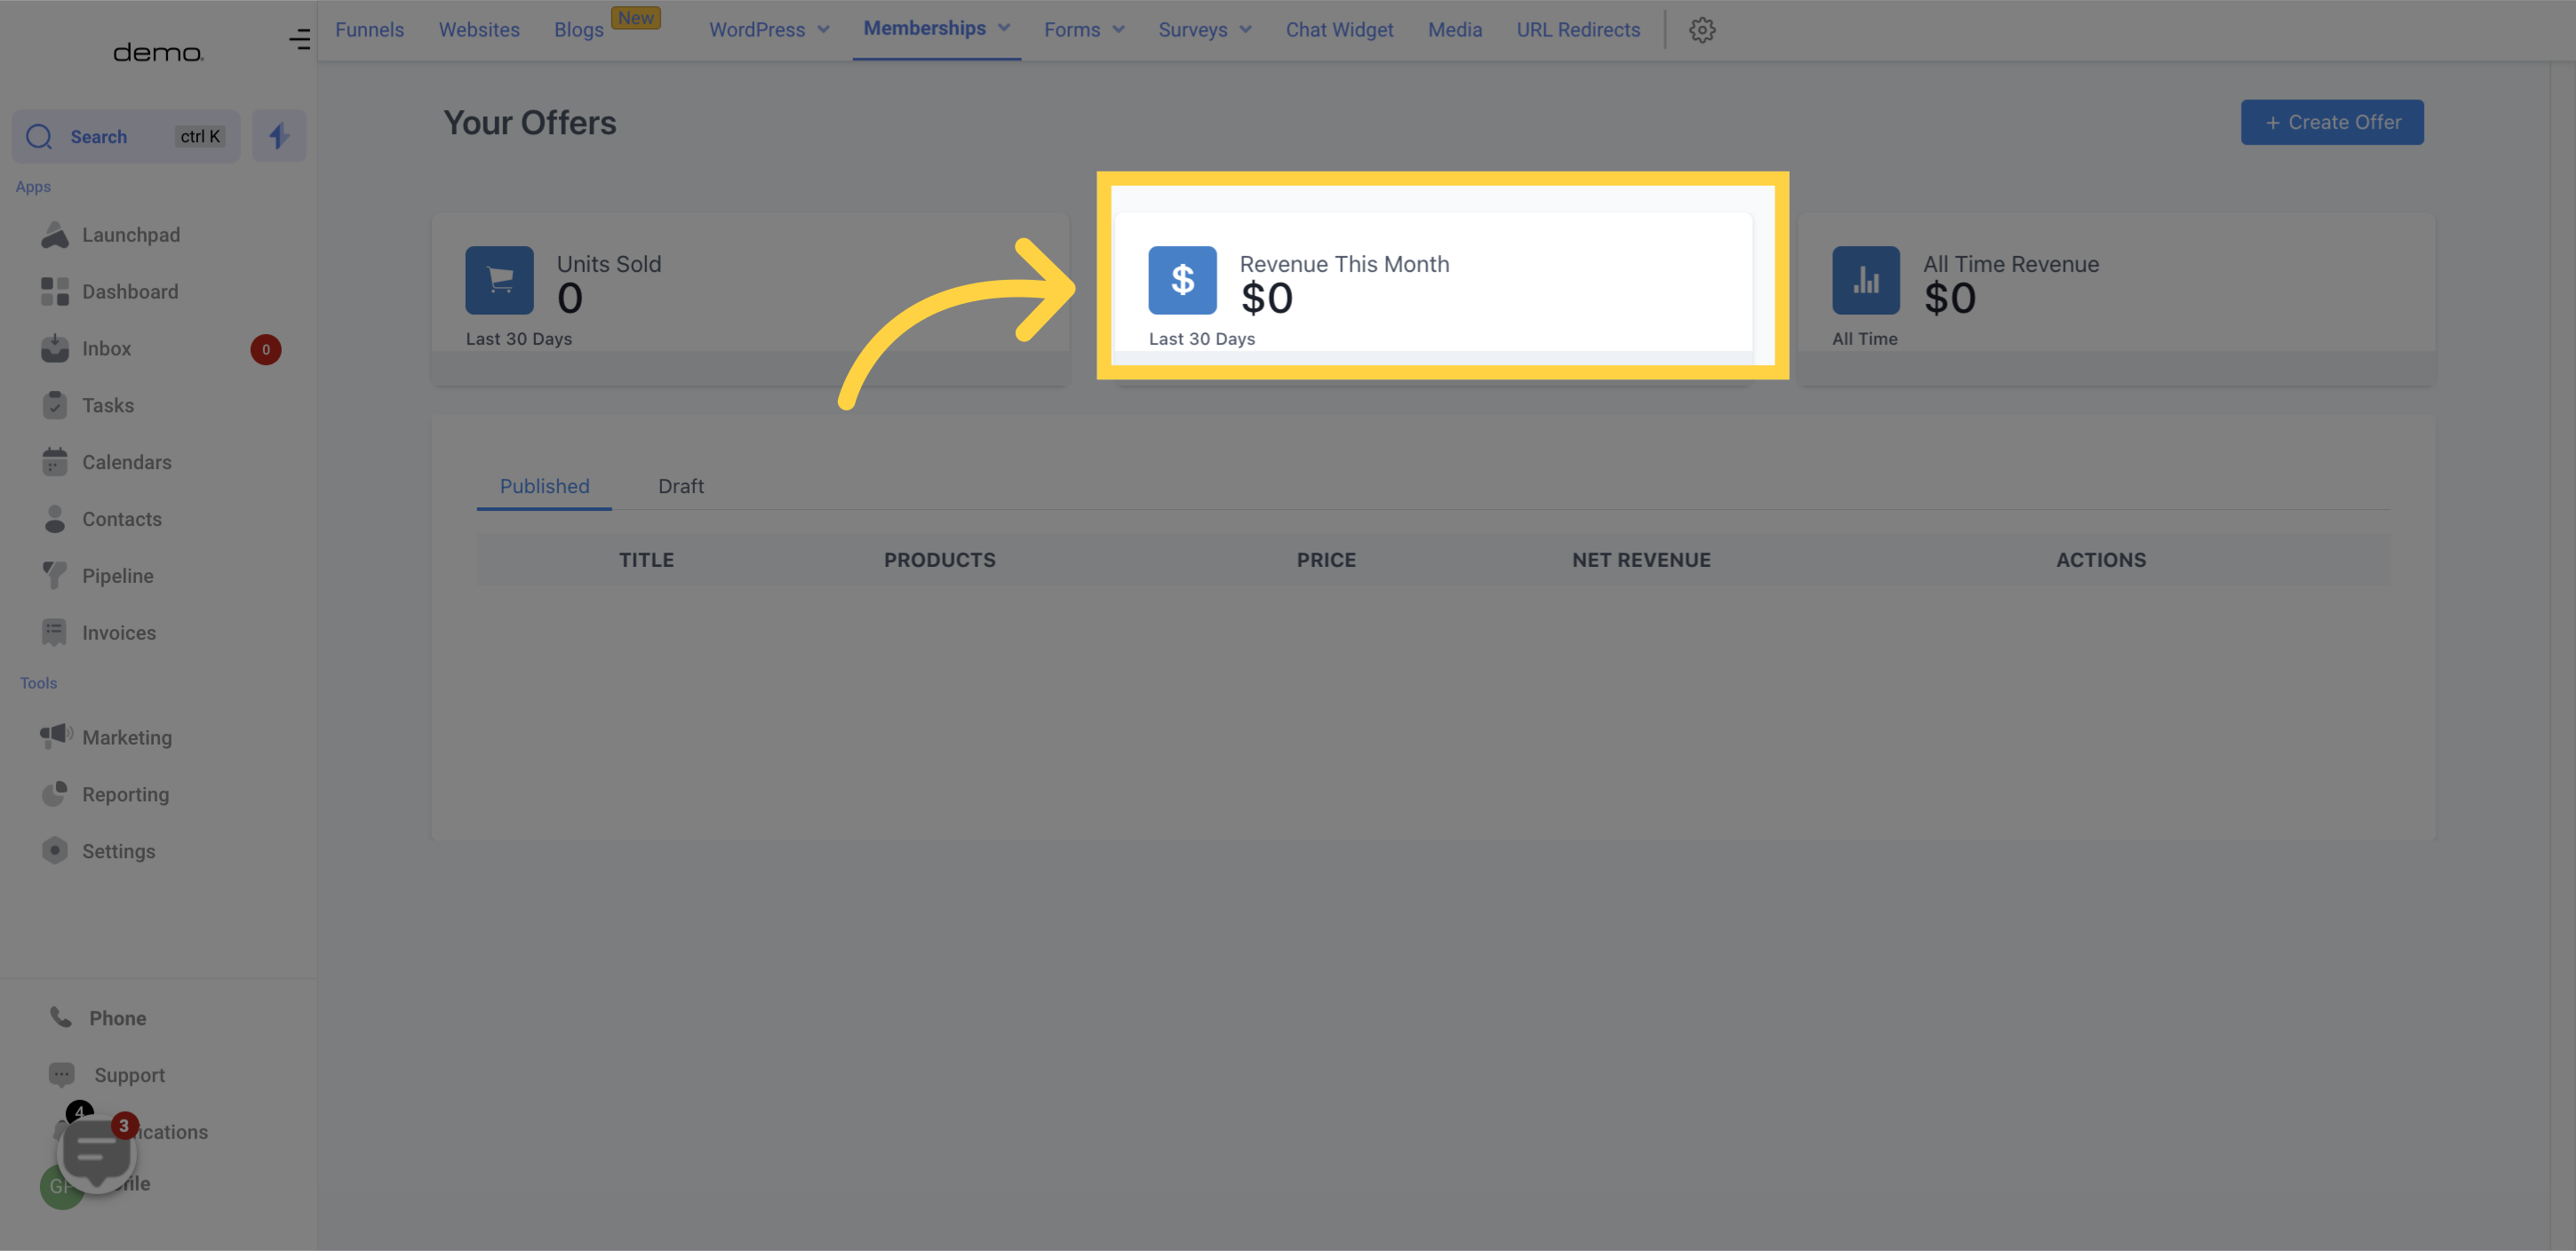
This month's revenue will display the total earnings for each 30-day period.
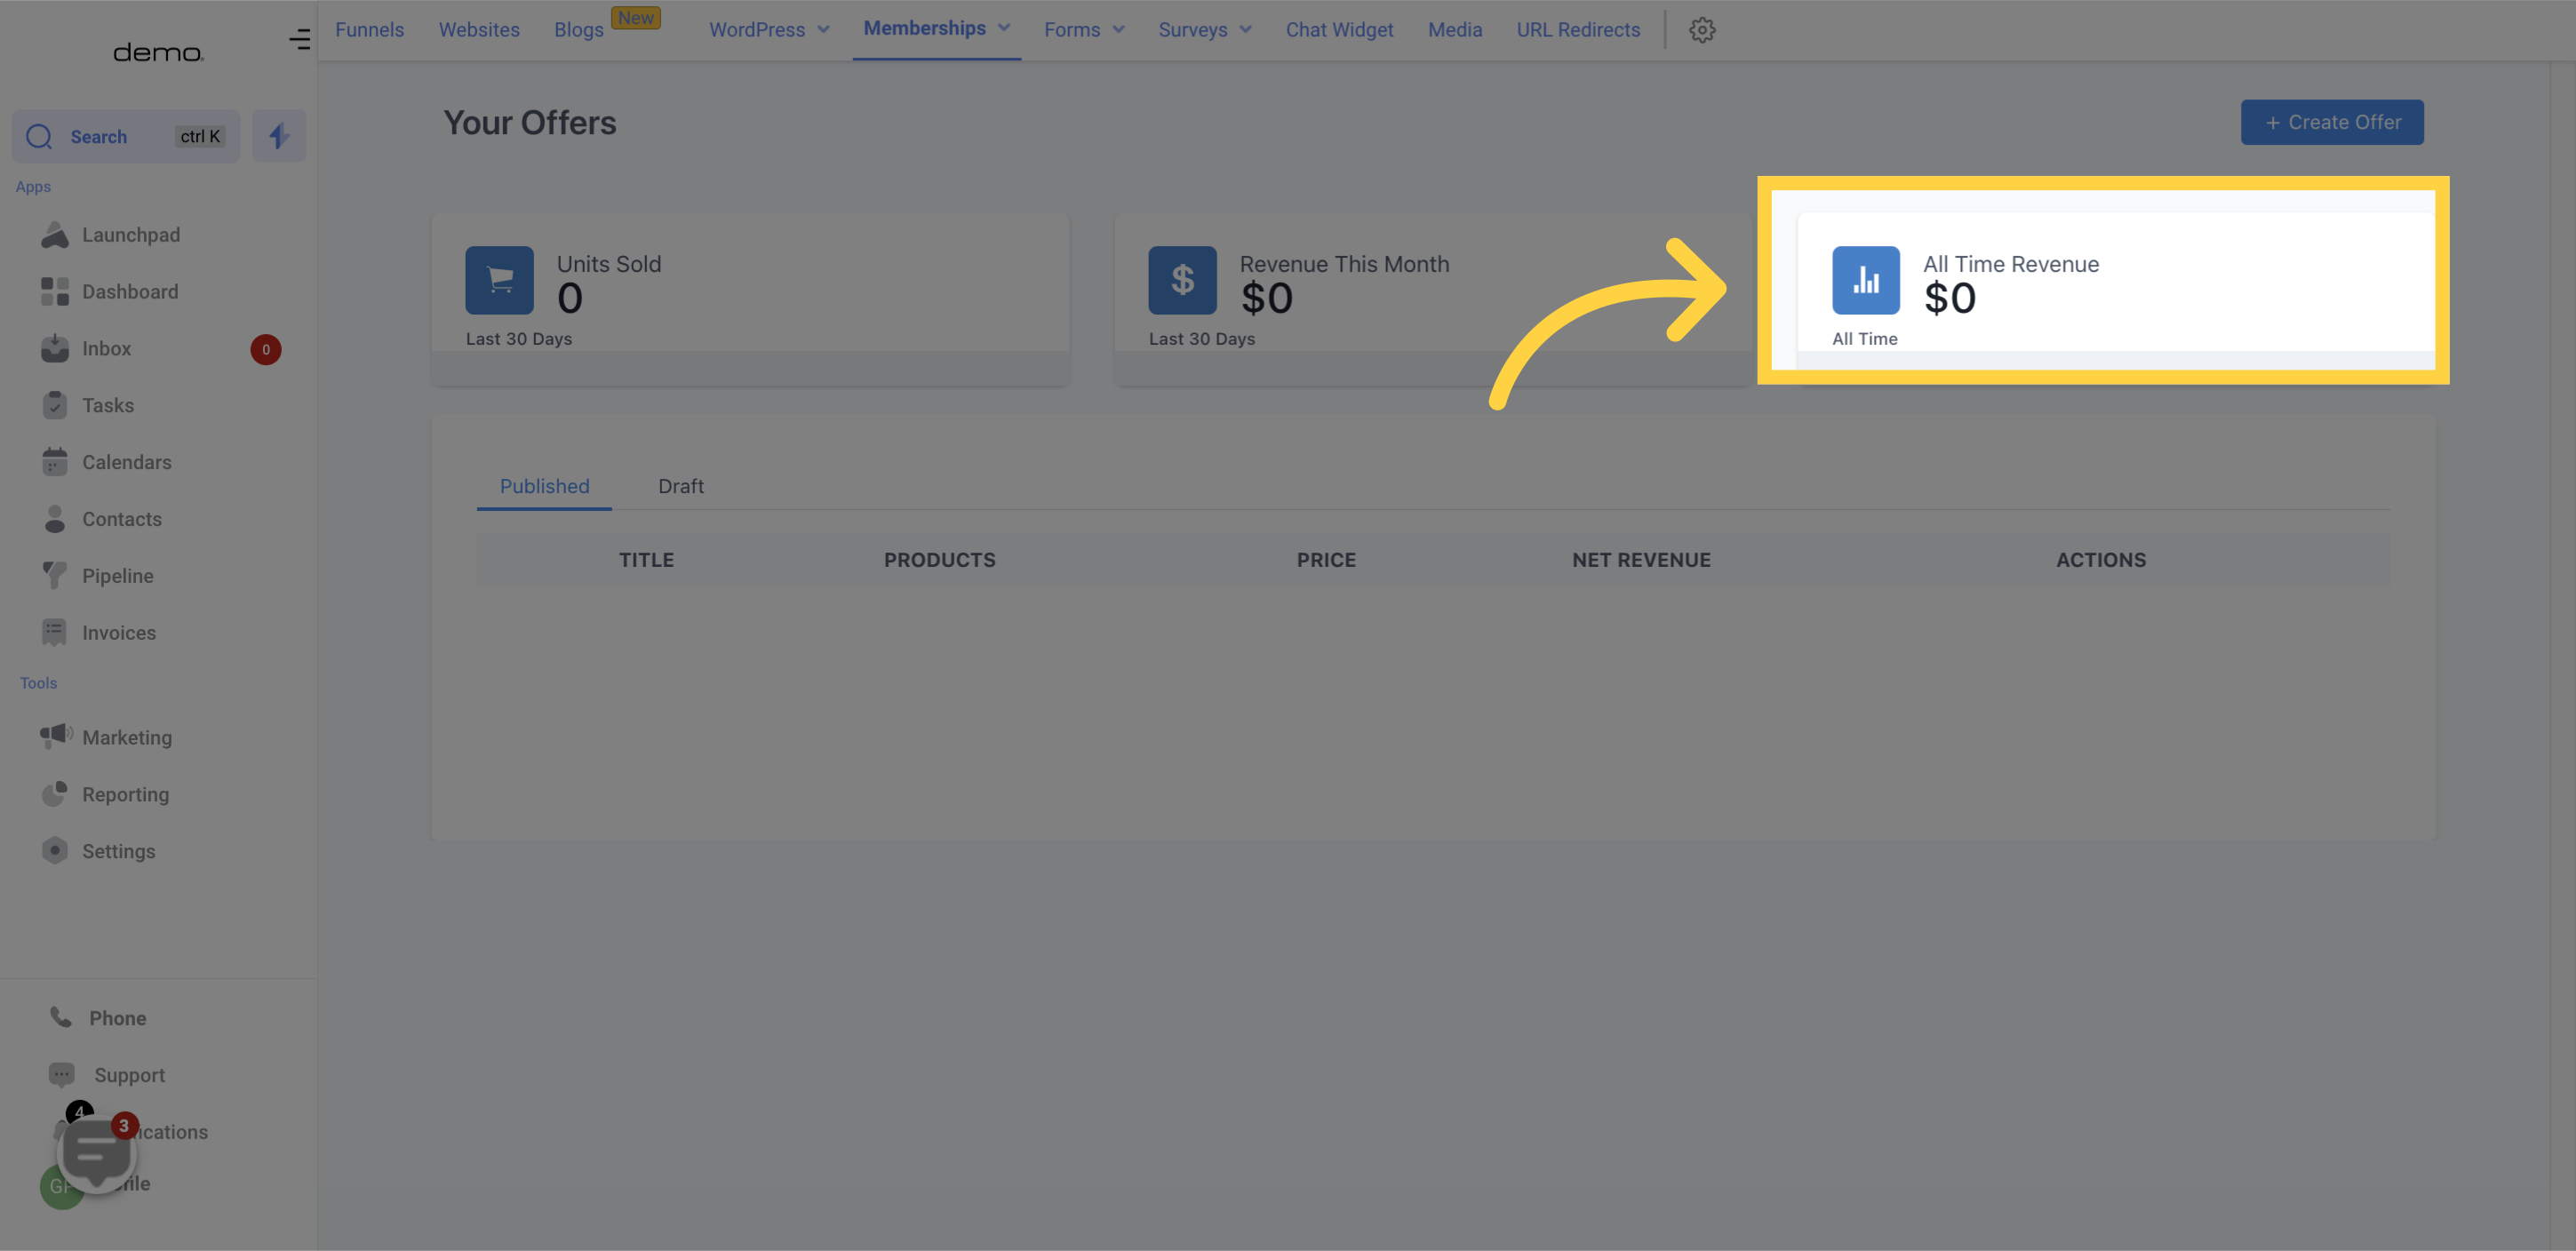
The all-time revenue will show the total earnings for all products, including old and new.
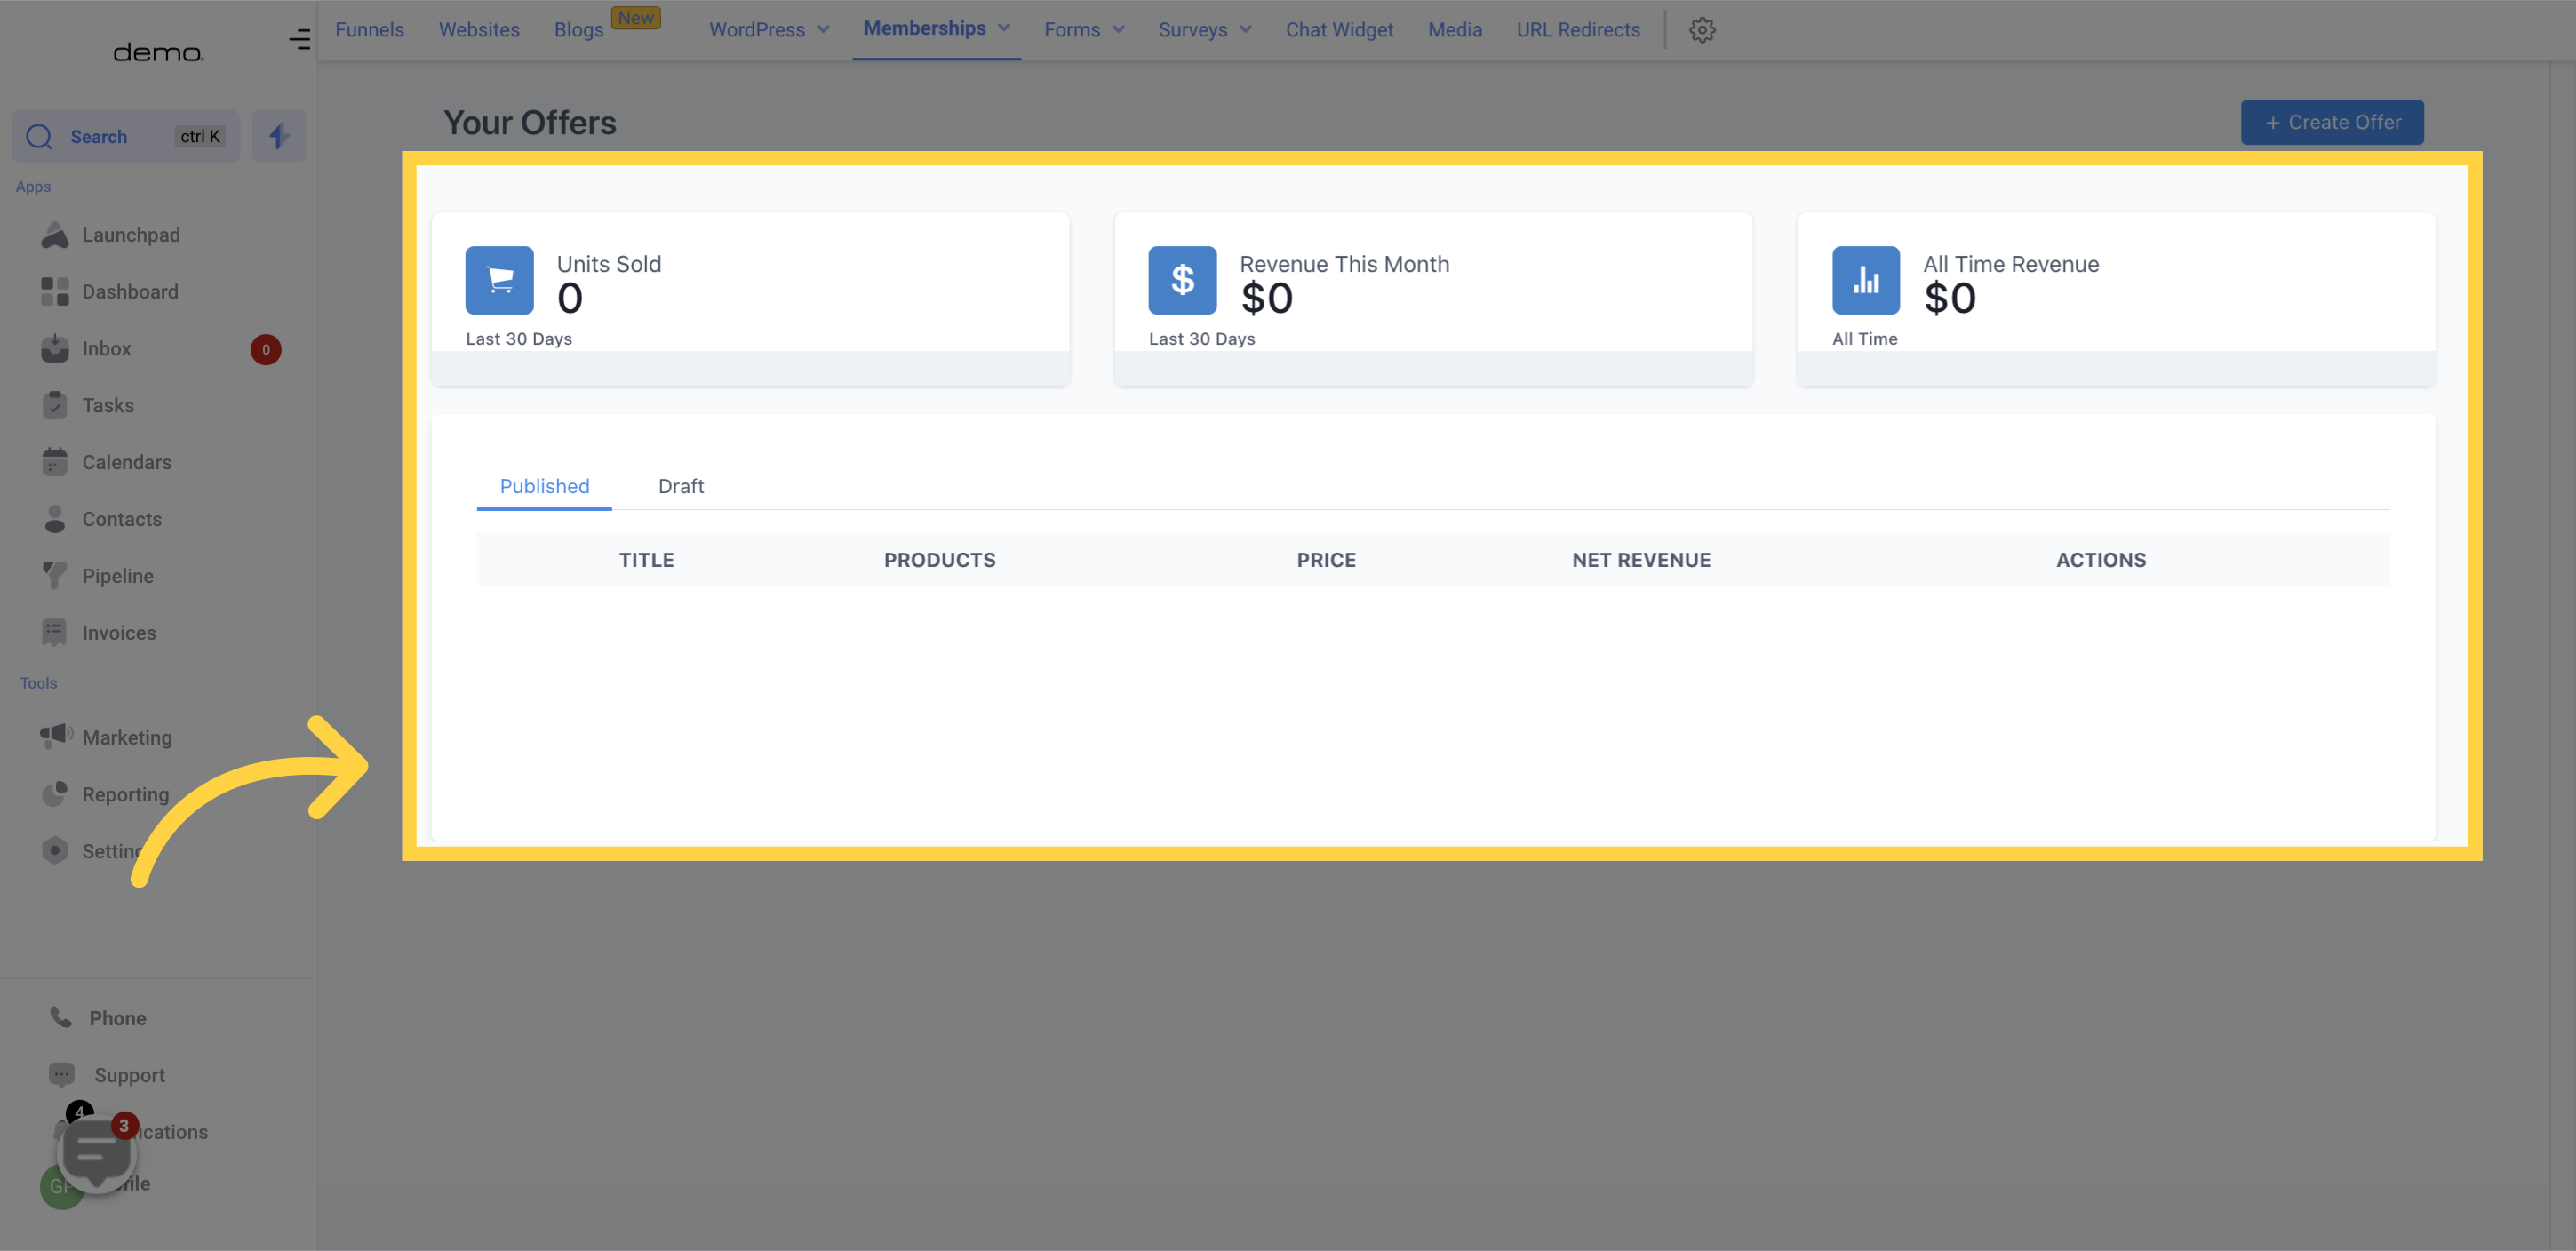
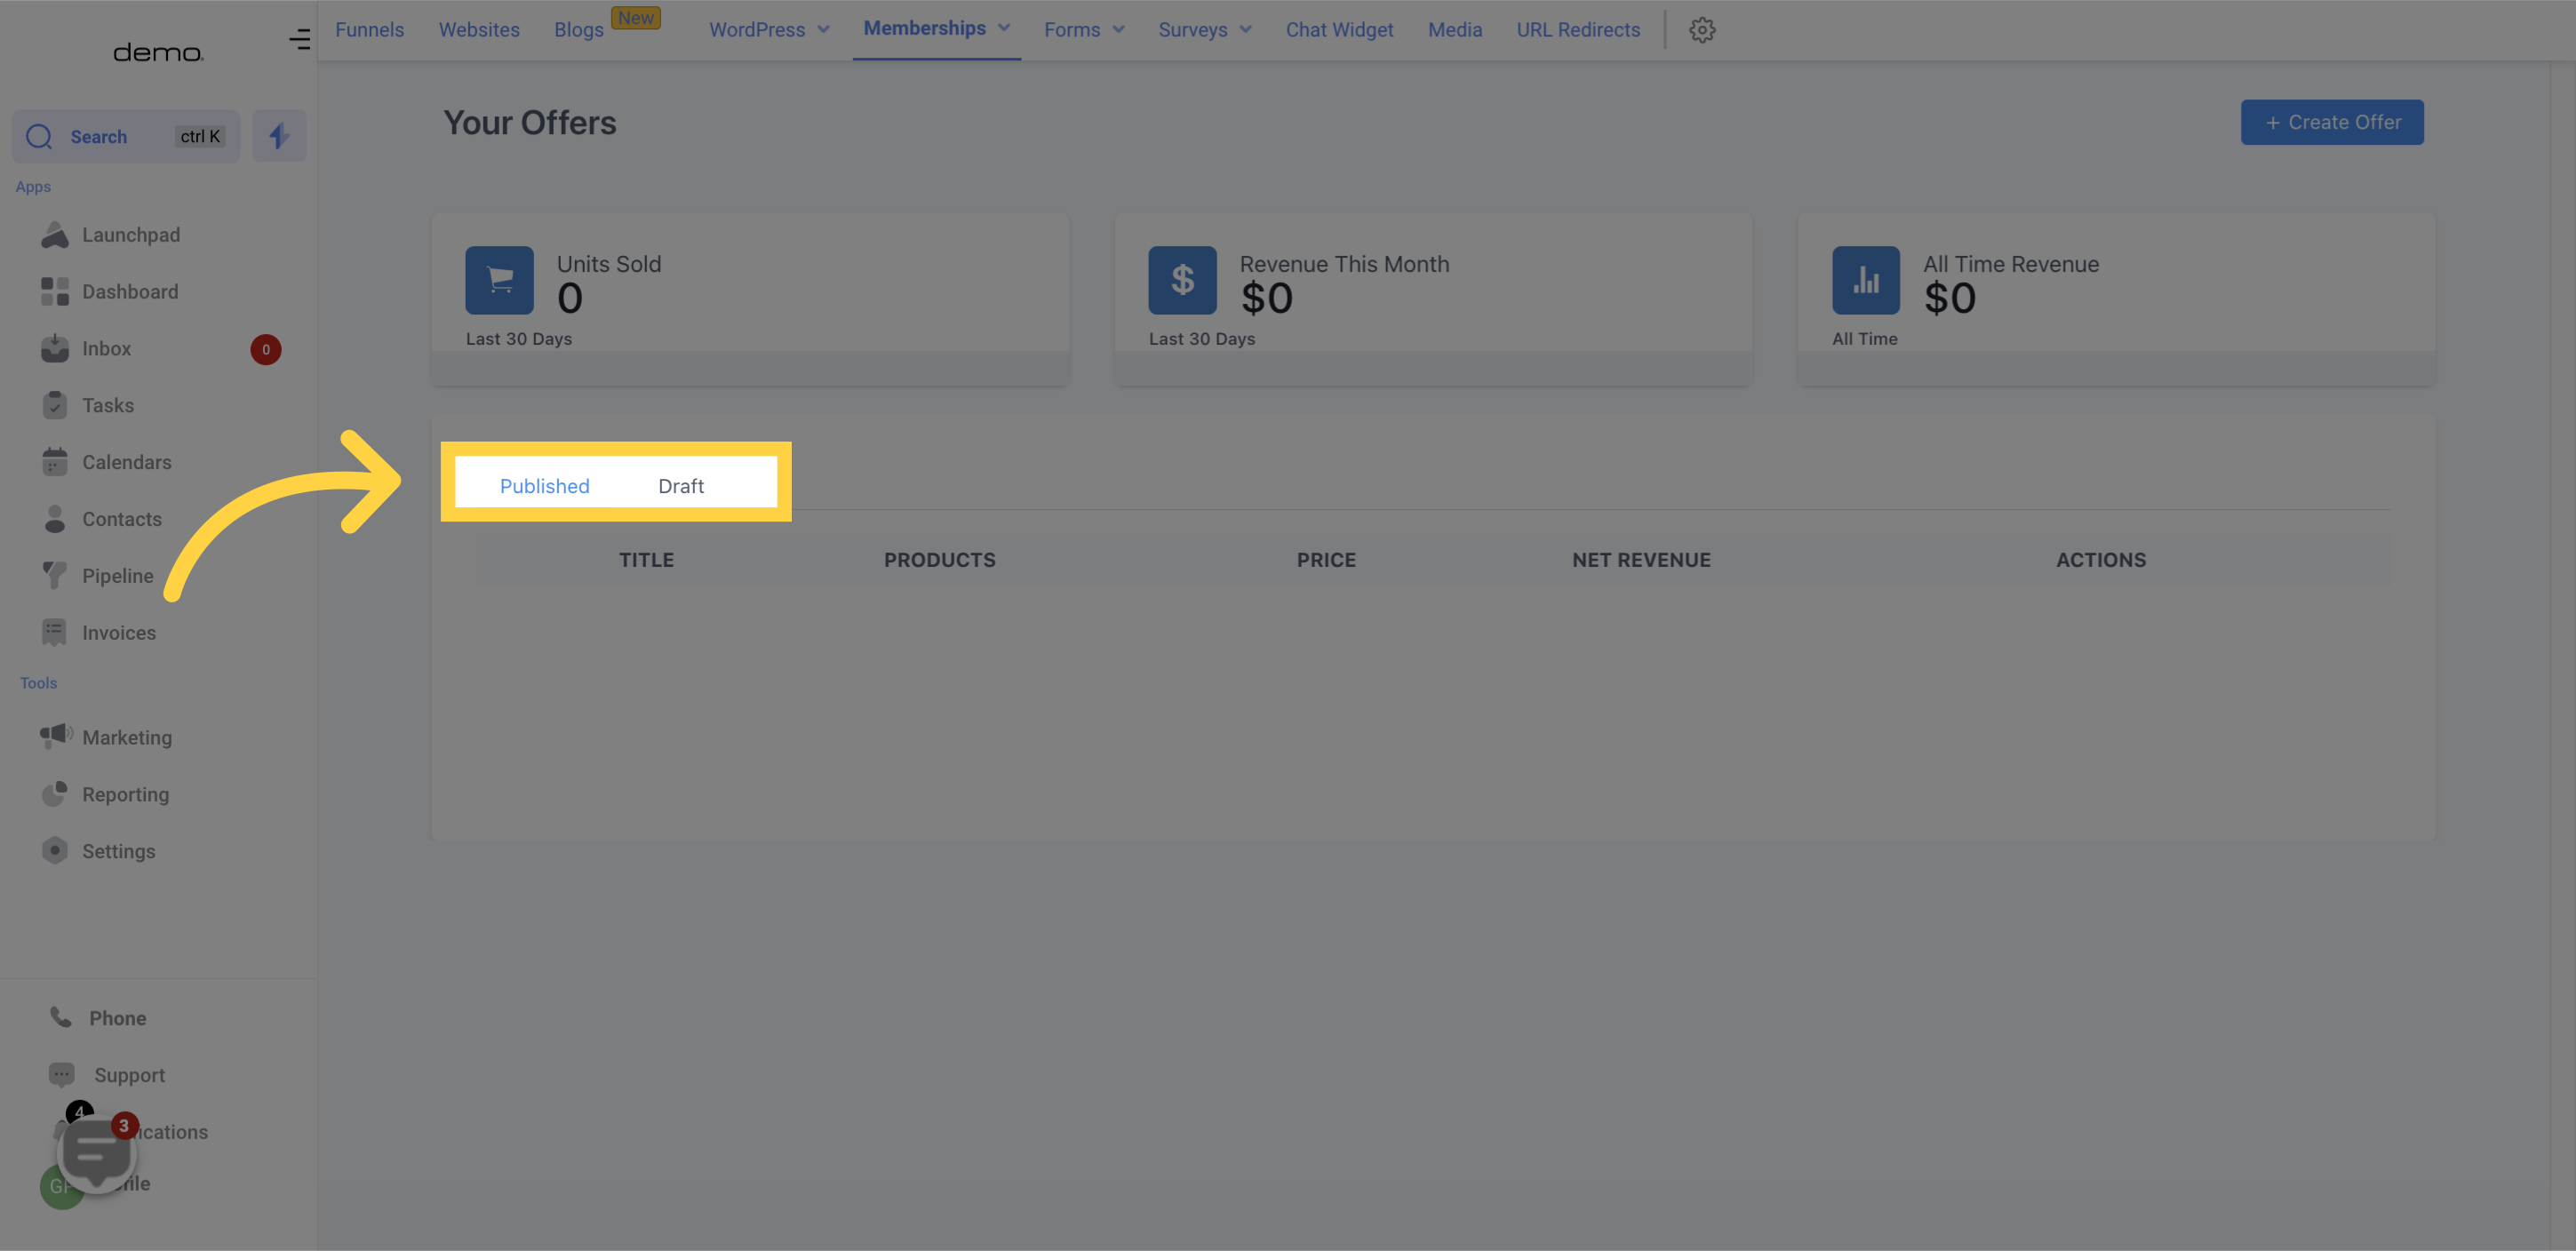
To sort through all the product listings, toggle between the Published and Draft lists. The following displays the contents of the product list.
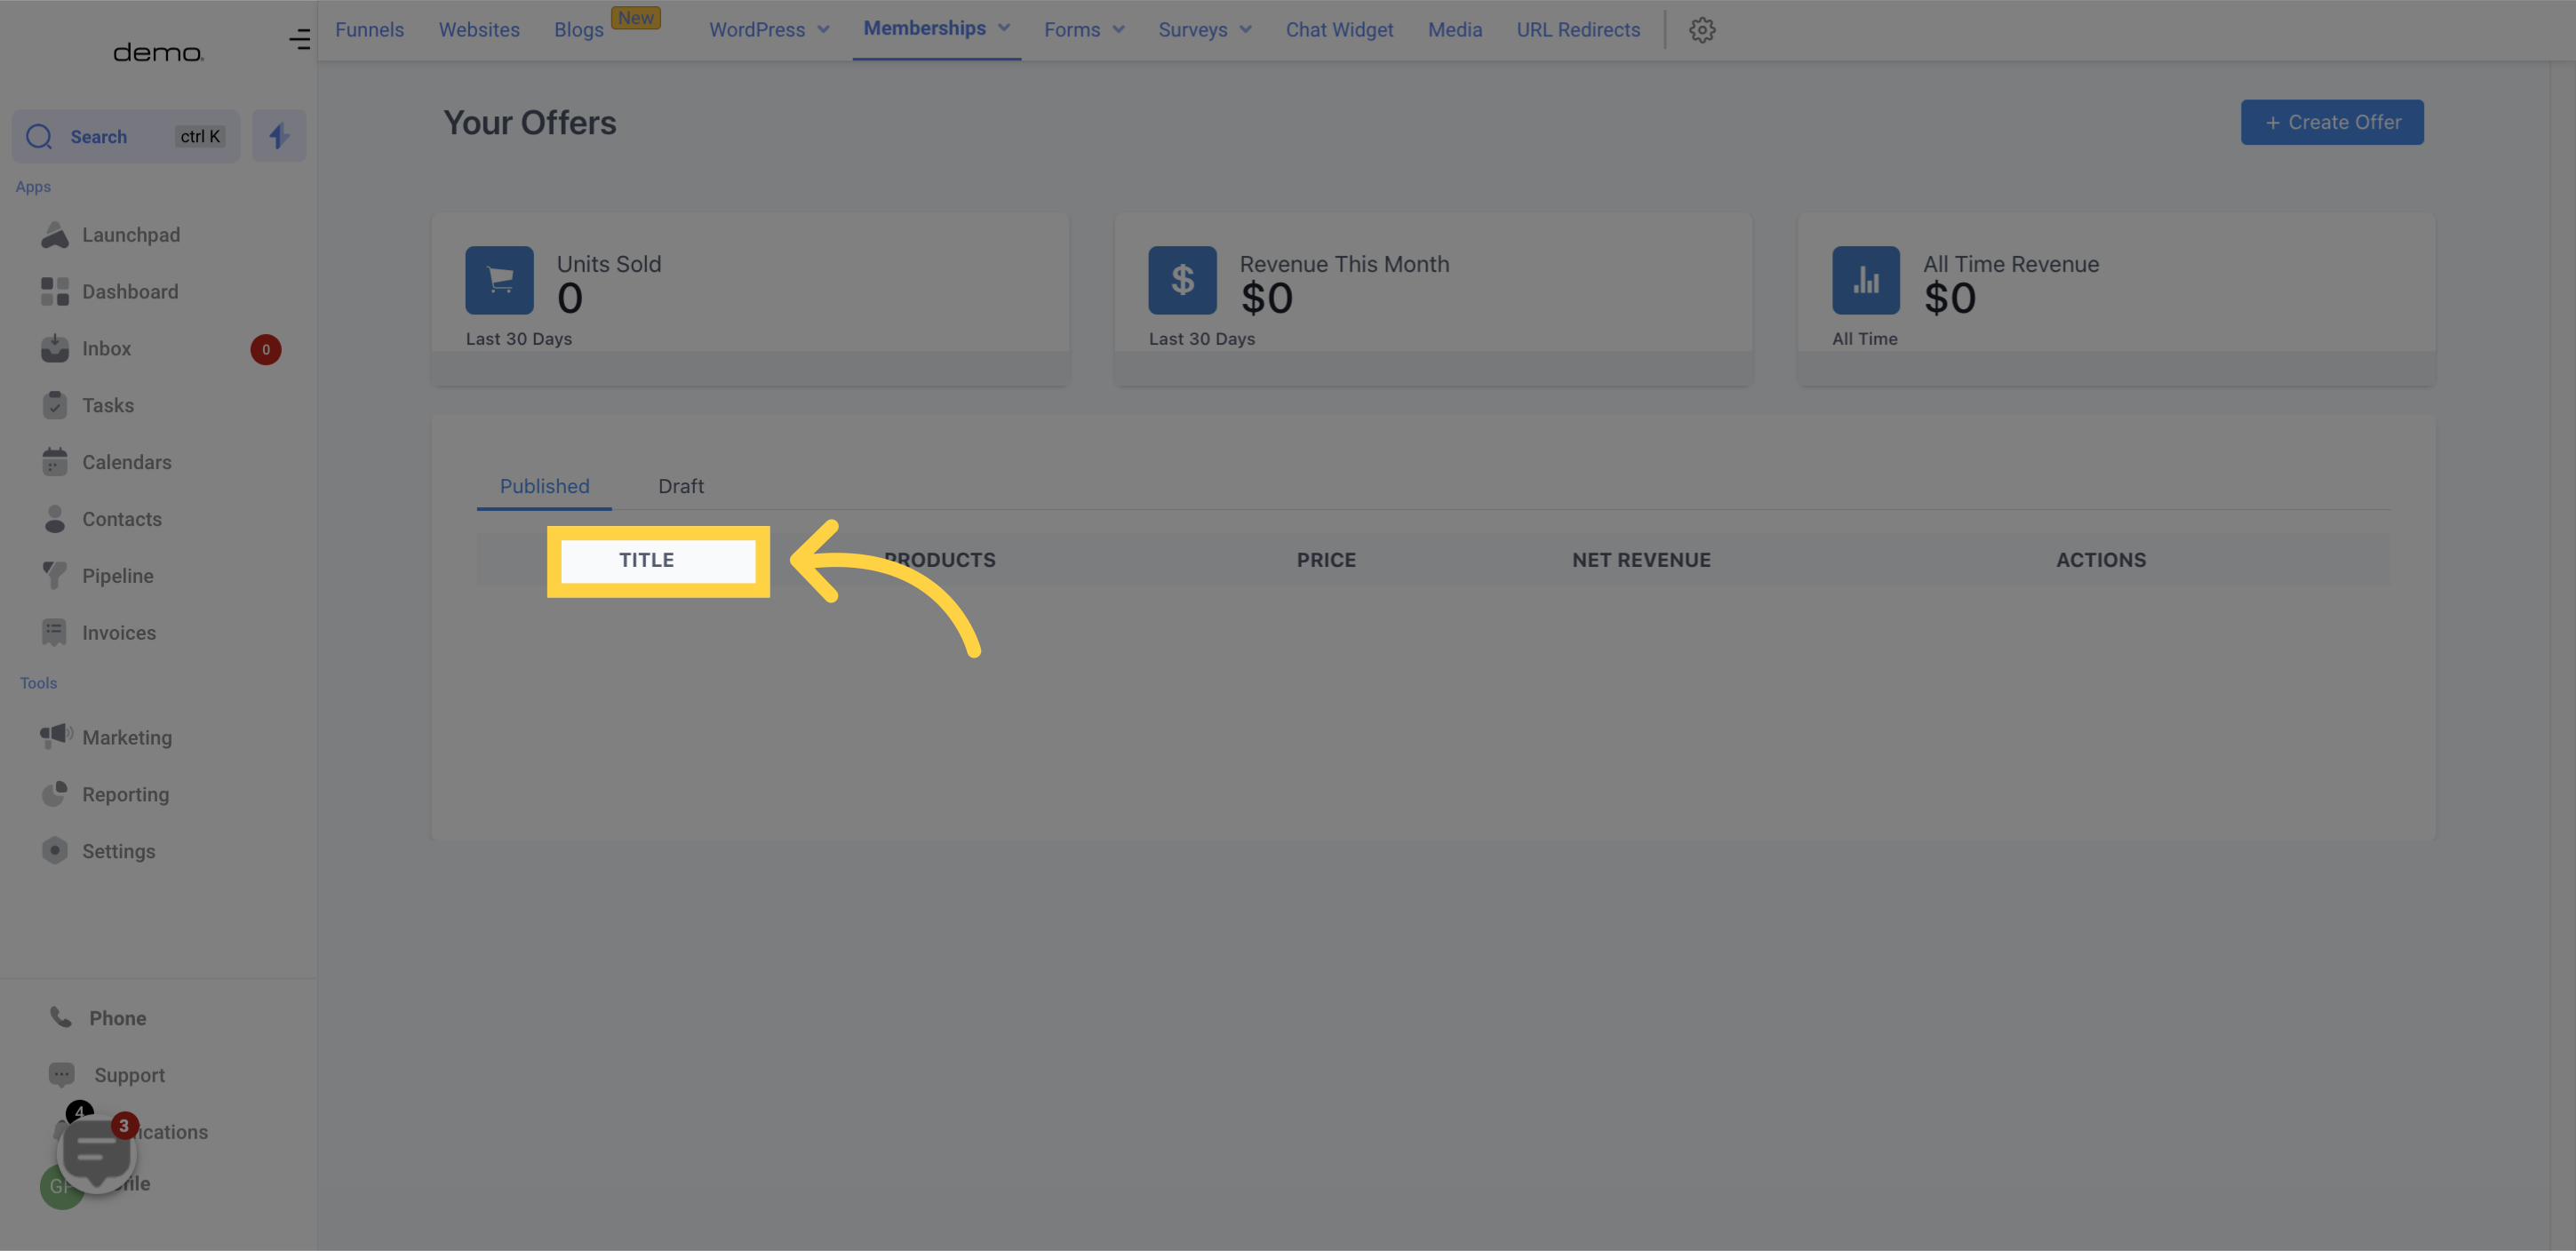
This column displays the title of each course product.
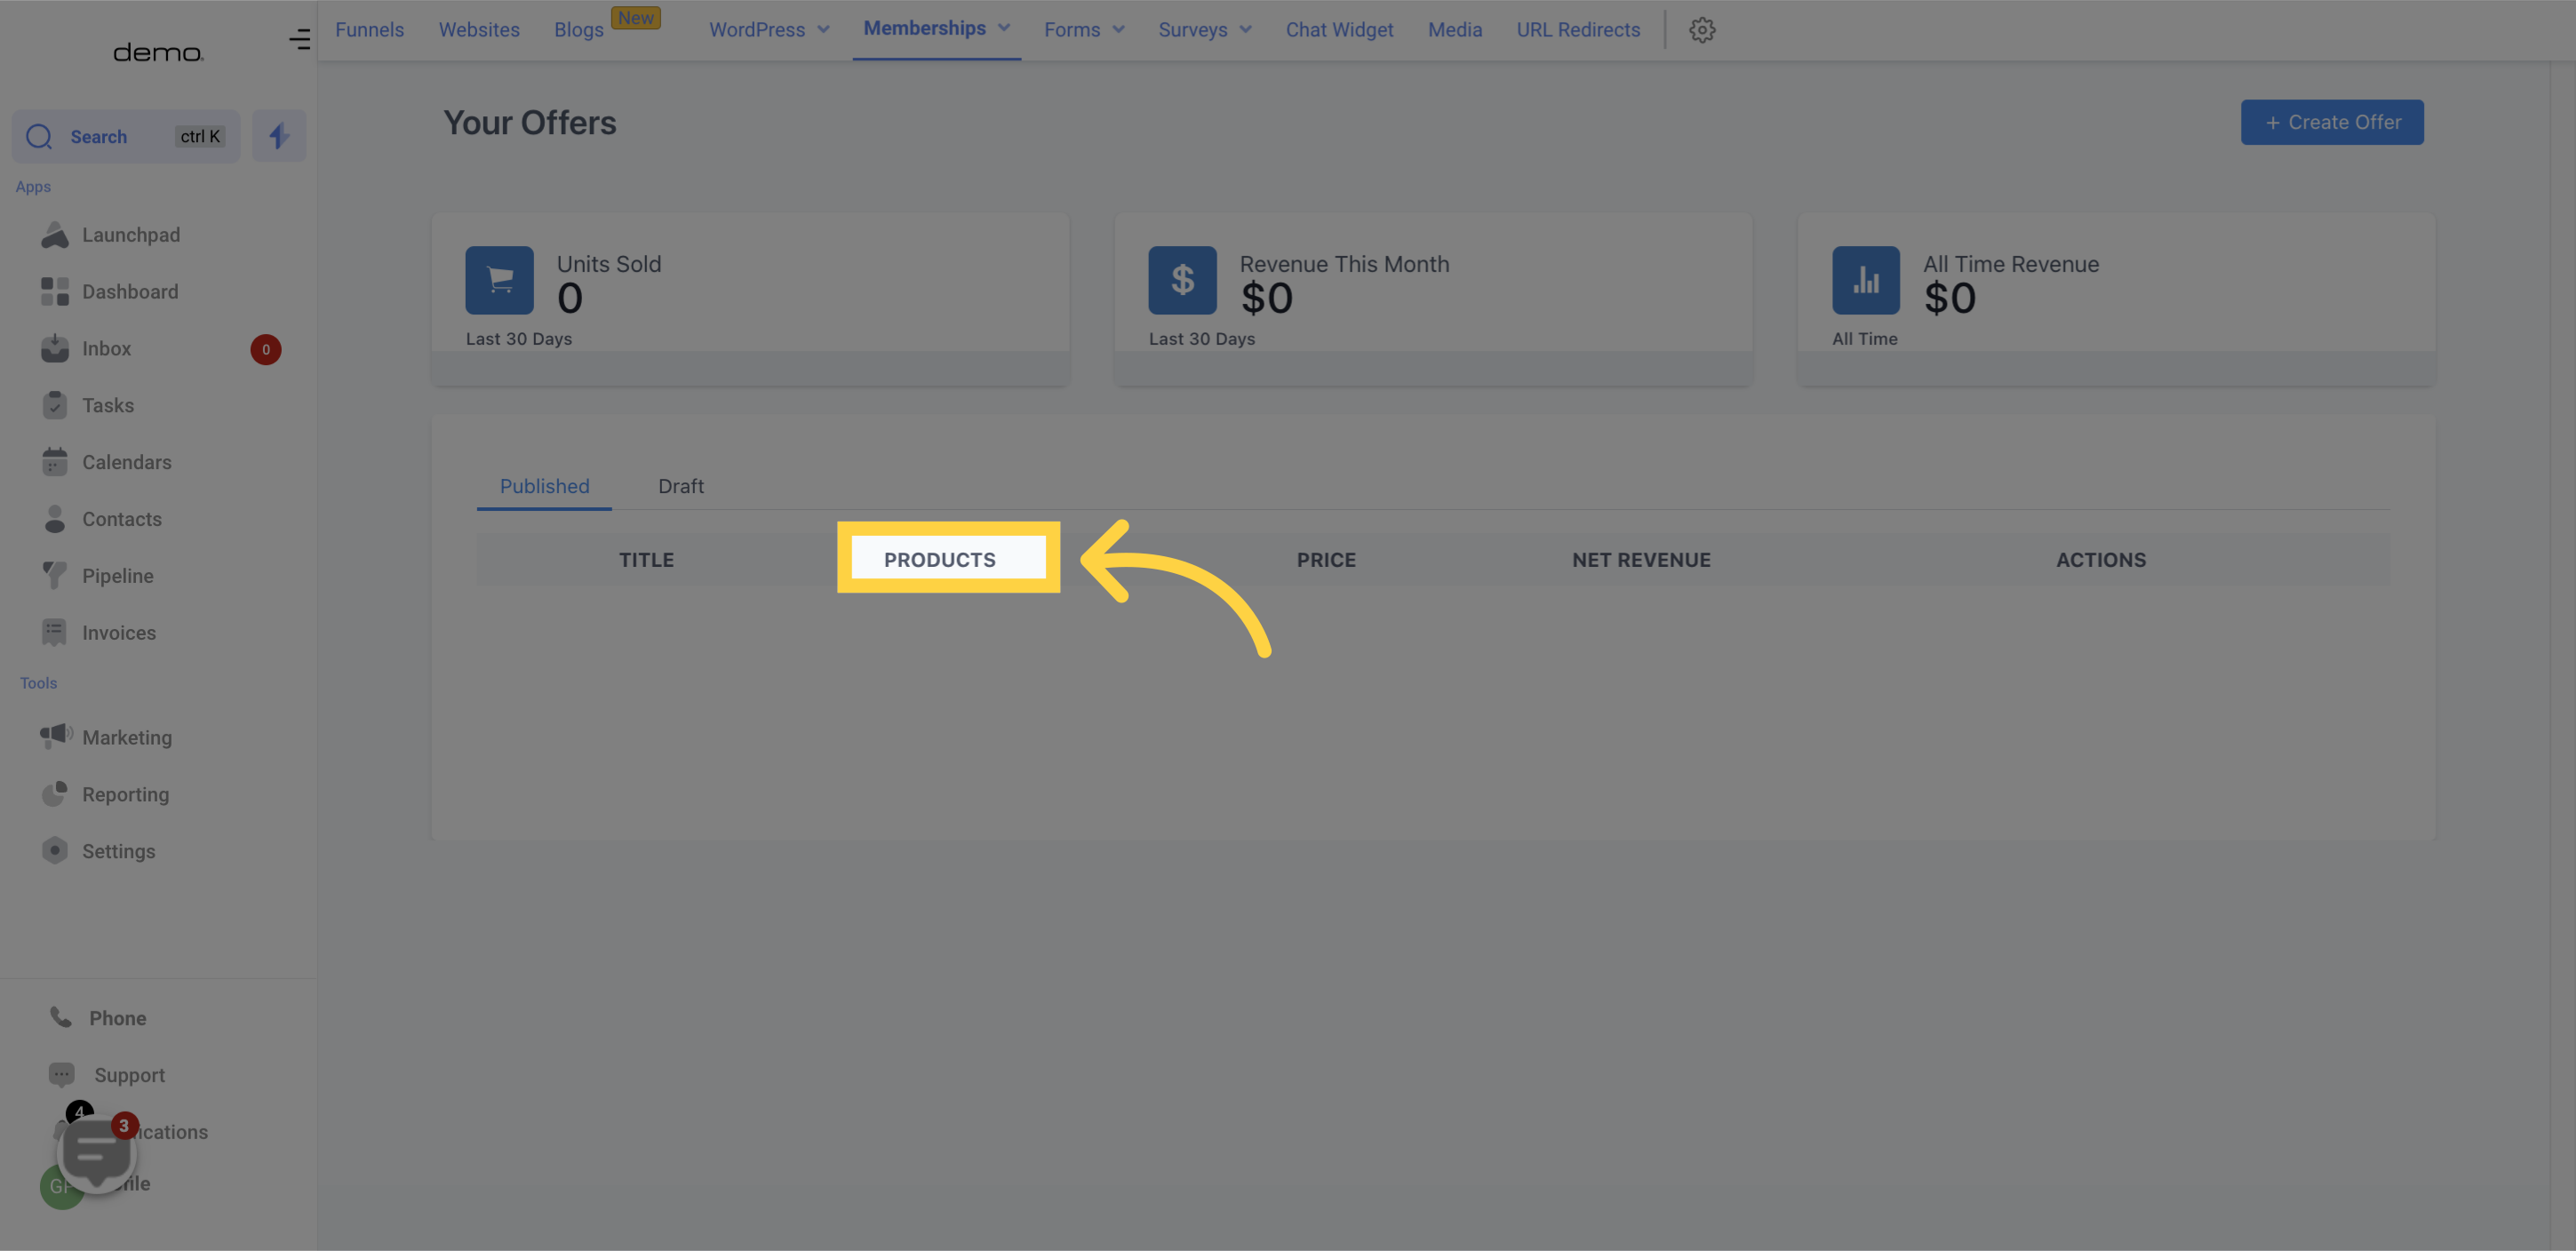
The number of products created per course is shown in this column.
The cost of each course product is displayed here.

This column shows the net revenue of each product.

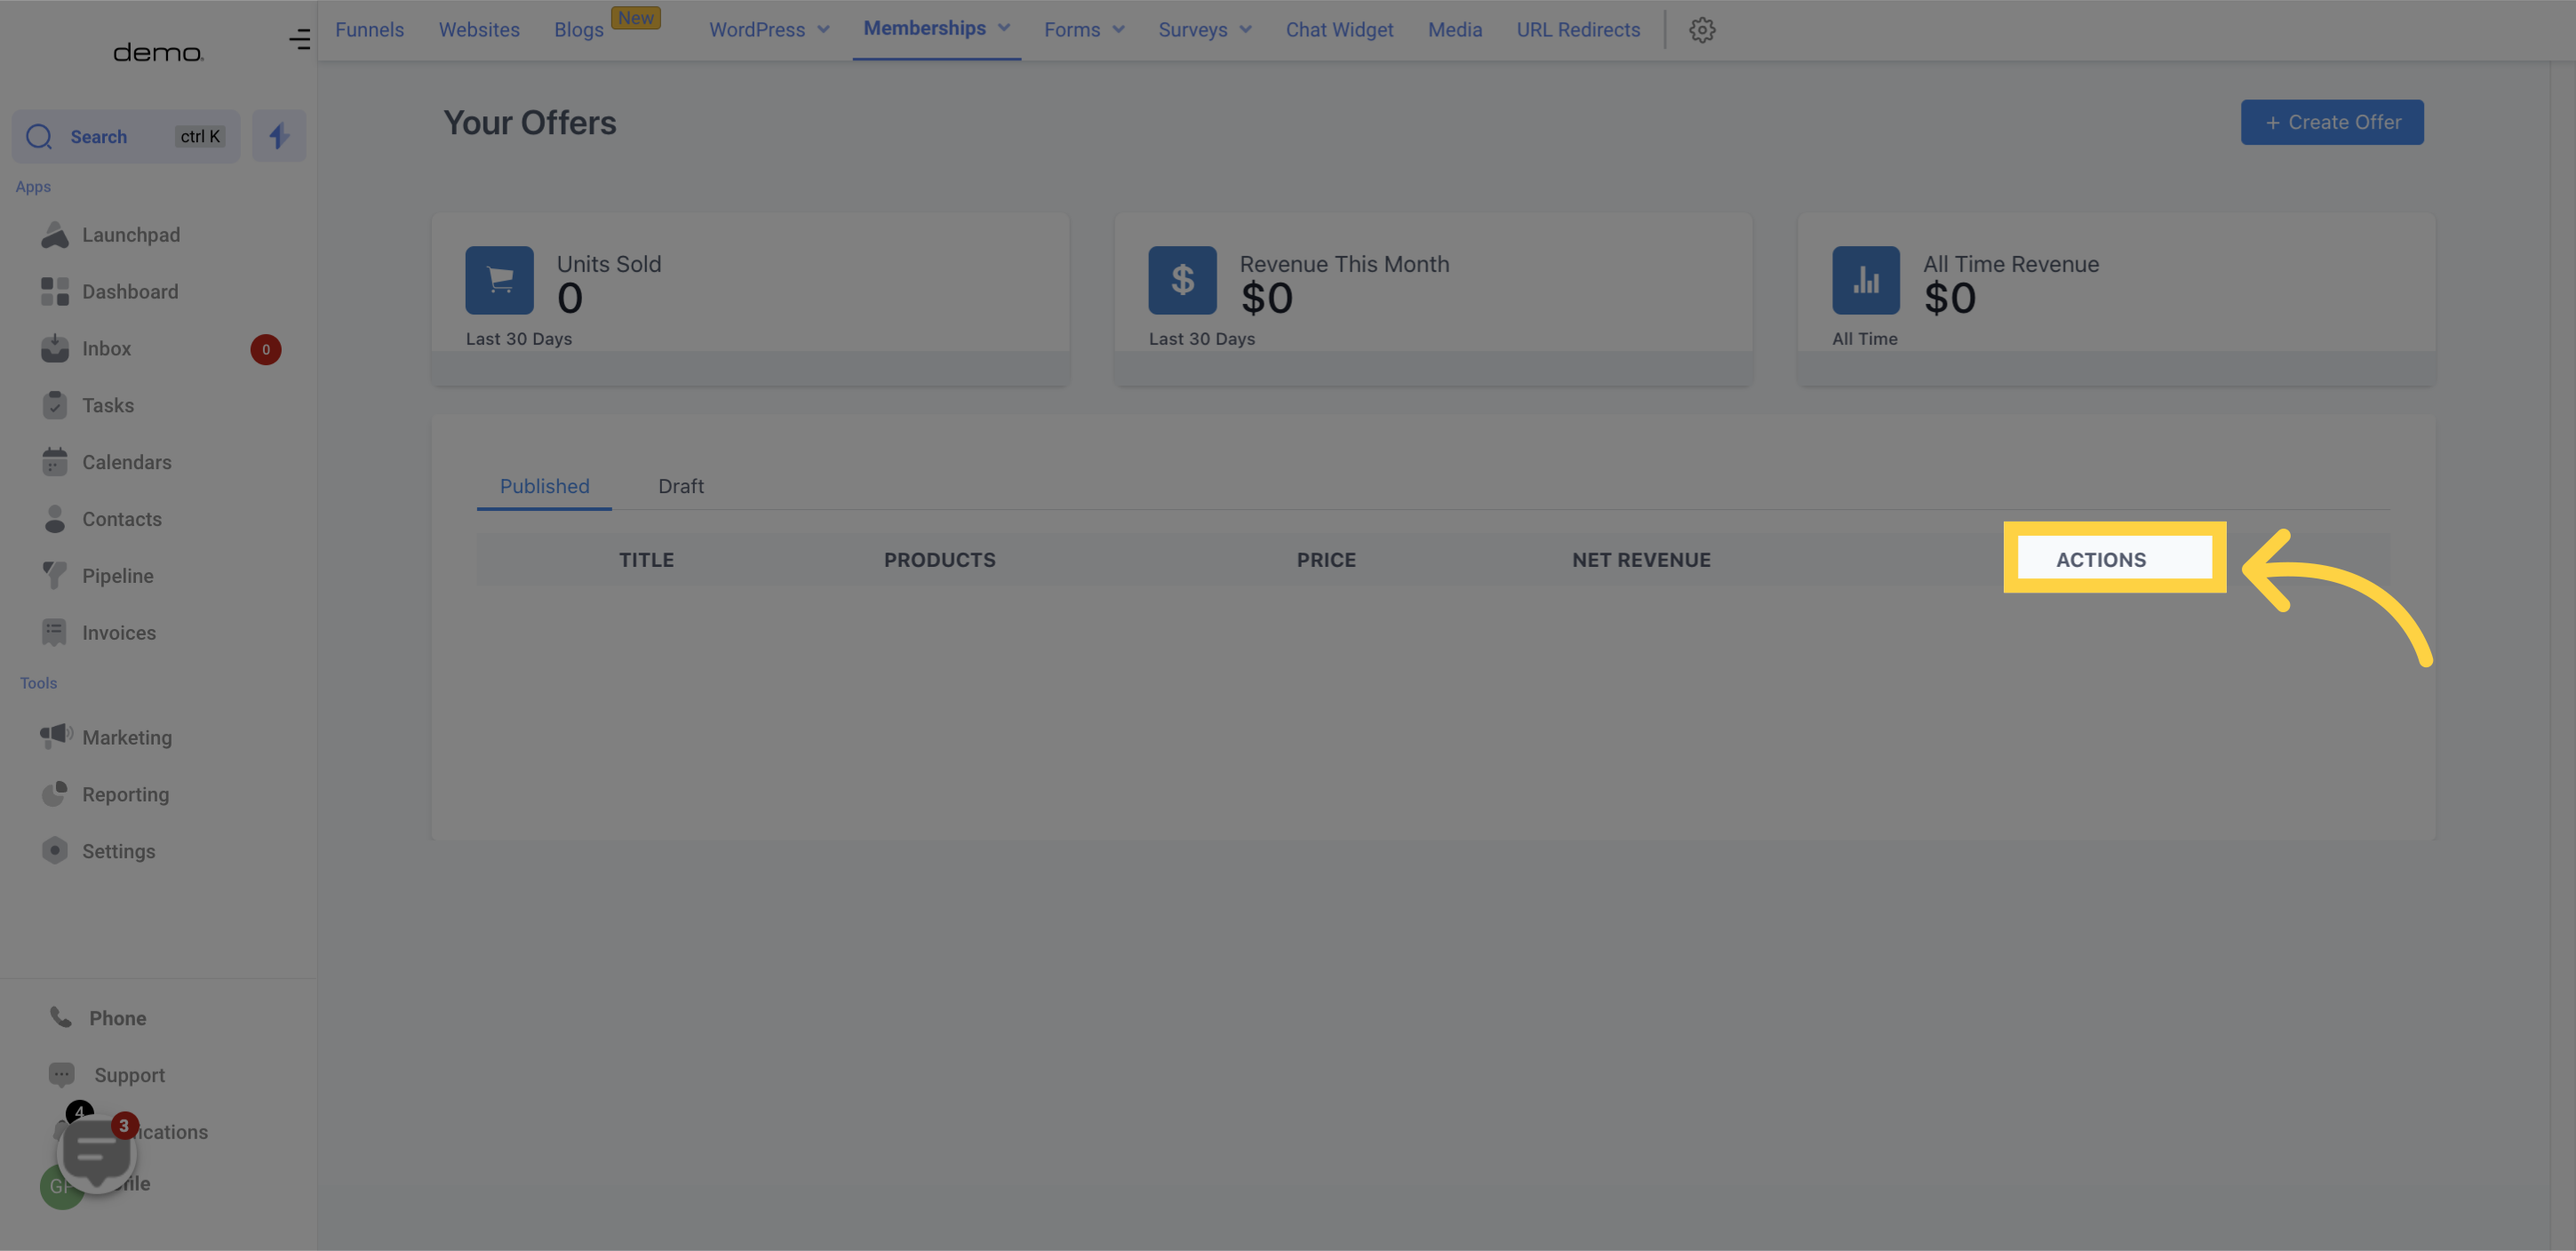
If you need to modify your checkout option, select "checkout" from the drop-down menu under "more actions". This will take you to the checkout page.
By clicking on the "eye" icon, you can preview a particular product course.
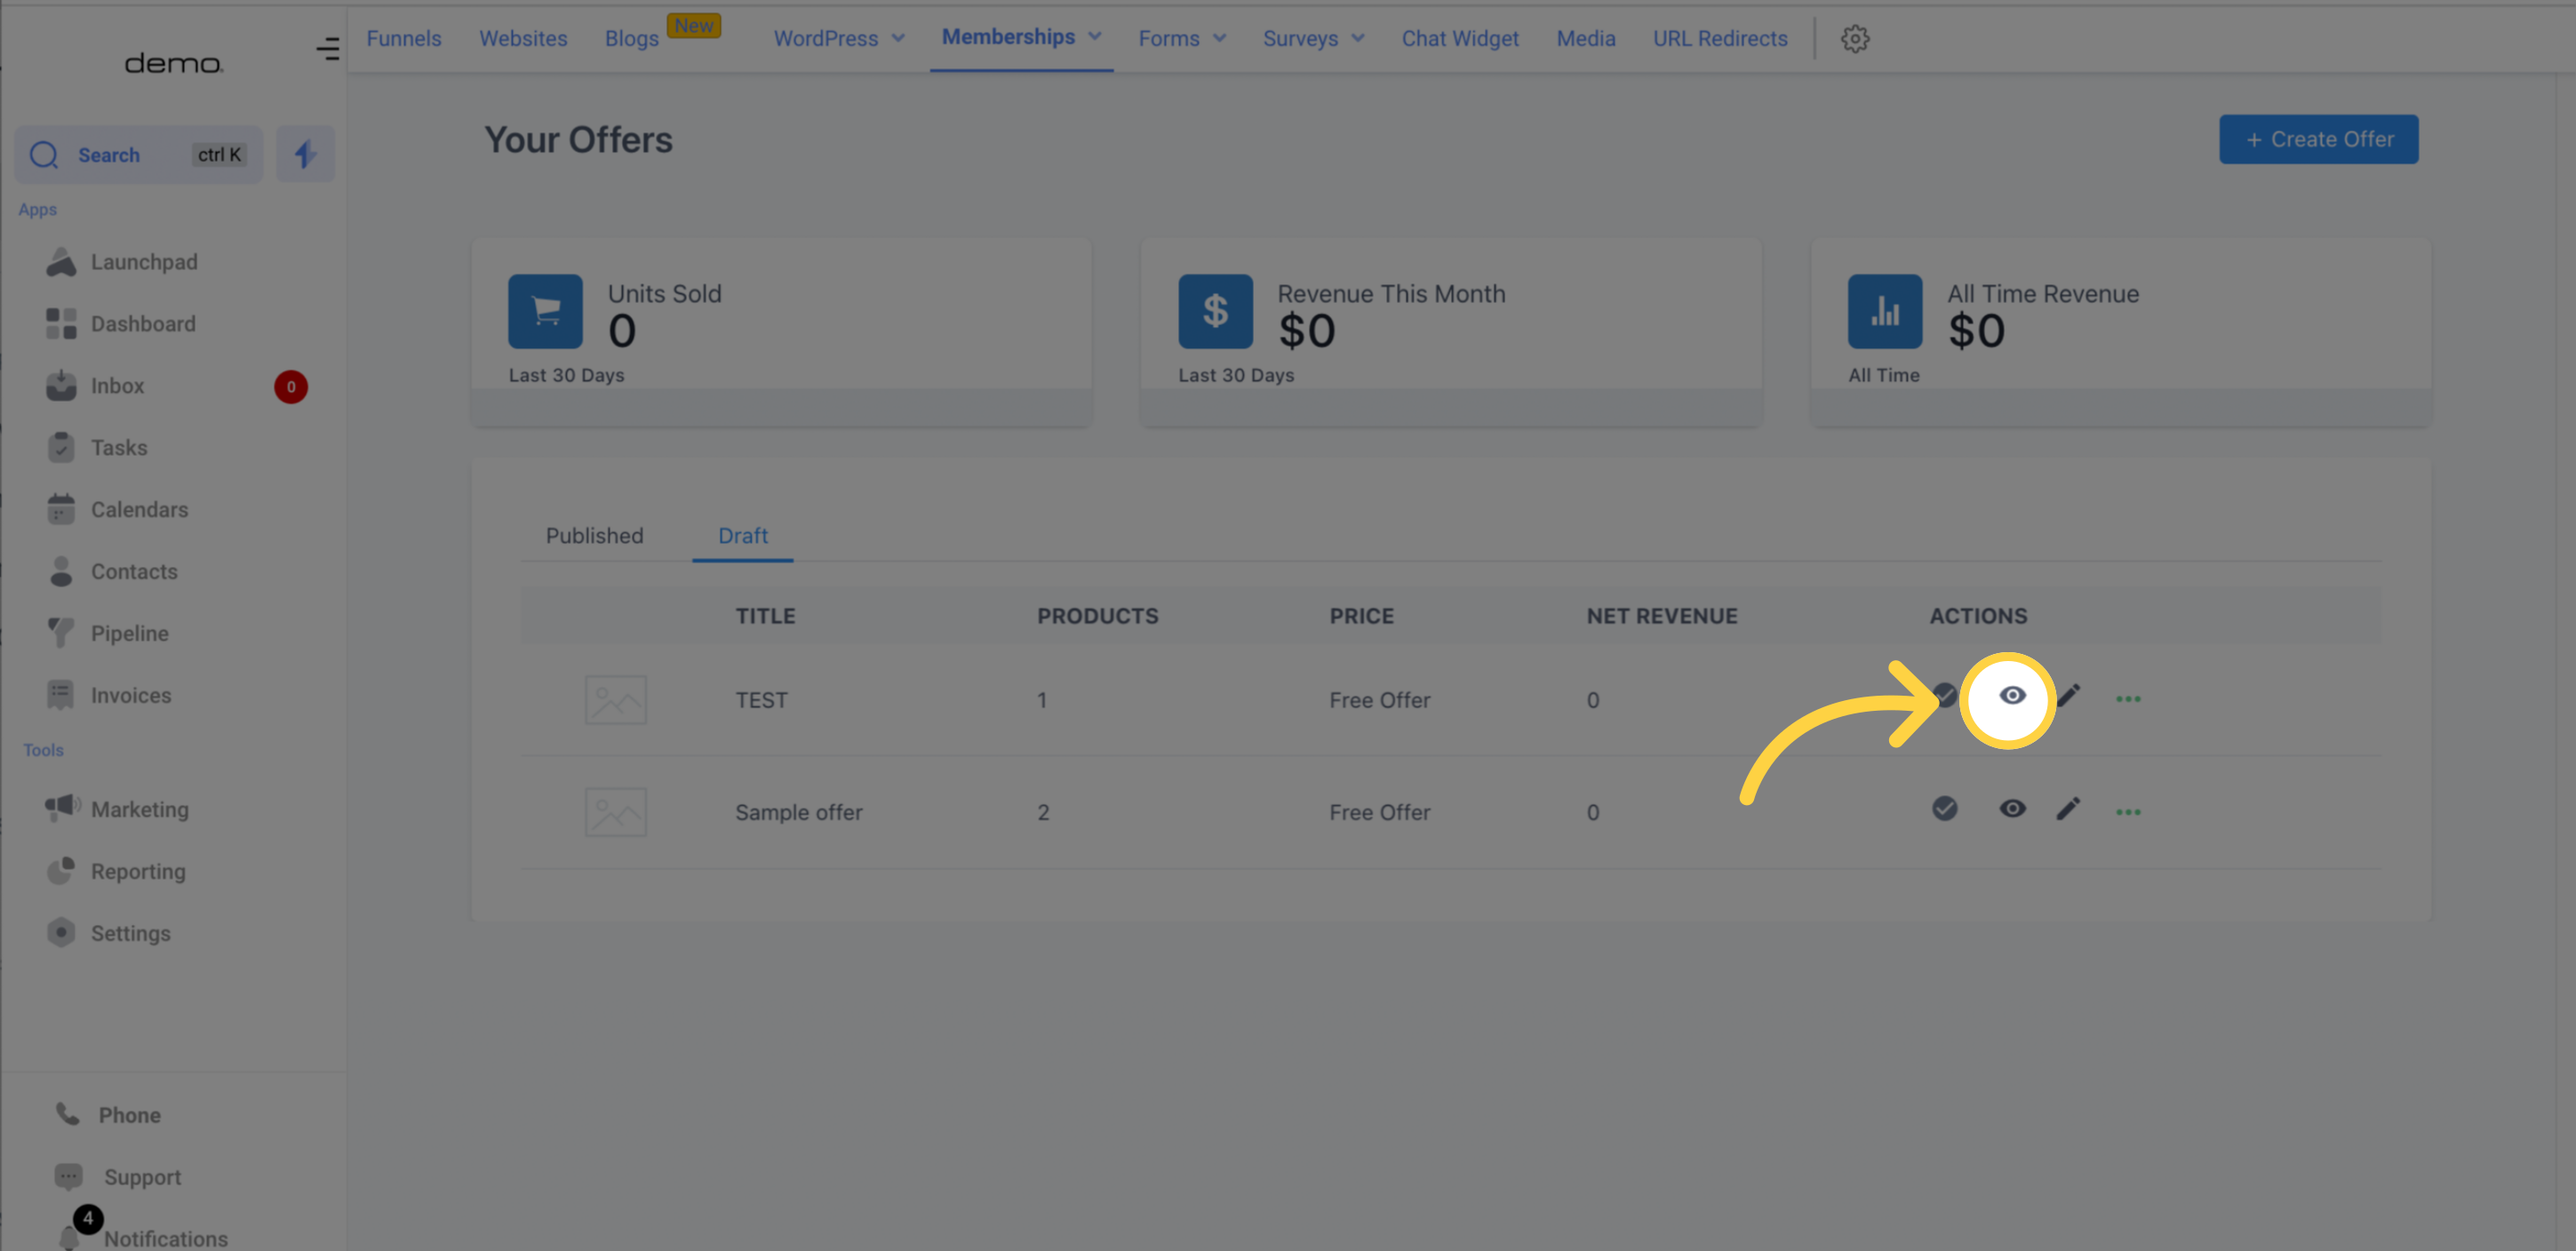)
To make changes to a course product, simply click on the "edit" icon.
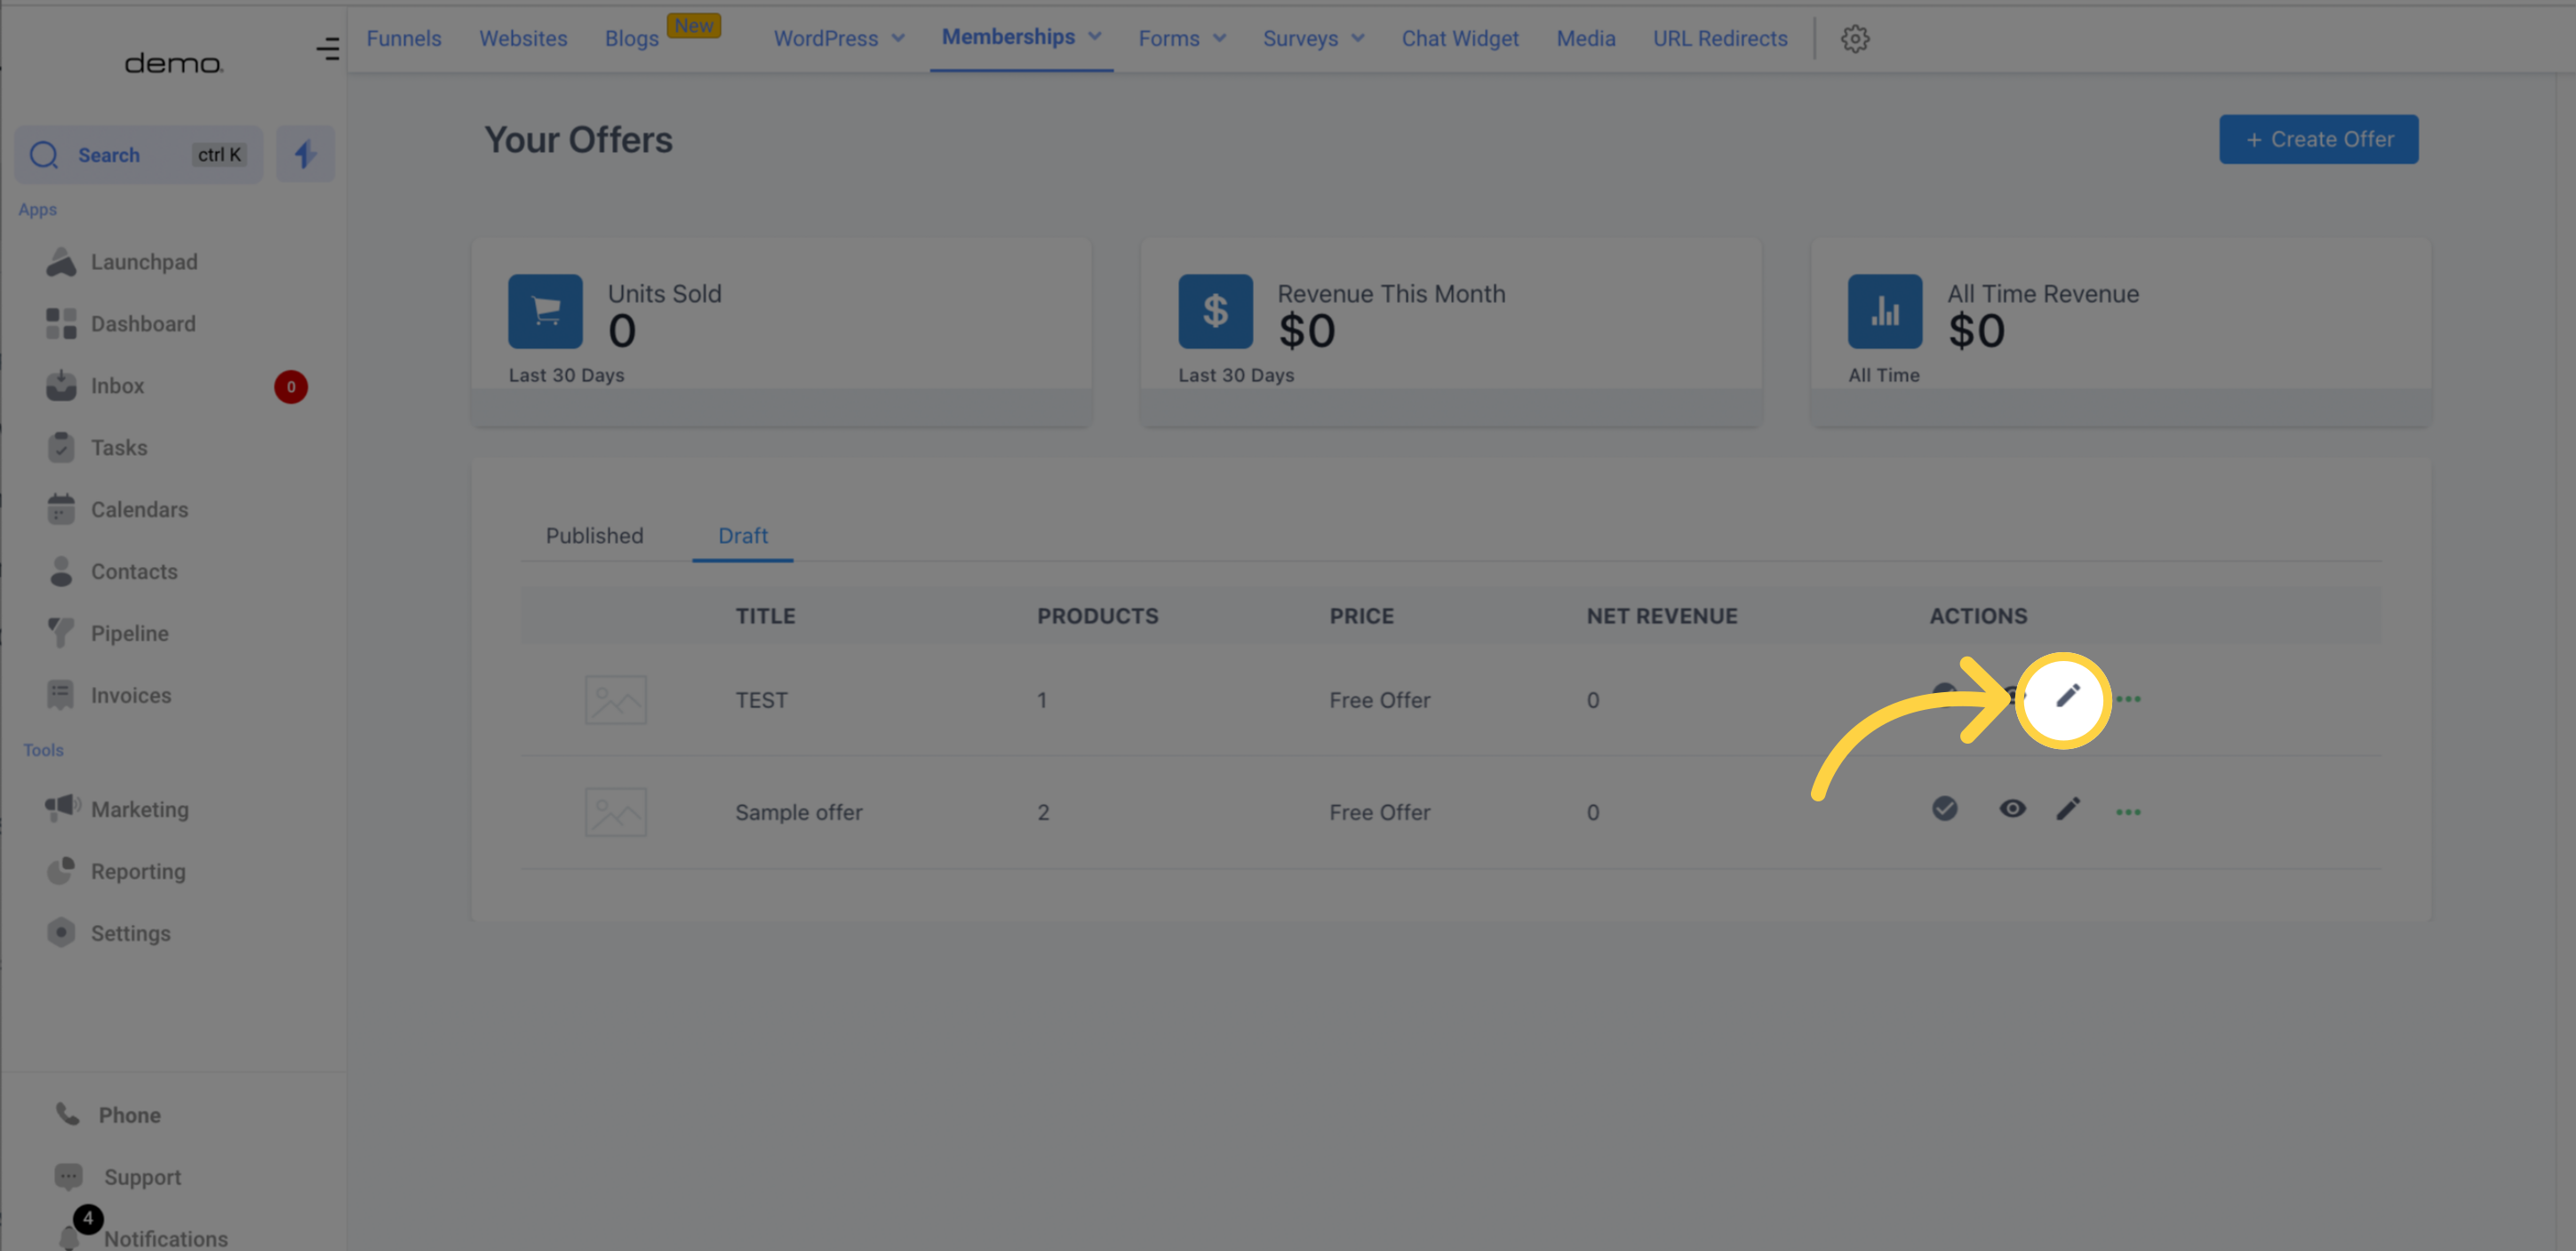)
If you need to modify your checkout option, select "checkout" from the drop-down menu under "more actions". This will take you to the checkout page.
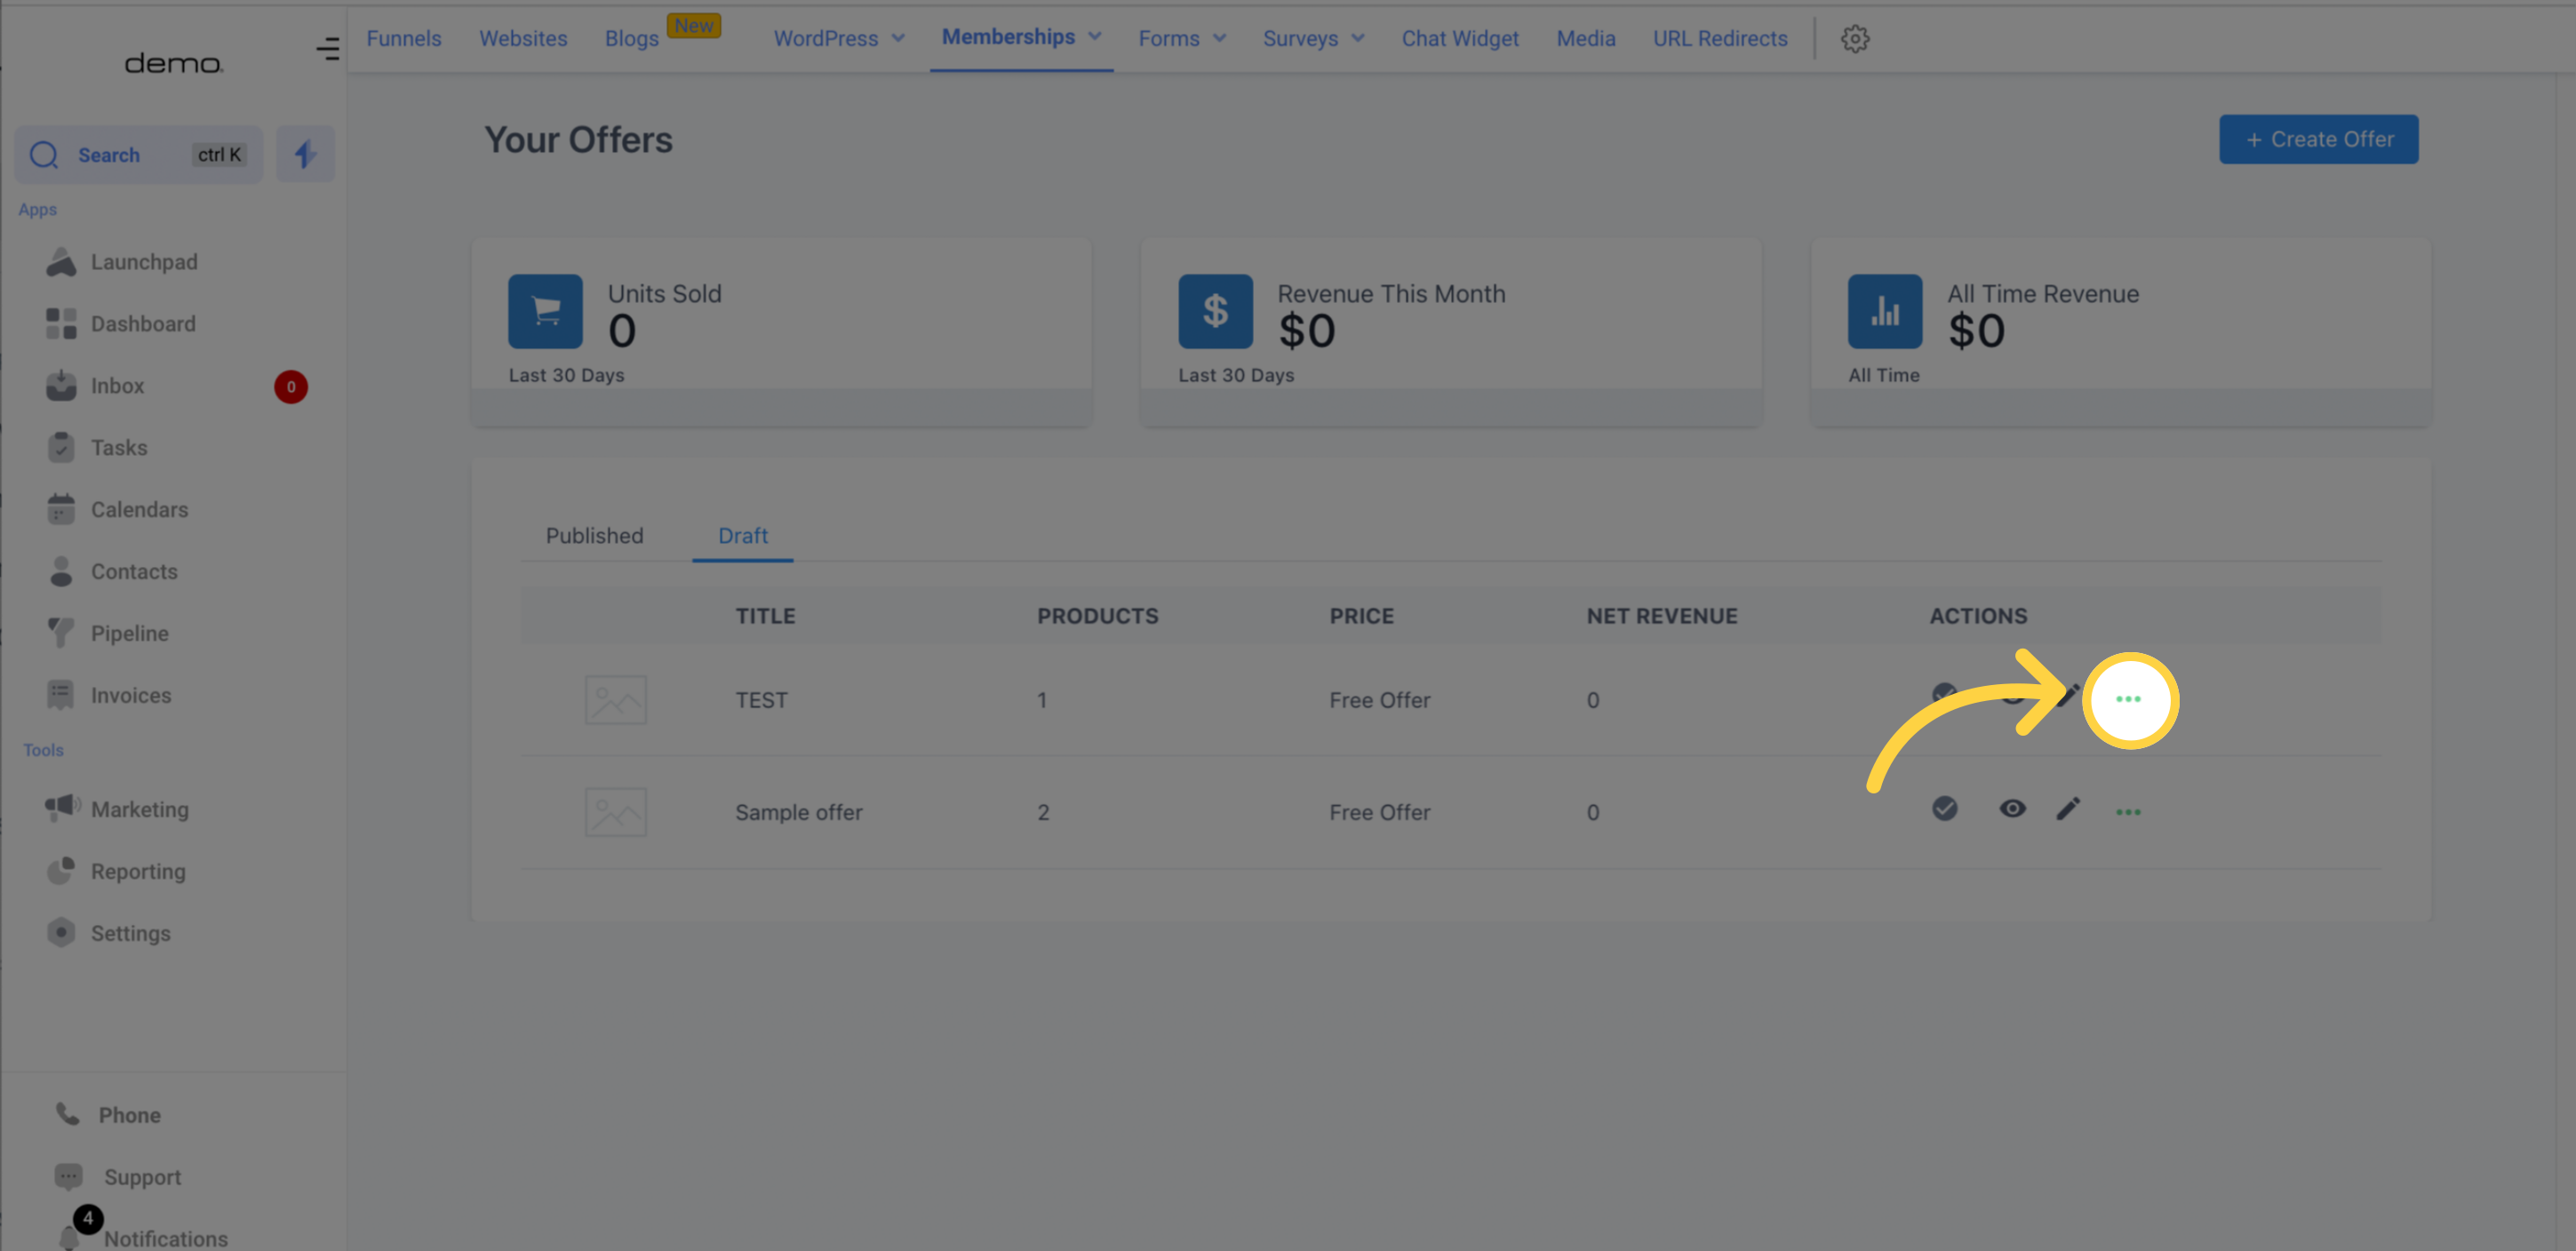)
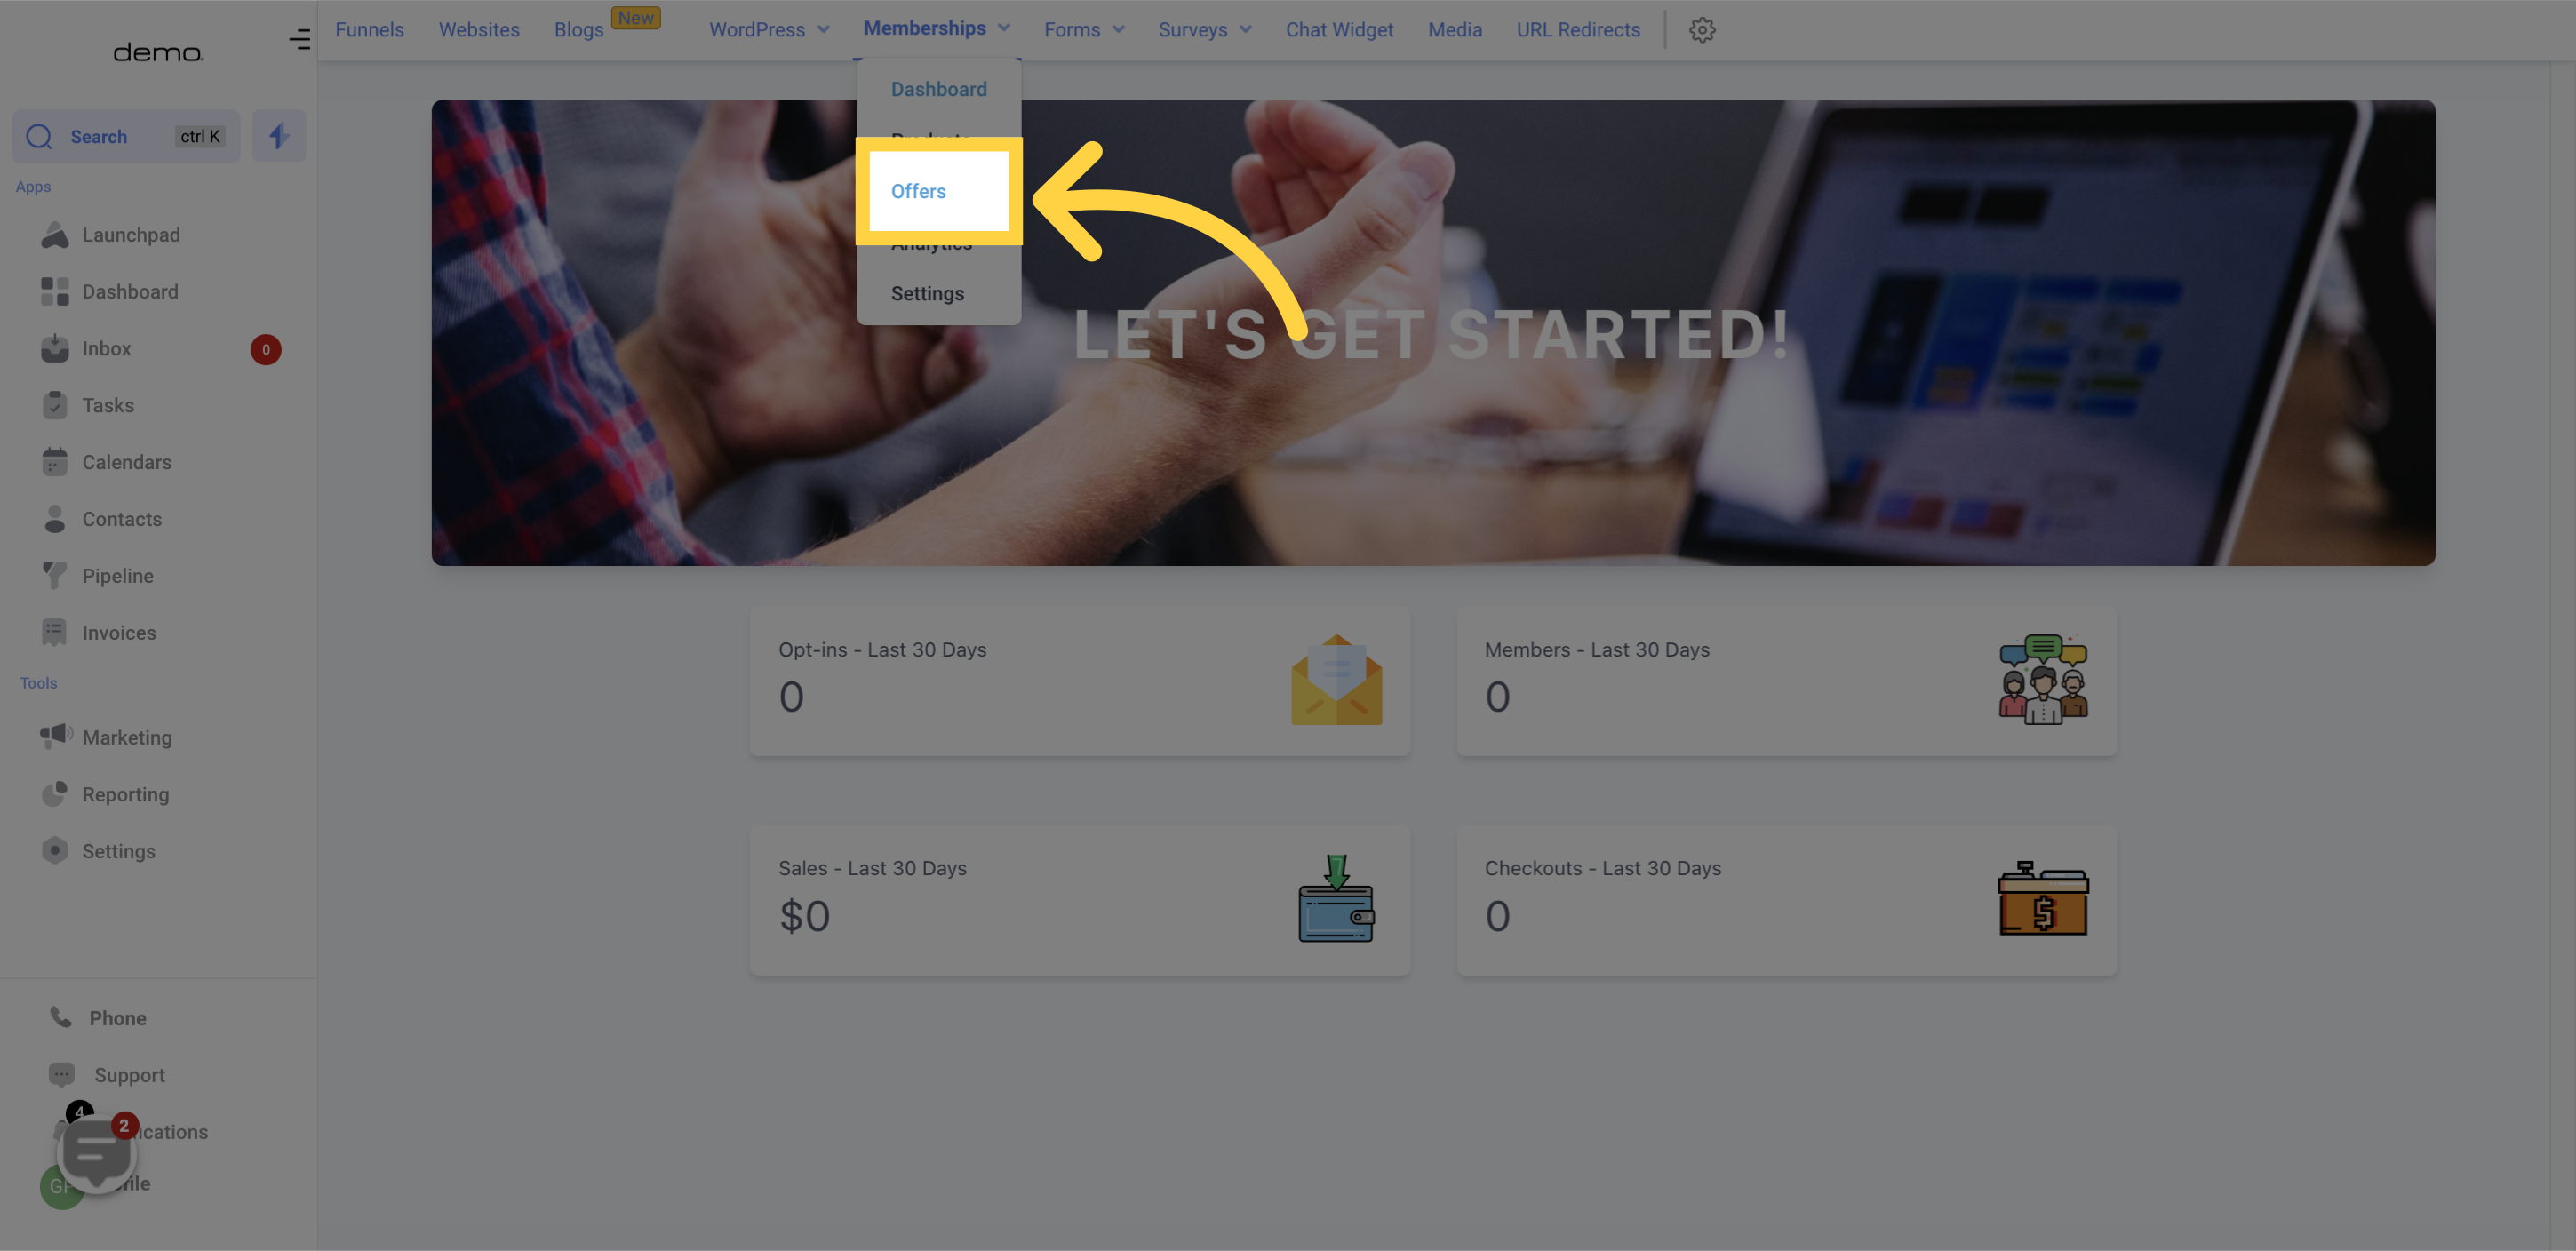
Creating a new offer is as easy as clicking the "Create Offer" button.
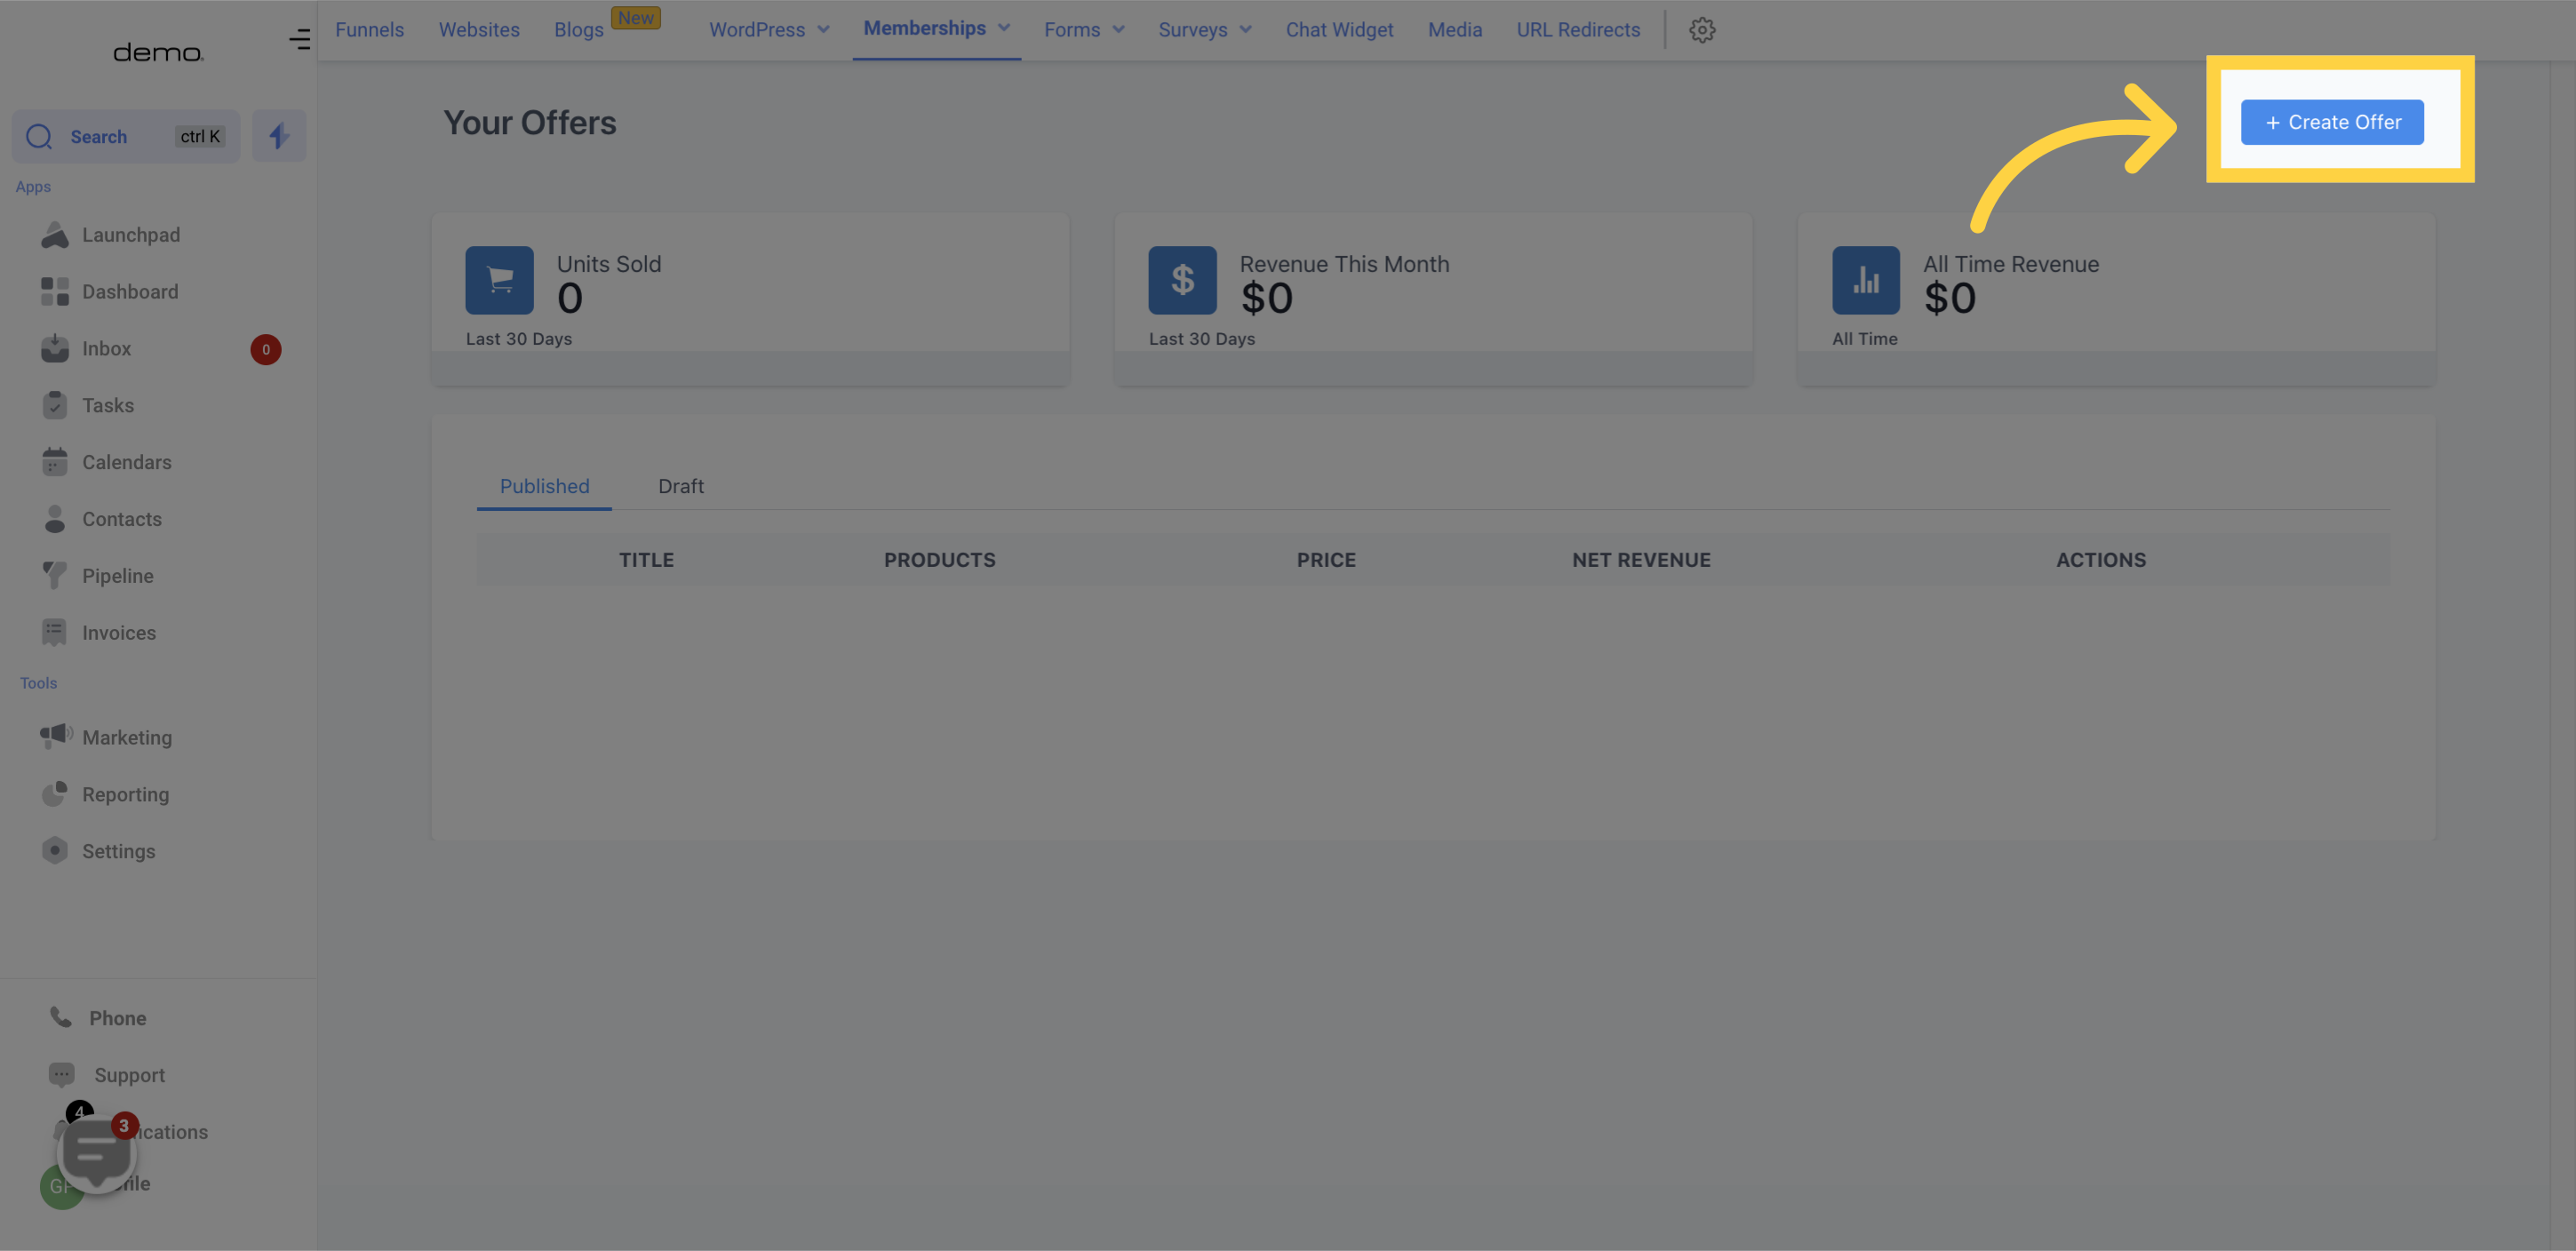
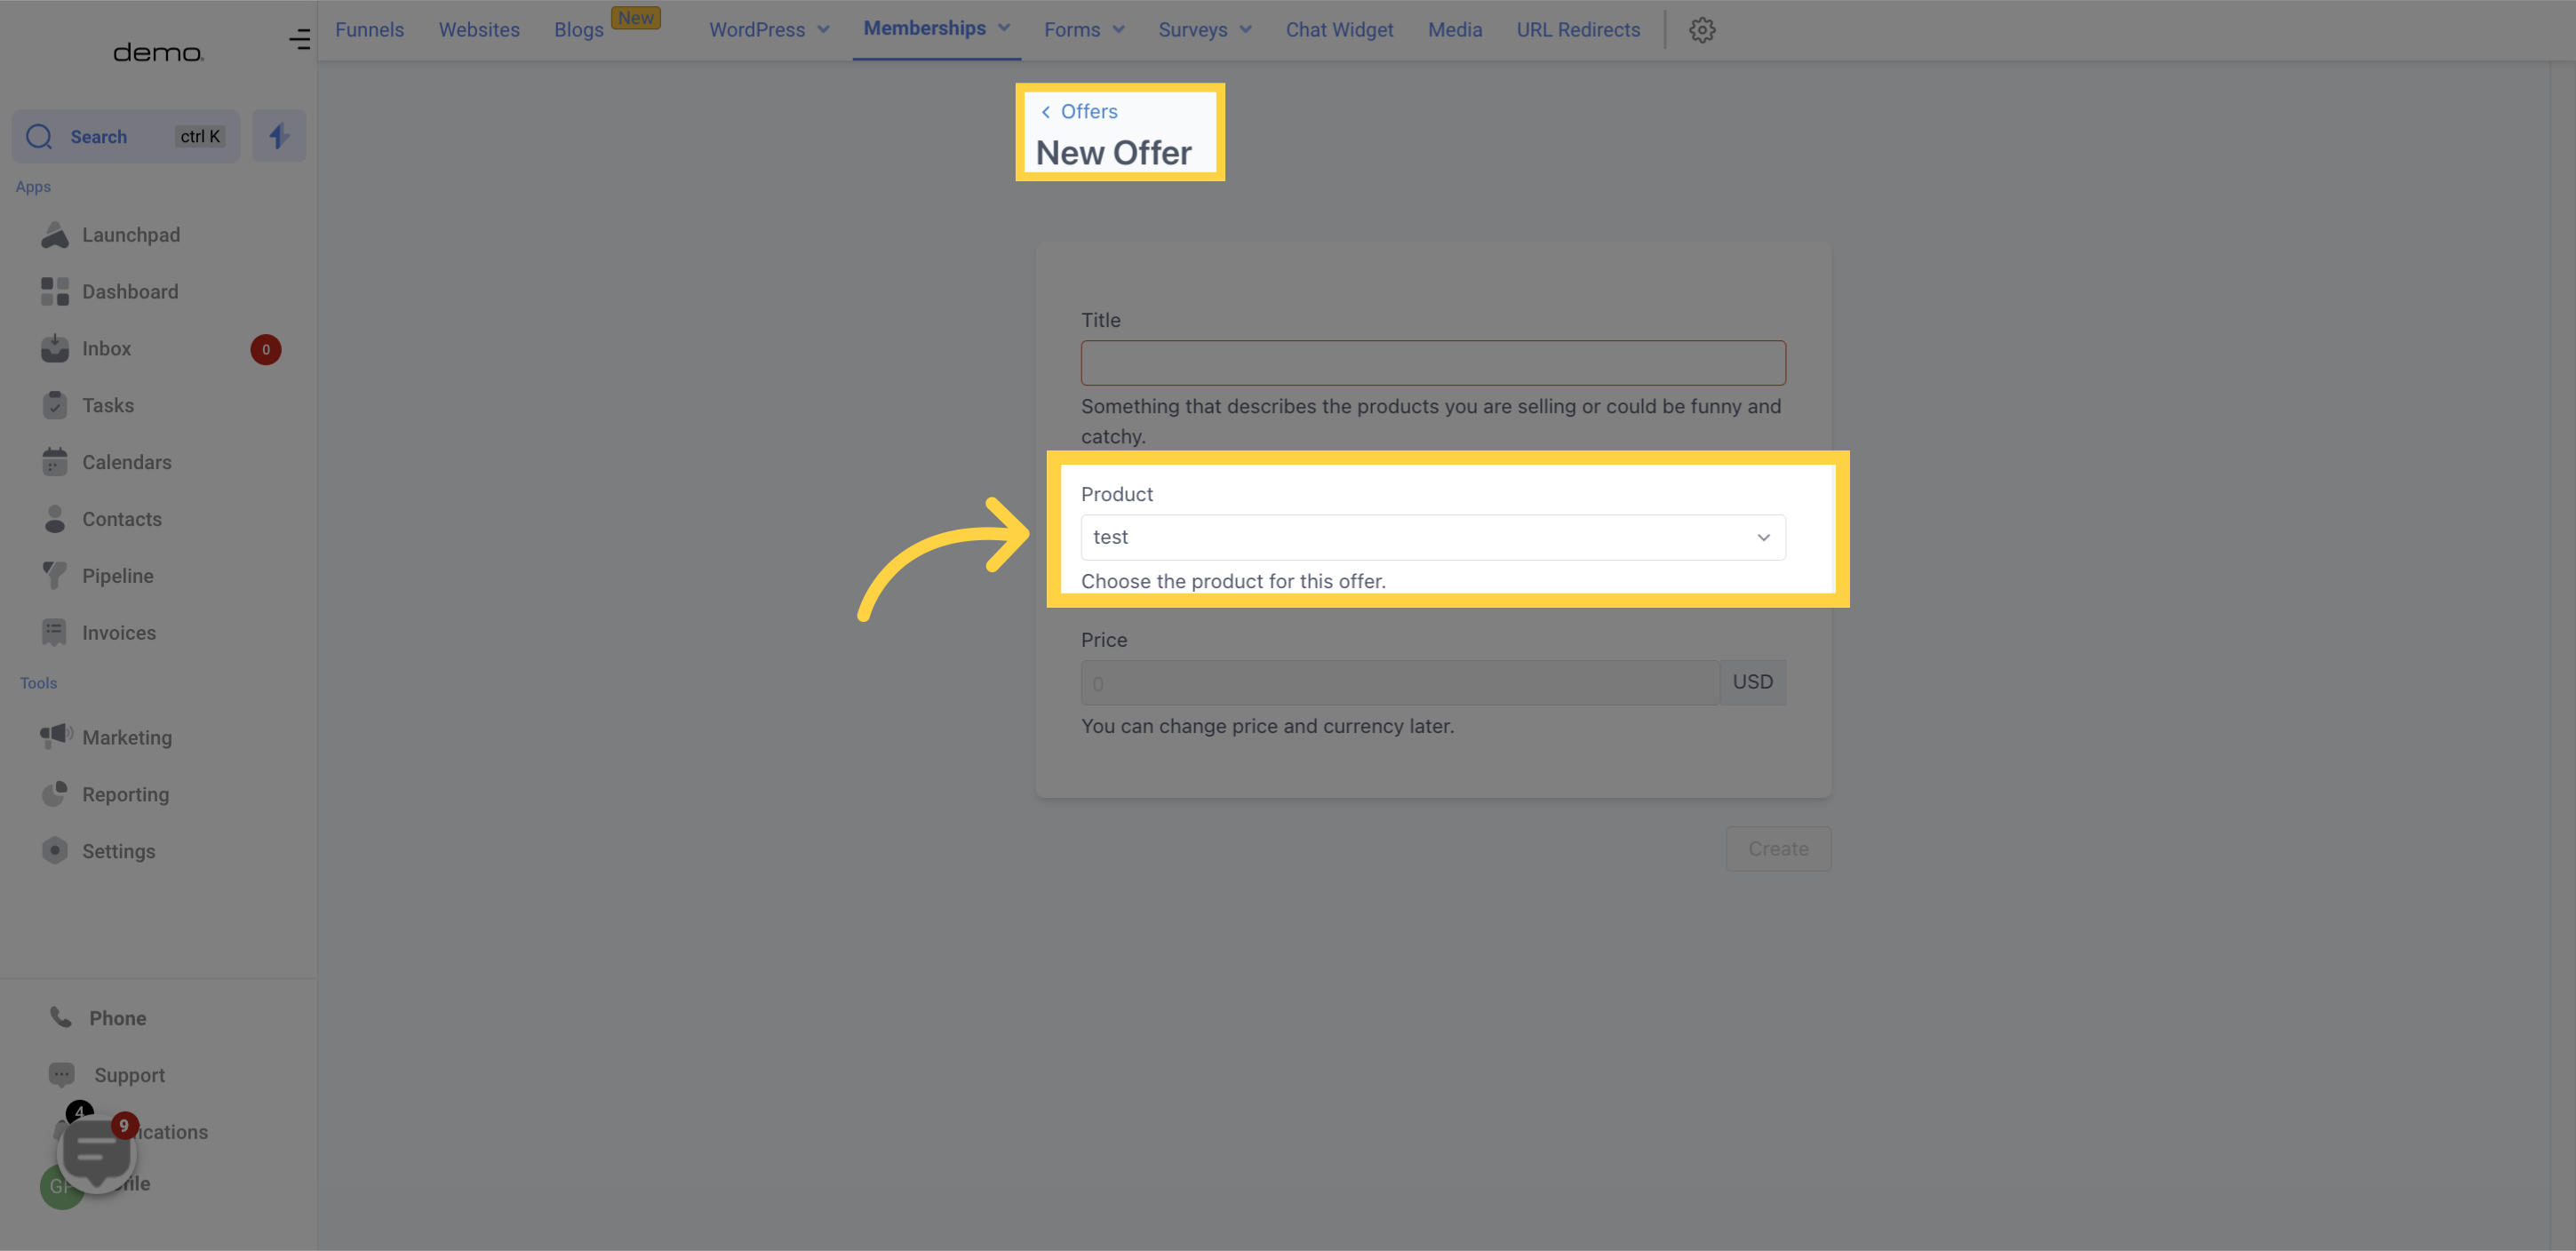
Clicking on the "Create Offer" button leads you to a page where you can;
Choose the course item for which you would like to make an offer
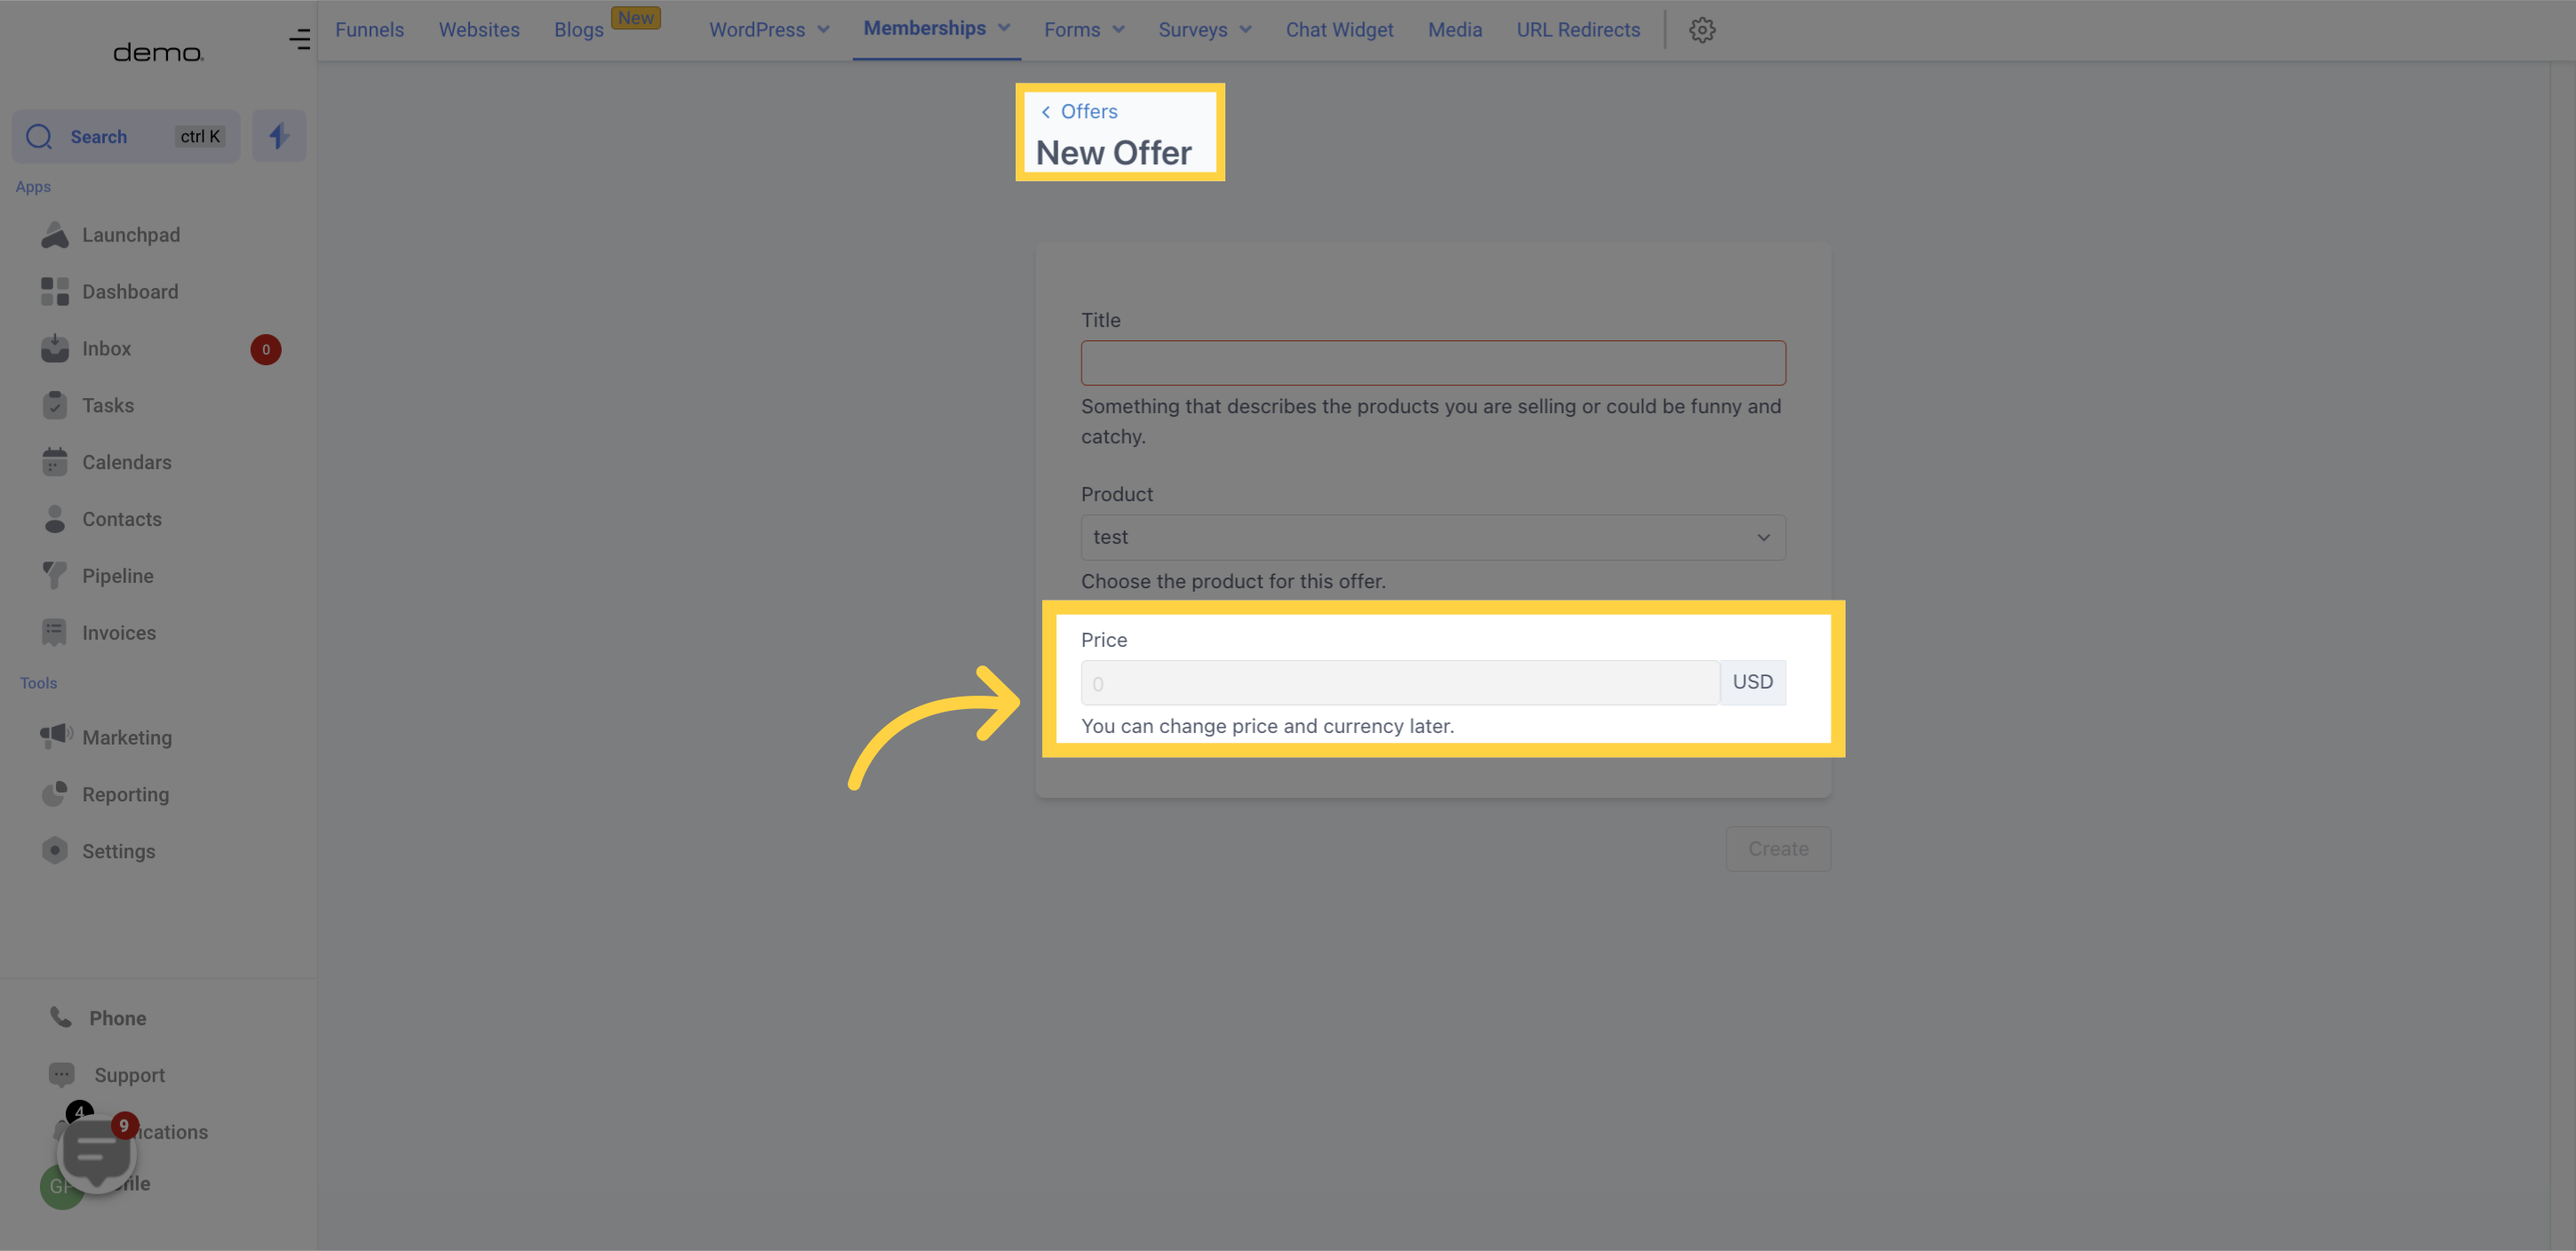
If you're not linked with a payment processor such as Stripe, adding a price offer won't be possible, but you can include a price that can be altered later.
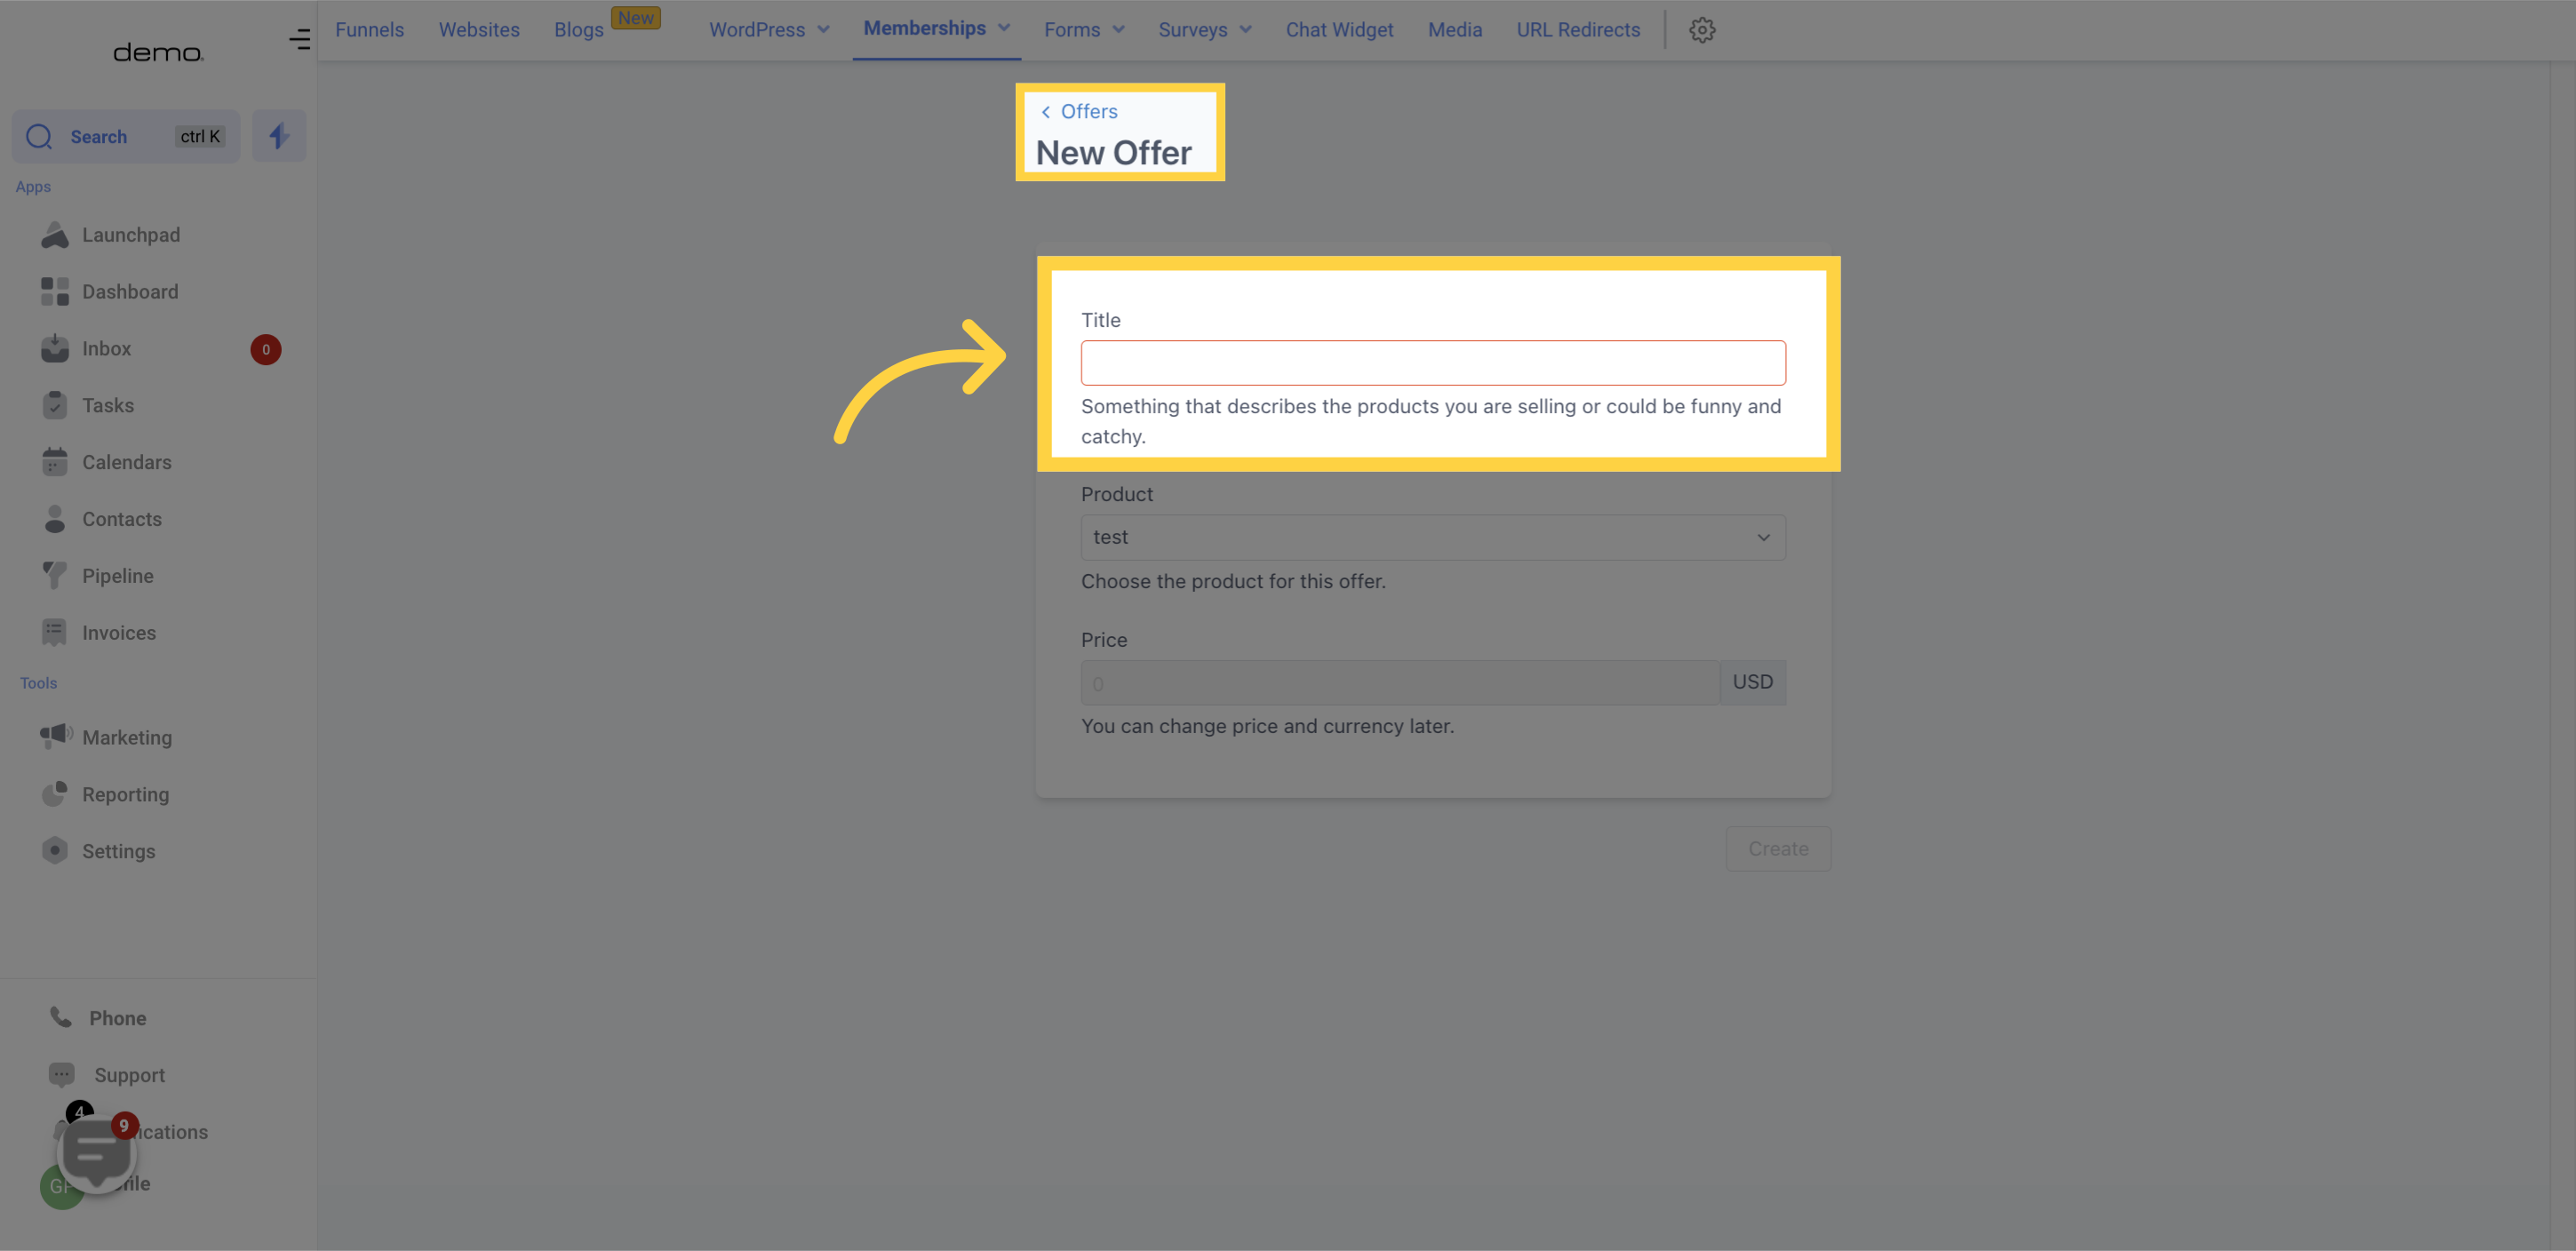
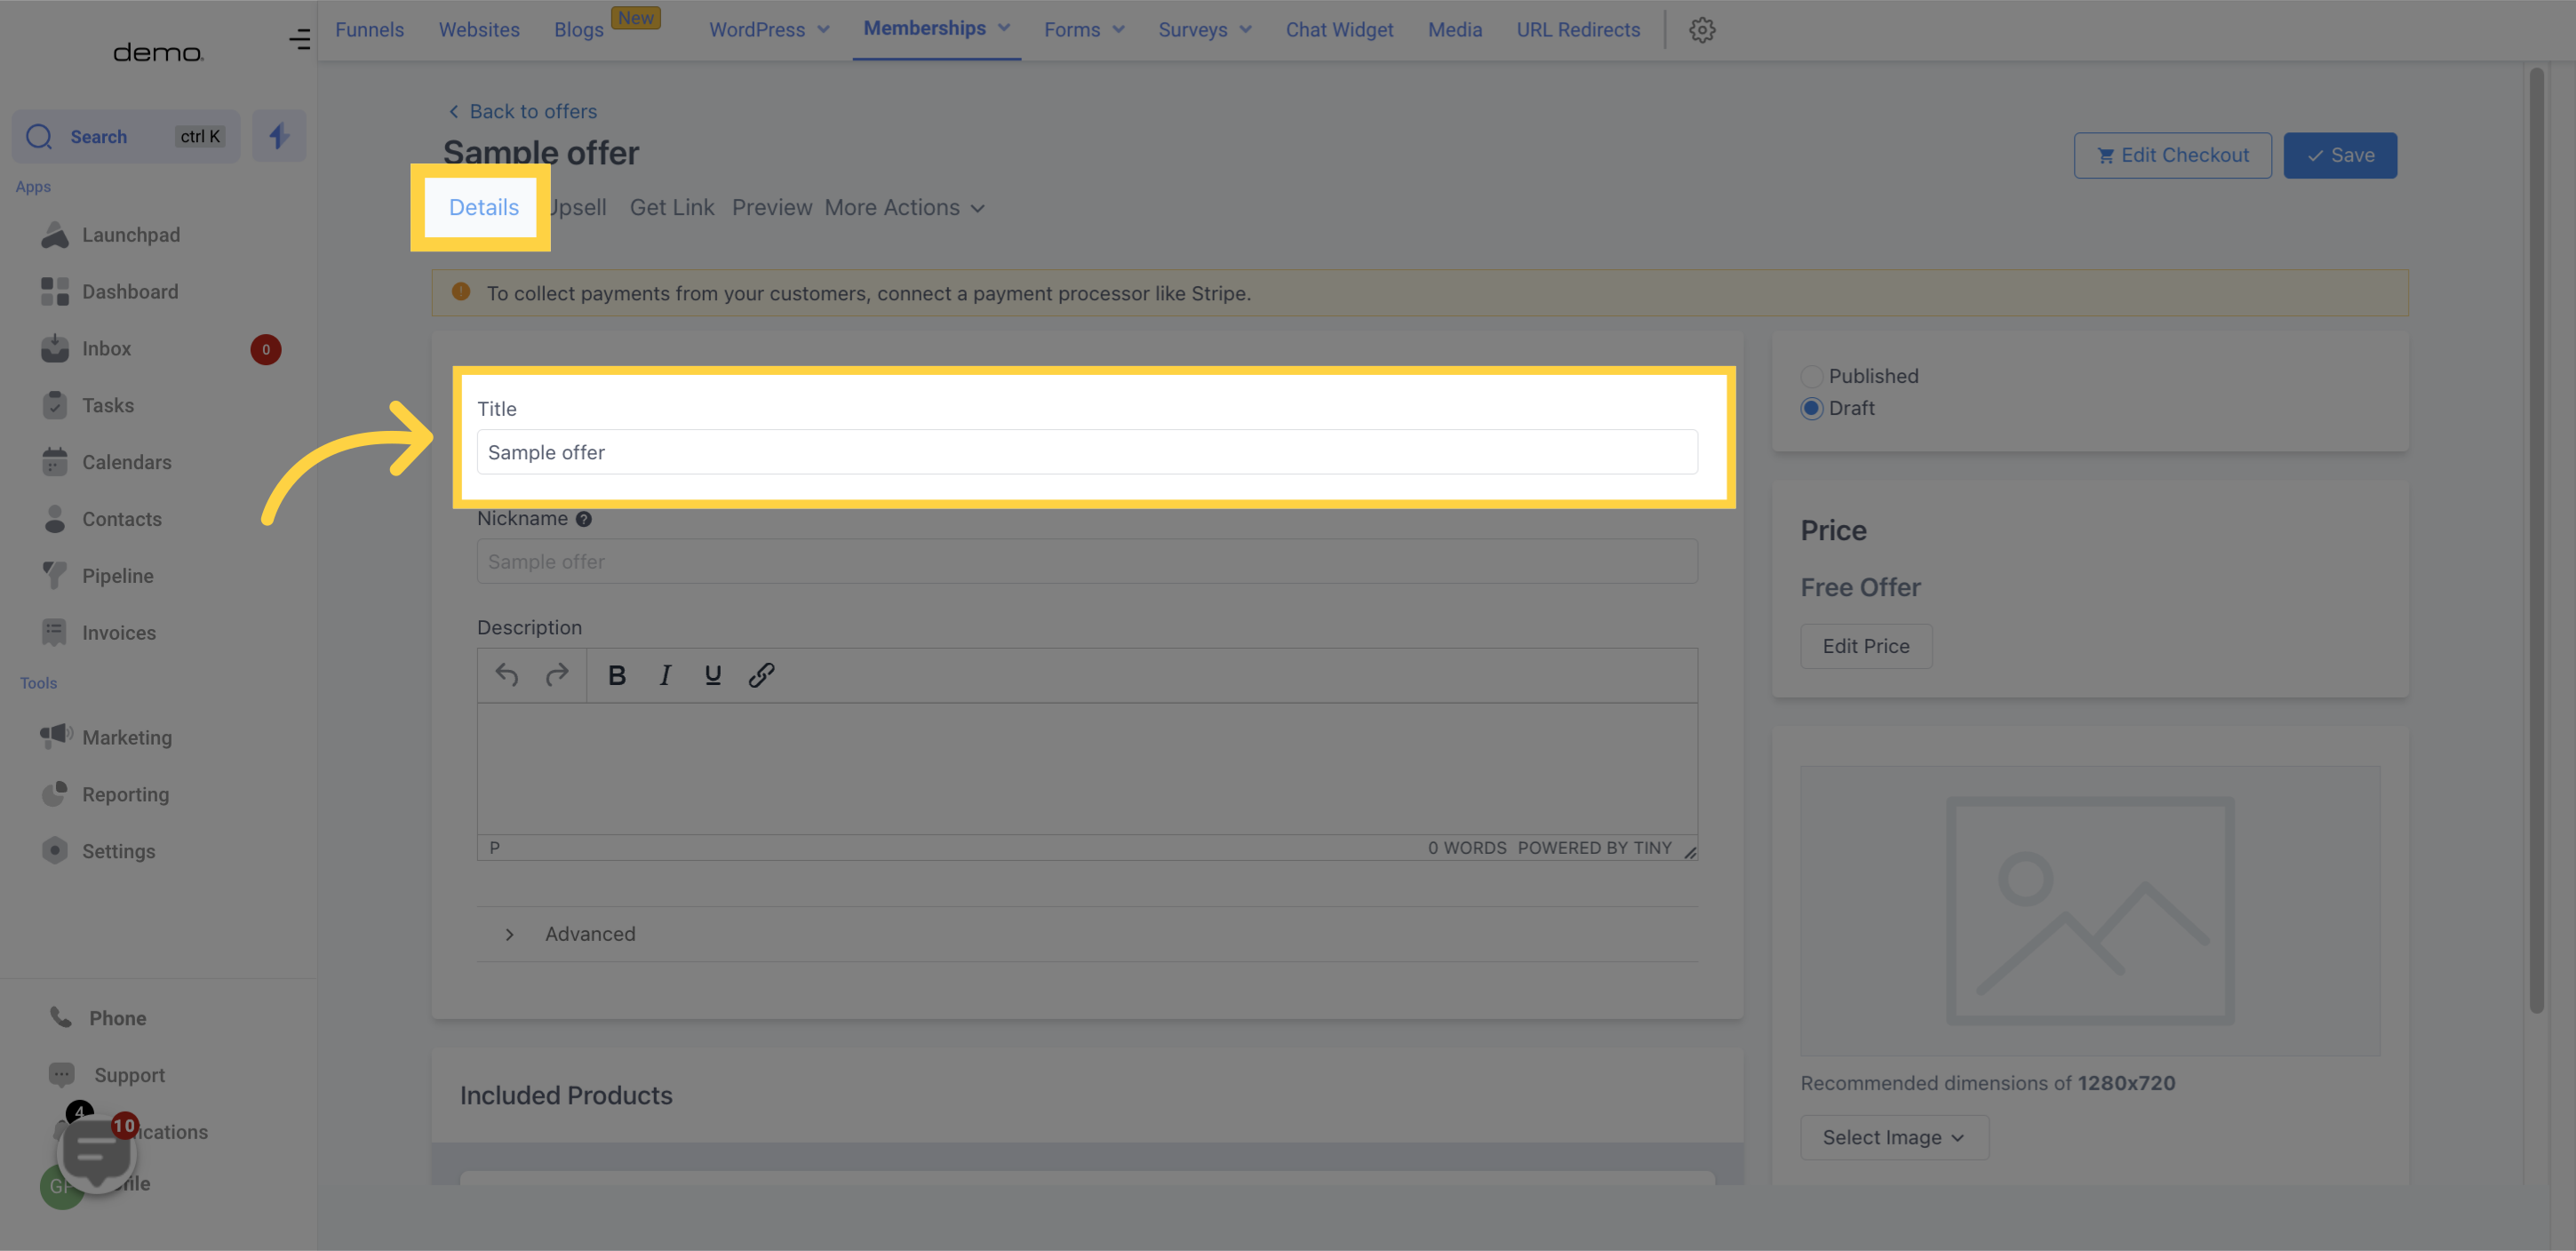
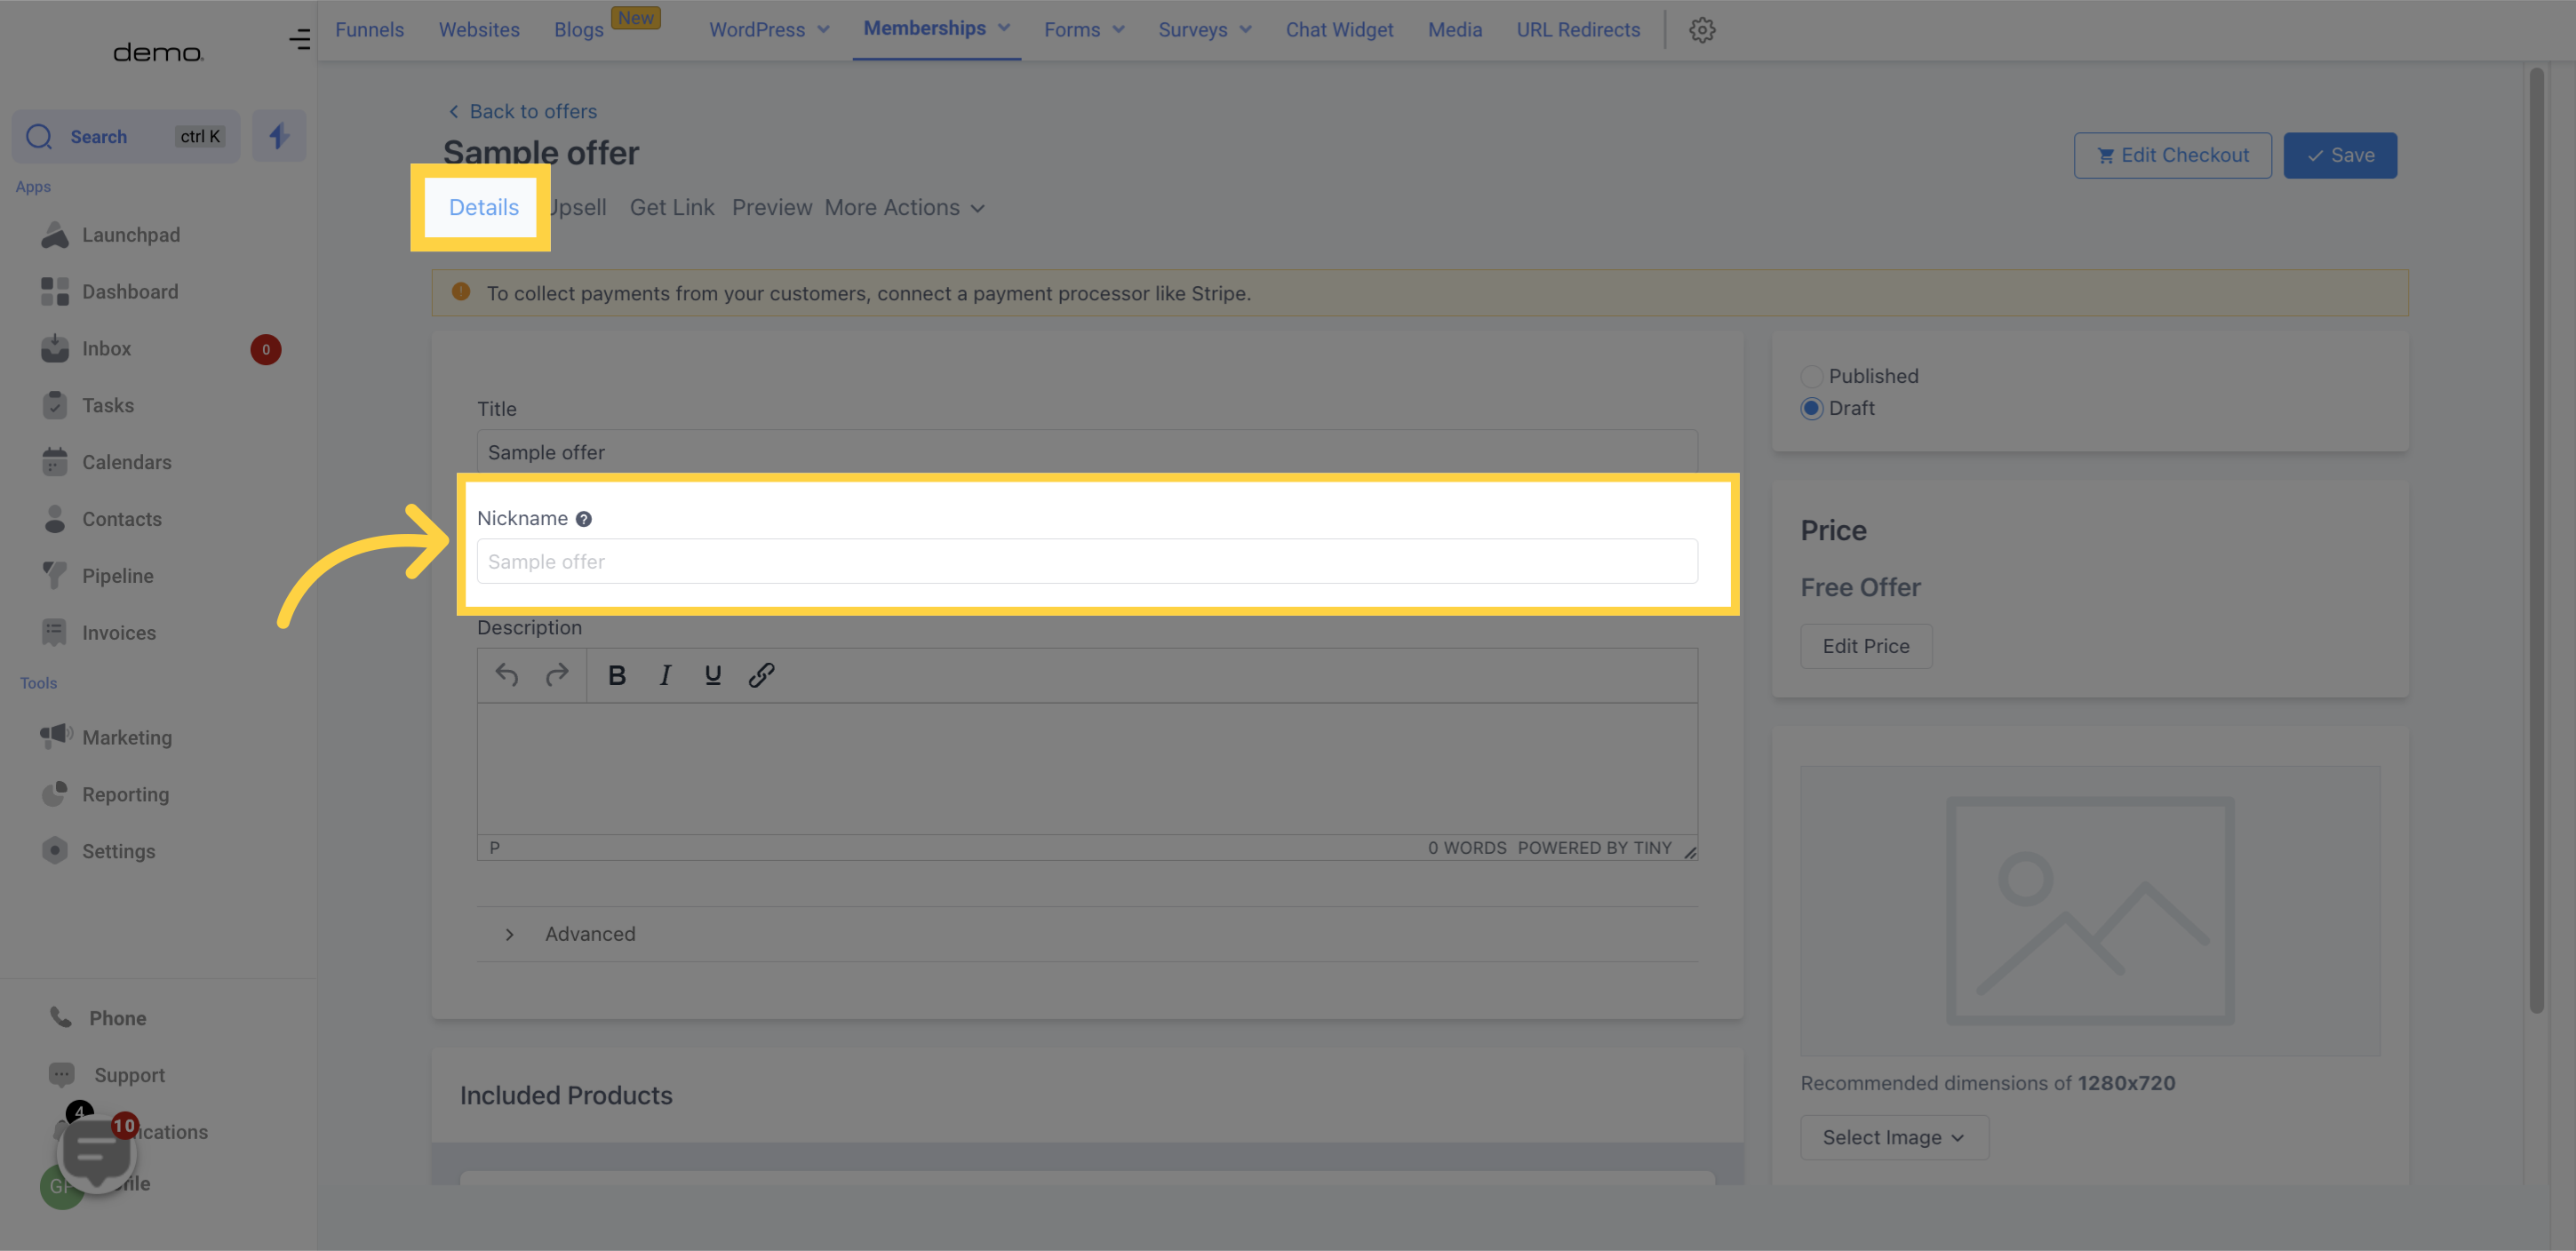
After completing the "New Offer" page, you will be guided to this section where you can modify the overall information of the product that you are currently crafting.
This field allows you to name your product, with the option to edit it later.
Here, you can give your product a personal nickname that only you will see.
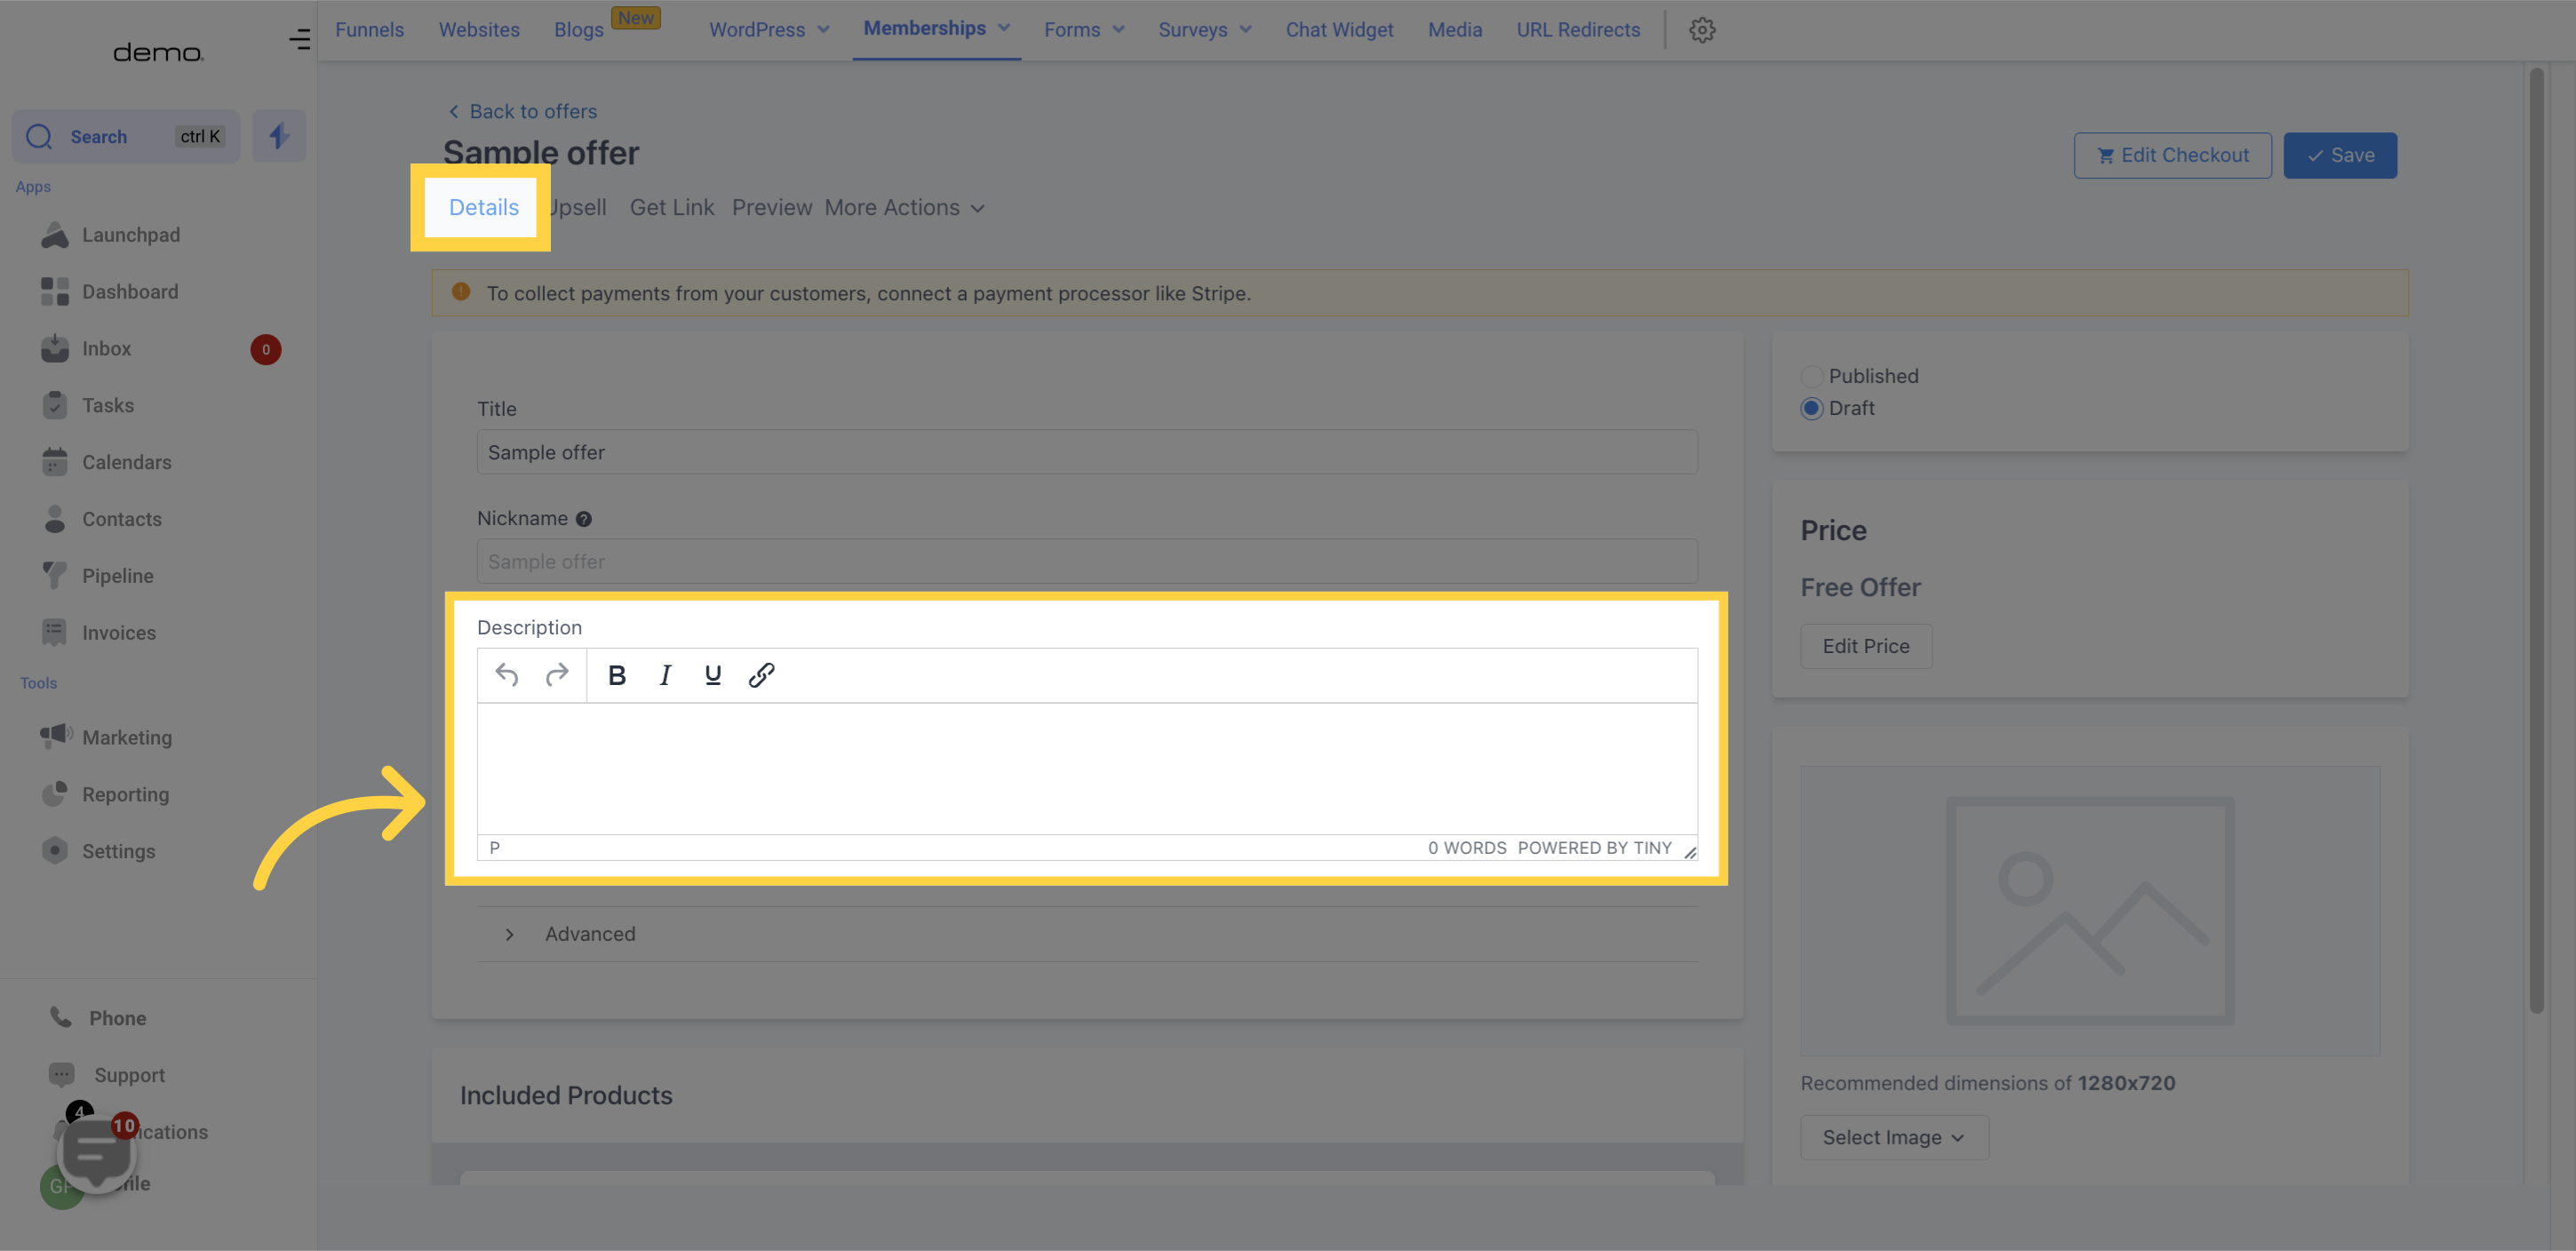
Provide a brief description of your product to give customers an idea of what's included.
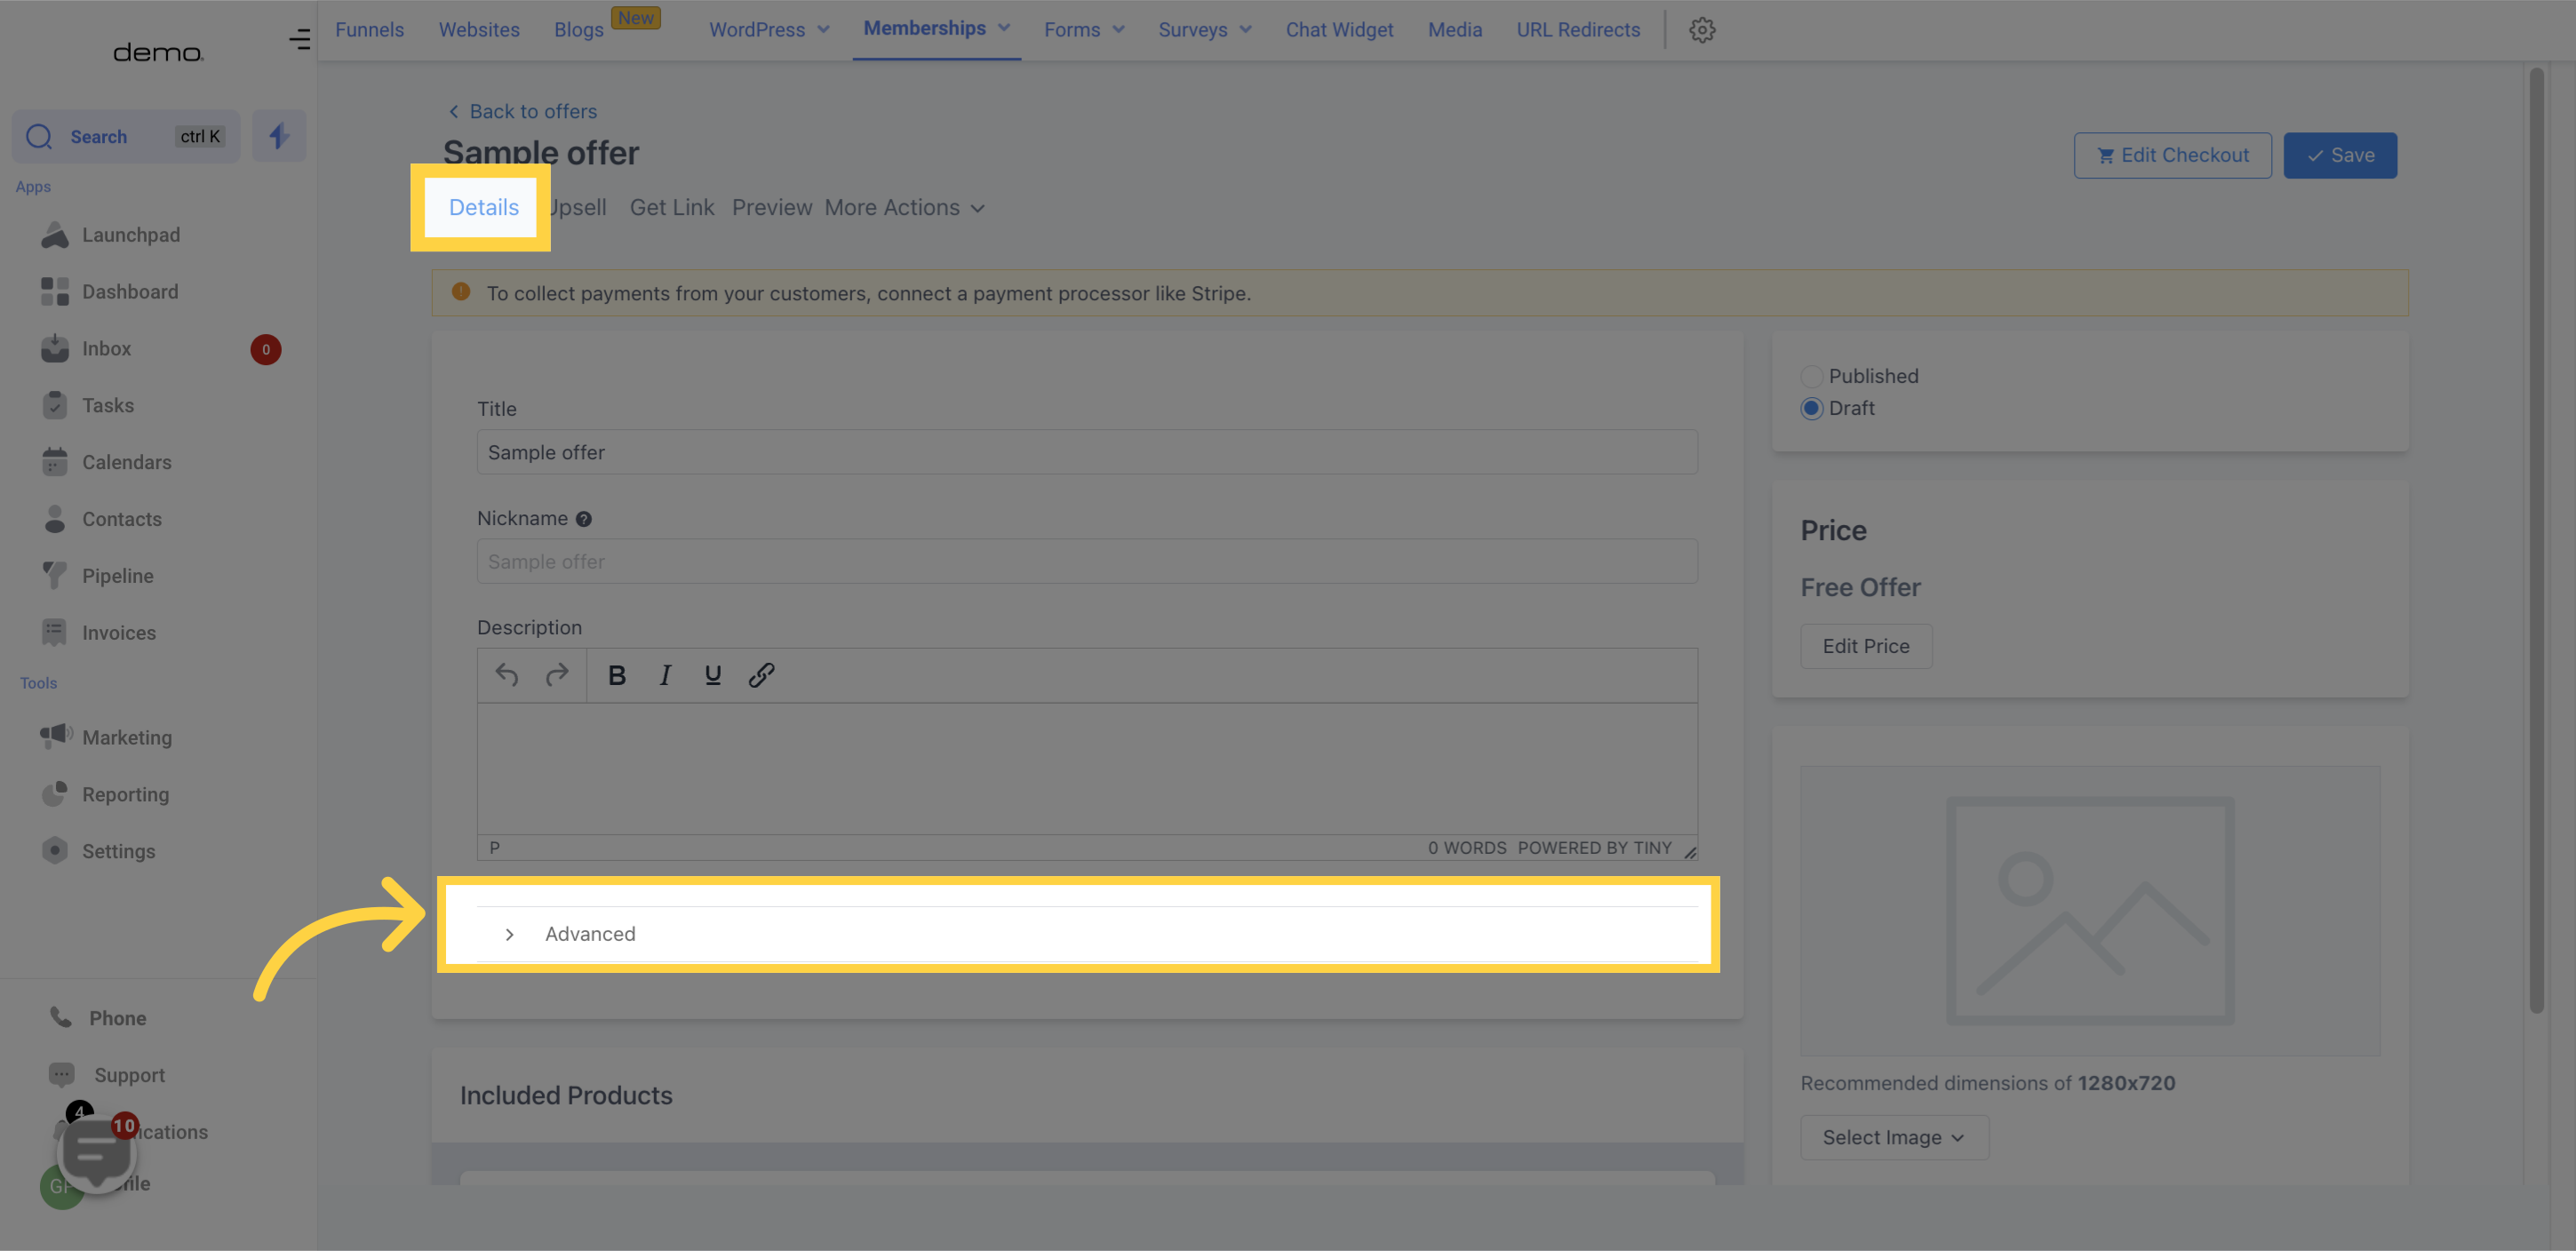
Access advanced settings by clicking this button.
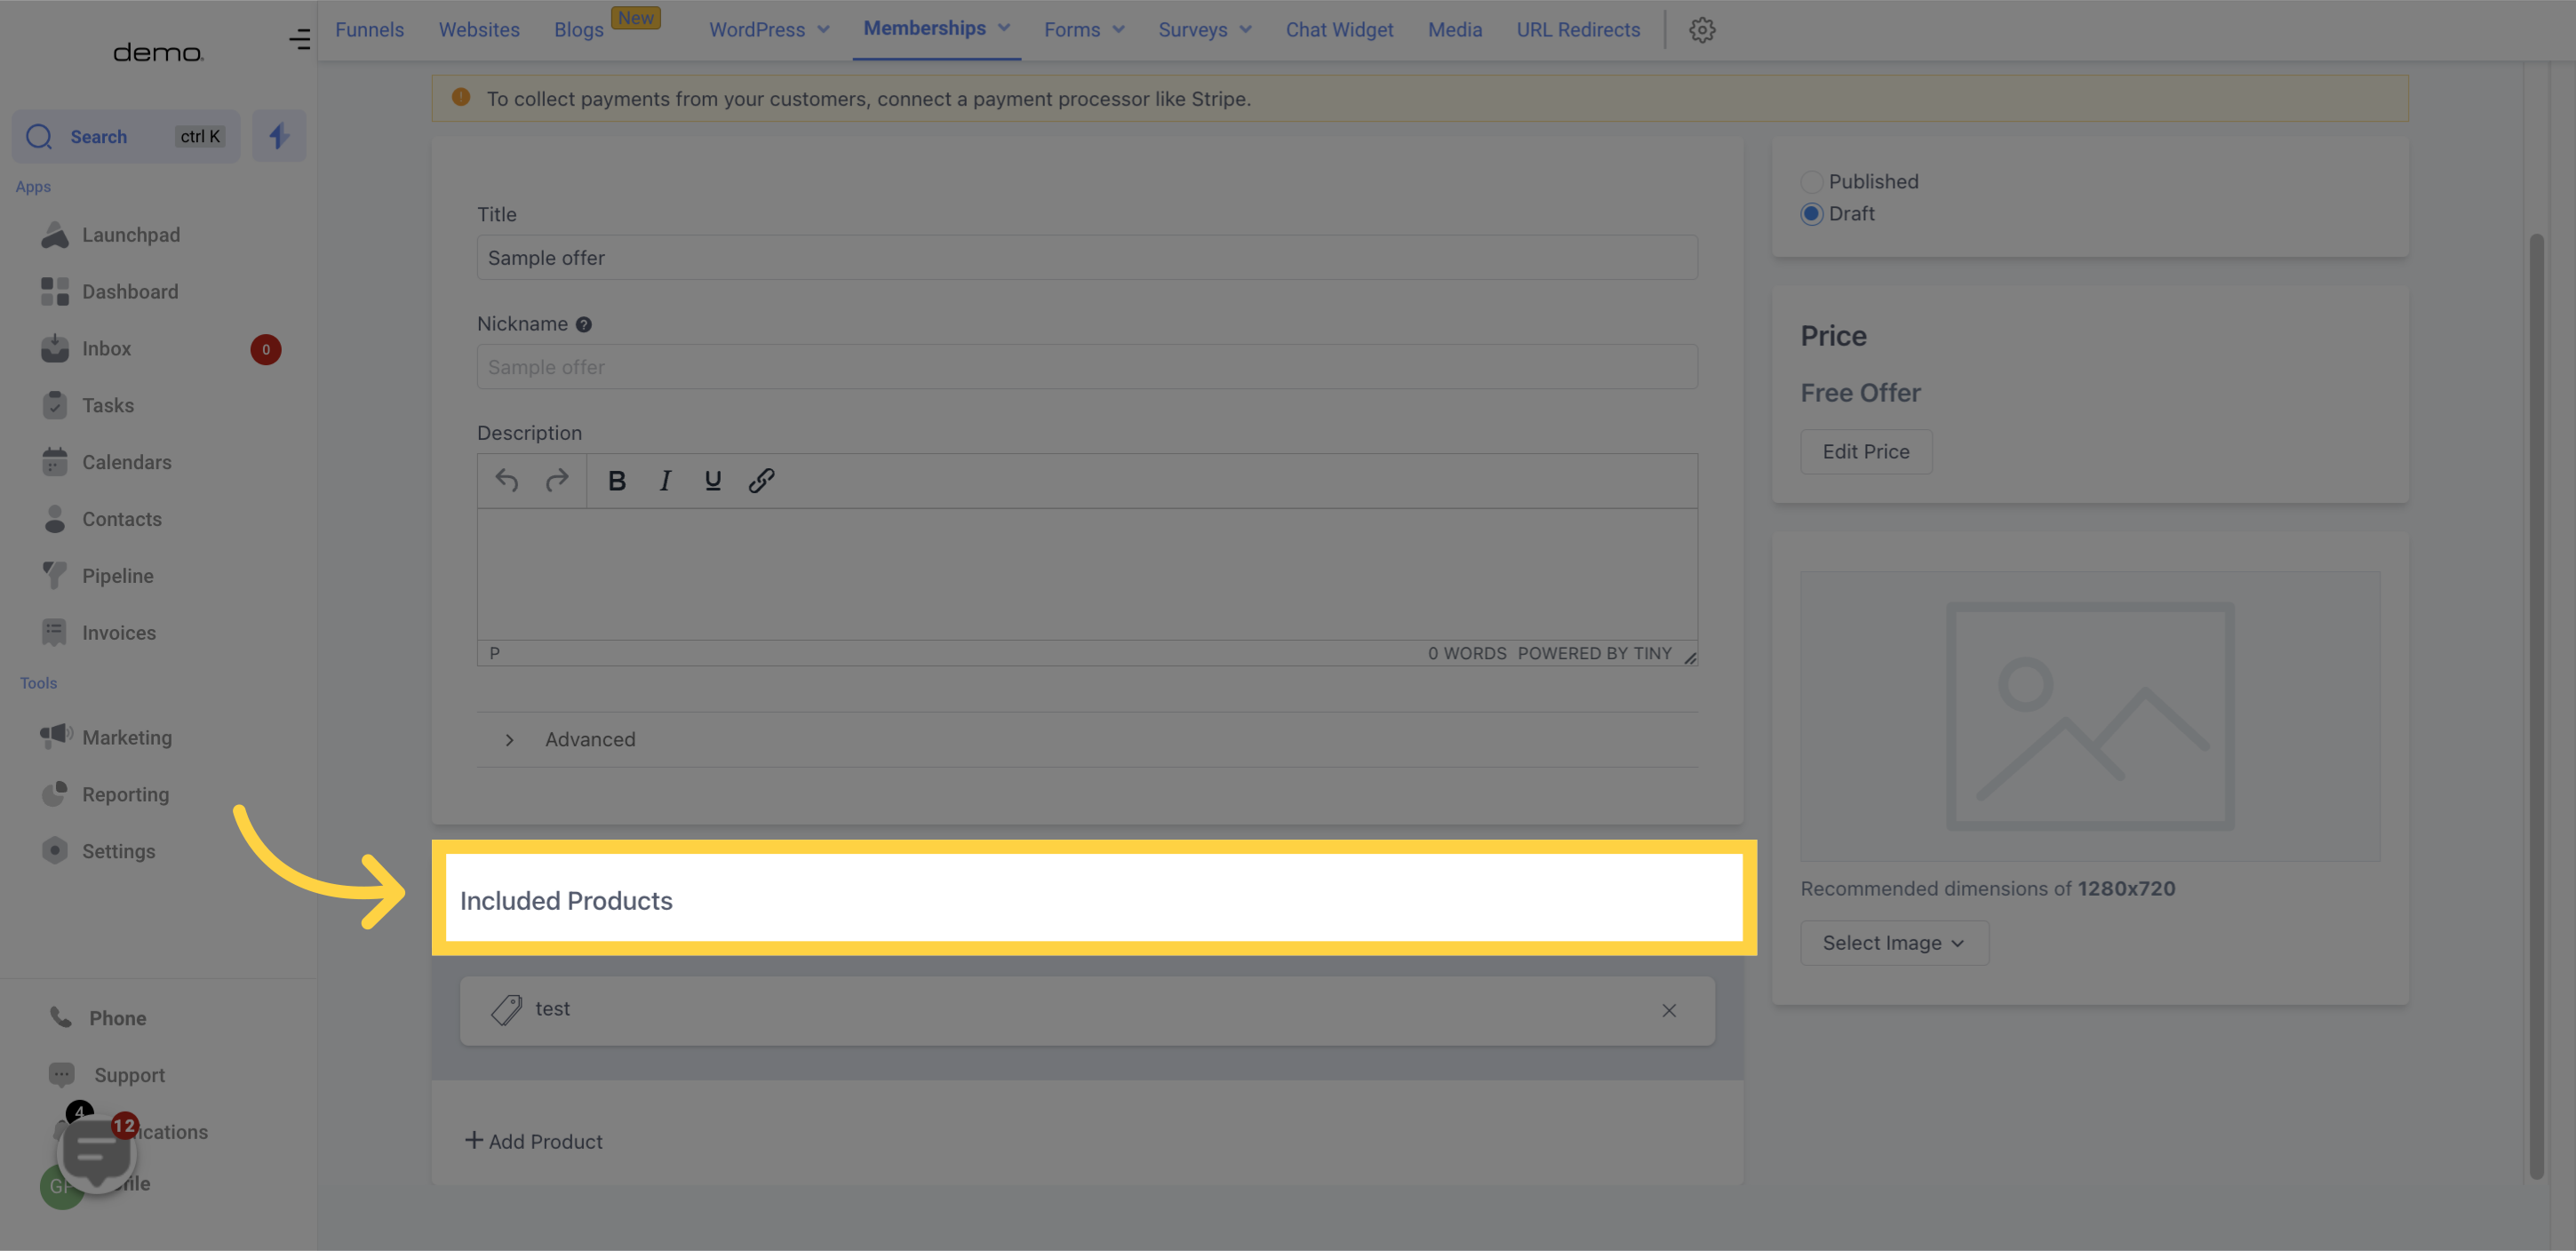
Add any other products you've created to this offer by clicking the "+Add Product" icon.
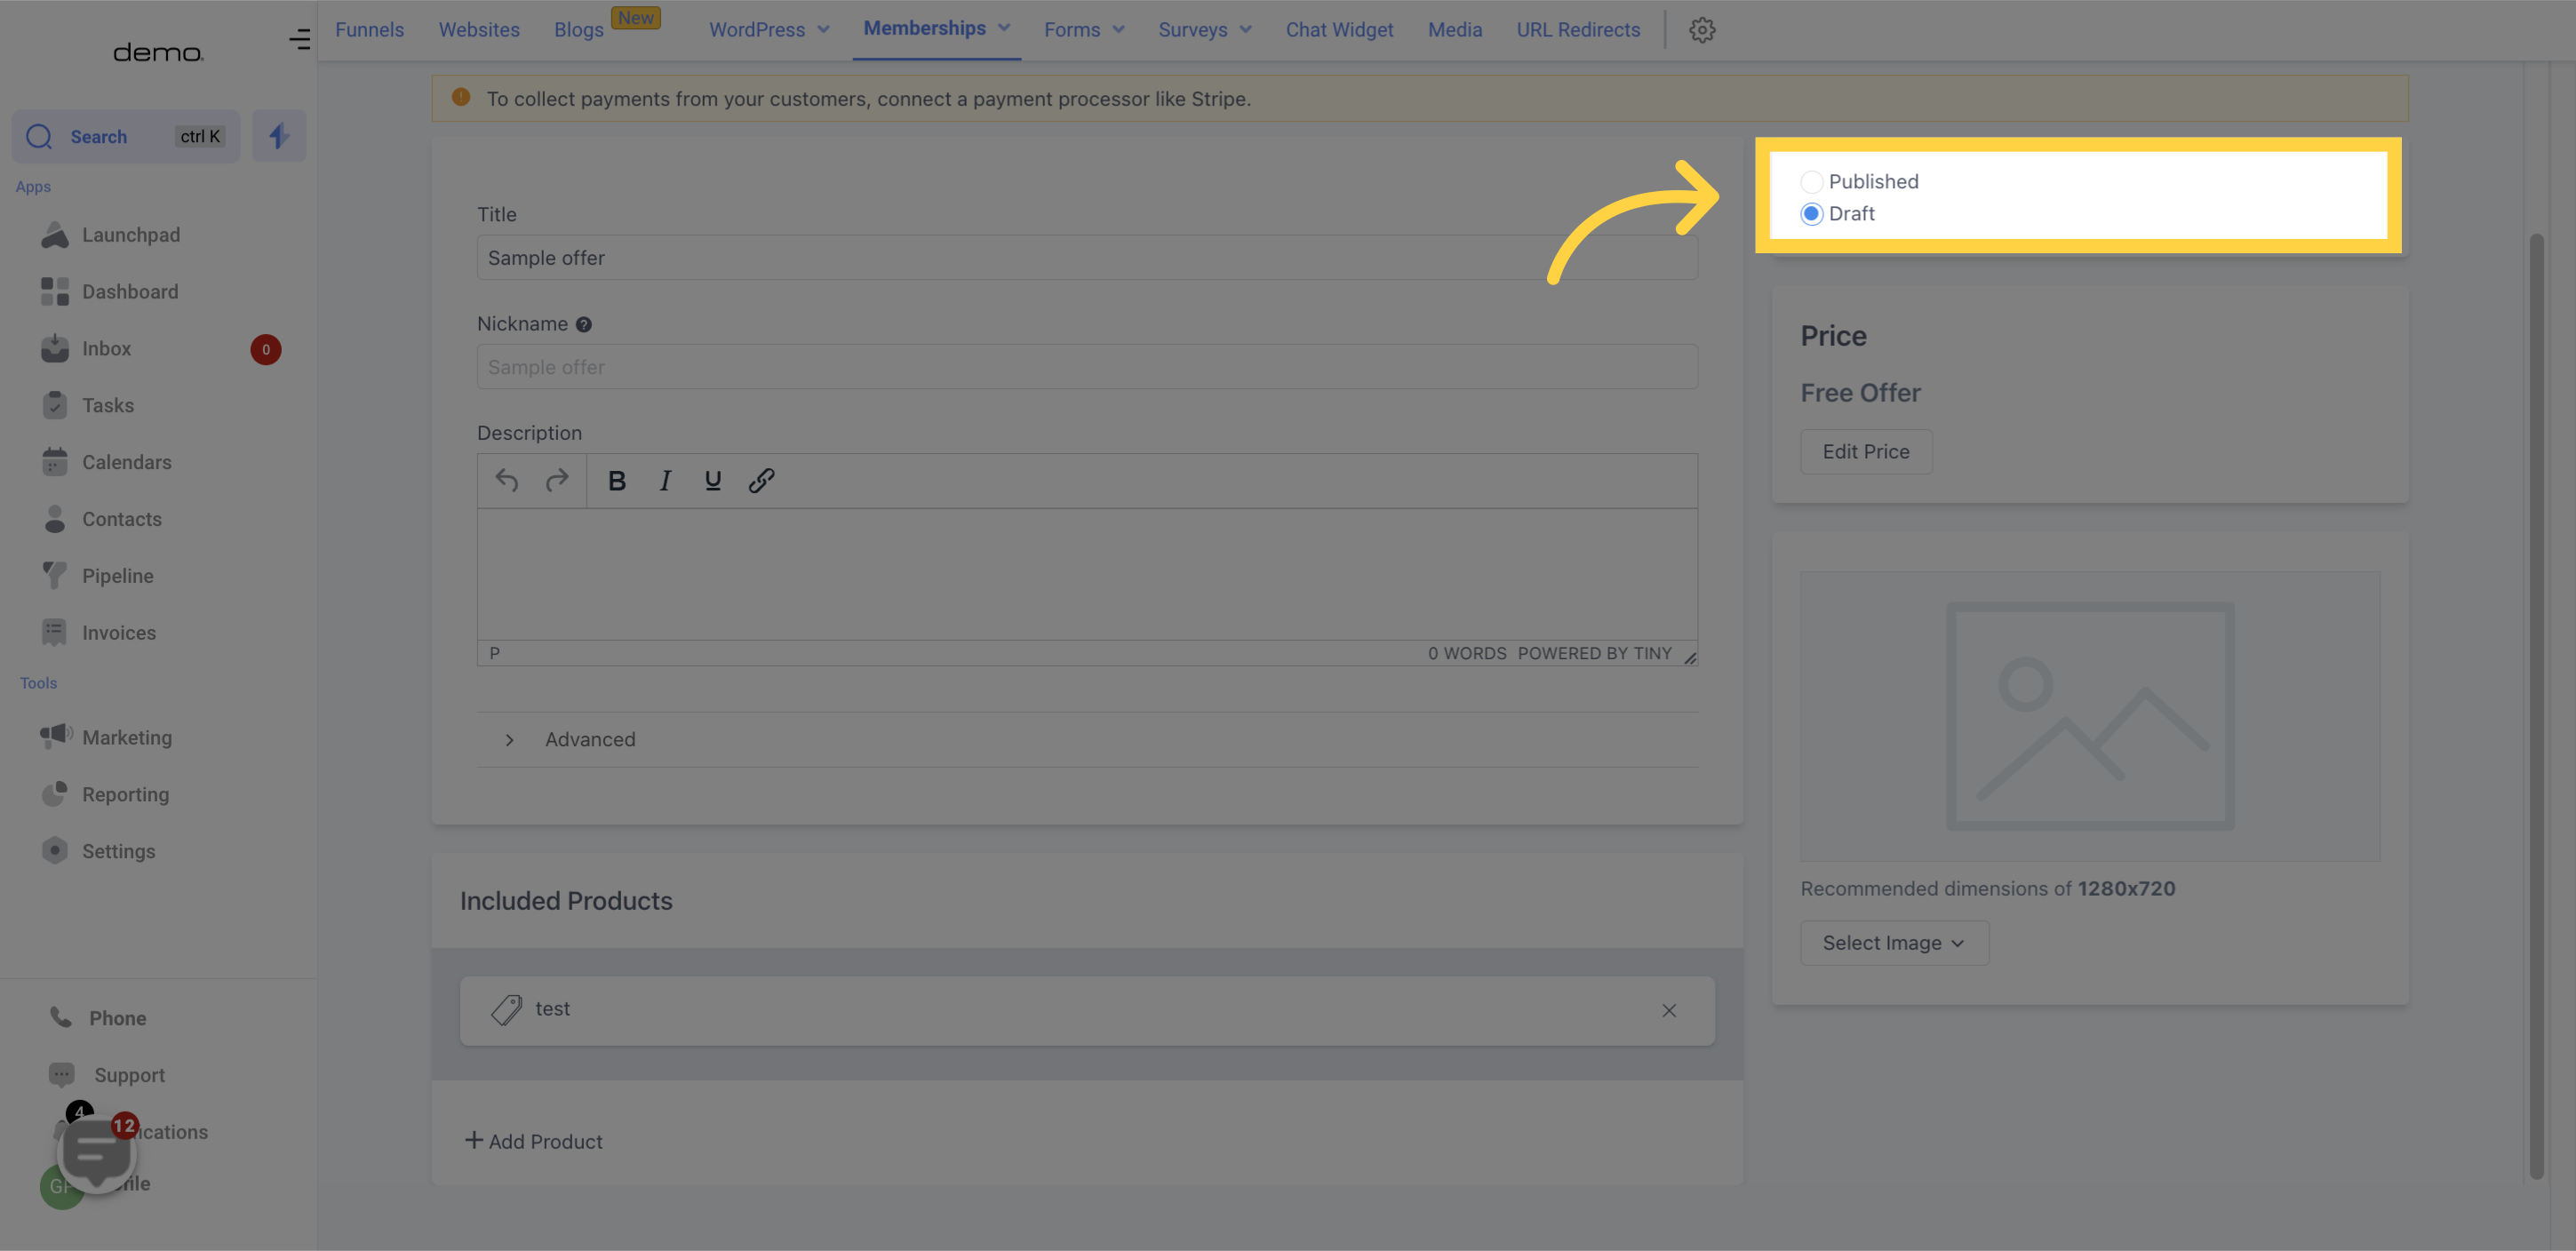
Toggle between draft mode and publish mode with this button.
Adjust pricing options by clicking on the "Edit Price" button. You can choose a Free plan, a one-time payment plan, or a Recurring subscription, provided that you've connected to a payment processor such as "Stripe".

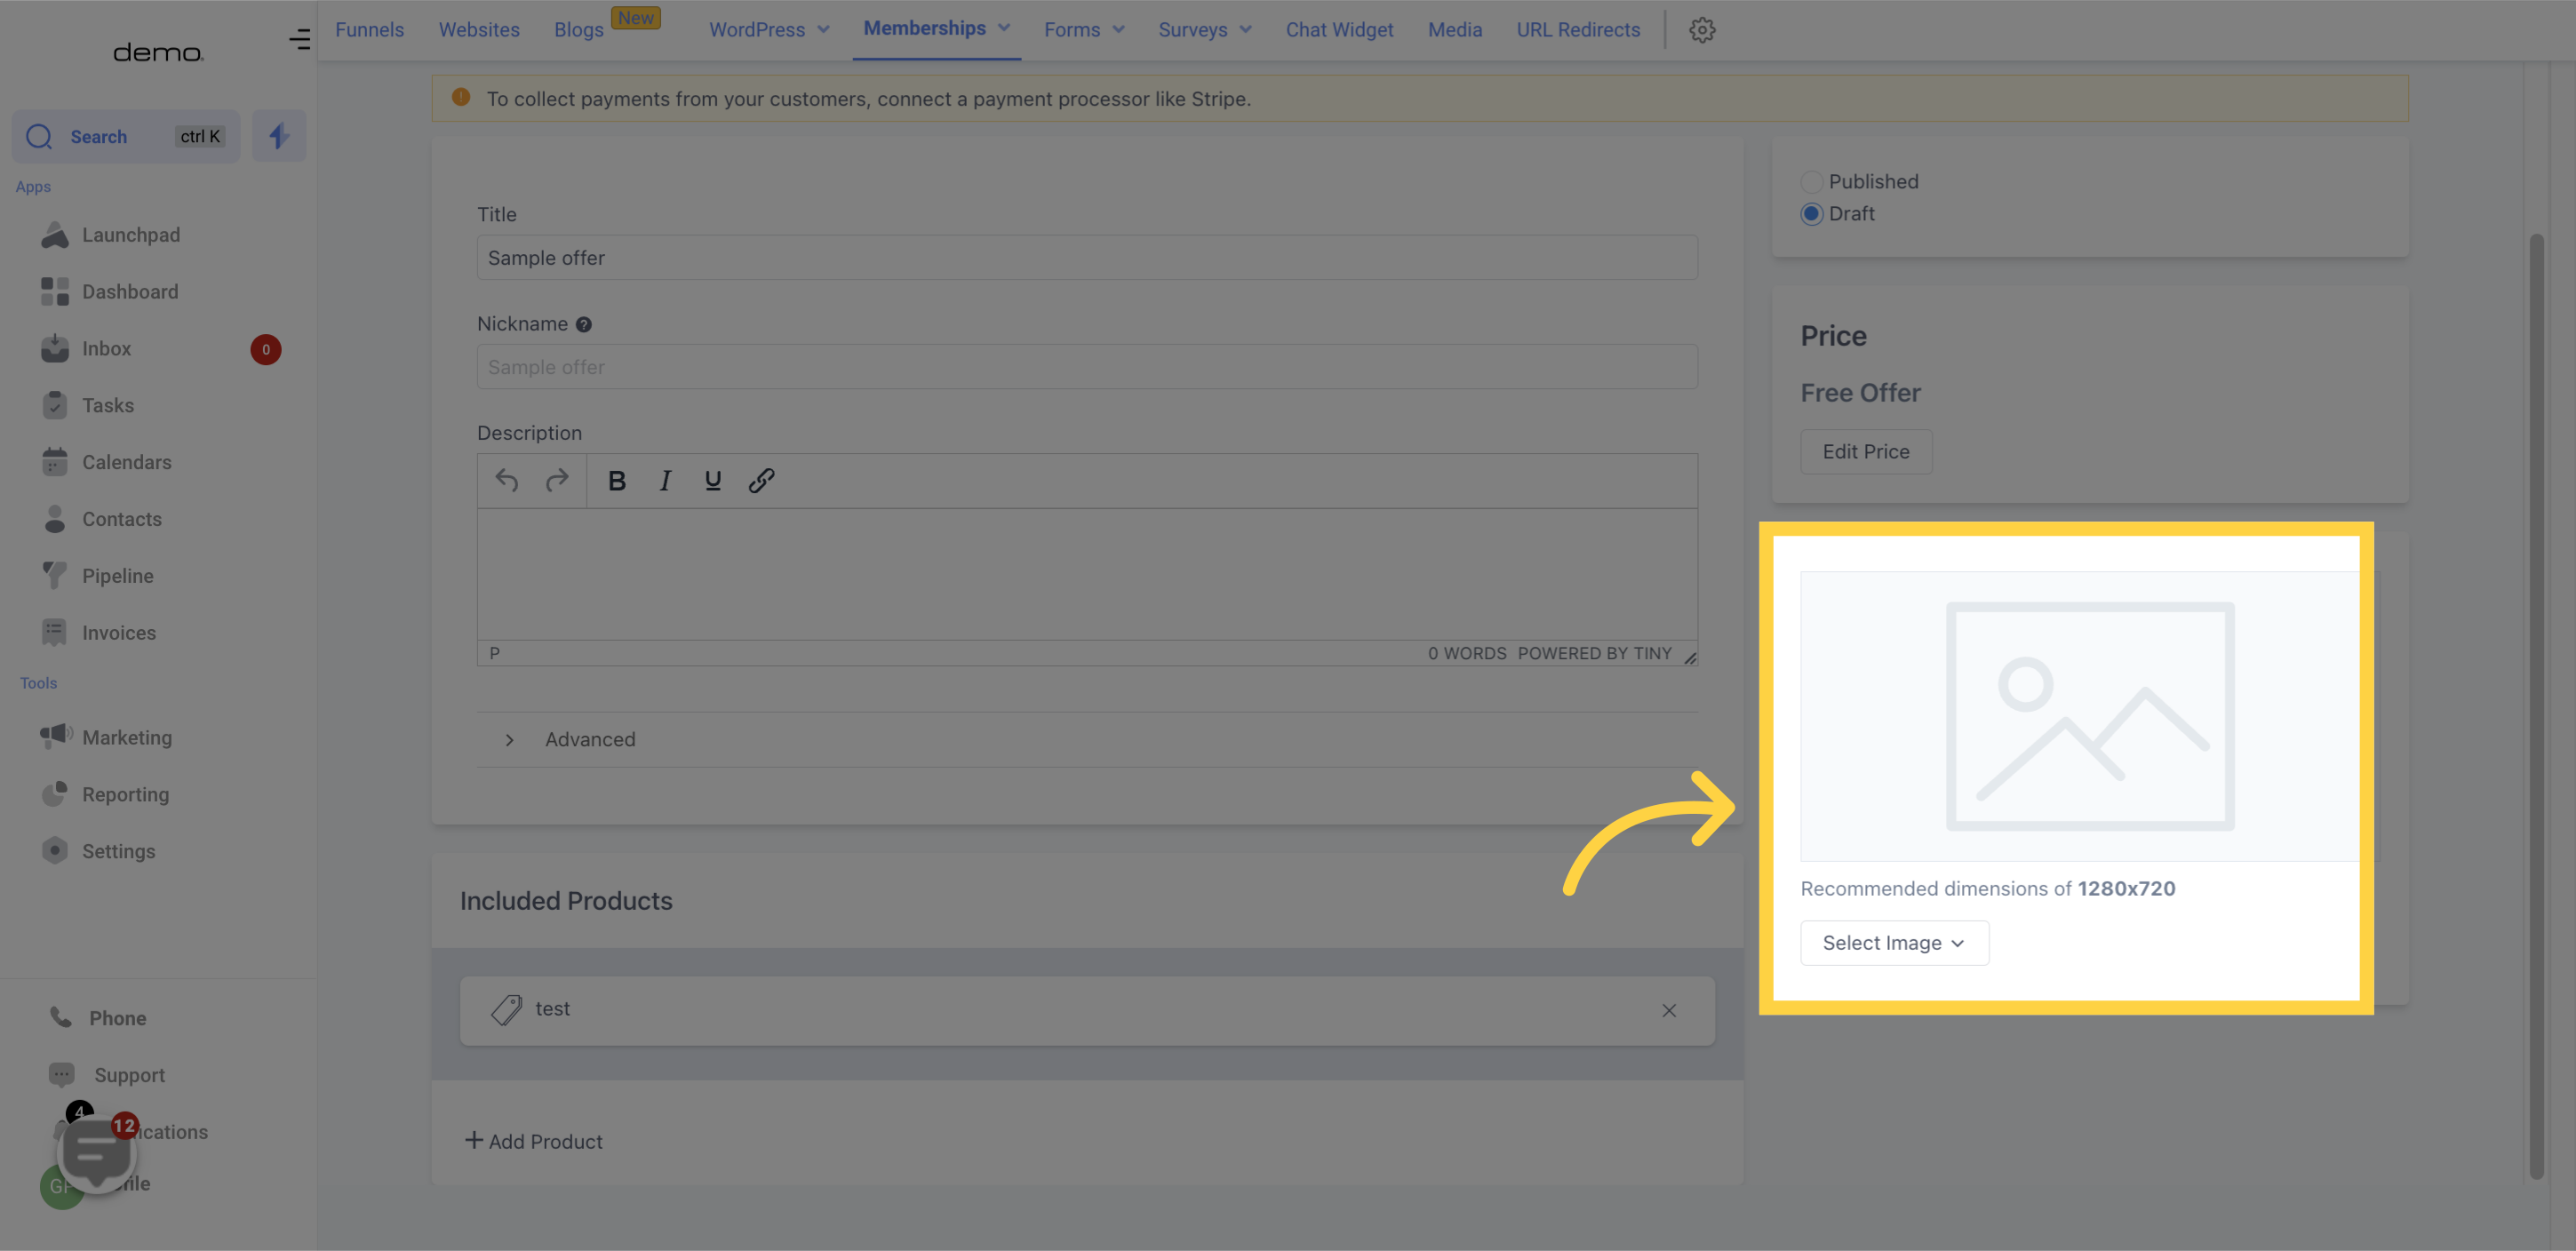
Upload a product image with dimensions of 1280x720 by clicking "Select Image". If needed, remove an uploaded image by clicking "remove".
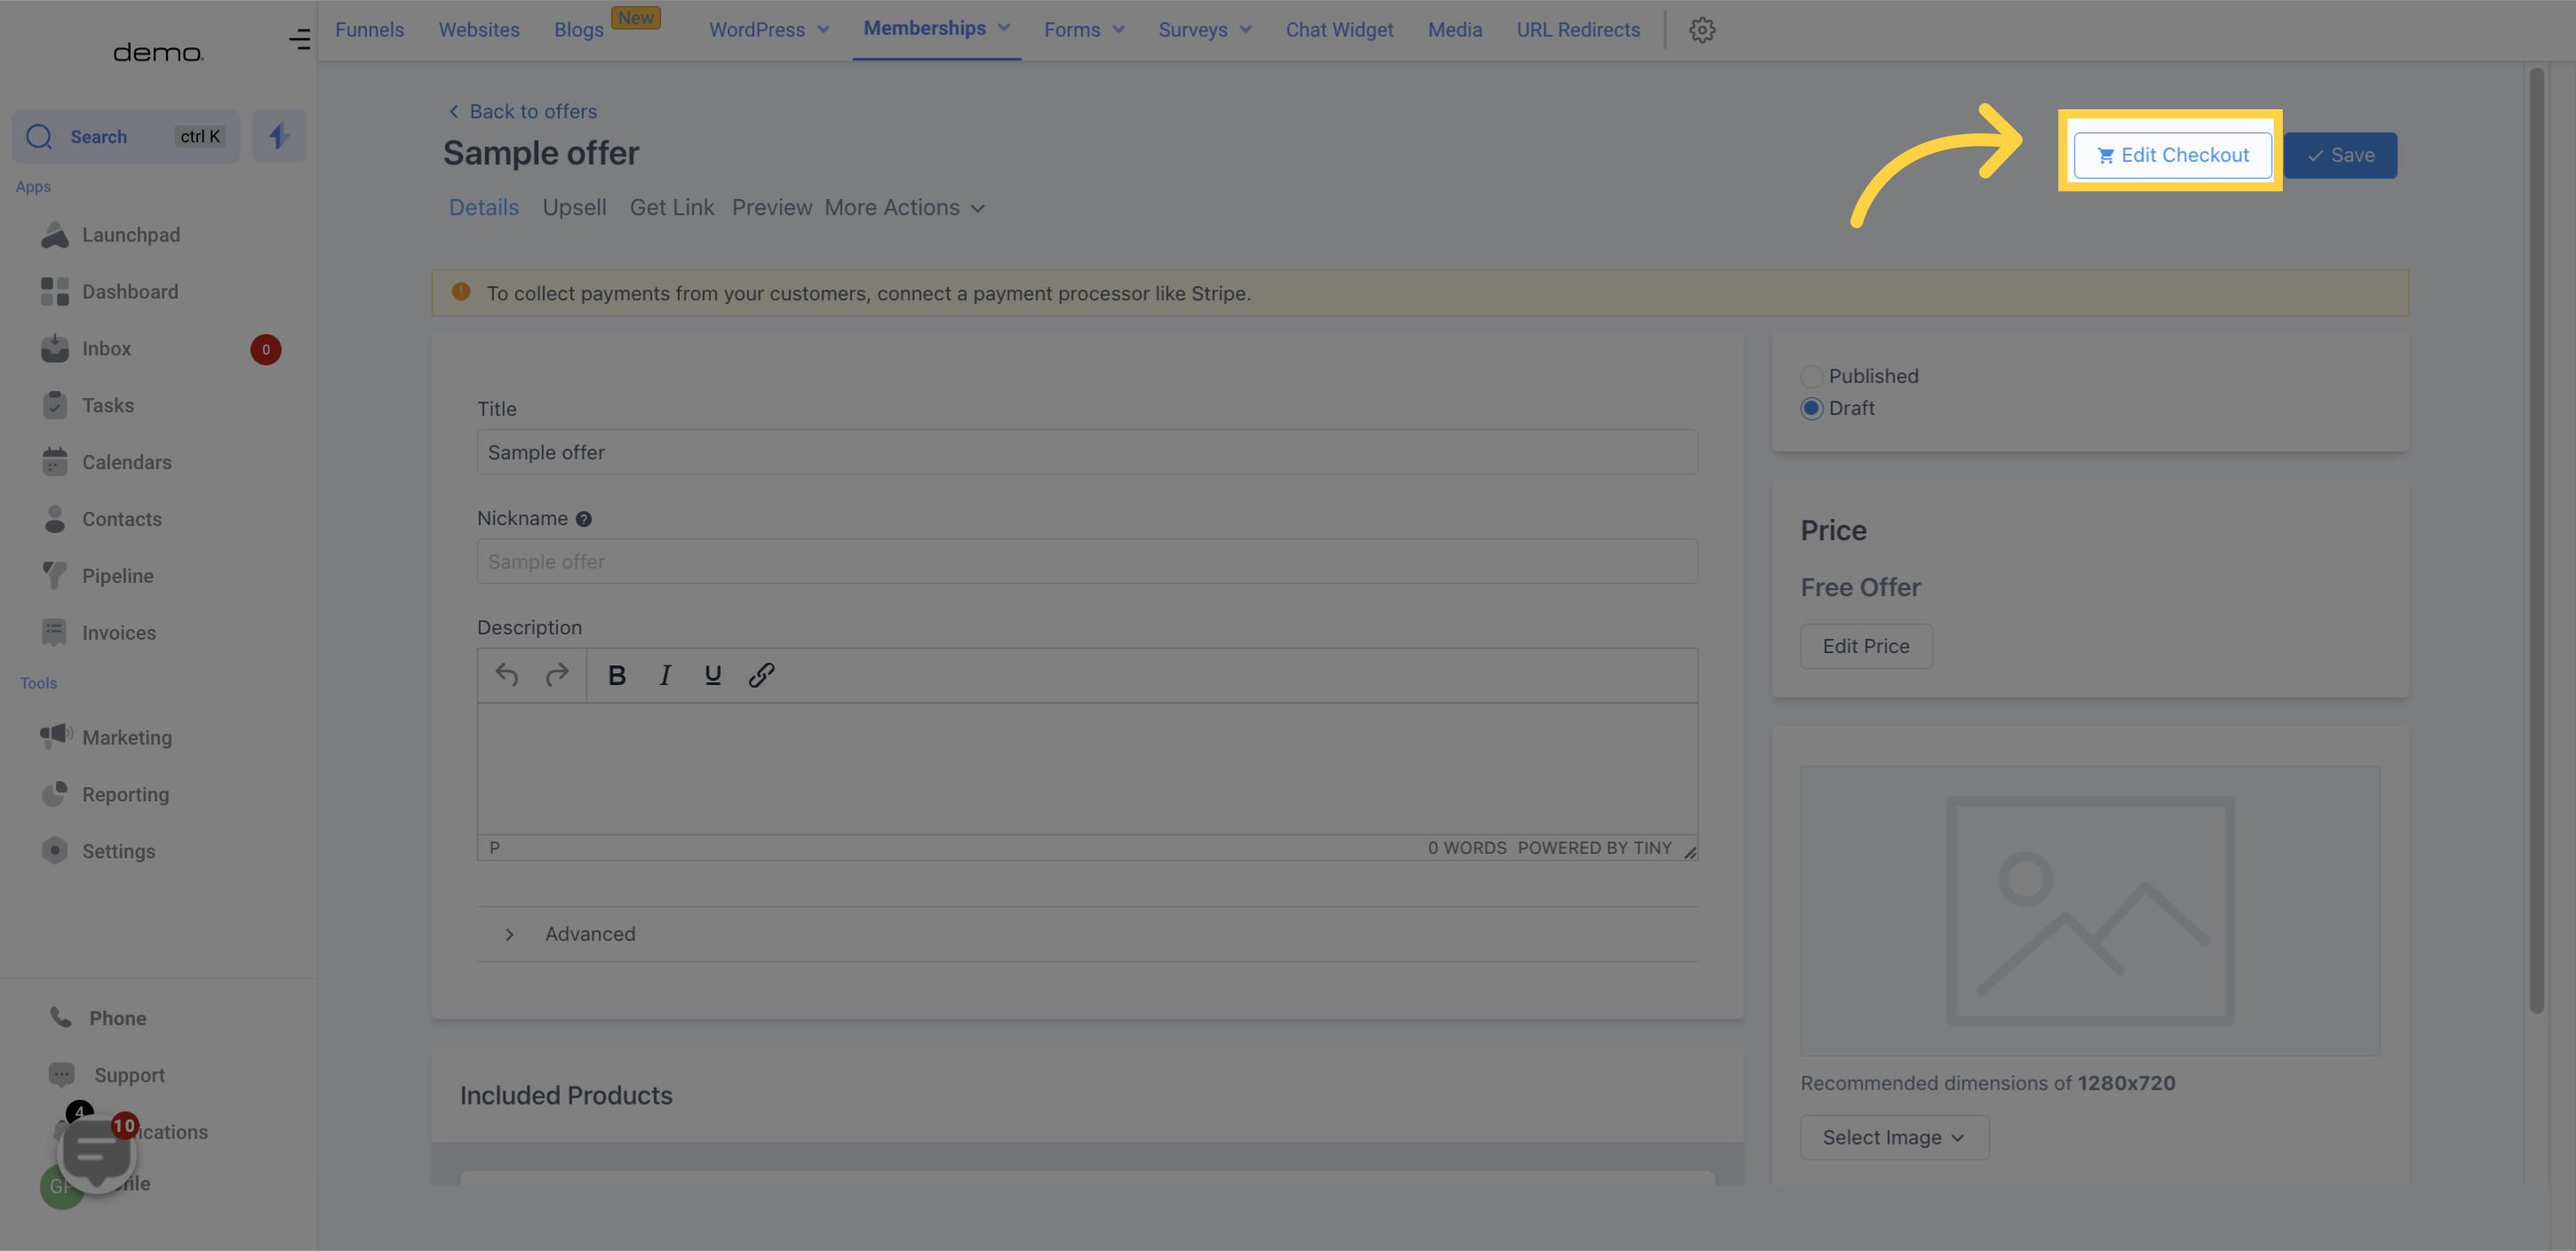
Edit checkout preferences by clicking the "Edit Checkout" button to make changes to the "Offer details", request for additional contact information, and include a "Service Agreement".
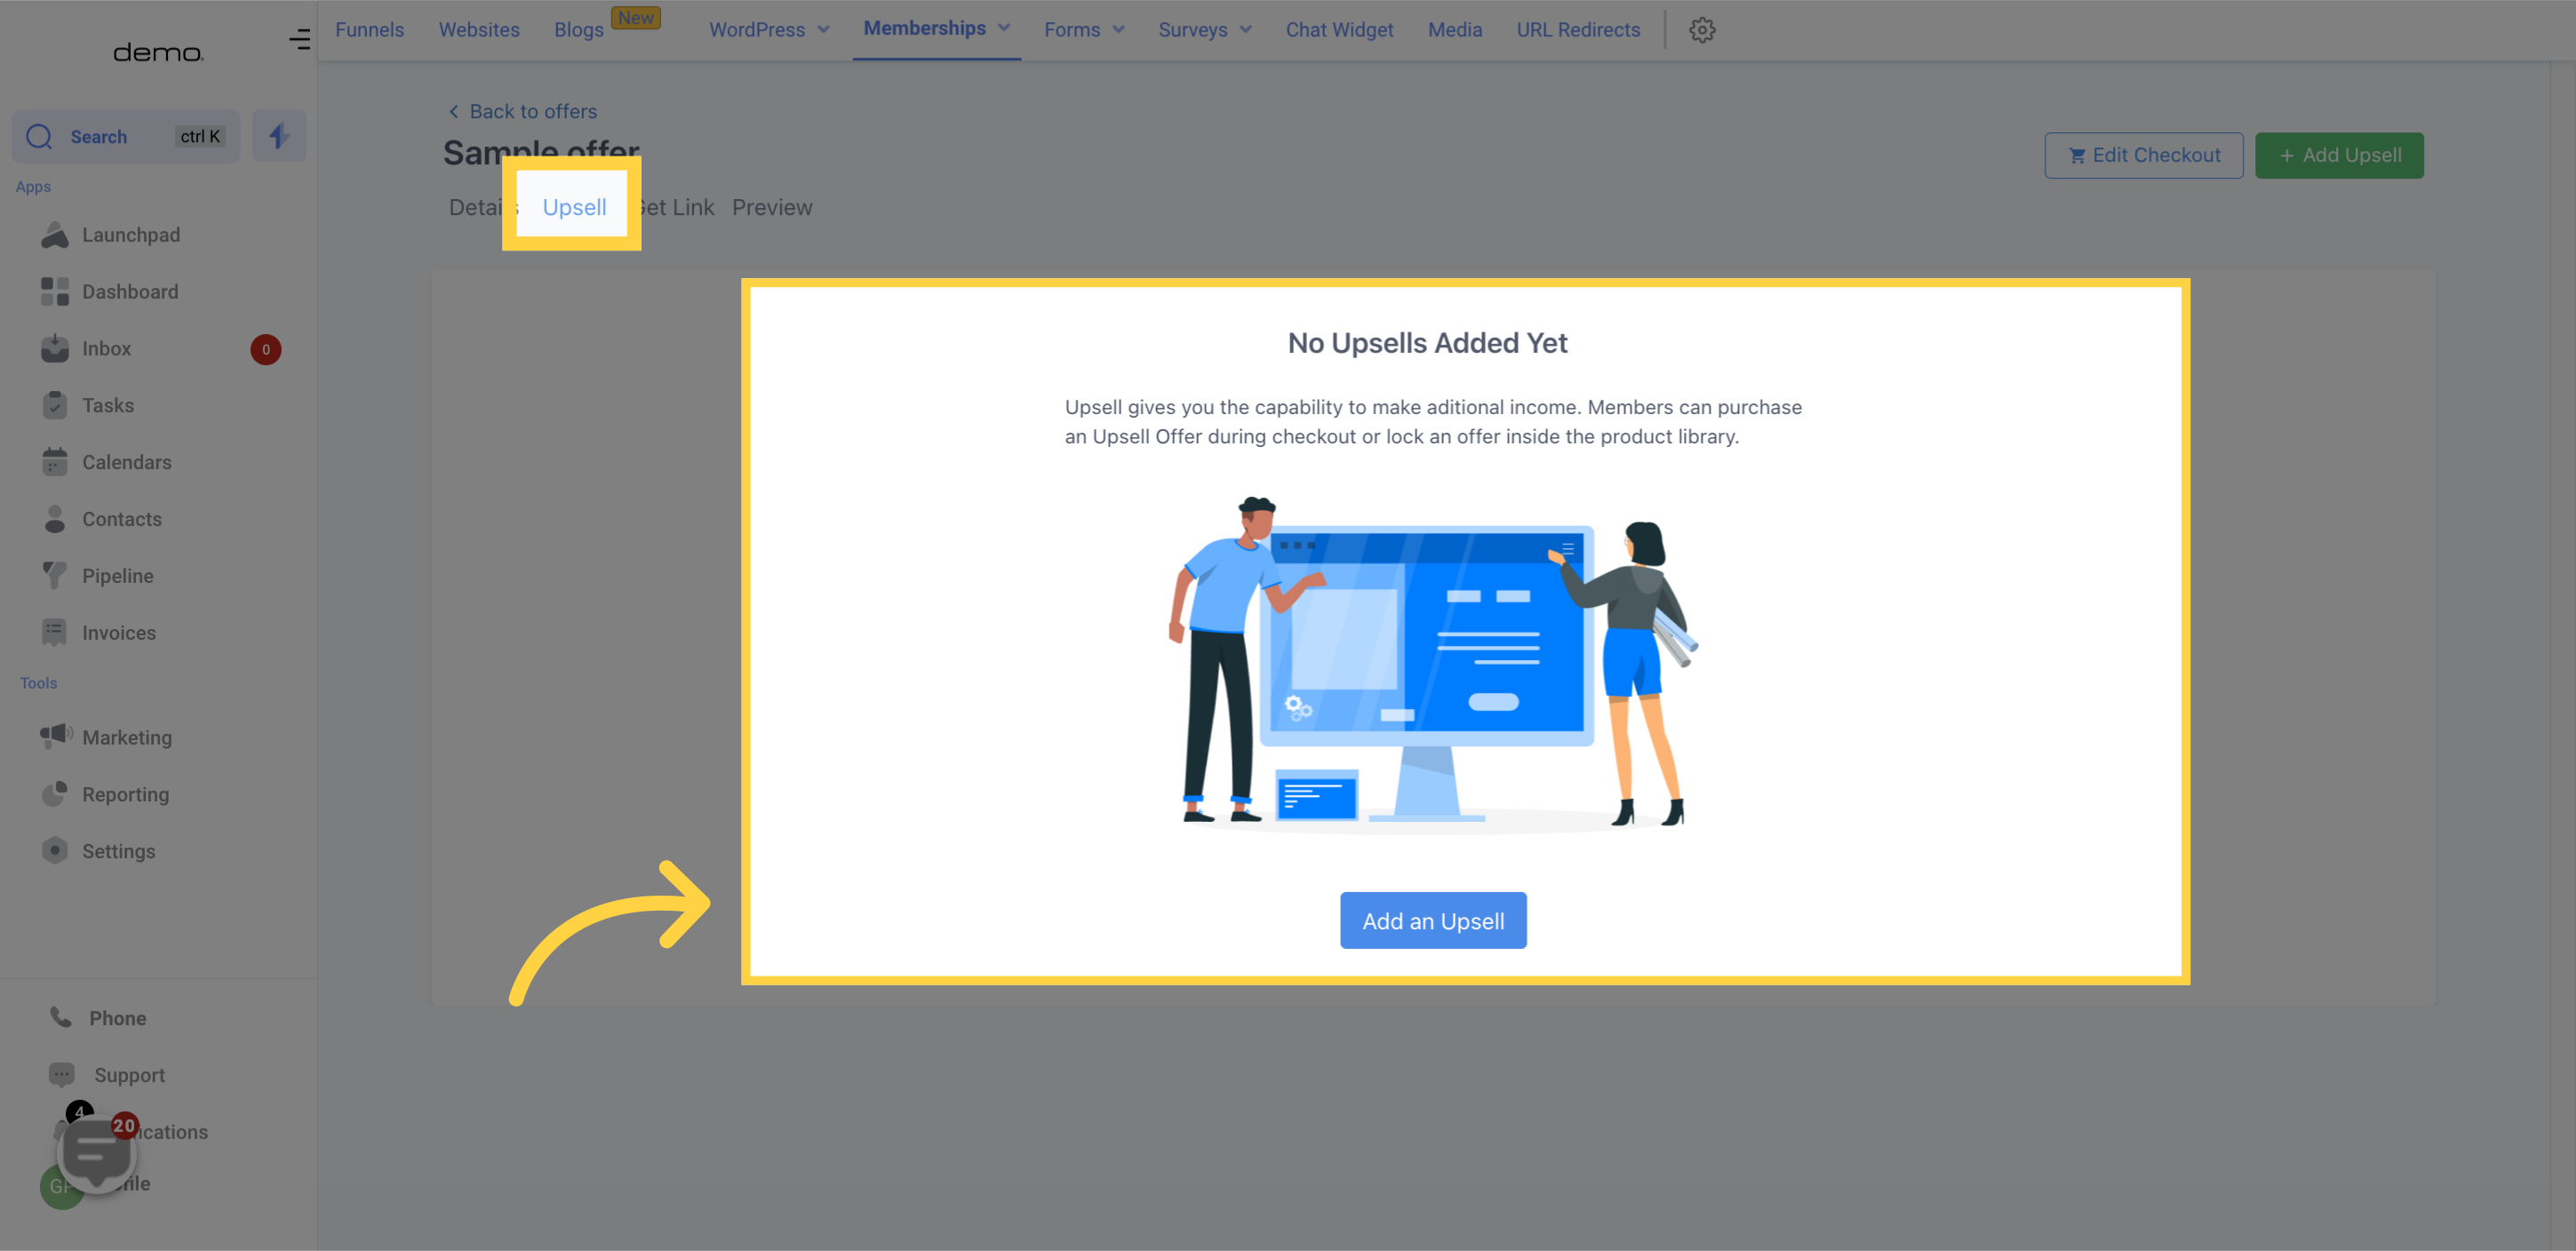
One-click deals can help you earn extra income through upsells immediately following the initial purchase. This allows you to offer an optional product or service that customers can add to their cart during checkout. Once the first offer is bought, the upsell checkout page will appear, and you can click "Add an Upsell" if you wish to add one.
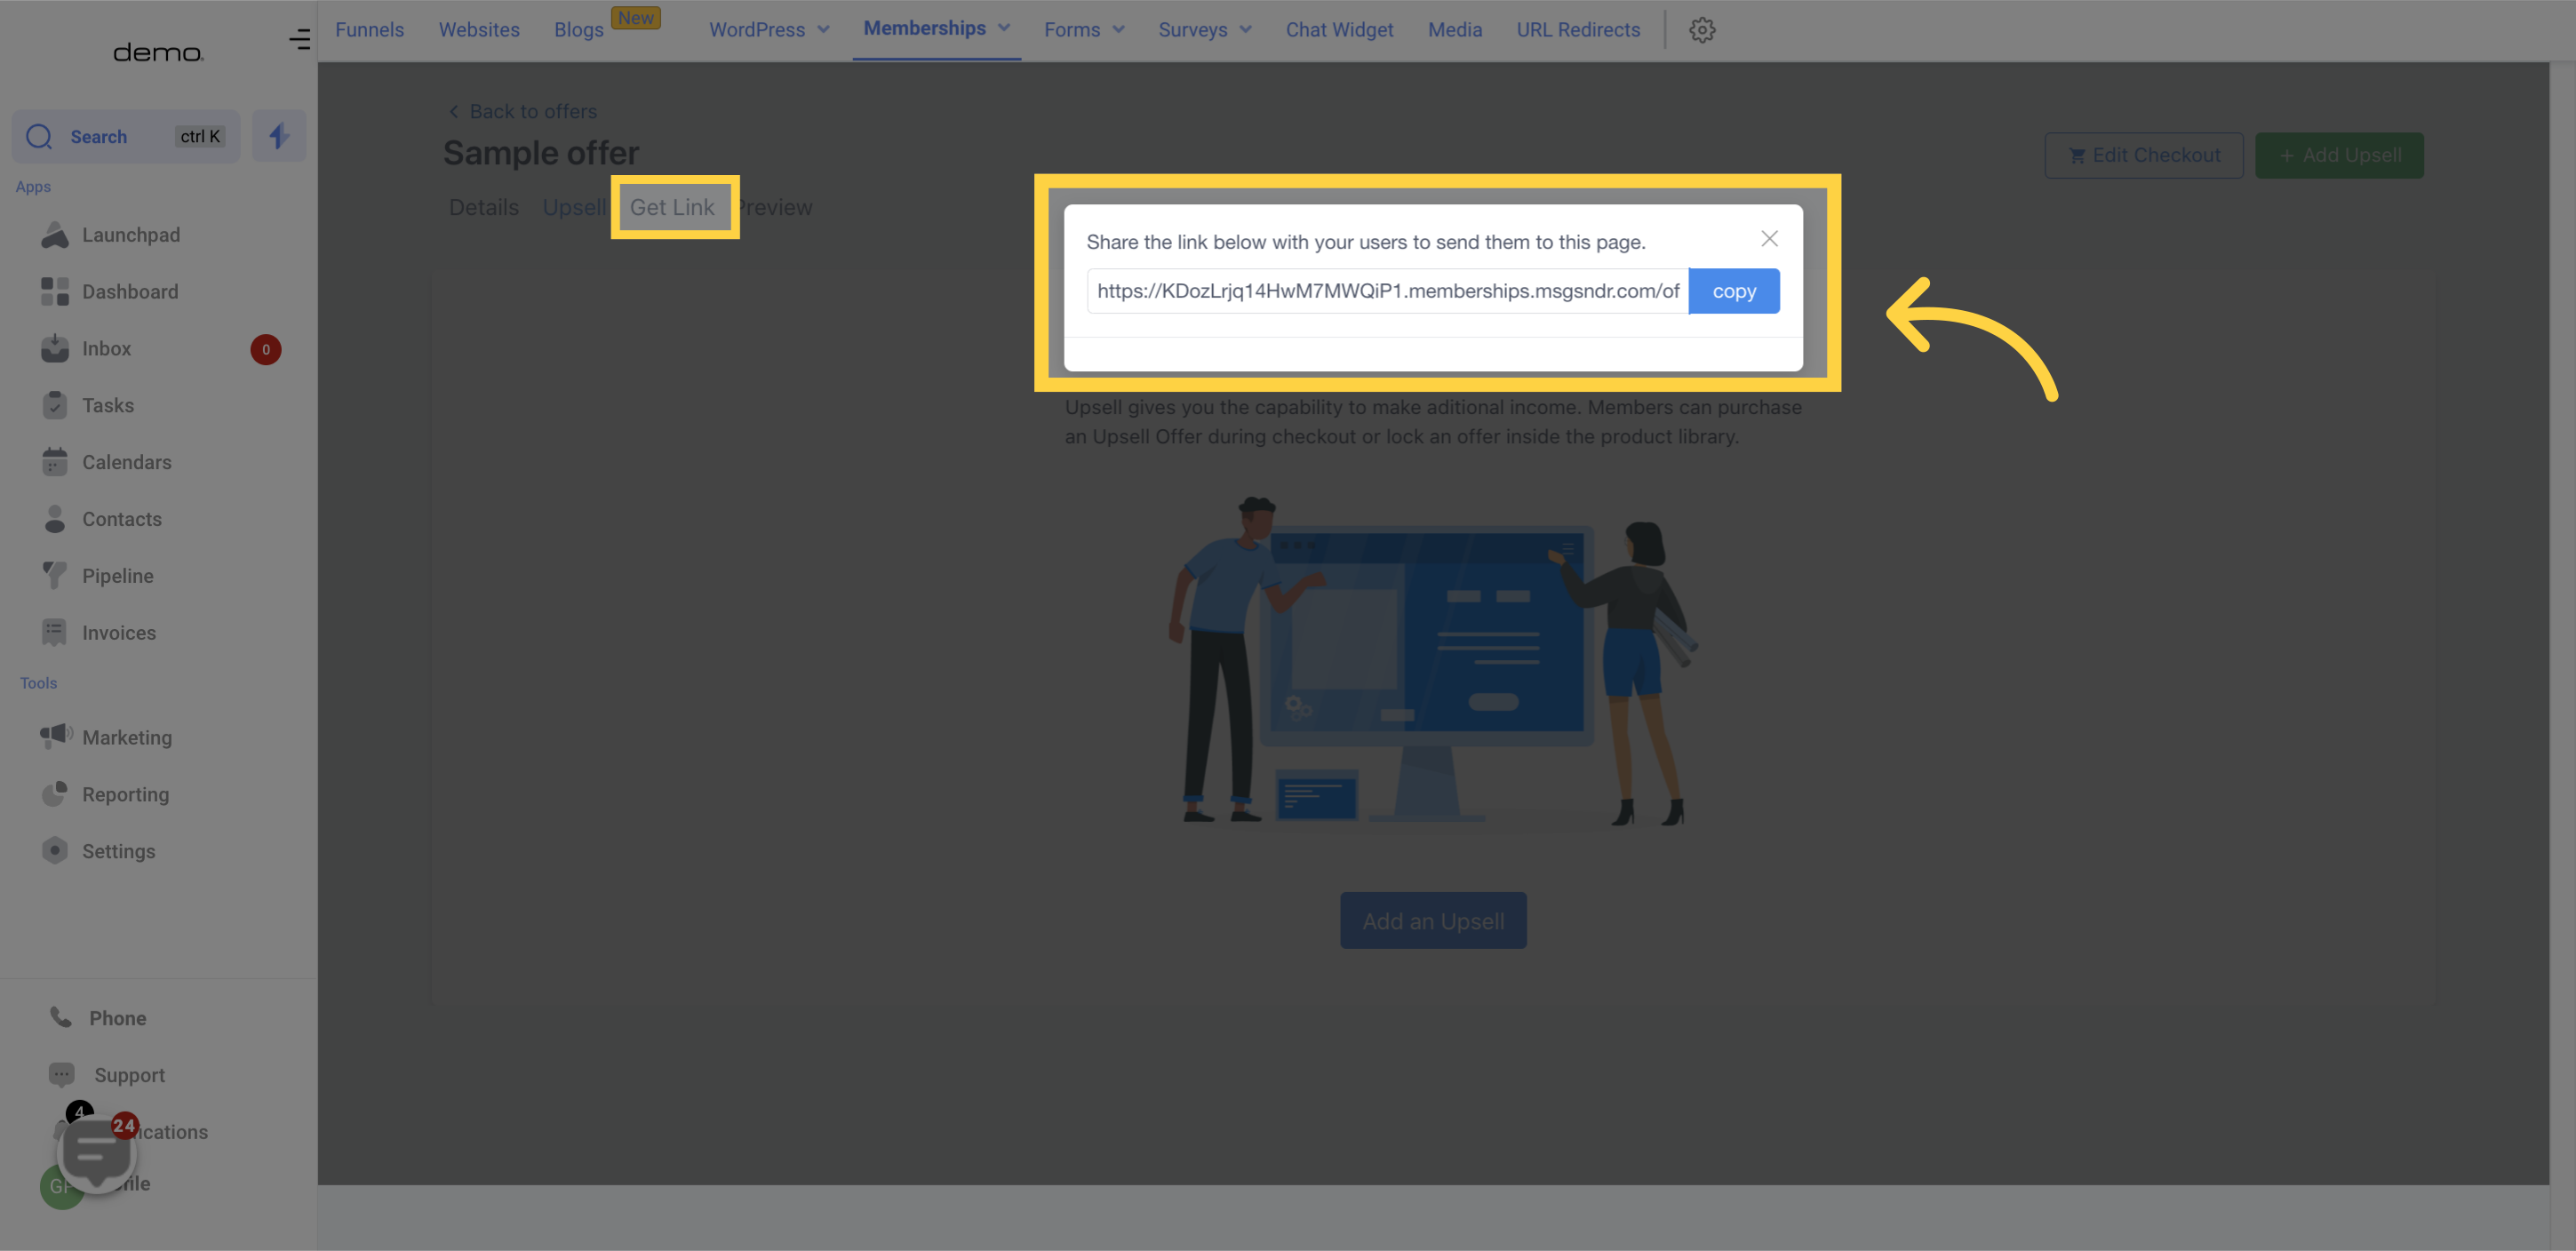
By clicking on the "Get Link" icon and then selecting the "Copy" button, you can easily obtain and share the URL link for a course product.
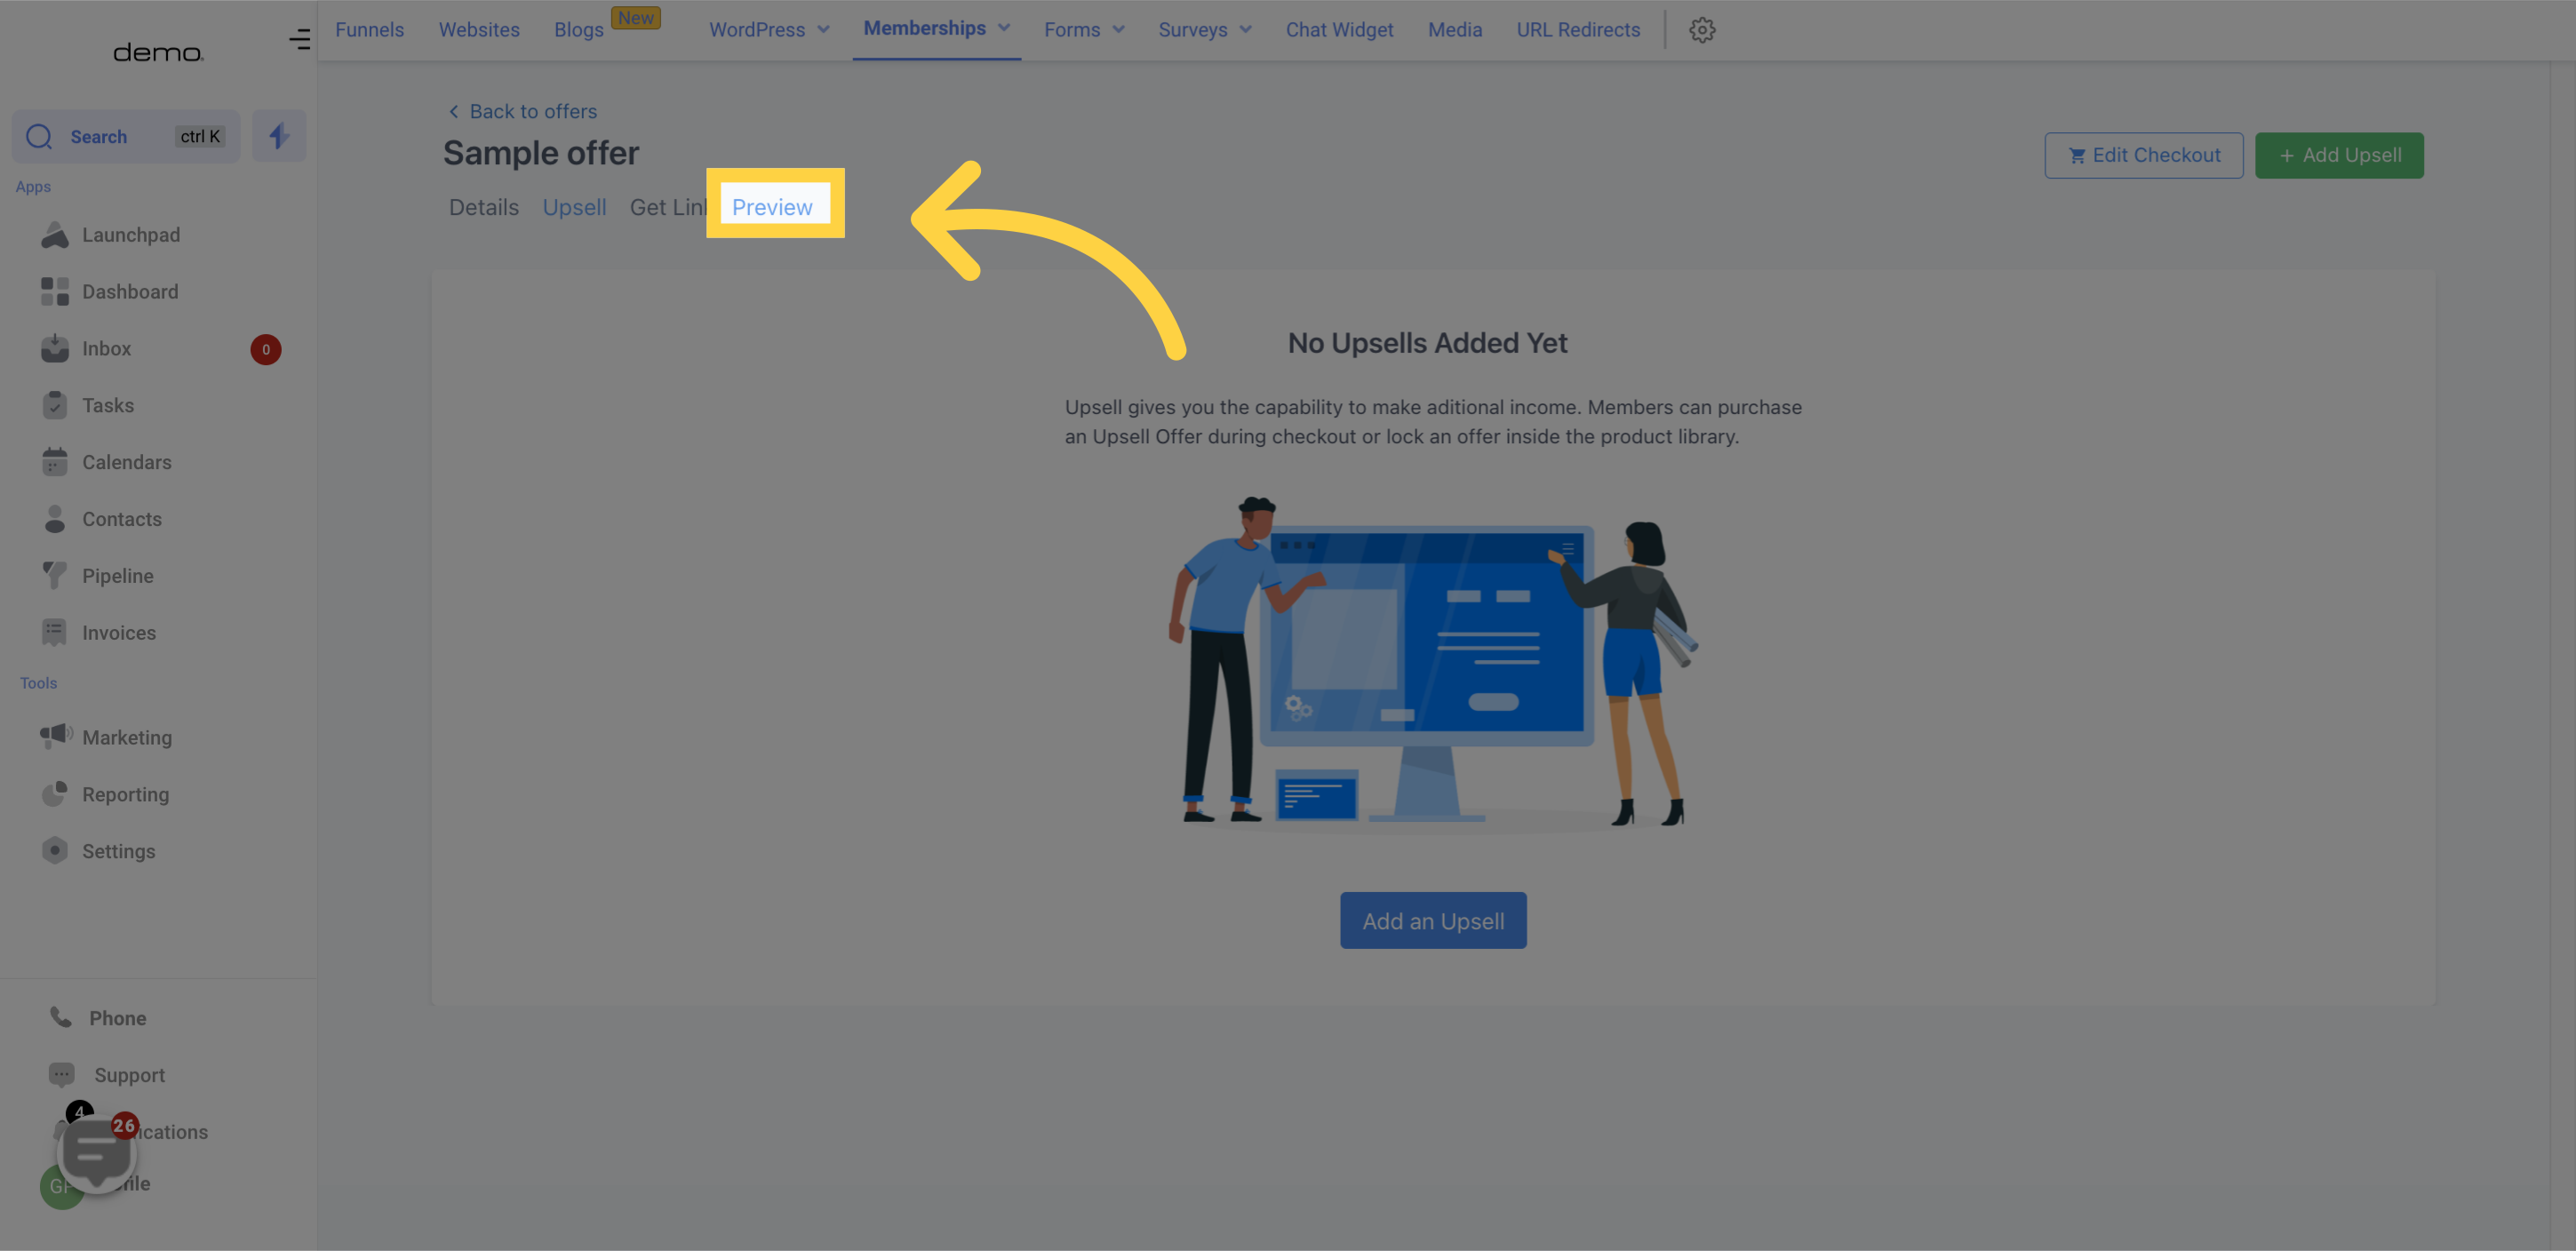
To preview the course you're developing, click on the "Preview" icon and you'll be taken to the preview page.
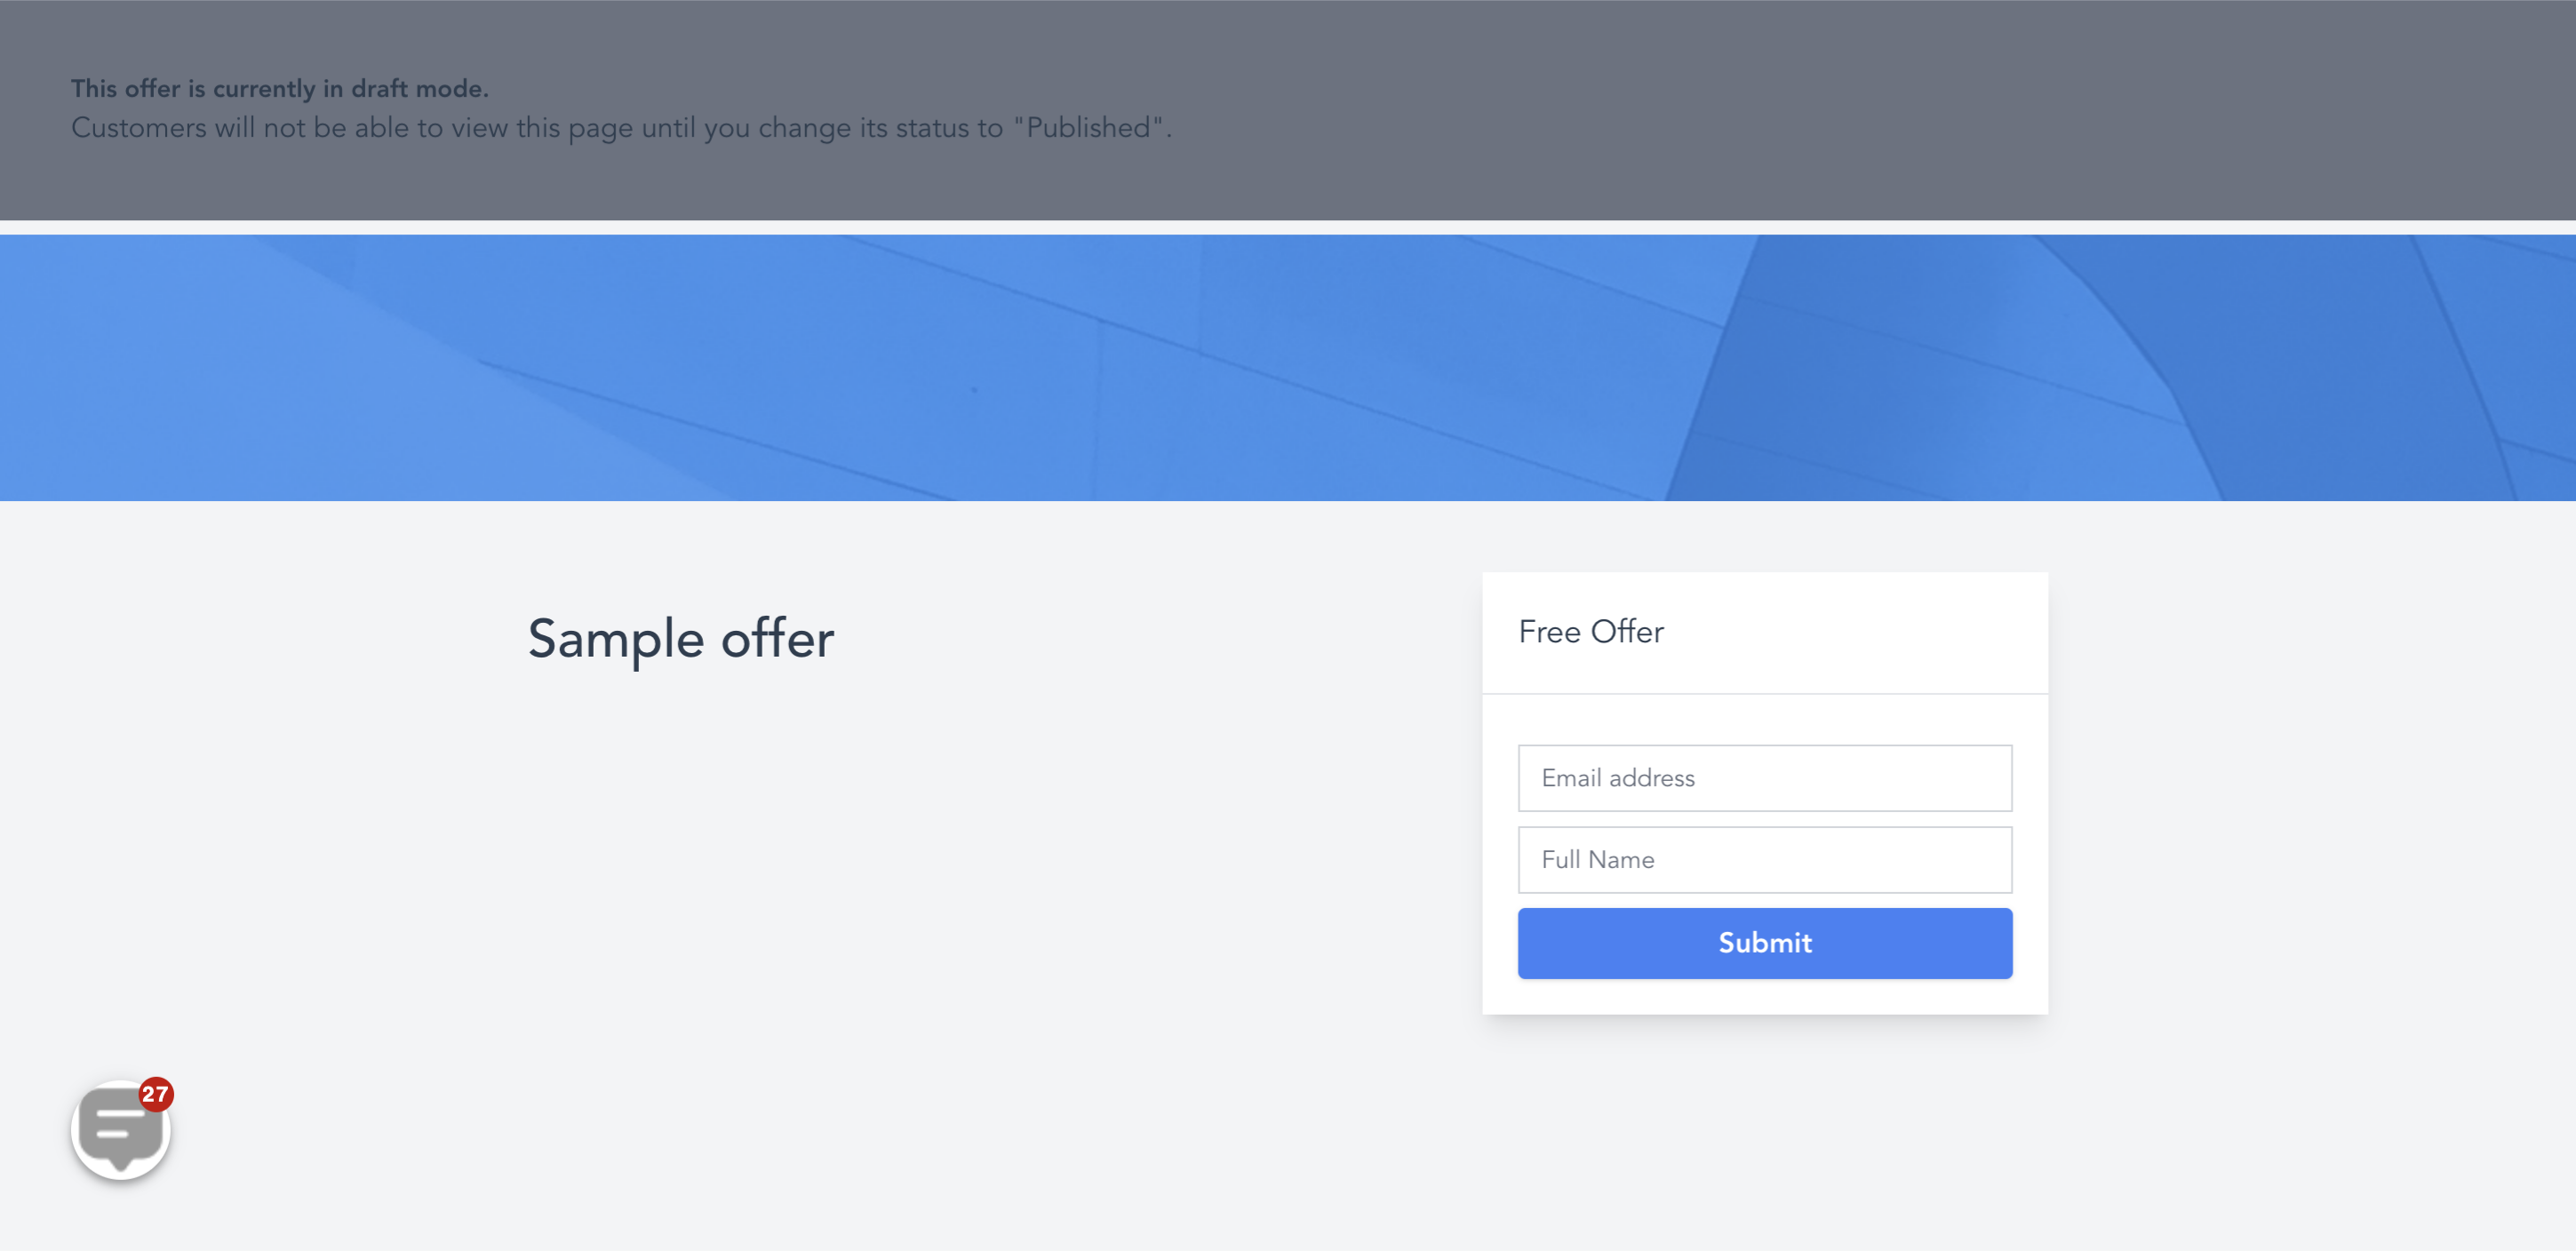
The course product offer's preview page has this appearance.
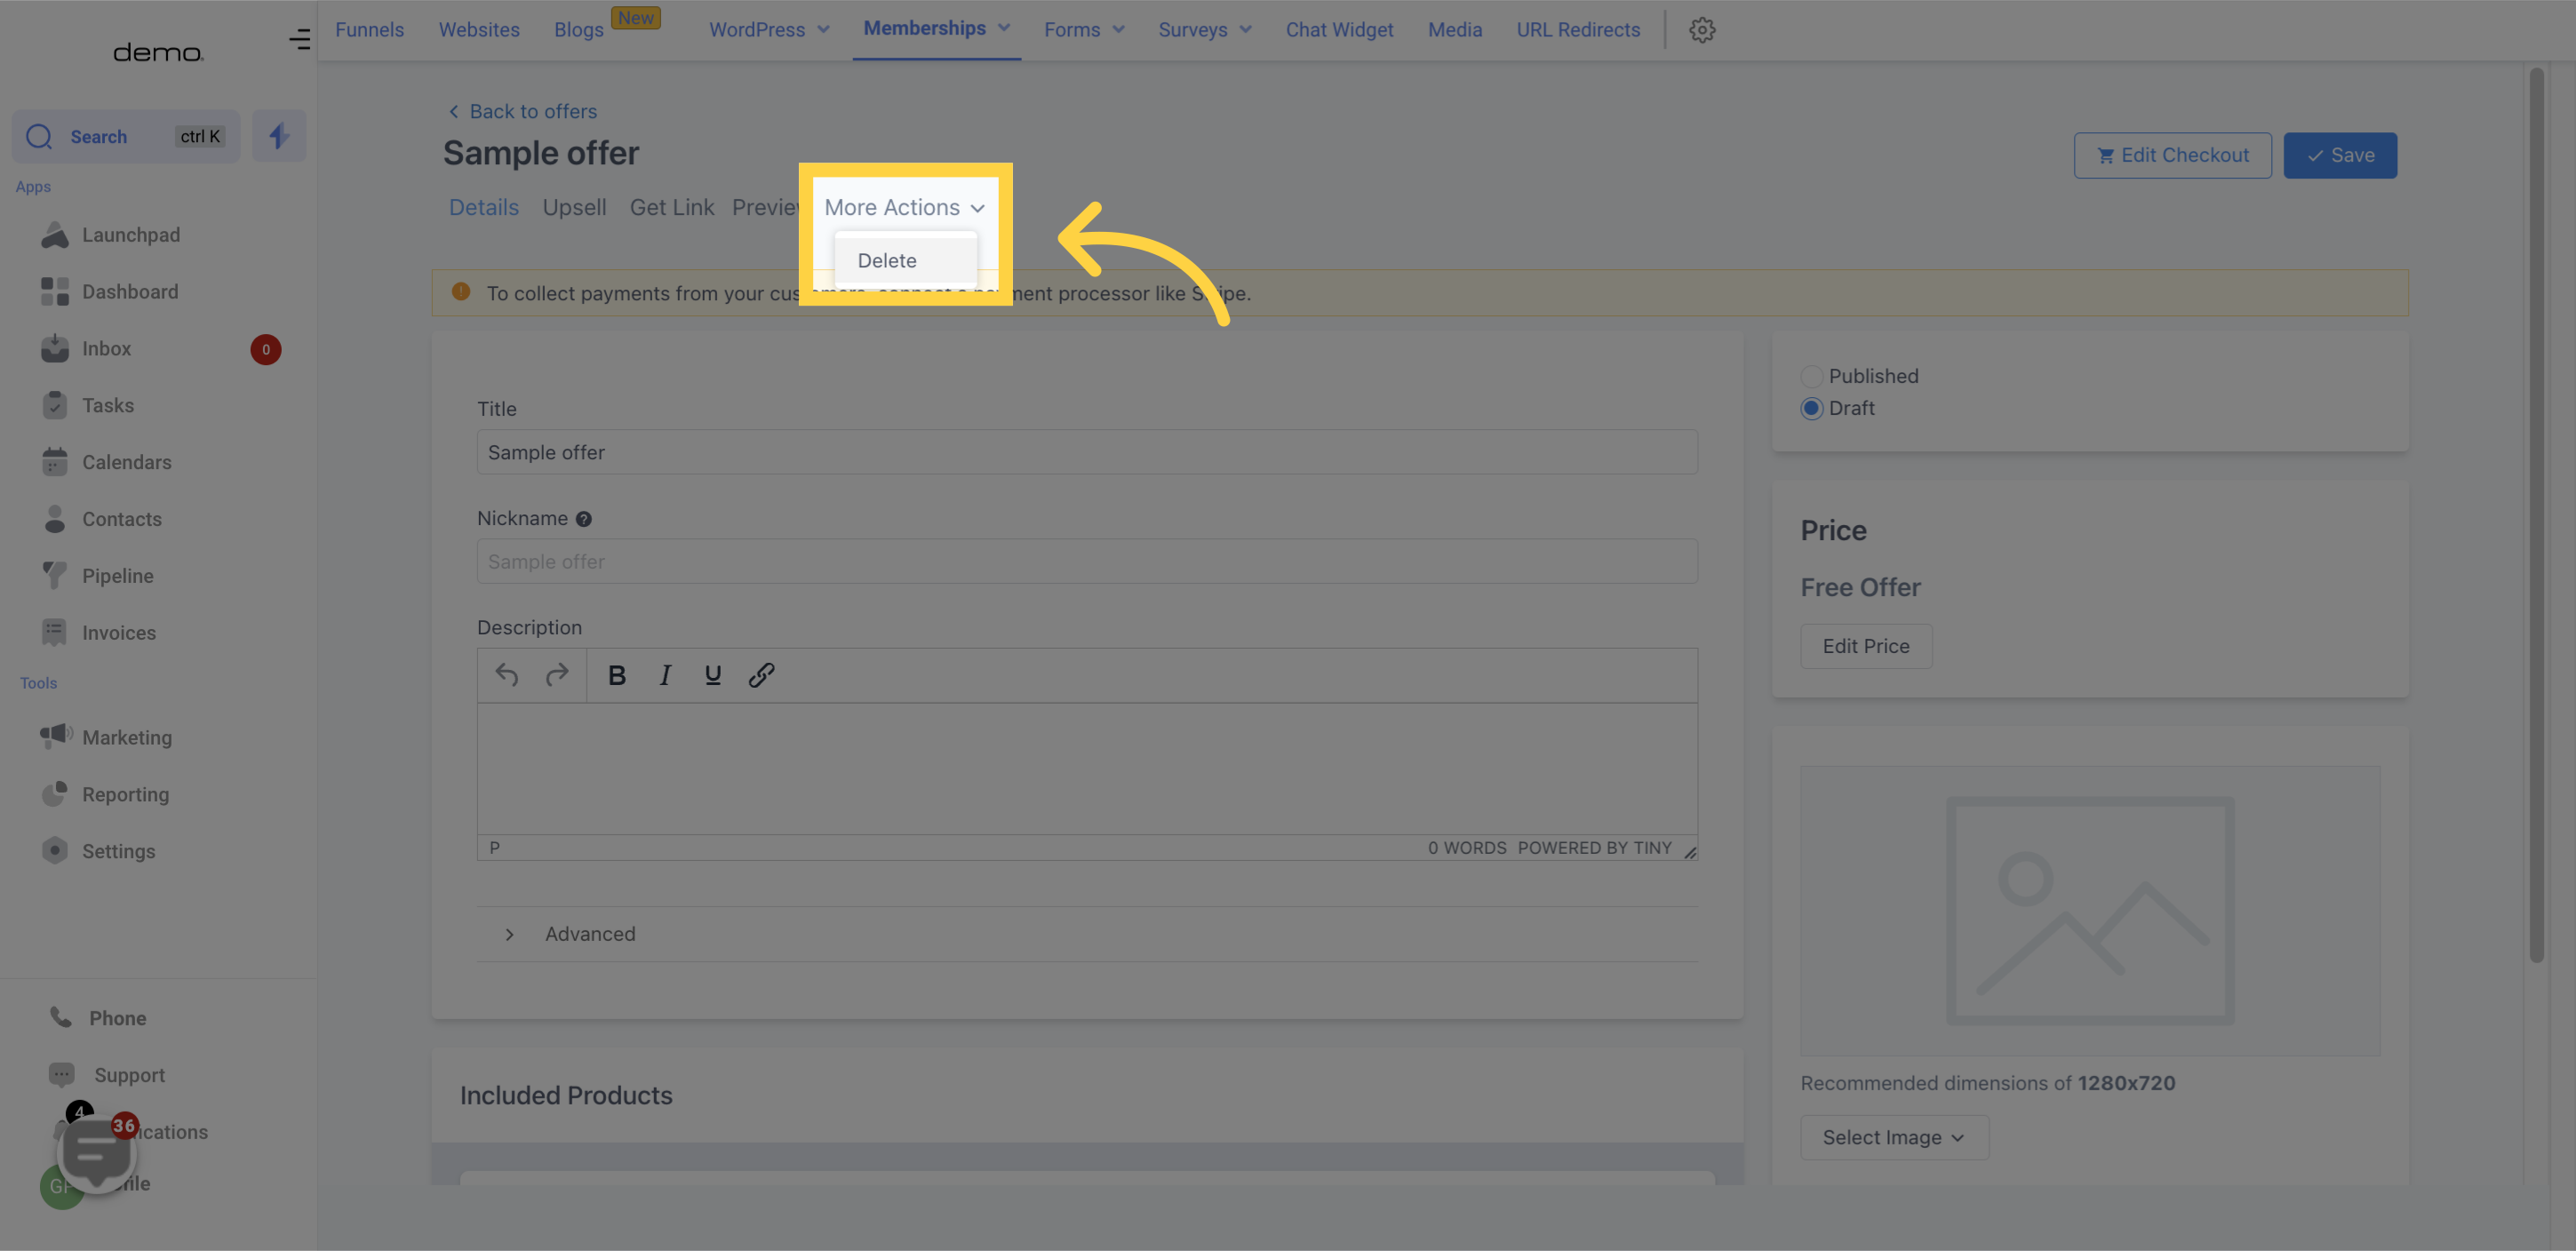
To remove a course product offer, just open the "More Action" menu and select the delete option.