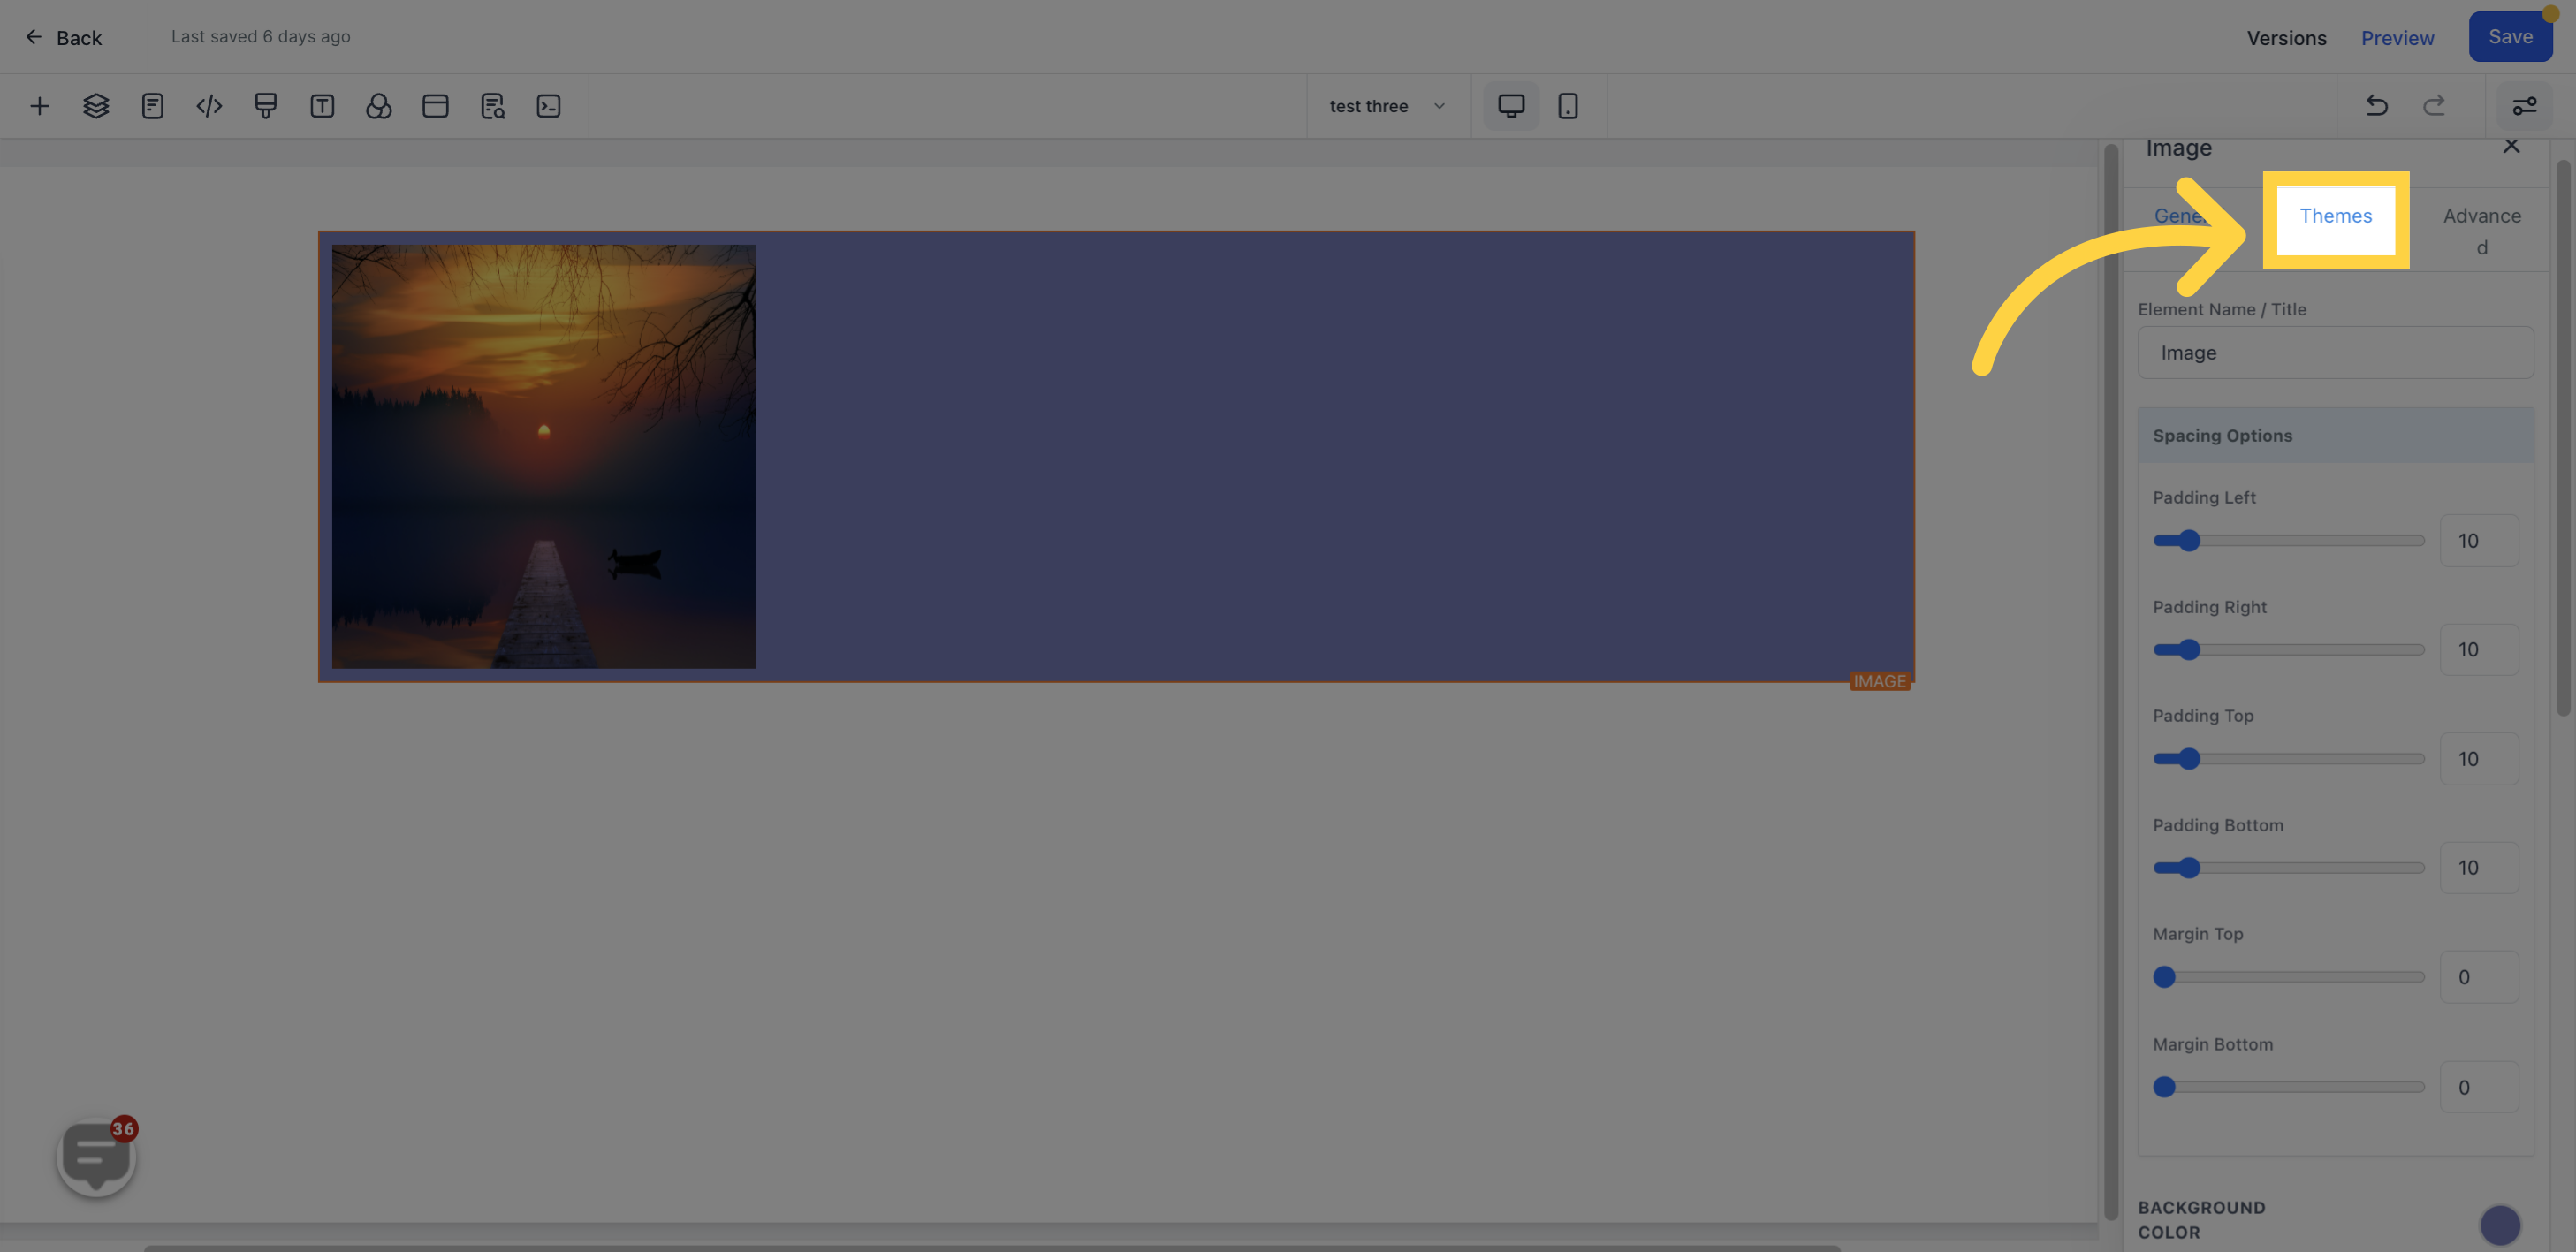
This section displays the default name/title of the Edit option you are currently working on, which can be renamed according to your preference.

The four different toggle bars for Padding Left, Right, Top, and Bottom allow you to move the content in the desired direction.
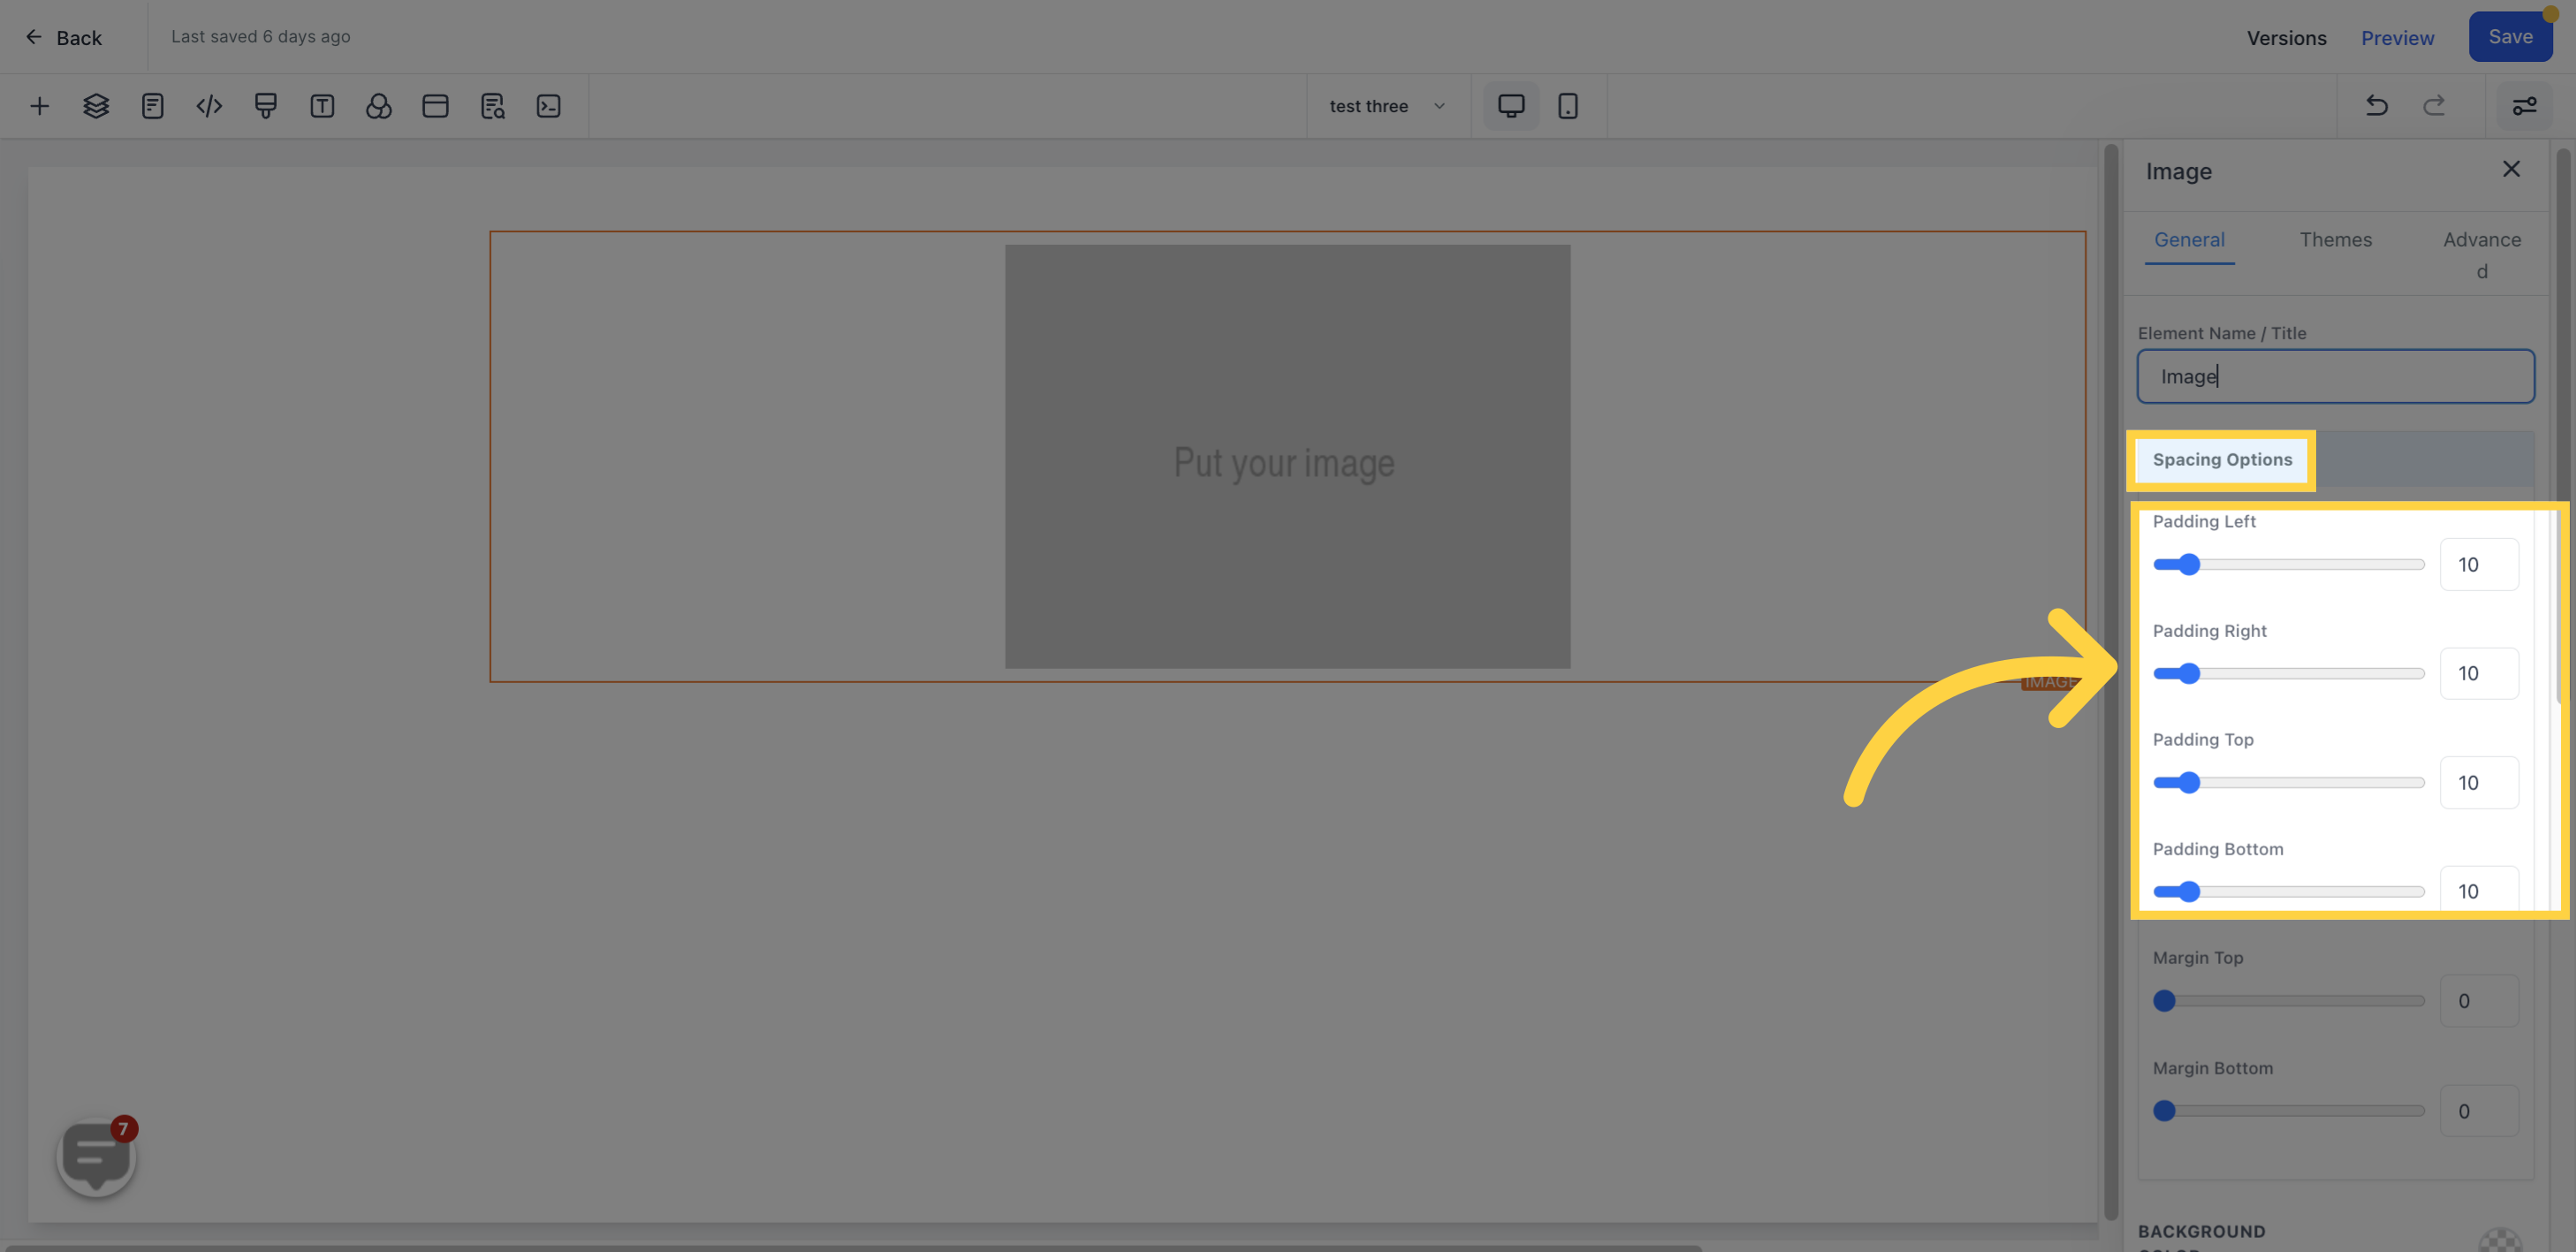
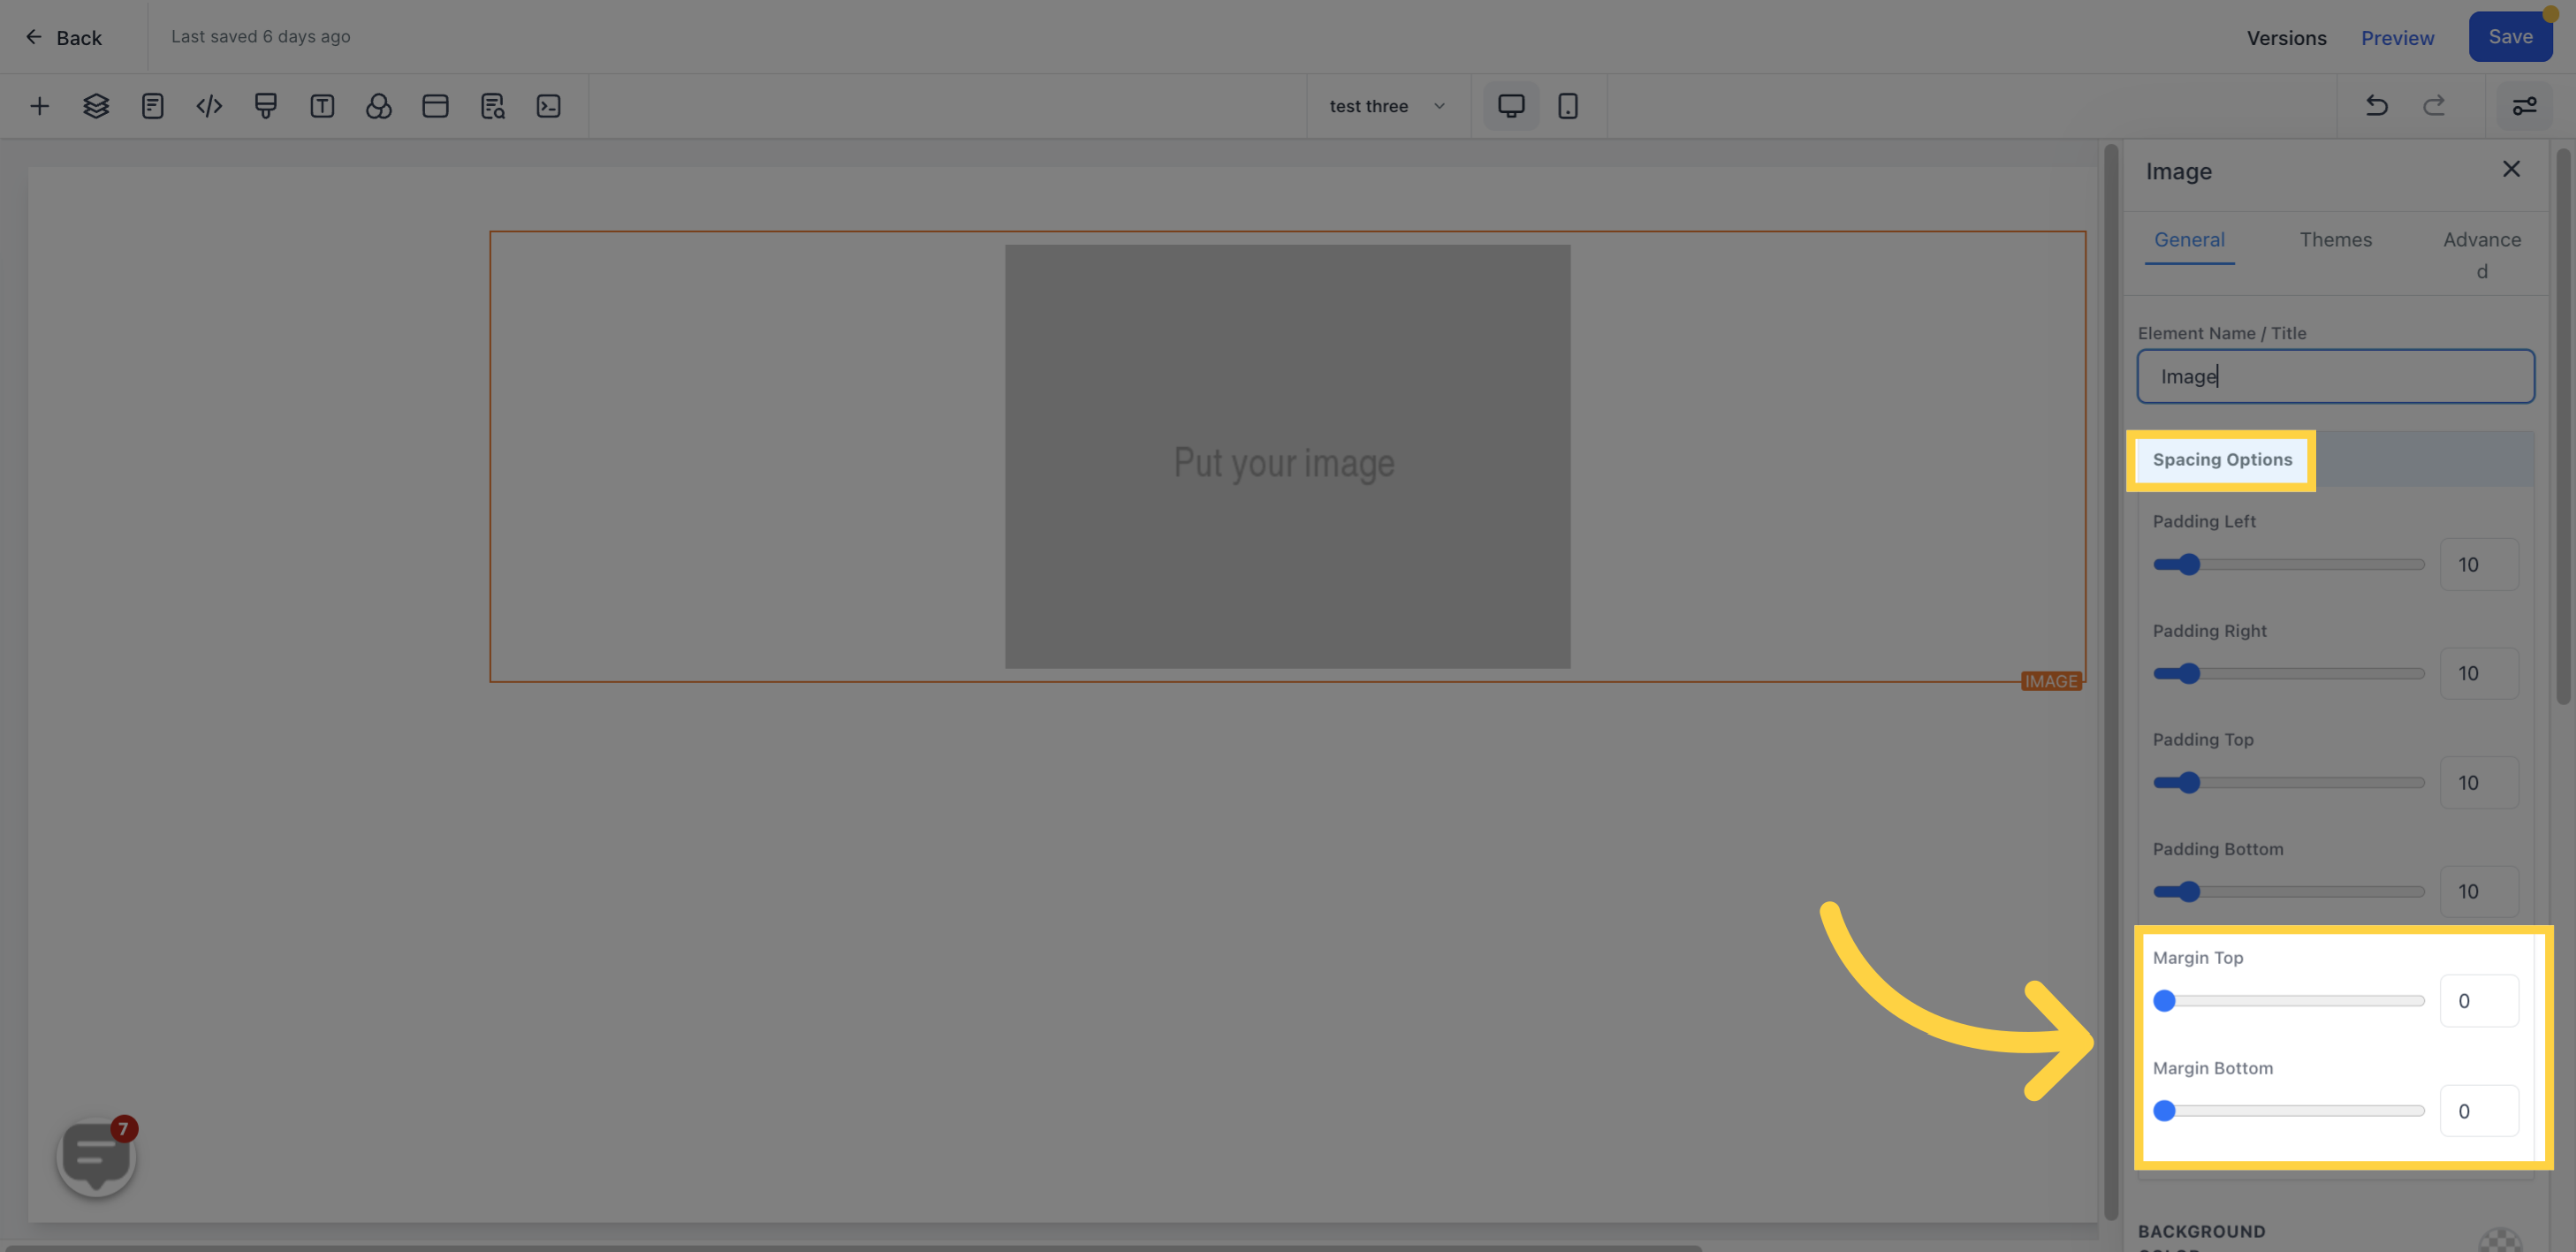
Margin Top and Bottom can be adjusted using toggle bars as well.
By clicking on the content whose background color needs adjustment, you can easily change its color.

This option lets you control the extent to which your text/content fades in each element box. The opacity ranges from None, Light, Half, to Heavy fade.
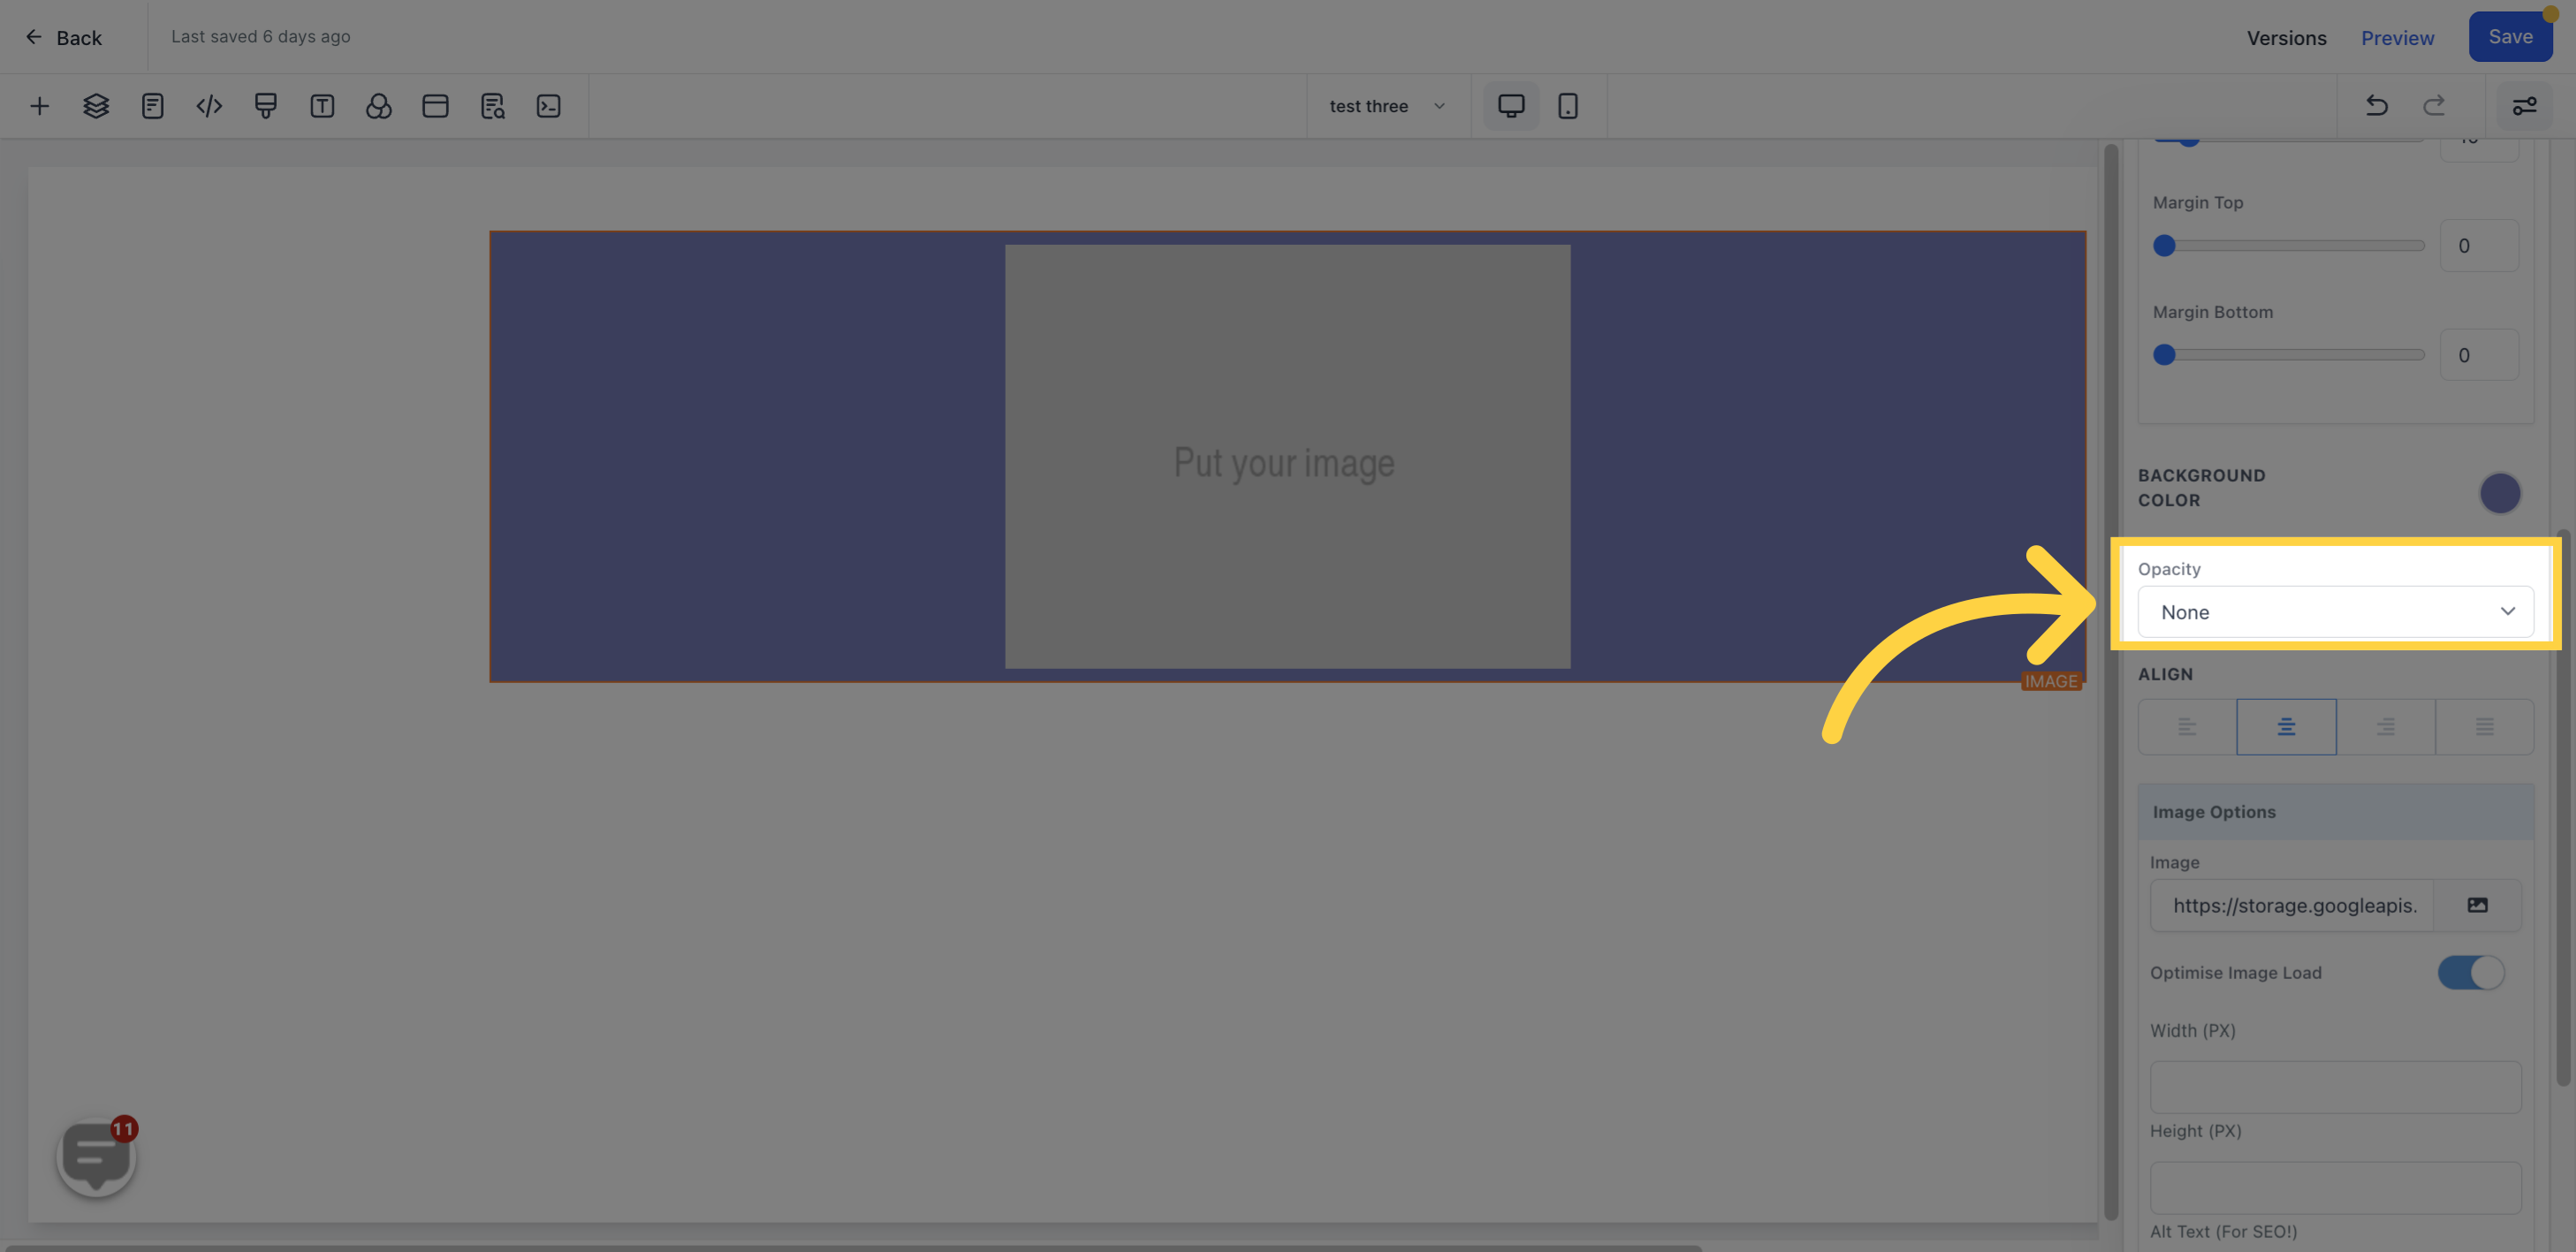
You can position your text in different ways, including Left, Center, Right, or Justified.
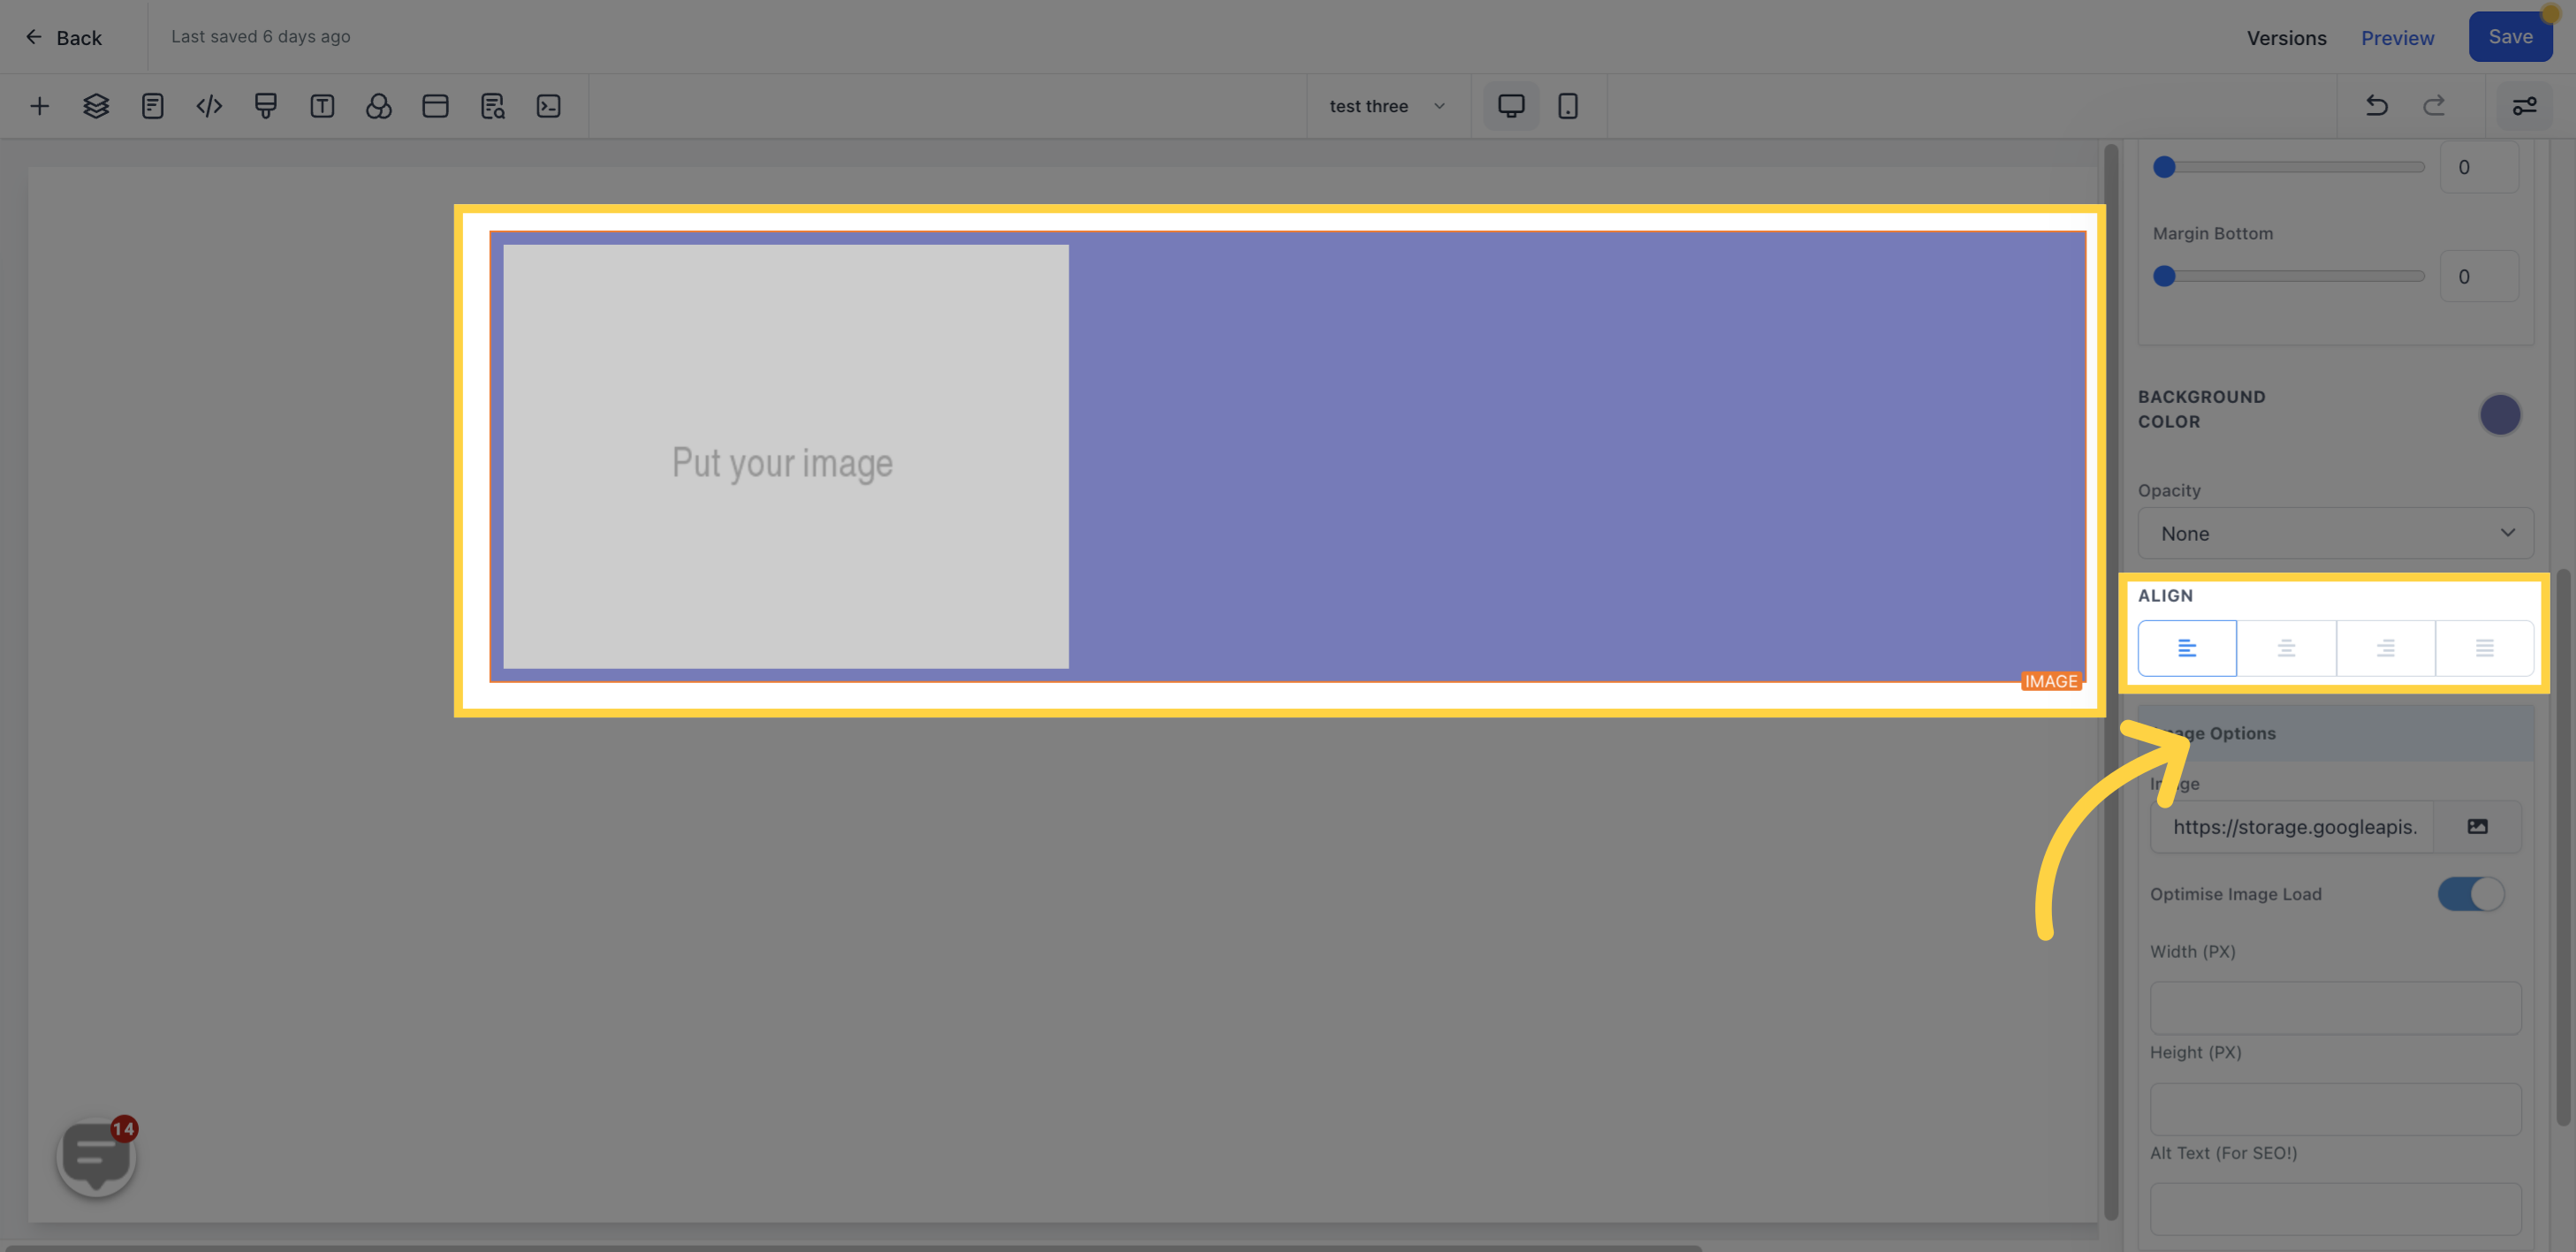
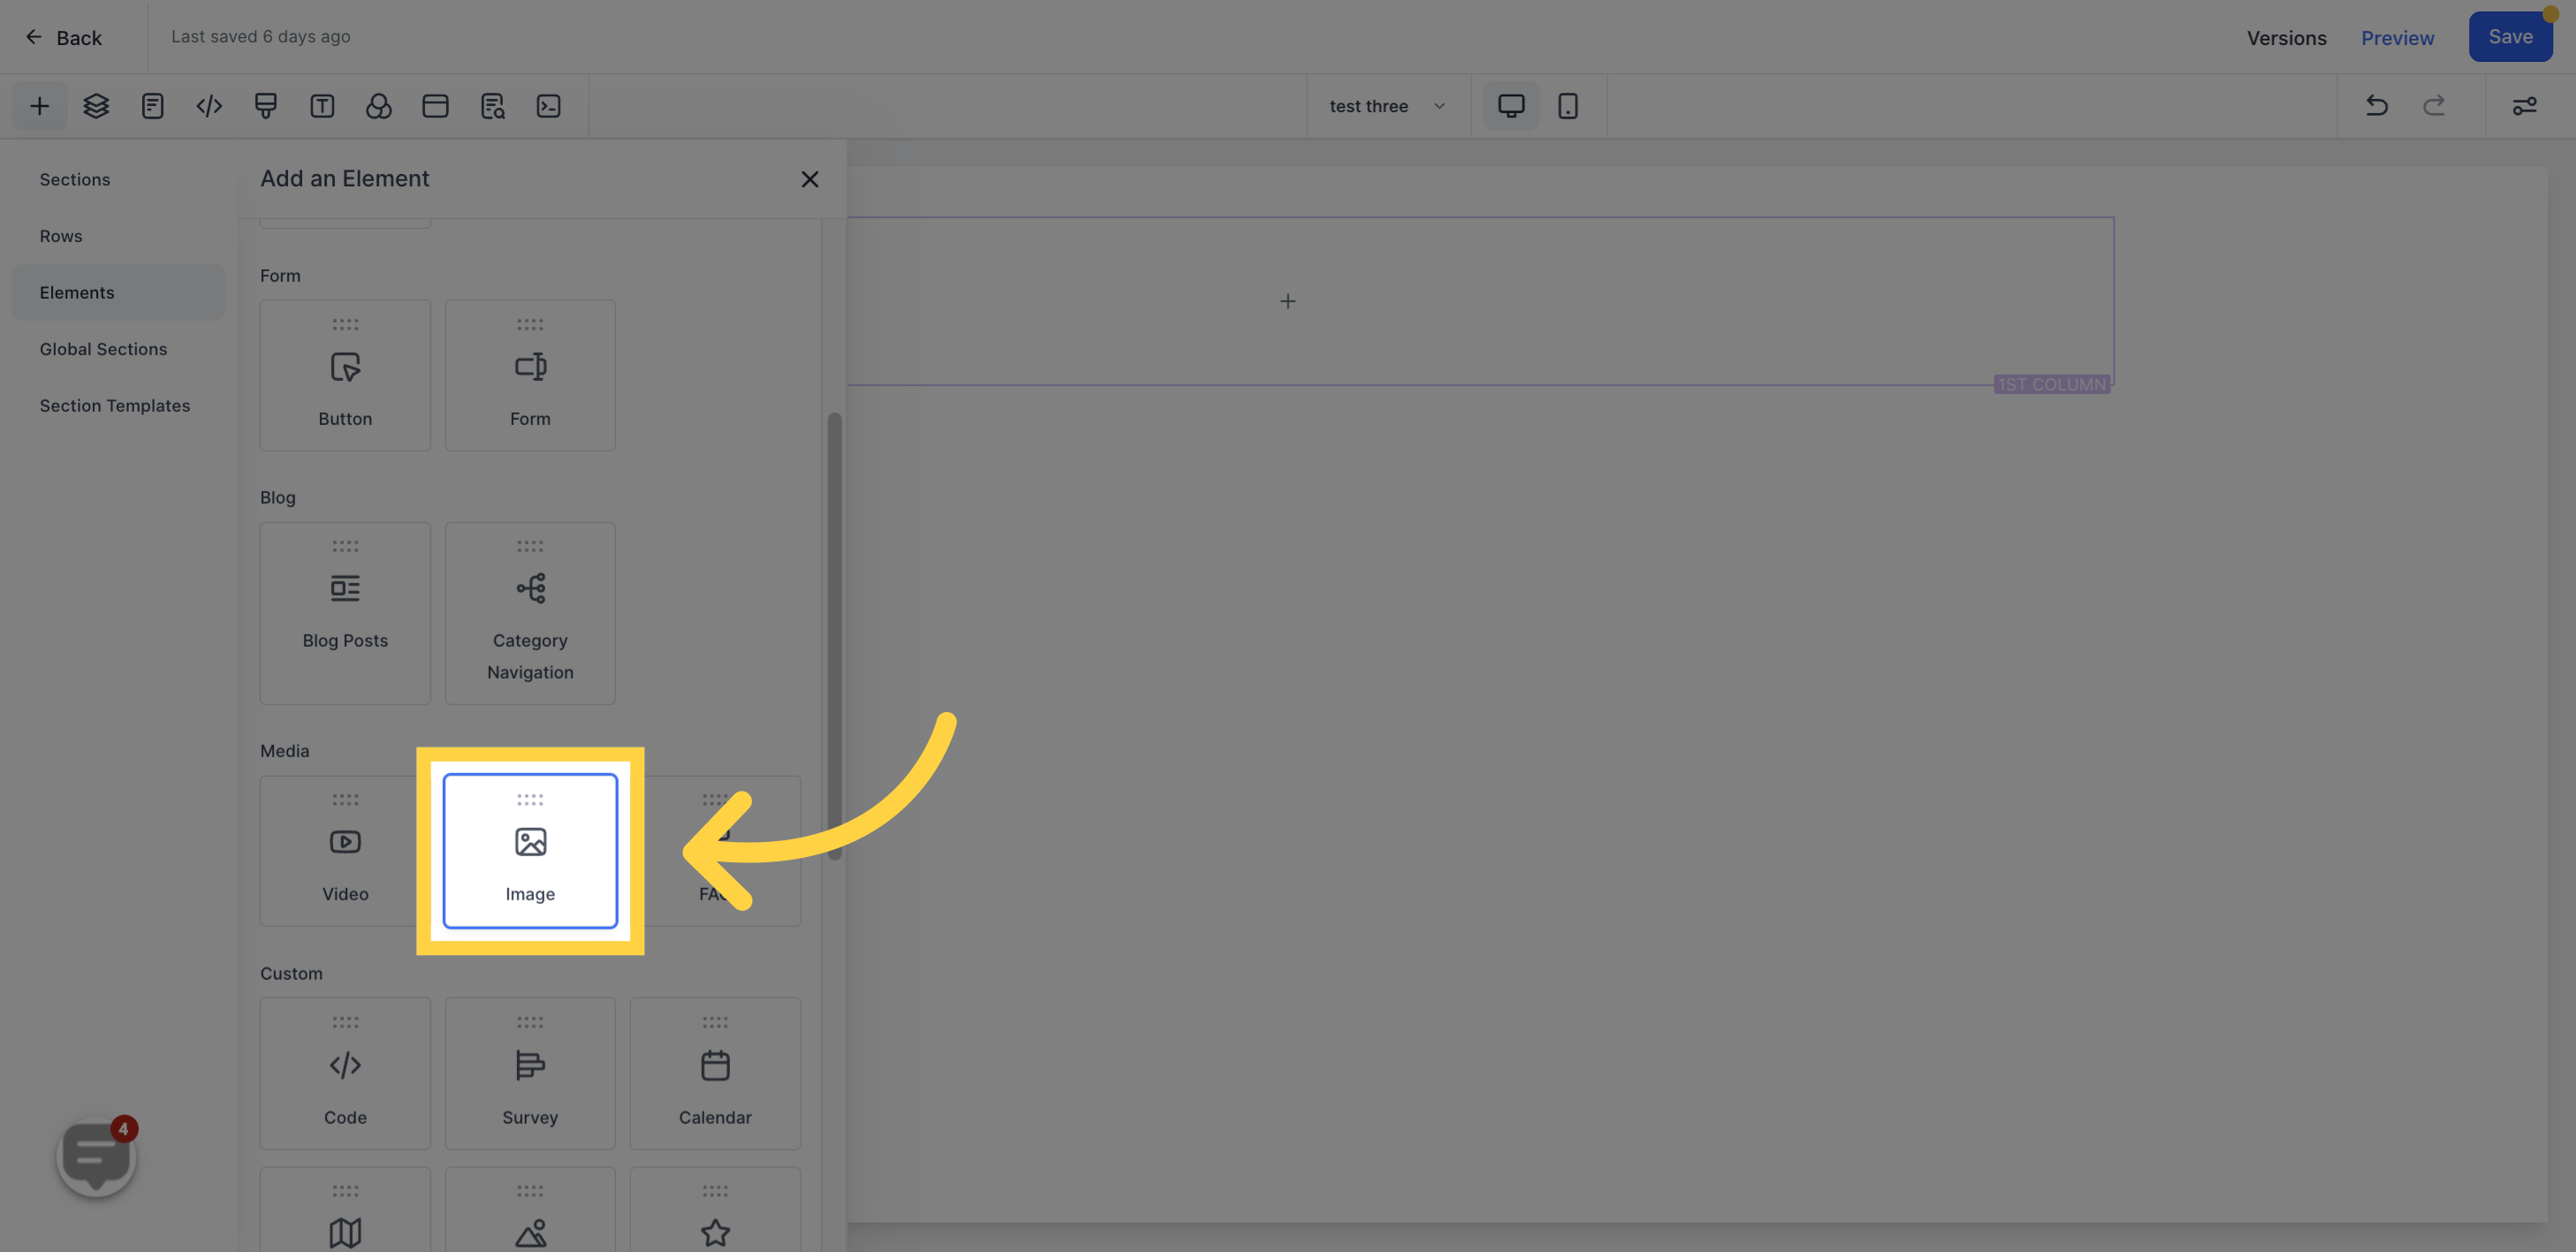
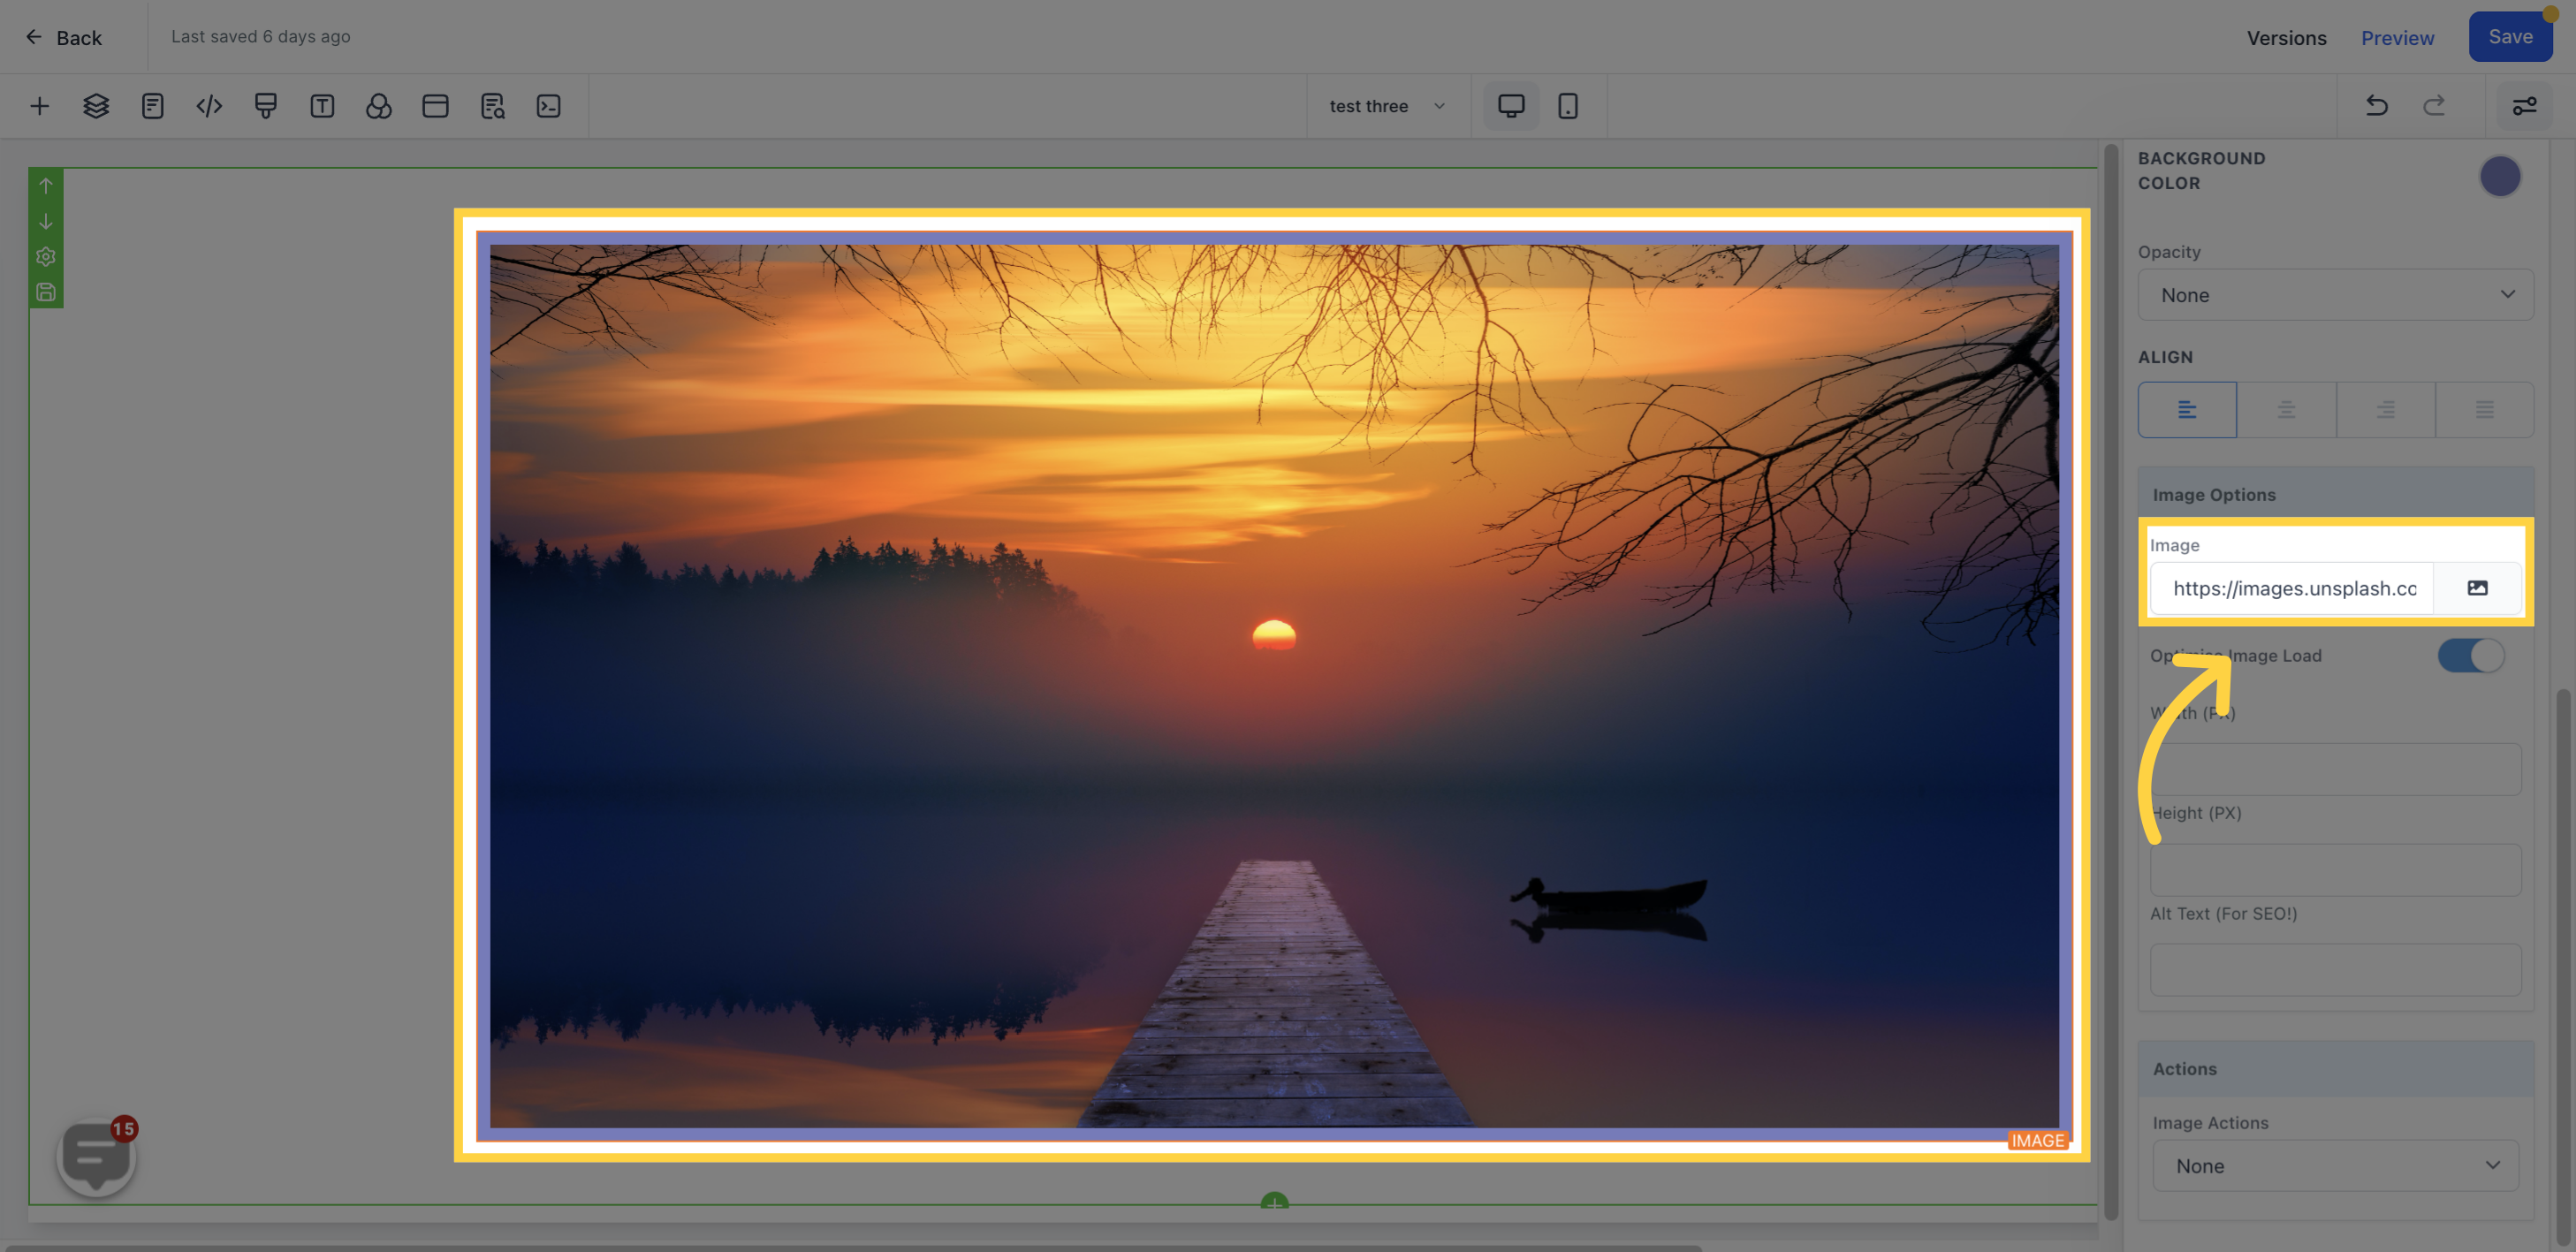
To add an image, click on the image icon and upload it from your storage page. Once the image is uploaded, copy the URL by clicking on the "copy to clipboard" icon. Paste the URL in the editor's space, and the image will appear.
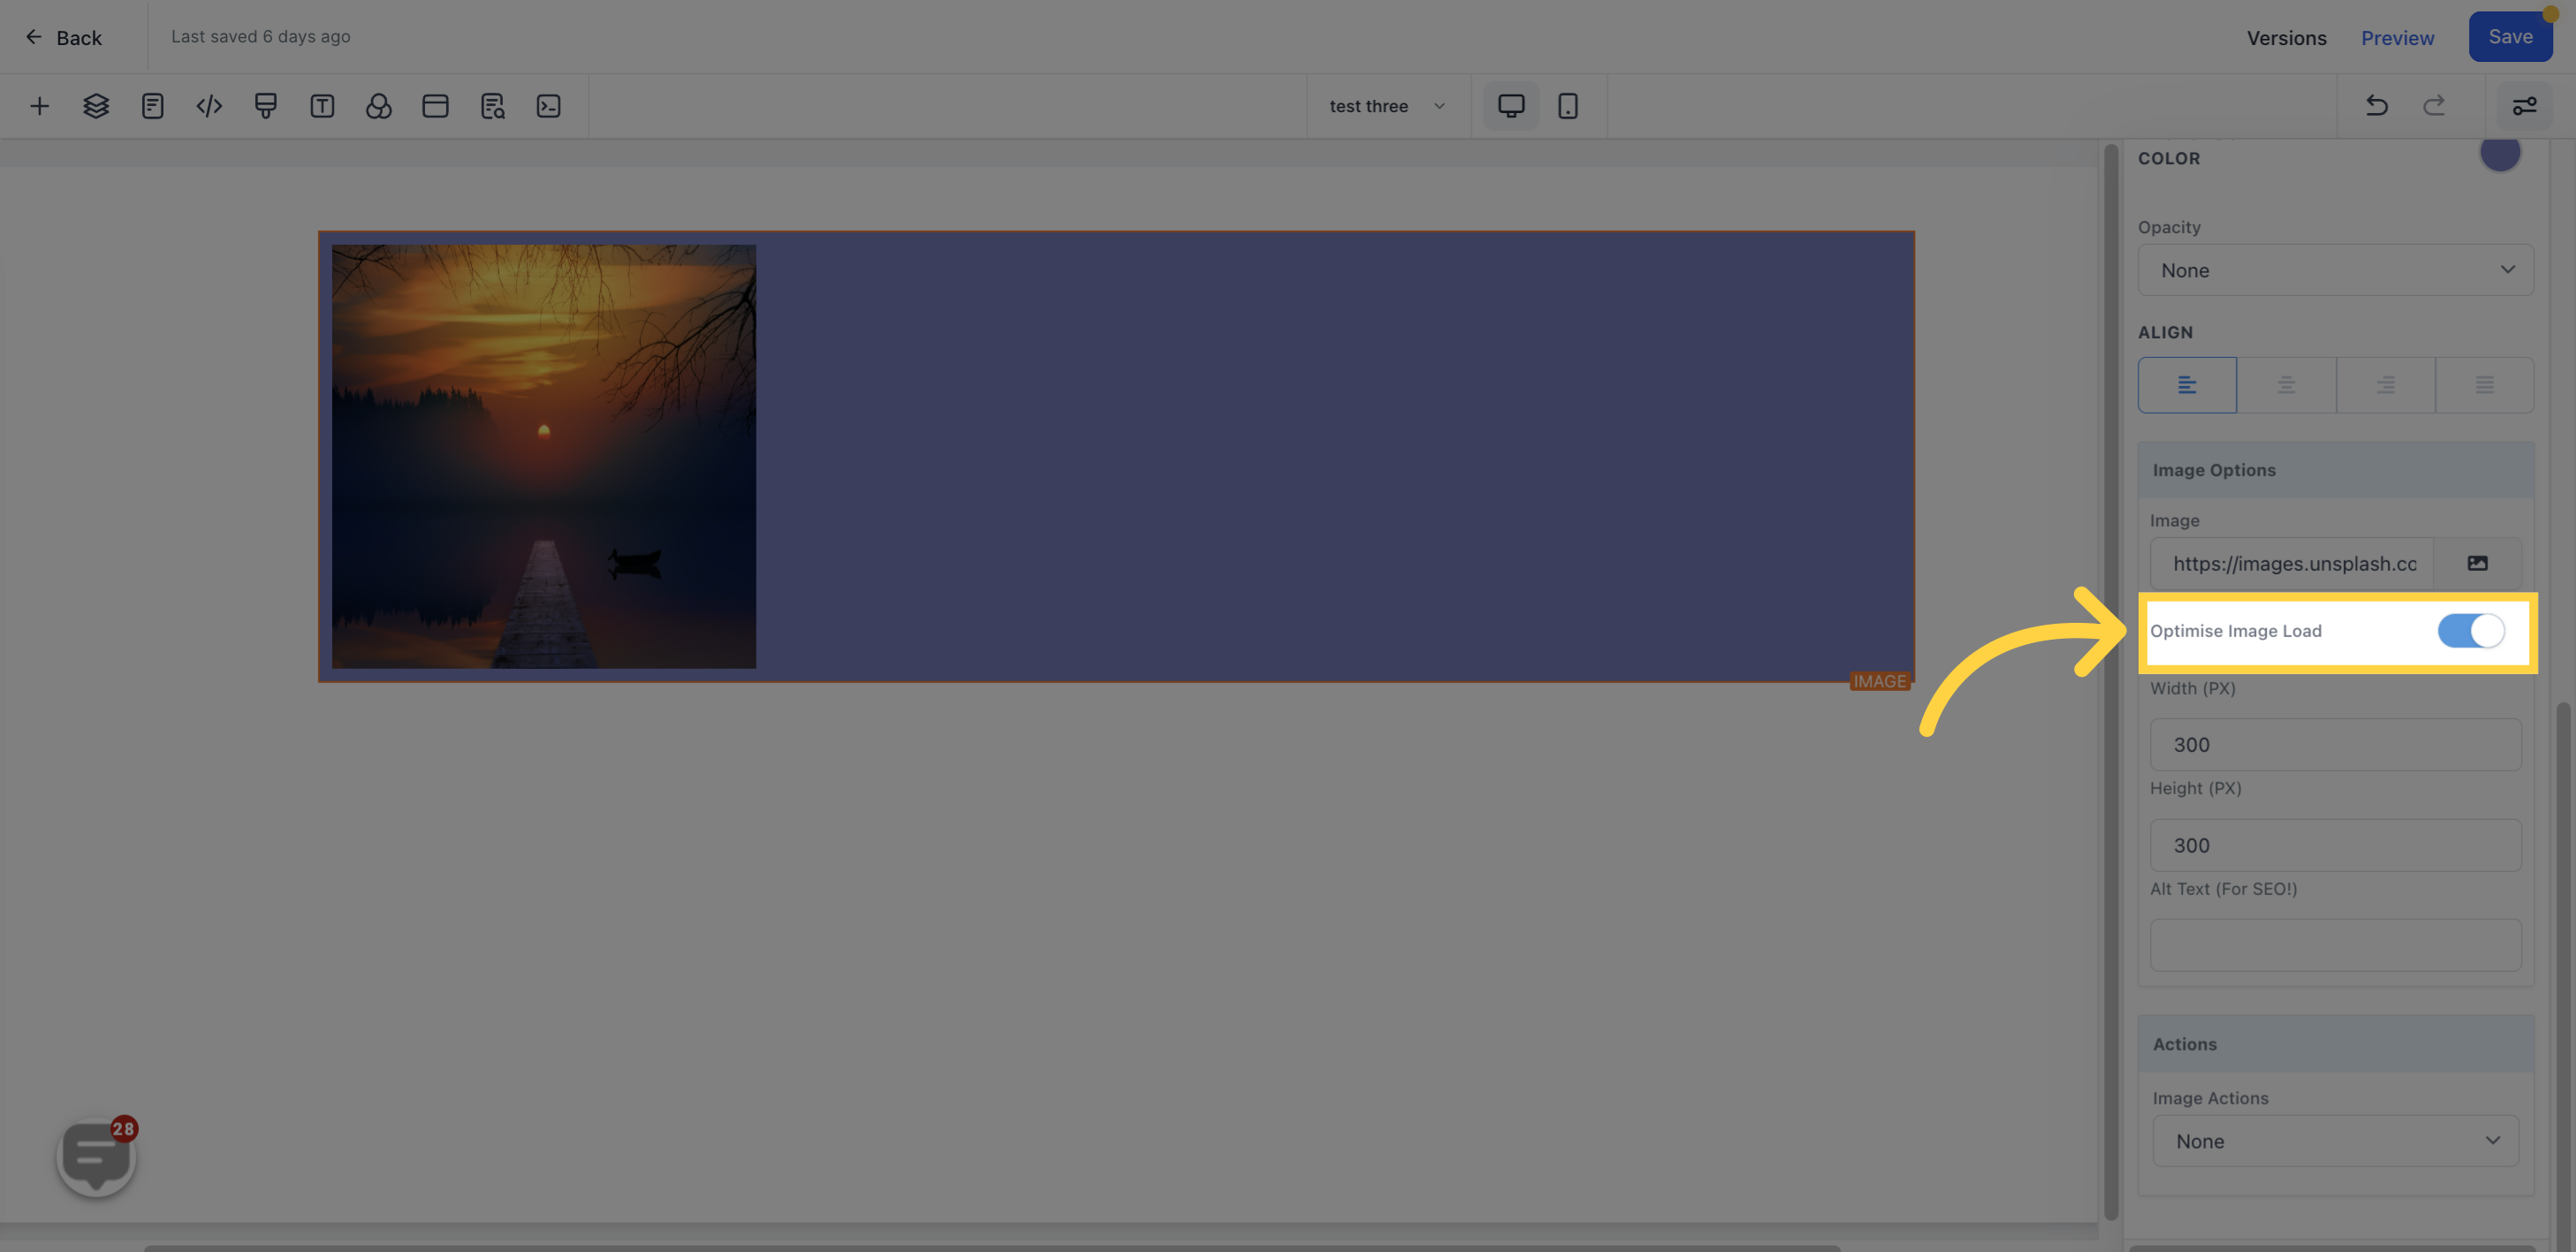
By toggling this option off, you can optimize image loading. However, it comes with a warning that turning it off may affect your page speed. Optimizing images for your website can reduce your total page load time by up to 80%.
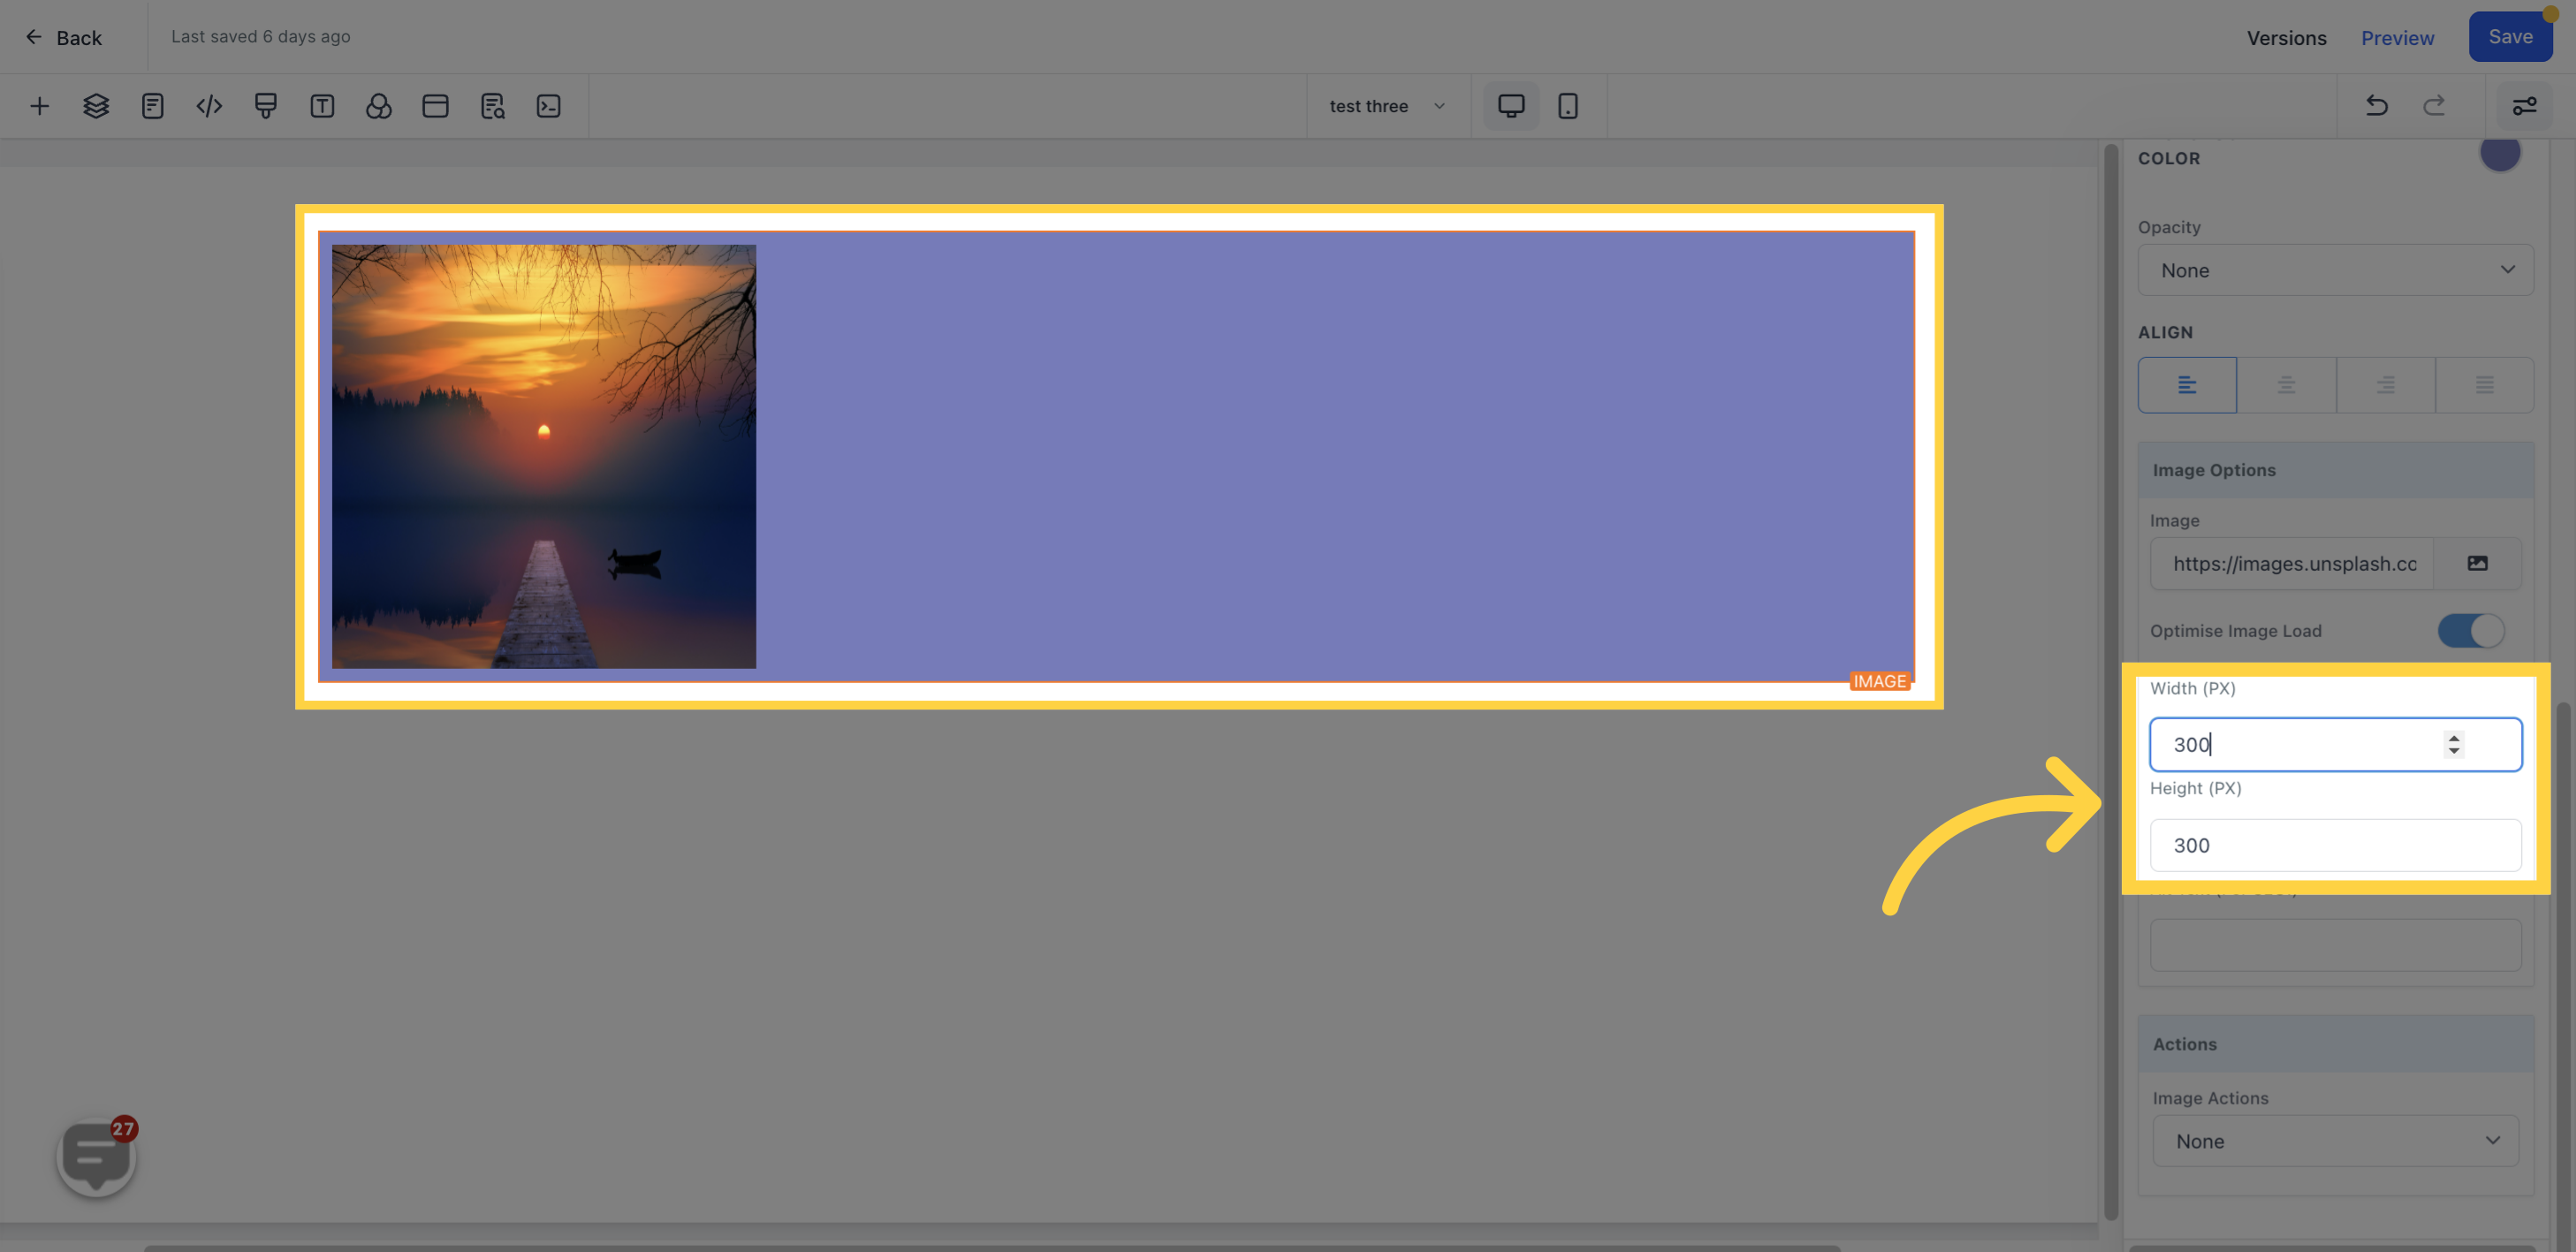
You can decide the width and height of the image by inputting your desired size in the space provided.
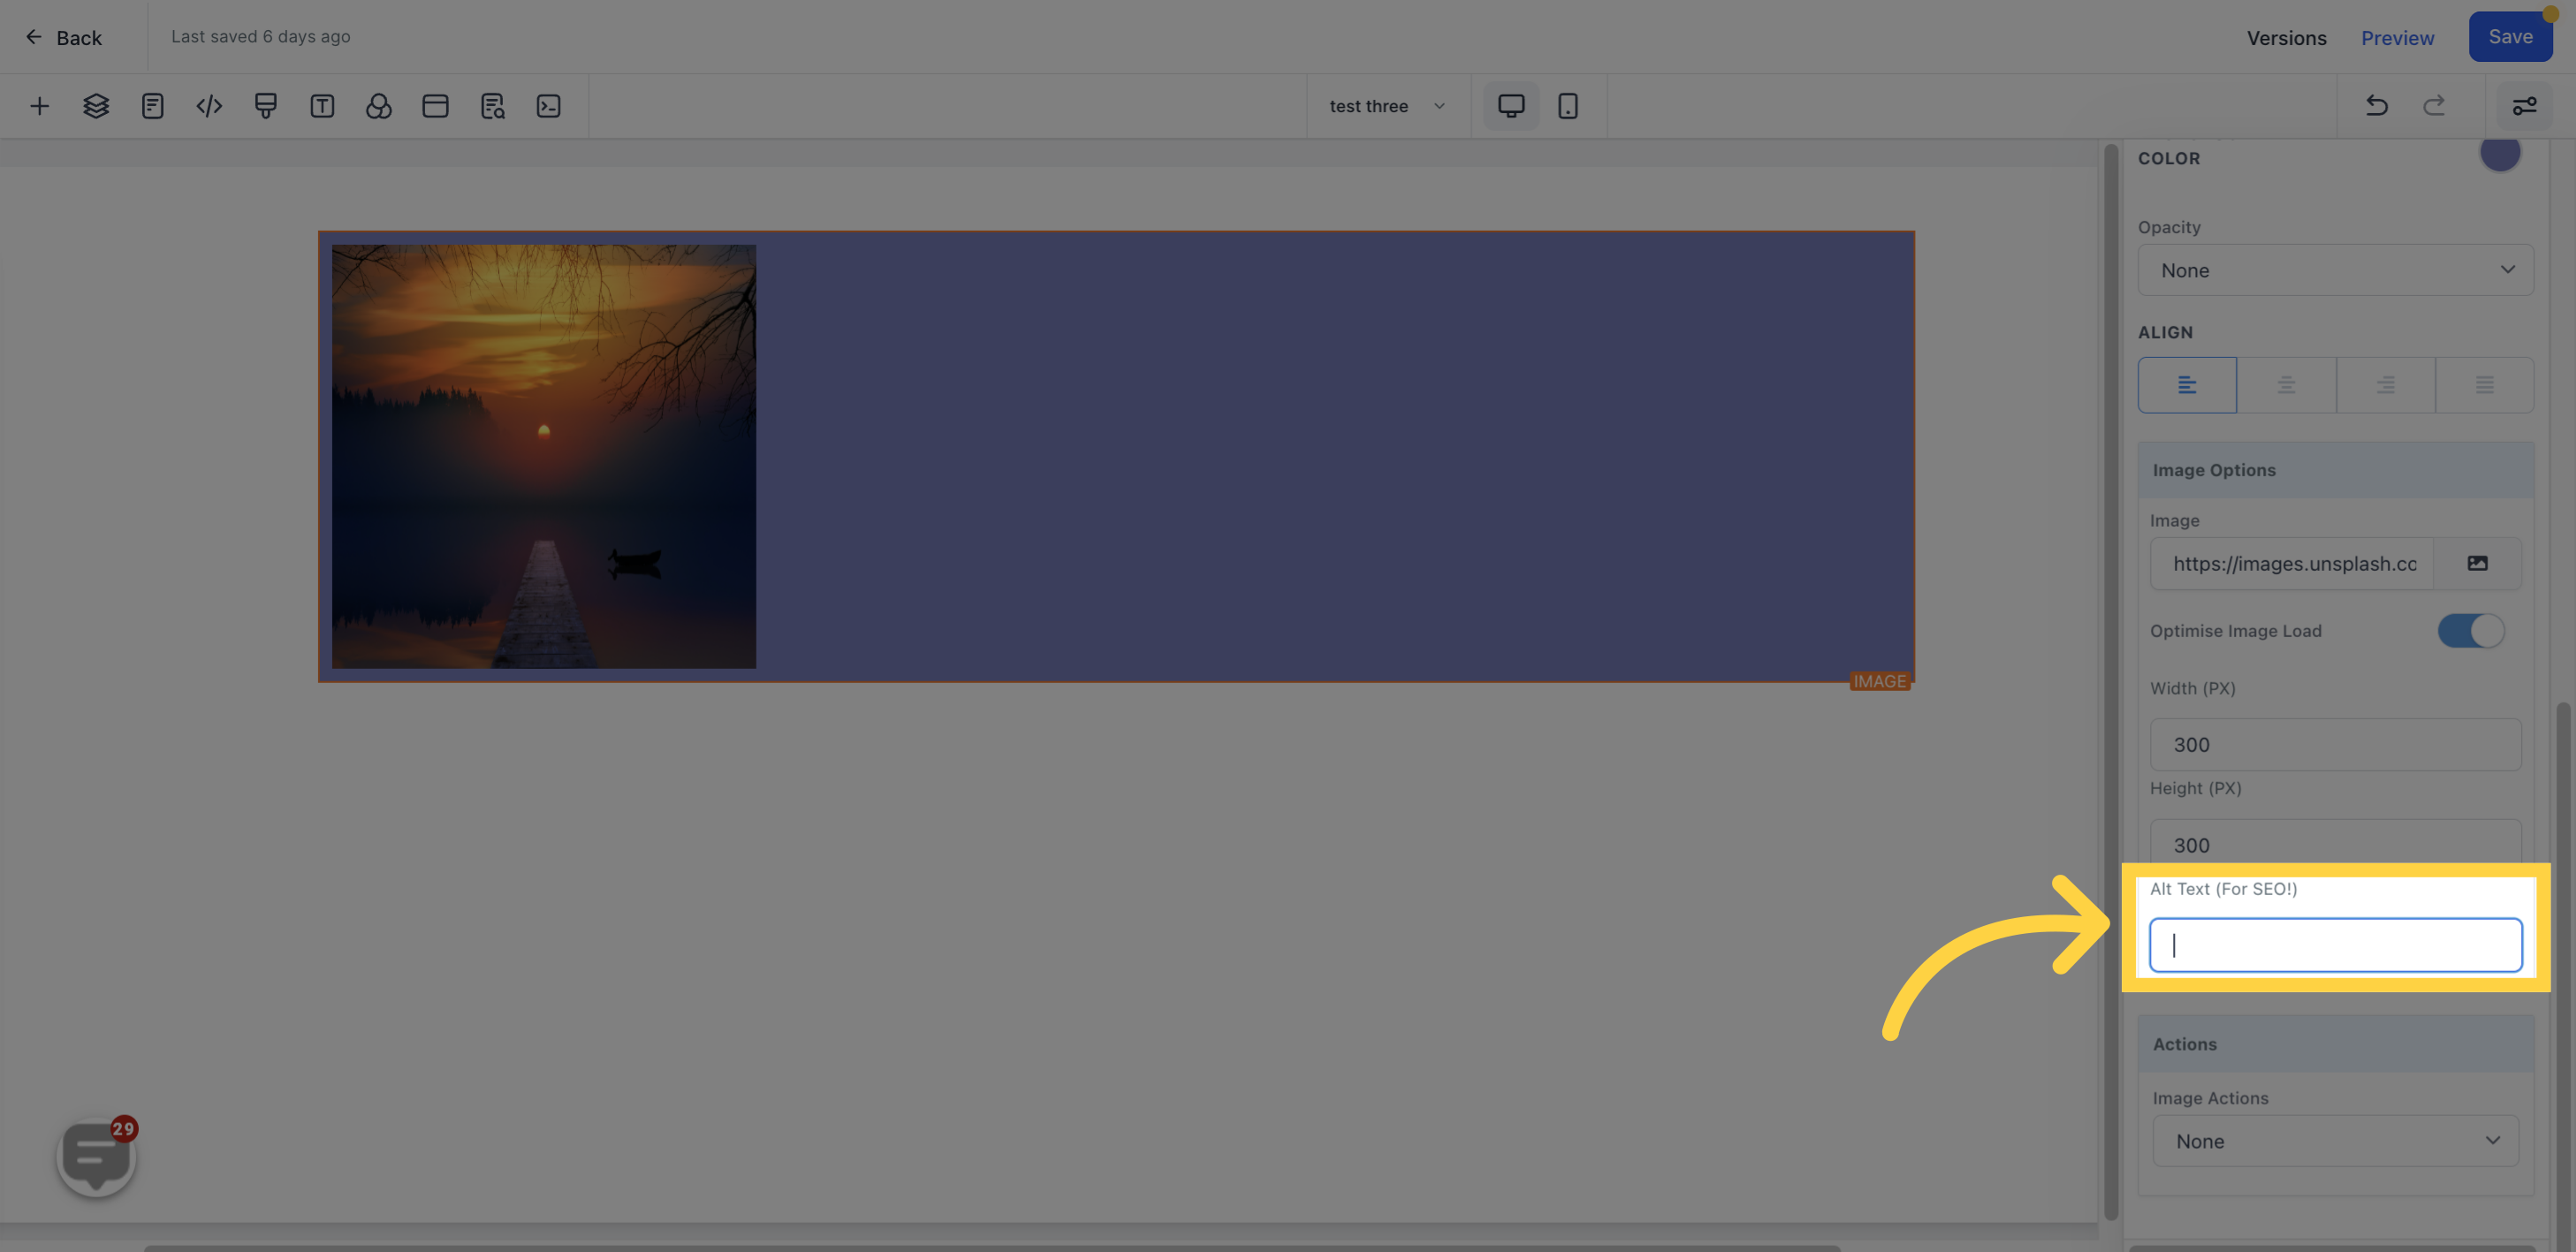
This option allows you to add alternative text to the image for SEO purposes.
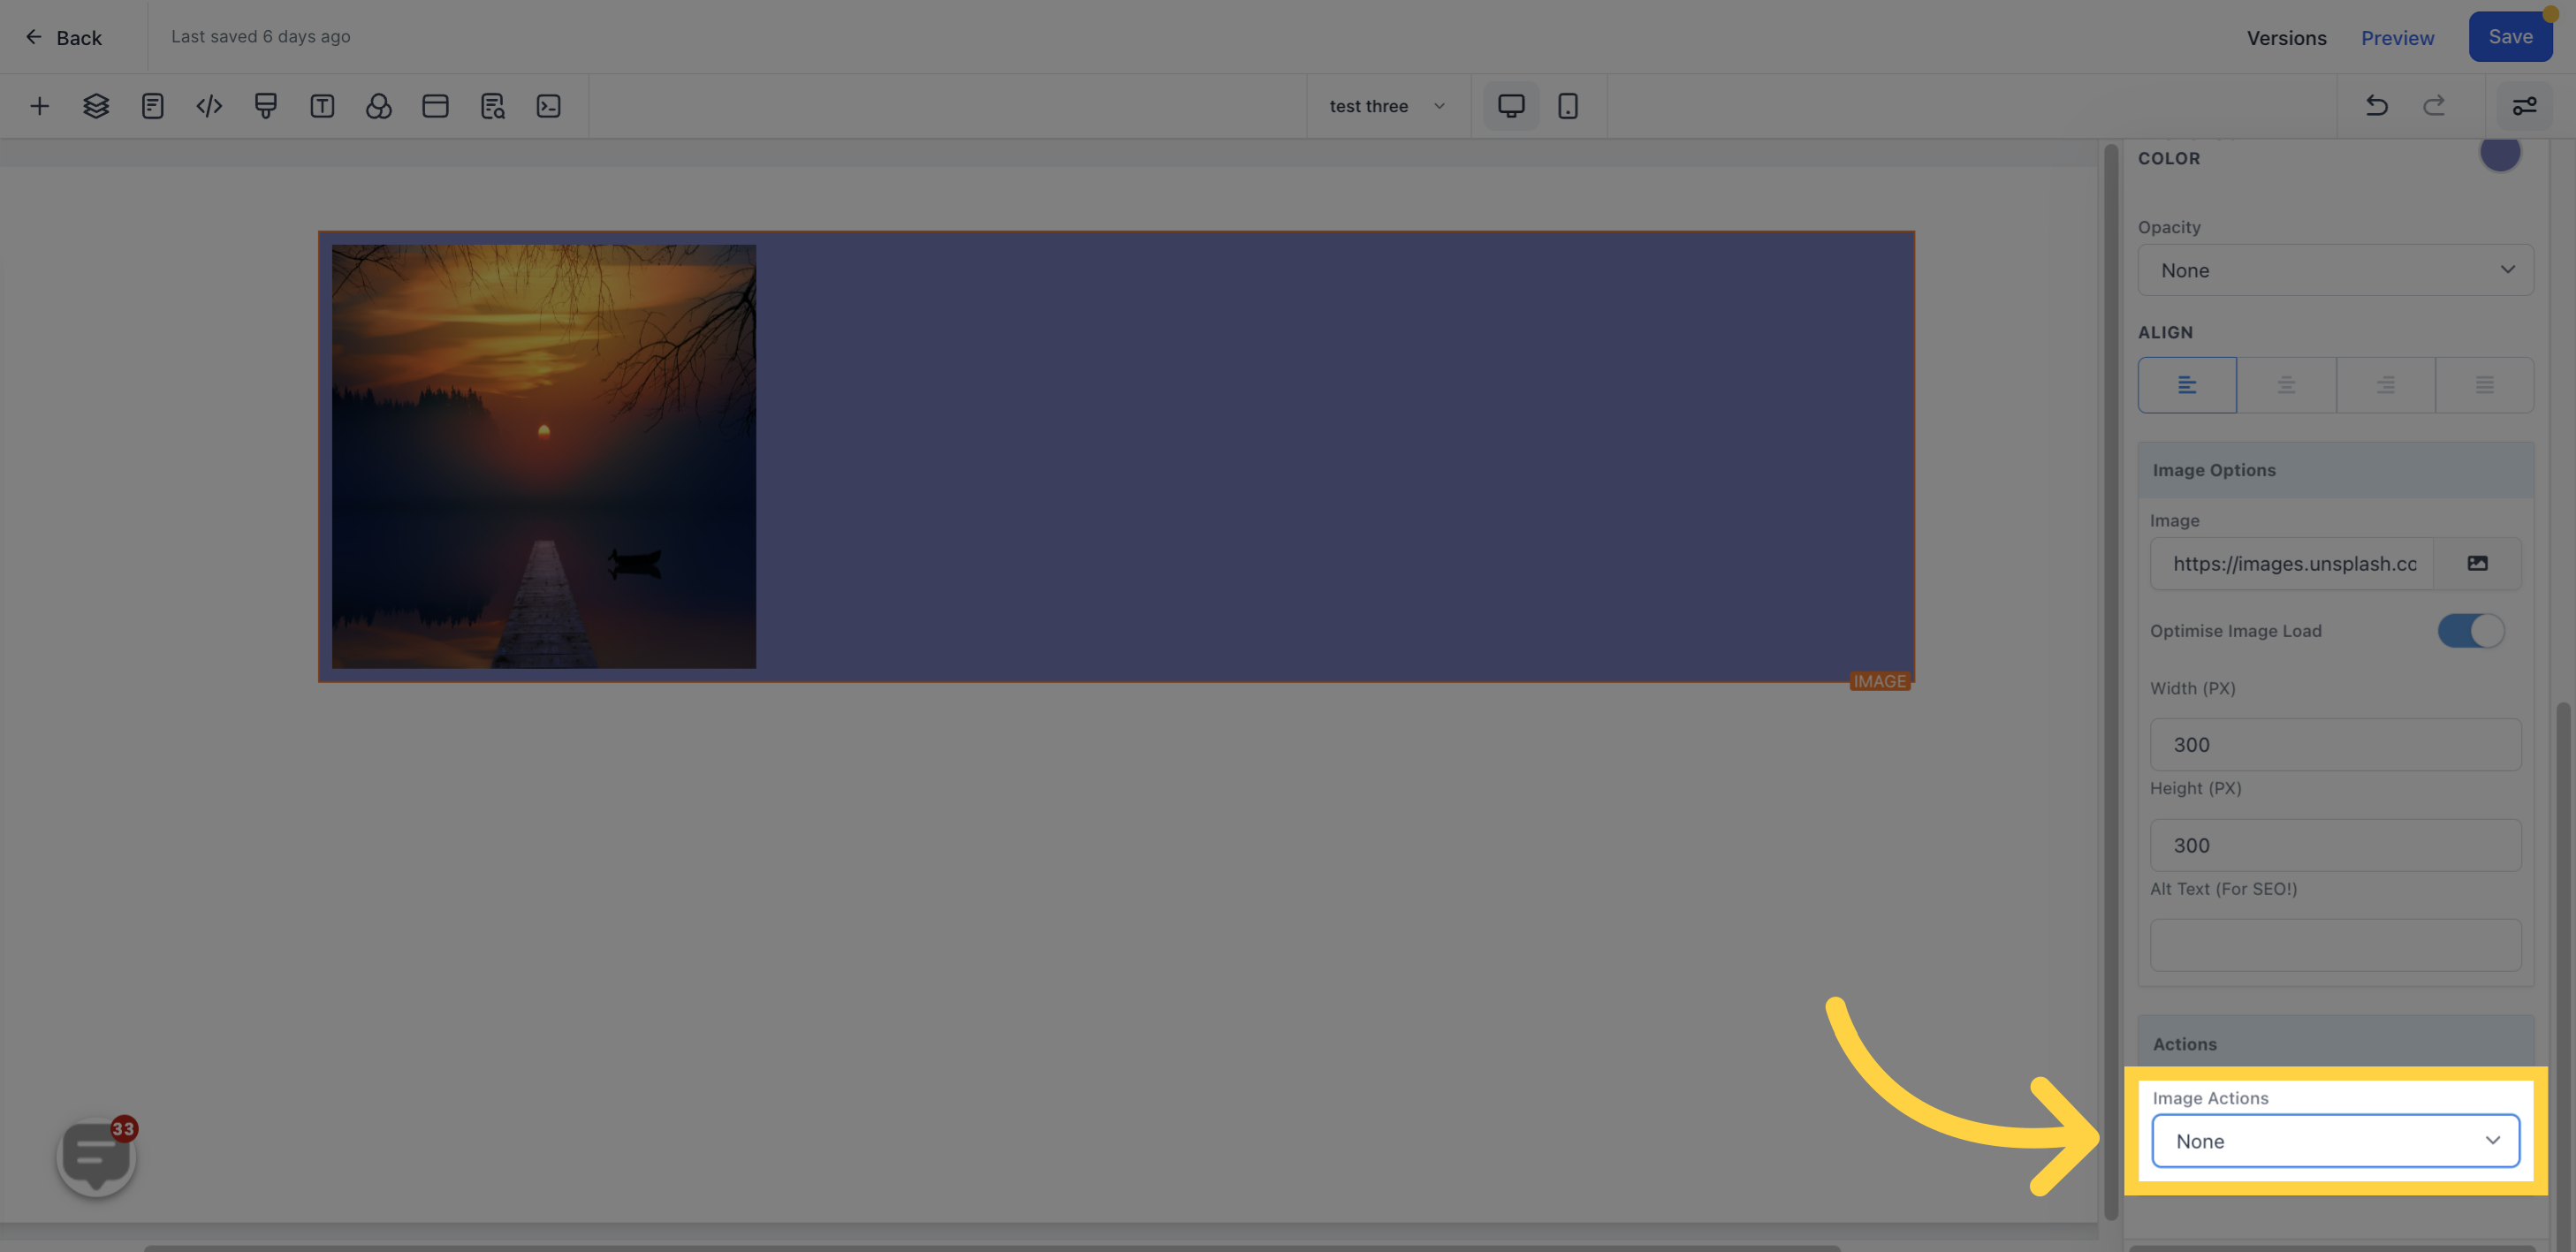
You can select either "Open the popup" or "go to website URL.
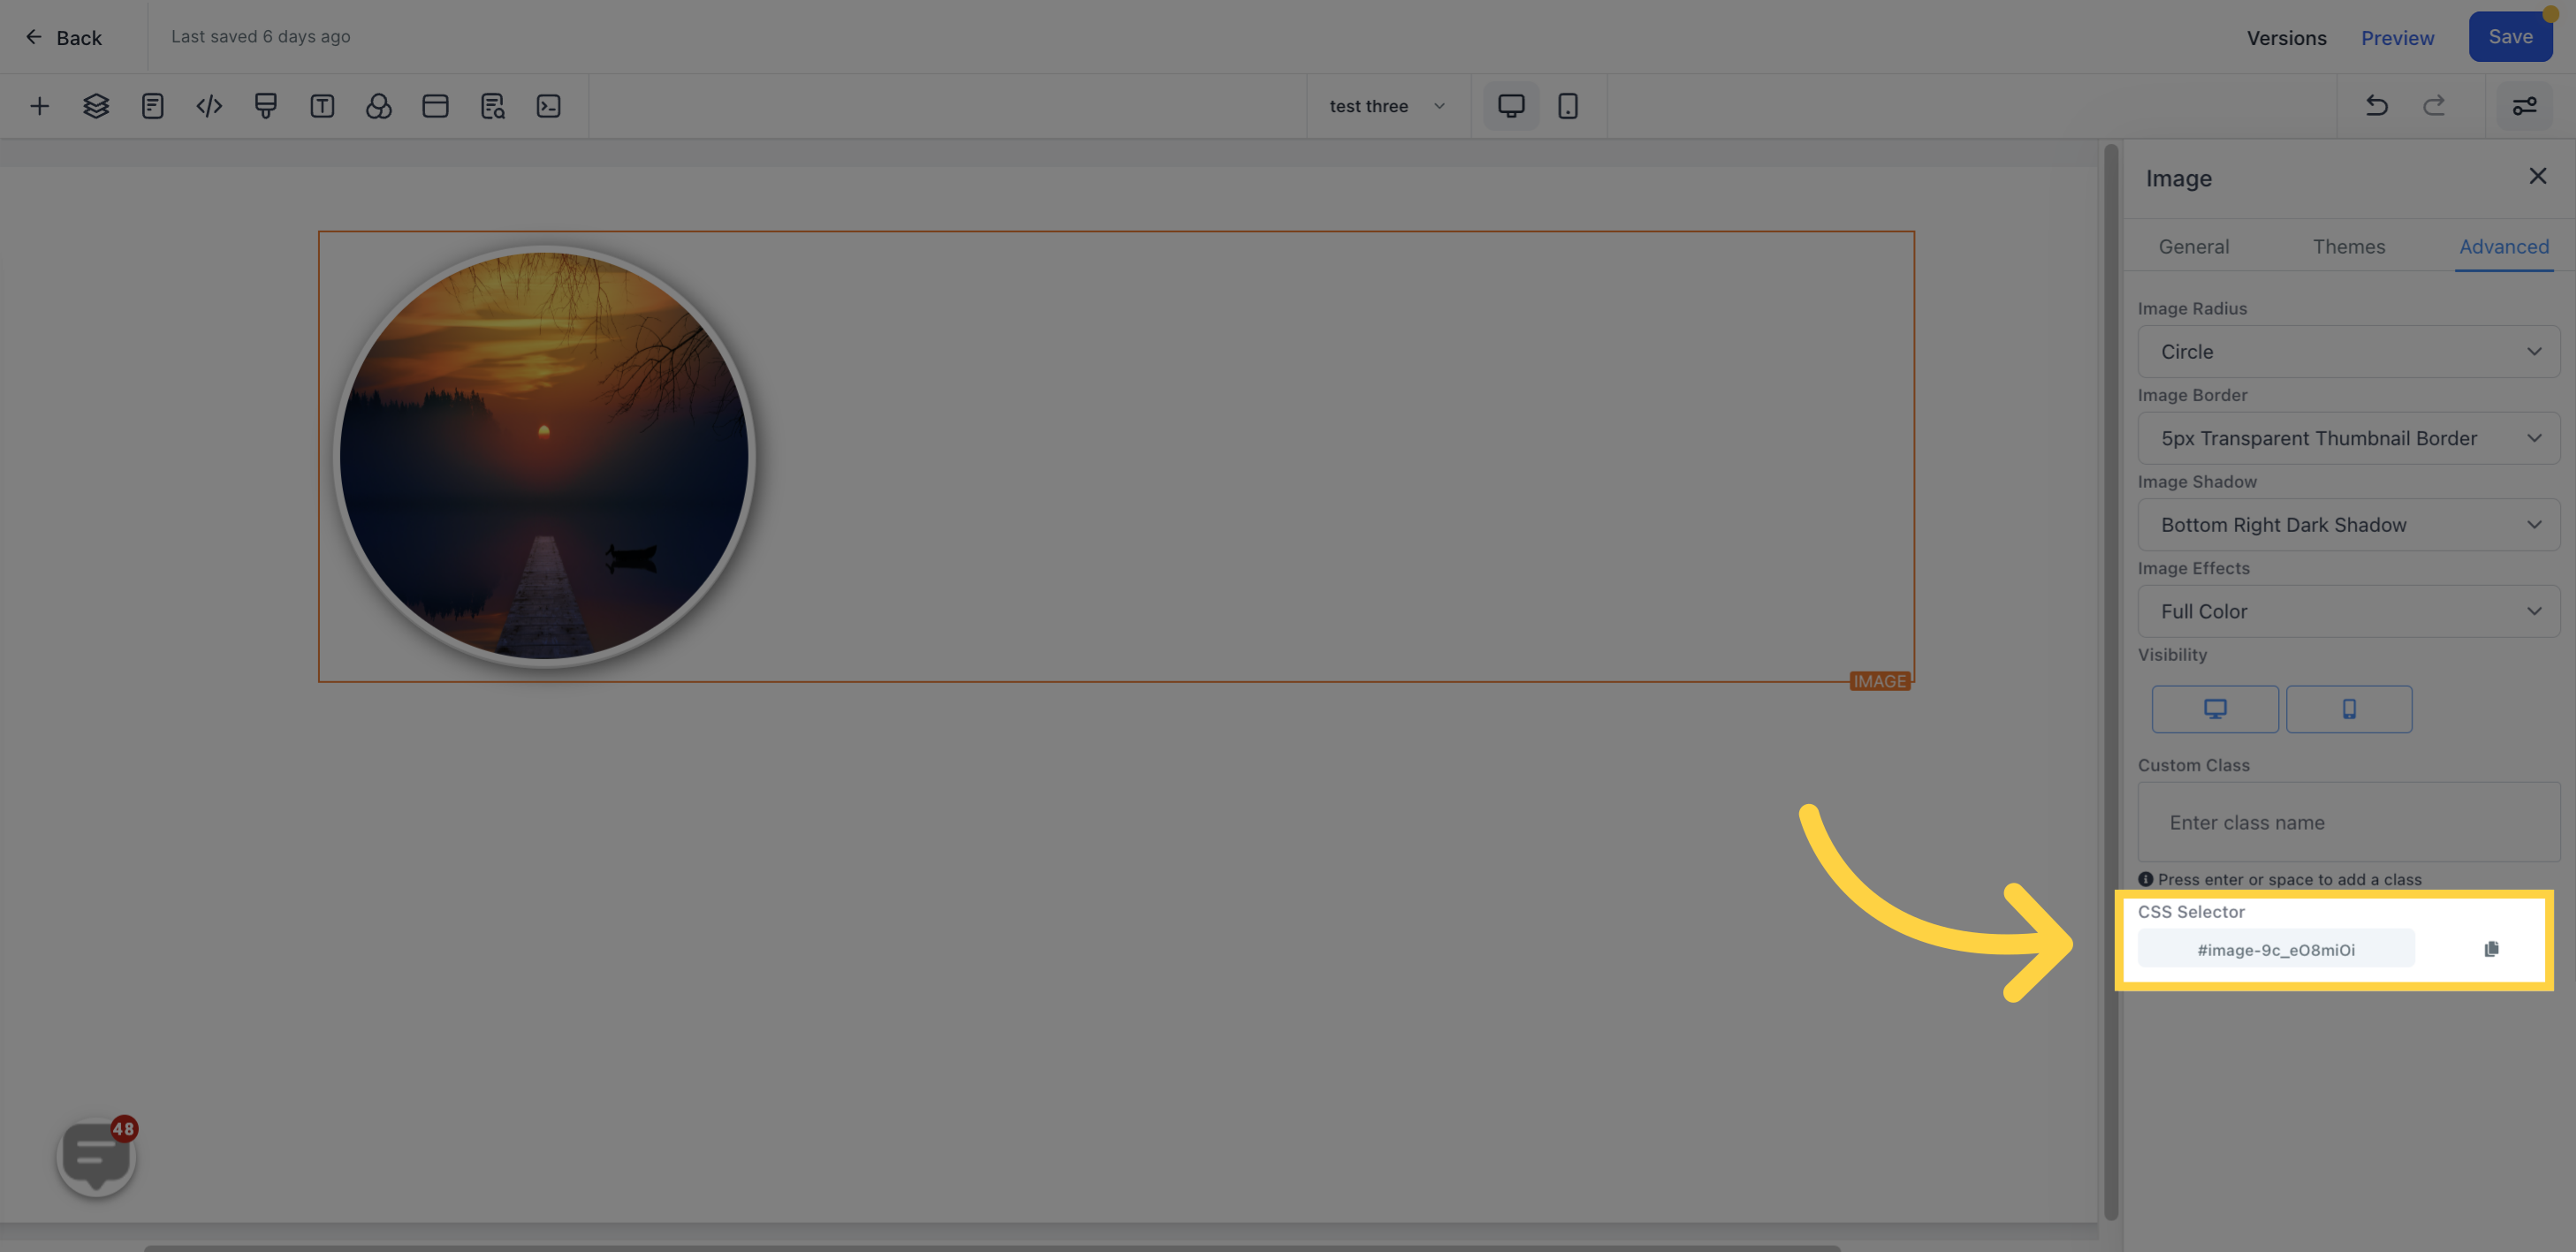
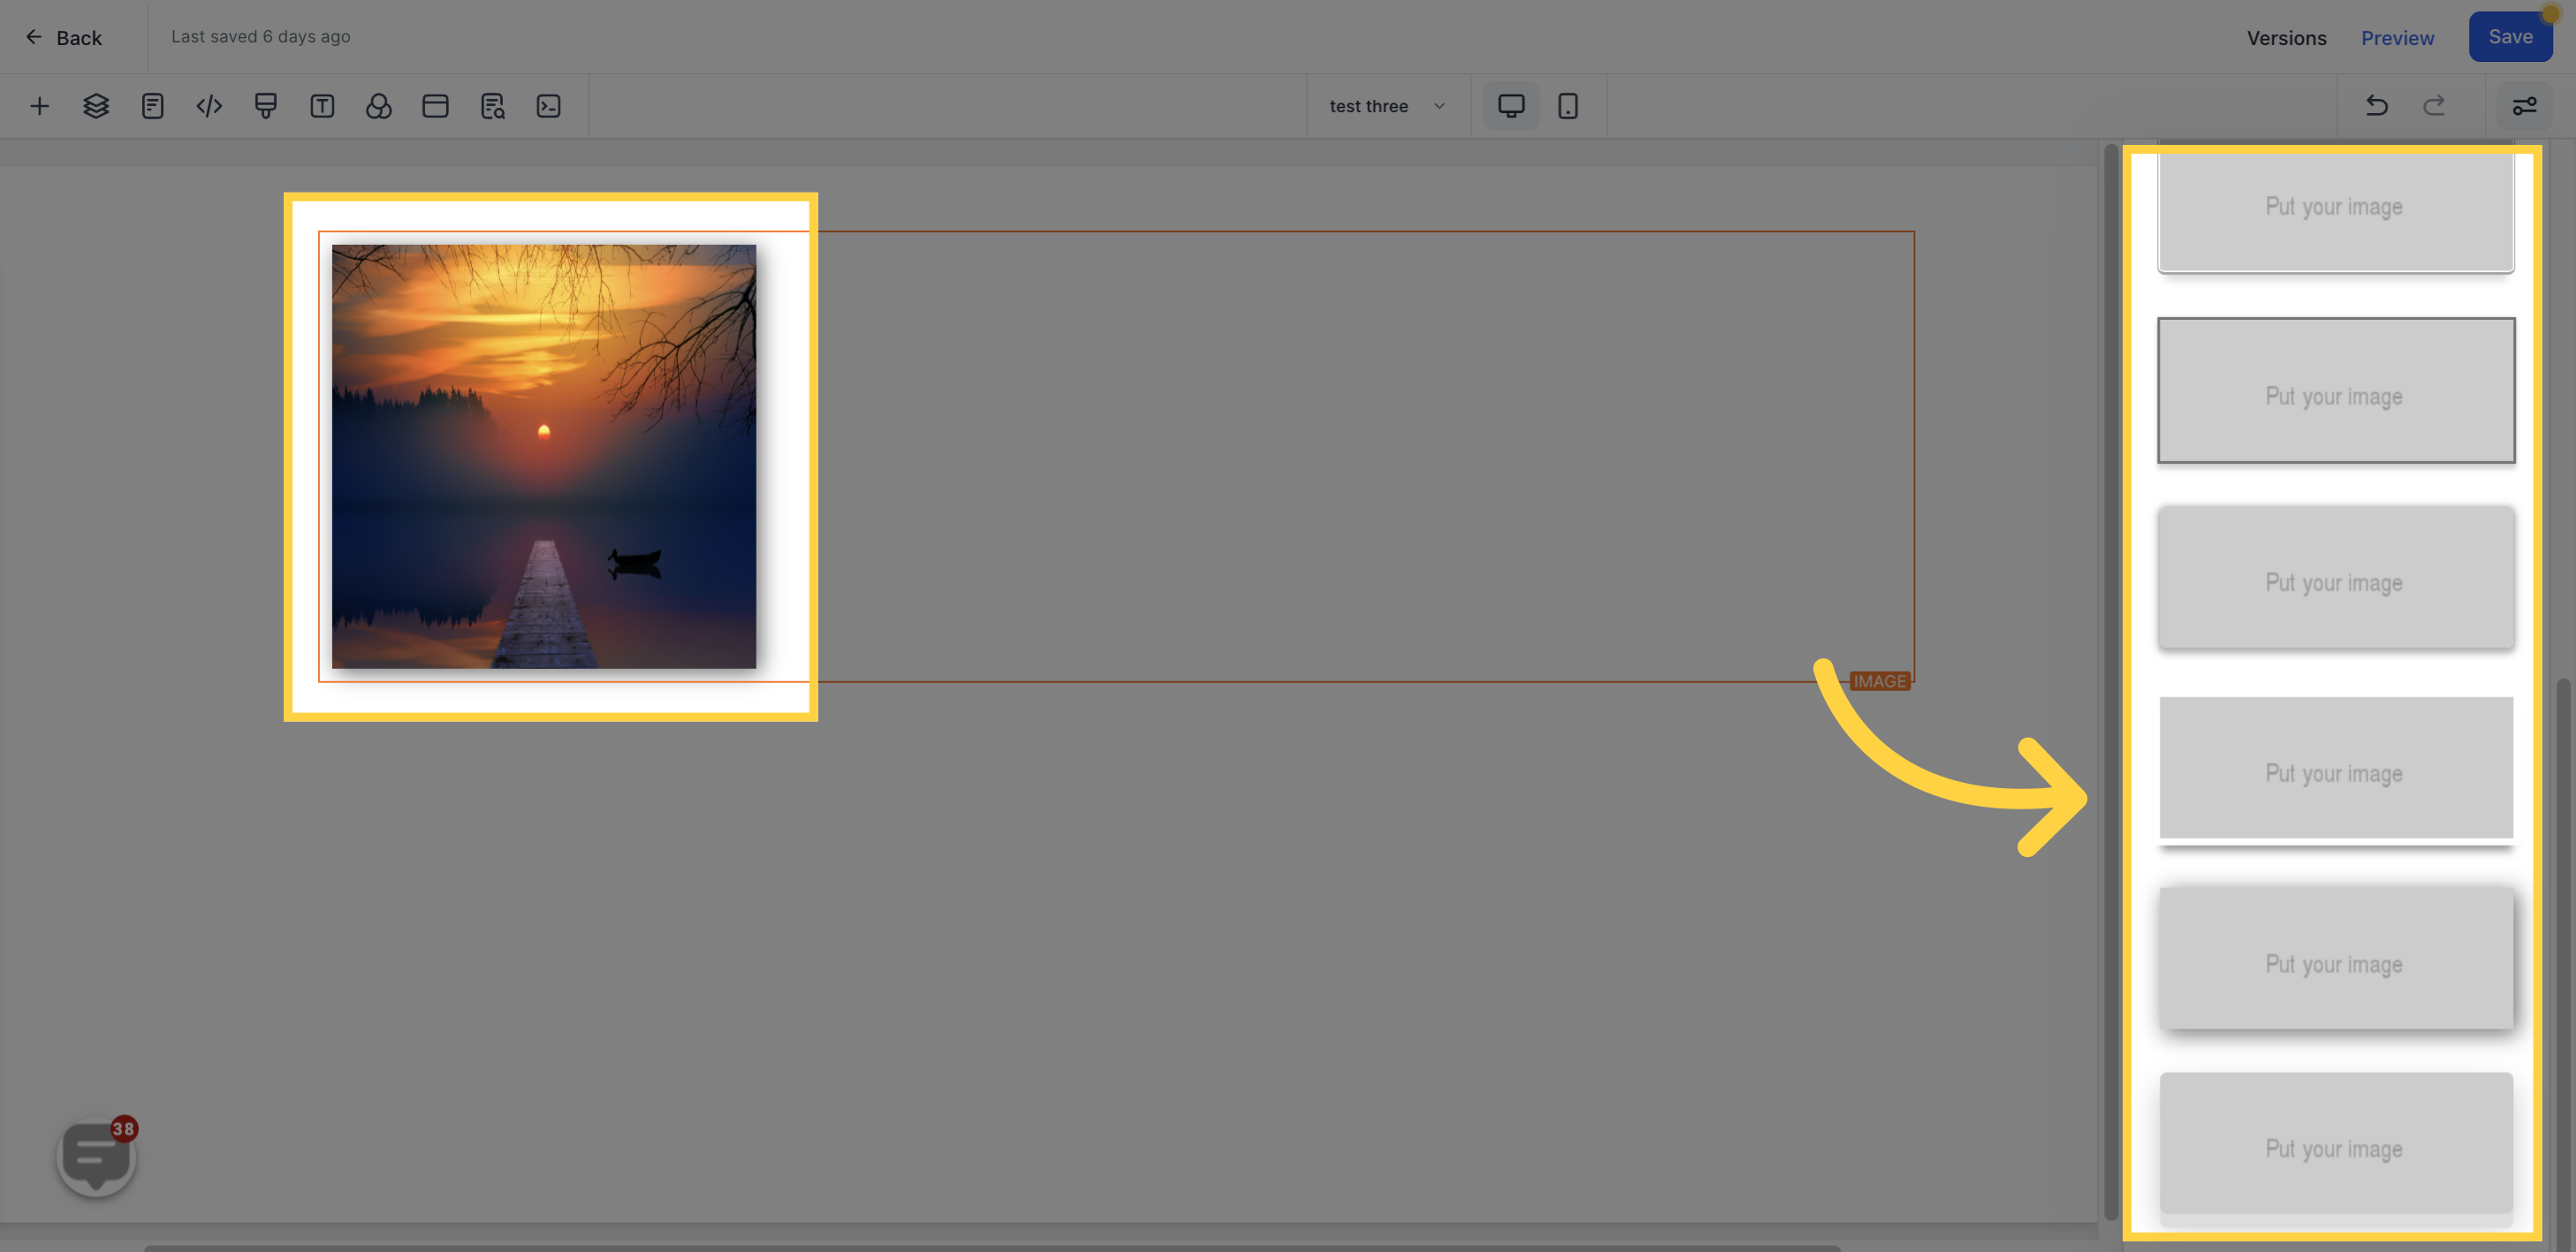
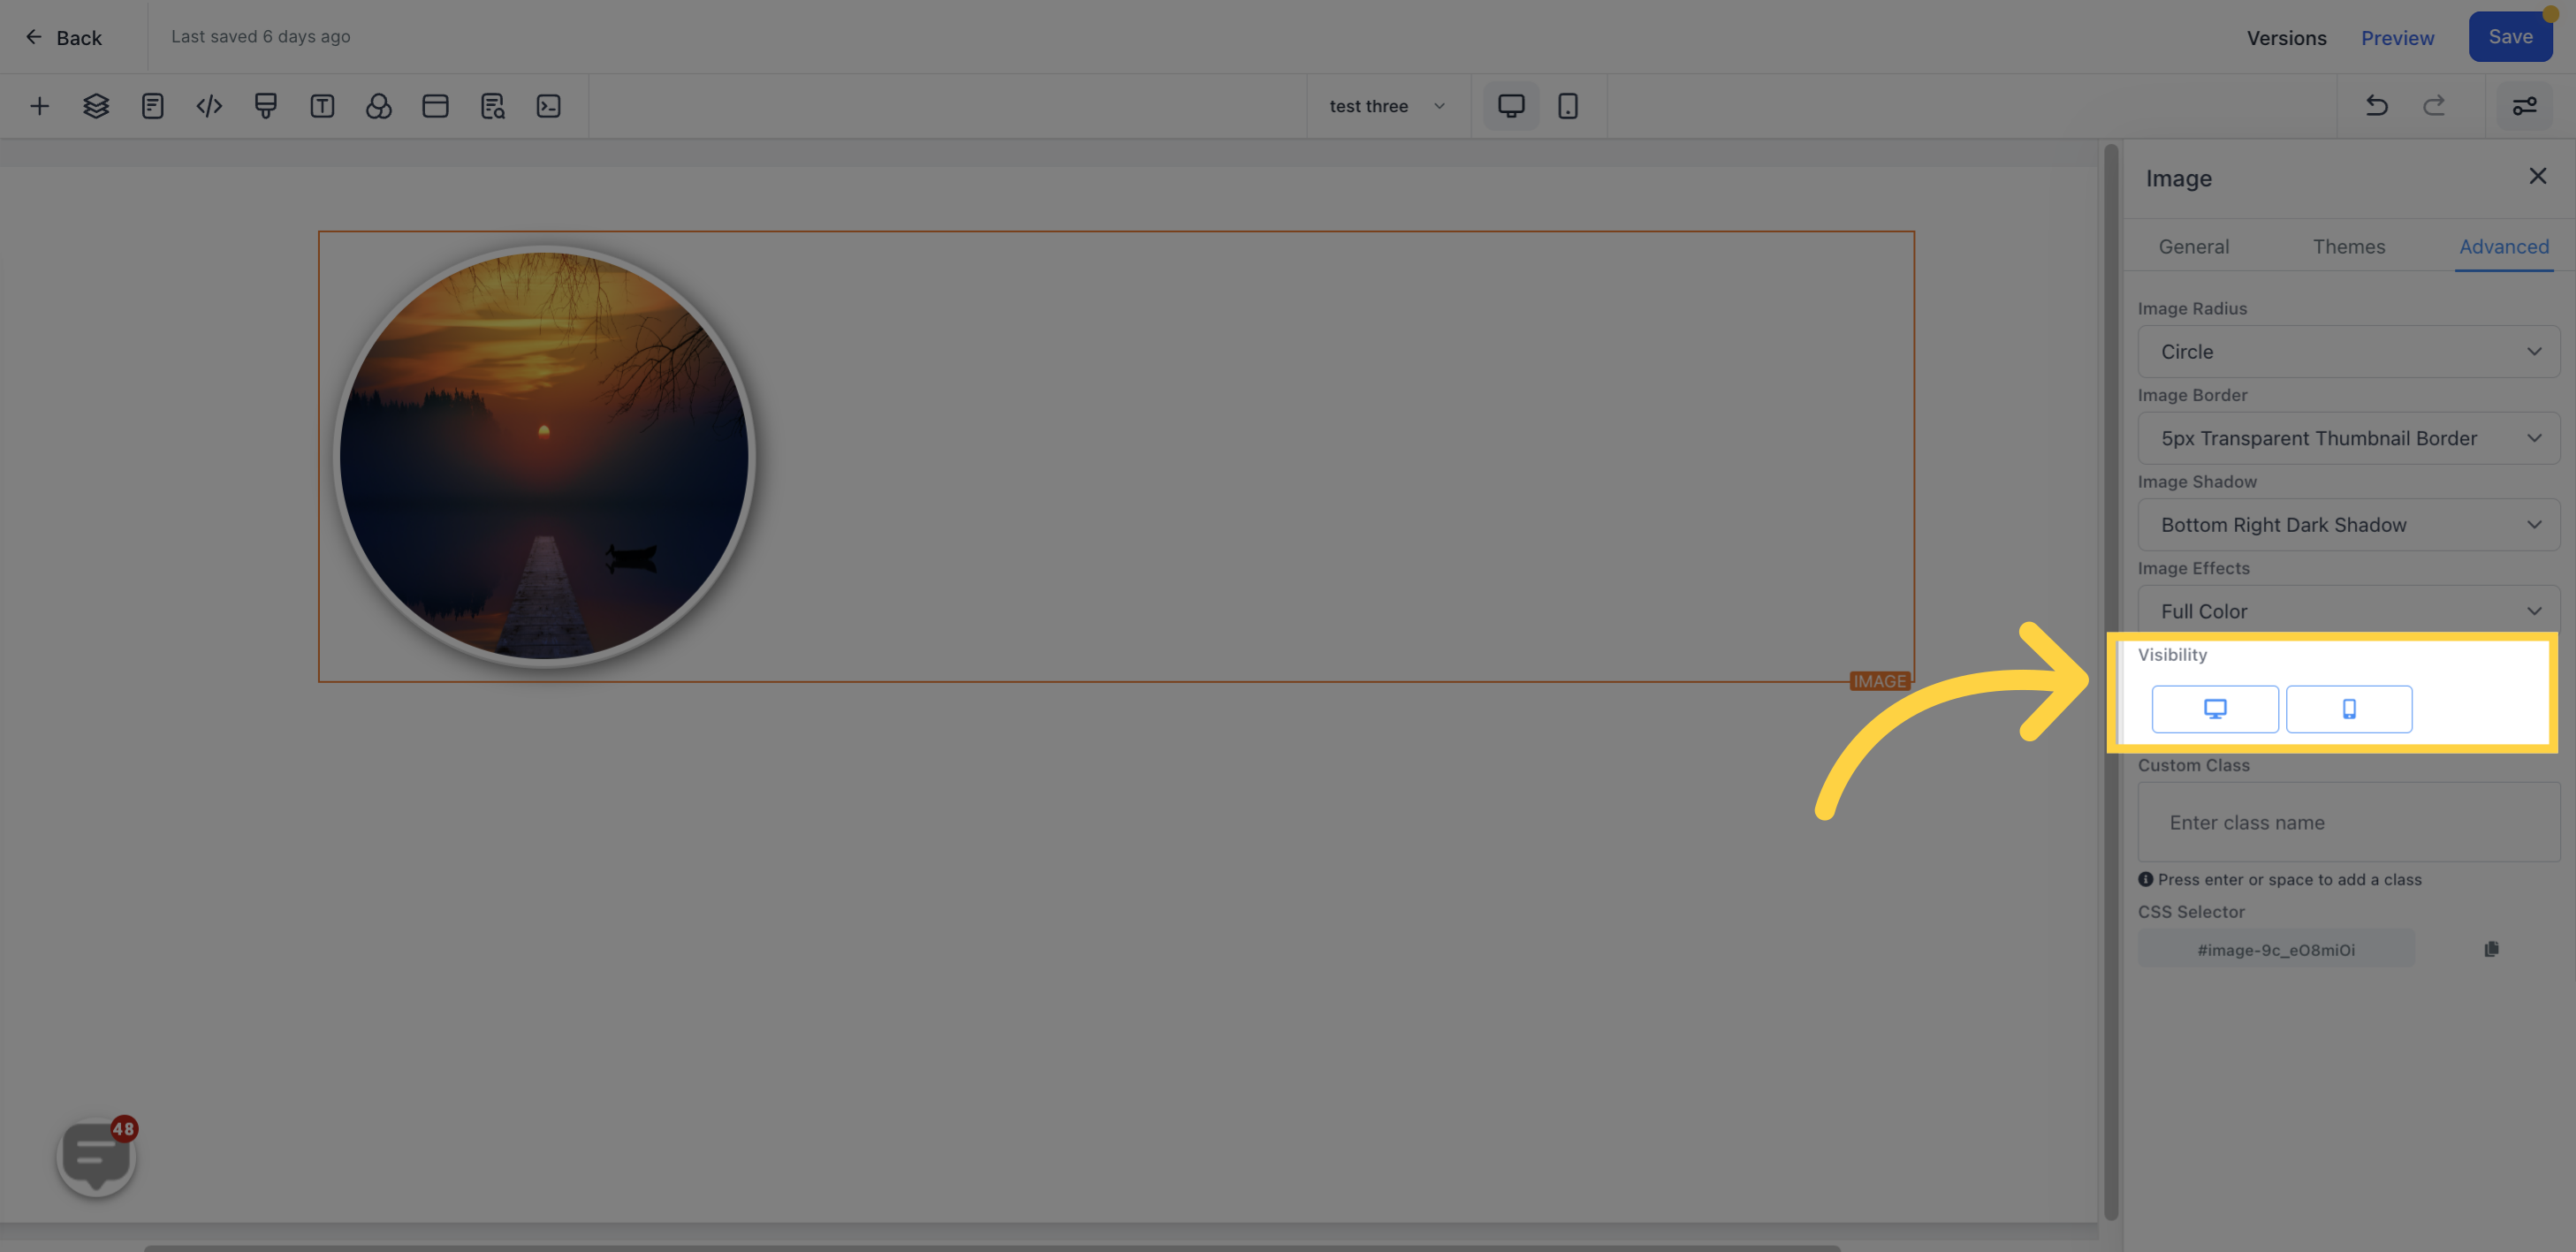
You can select a theme from a range of options available


You can add a custom class in this section.

You can copy a CSS Selector by clicking on the "copy" icon next to the reference number.