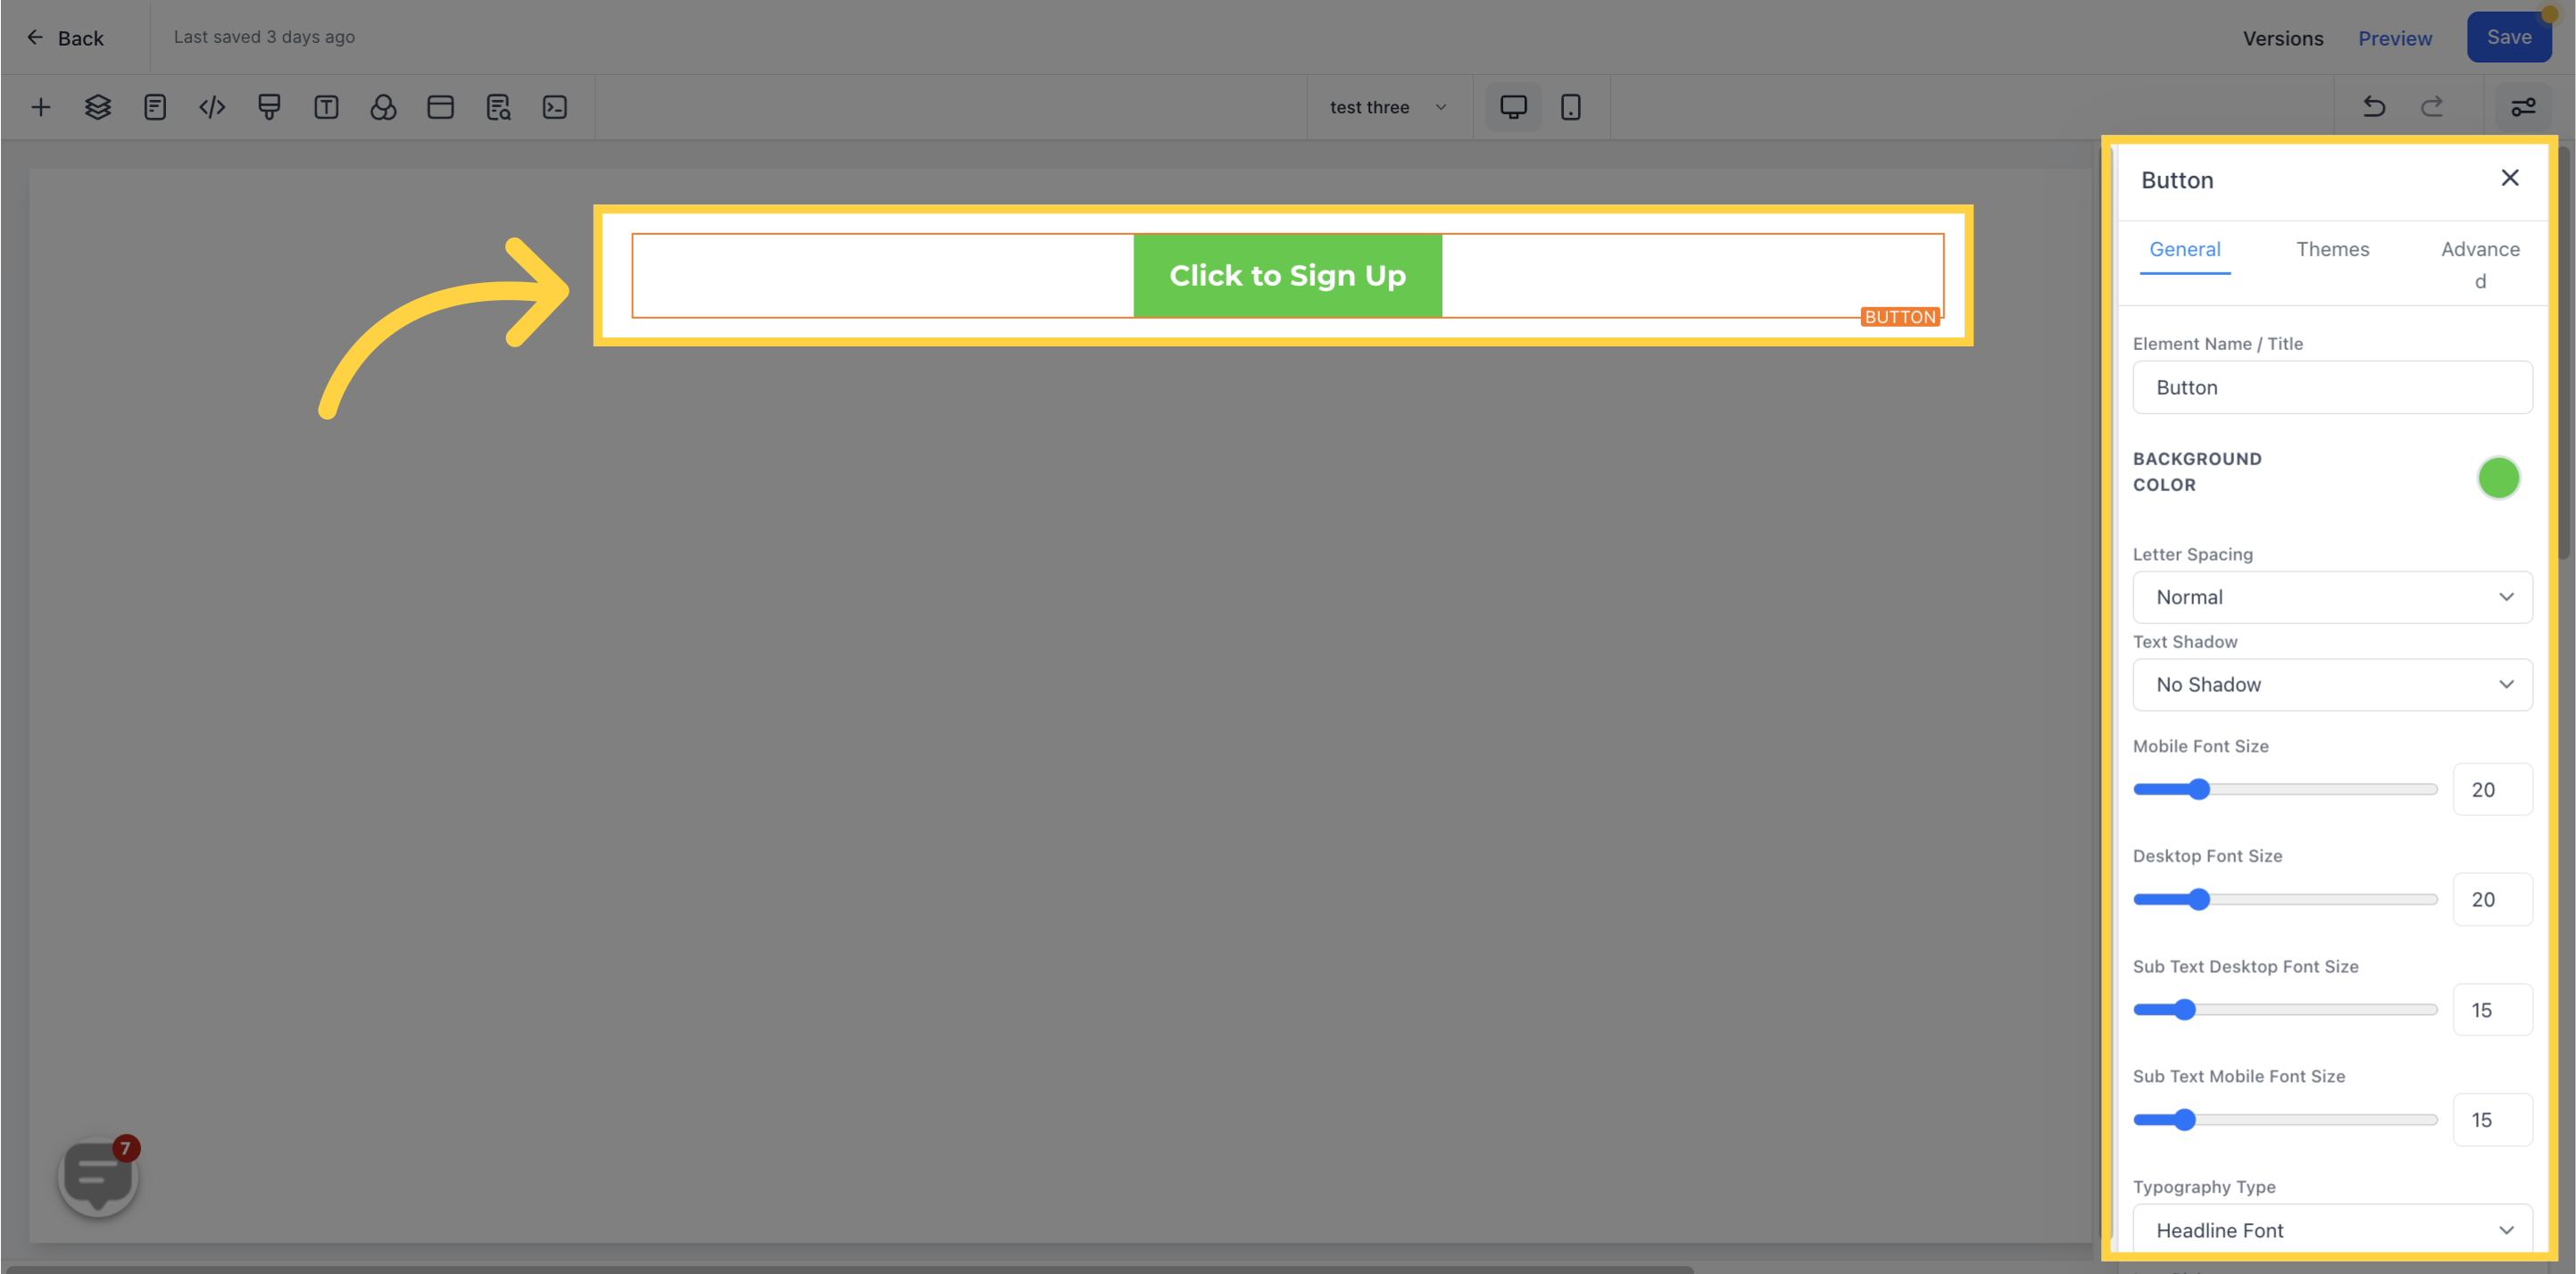
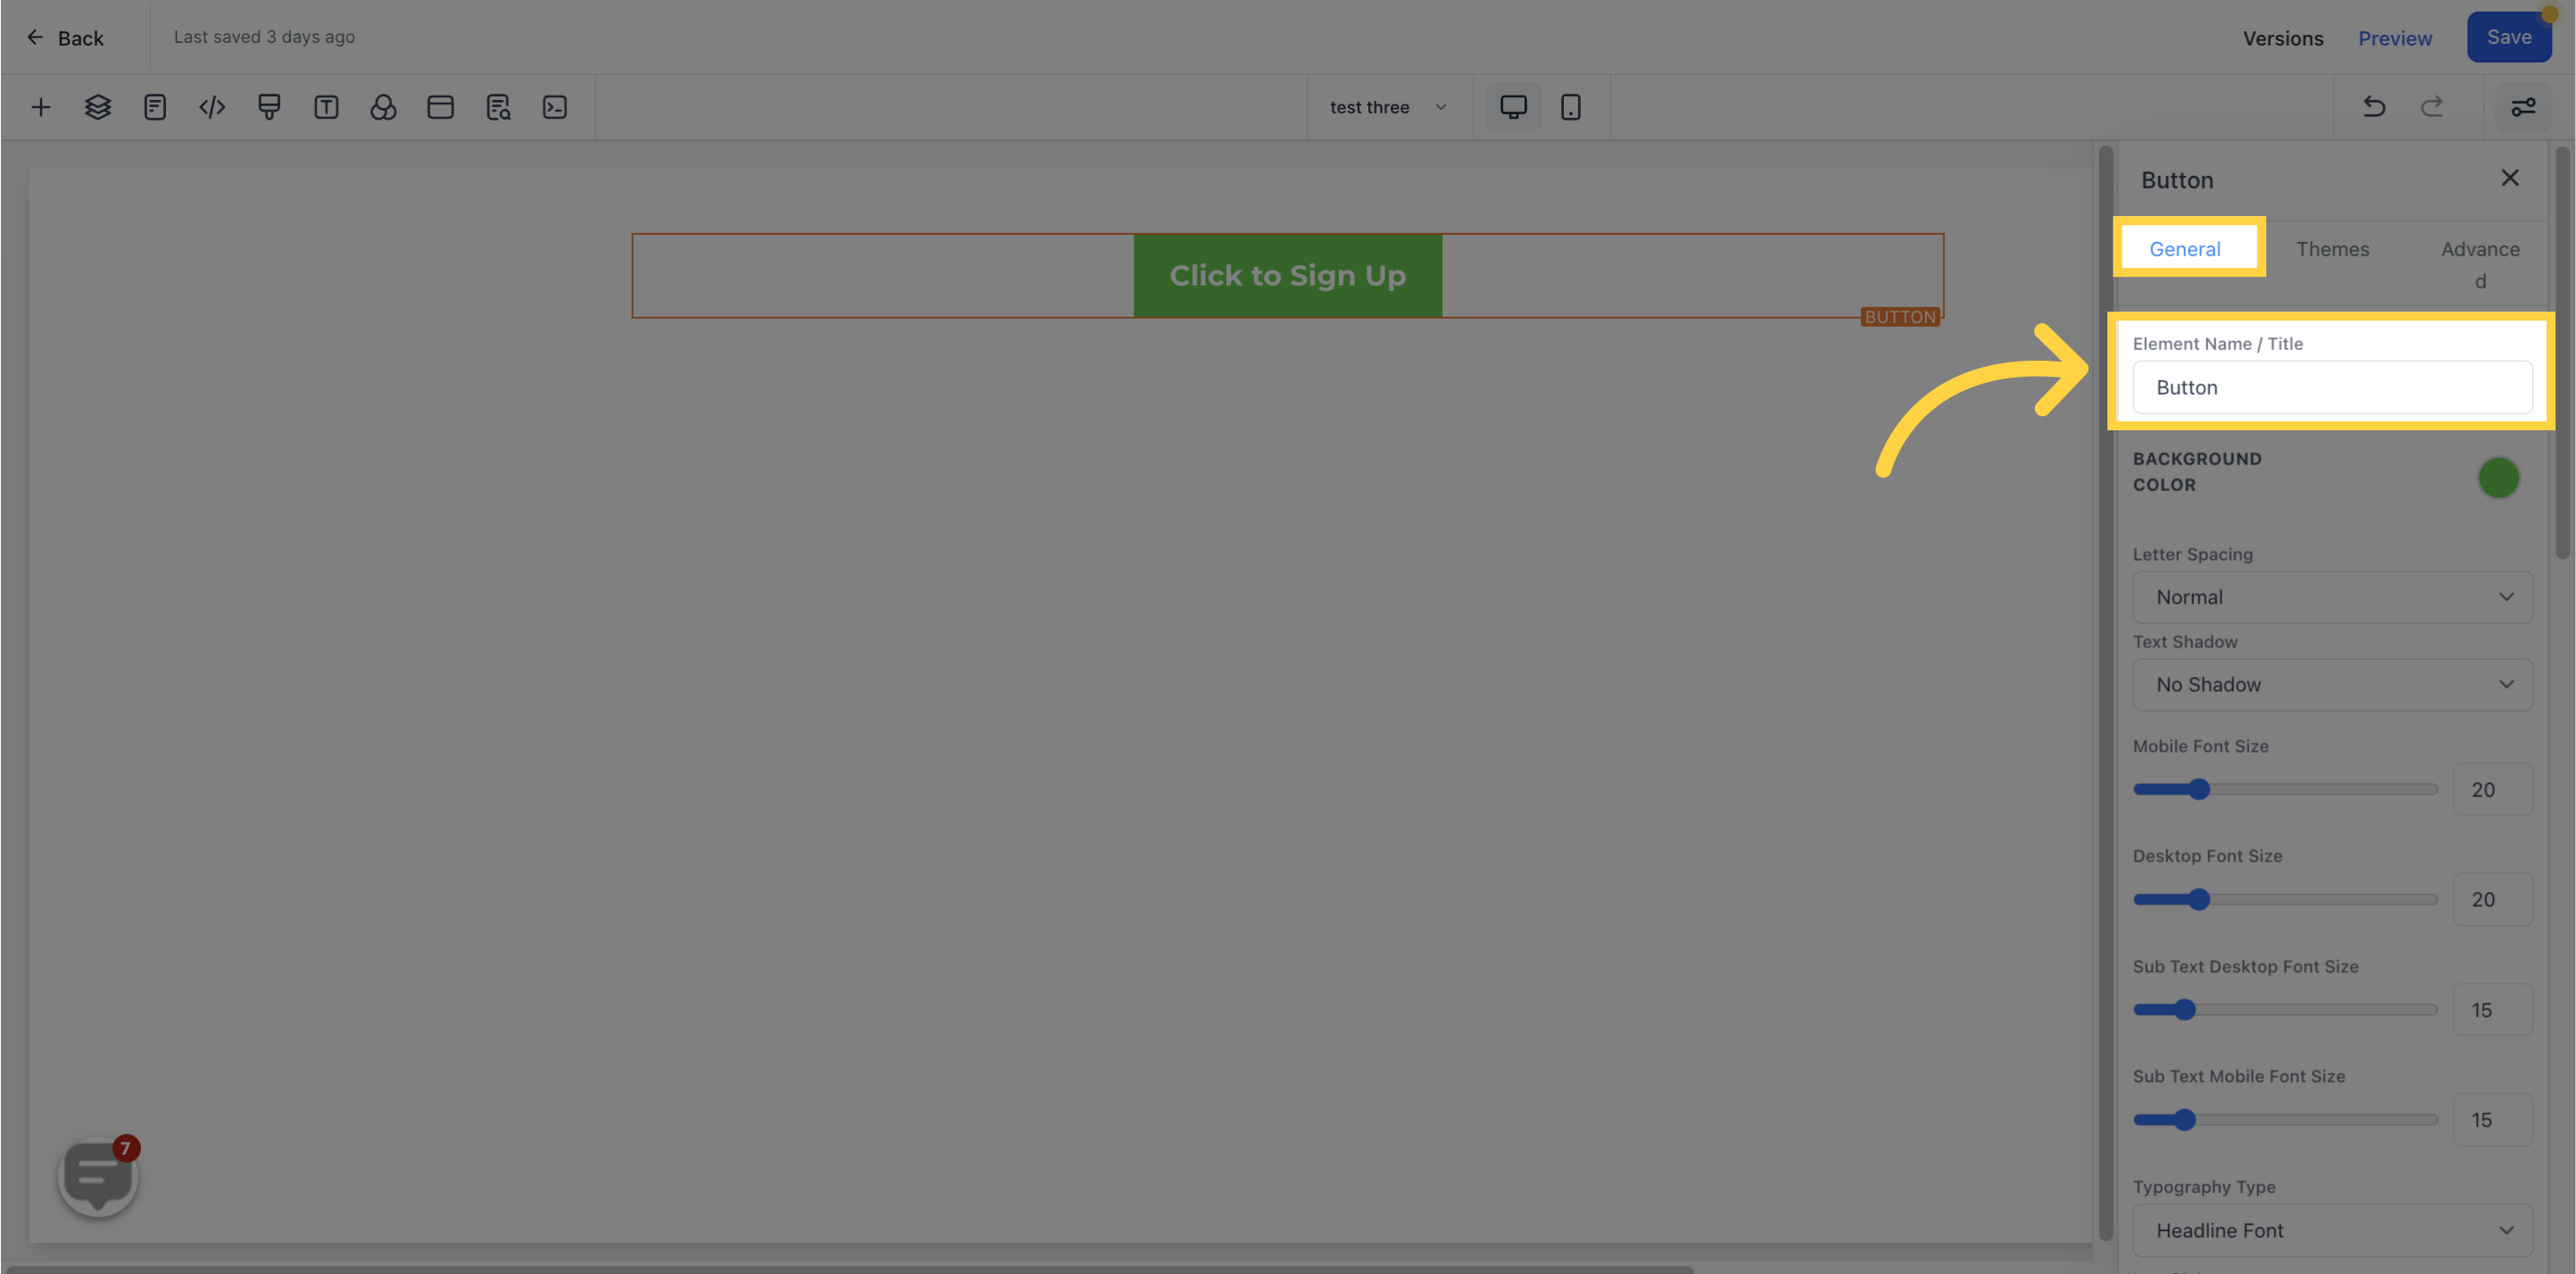
Here, you can observe the default title/name of the Edit option you are operating on. You can keep it as it is or rename it.
If you want to modify the background color of your button, click on the content you want to adjust its background.
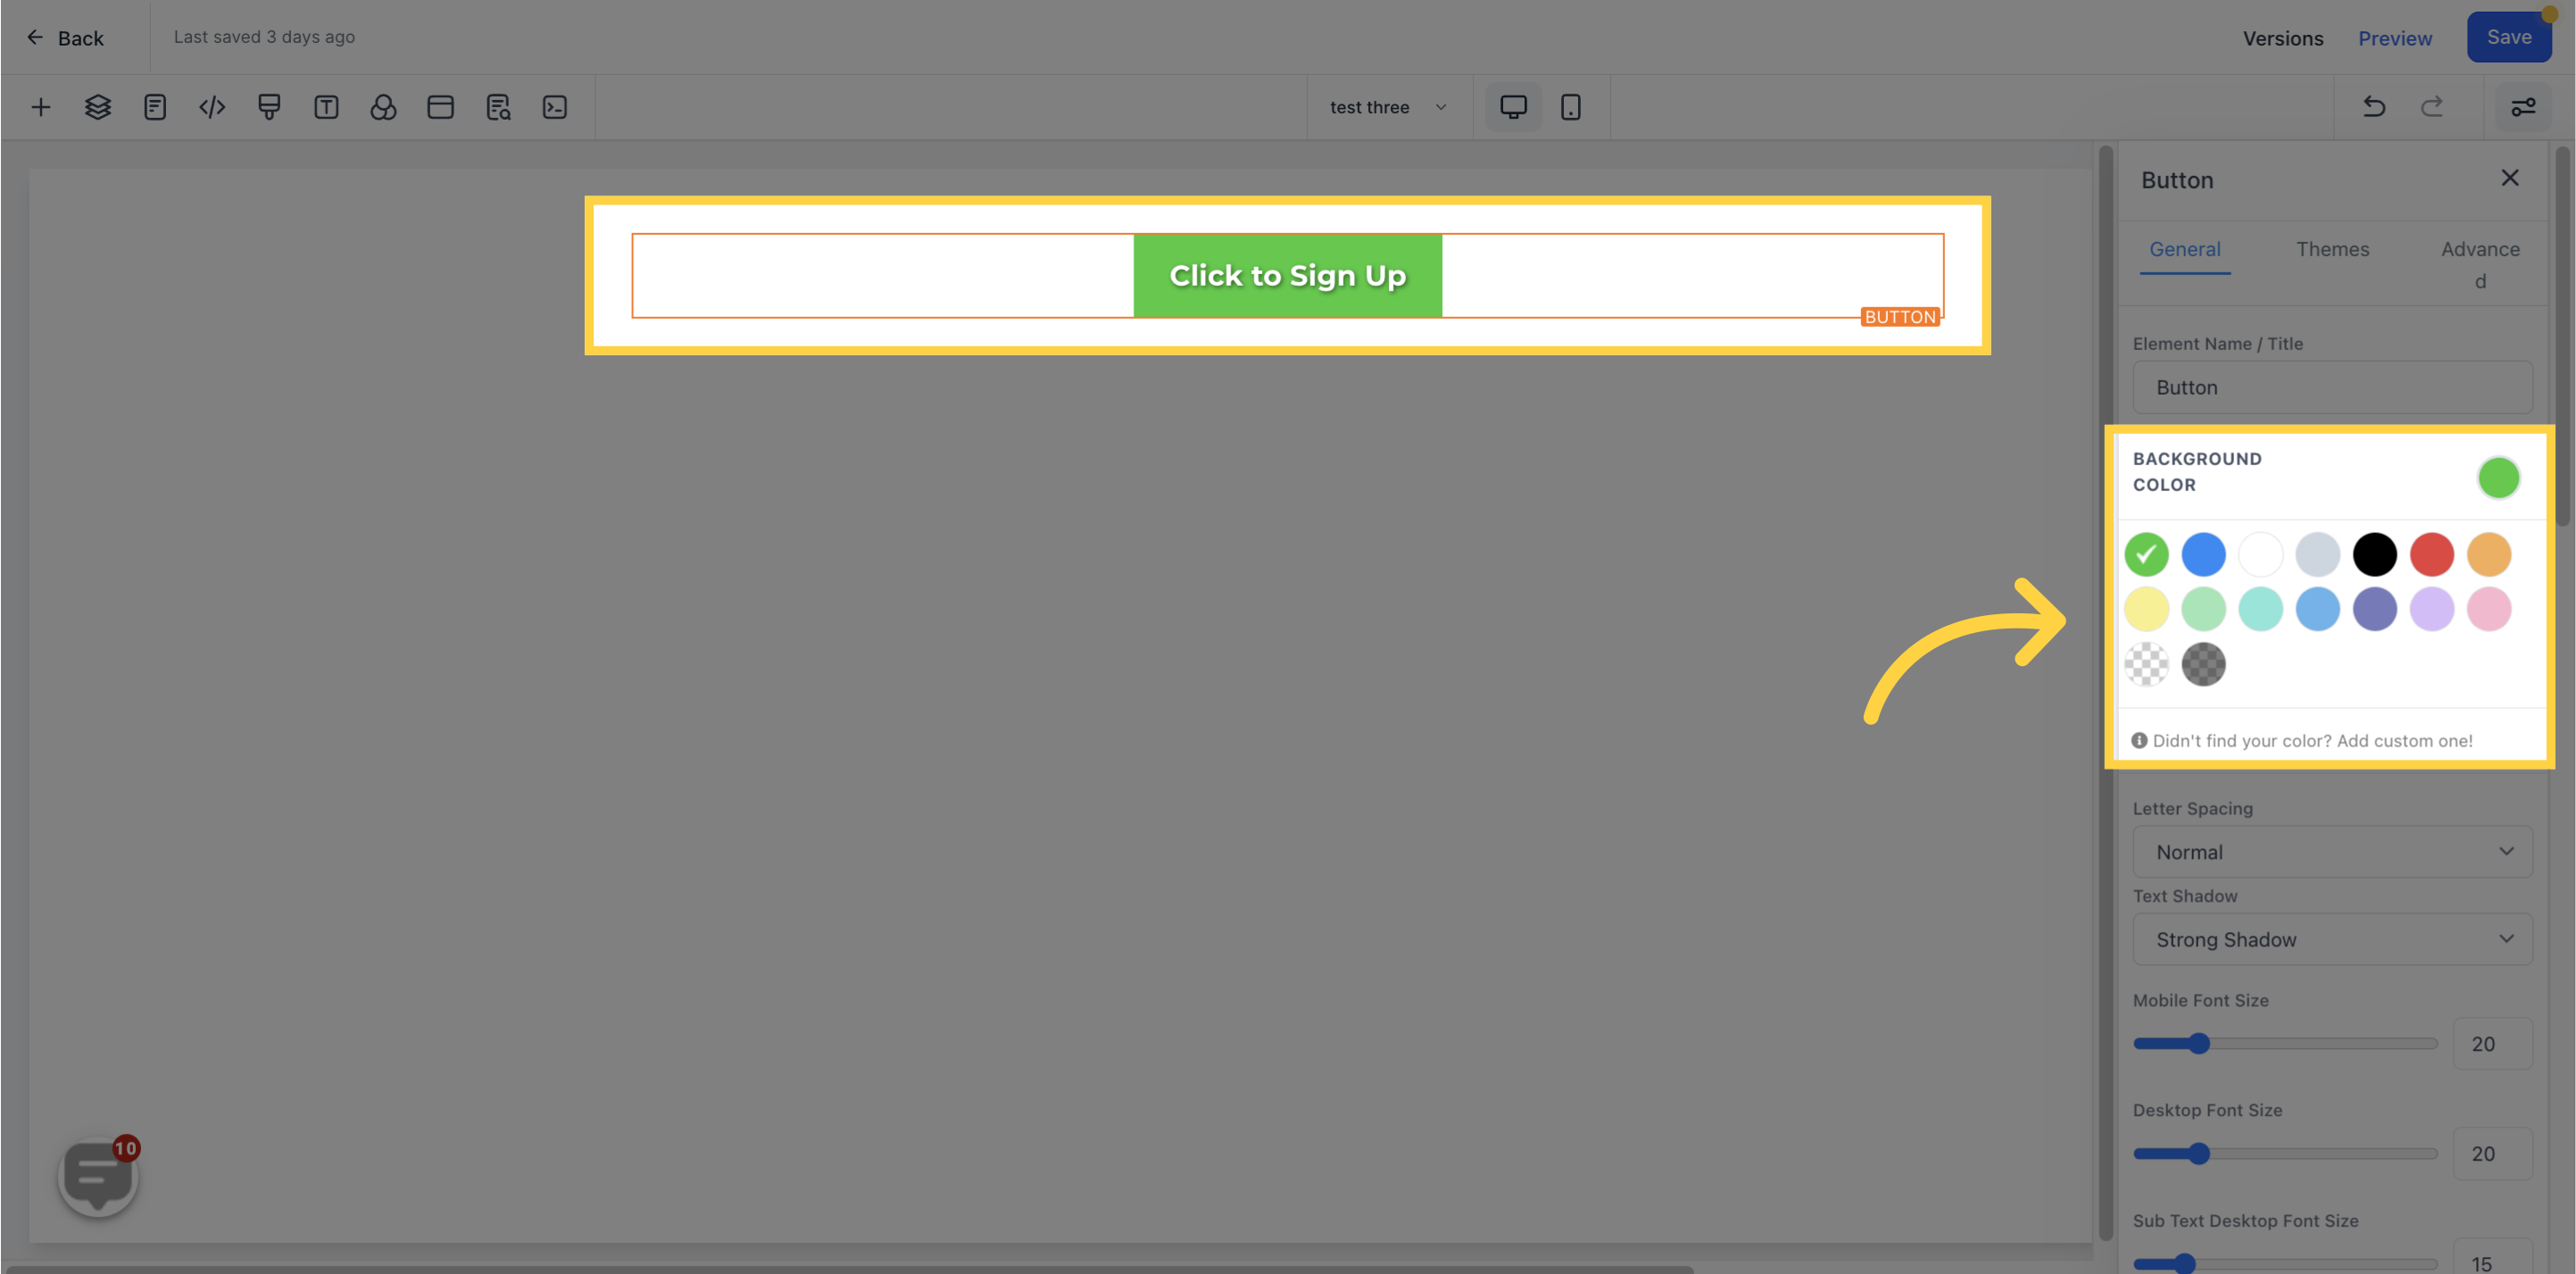
You can pick how far apart you want the letters to be in your button by clicking on this option.
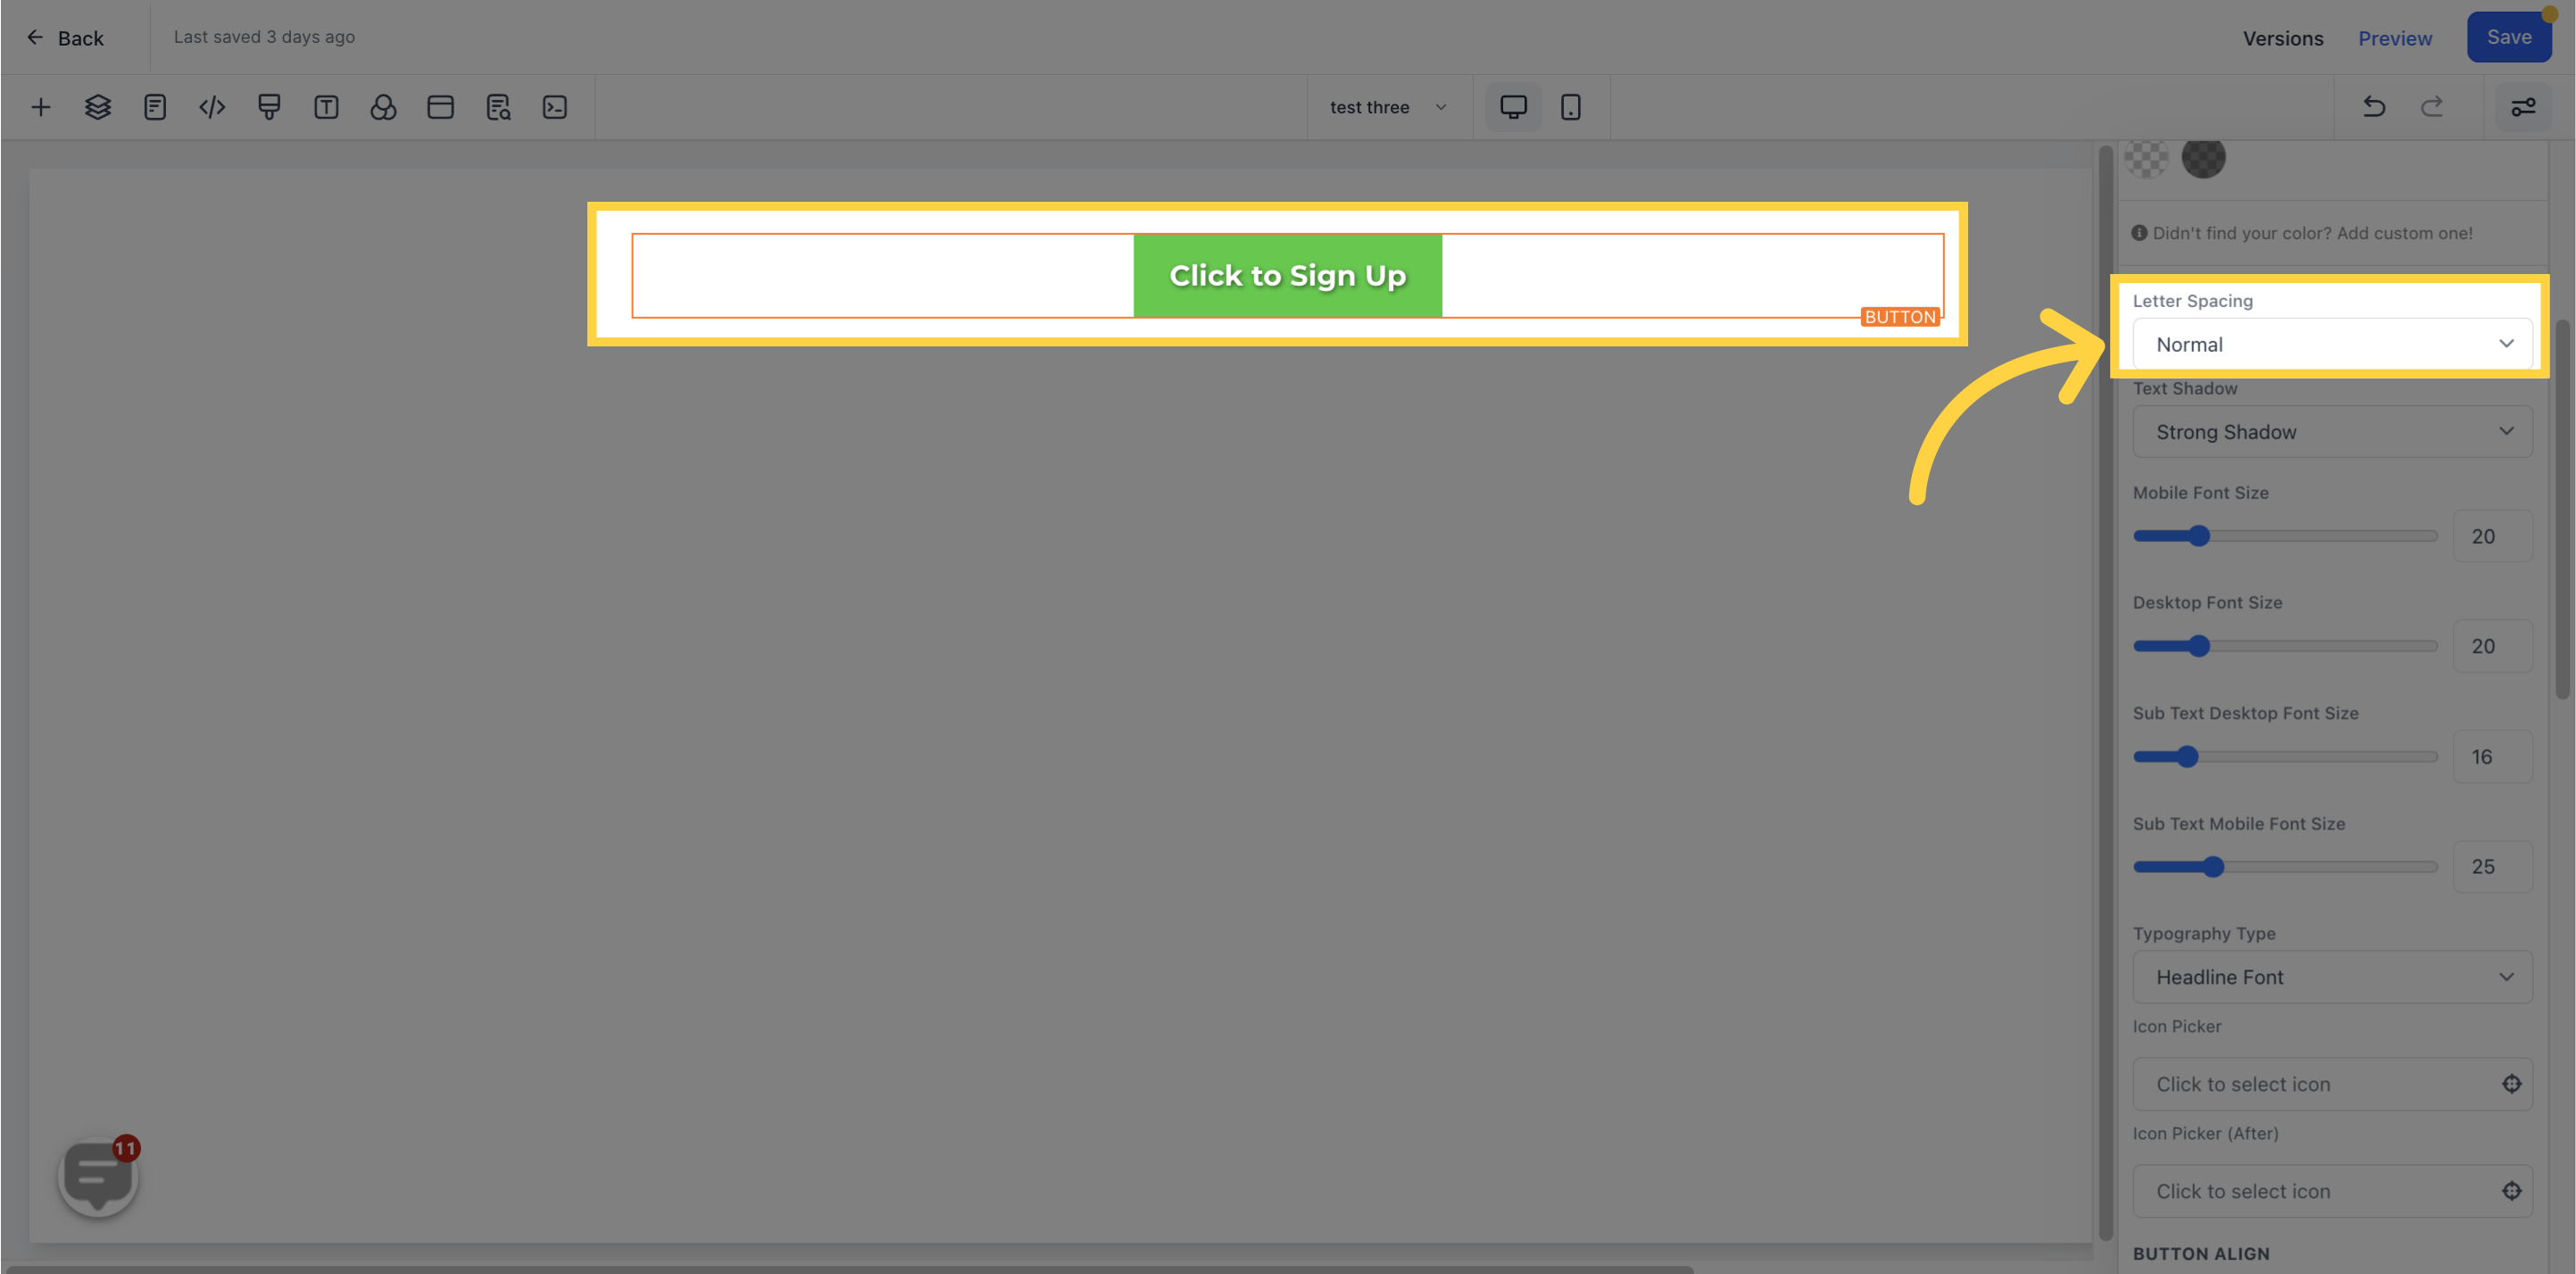
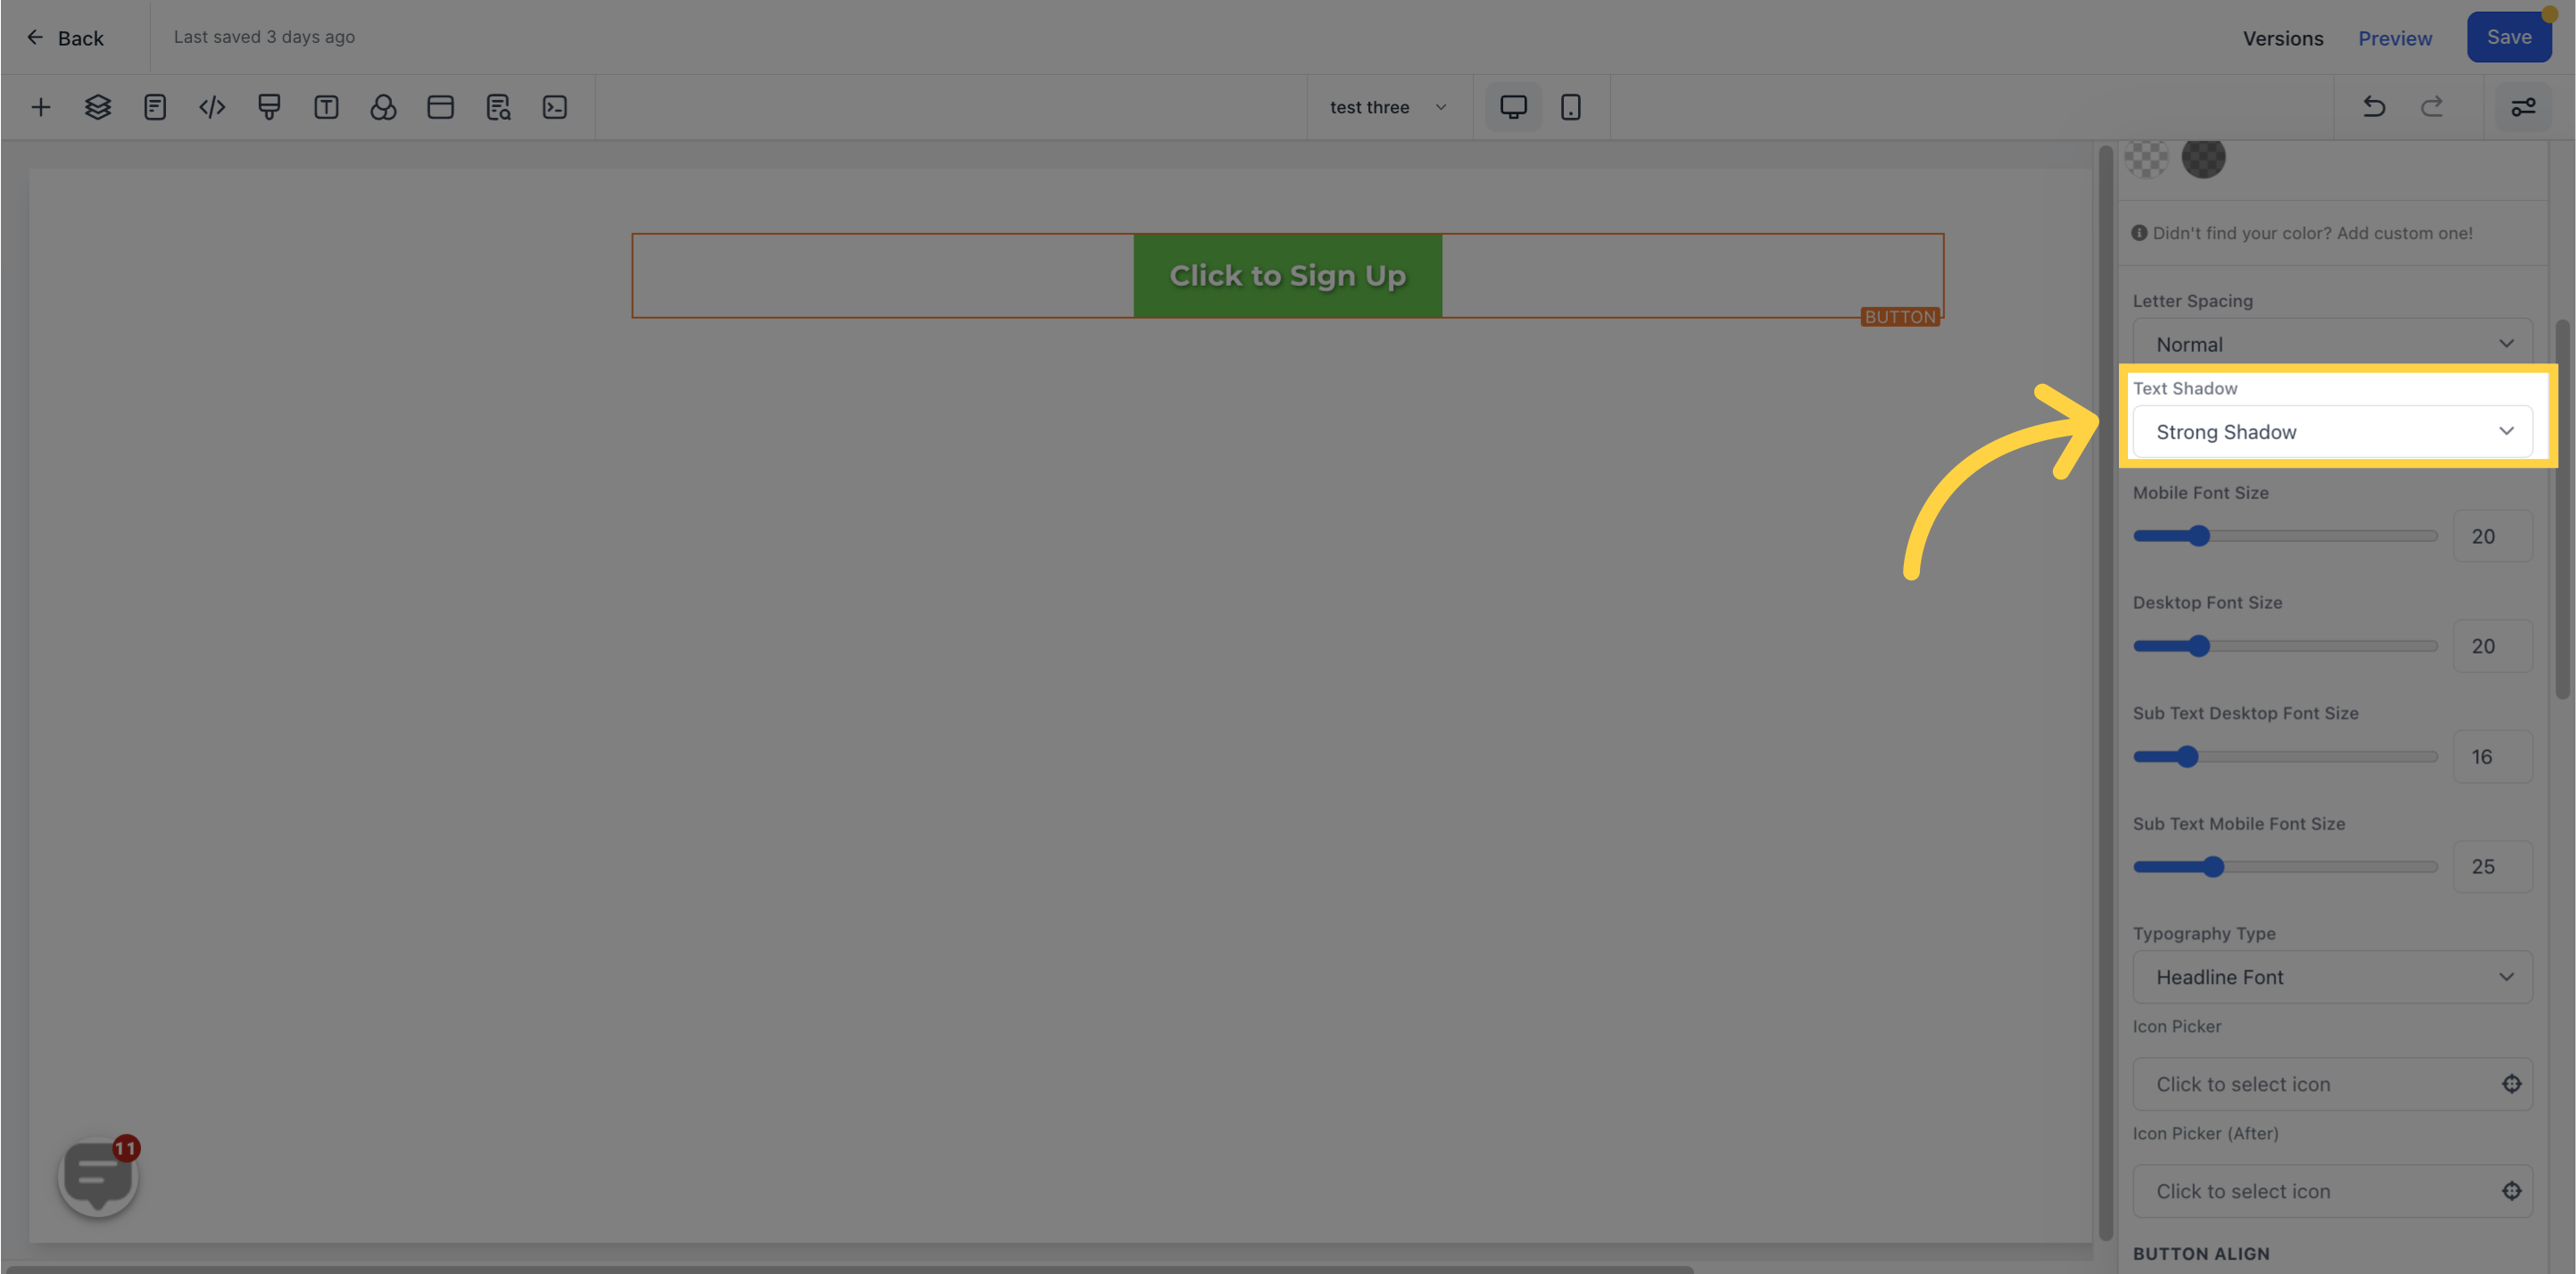
If you prefer your text/content to have a shadow, simply select how intense or light you want the shadow to be.
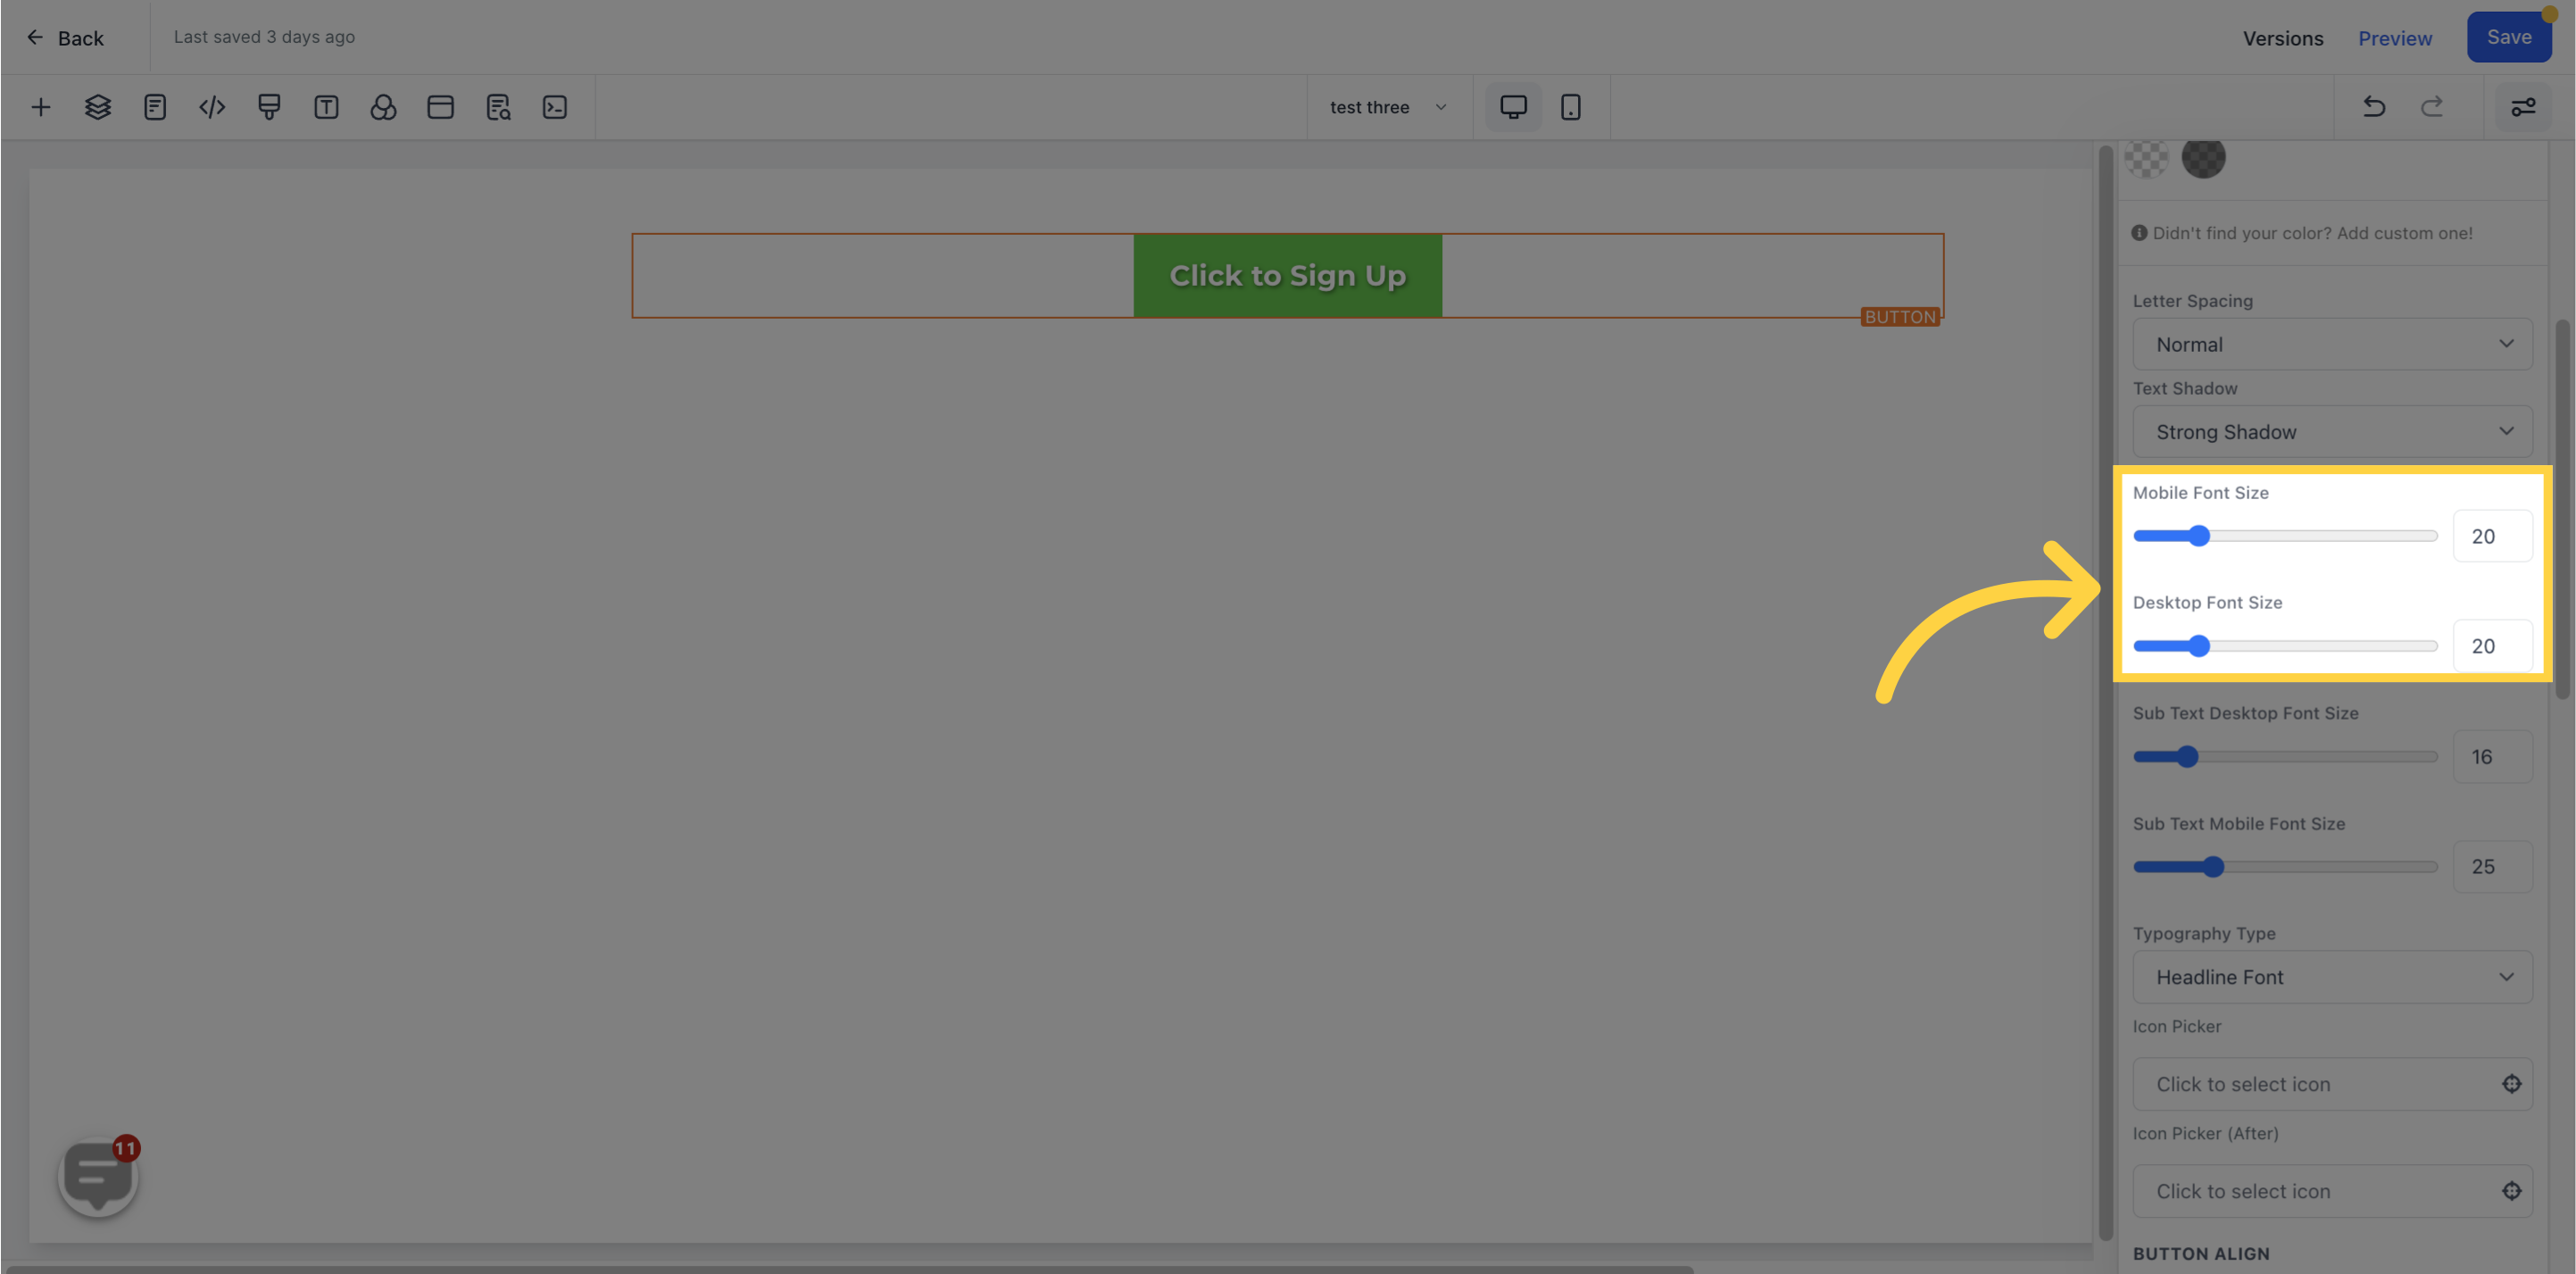
You can regulate the mobile and desktop font sizes of the text/content merely by adjusting the size bars.
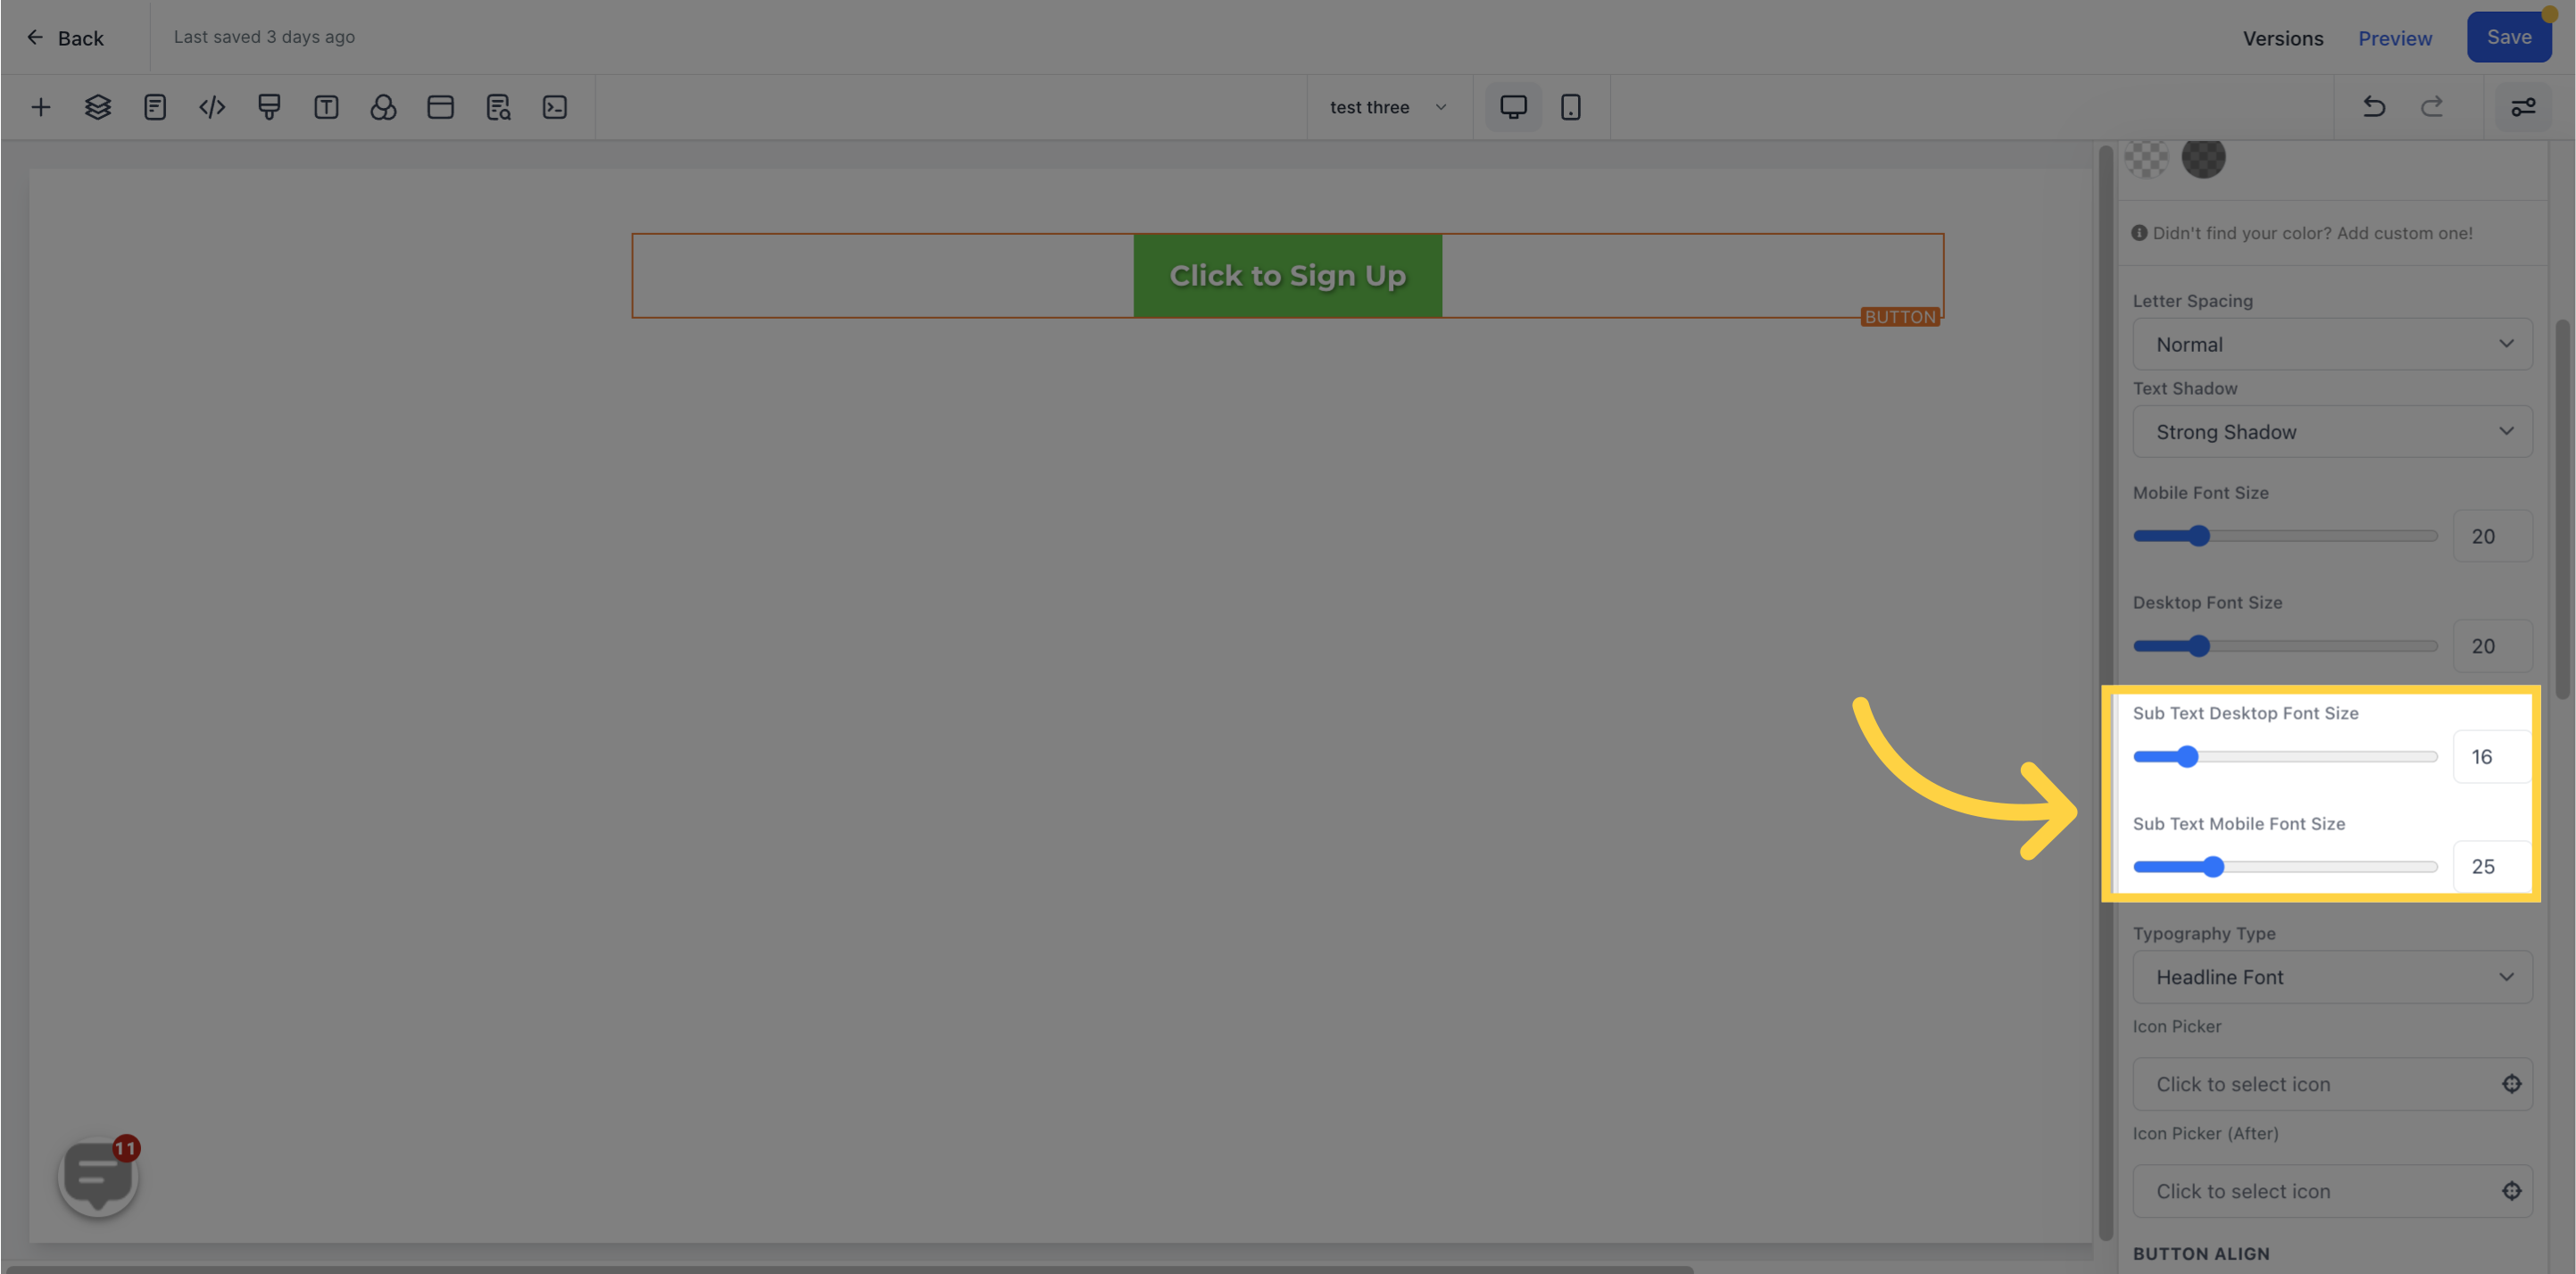
You can regulate the mobile and desktop font sizes of the sub-text/content simply by adjusting the size bars.
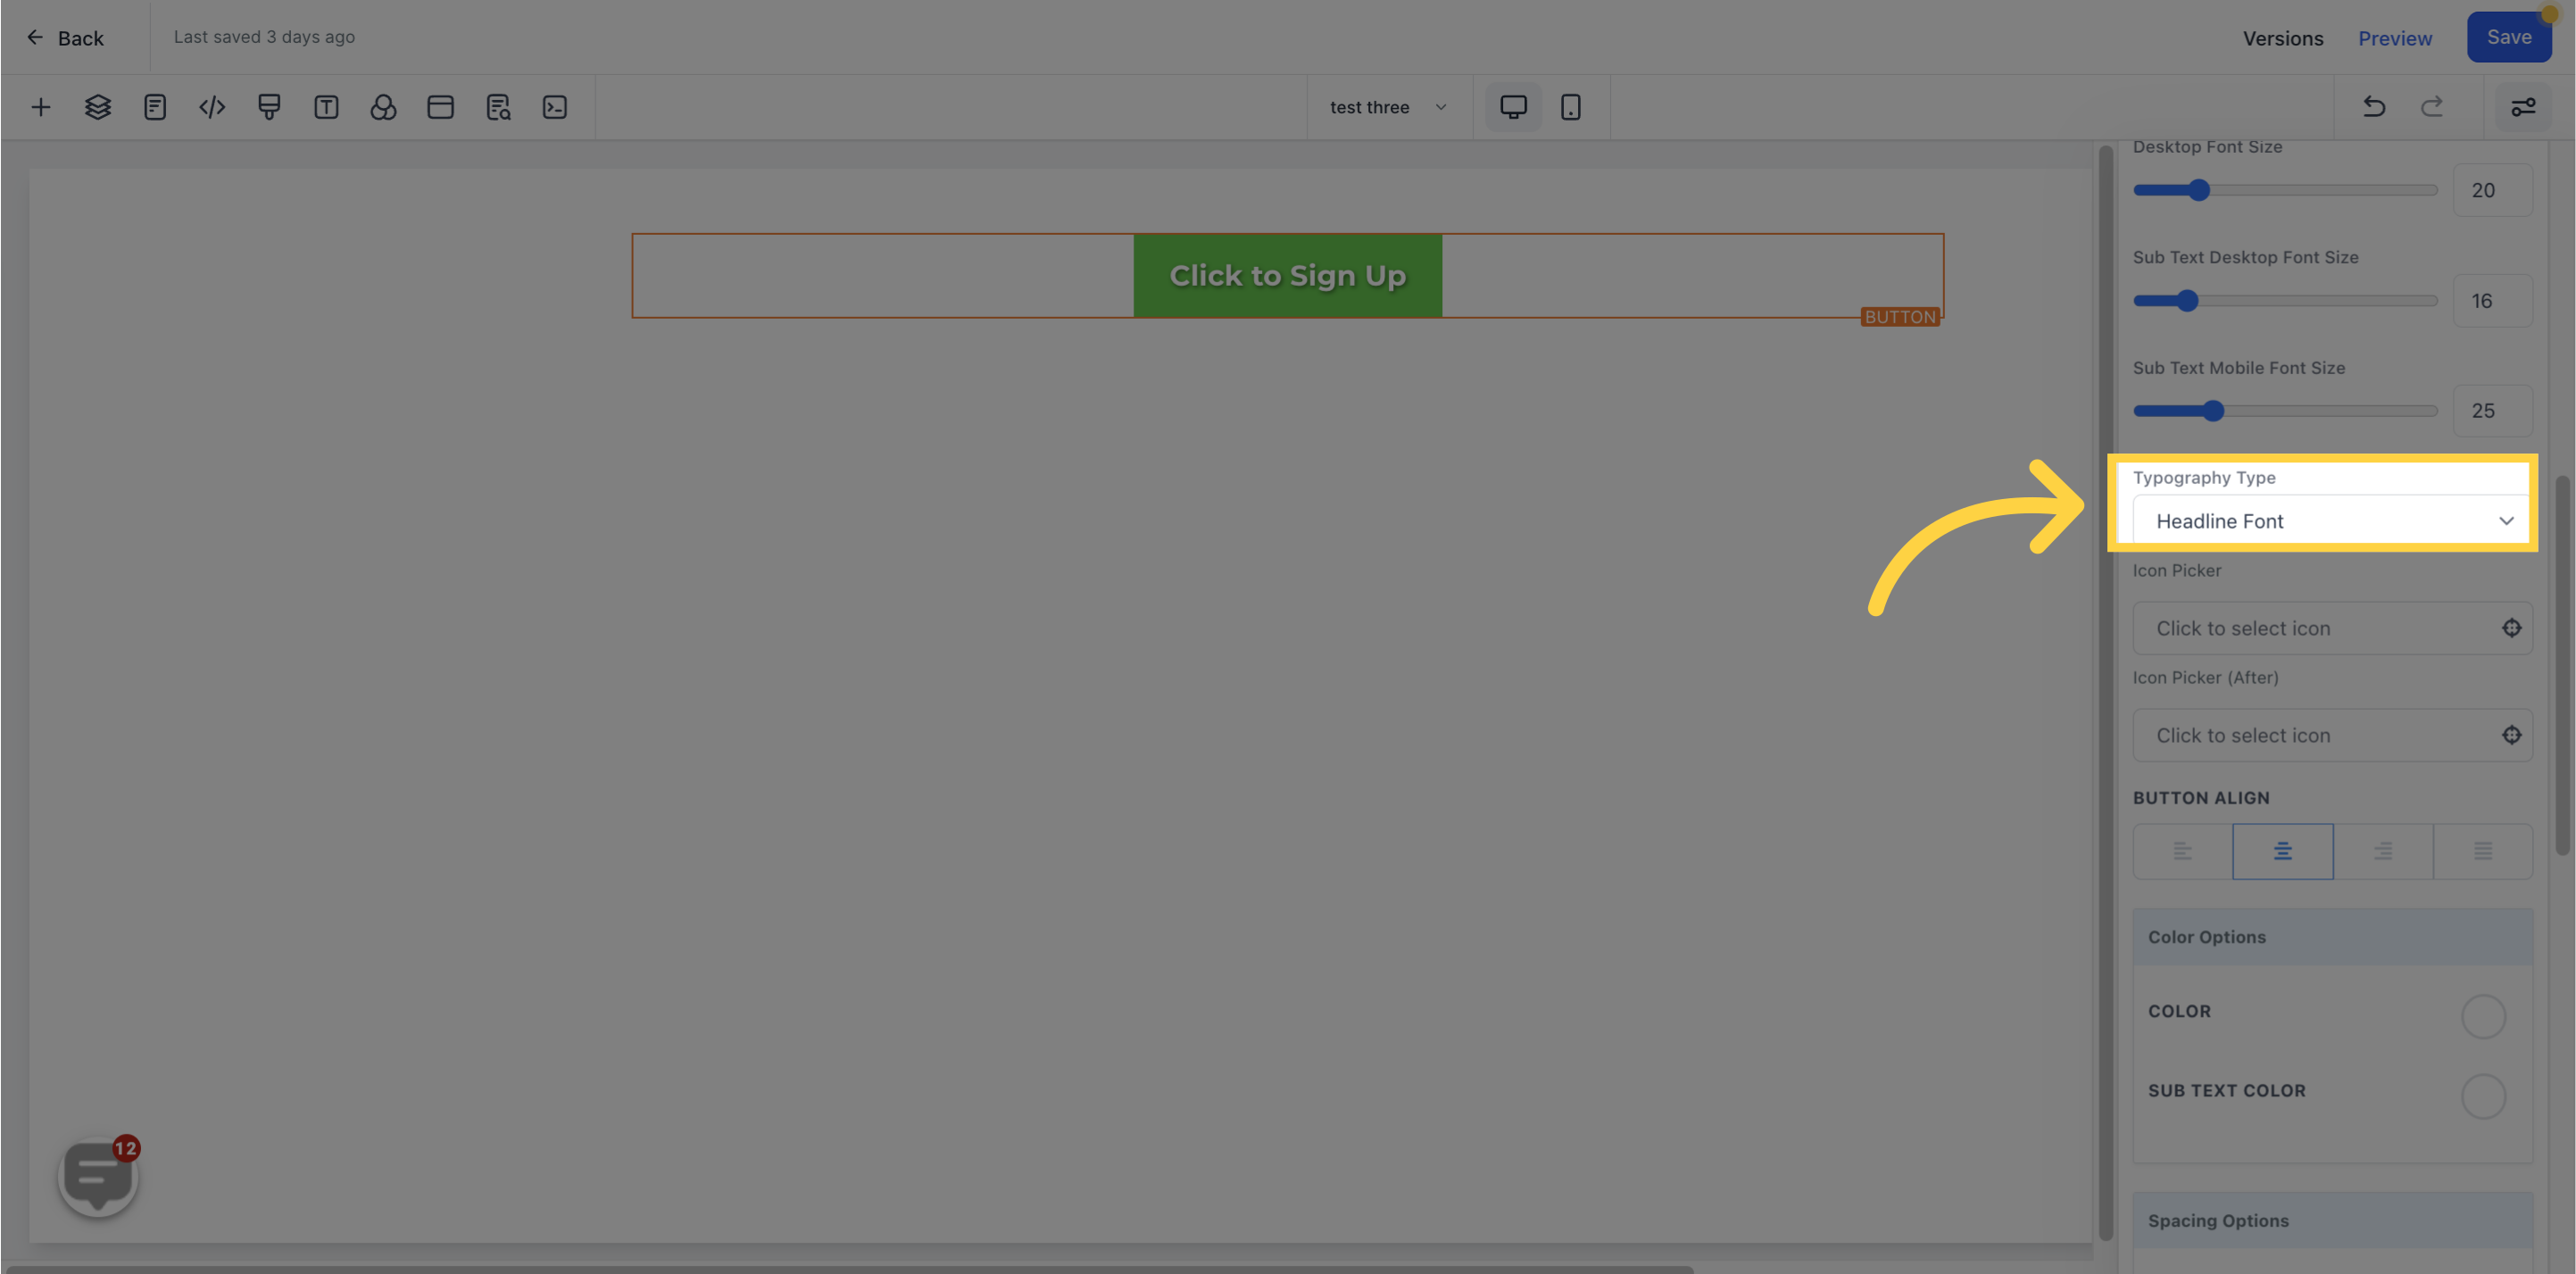
Here, you can modify the font of the button text/content.
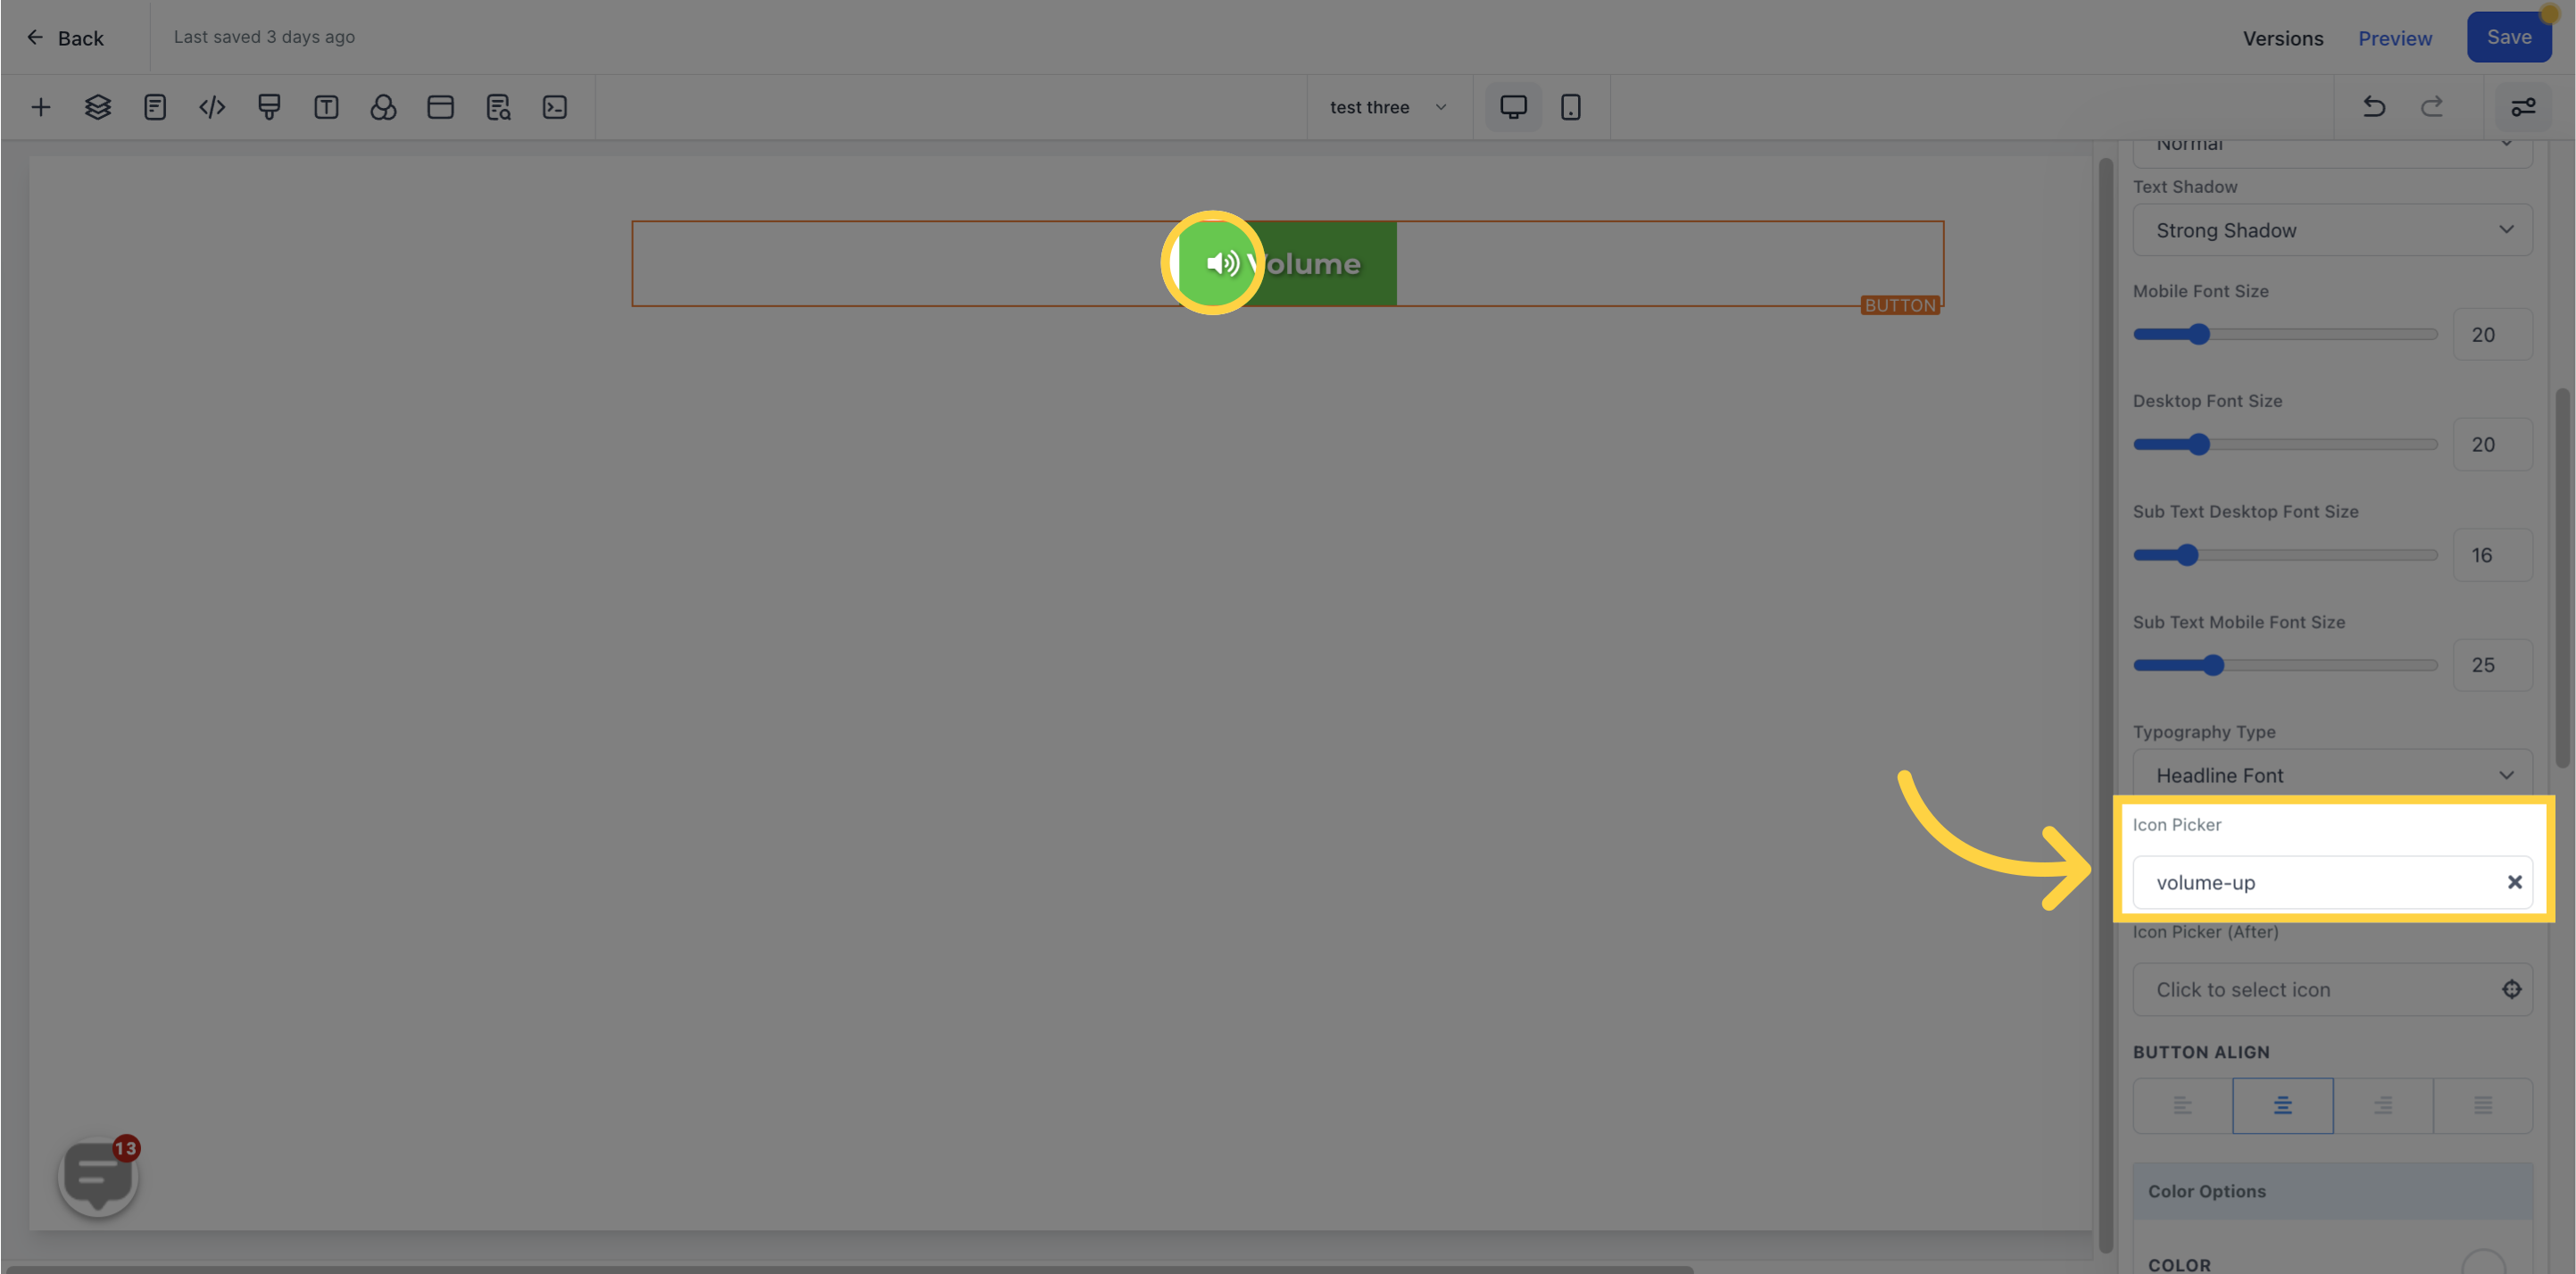
Here, you can add icons to your buttons. When you add an icon, it will be placed before the text in the button.
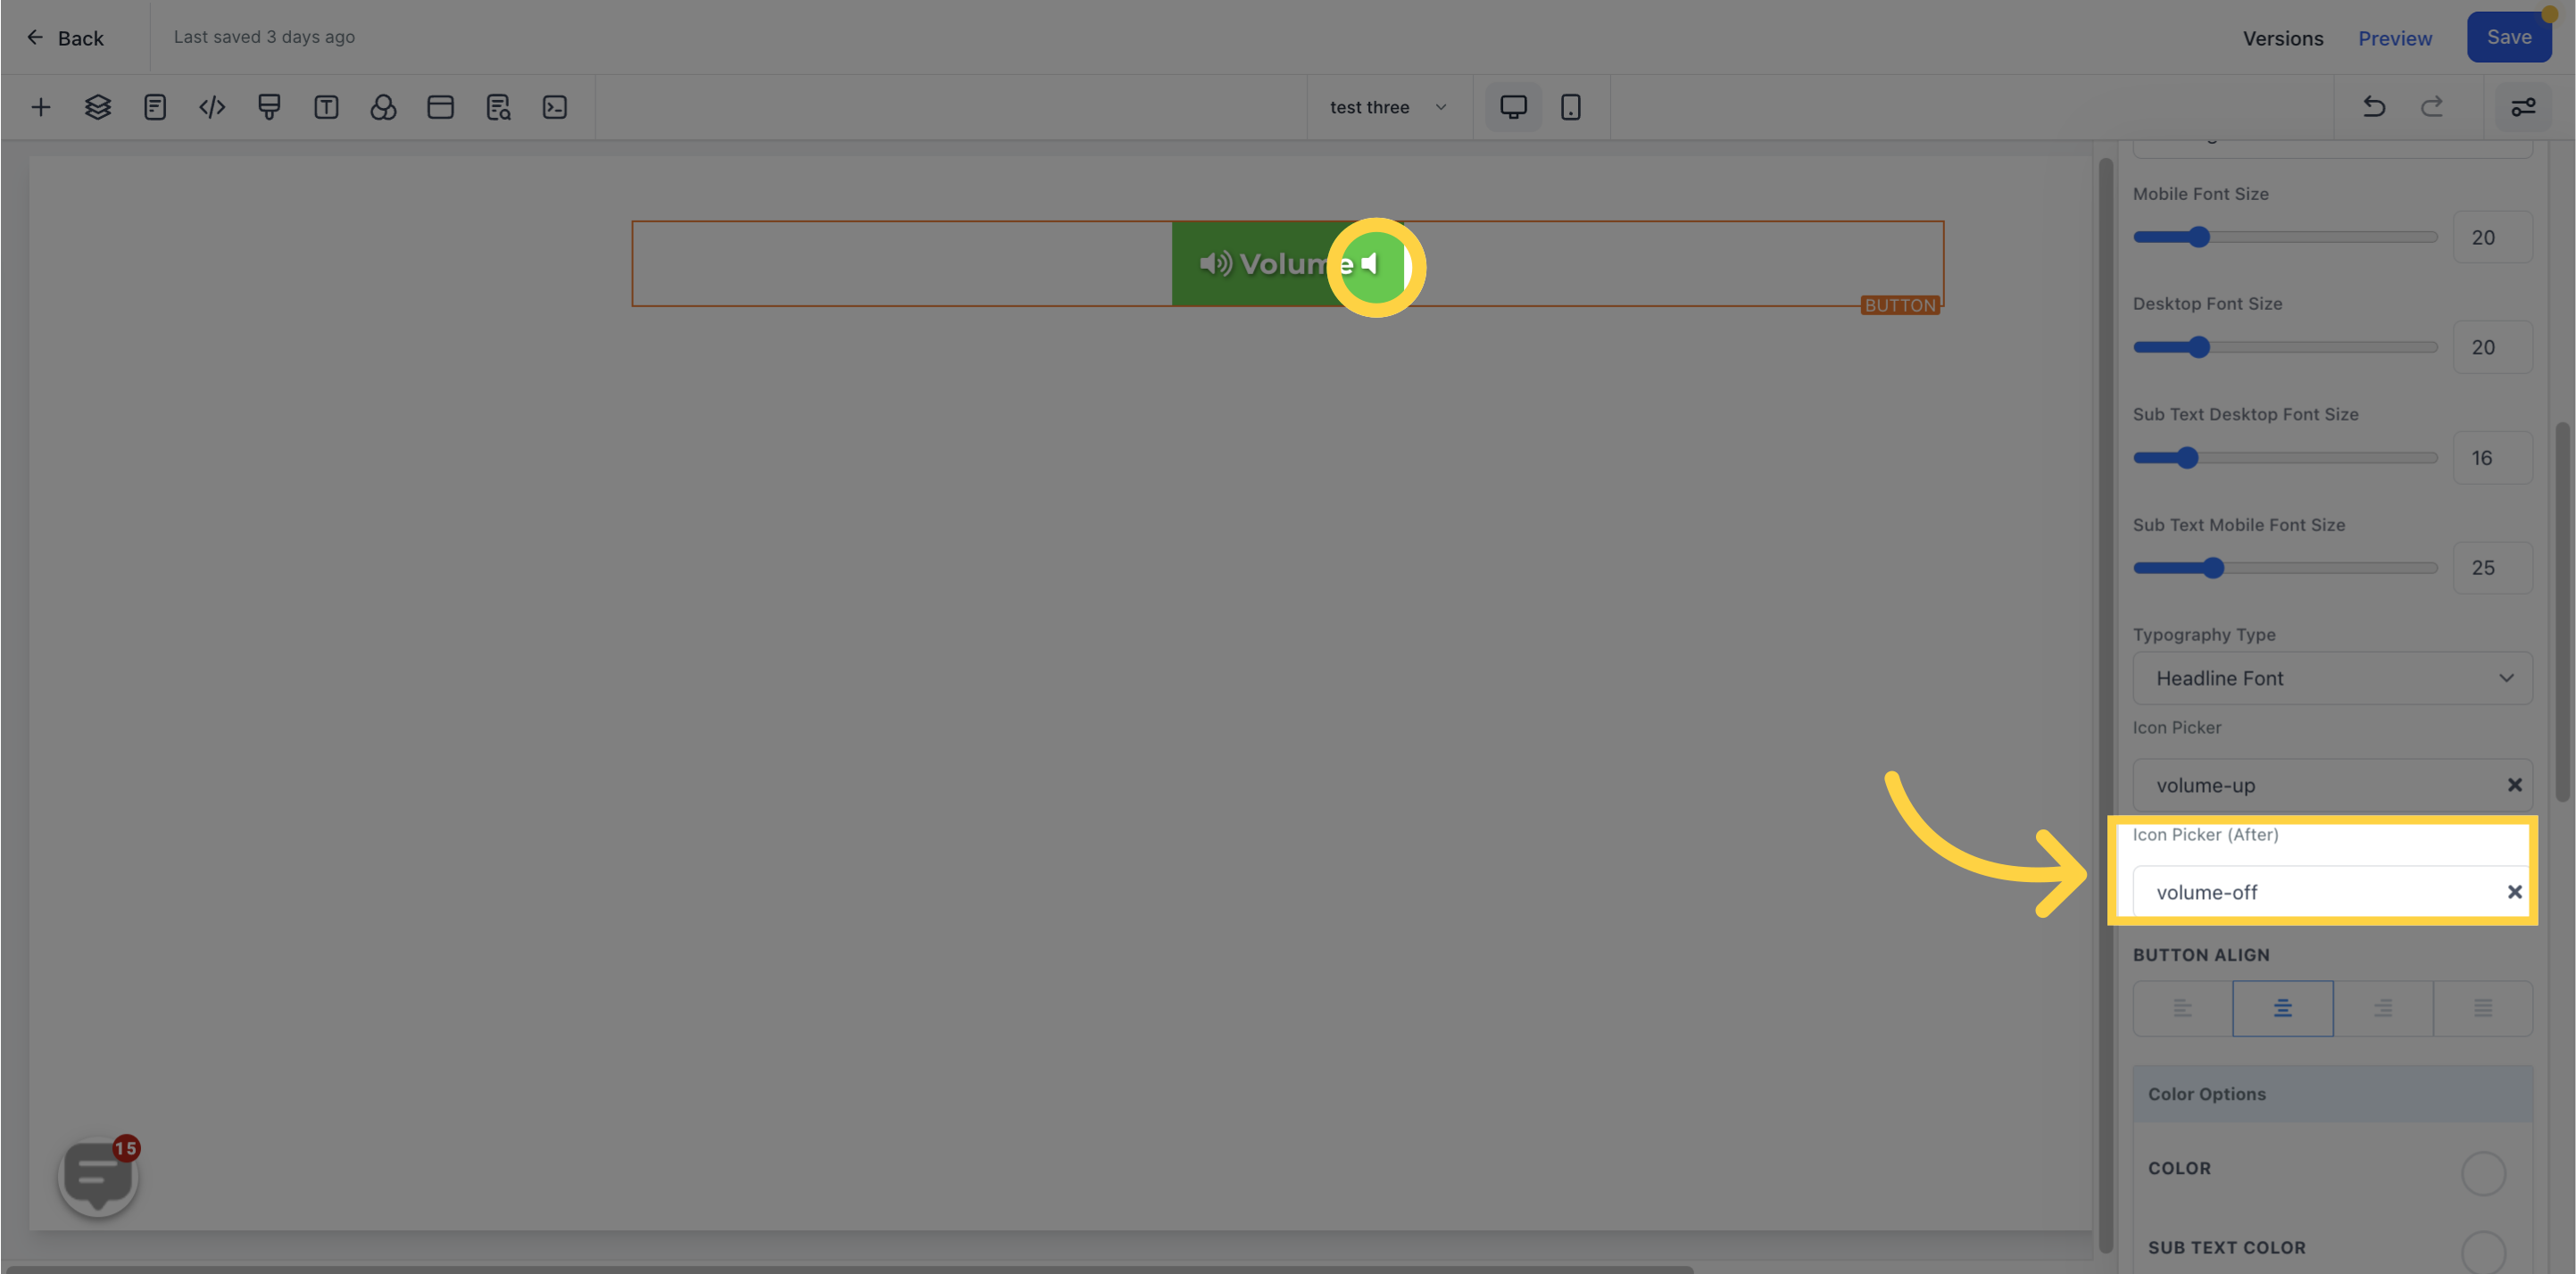
Here, you can add icons to your buttons. When you add an icon, it will be placed after the text in the button.

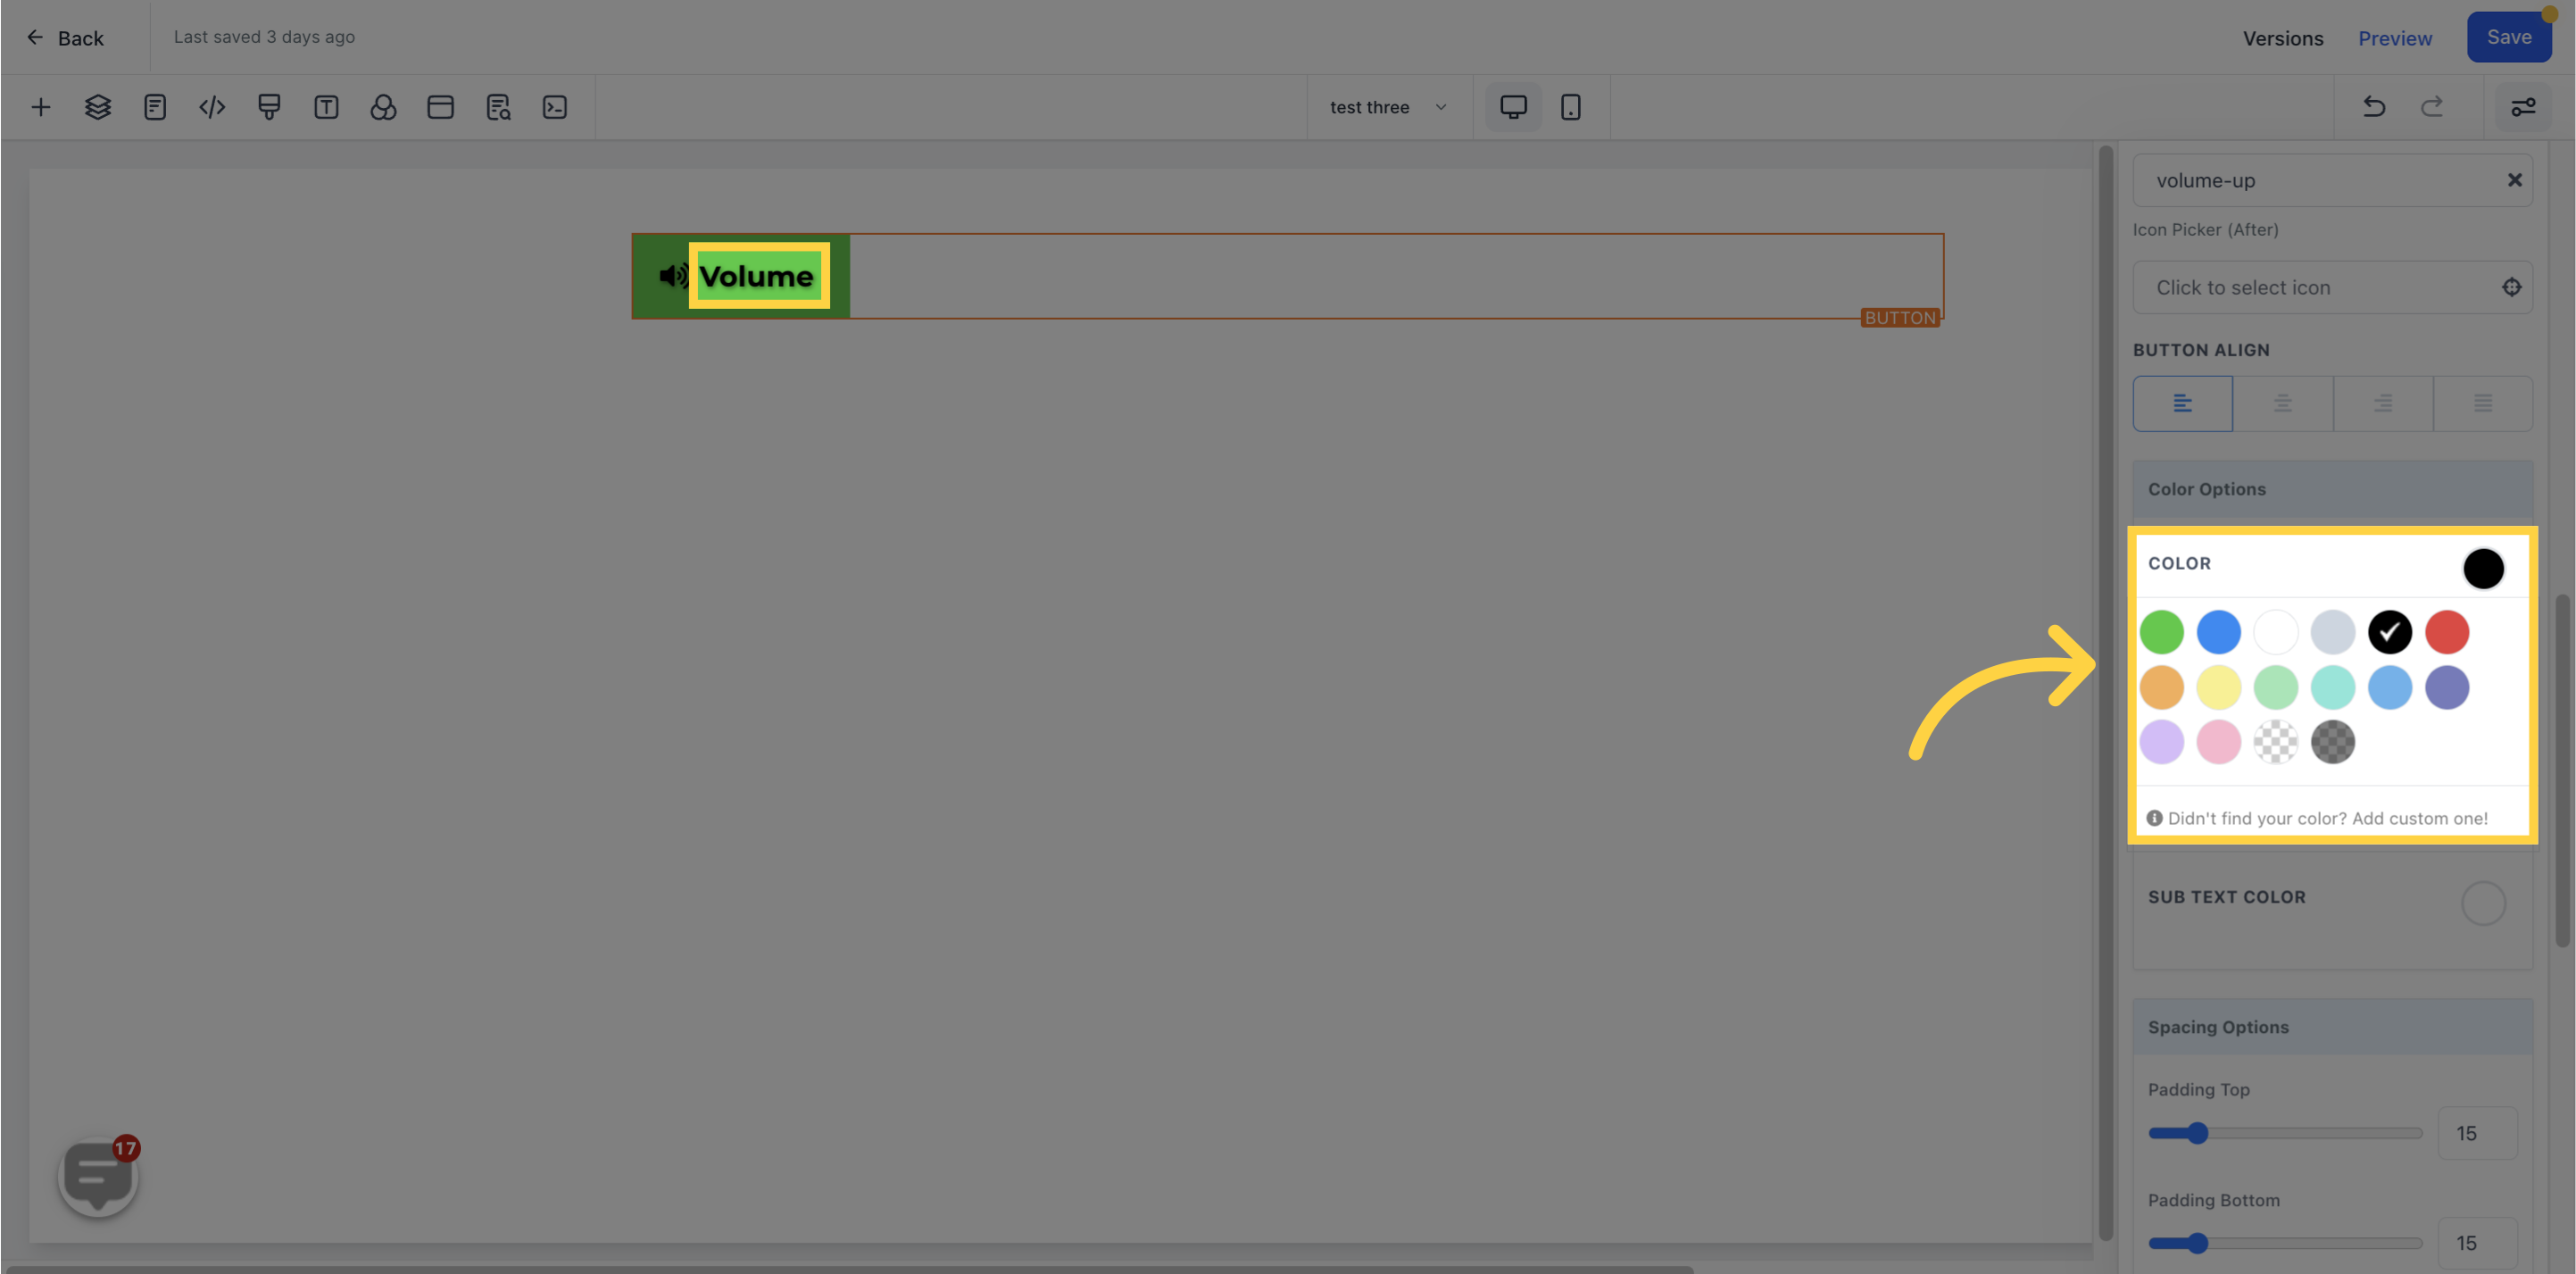
Here, you can only adjust the text color in the button, for instance, the "Click to Signup" text.
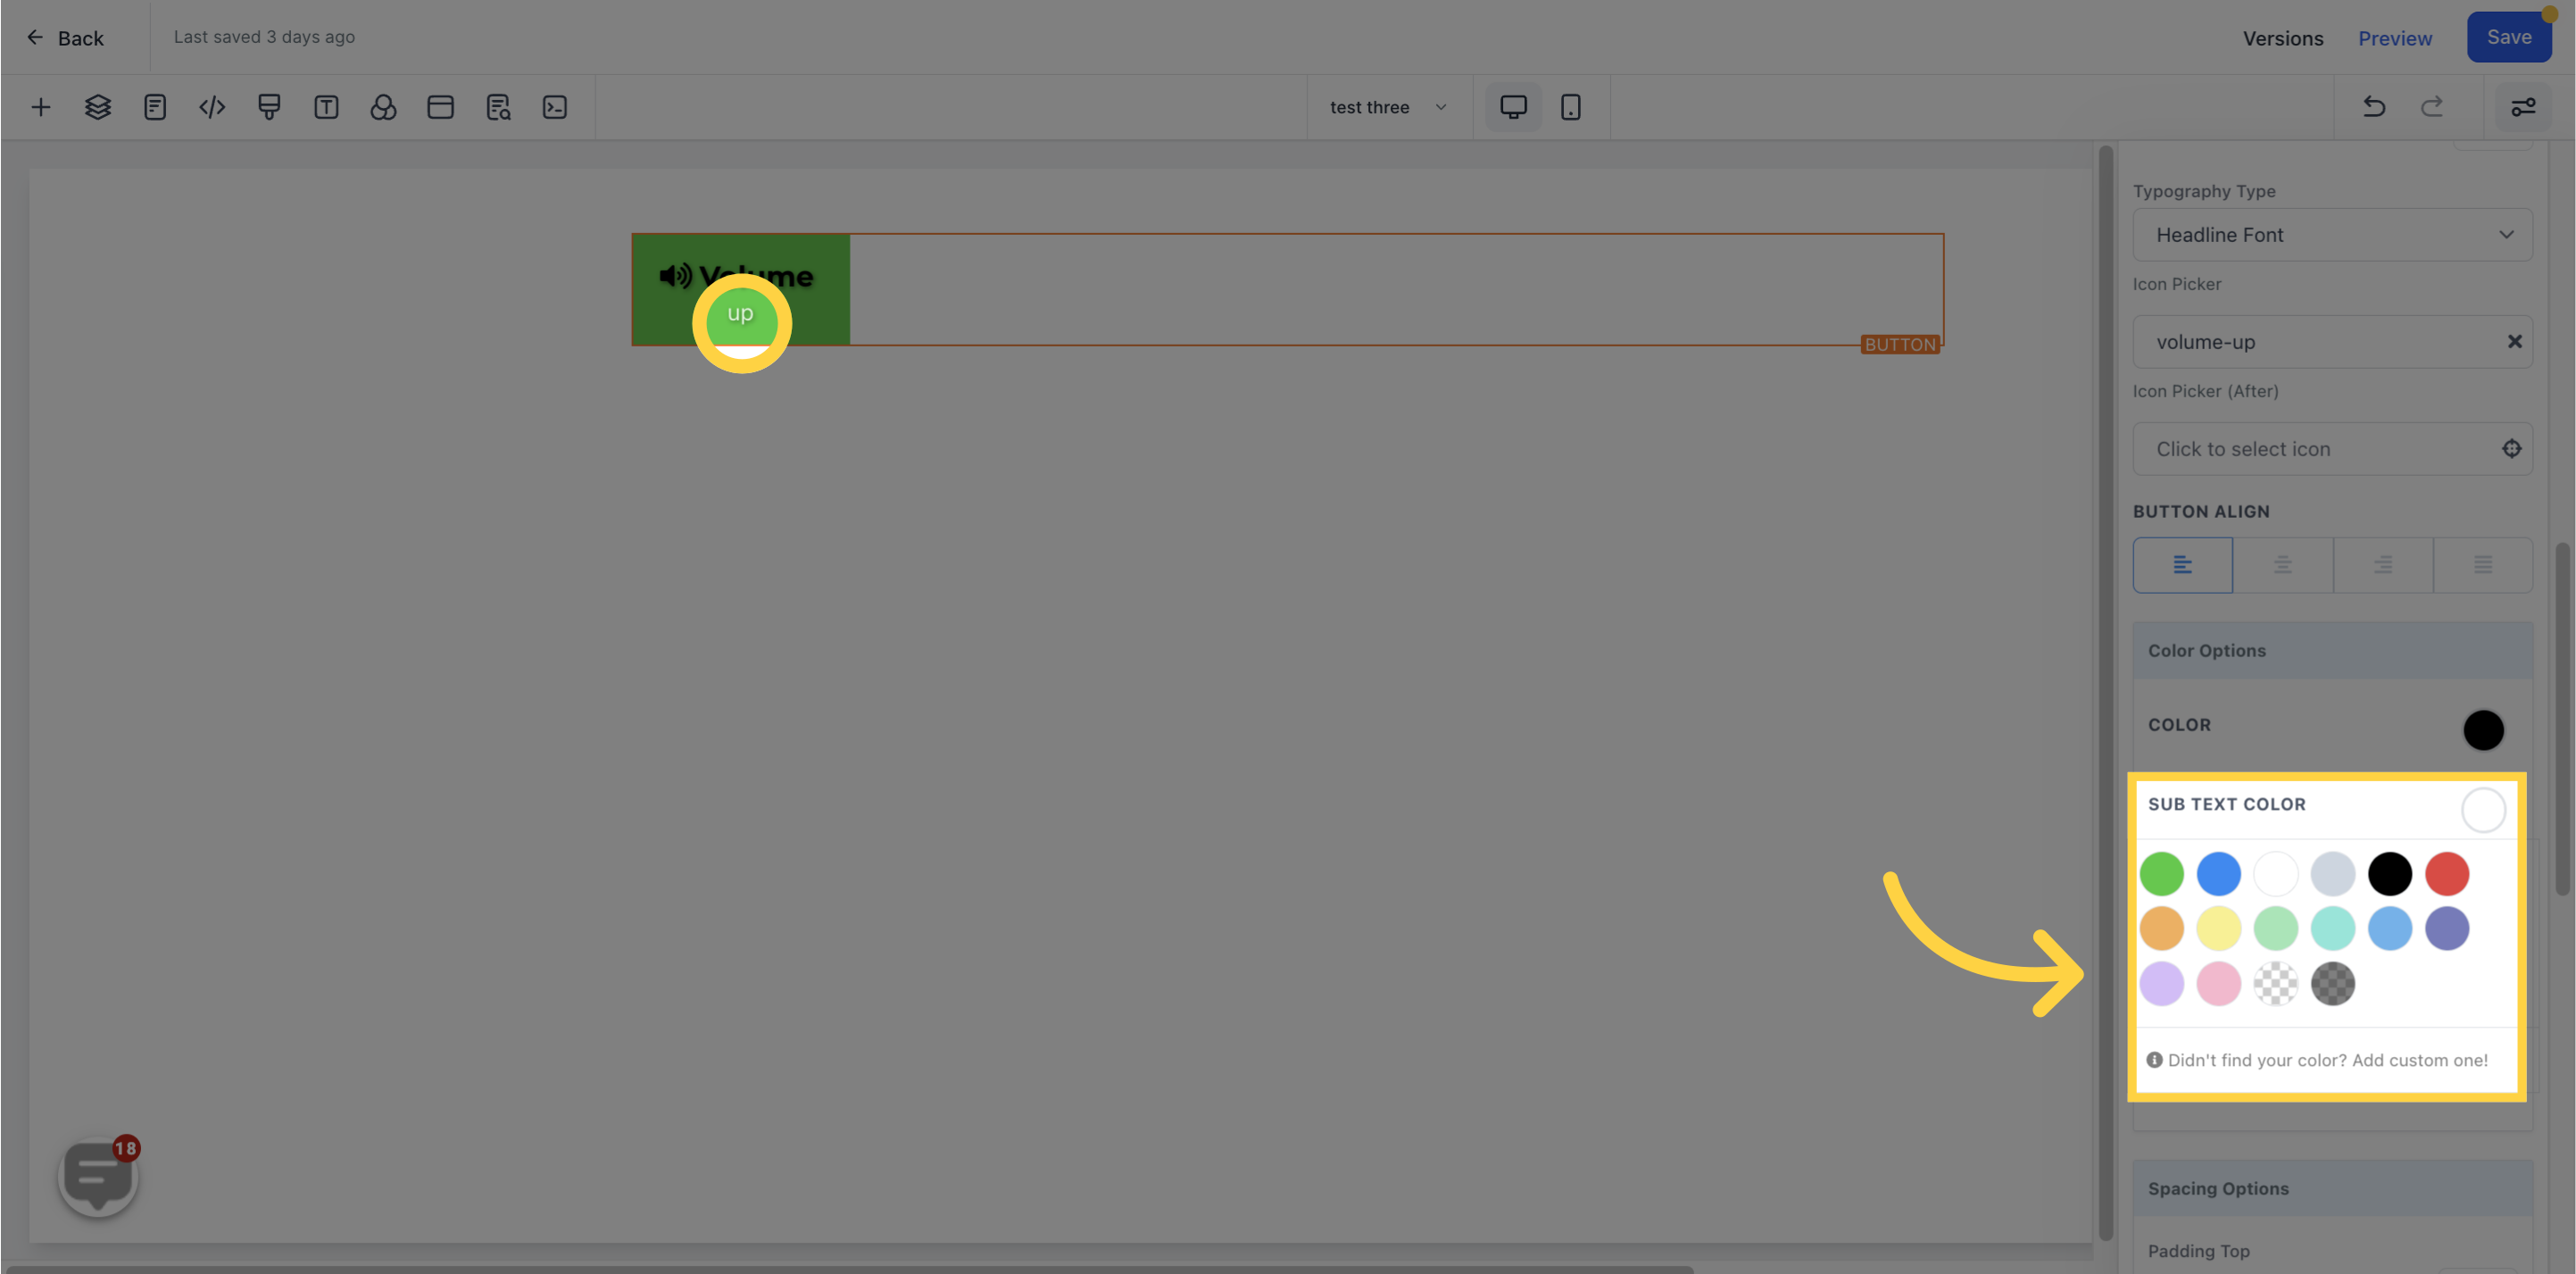
When you add sub-text to your button, you can only adjust the color in the button here.
There are different spacing choices available to adjust your button. The settings will only be applicable to that option based on the Edit option you are operating on.
These four (4) different toggle bars move the content to the left, right, top, or bottom depending on the toggle bar you click on.
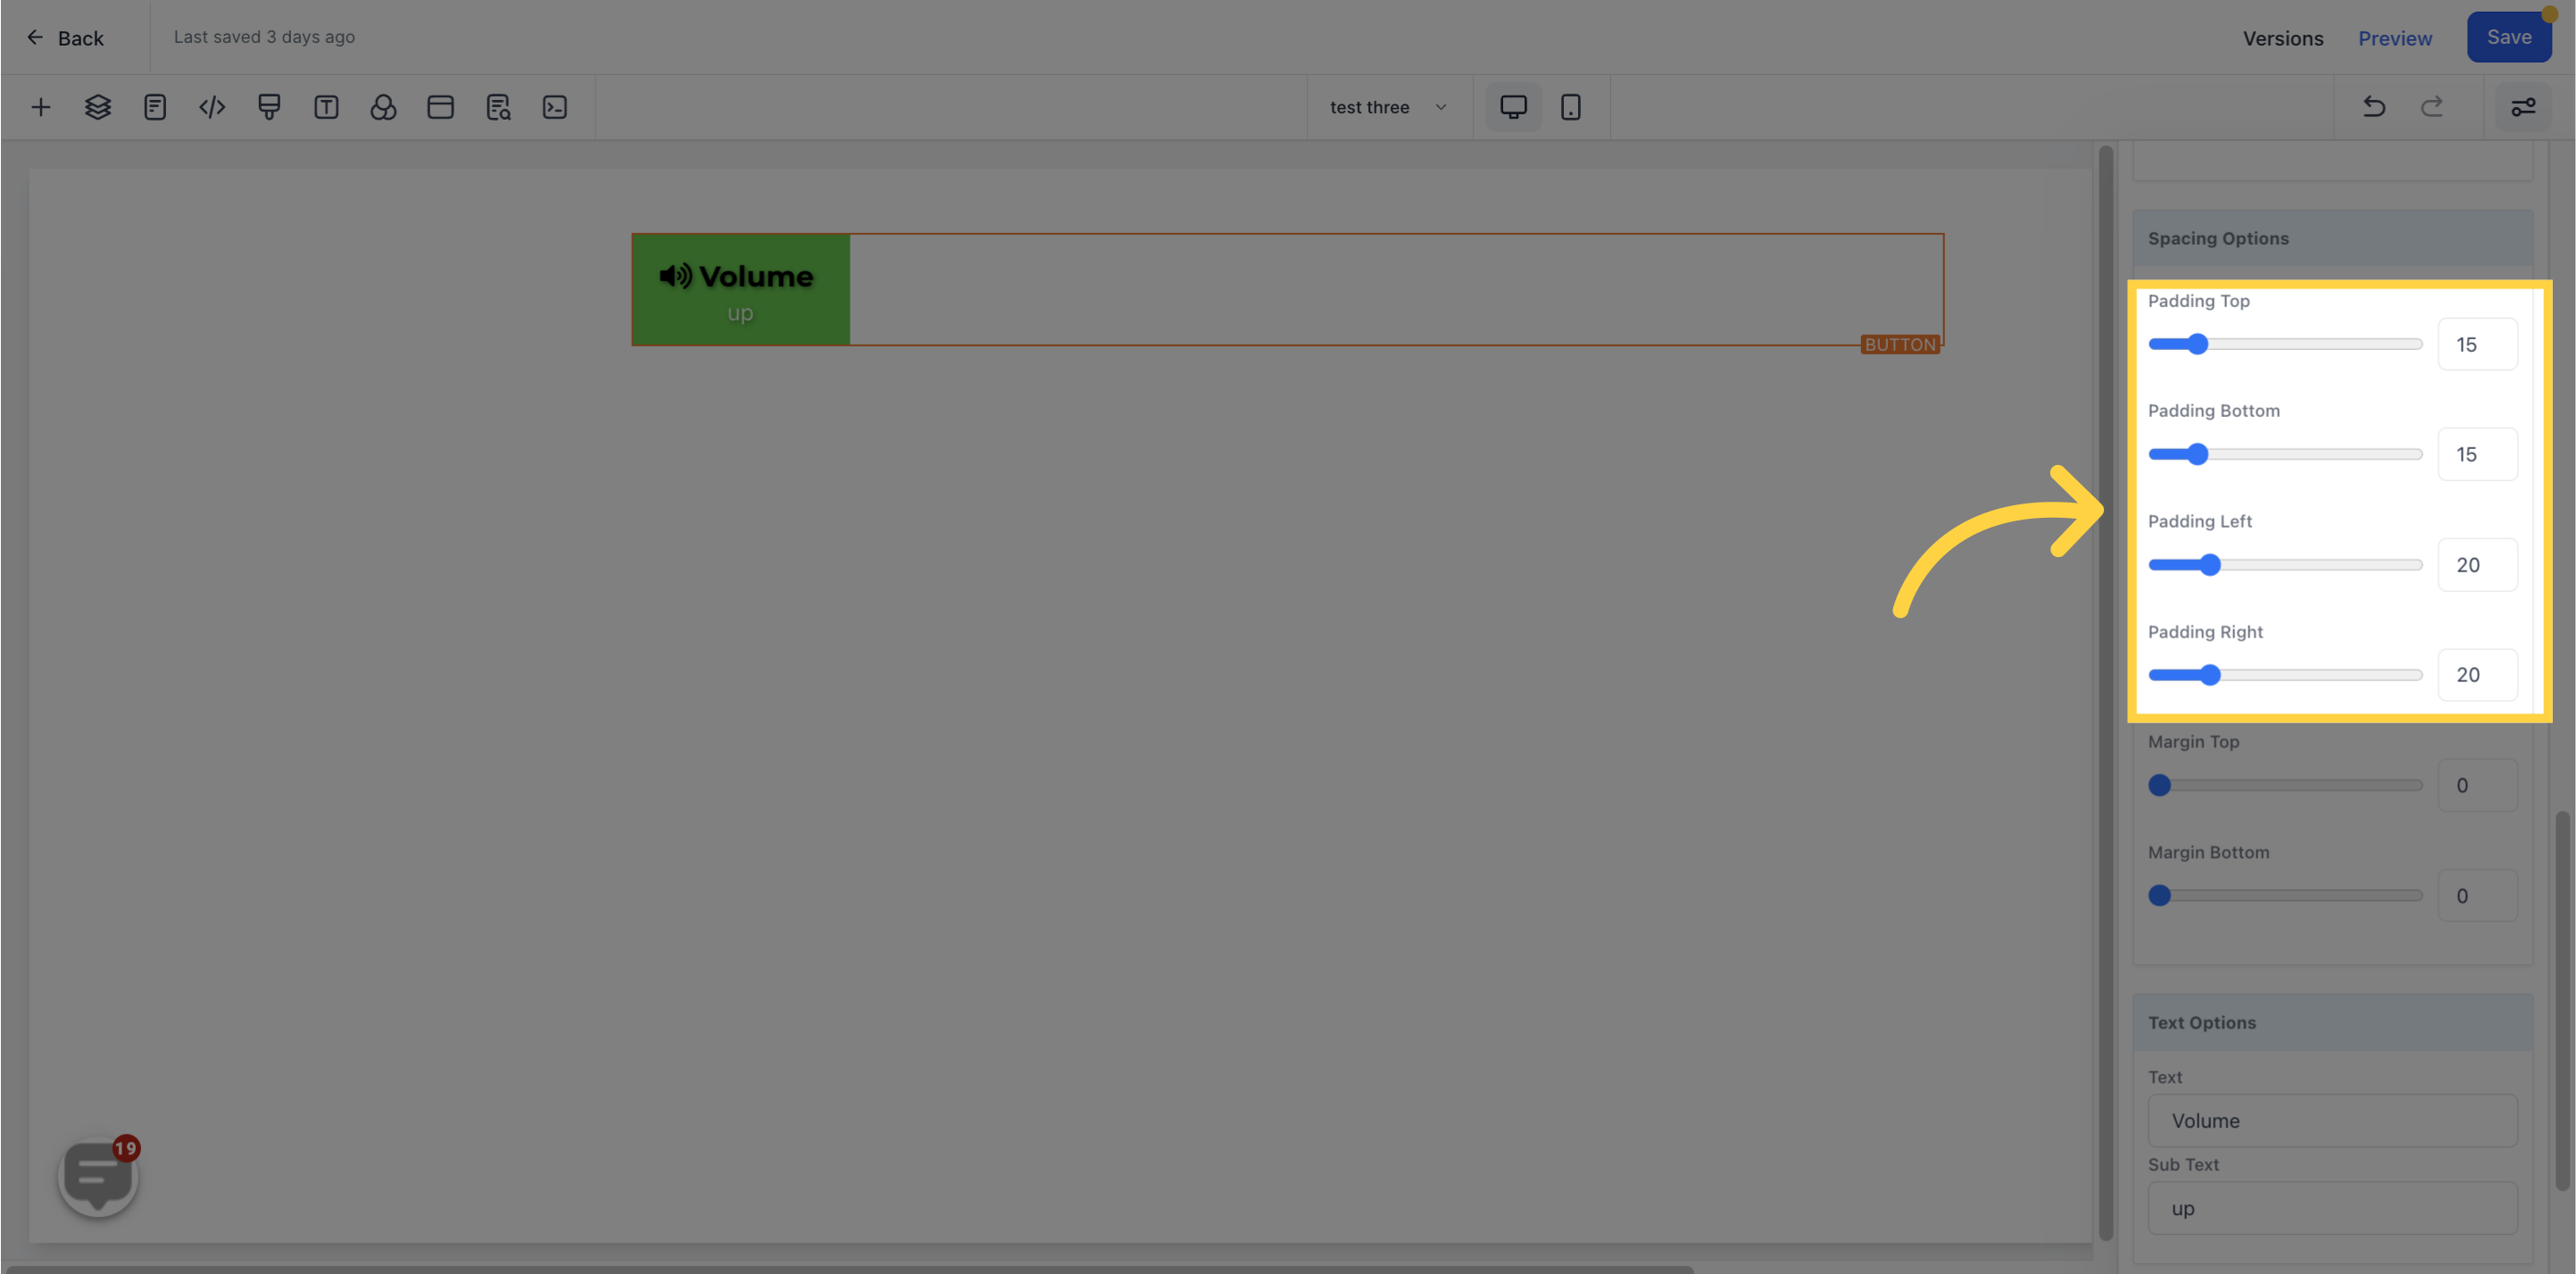
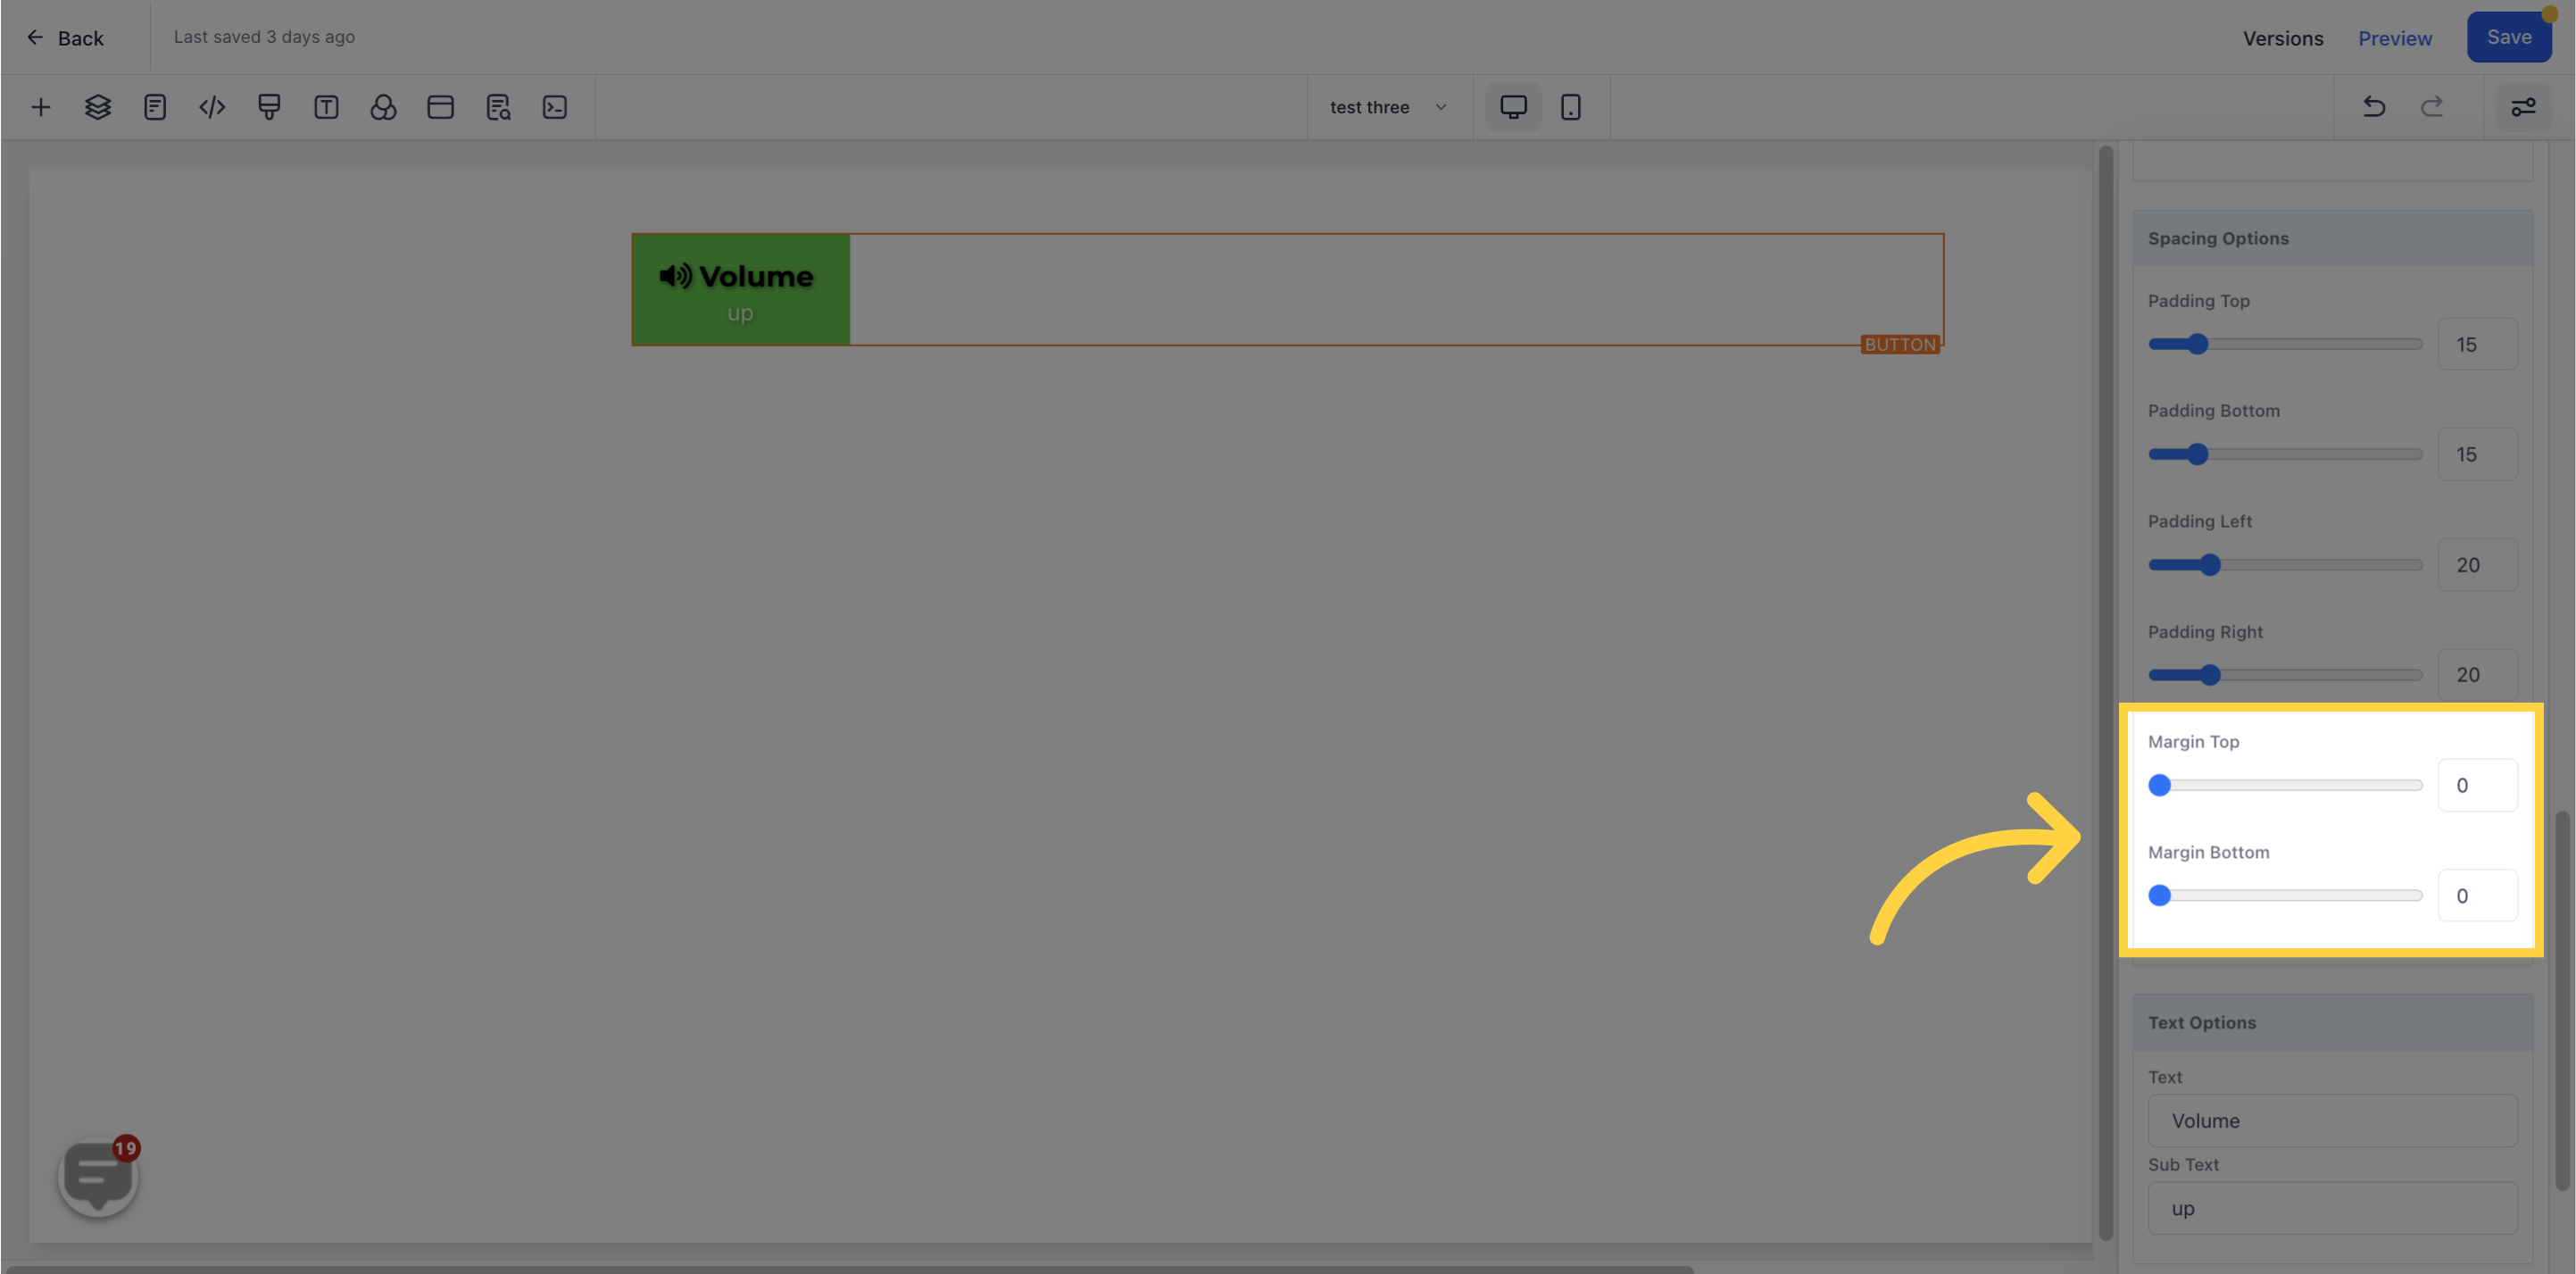
You can adjust the top or bottom margin of your content by toggling its bars.
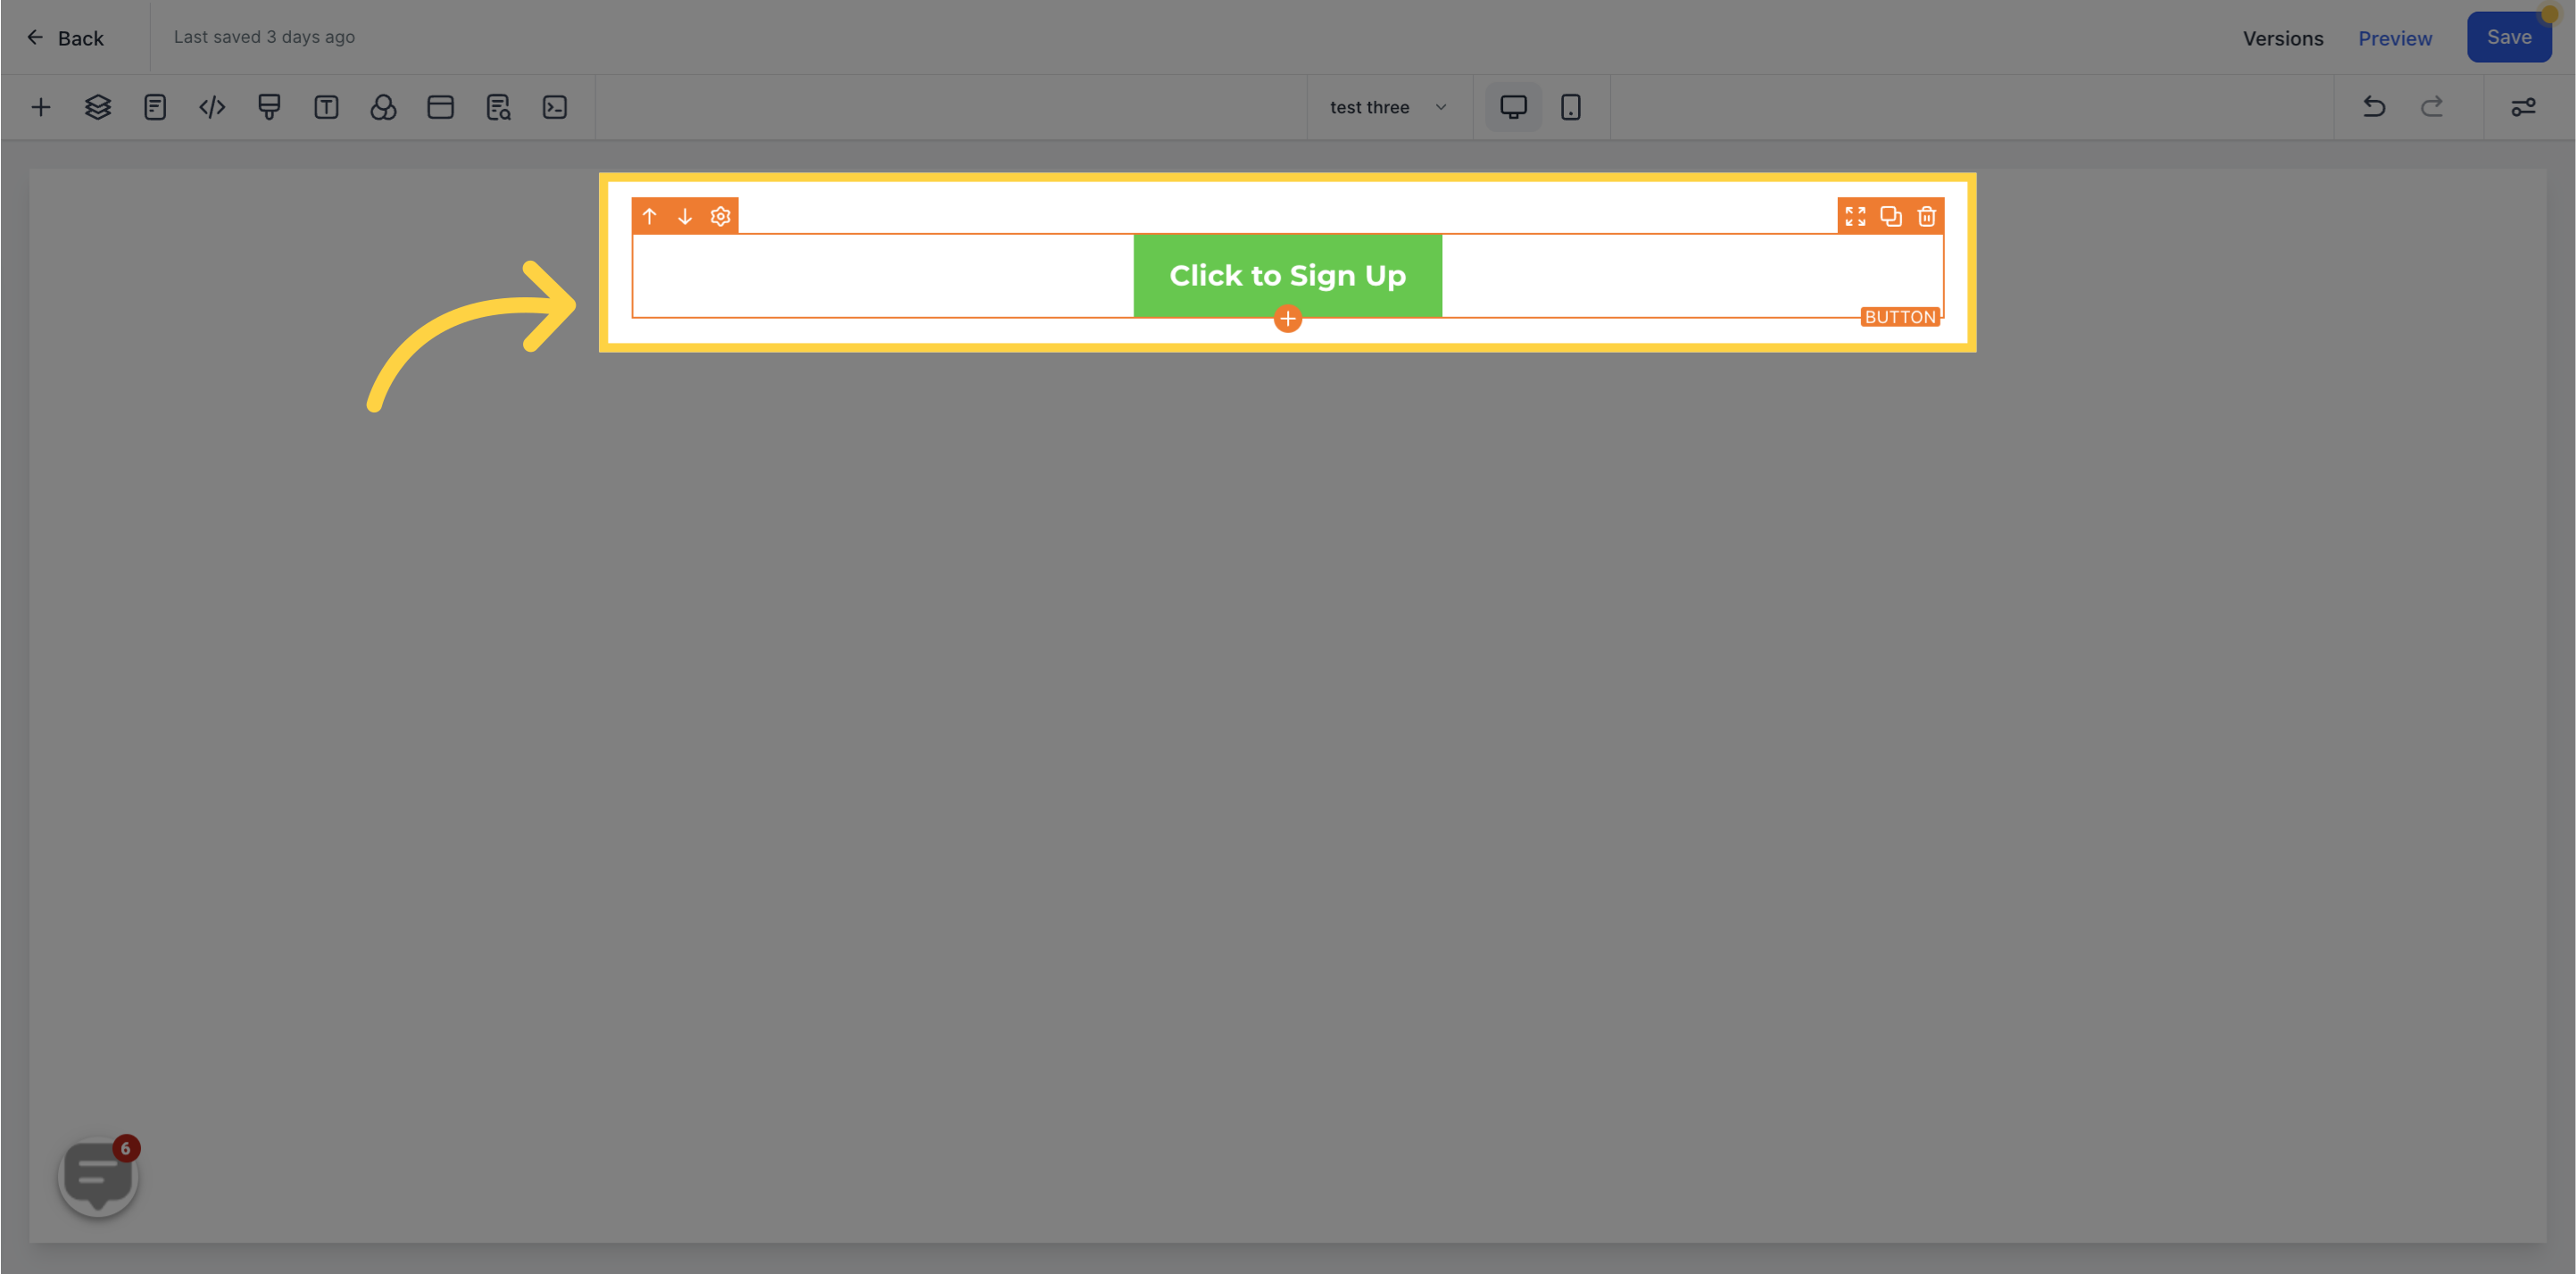
This is where you can add/edit the text in your button.
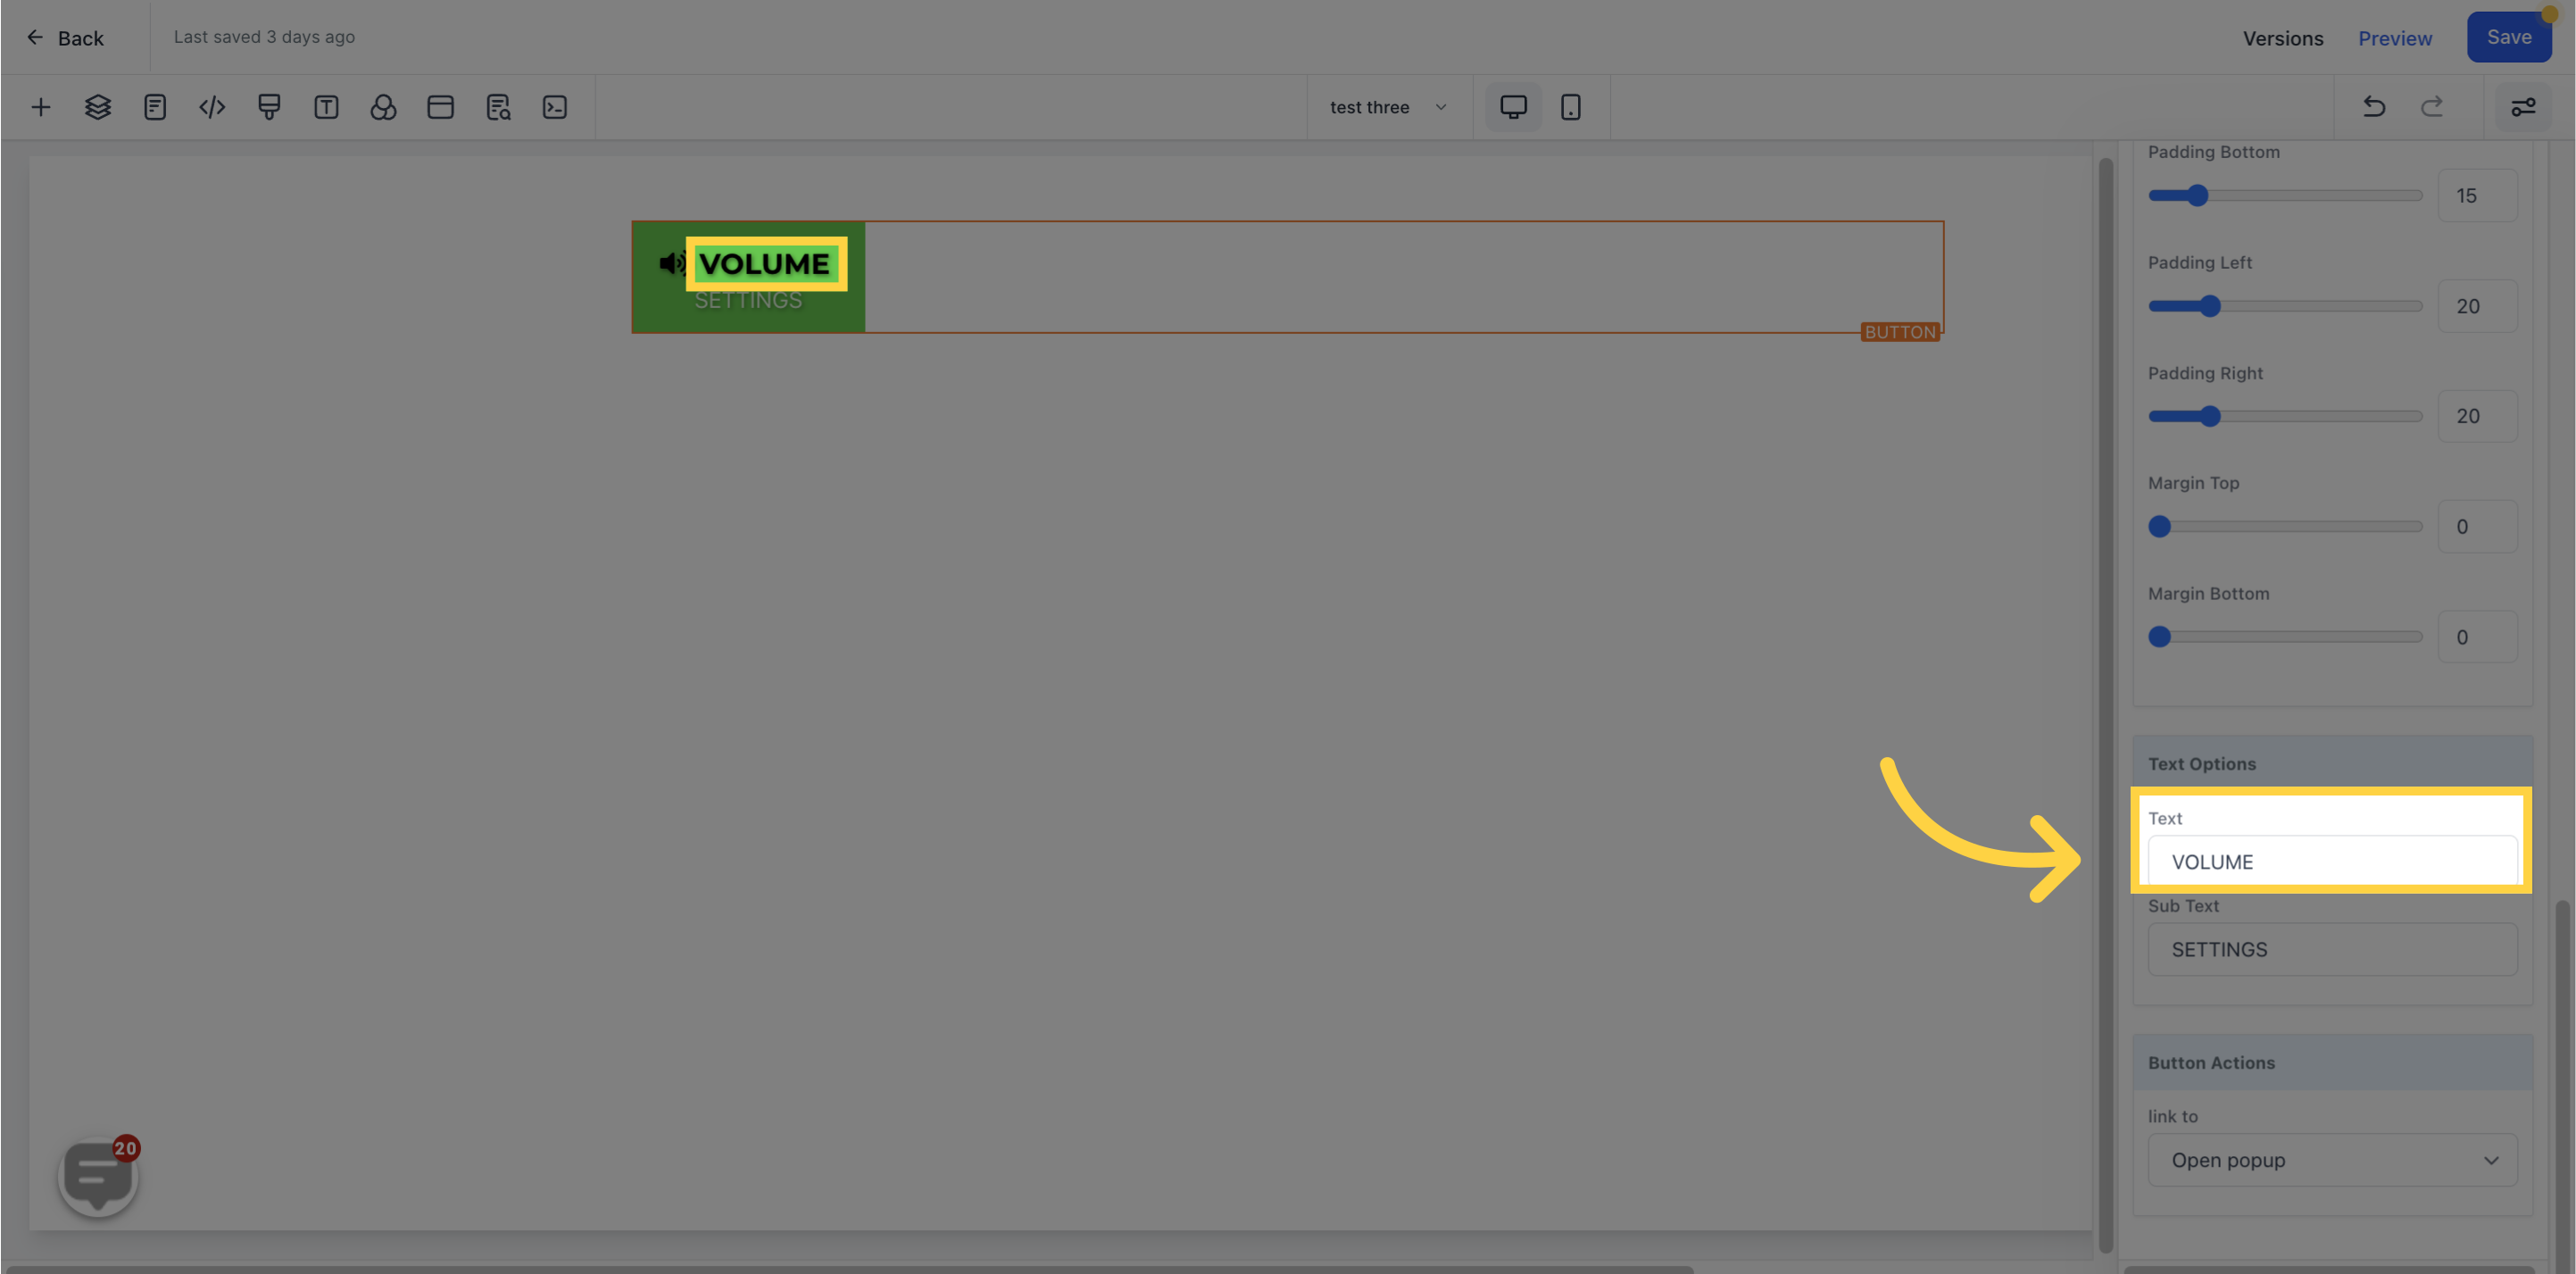
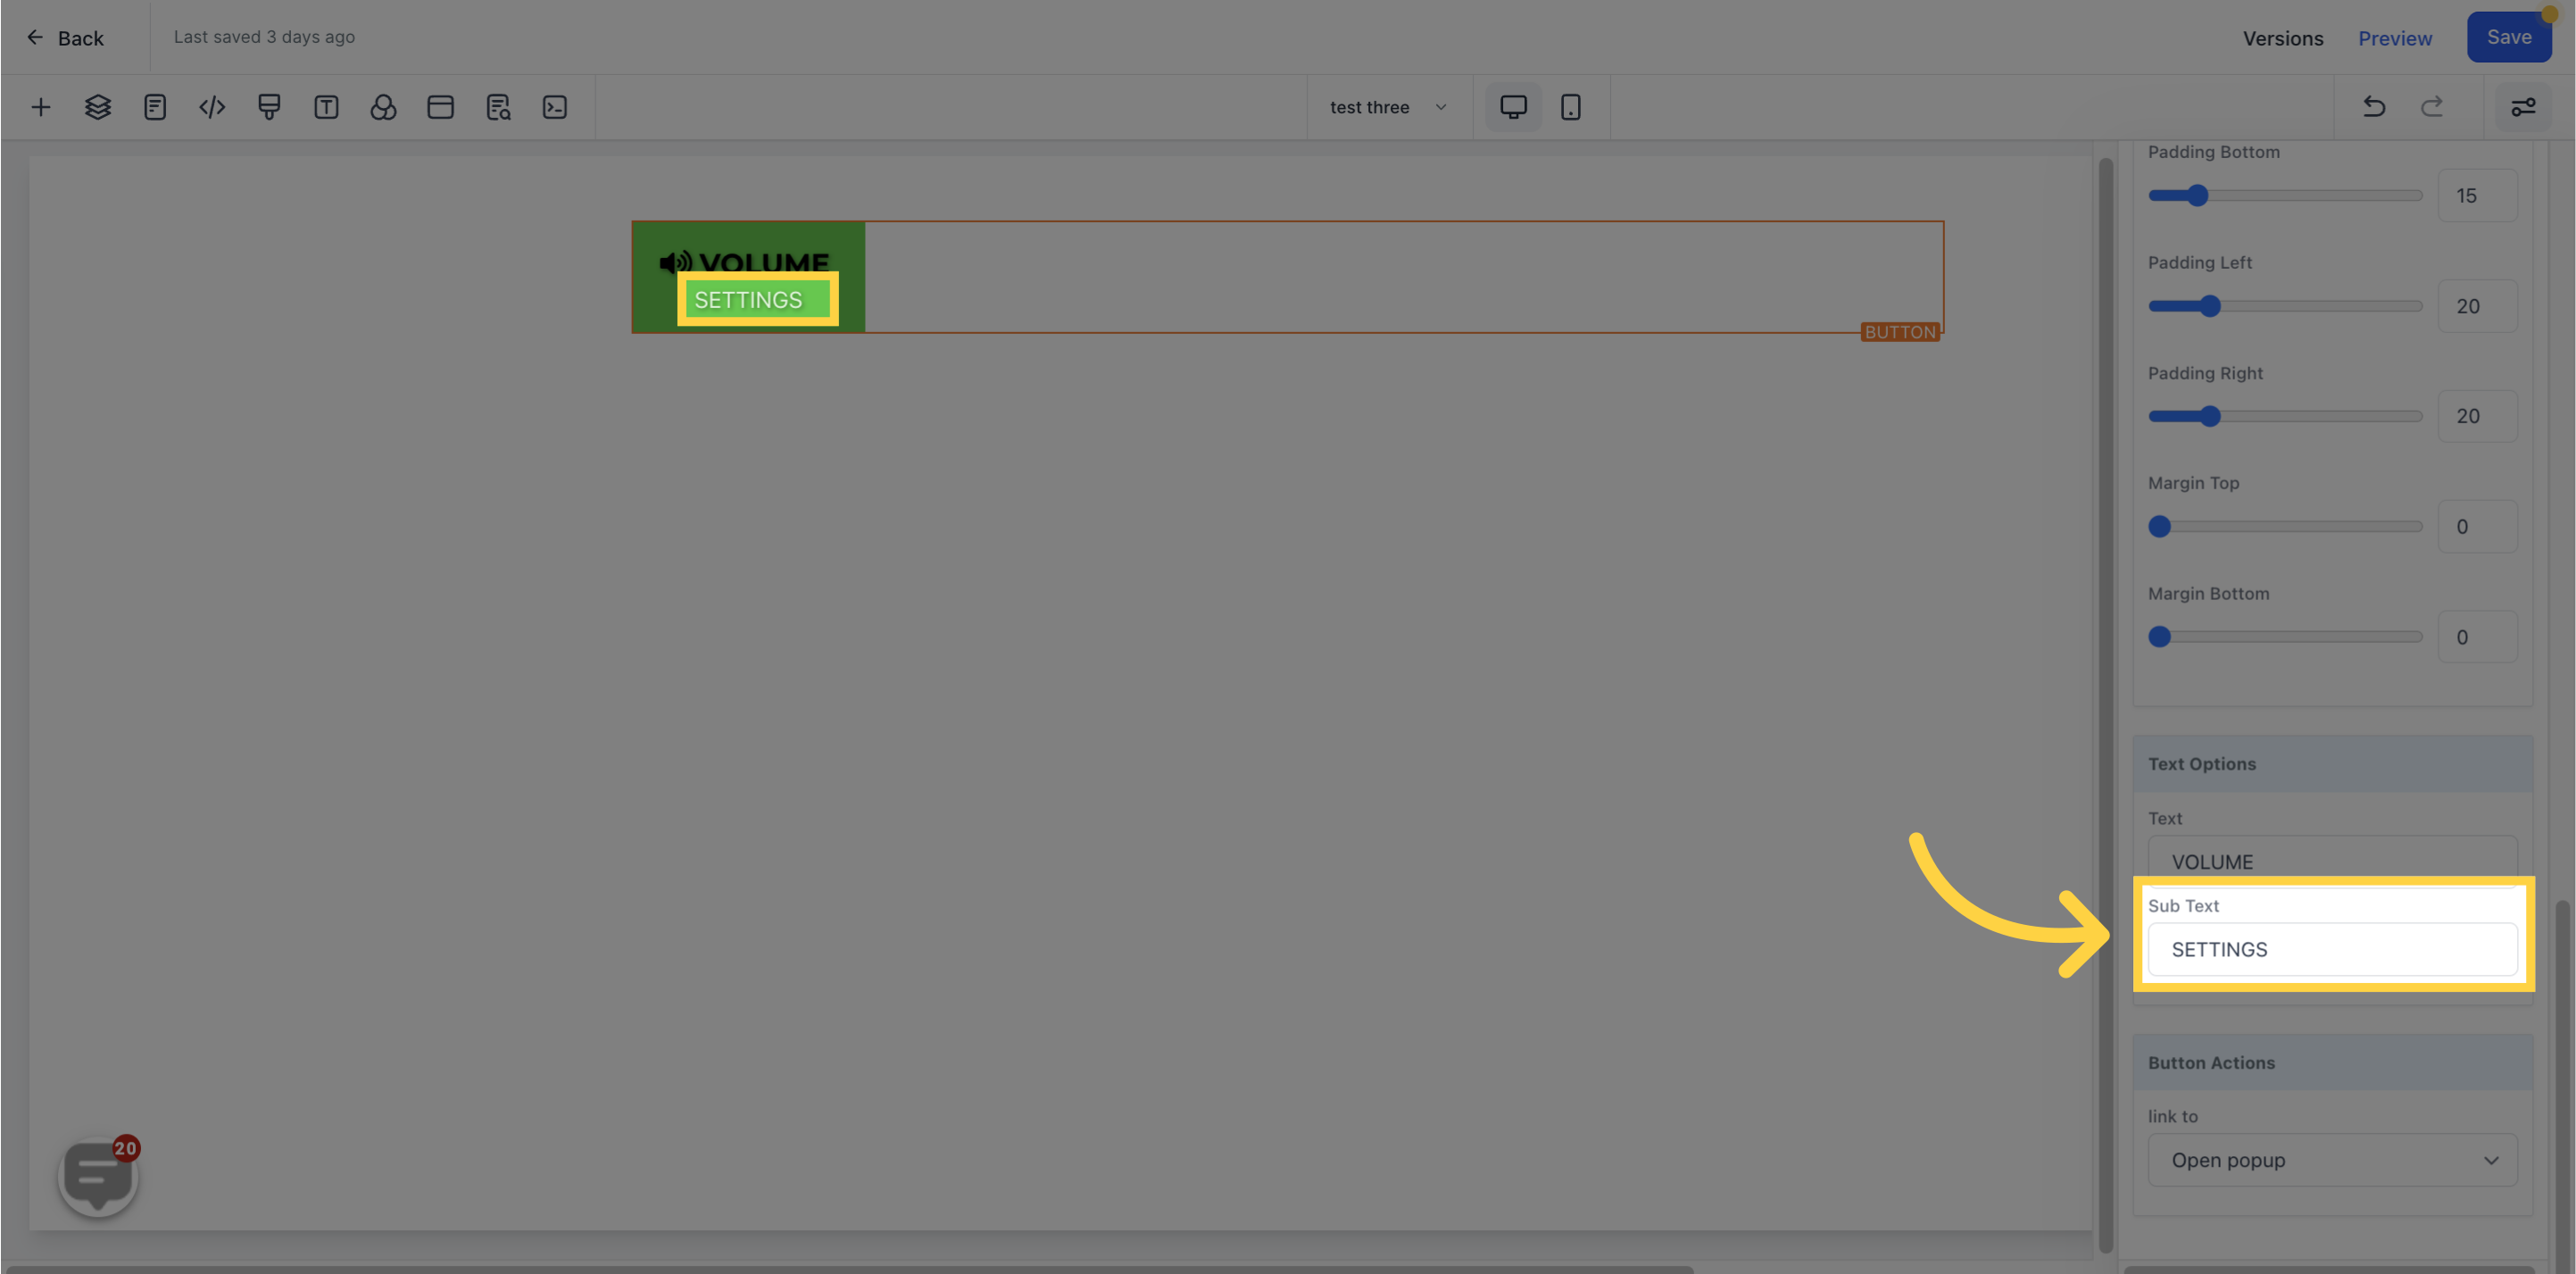
To add a subtext to your button, simply input it in the designated field.
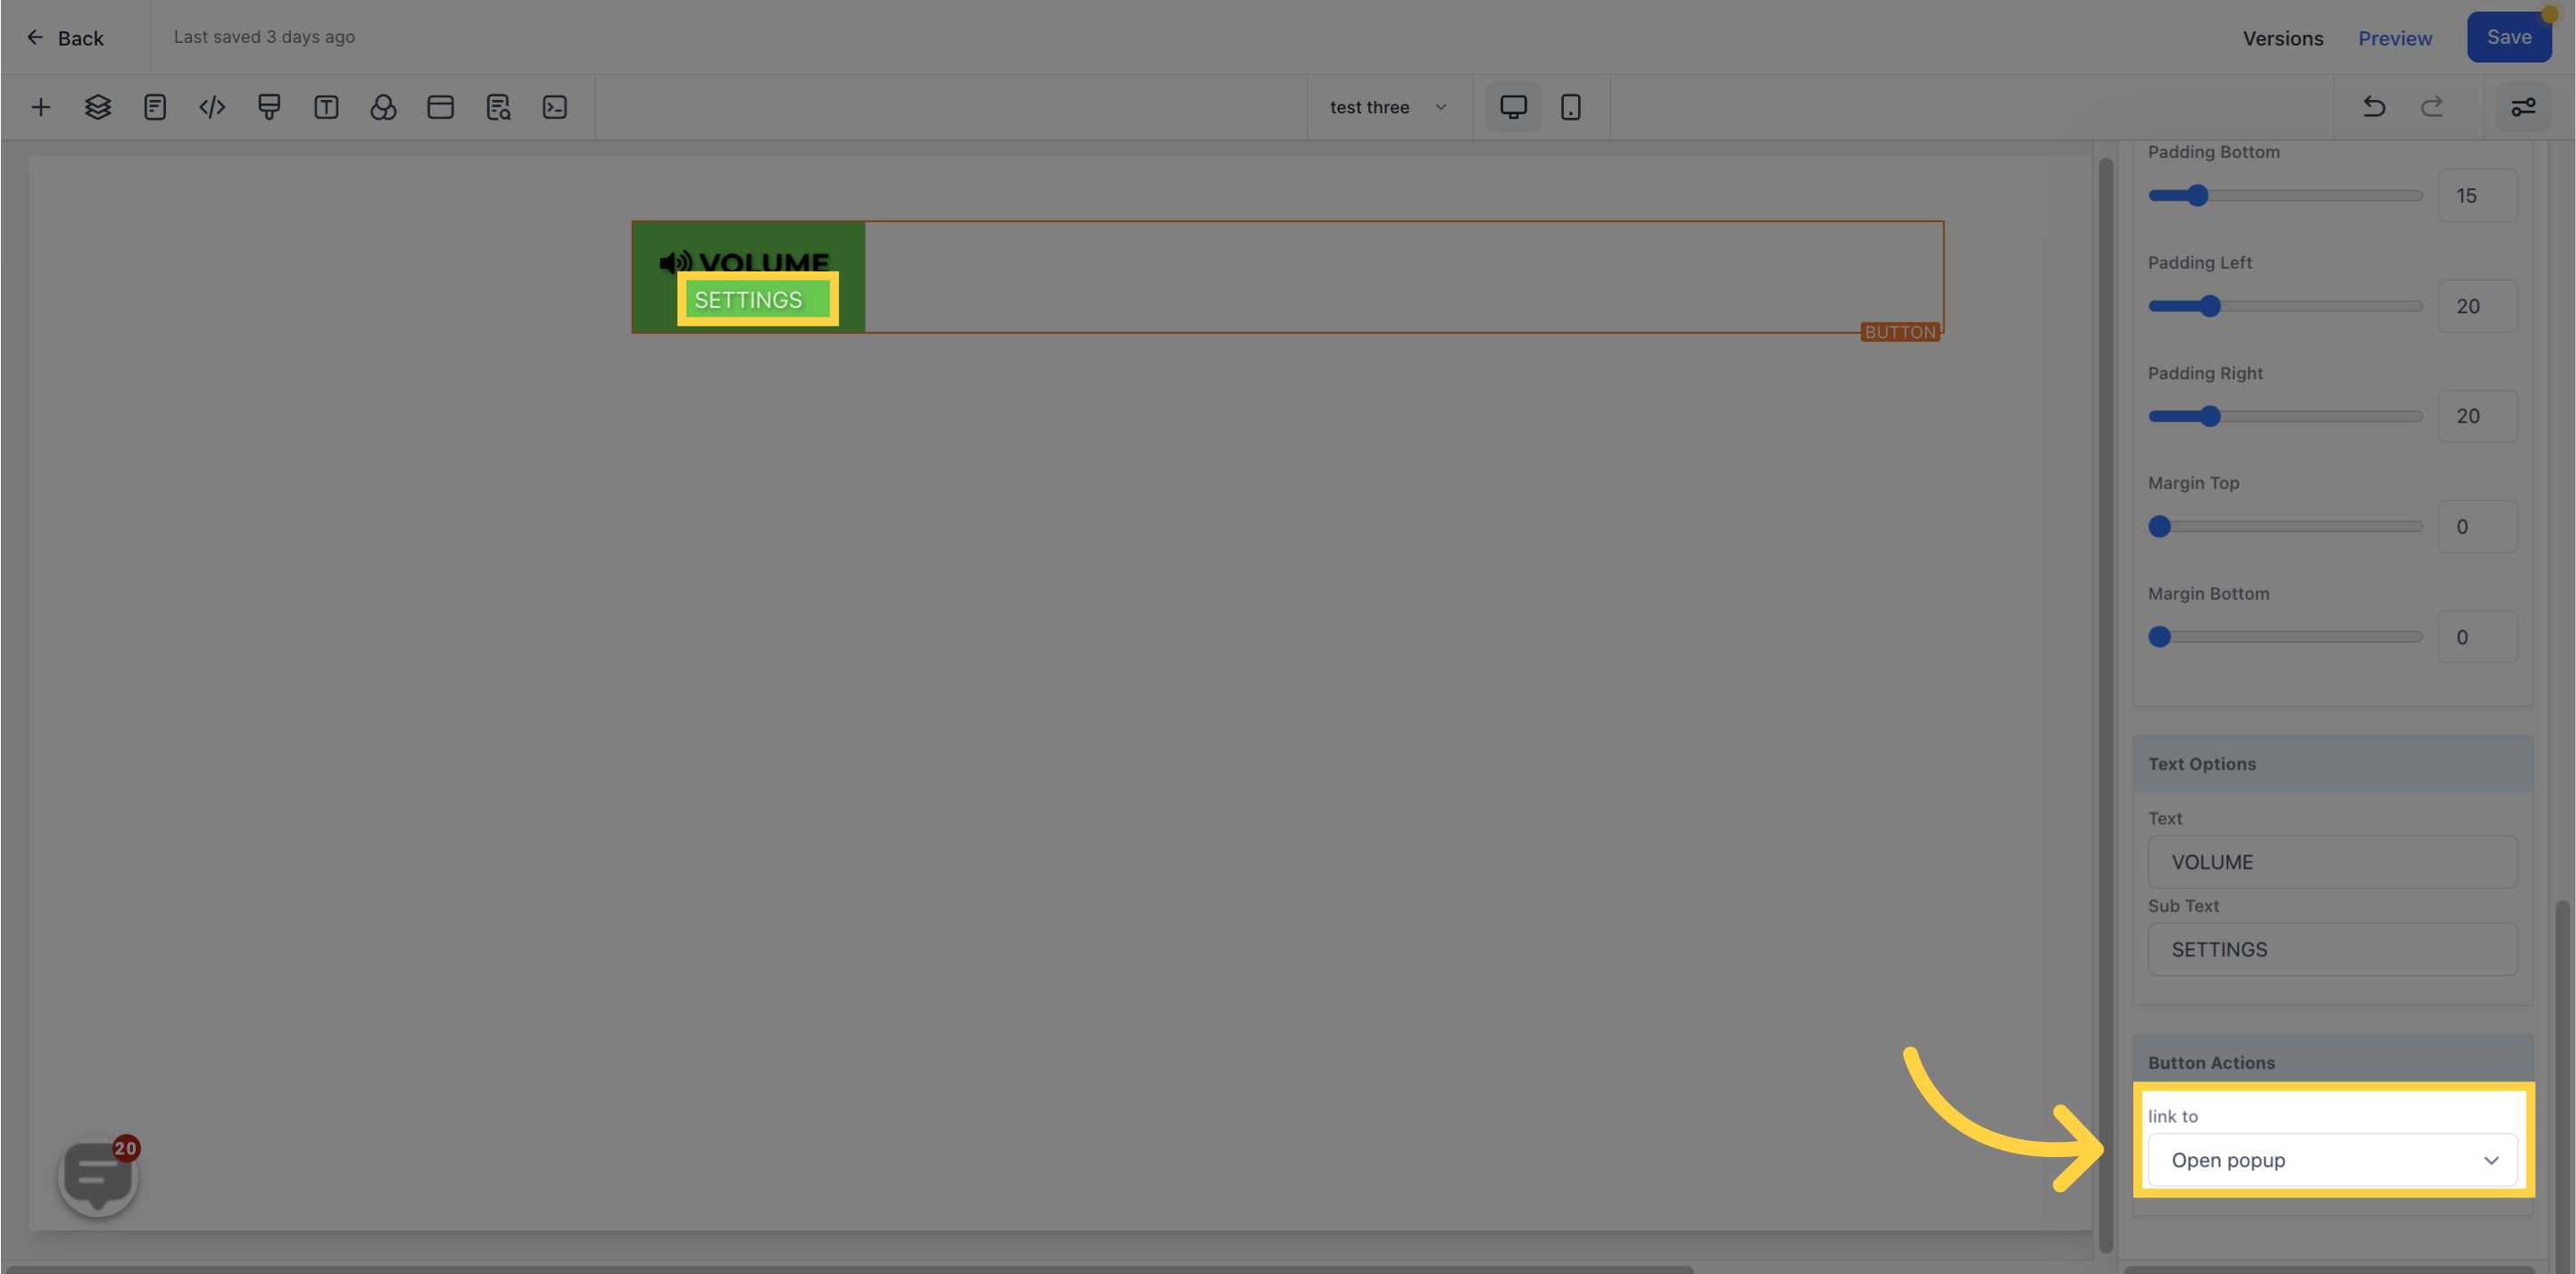
You also have the option to choose where you want to link the button to under "Button Actions Link To"
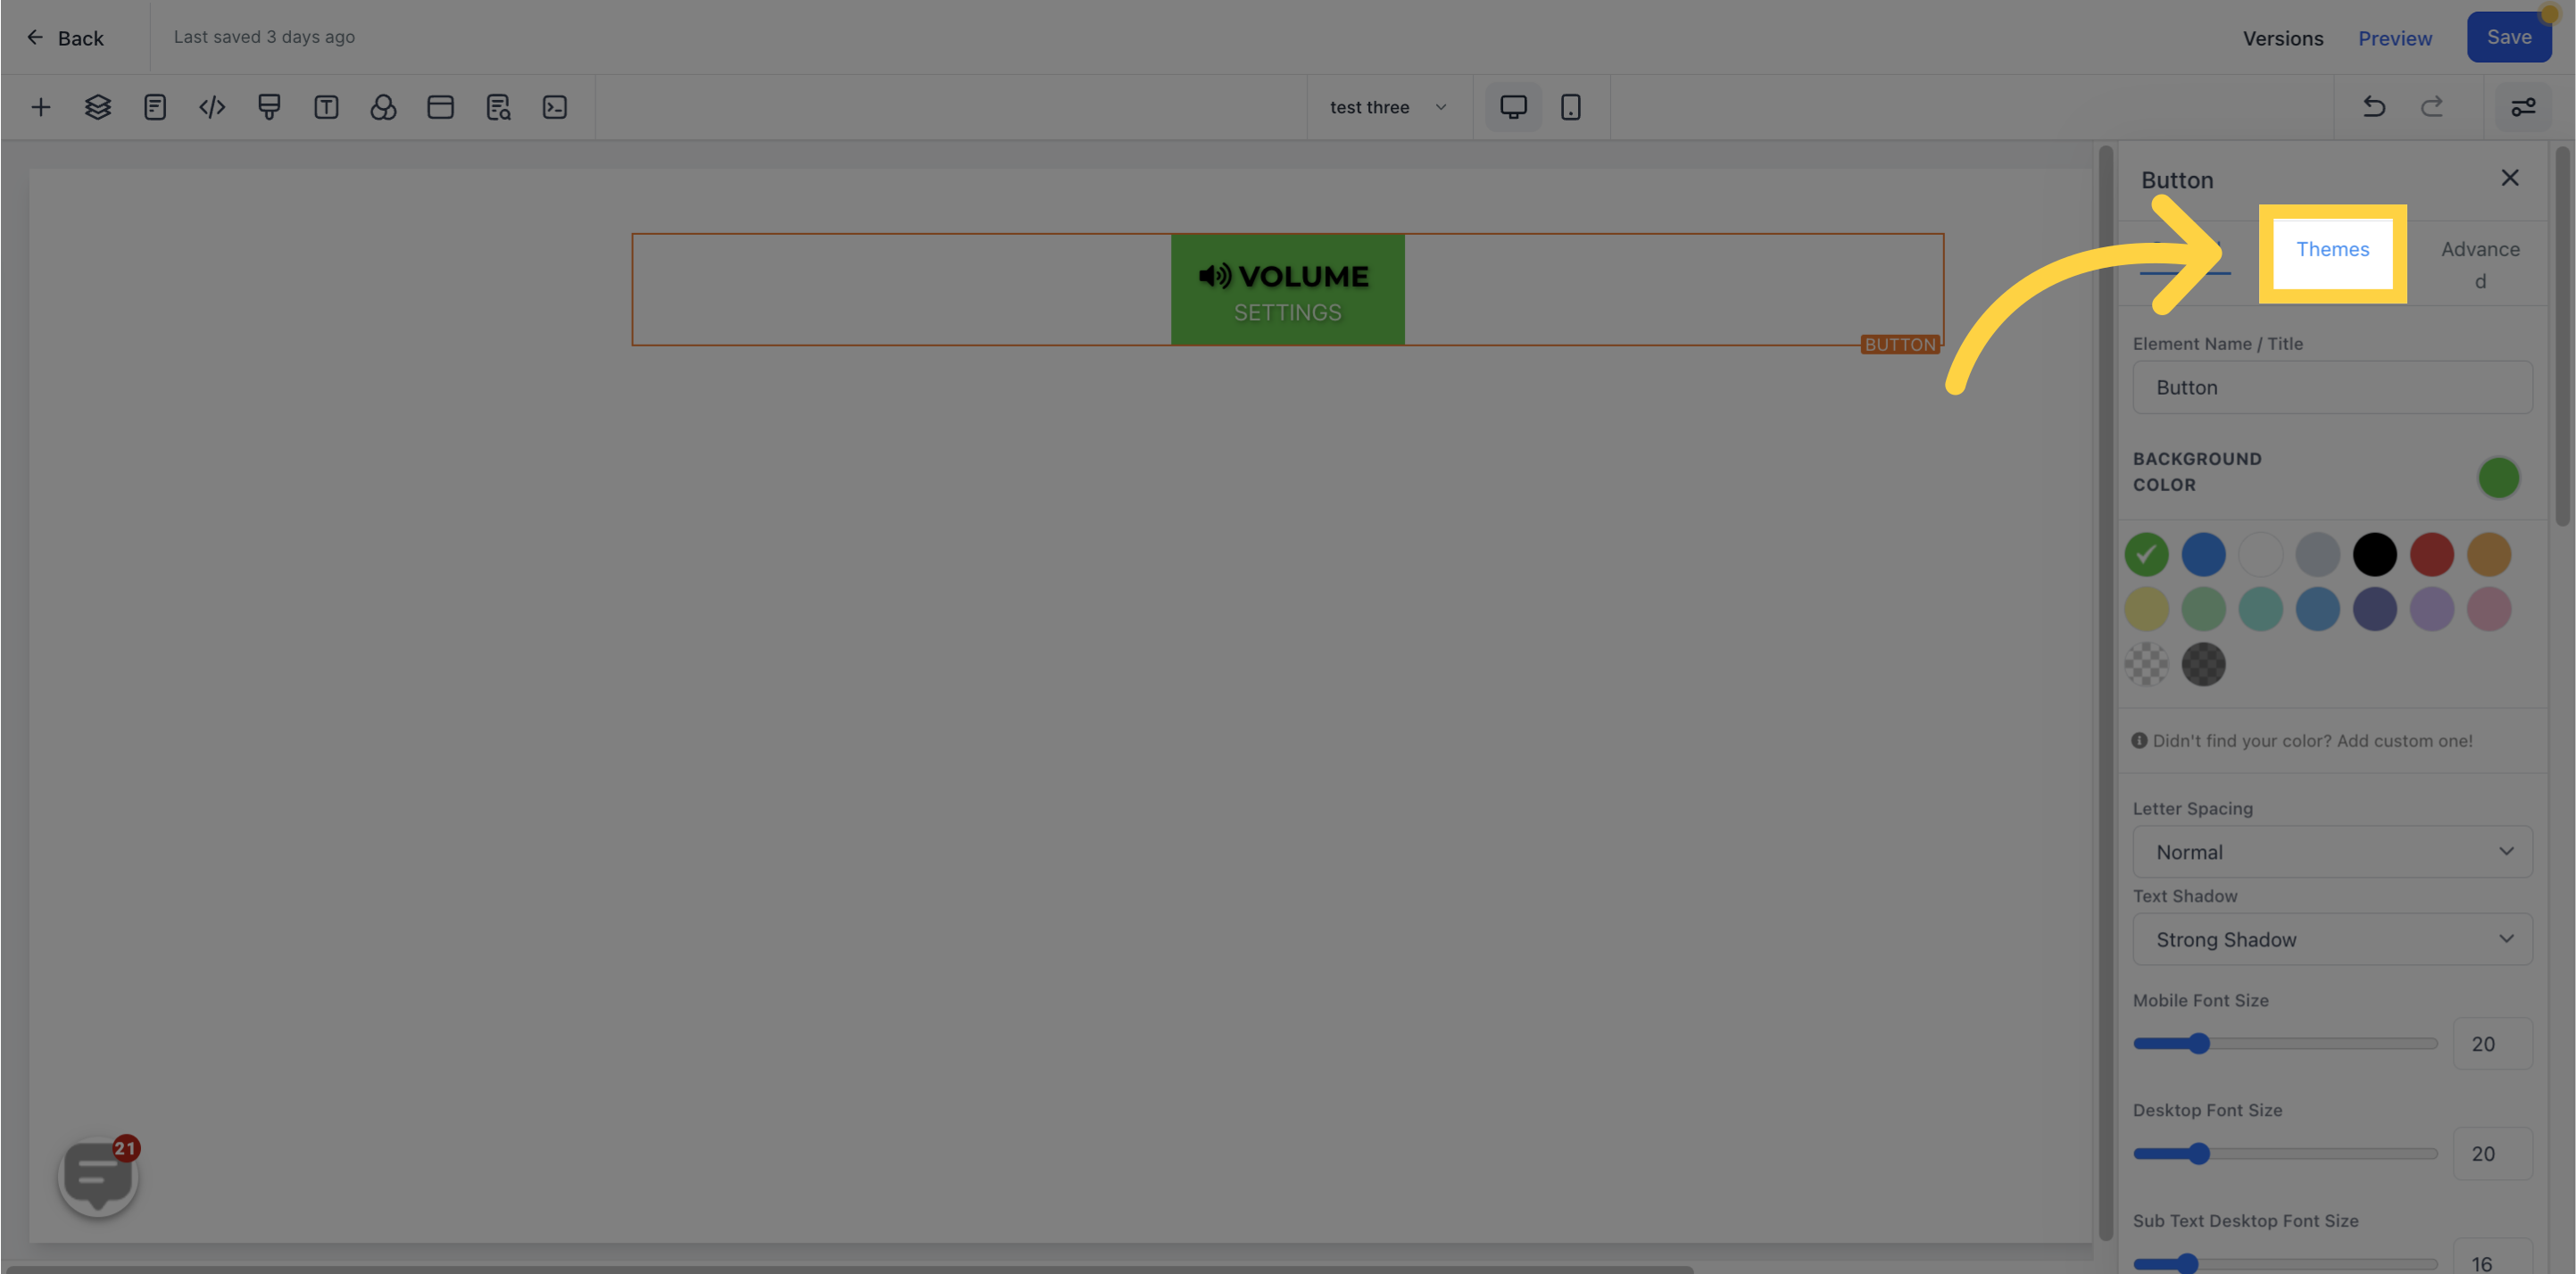
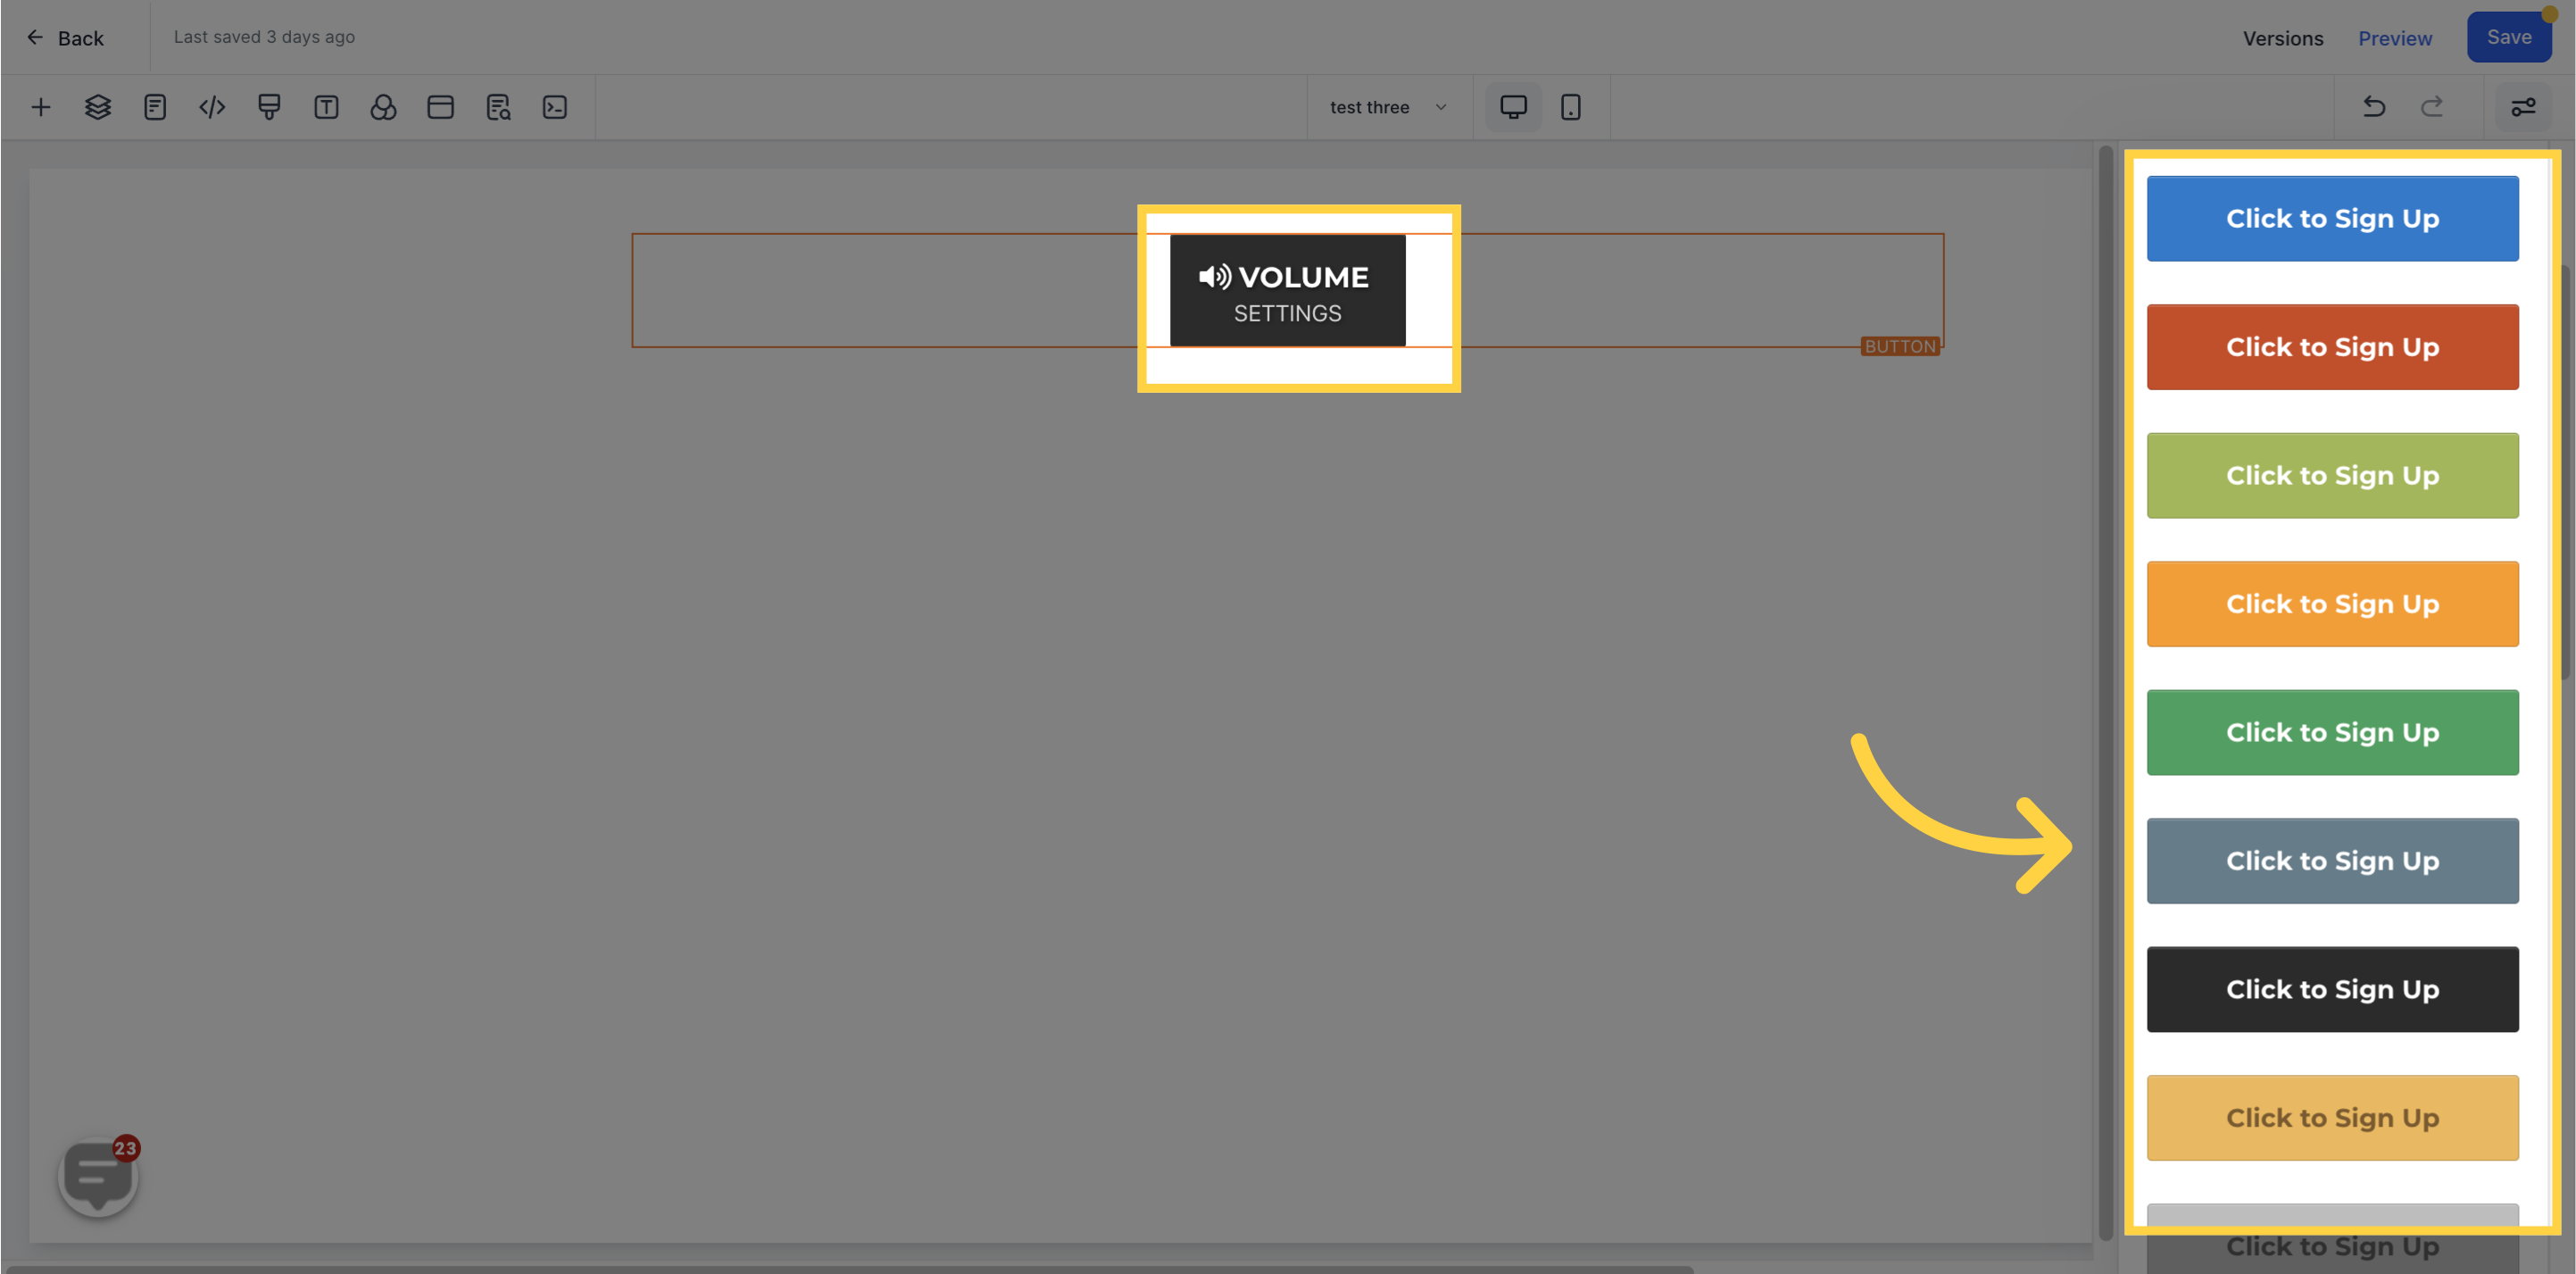
Additionally, you can select a theme under "Theme Settings"
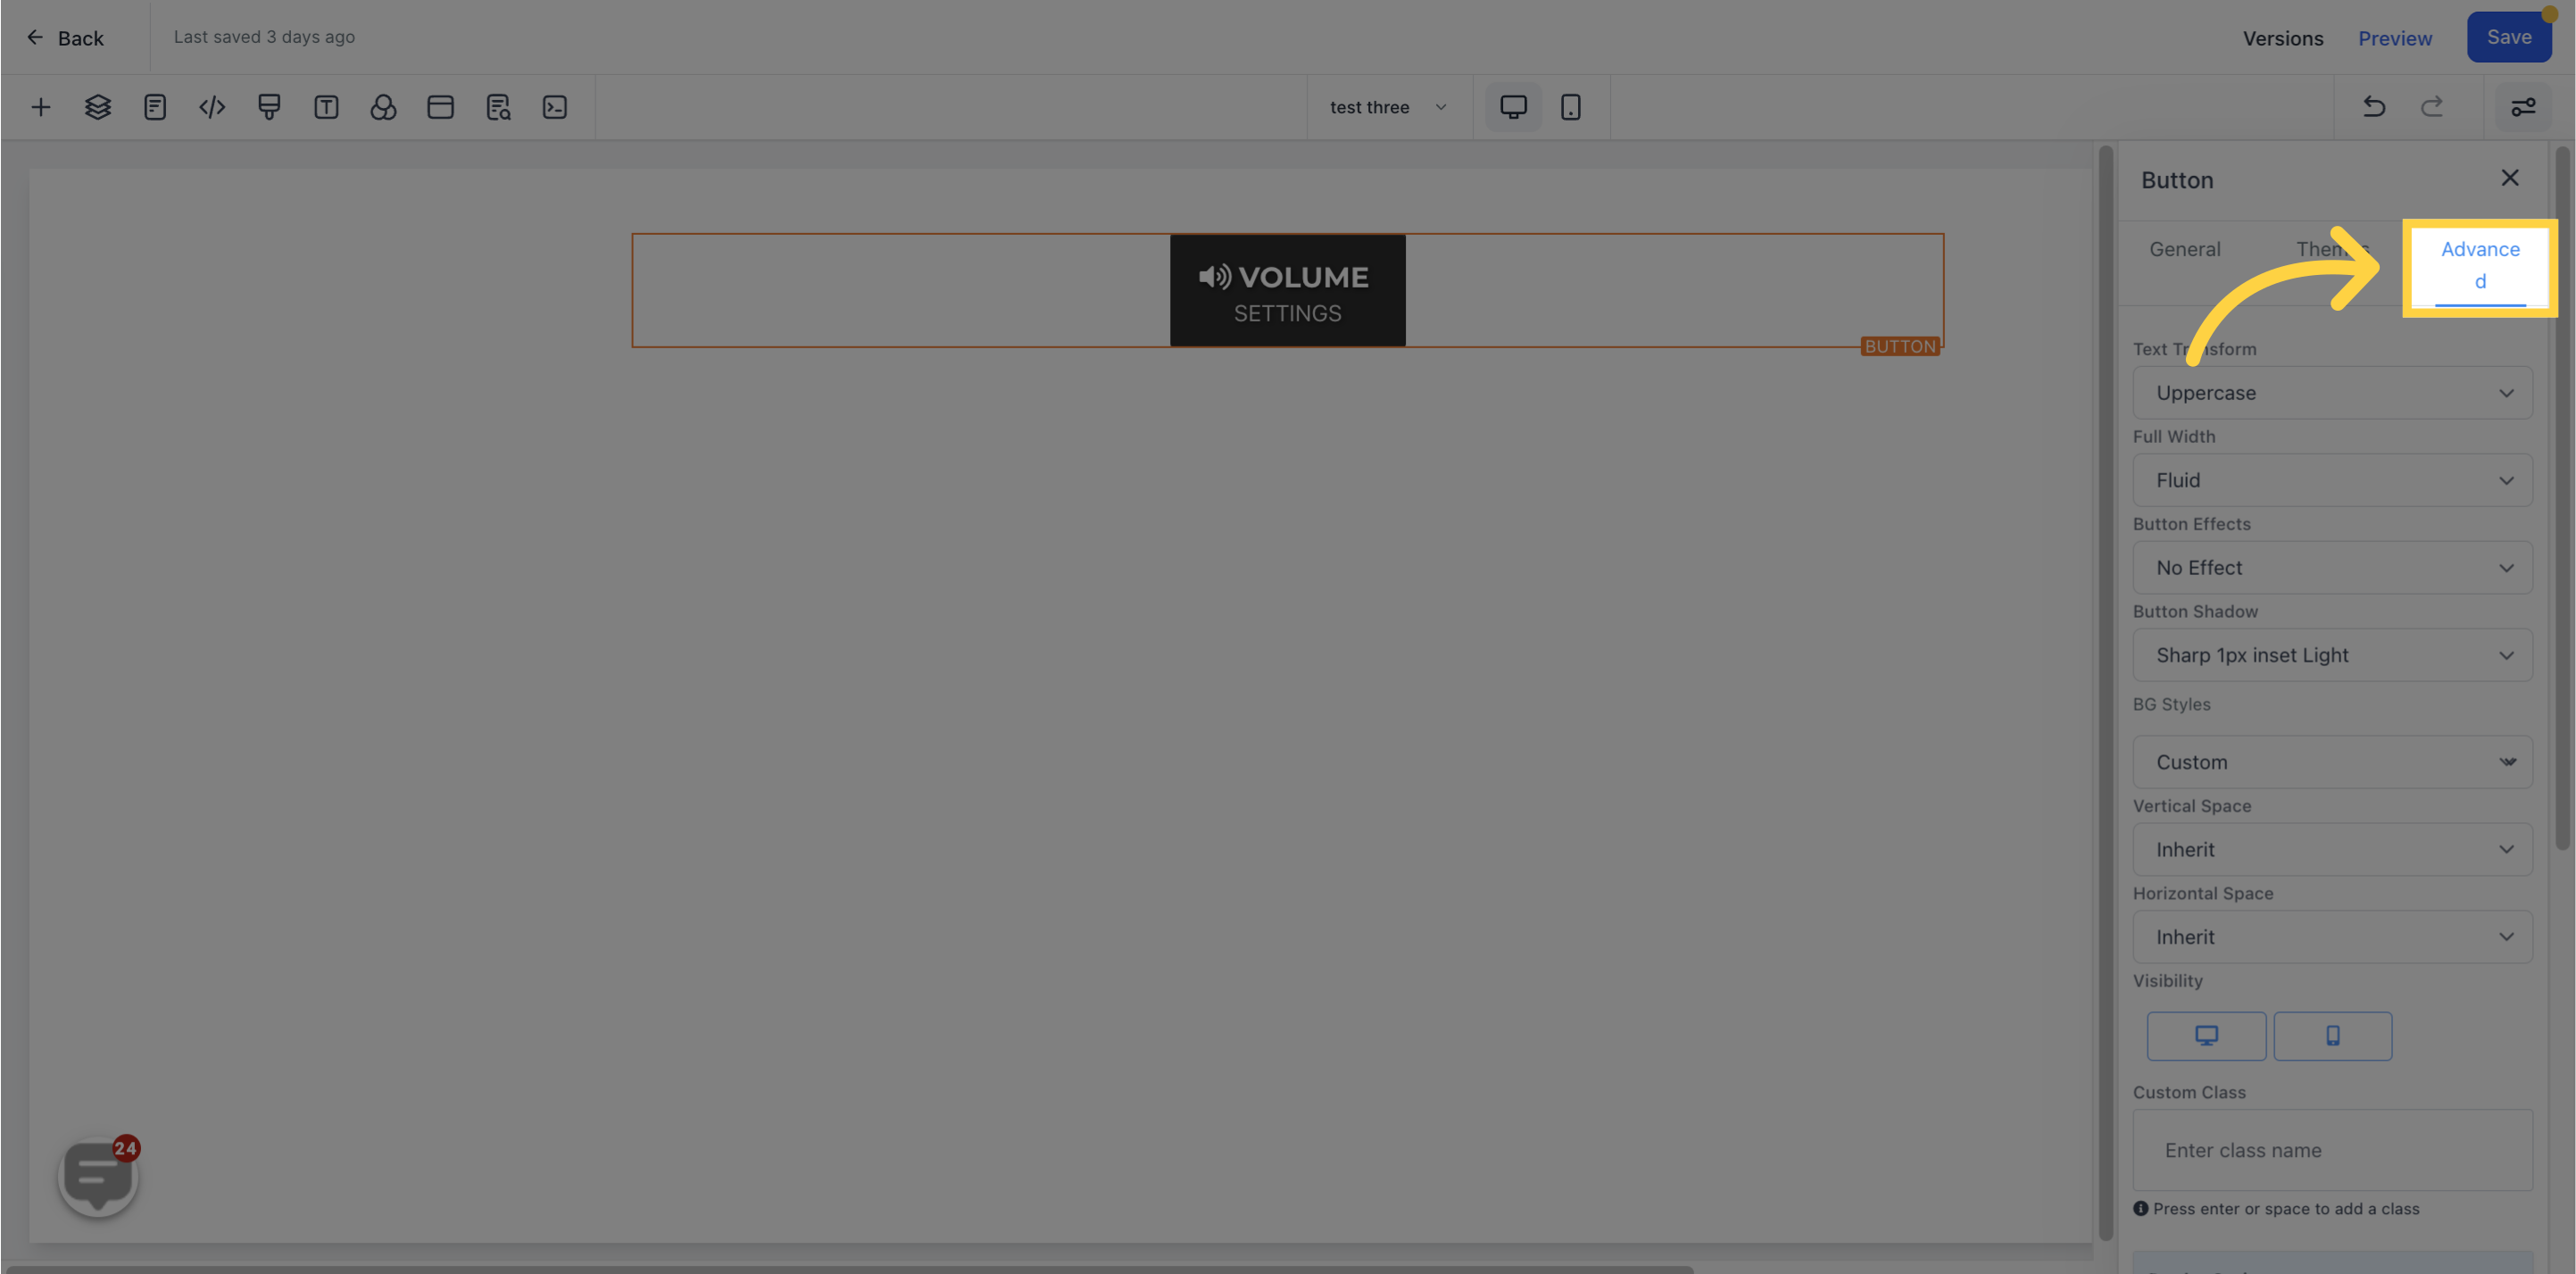
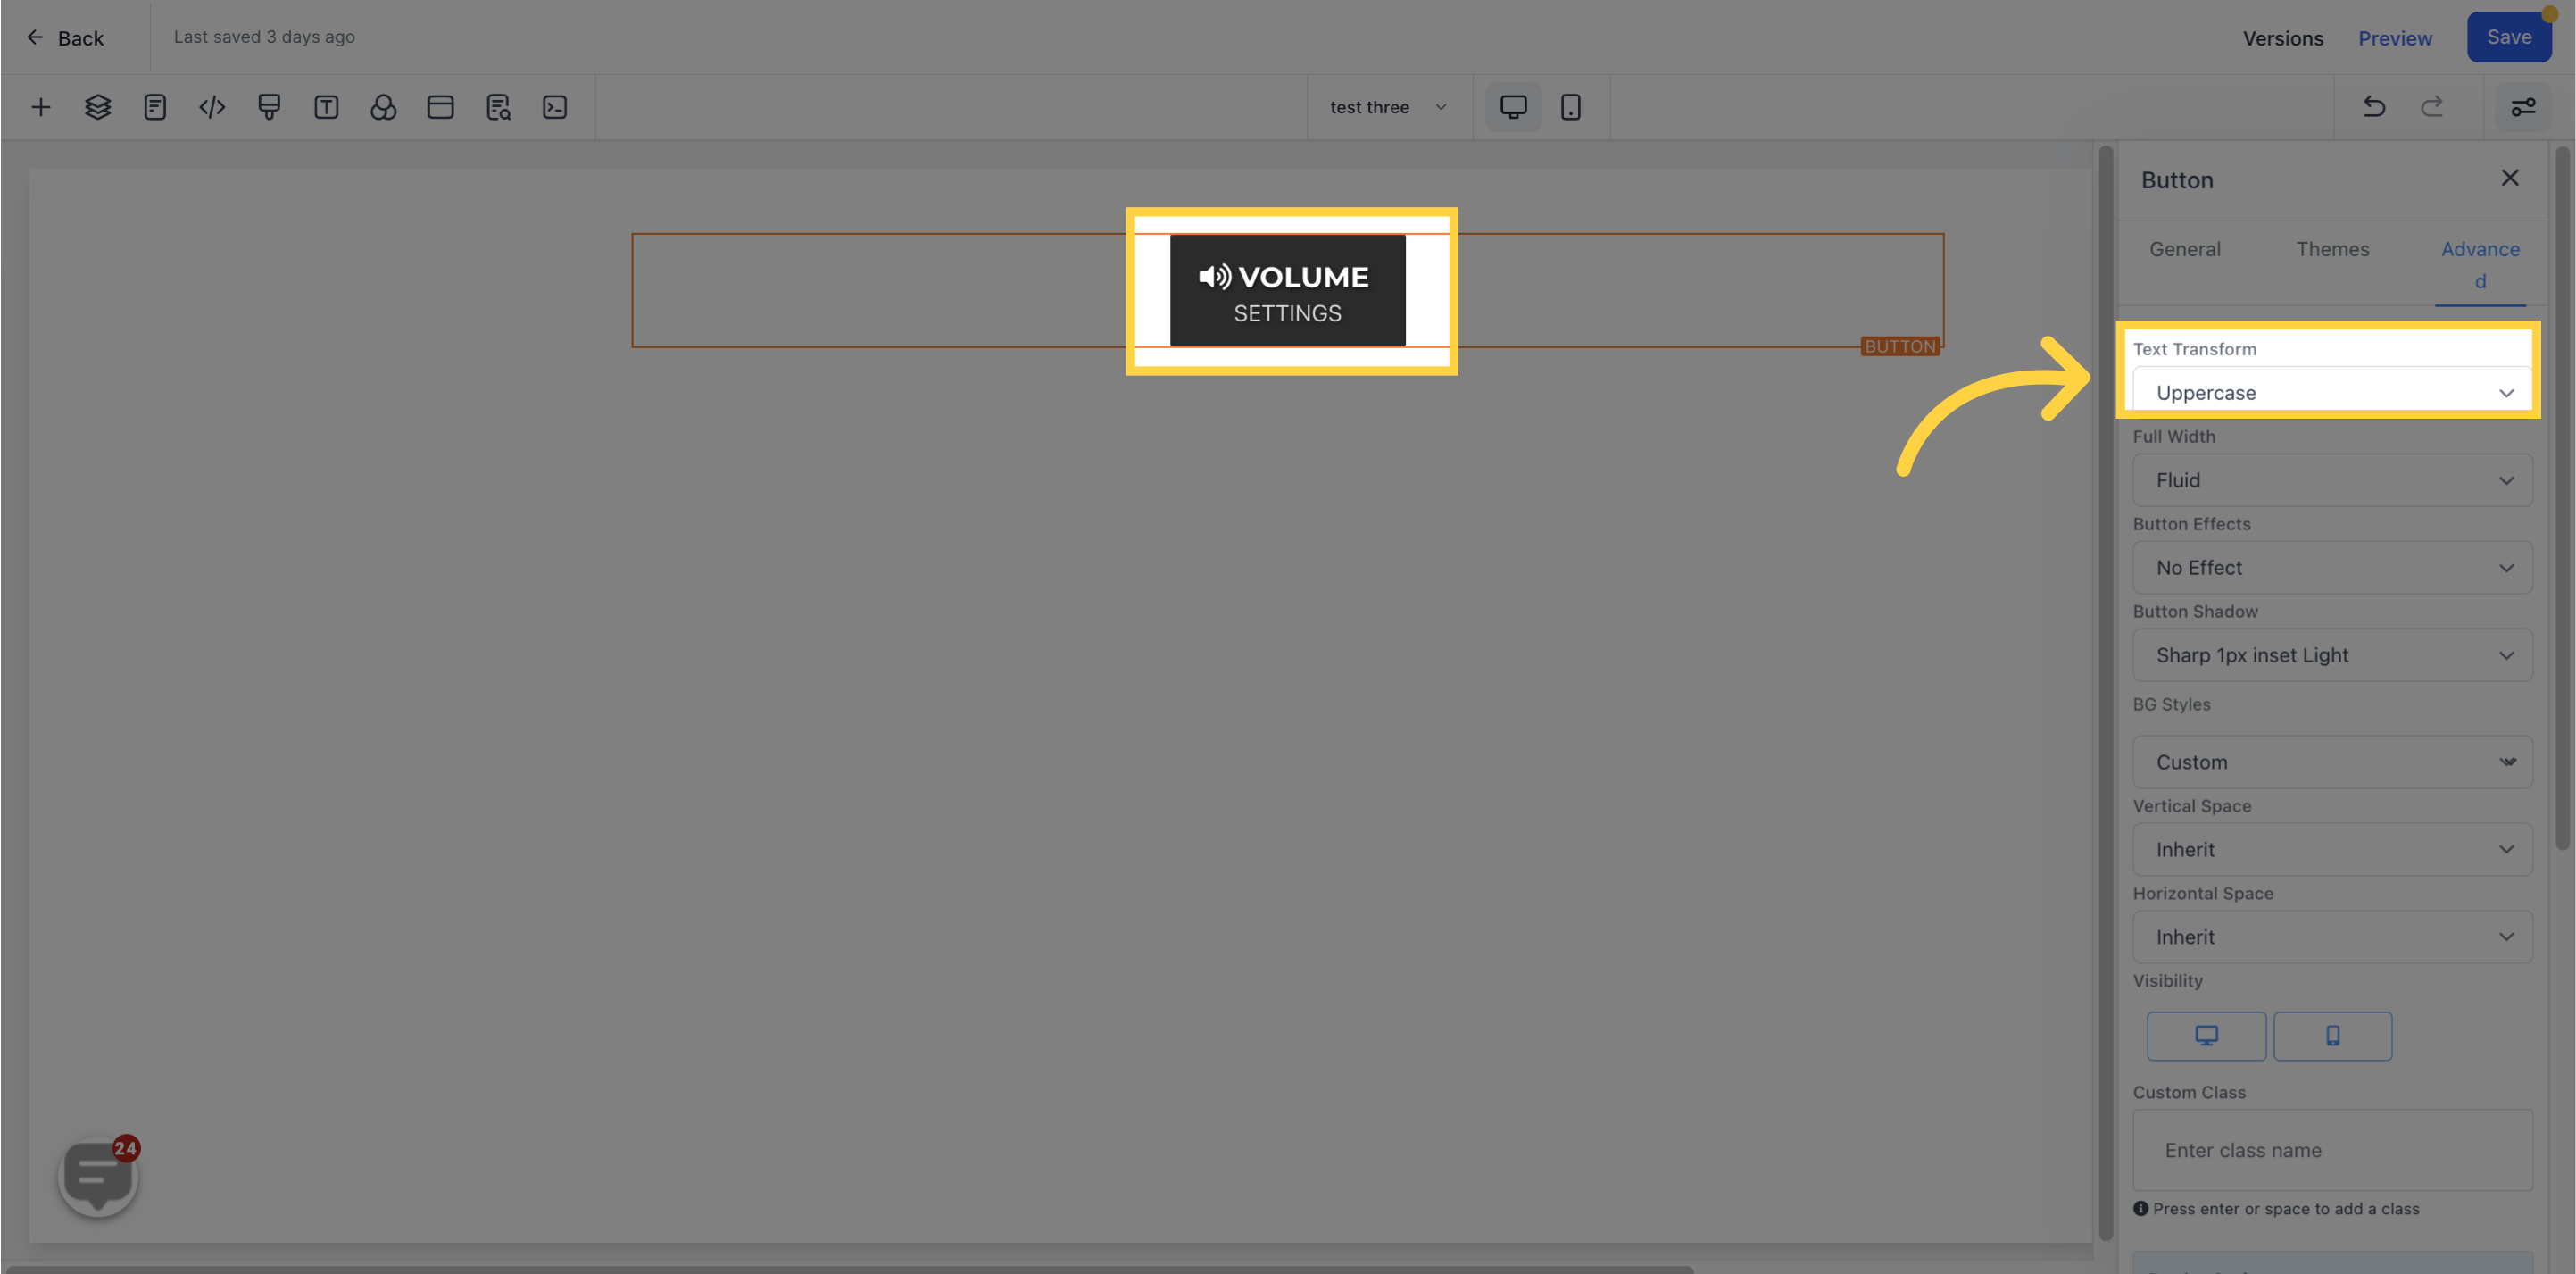
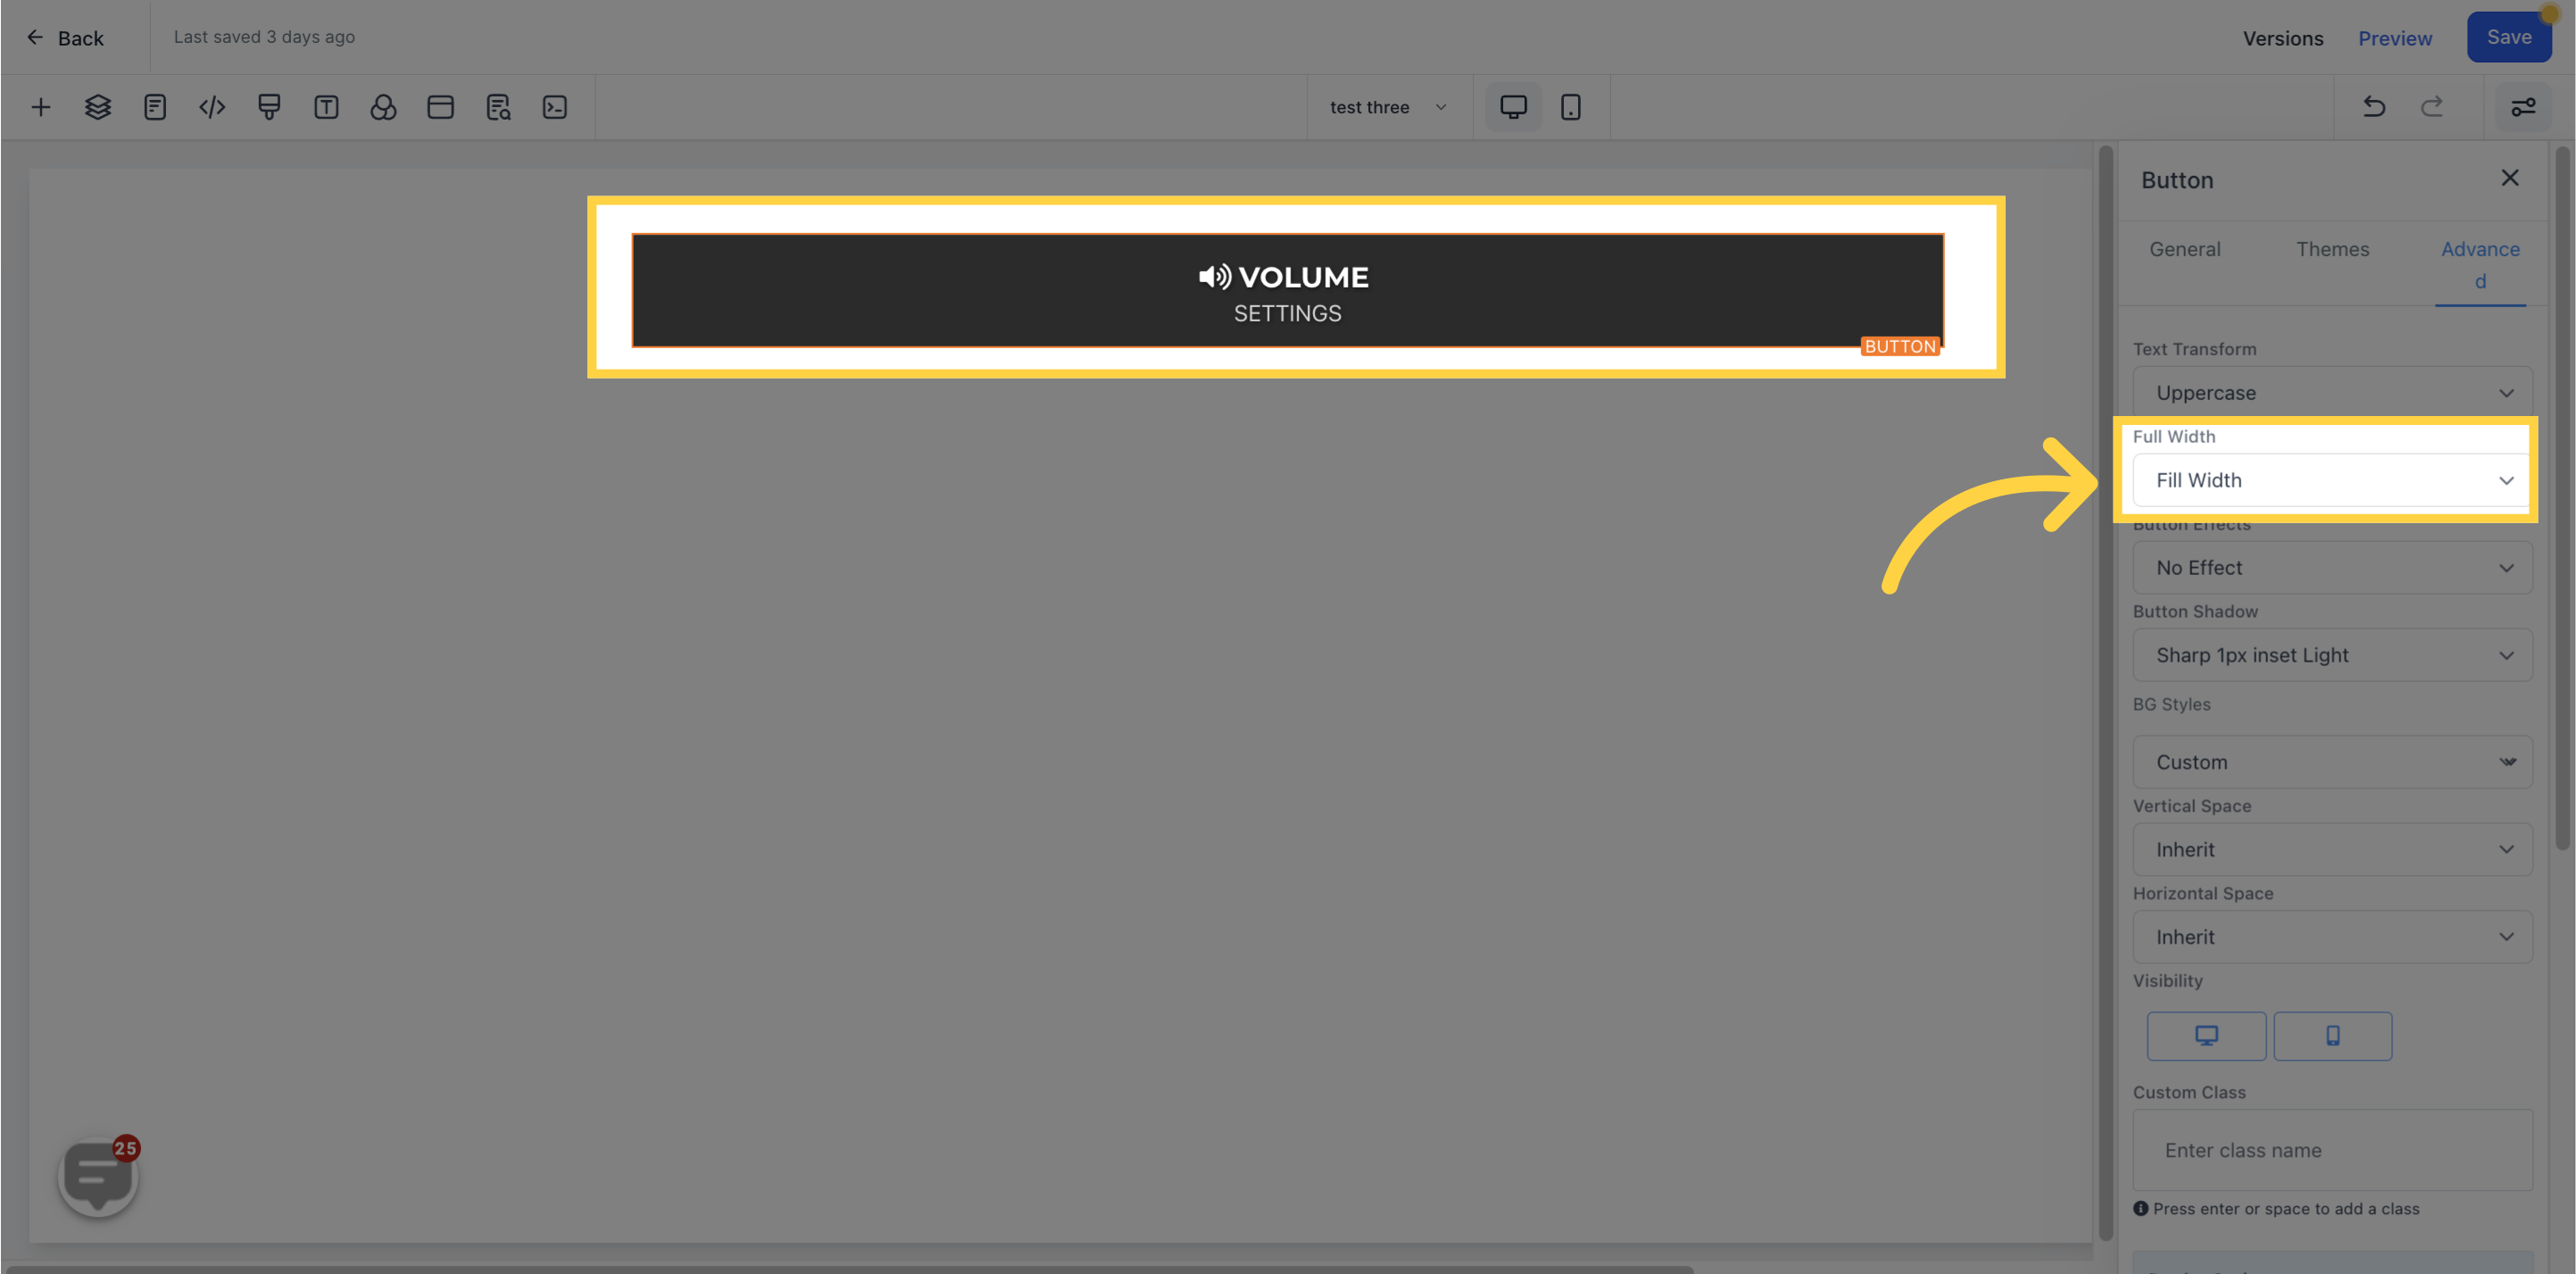
change the text's case or make the button full width
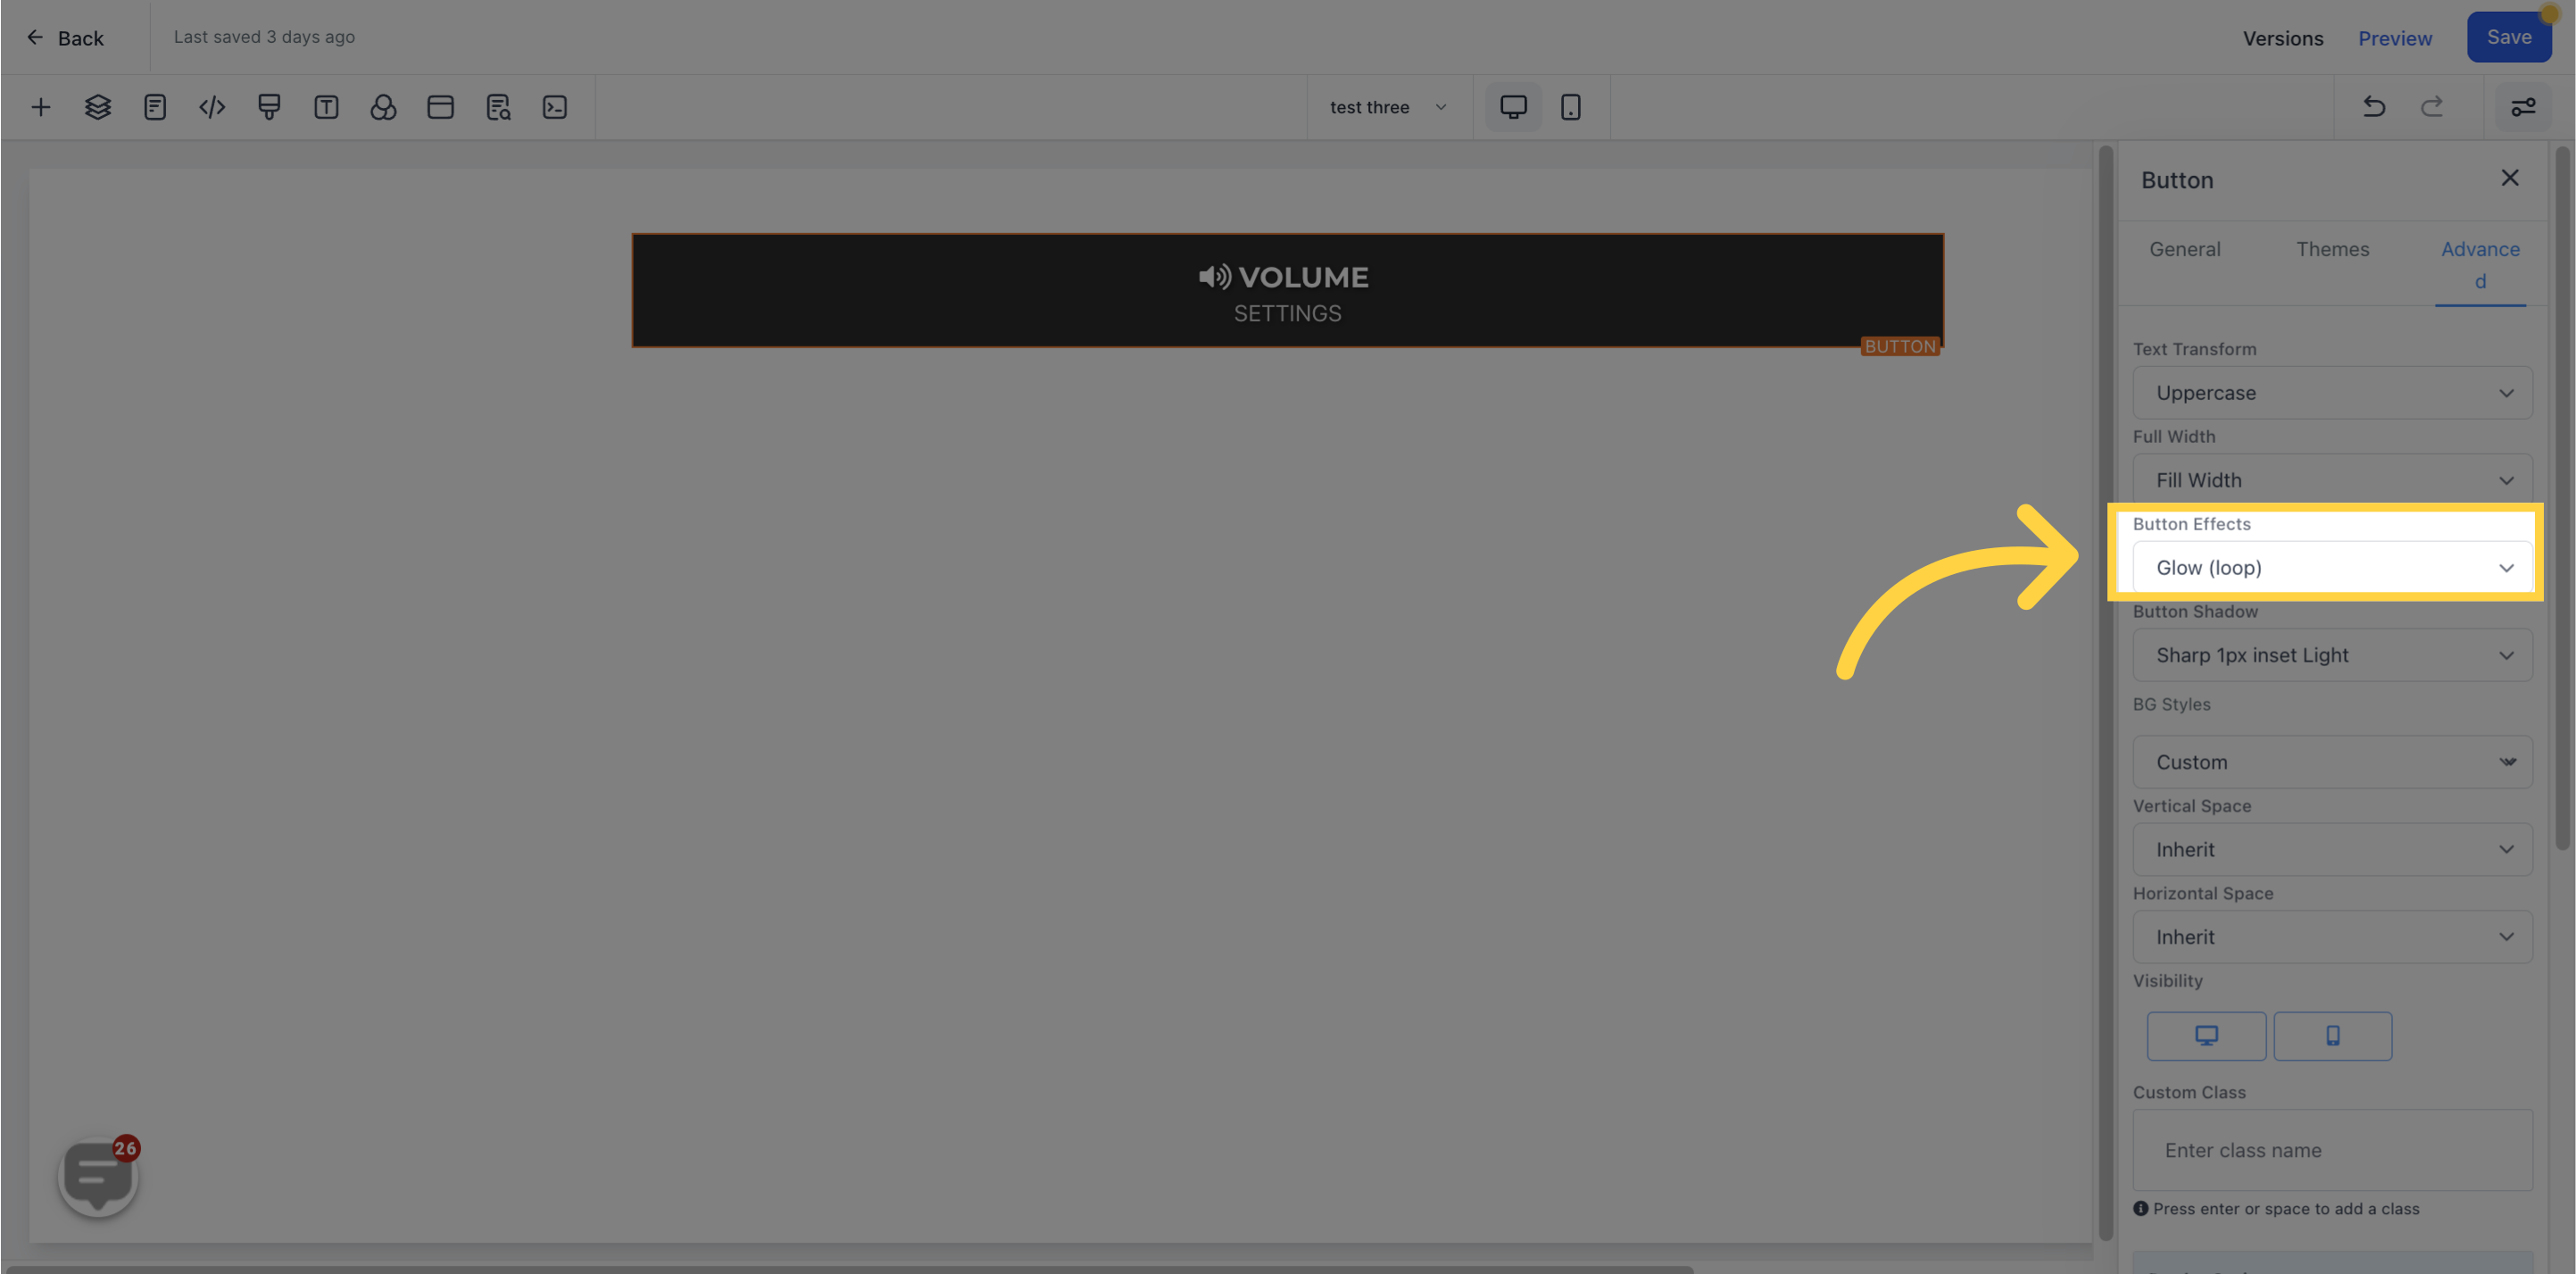
"Button Effect" allows you to add an effect to the button
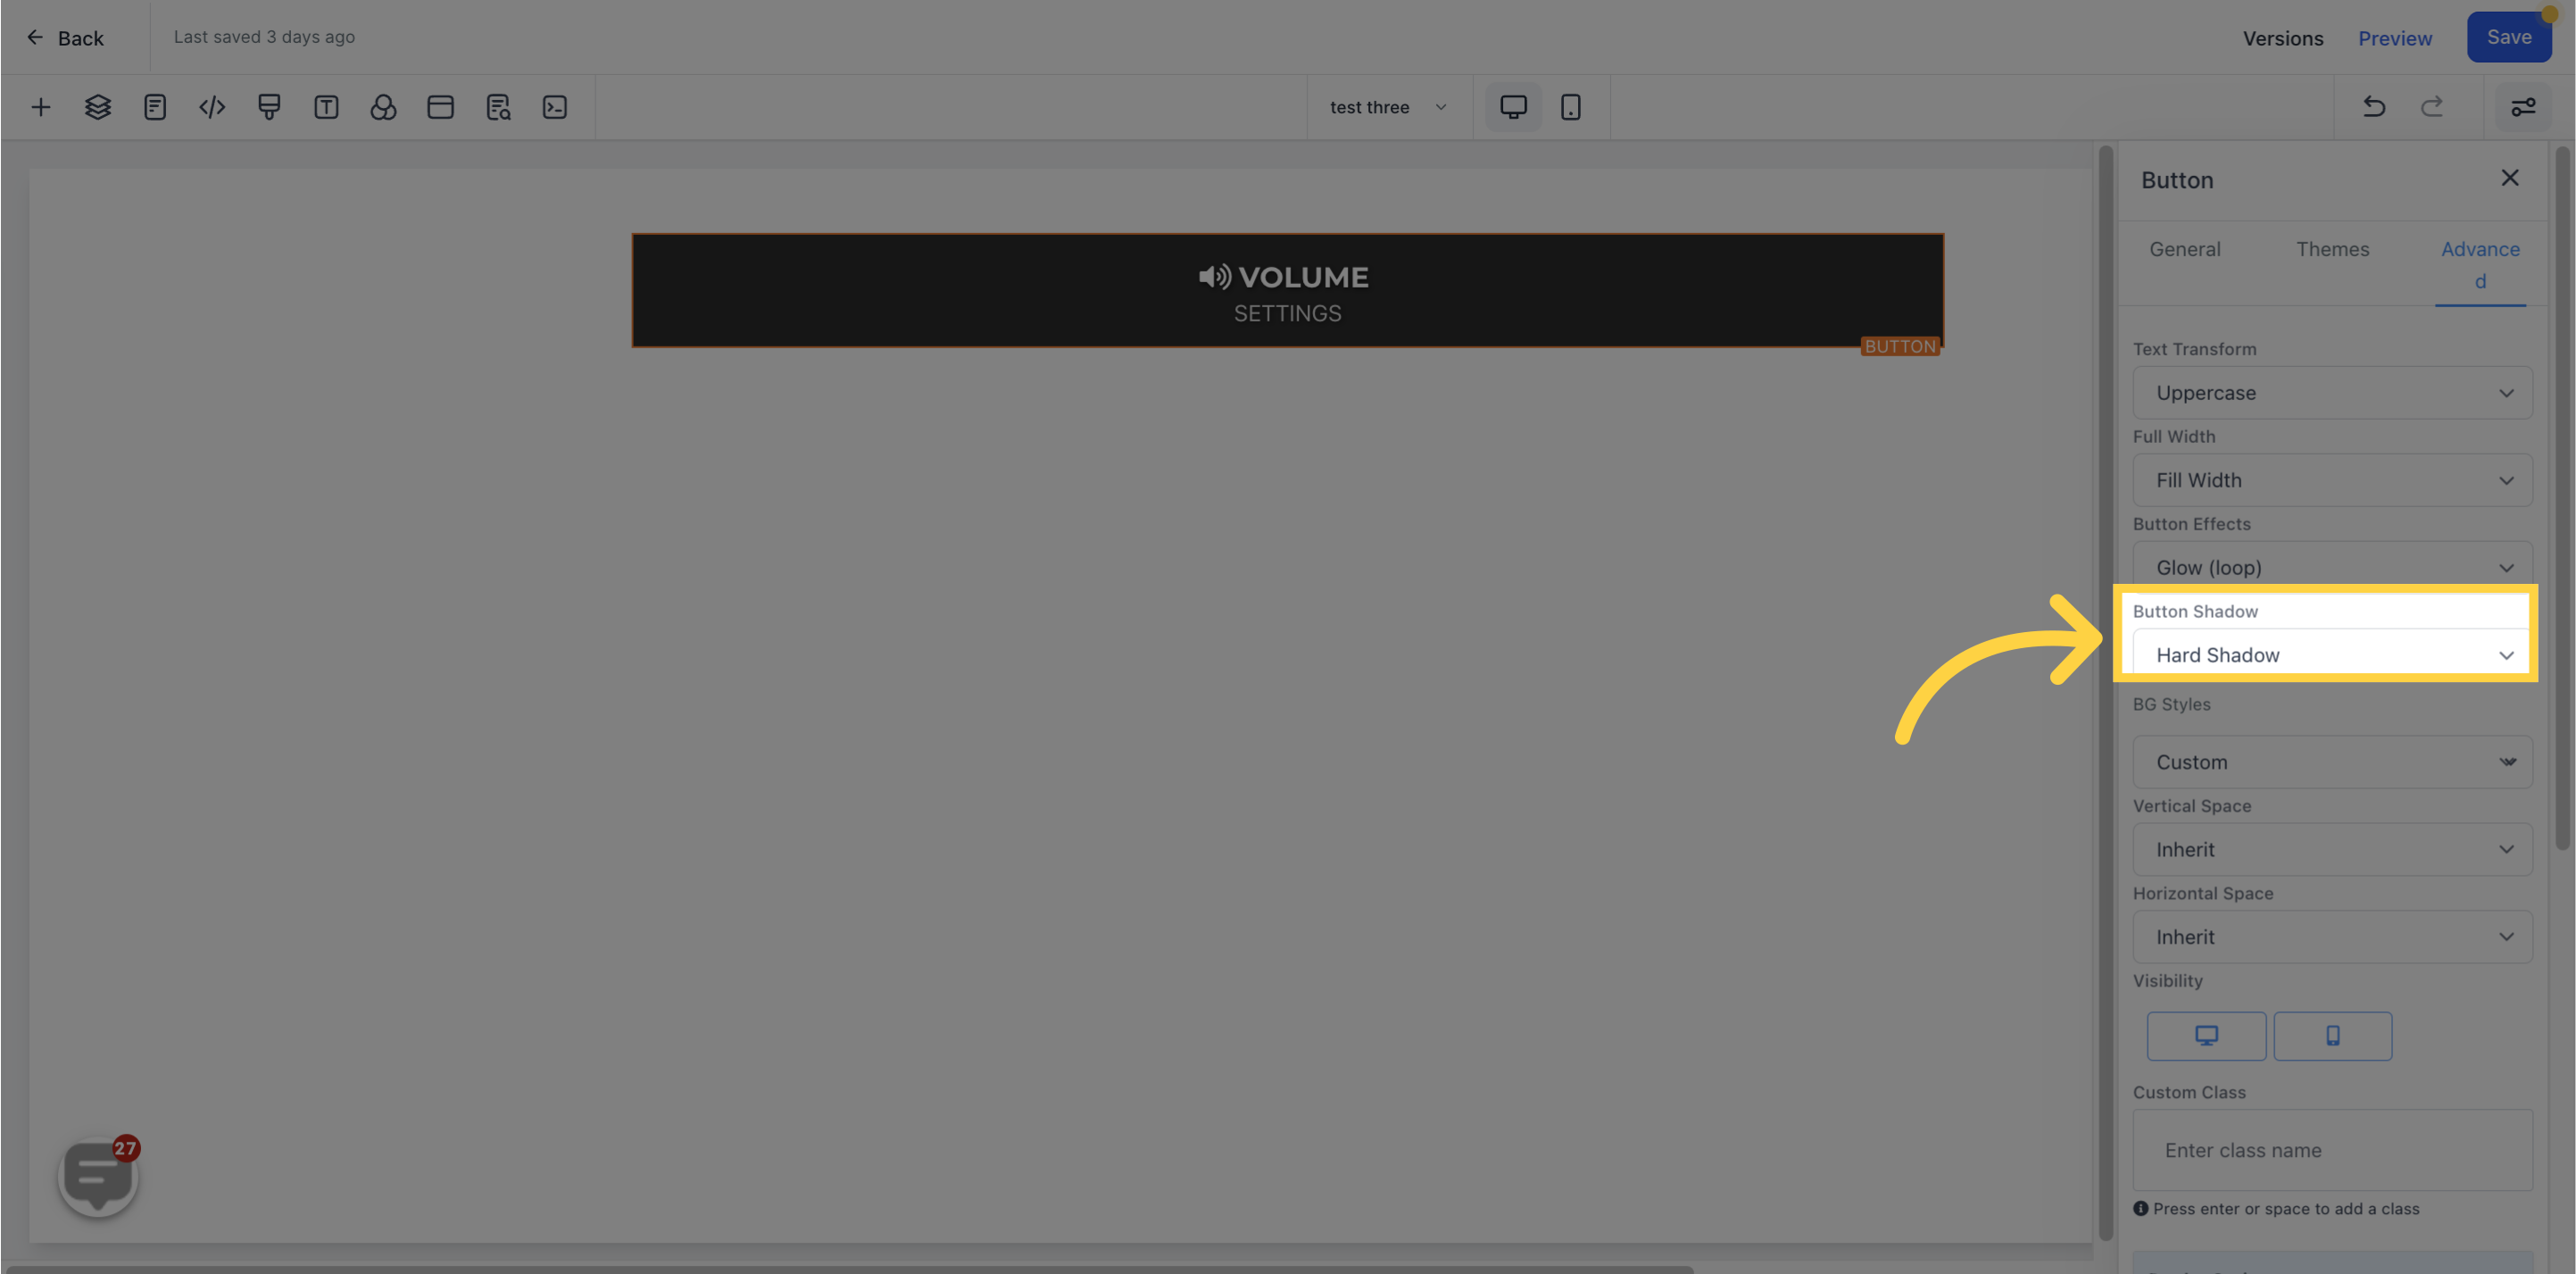
"Button Shadow" lets you adjust its shadow
Under "BG Styles", you can choose to keep or remove the background.

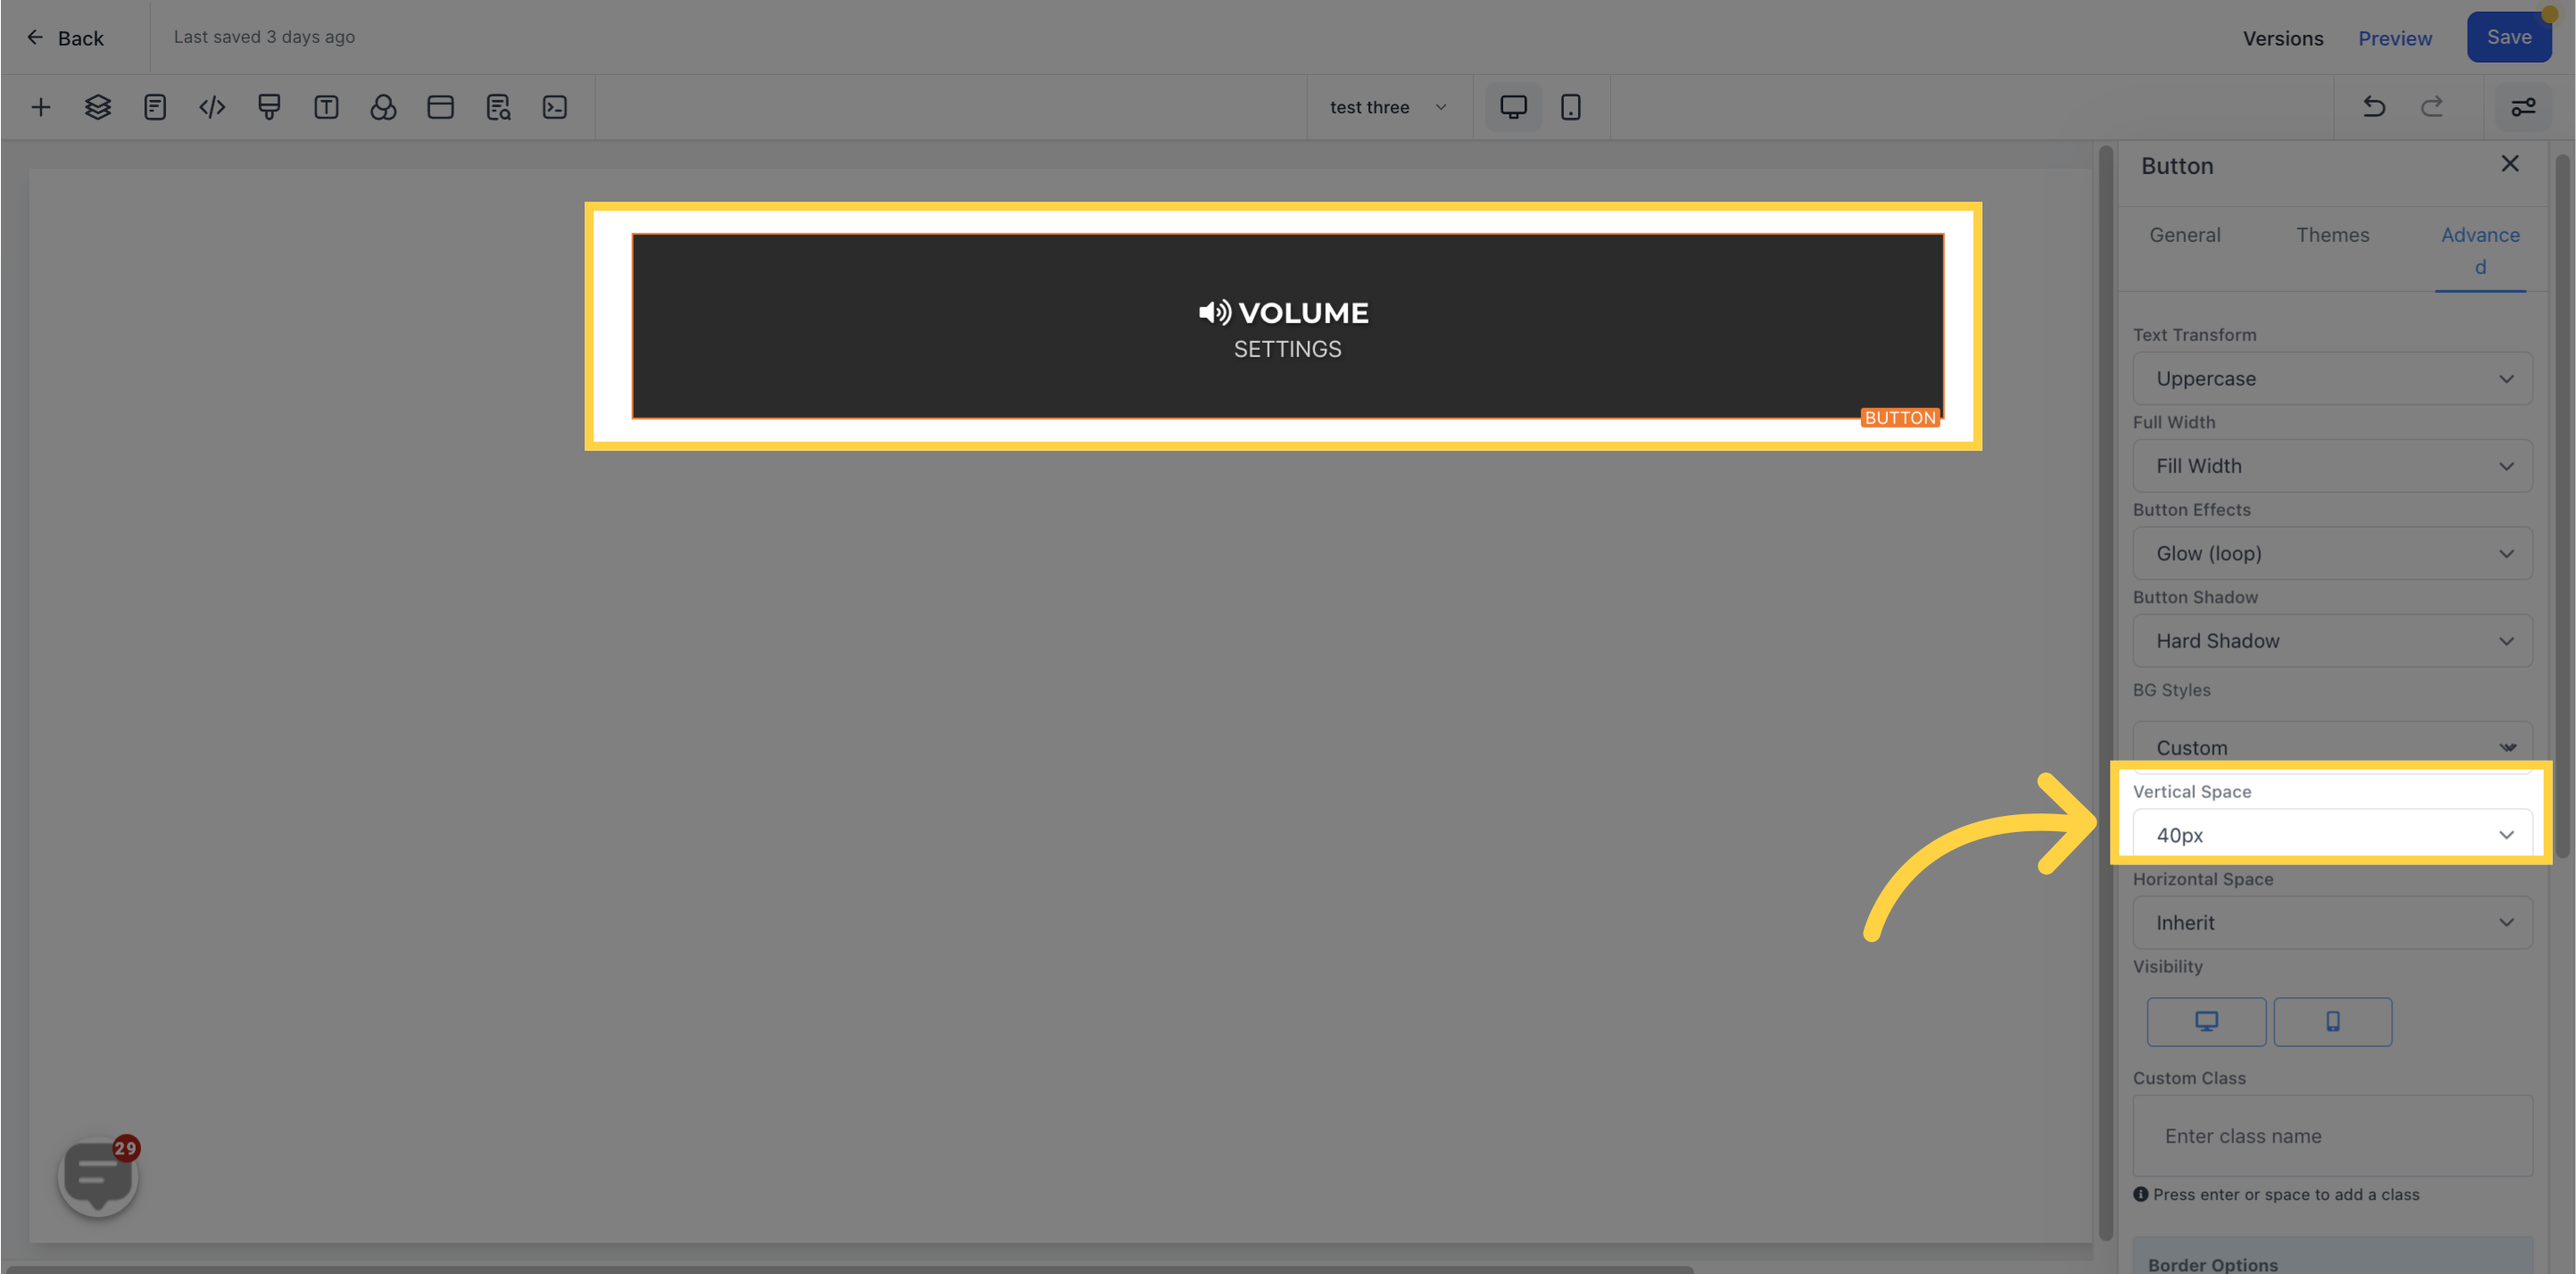
"Vertical and Horizontal Spaces" enable you to adjust the button's height and width.
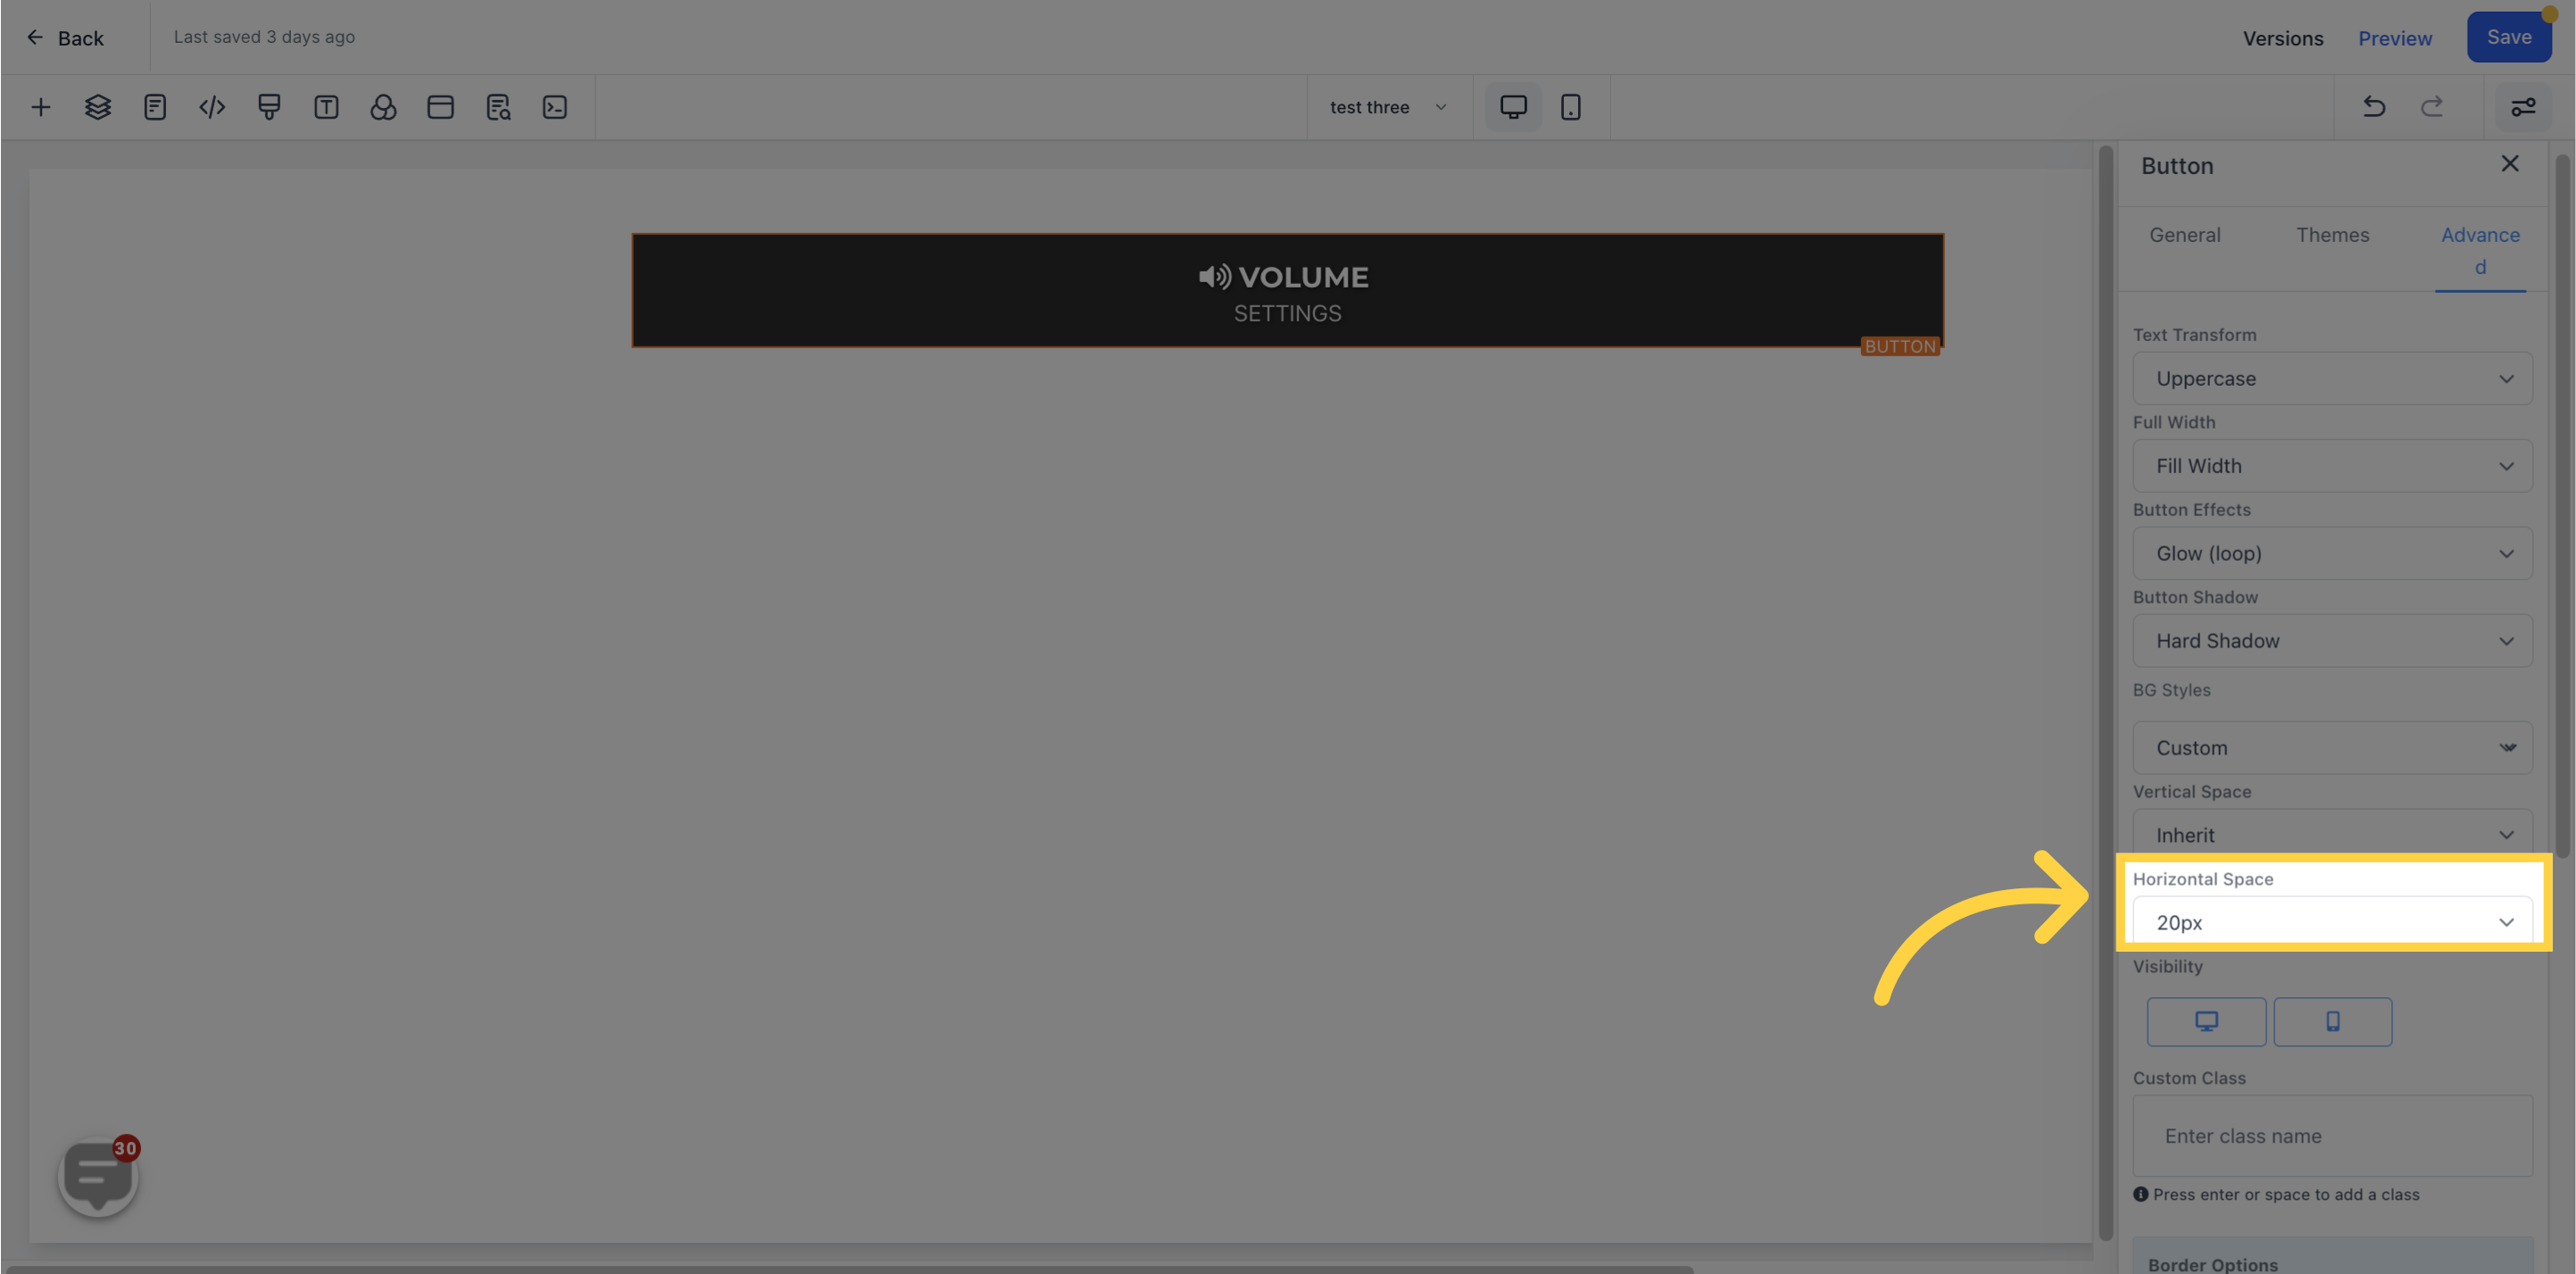
"Vertical and Horizontal Spaces" enable you to adjust the button's height and width.
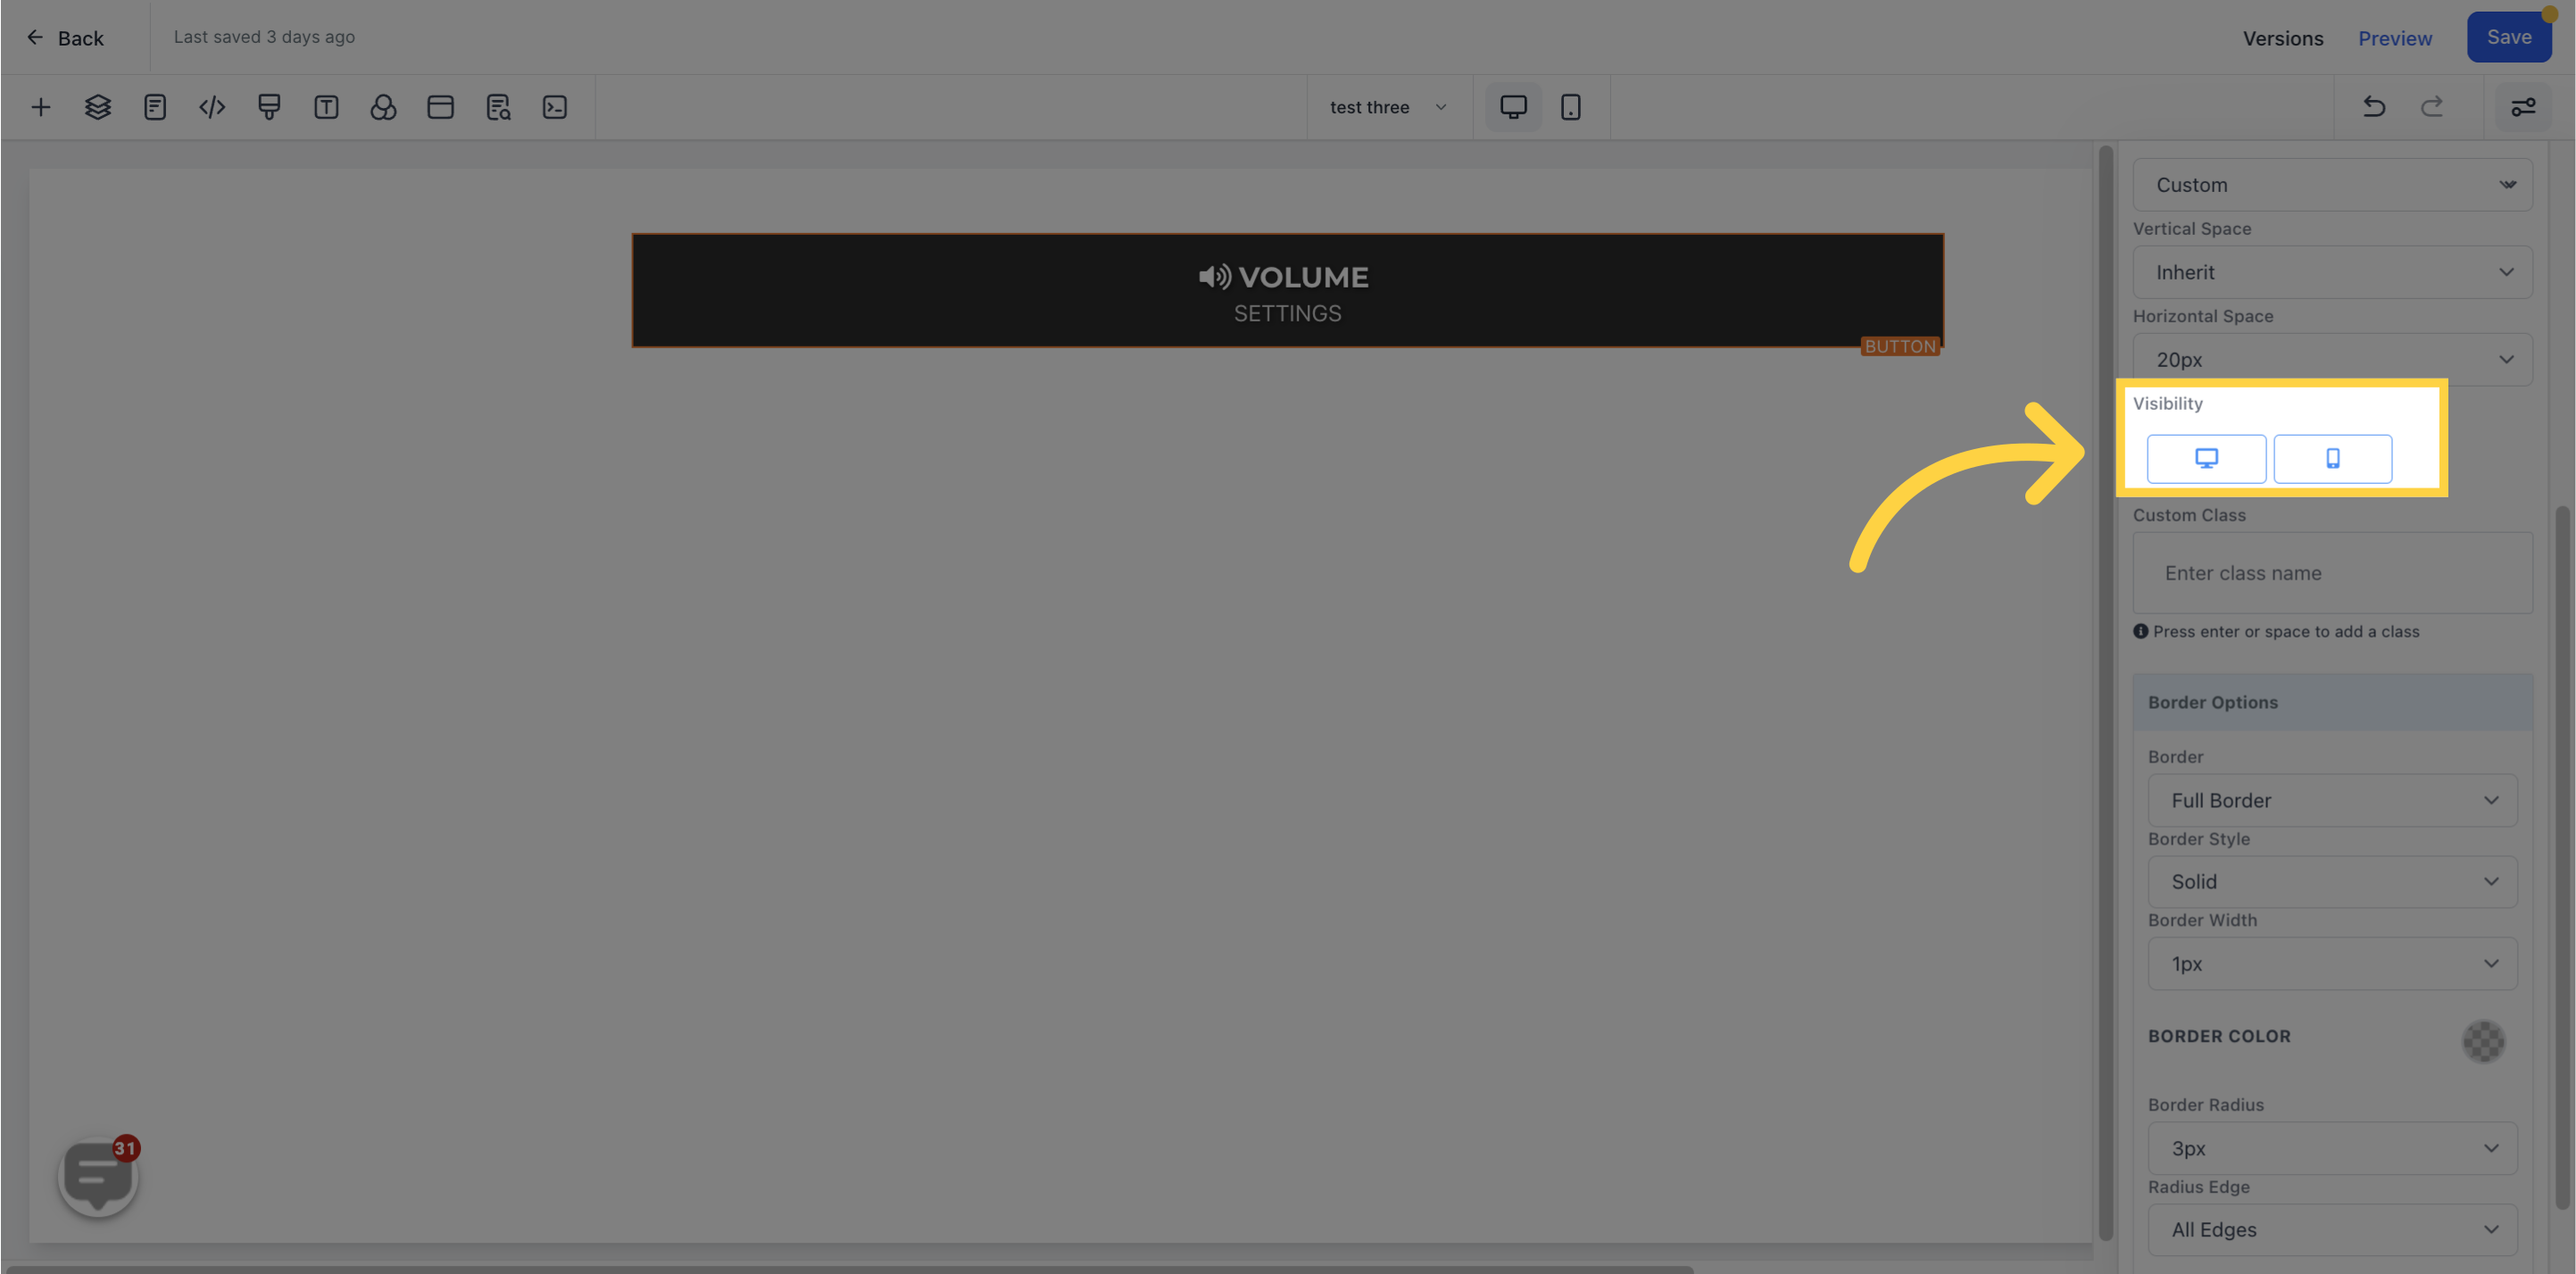
You can also select its visibility for desktop and mobile separately.
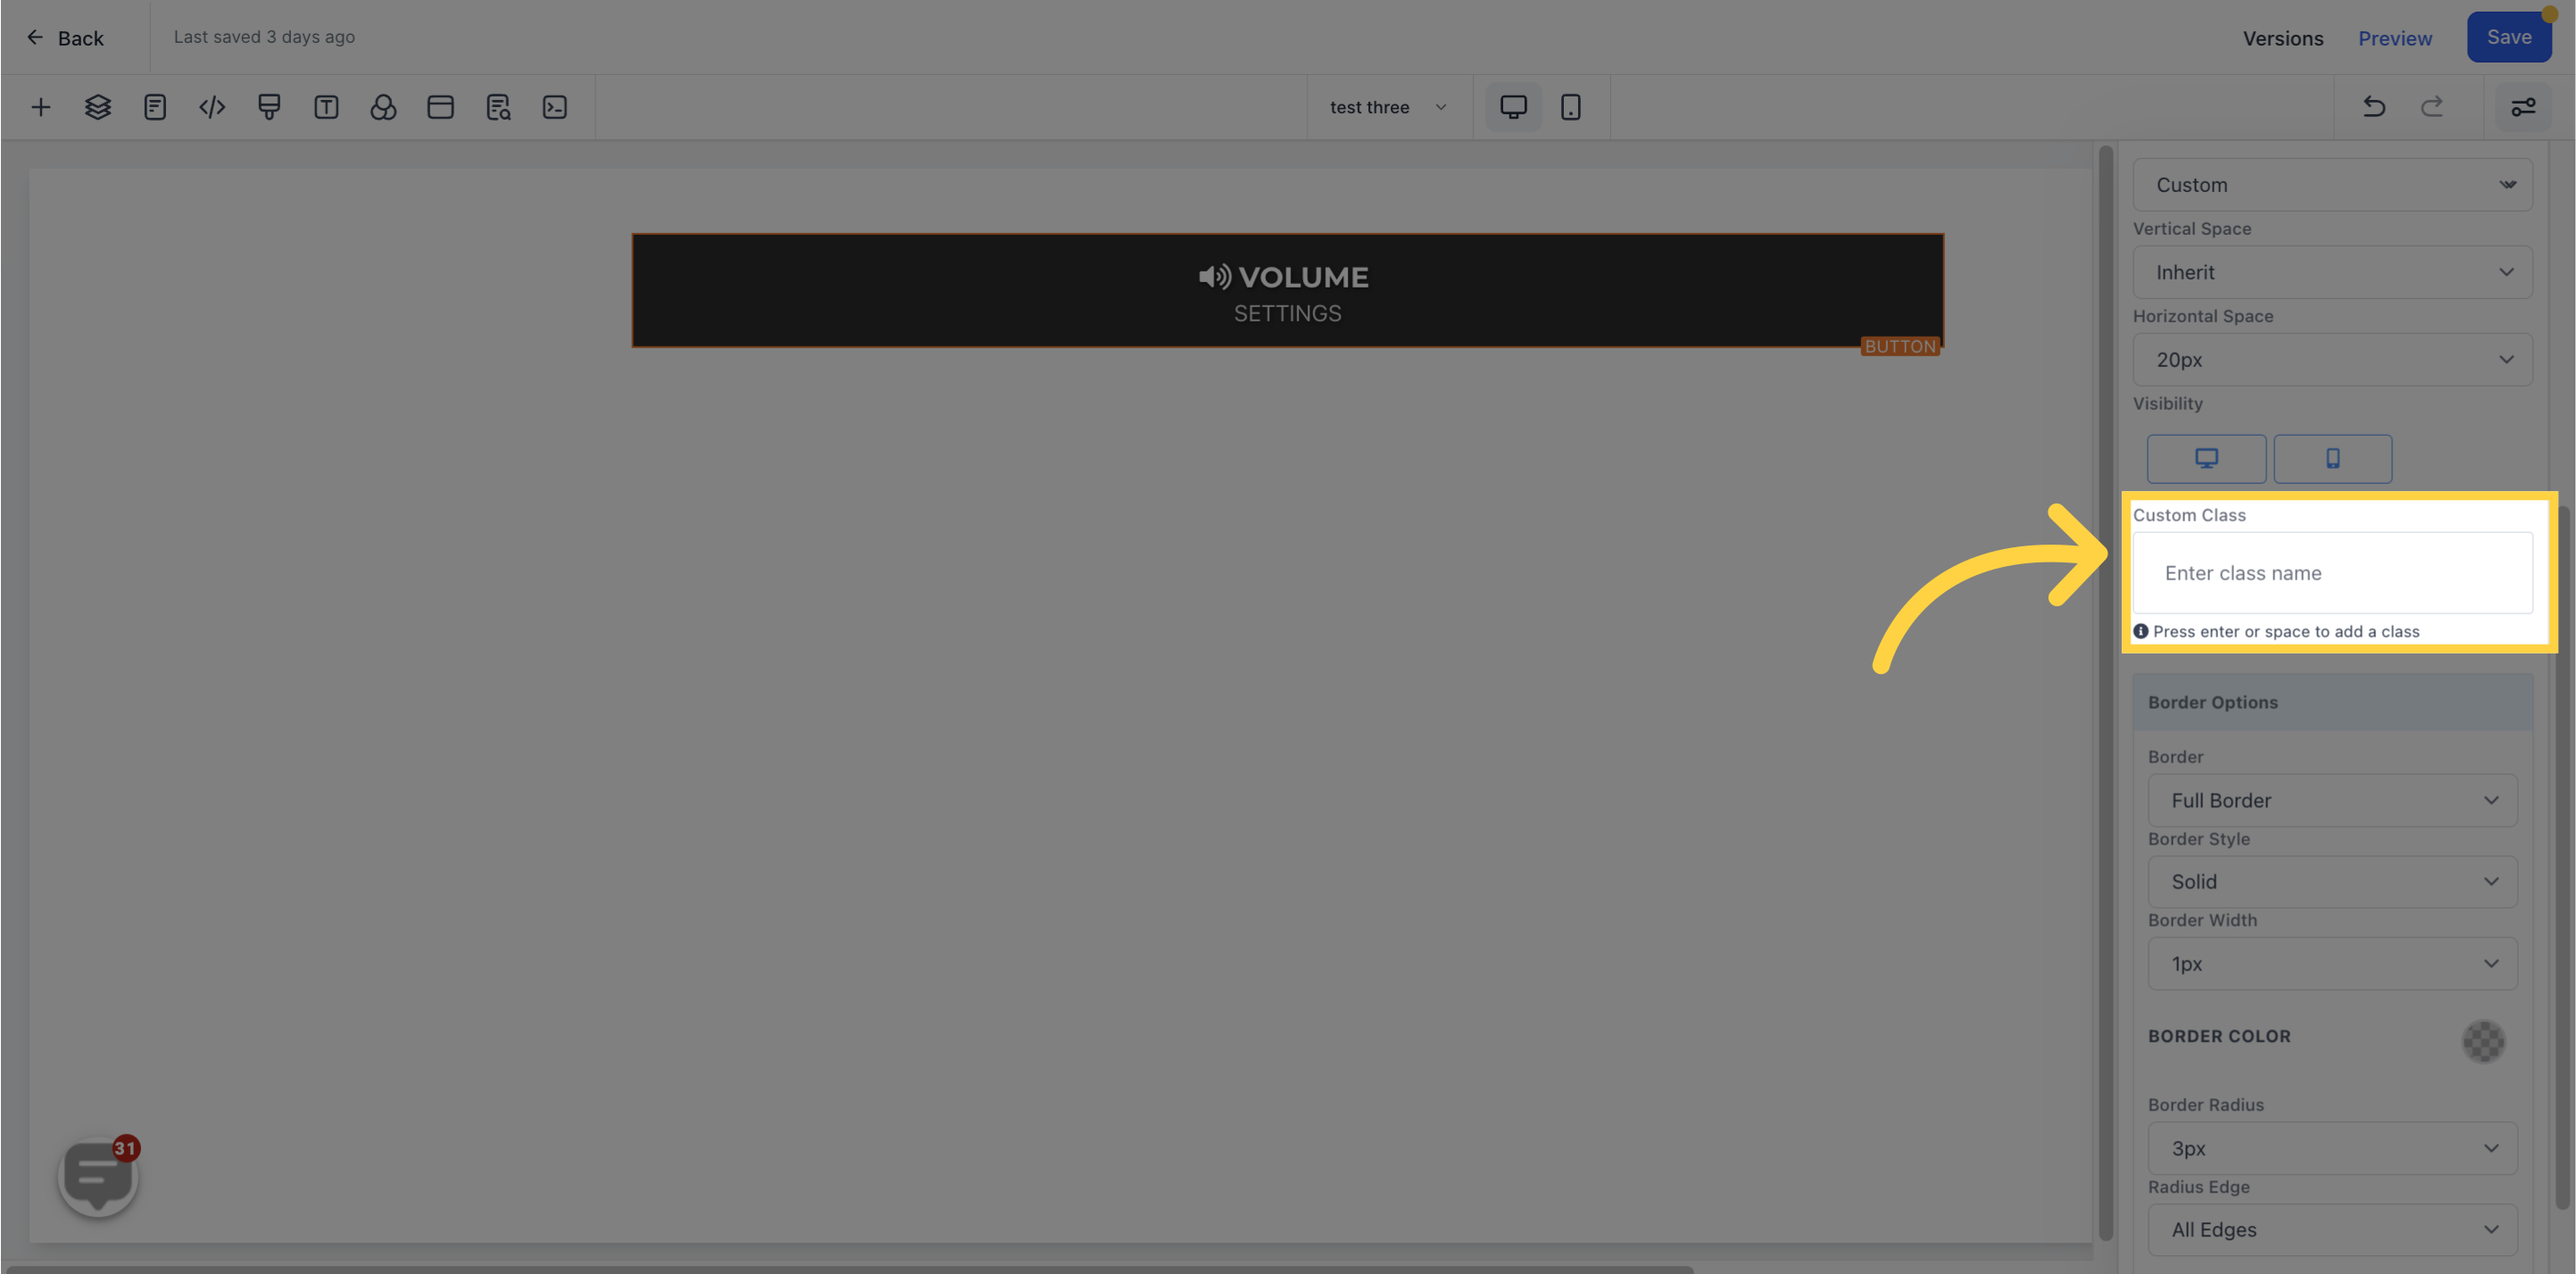
To add a class, press enter or space
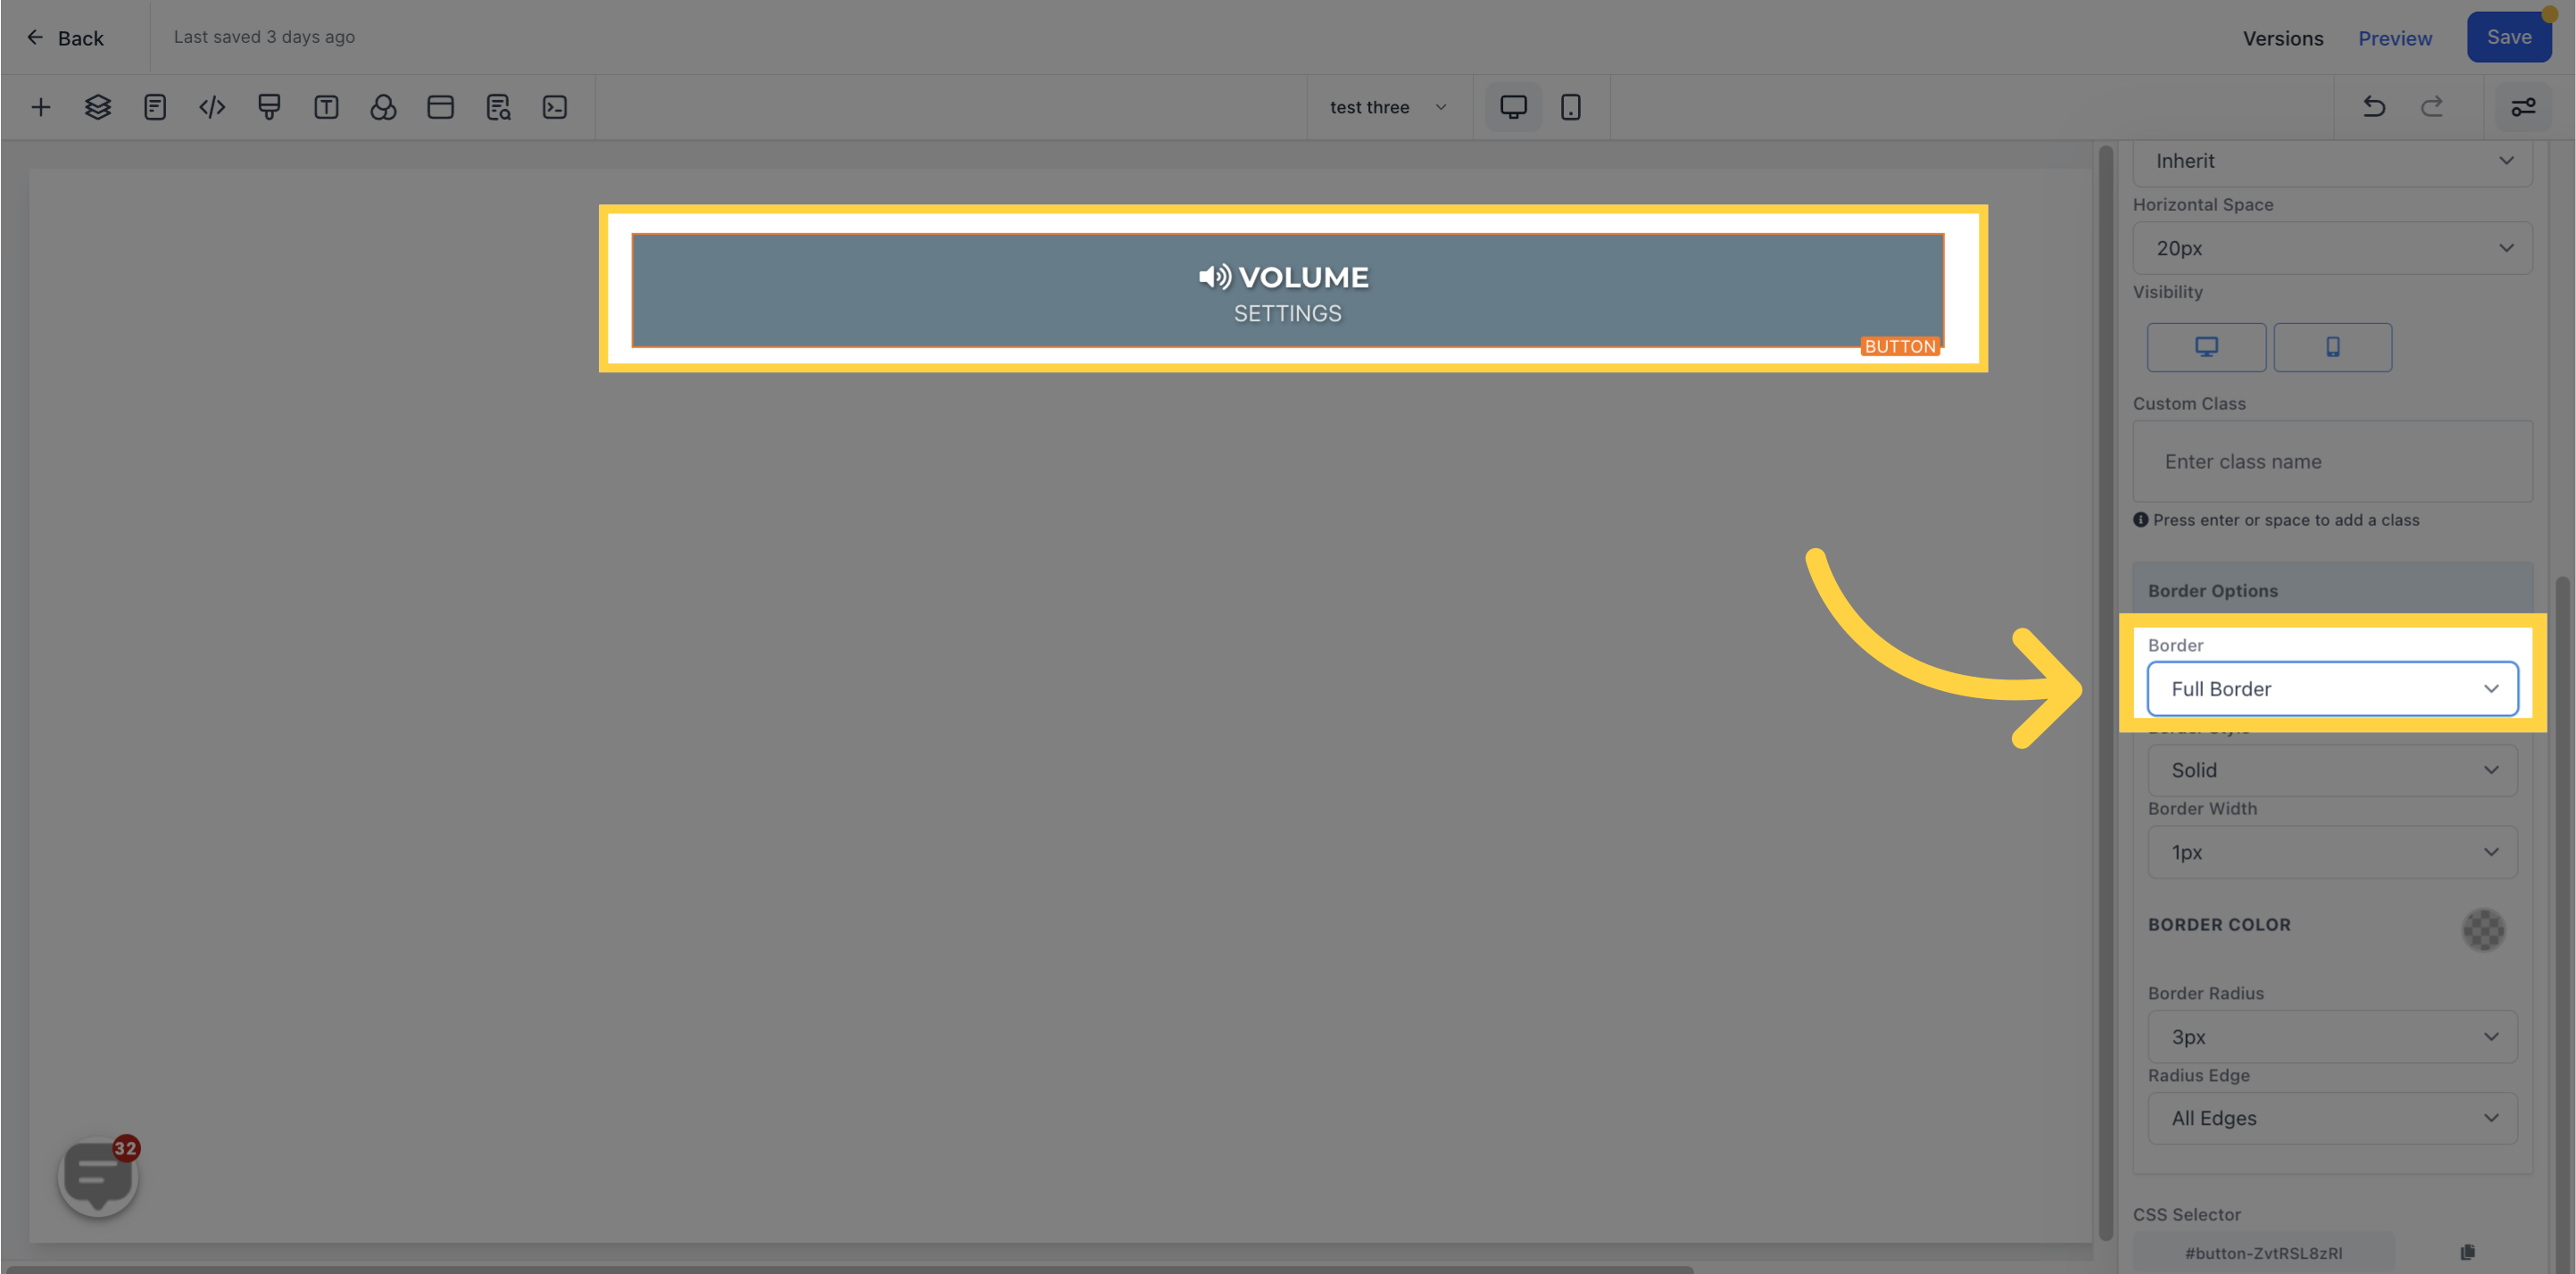
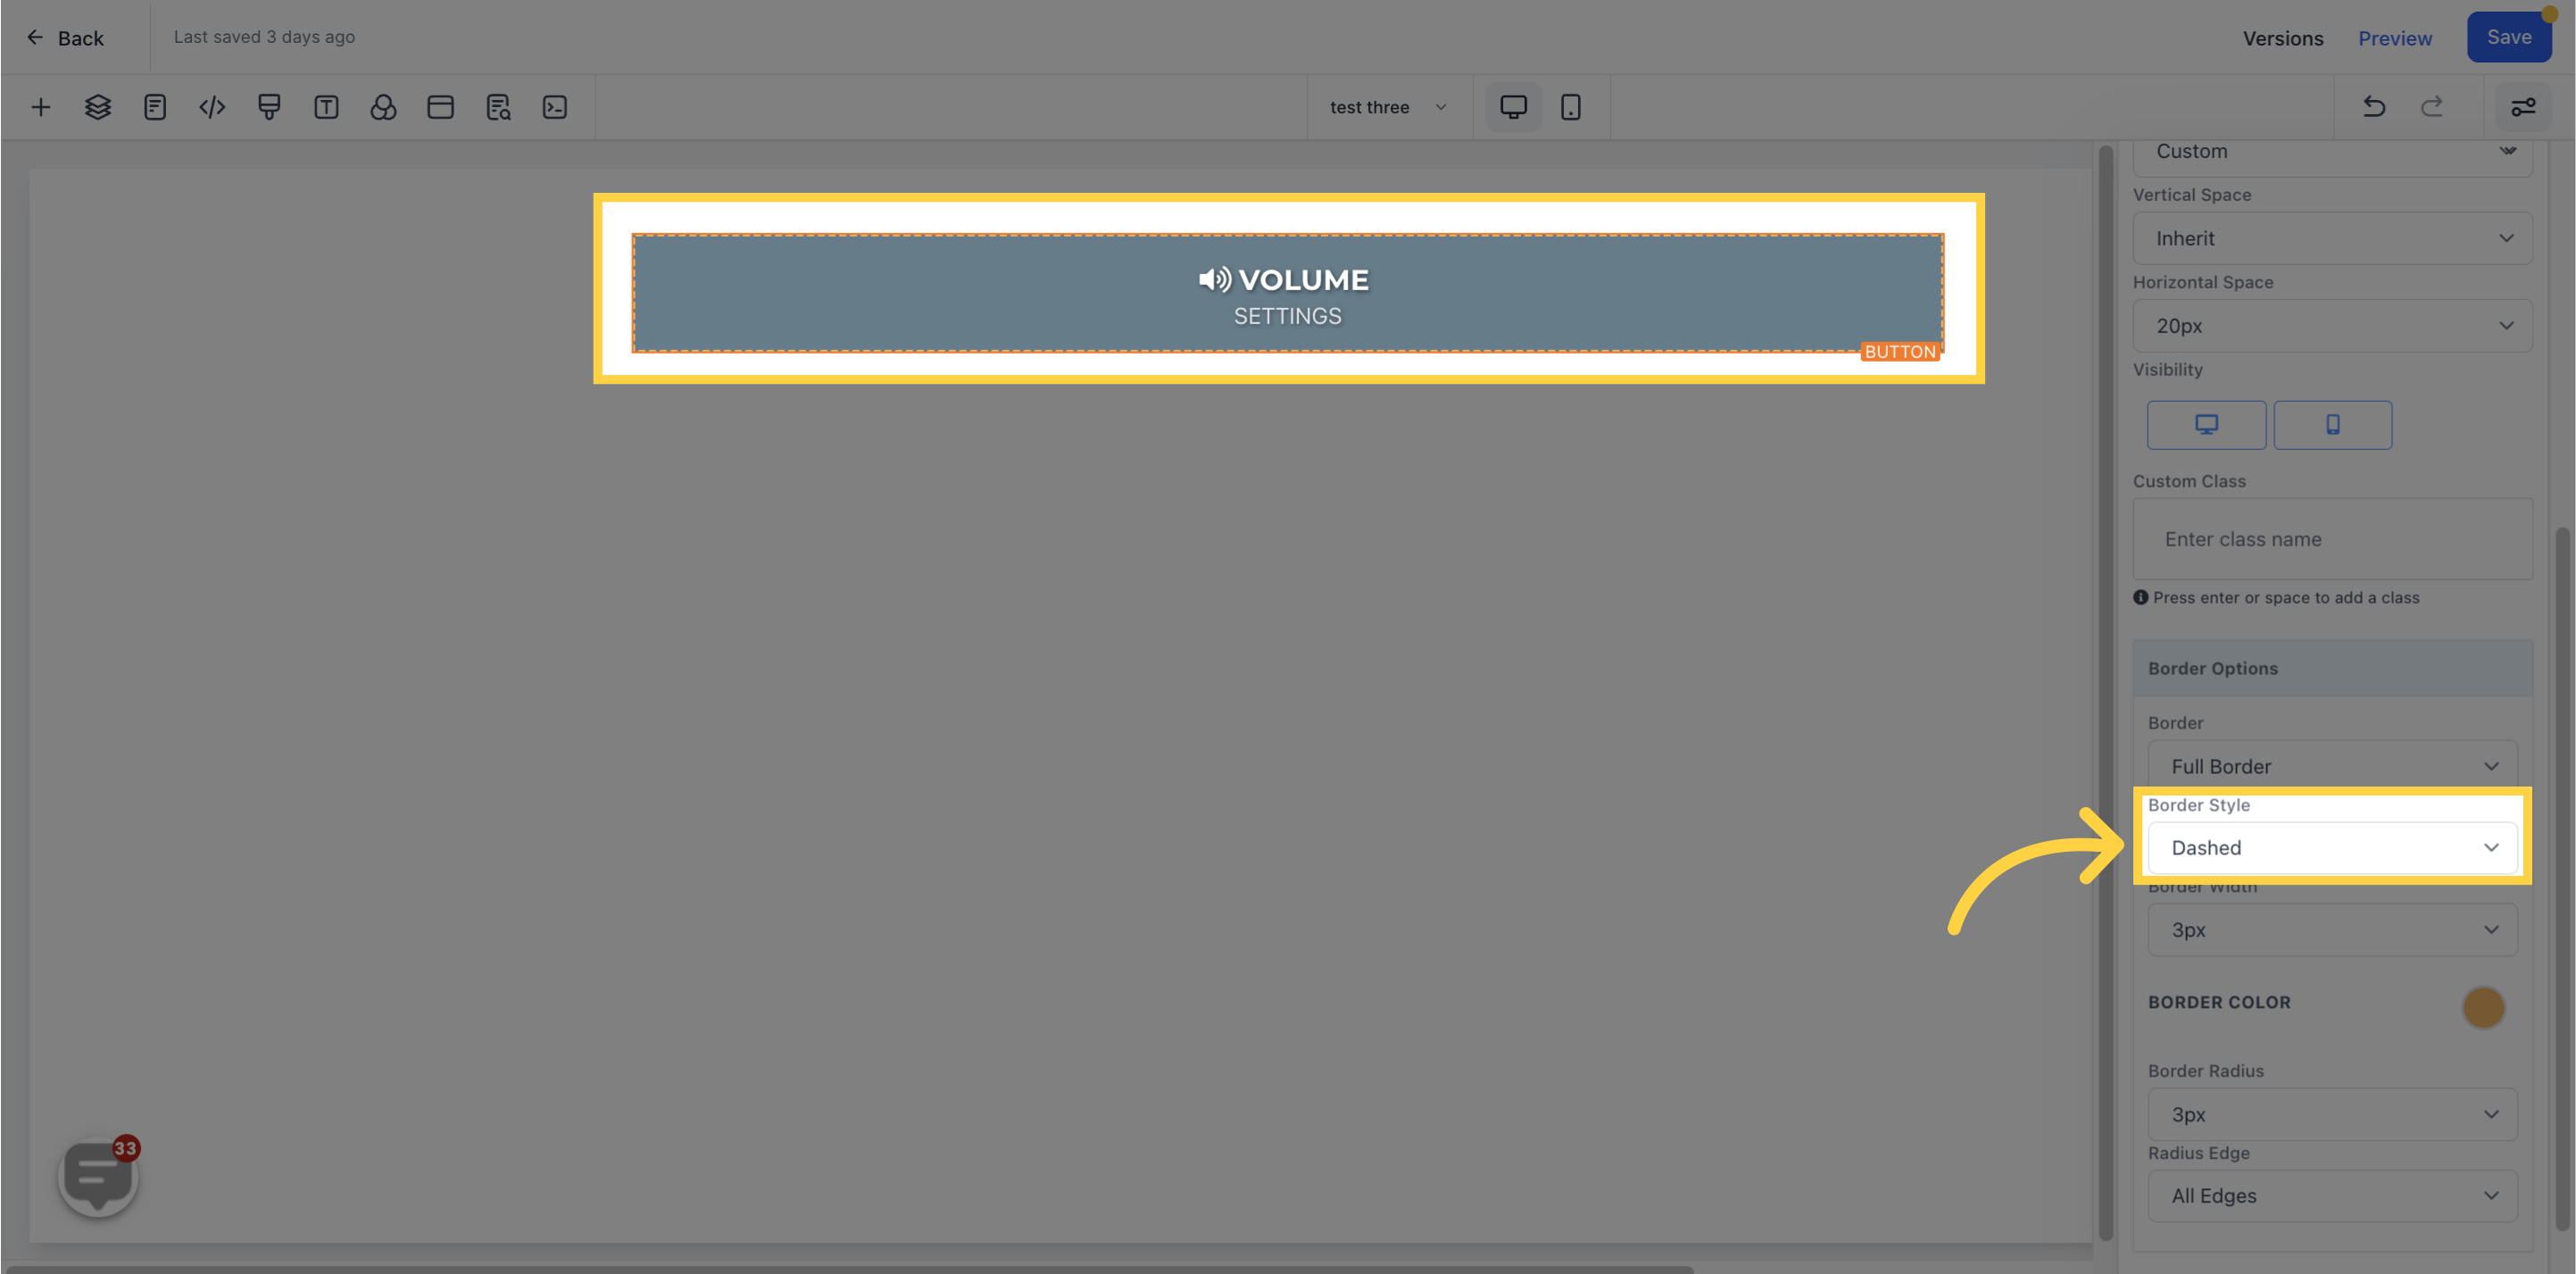
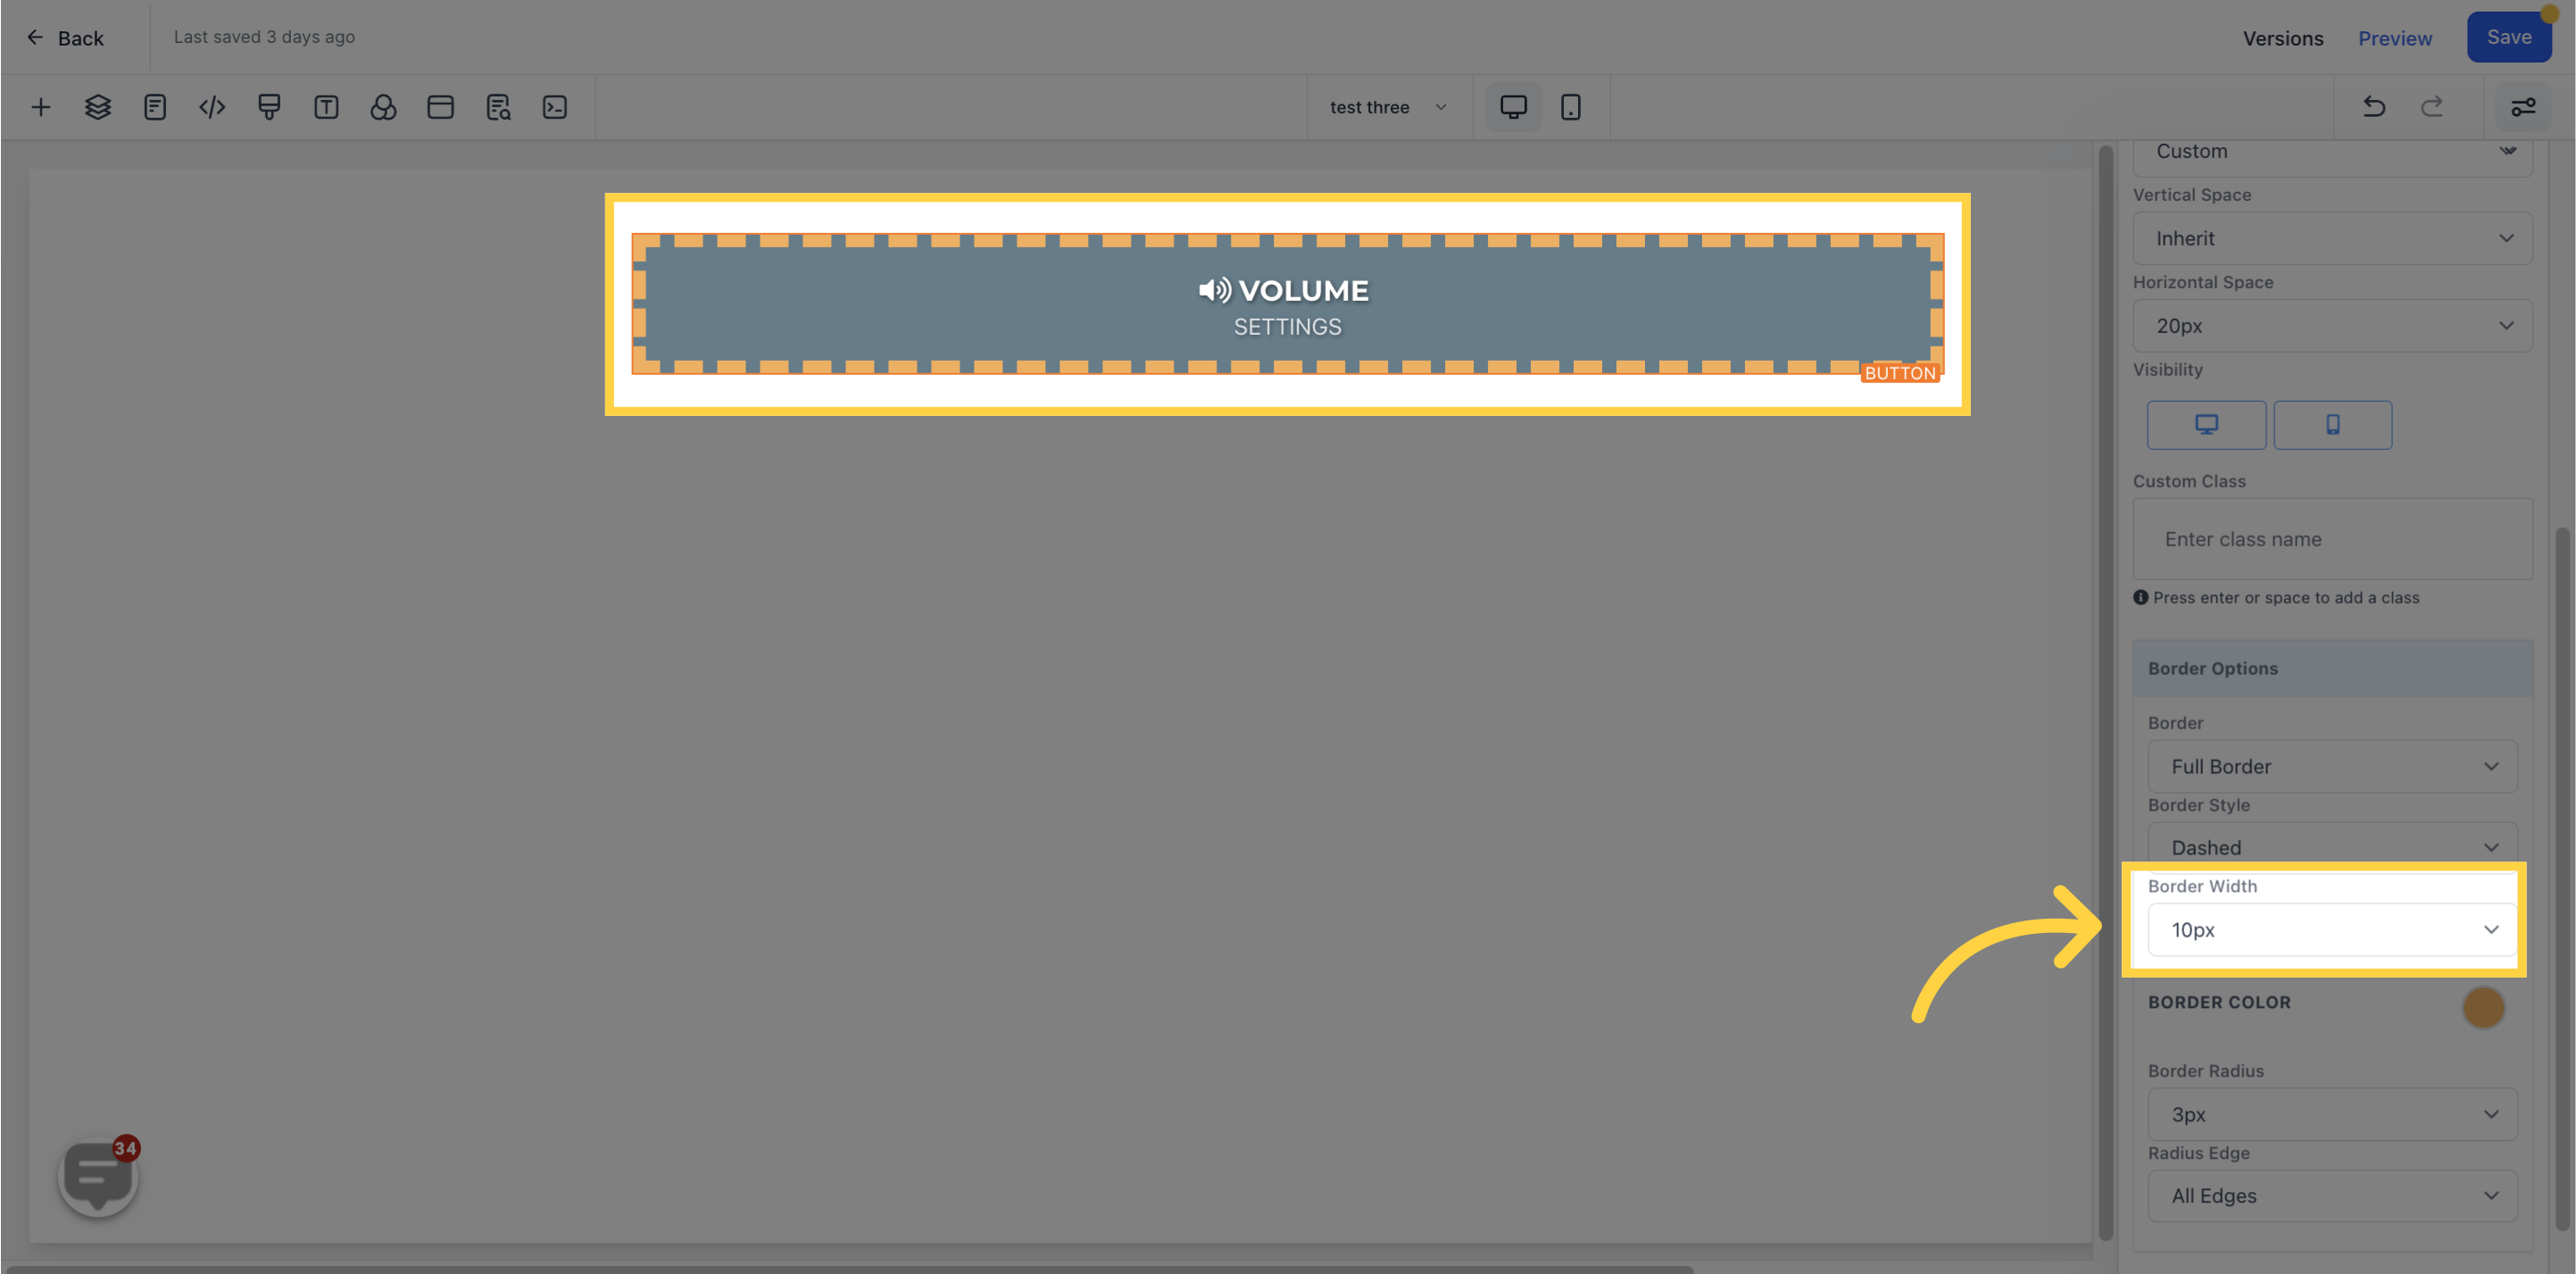
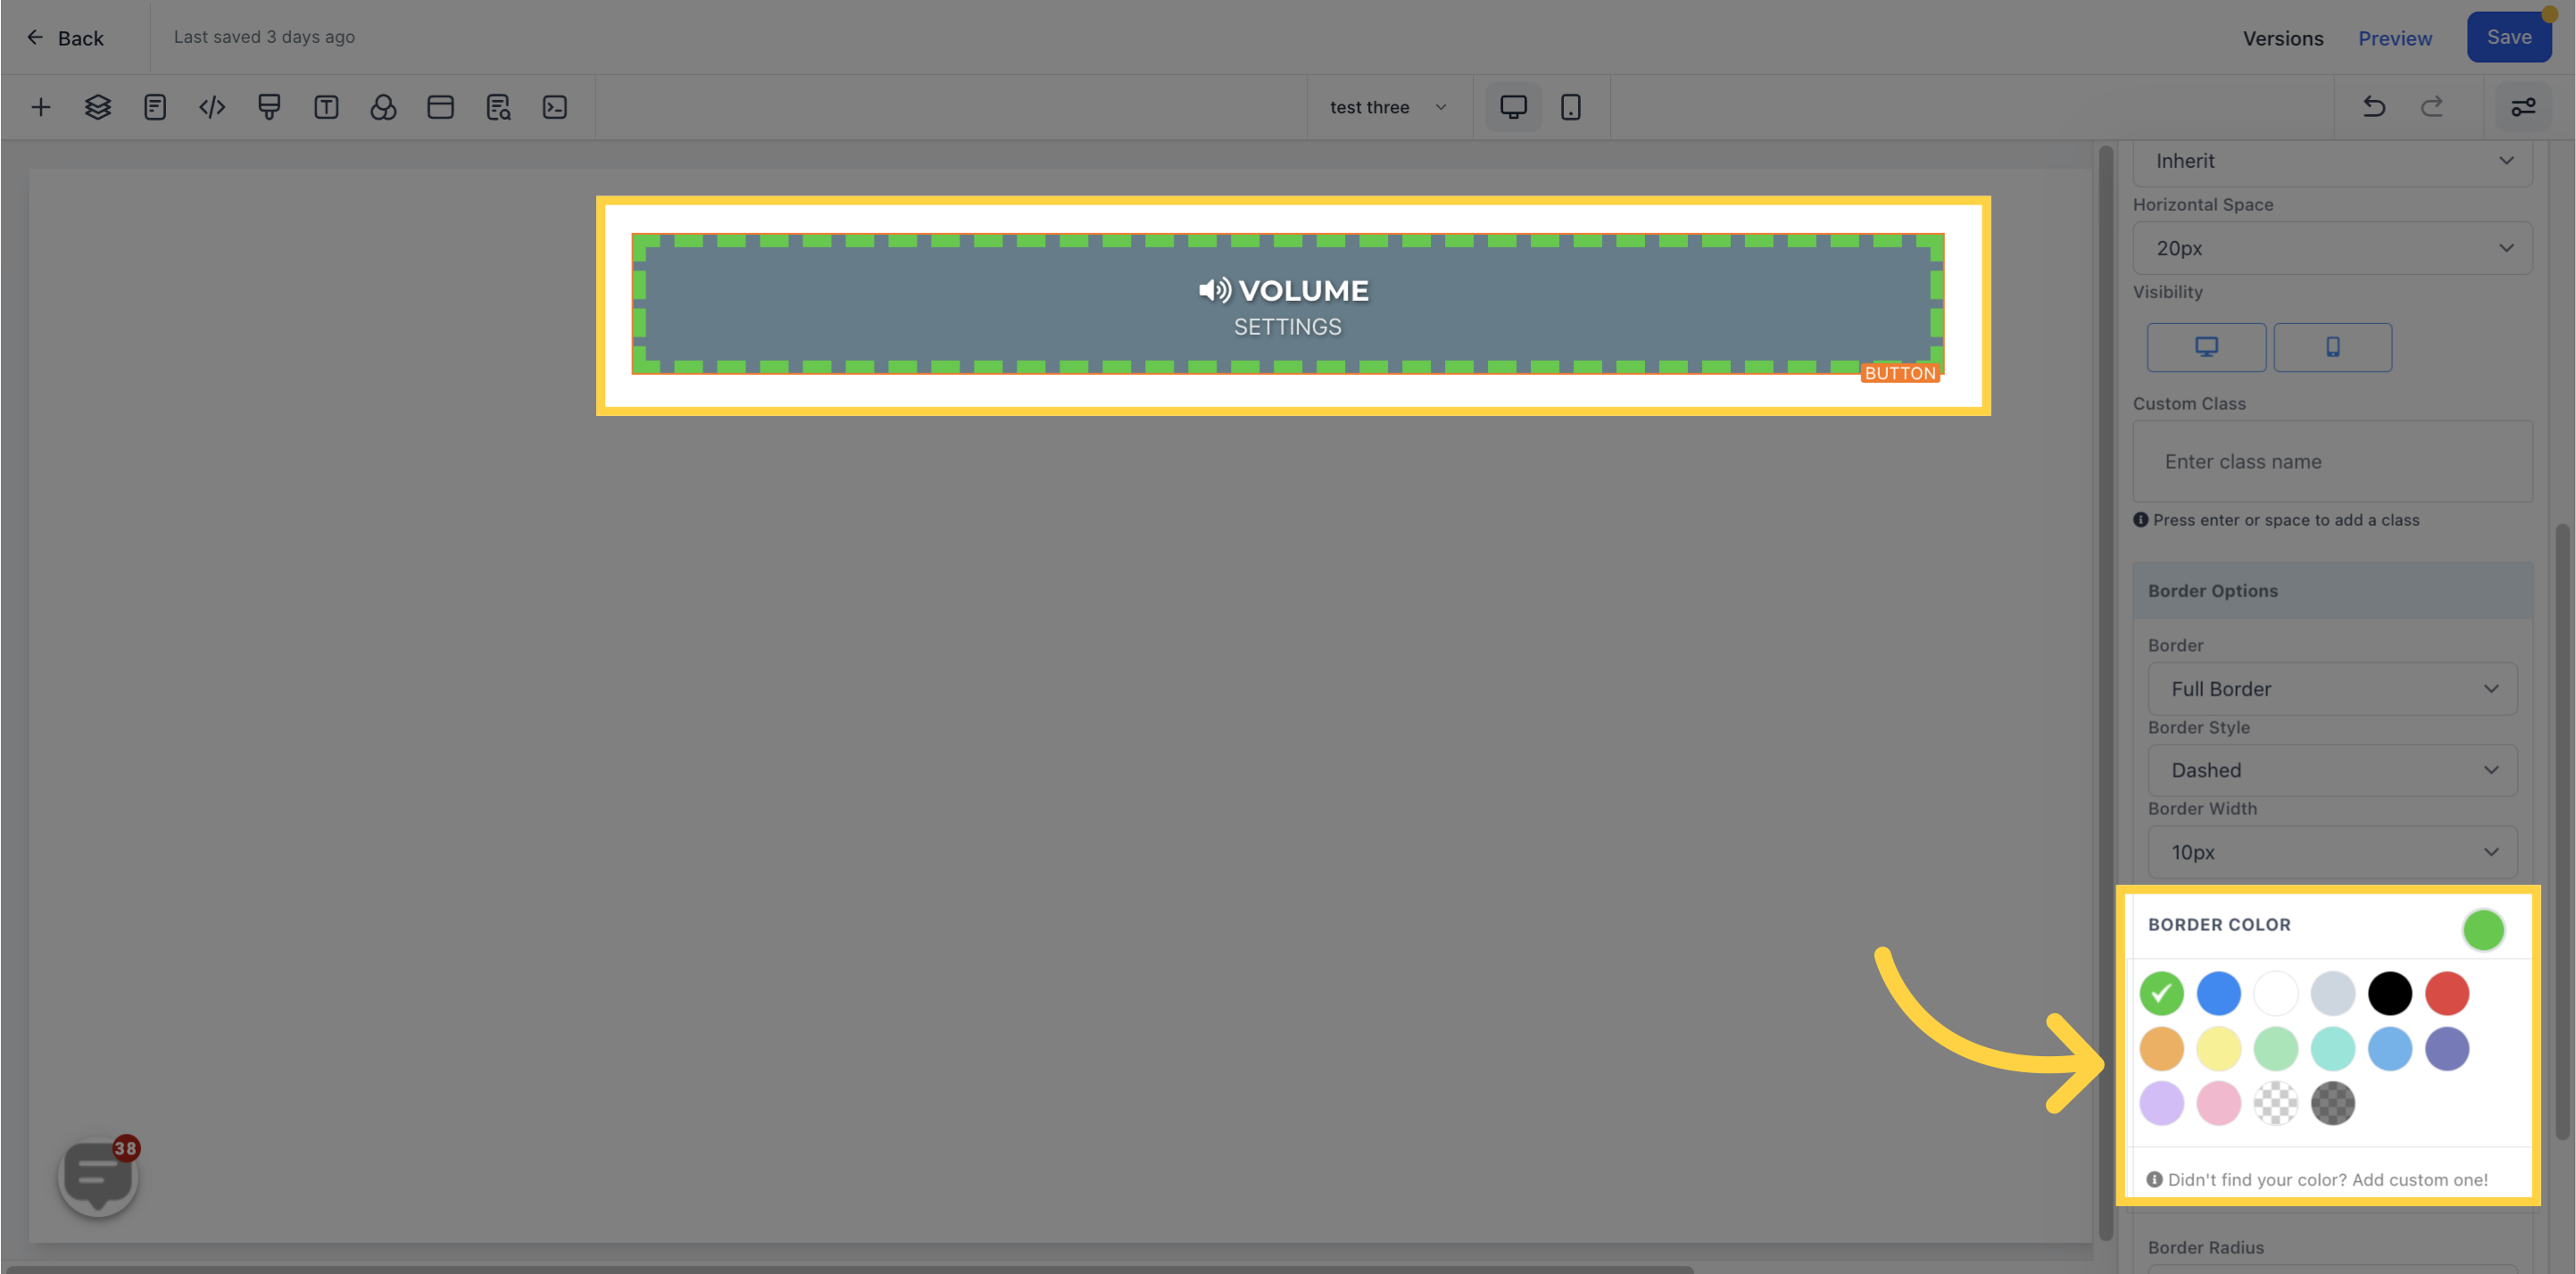
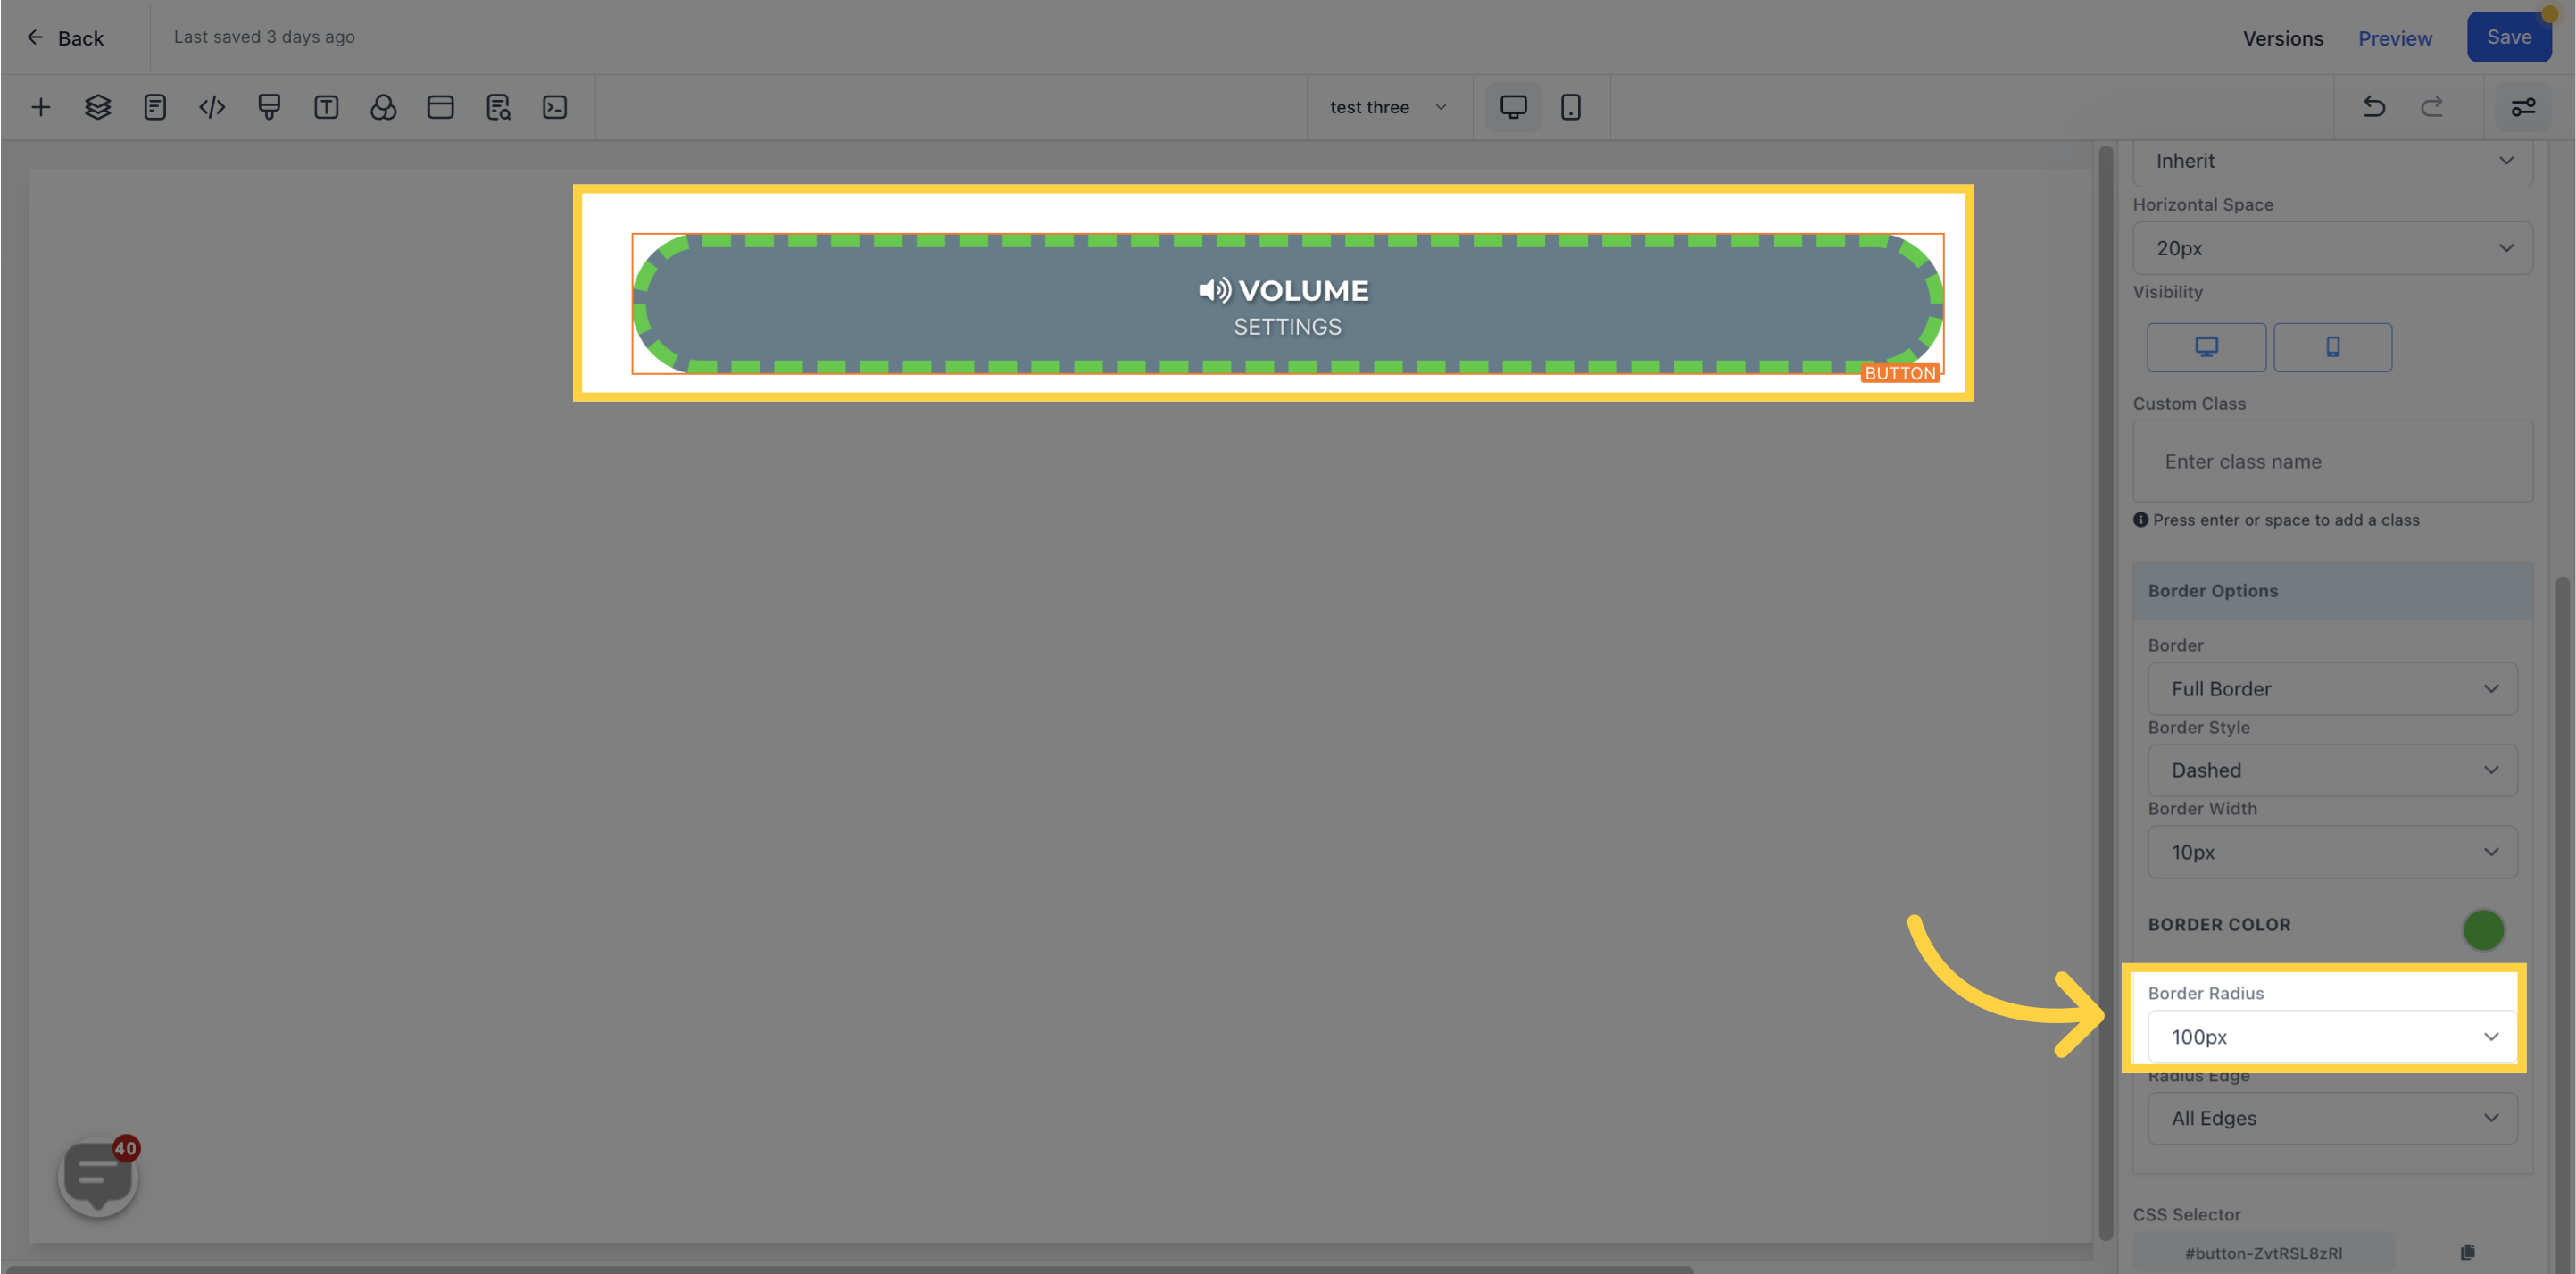
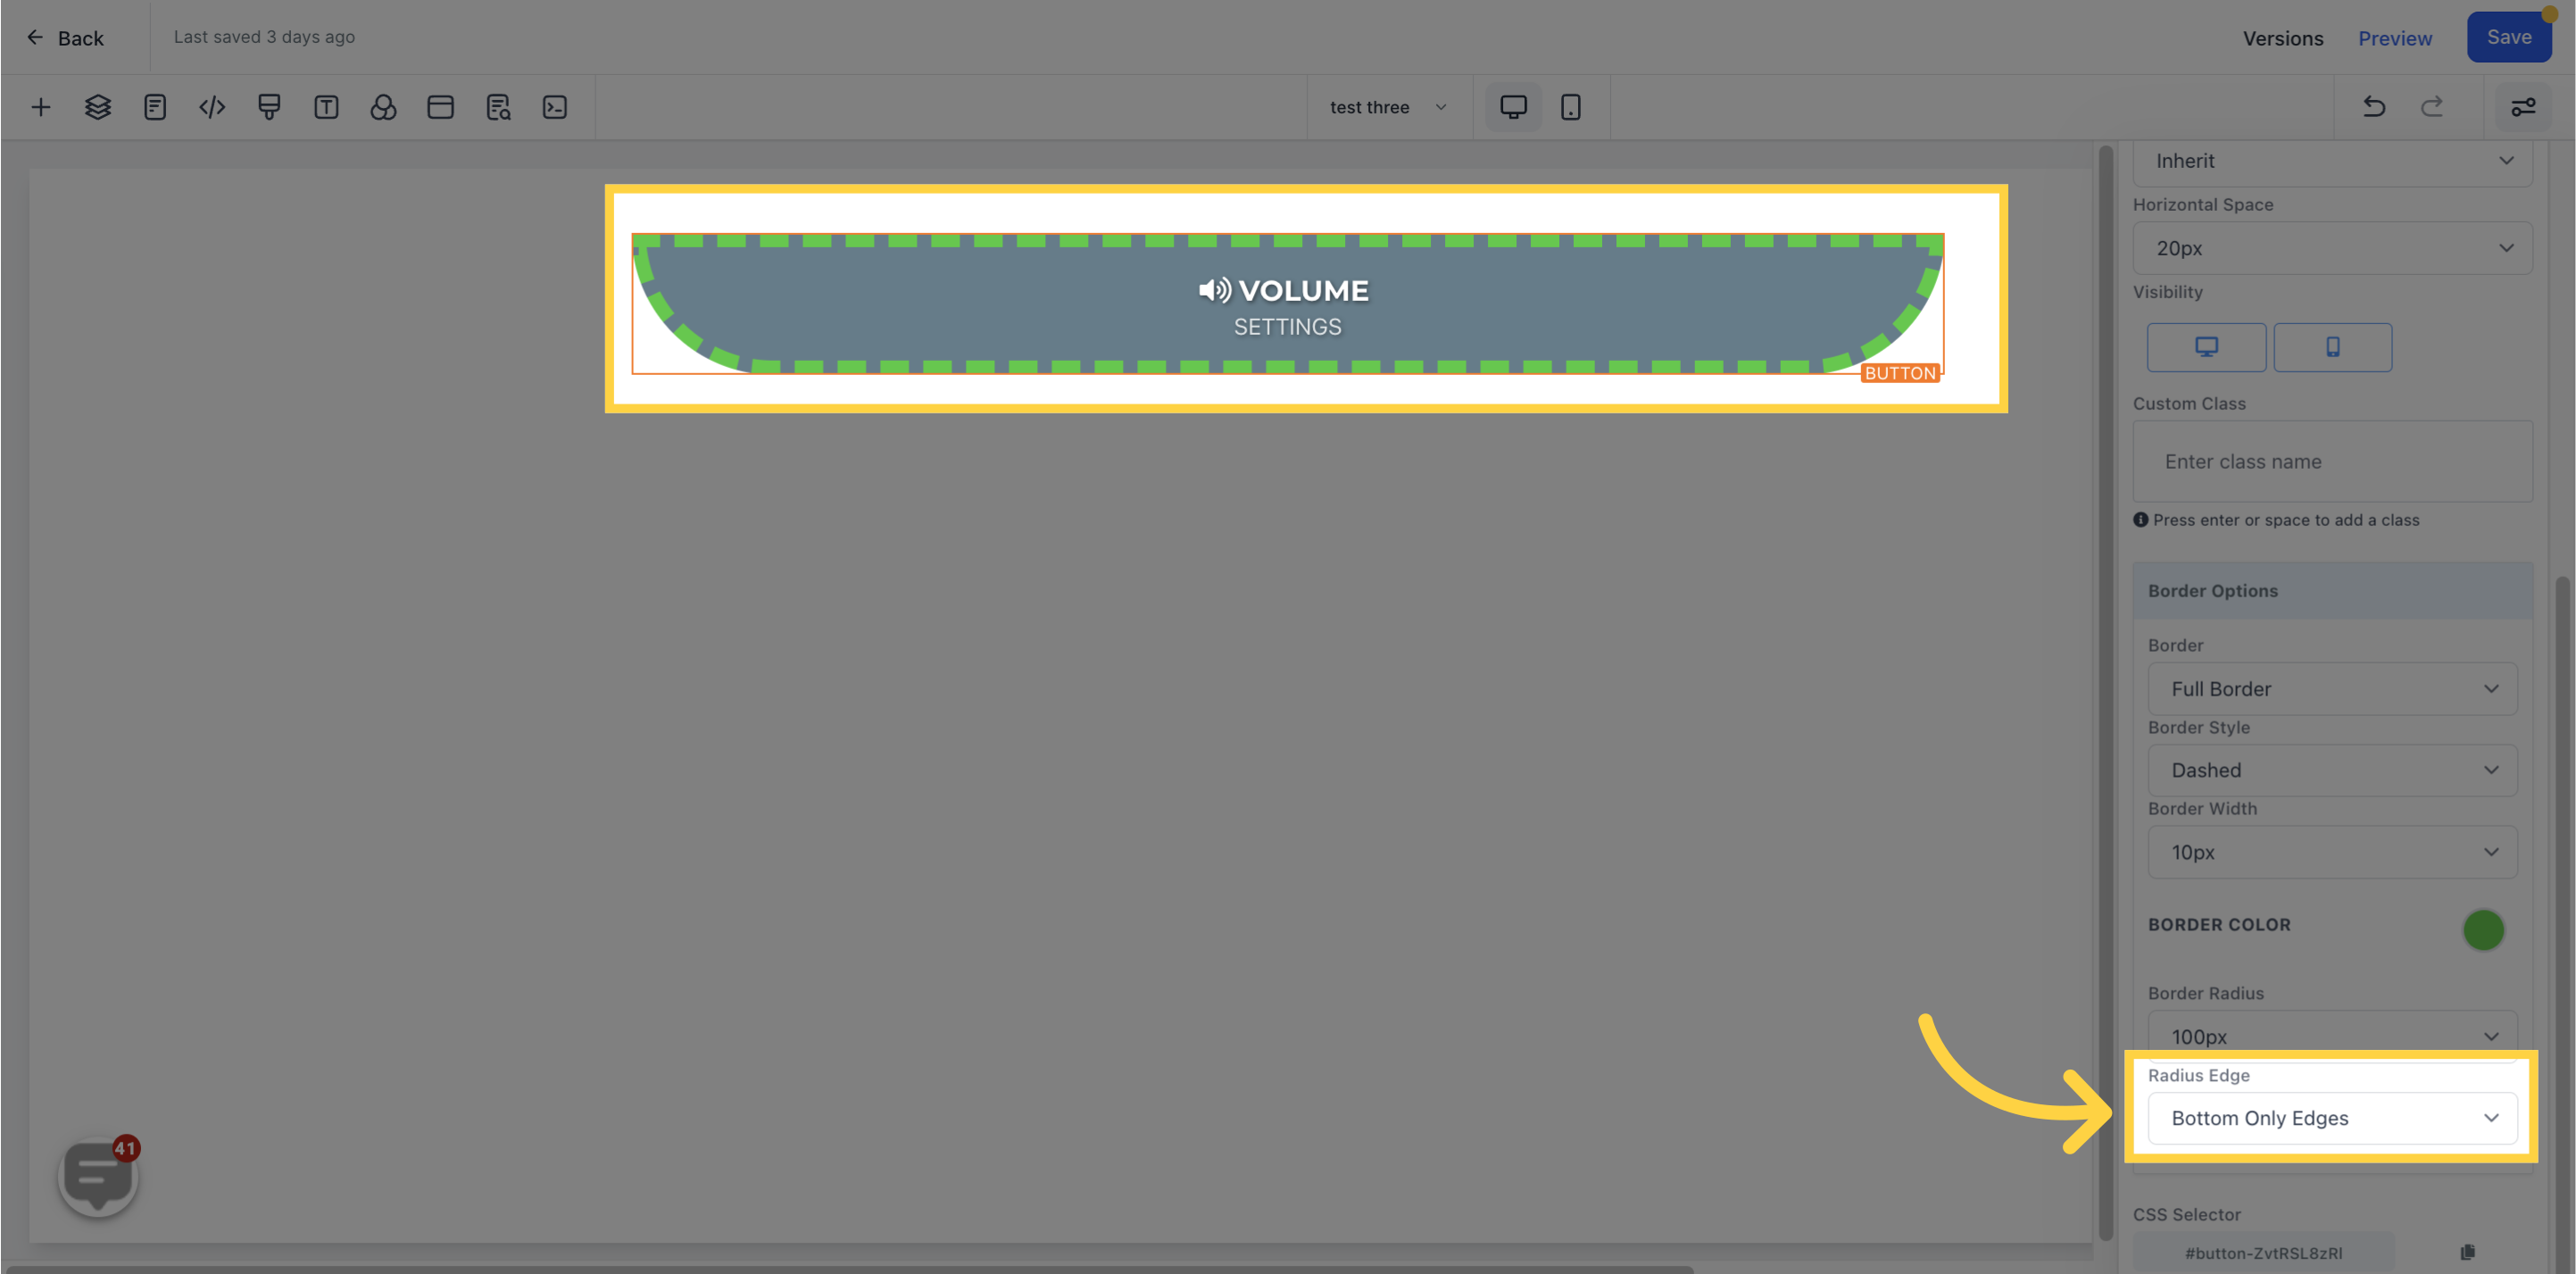
Under "Border Options", you can choose the type, style, width, color, radius, and radius edge of the button's border.
you can copy a CSS Selector by clicking the "copy" icon.

