The Sub-Headline option allows you to easily add subheadings to your pages. To do so, simply drag and drop the Sub-Headline element into the editor. From there, you can manage the settings to customize the appearance of your subheading.
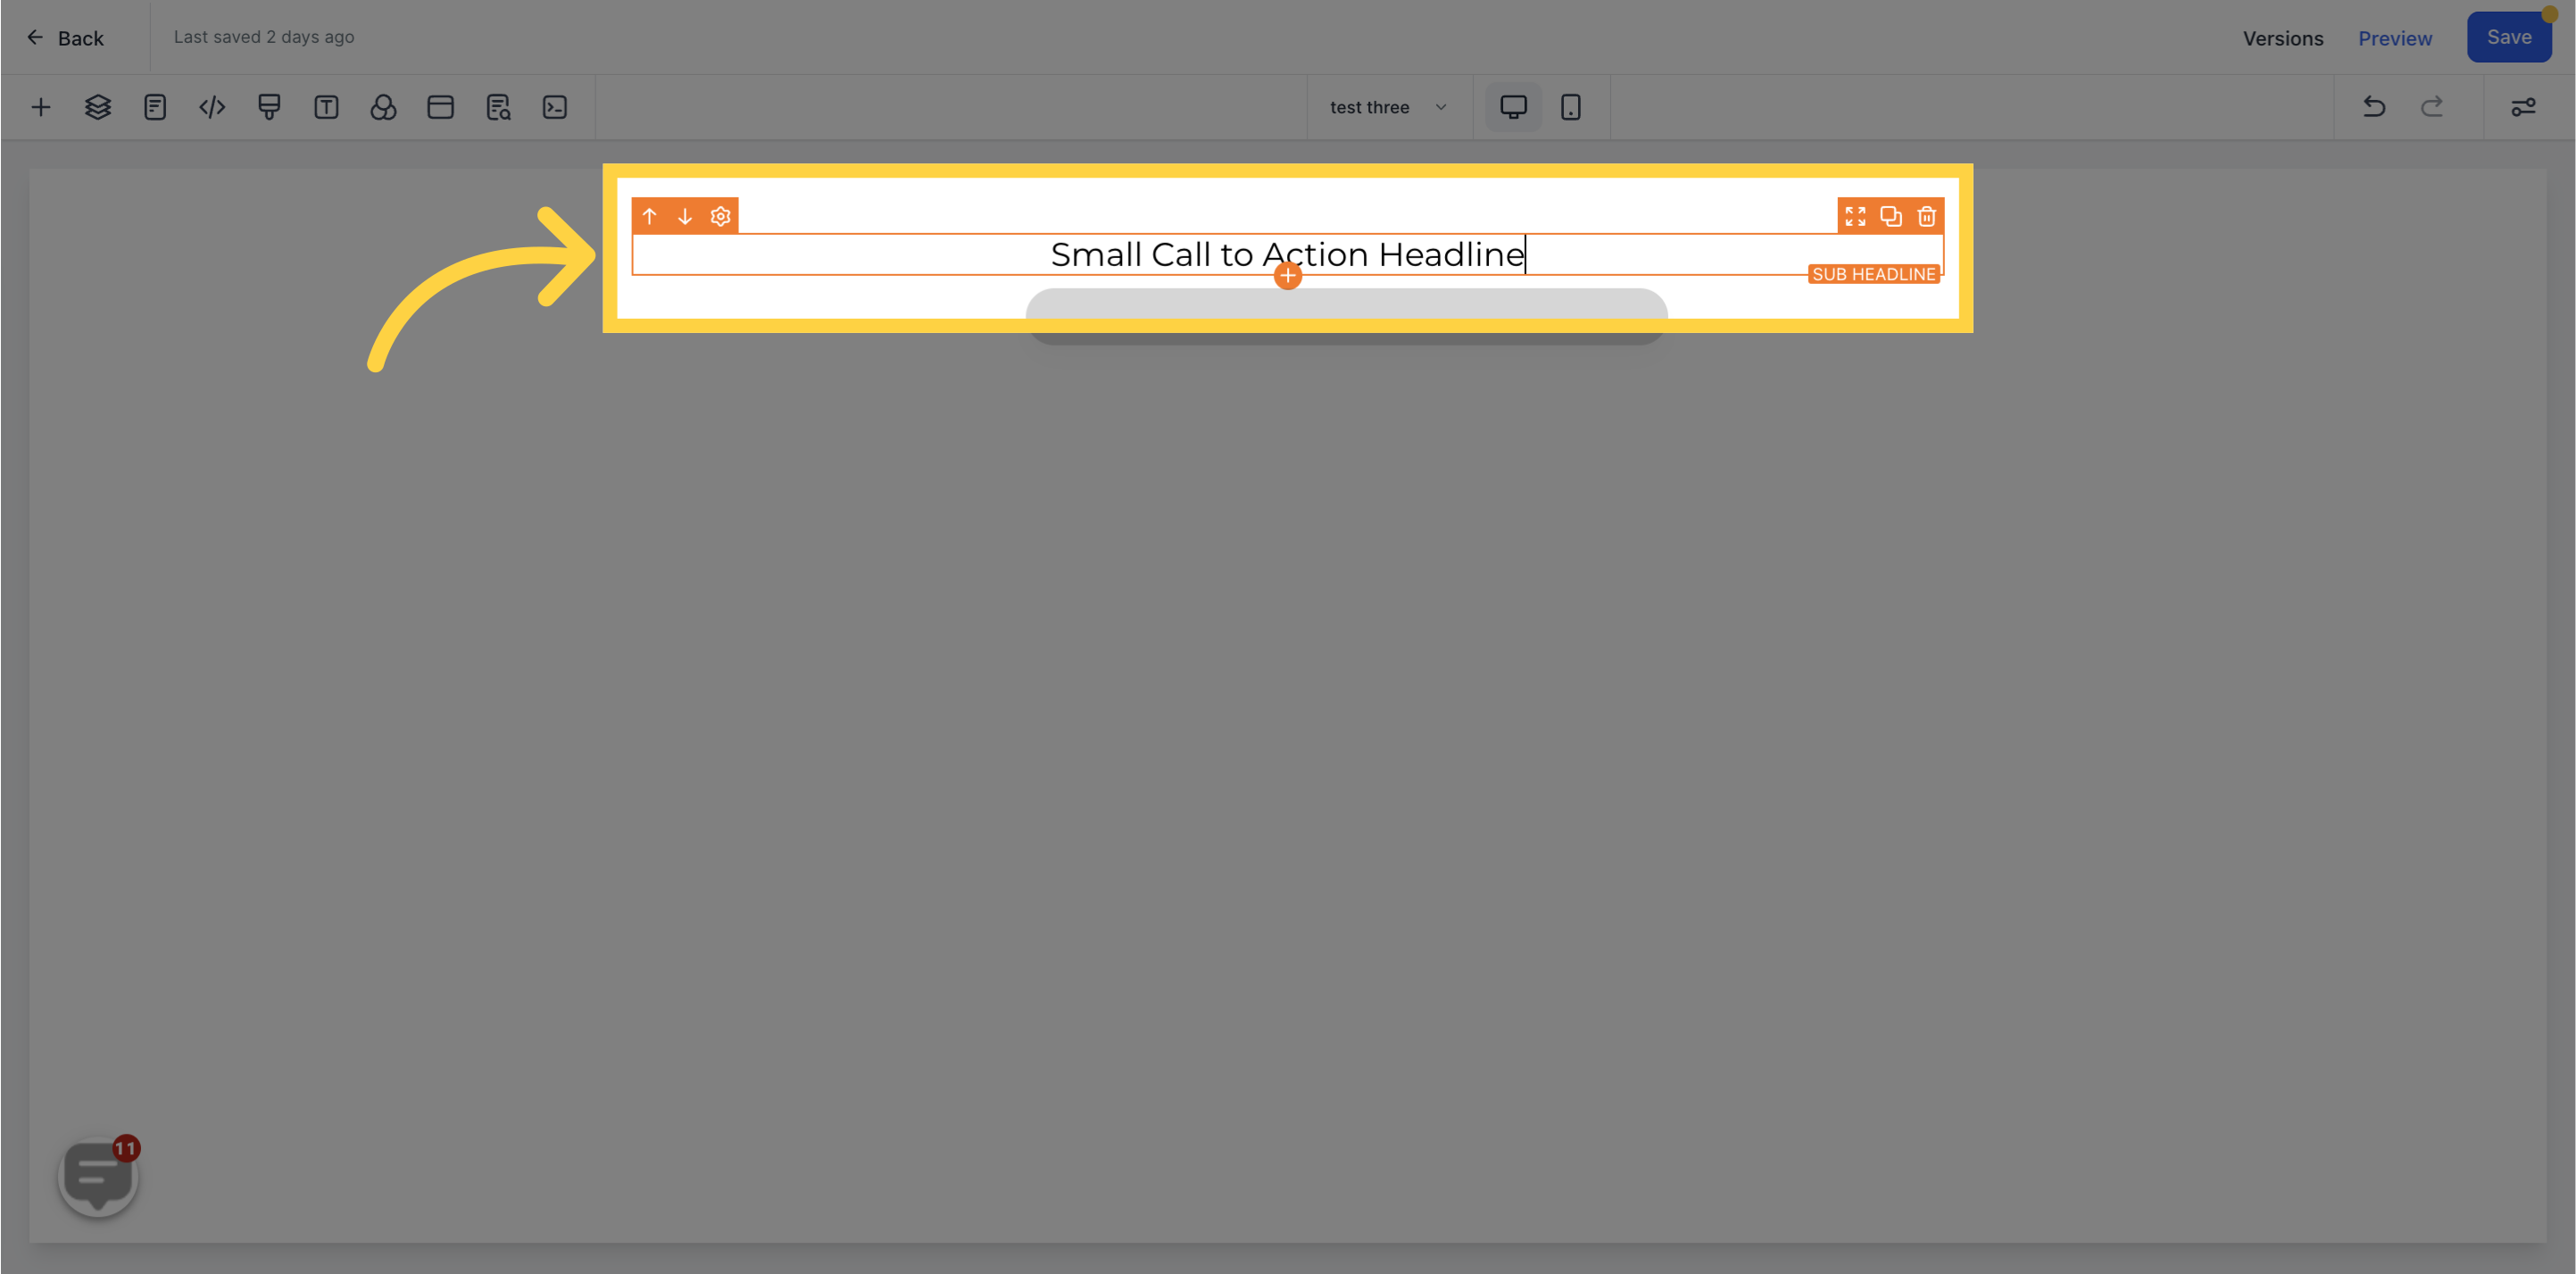
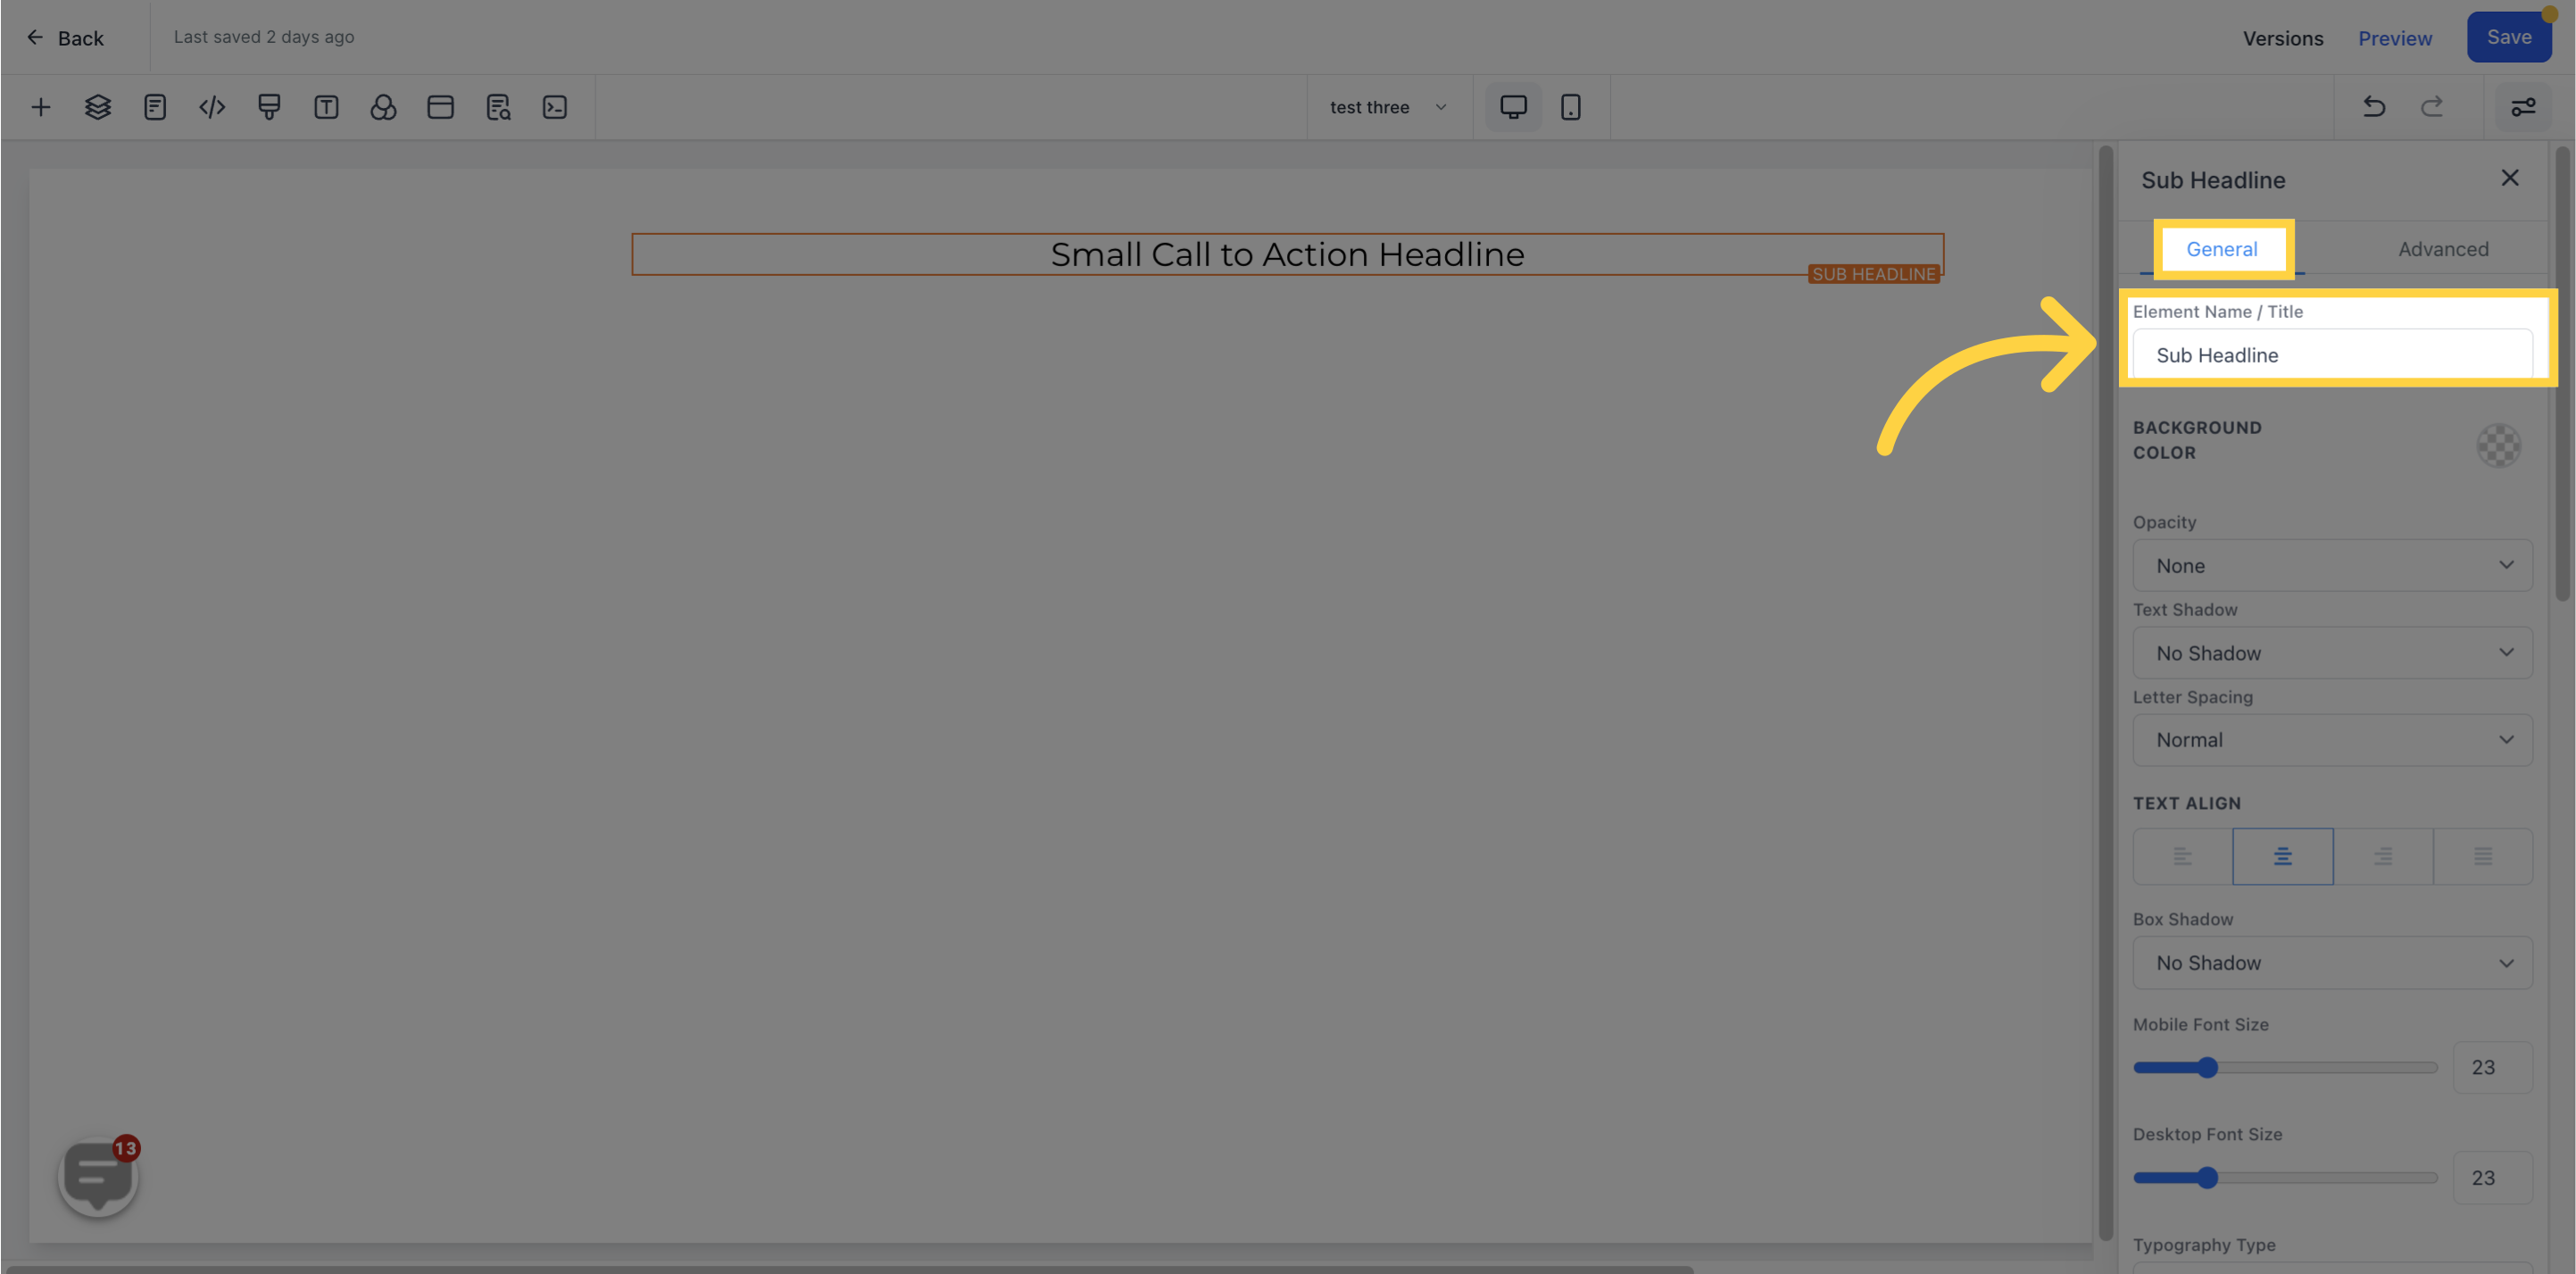
By default, the element name/title will be displayed. However, you have the option to rename it if you wish.
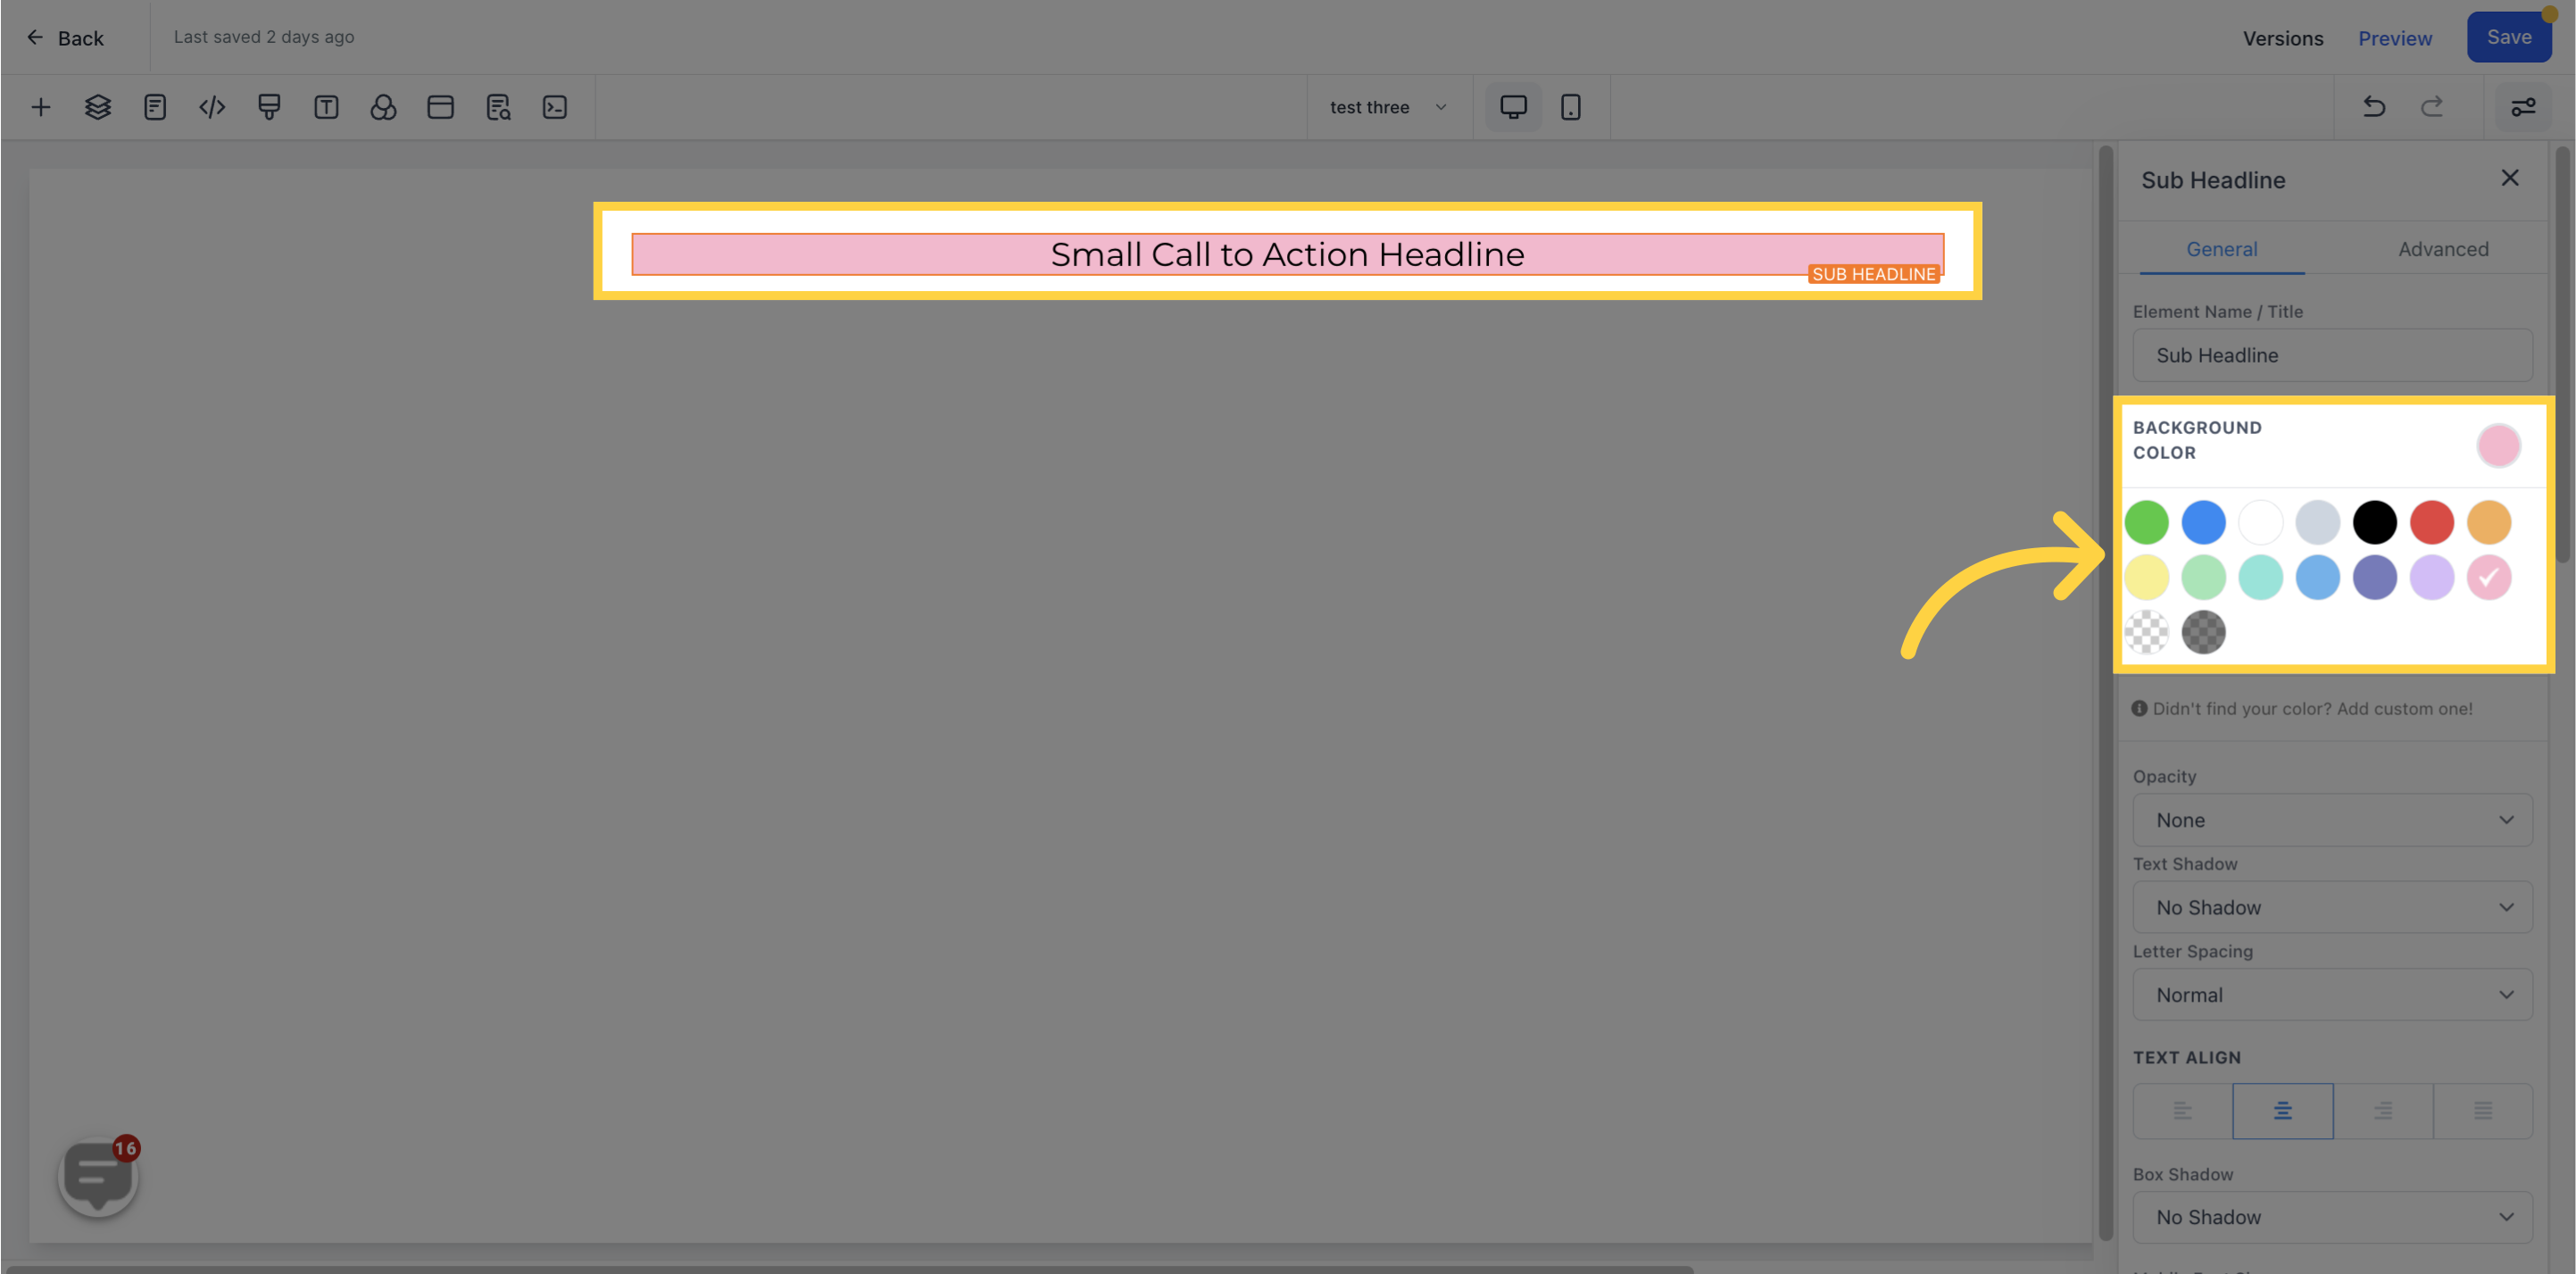
You can adjust the background color of your subheading by clicking on the content and selecting a new color. You can also add custom colors by entering the appropriate color code.
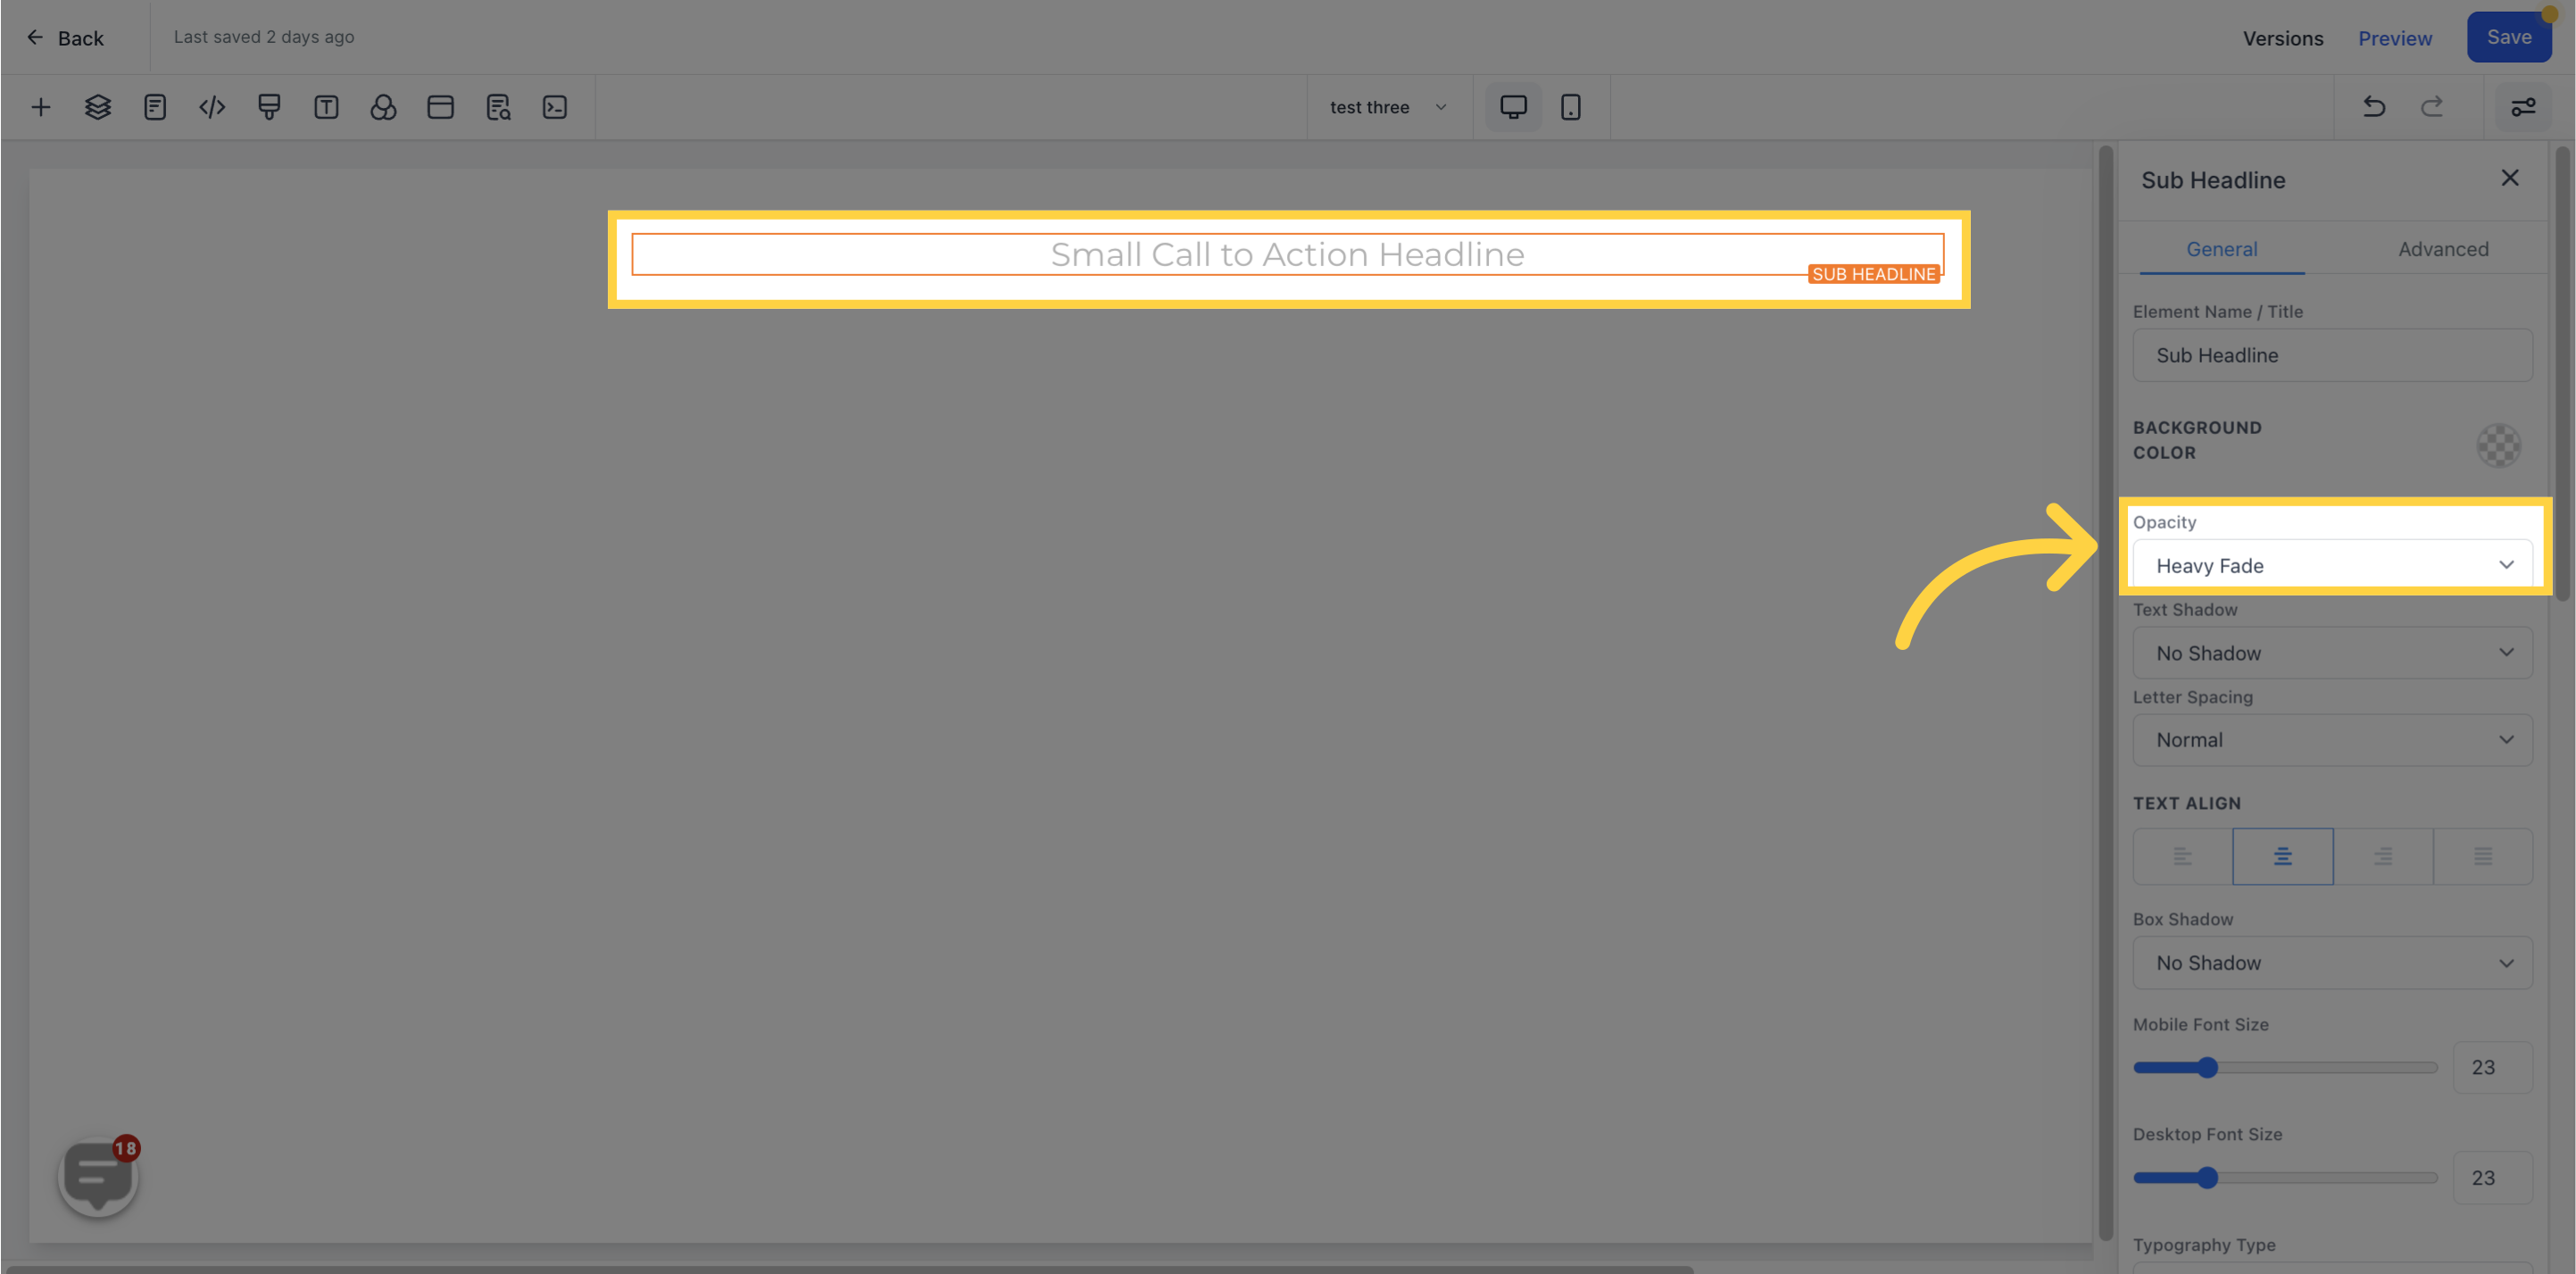
Adjust the opacity of the text/content in your subheading by choosing from the None, Light, Half, or Heavy fade options.
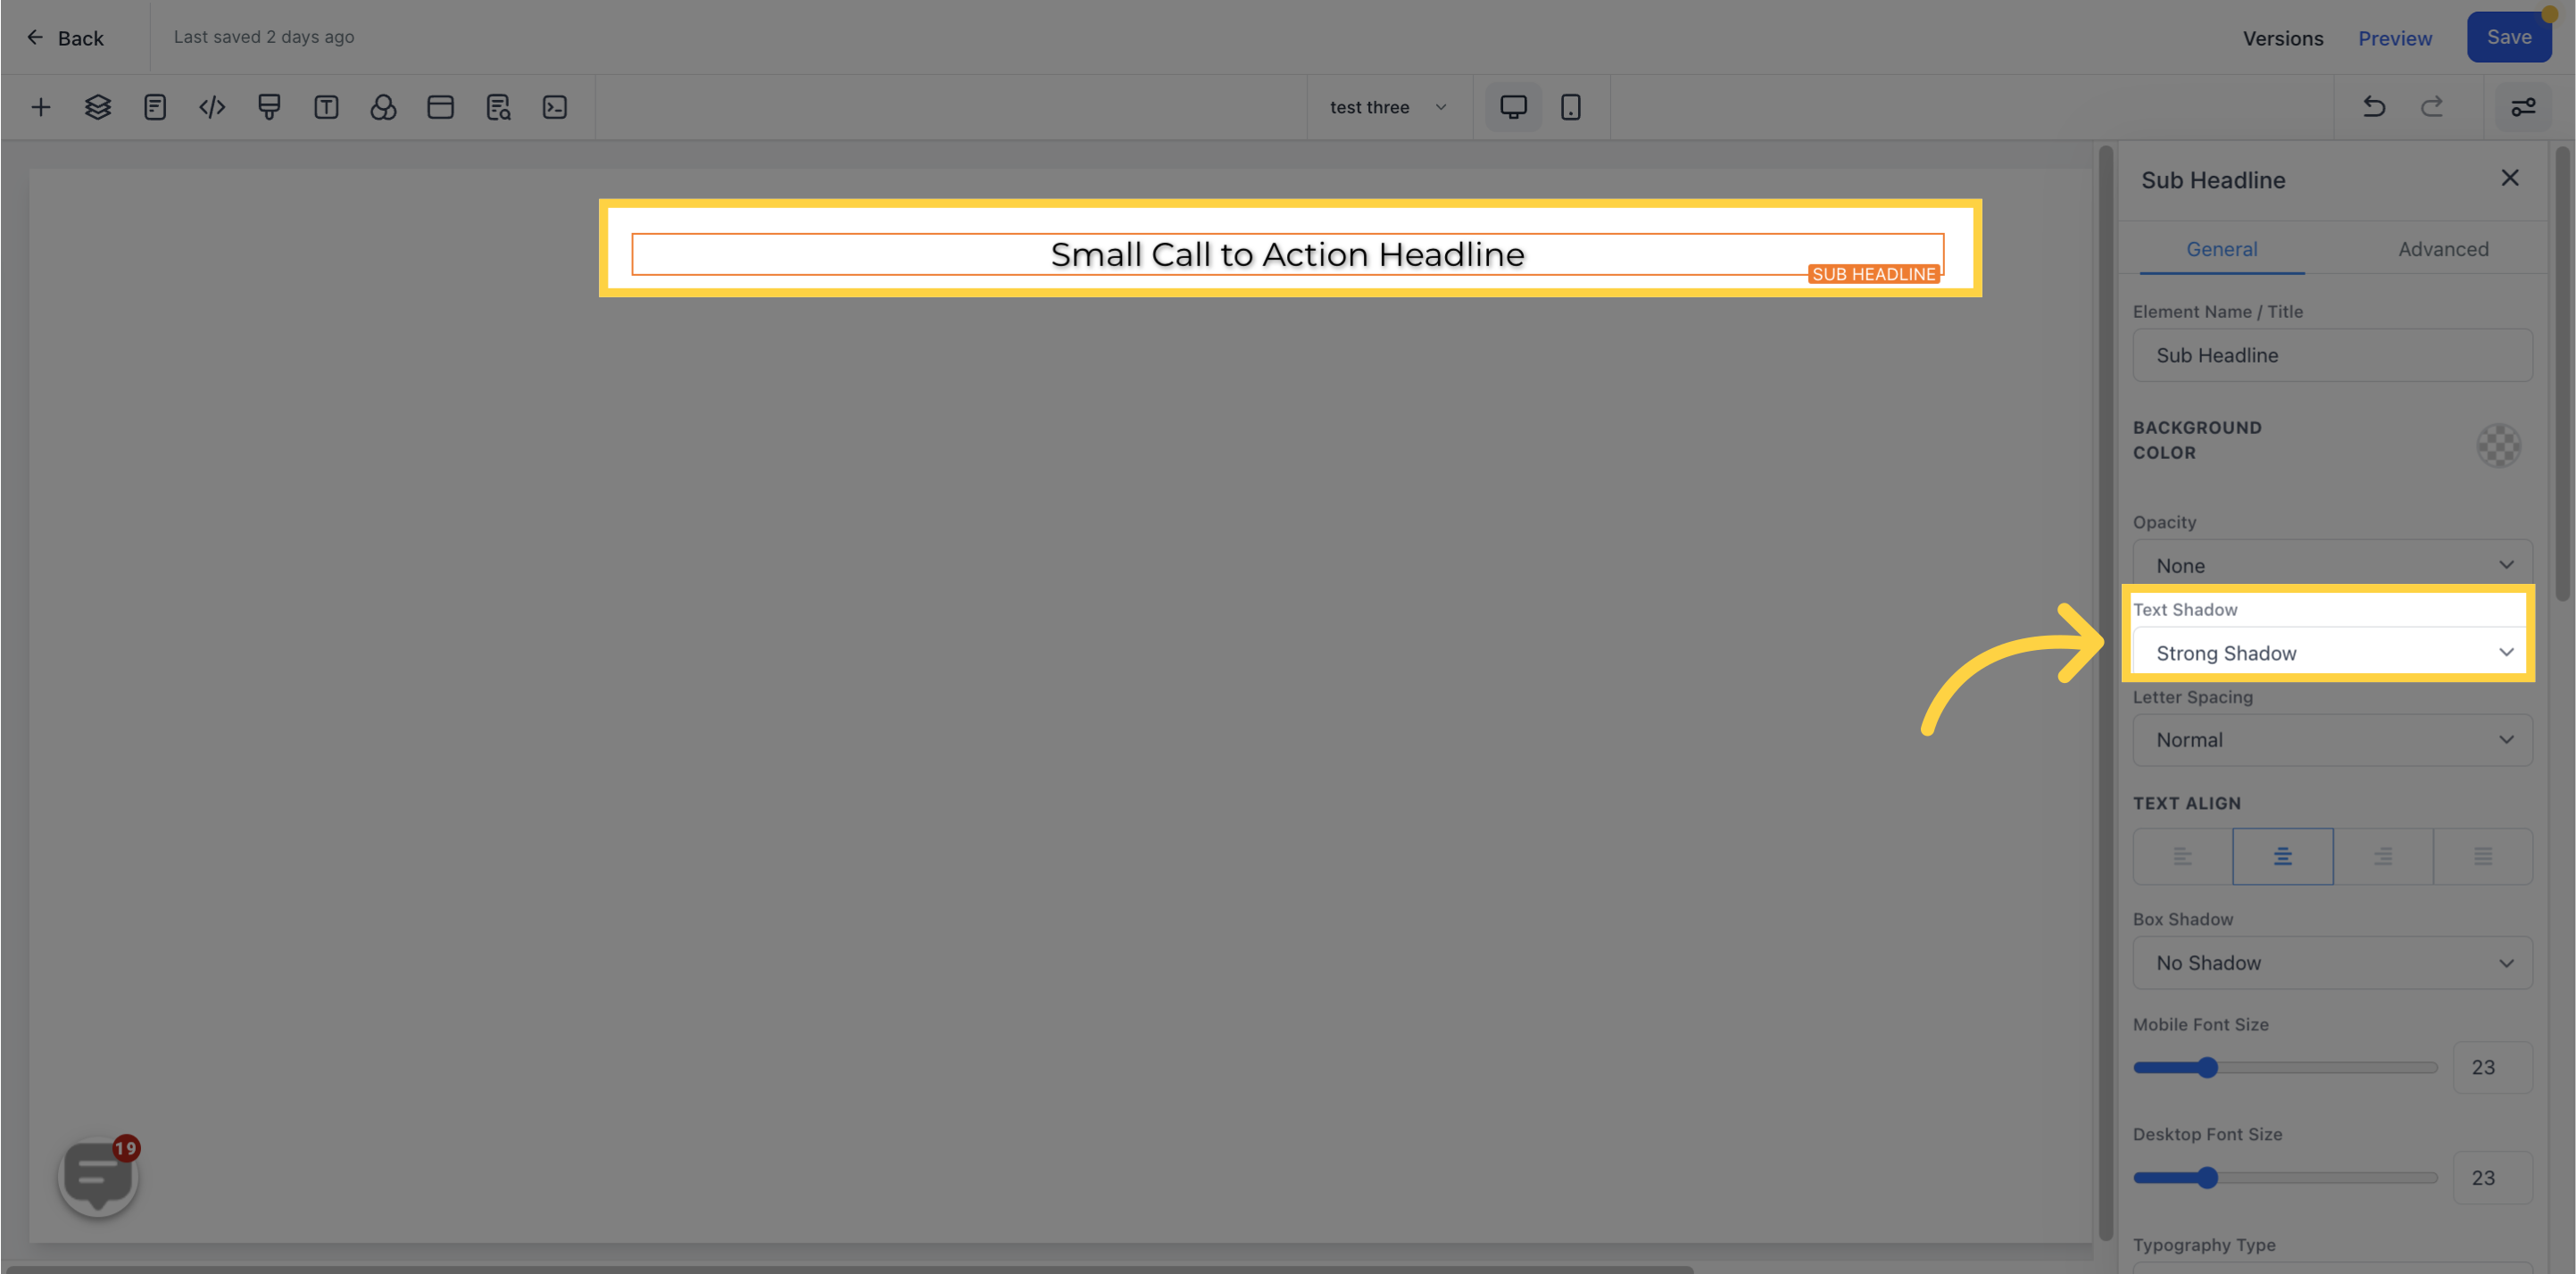
Add a shadow effect to your text/content by selecting the desired thickness or lightness.
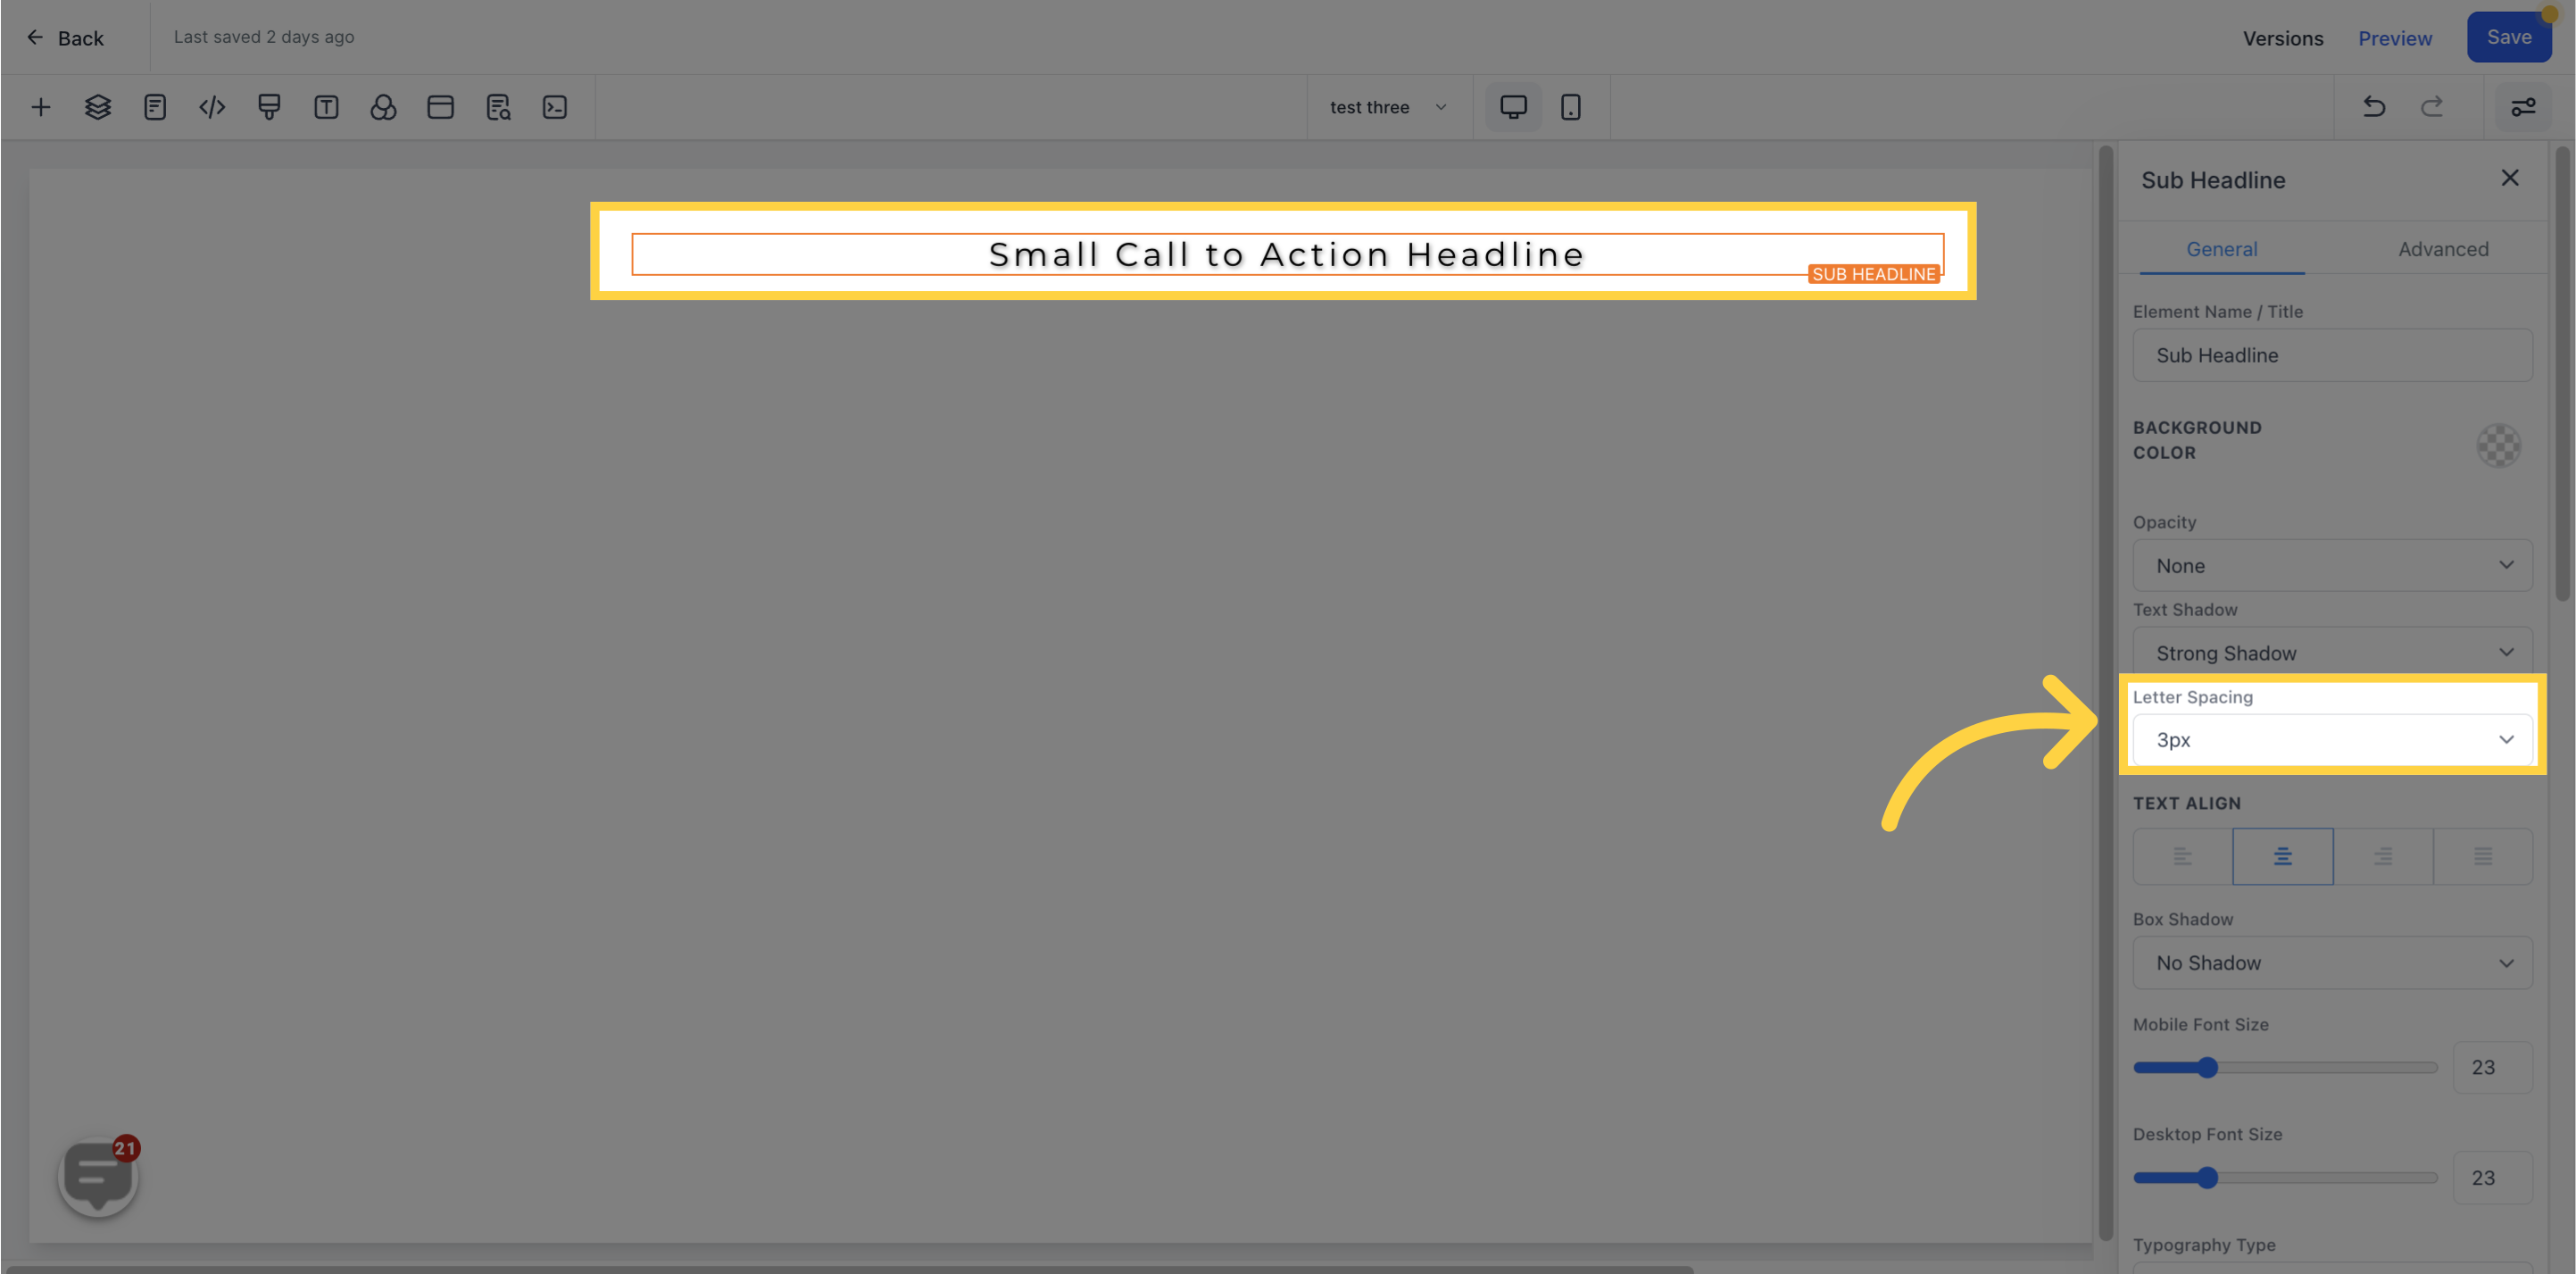
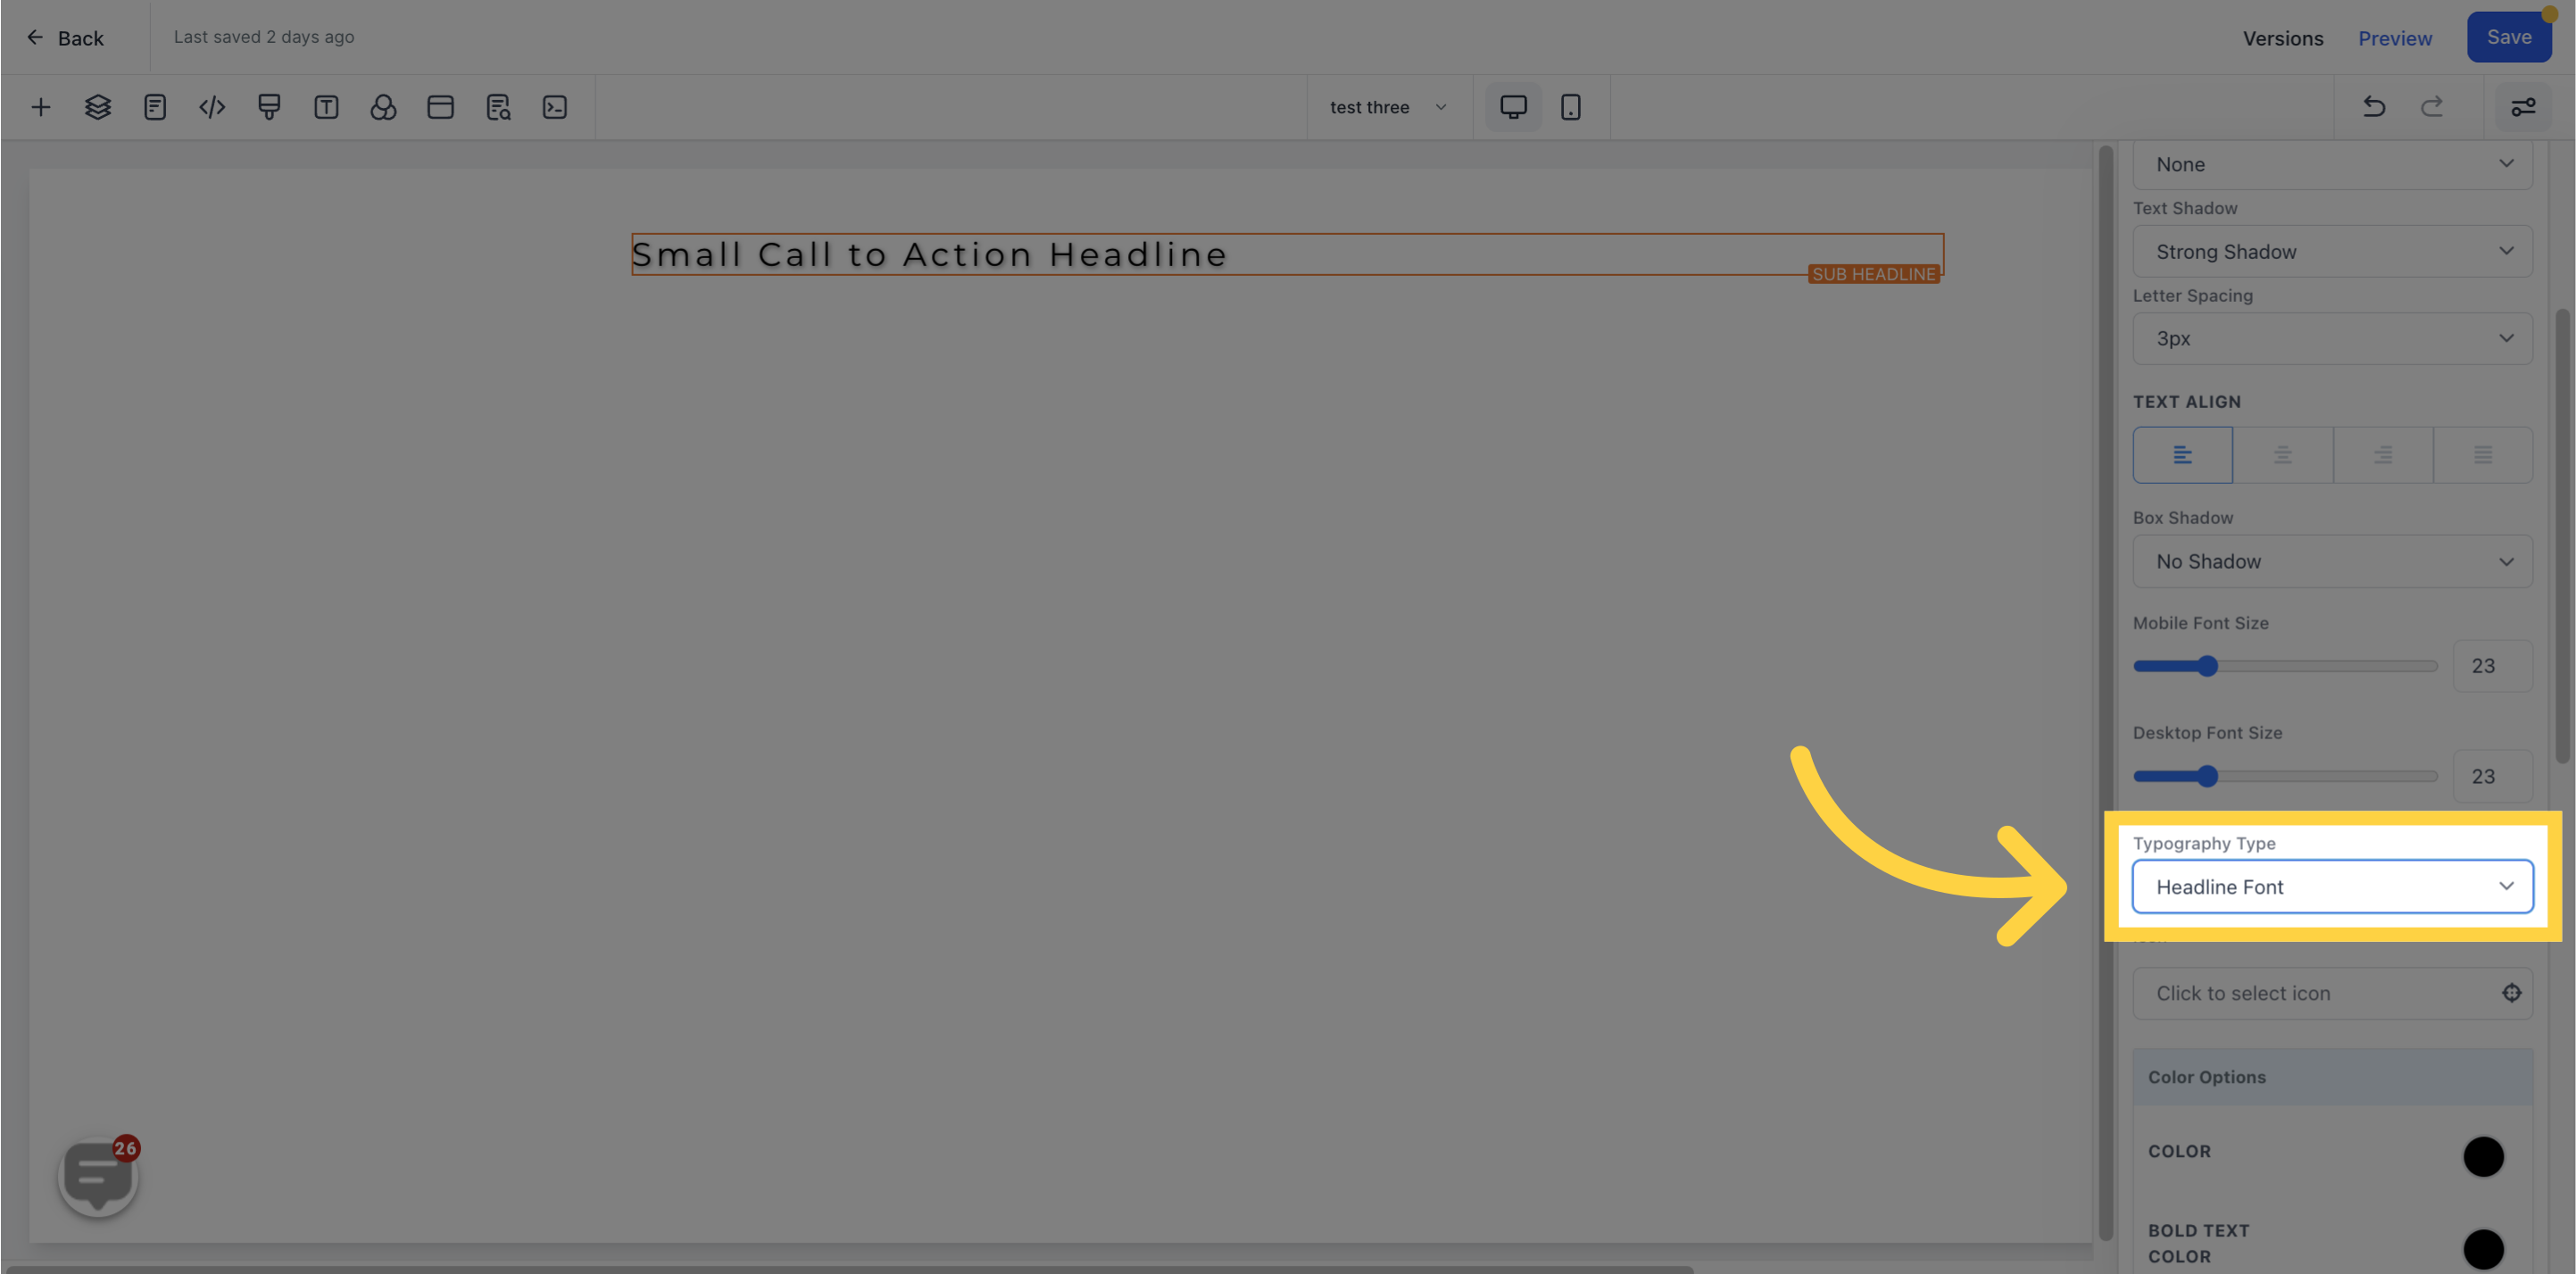
Choose how far apart you want your letters to be displayed.
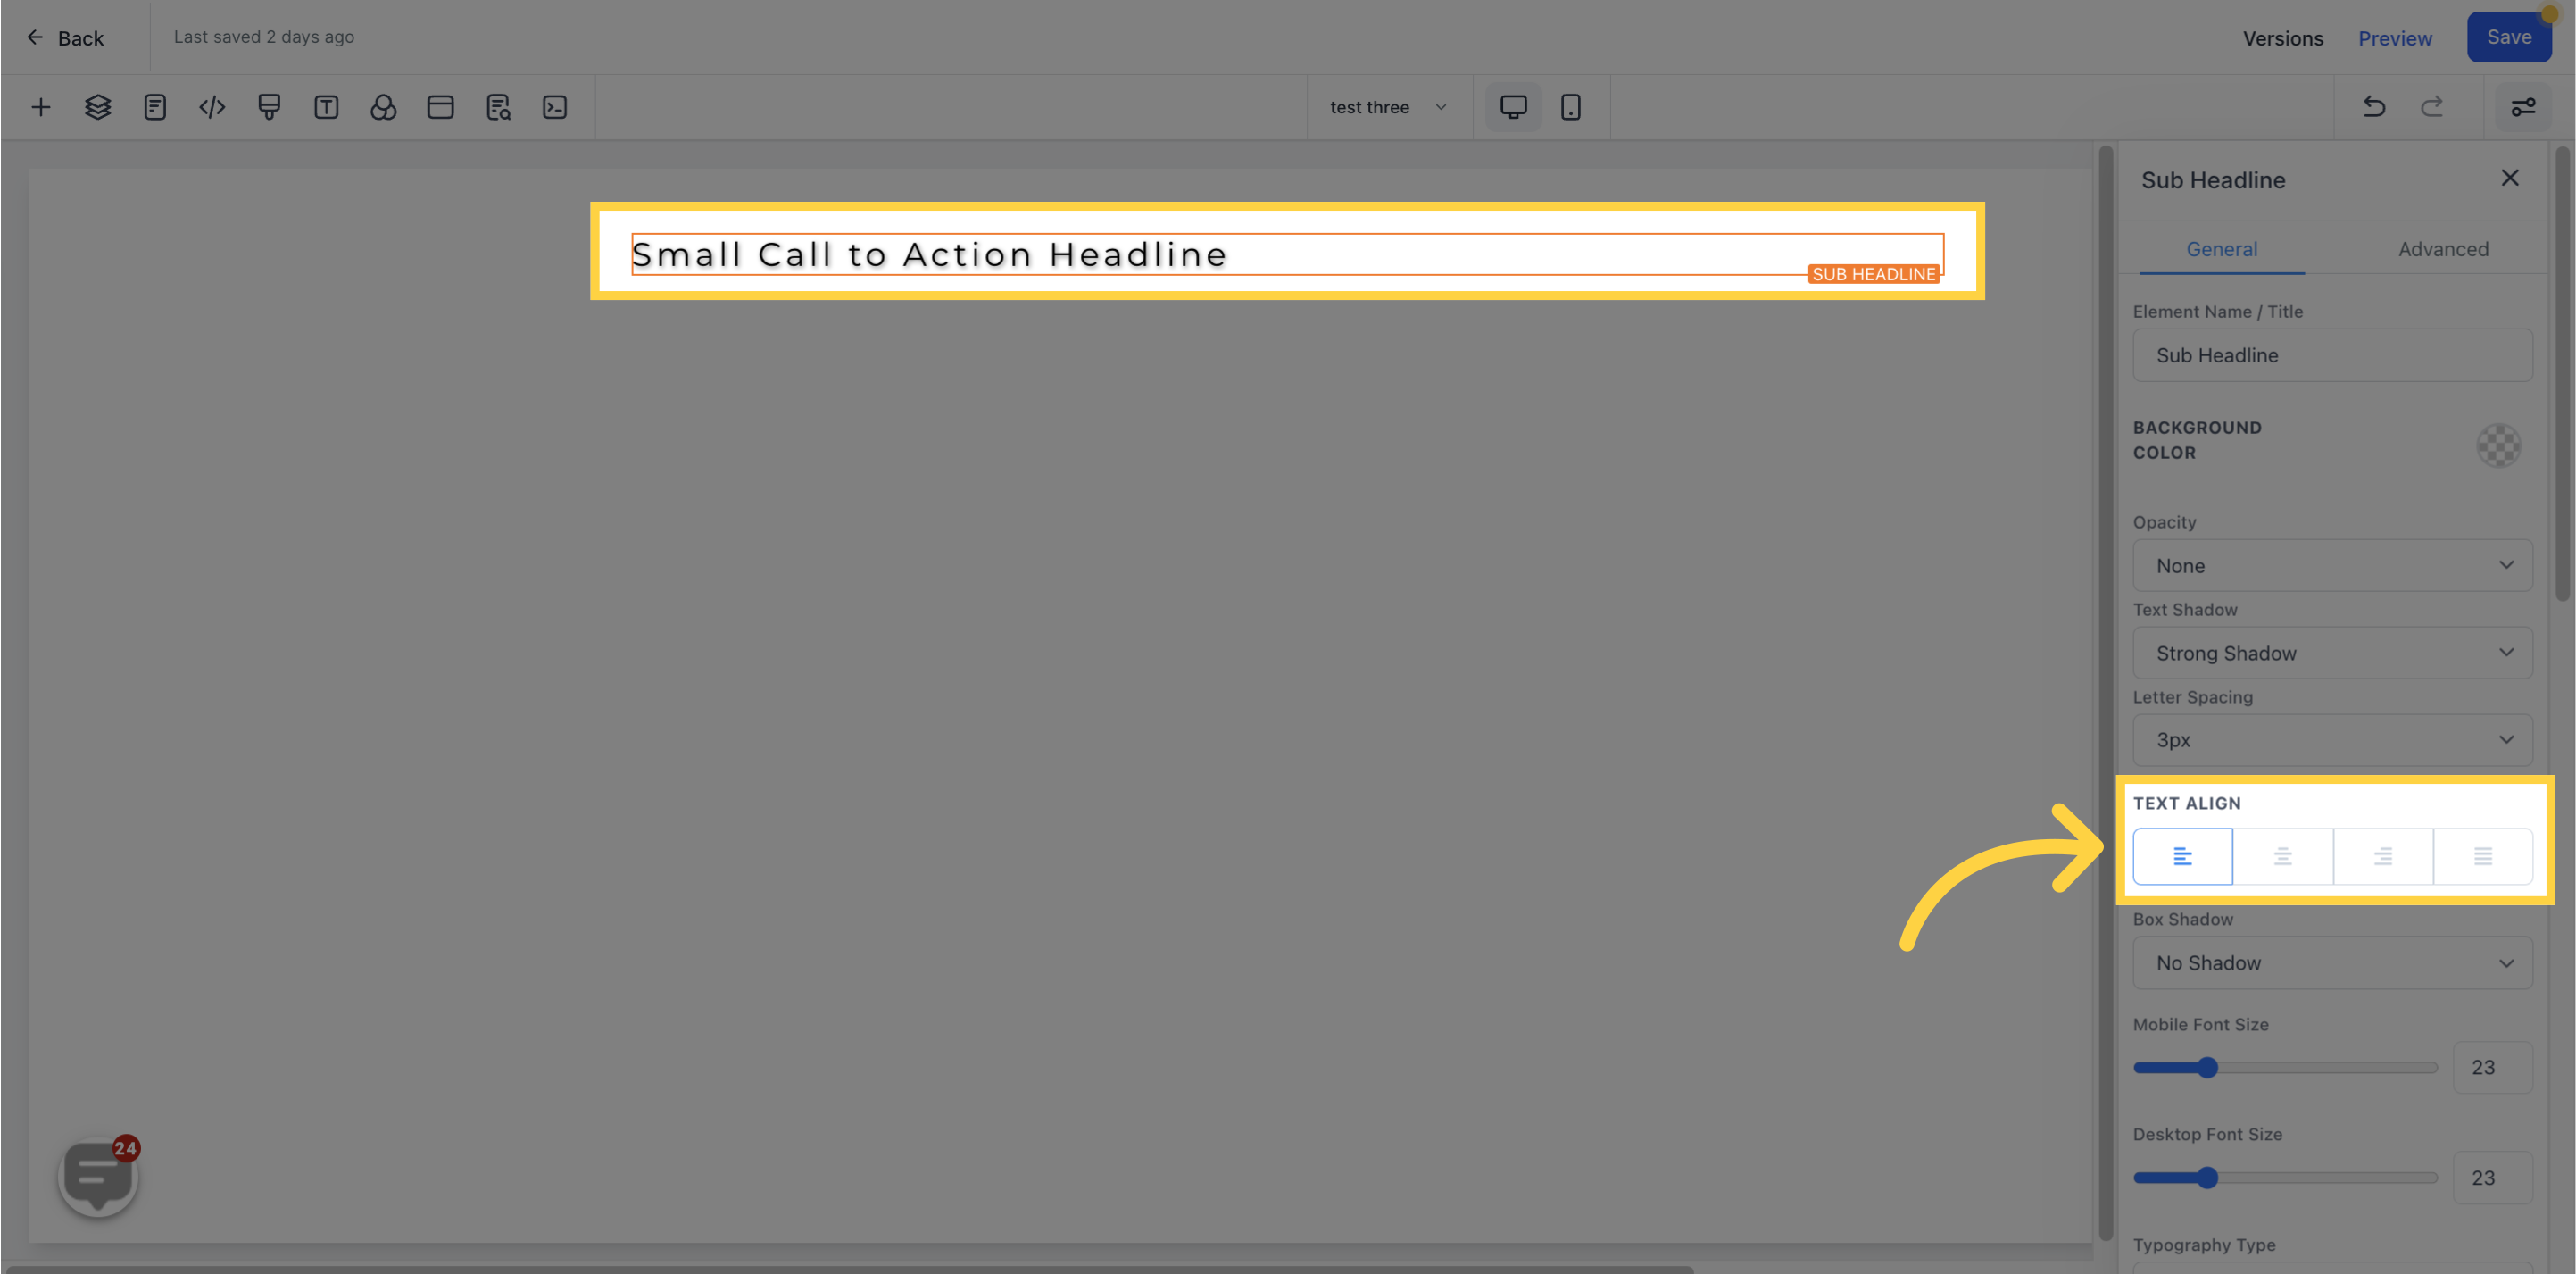
Position your text in different ways, including Left, Center, Right, or Justified.
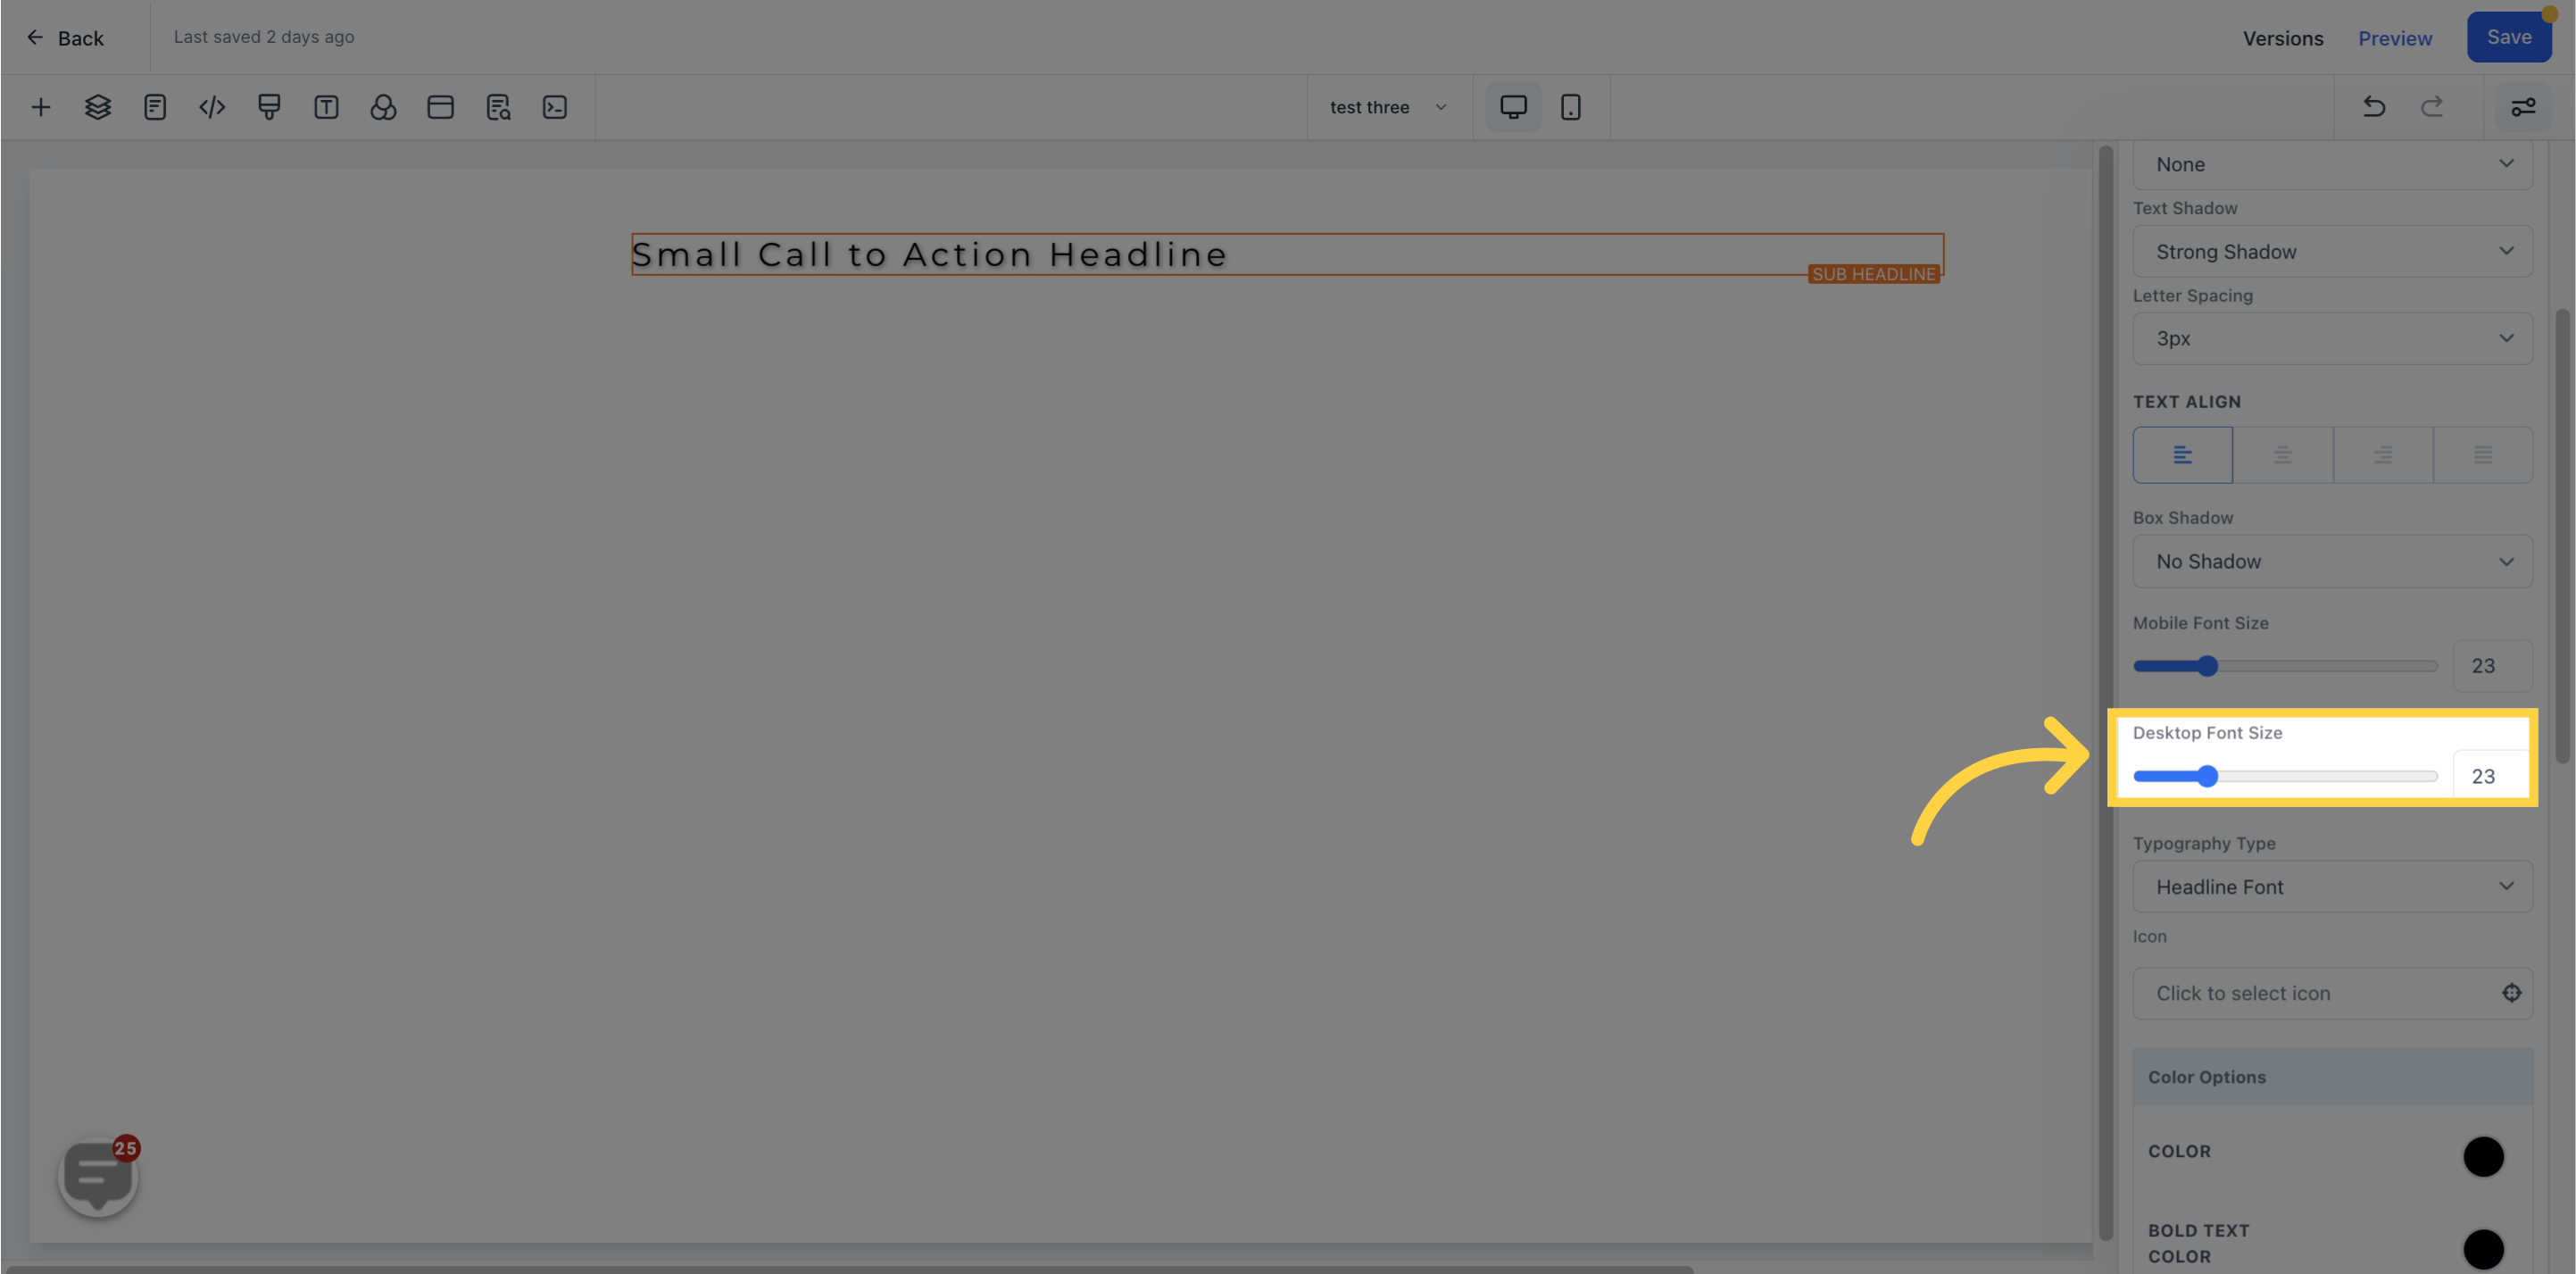
Customize the font size of your subheading for both mobile and desktop device displays.
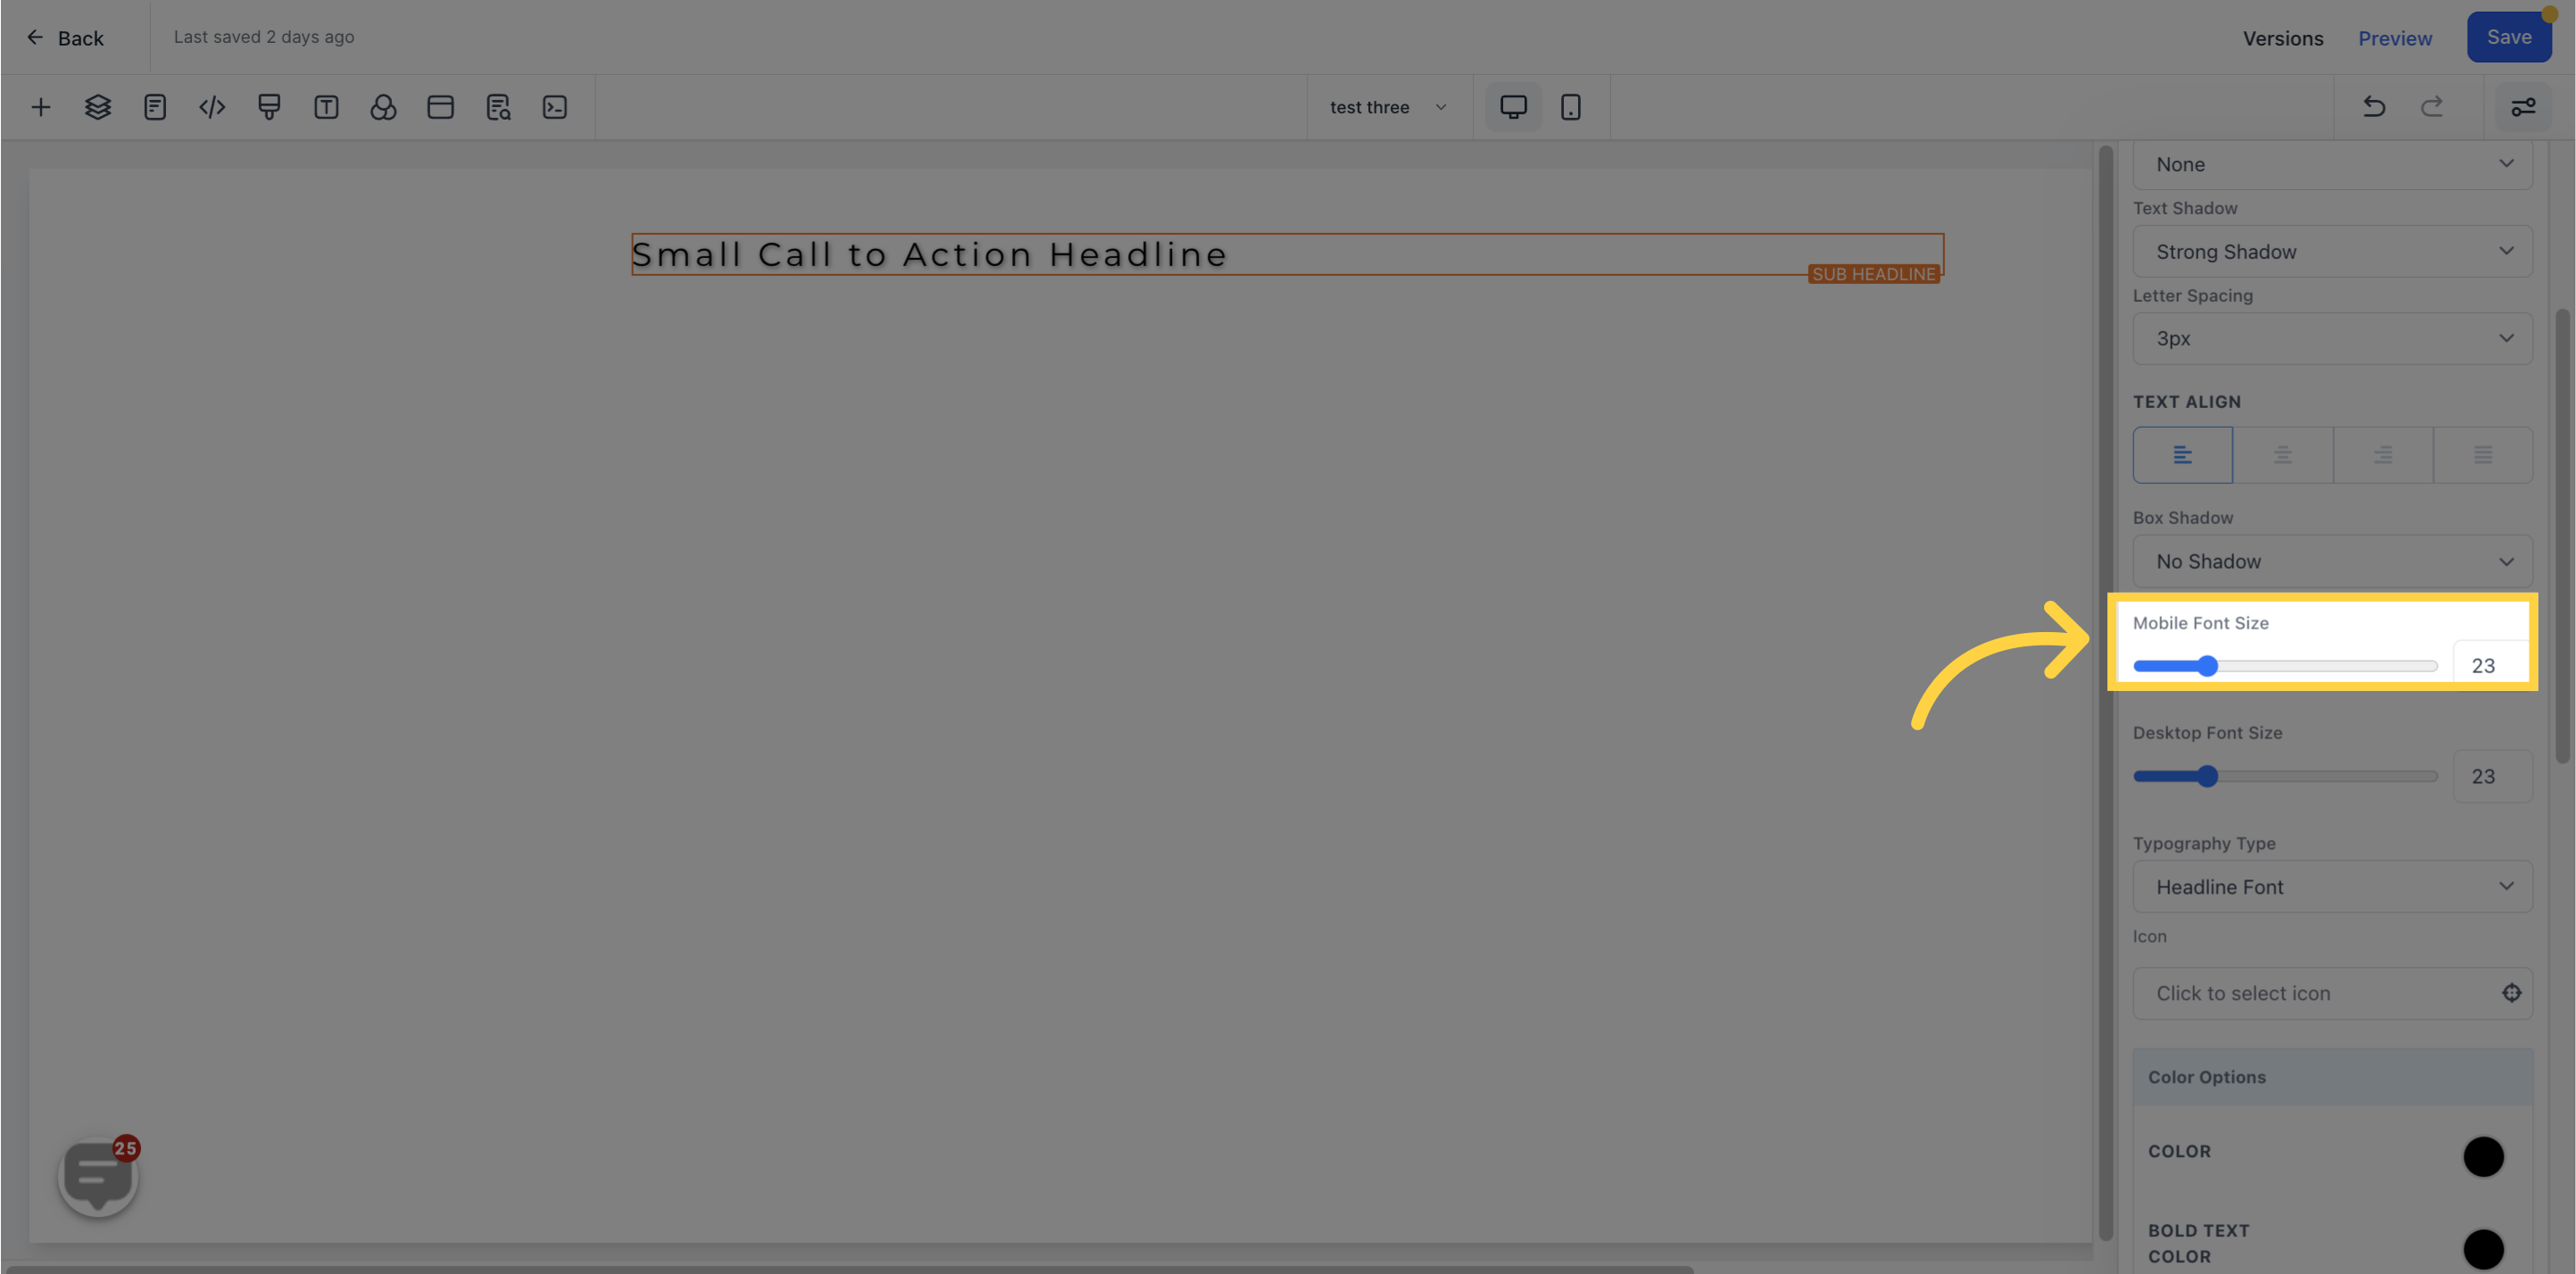
Customize the font size of your subheading for both mobile and desktop device displays.
Edit the font style of your subheading to match the overall design of your page.
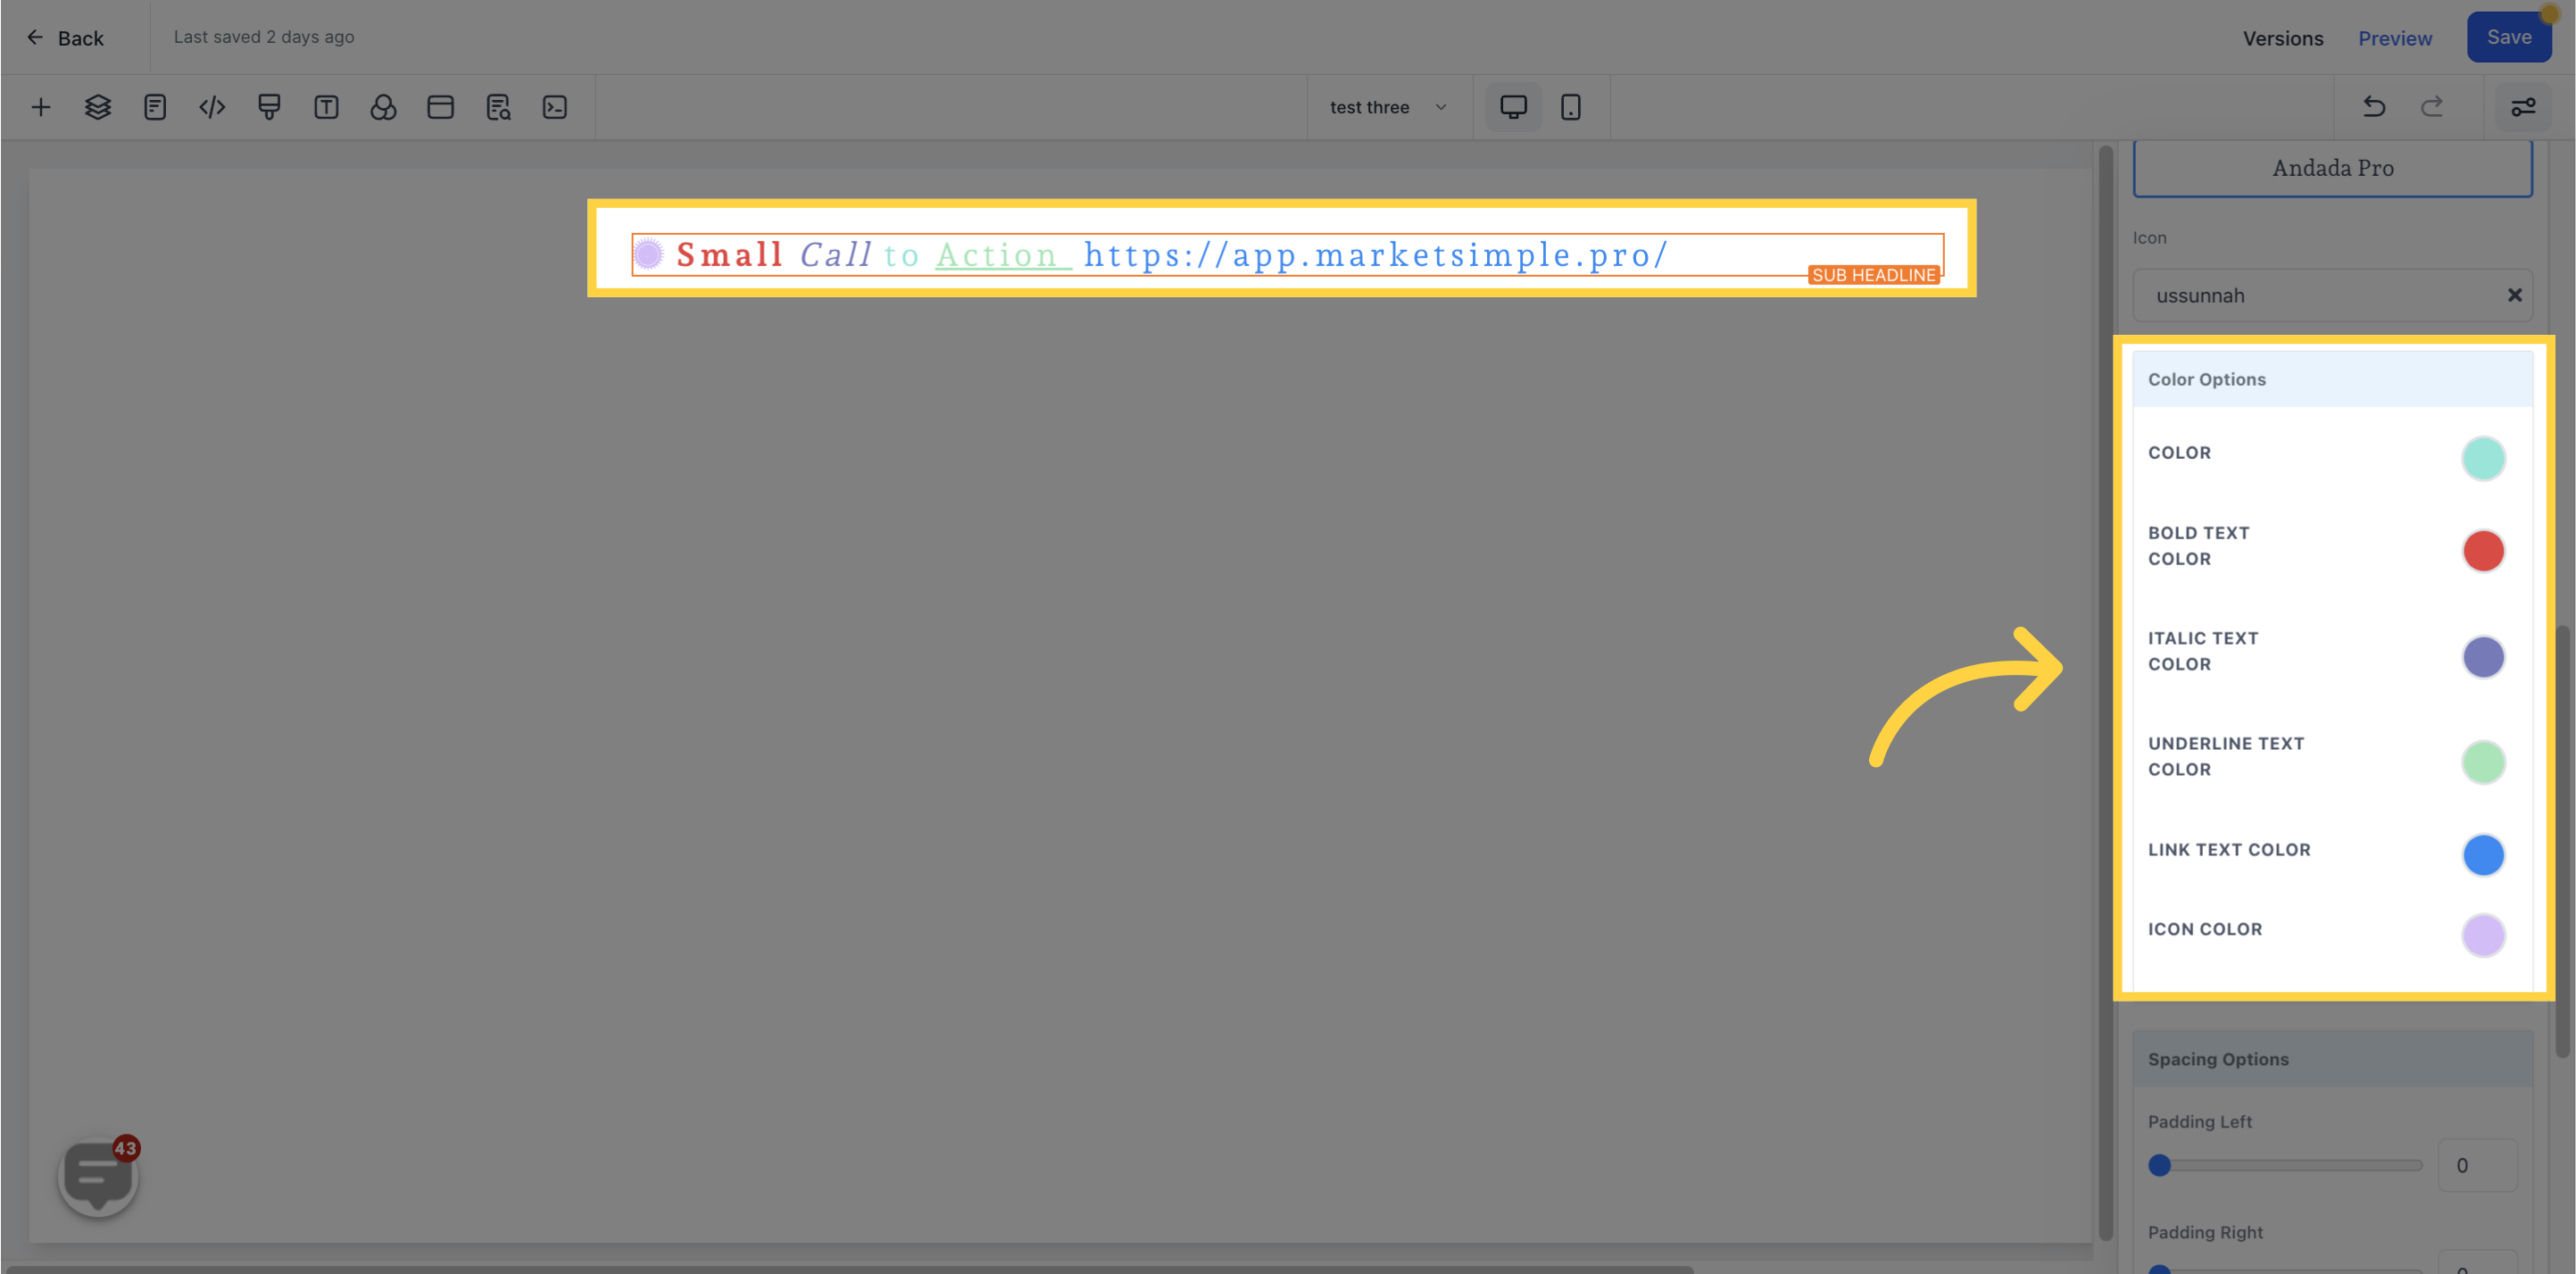
Add an icon to your subheading by selecting from the available options. You can also search for a specific icon using the search bar.

Adjust the color of your subheading text based on its formatting, such as Bold Text, Italic Text, Underline Text, Link Text, or Icon Color.
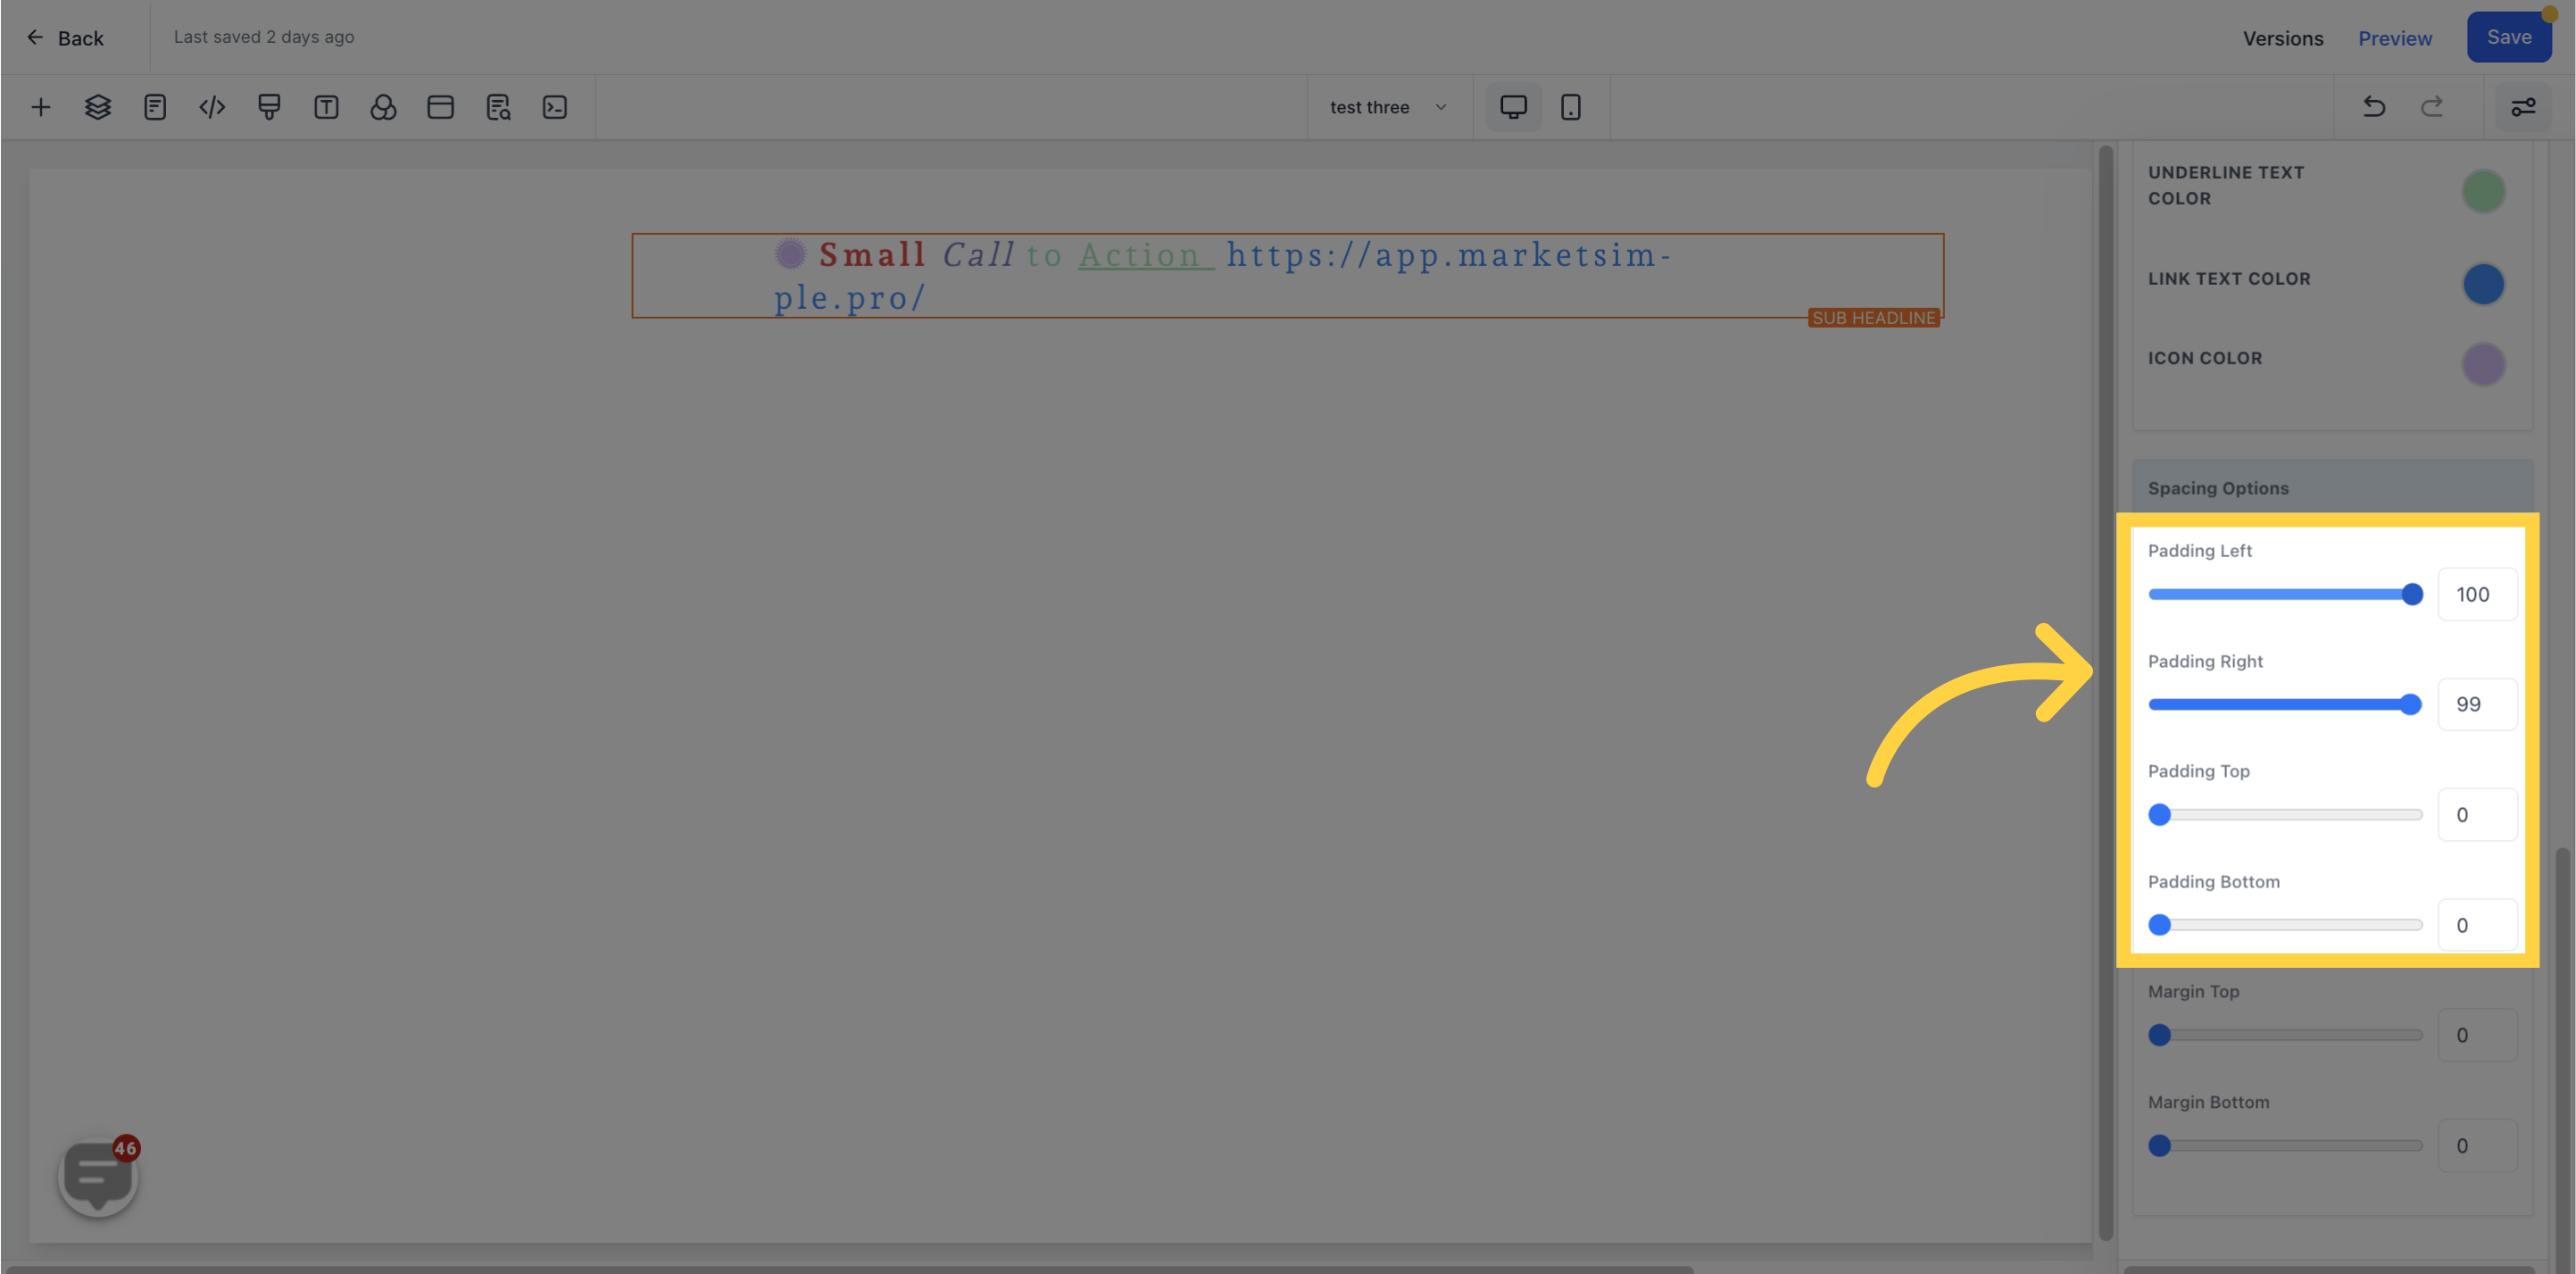
Customize the spacing of your subheading content by choosing from various options, with settings that apply to specific content within the page editor.
The content can be shifted to the left, right, top, or bottom depending on the toggle bar clicked from the four available options.
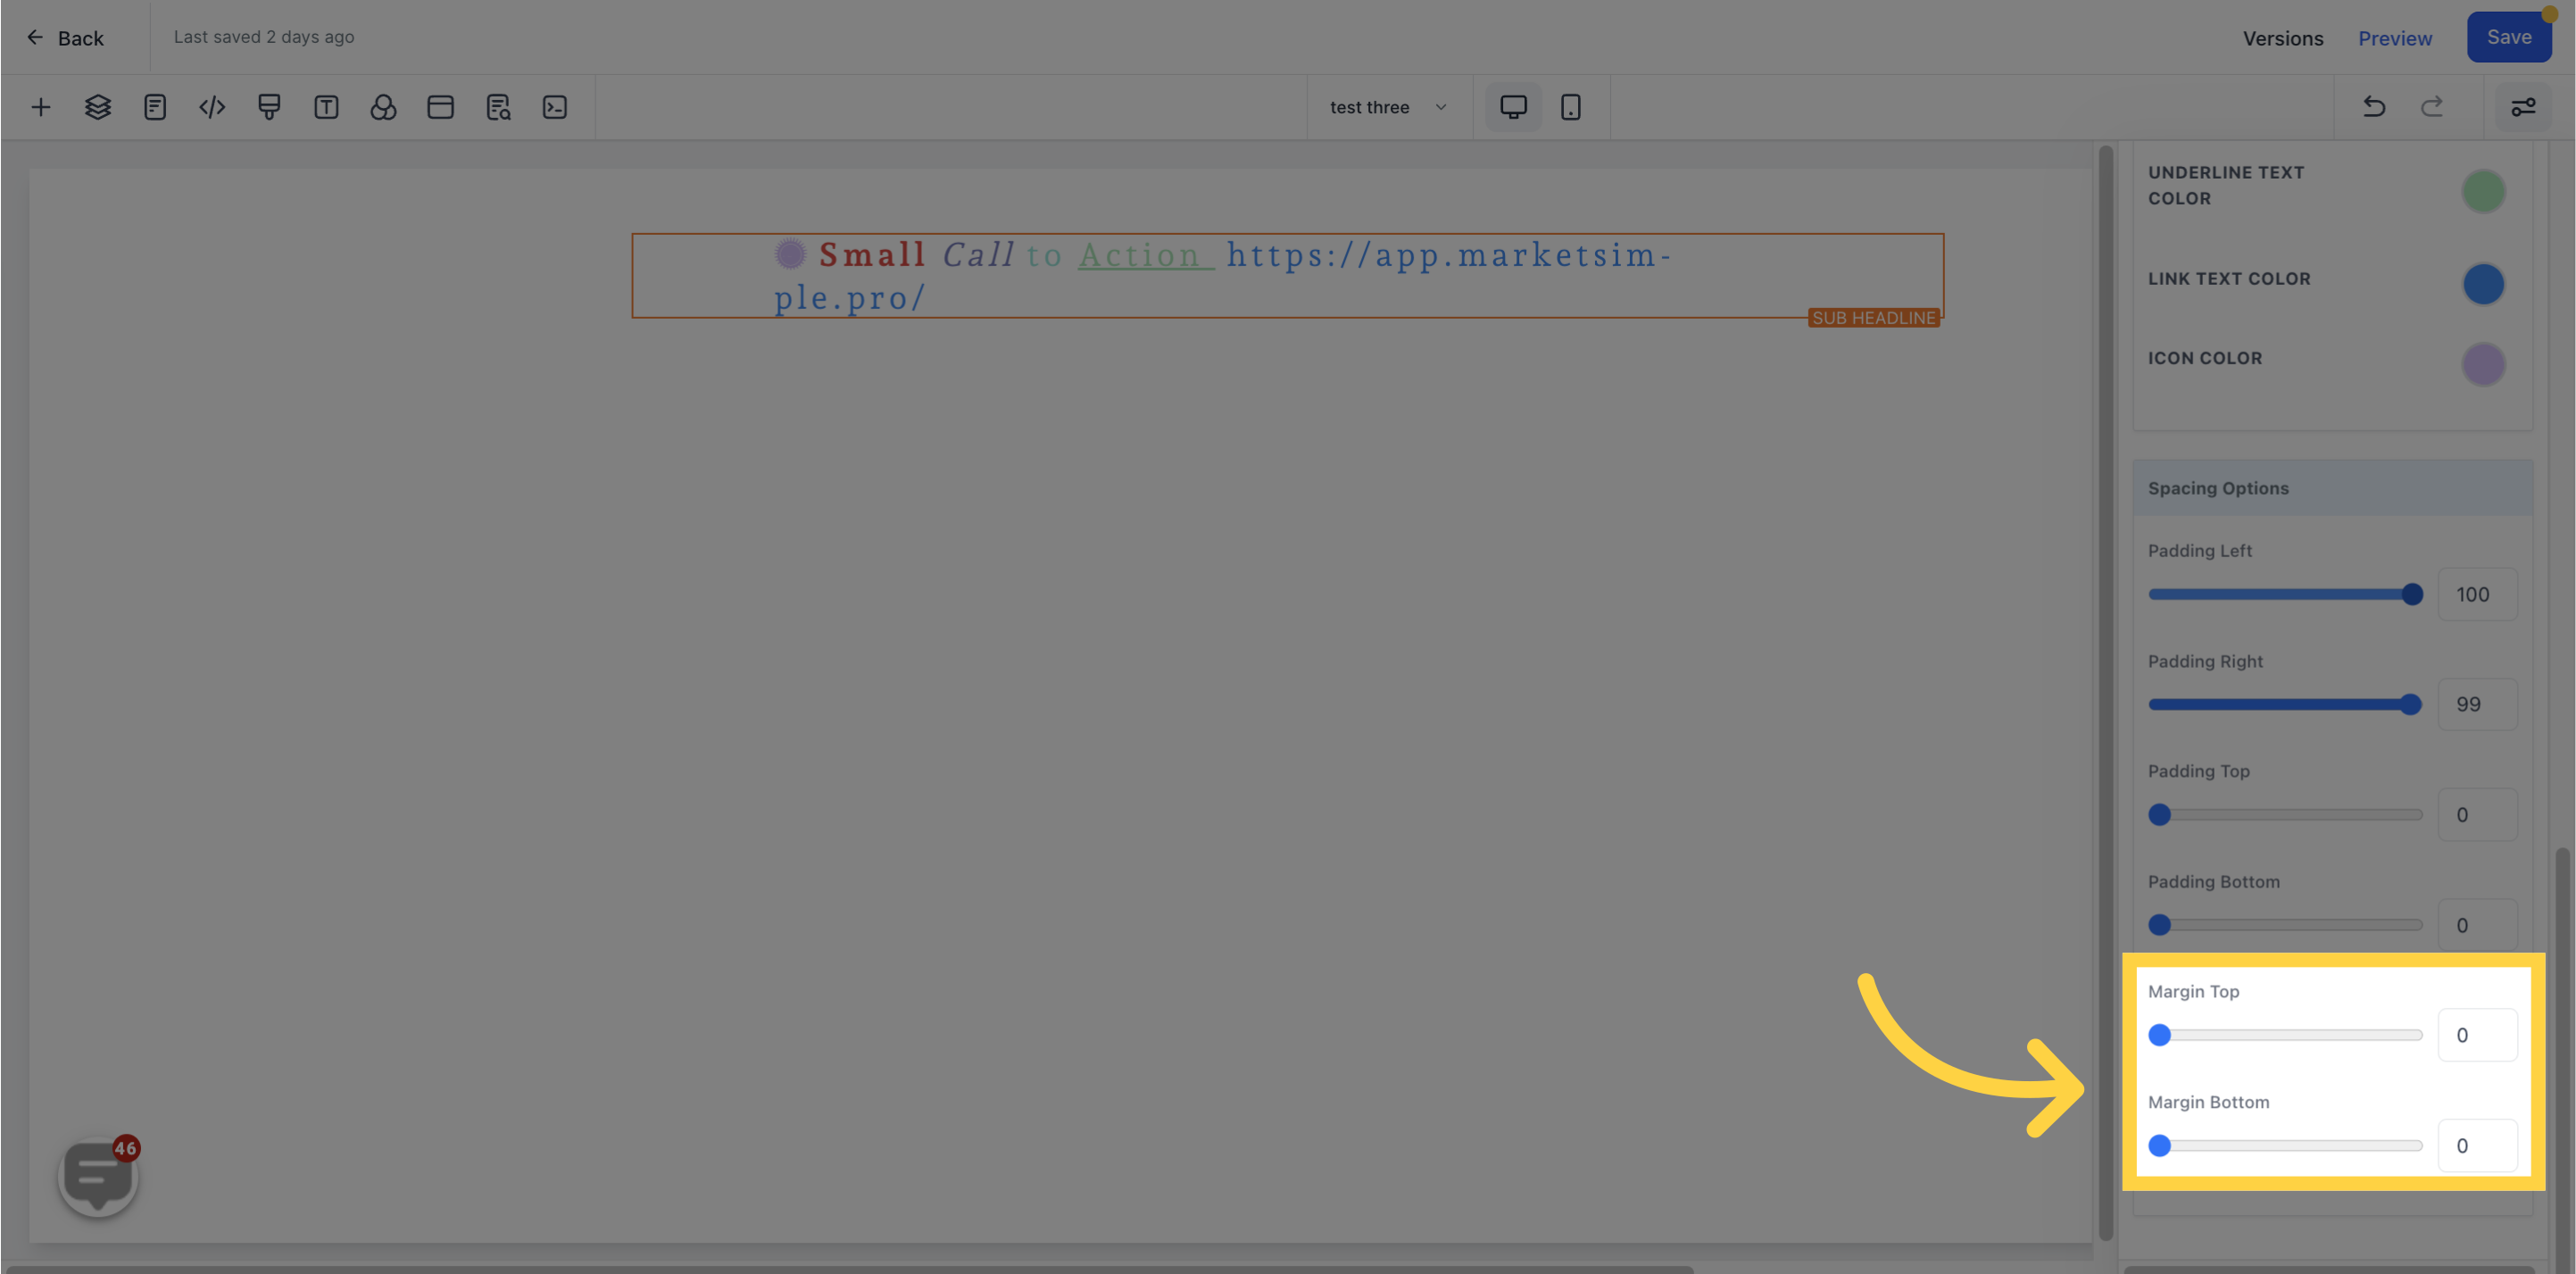
You can adjust the top or bottom margin of your content by toggling its bars.
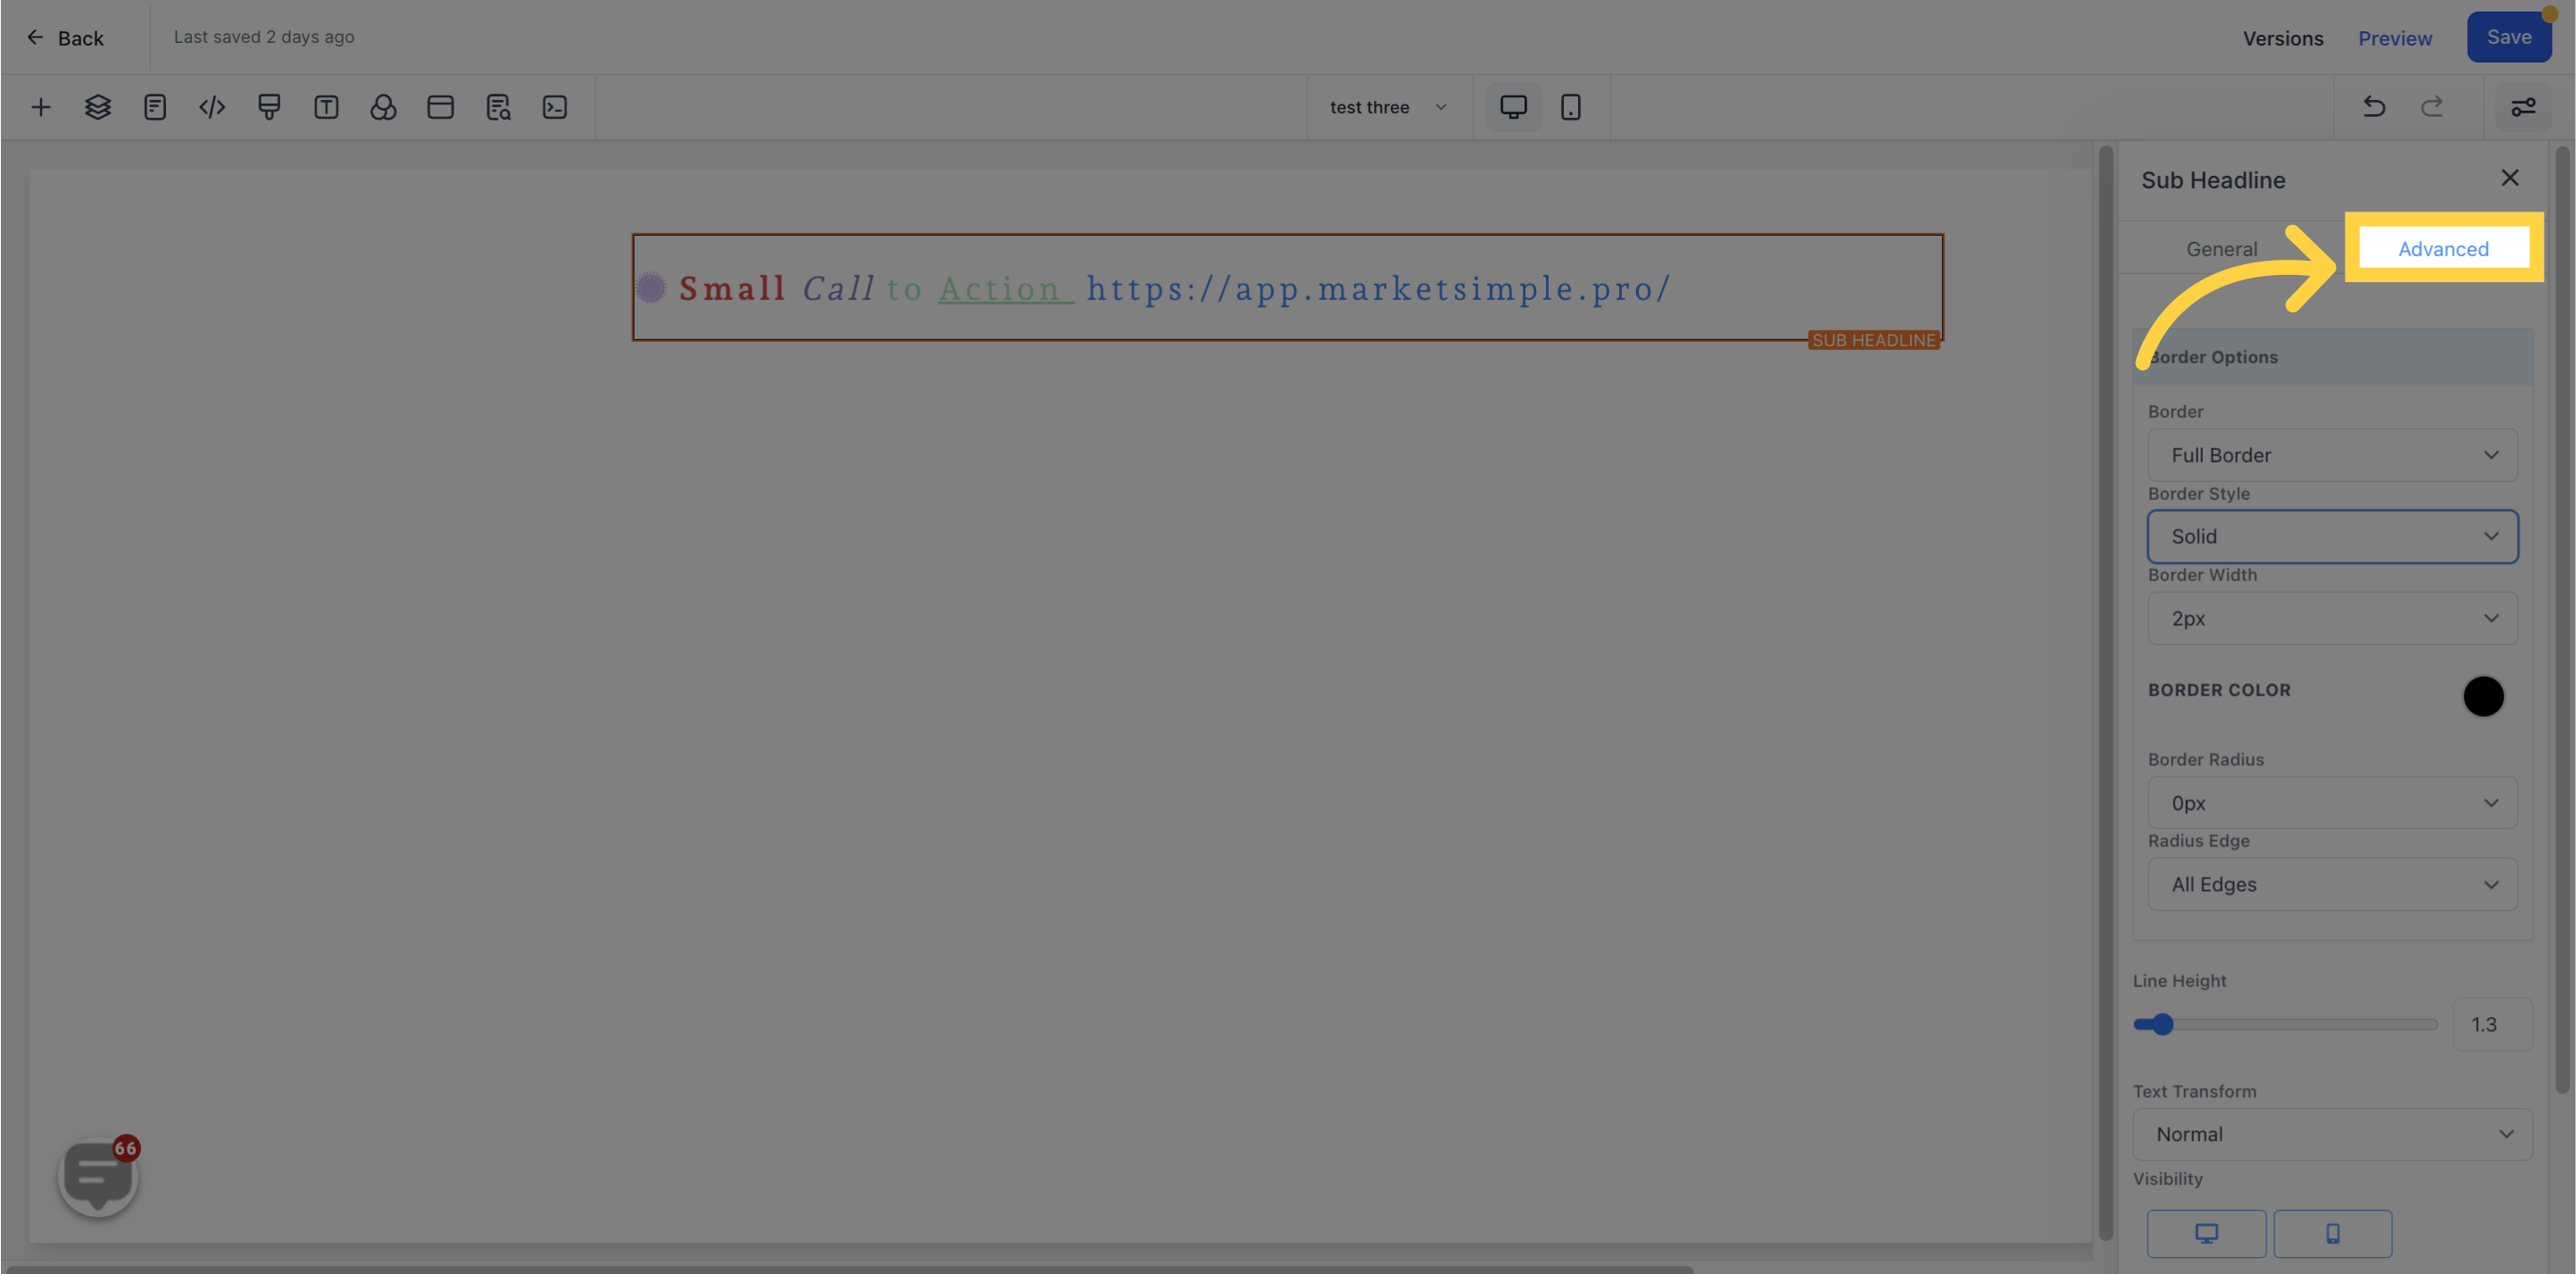
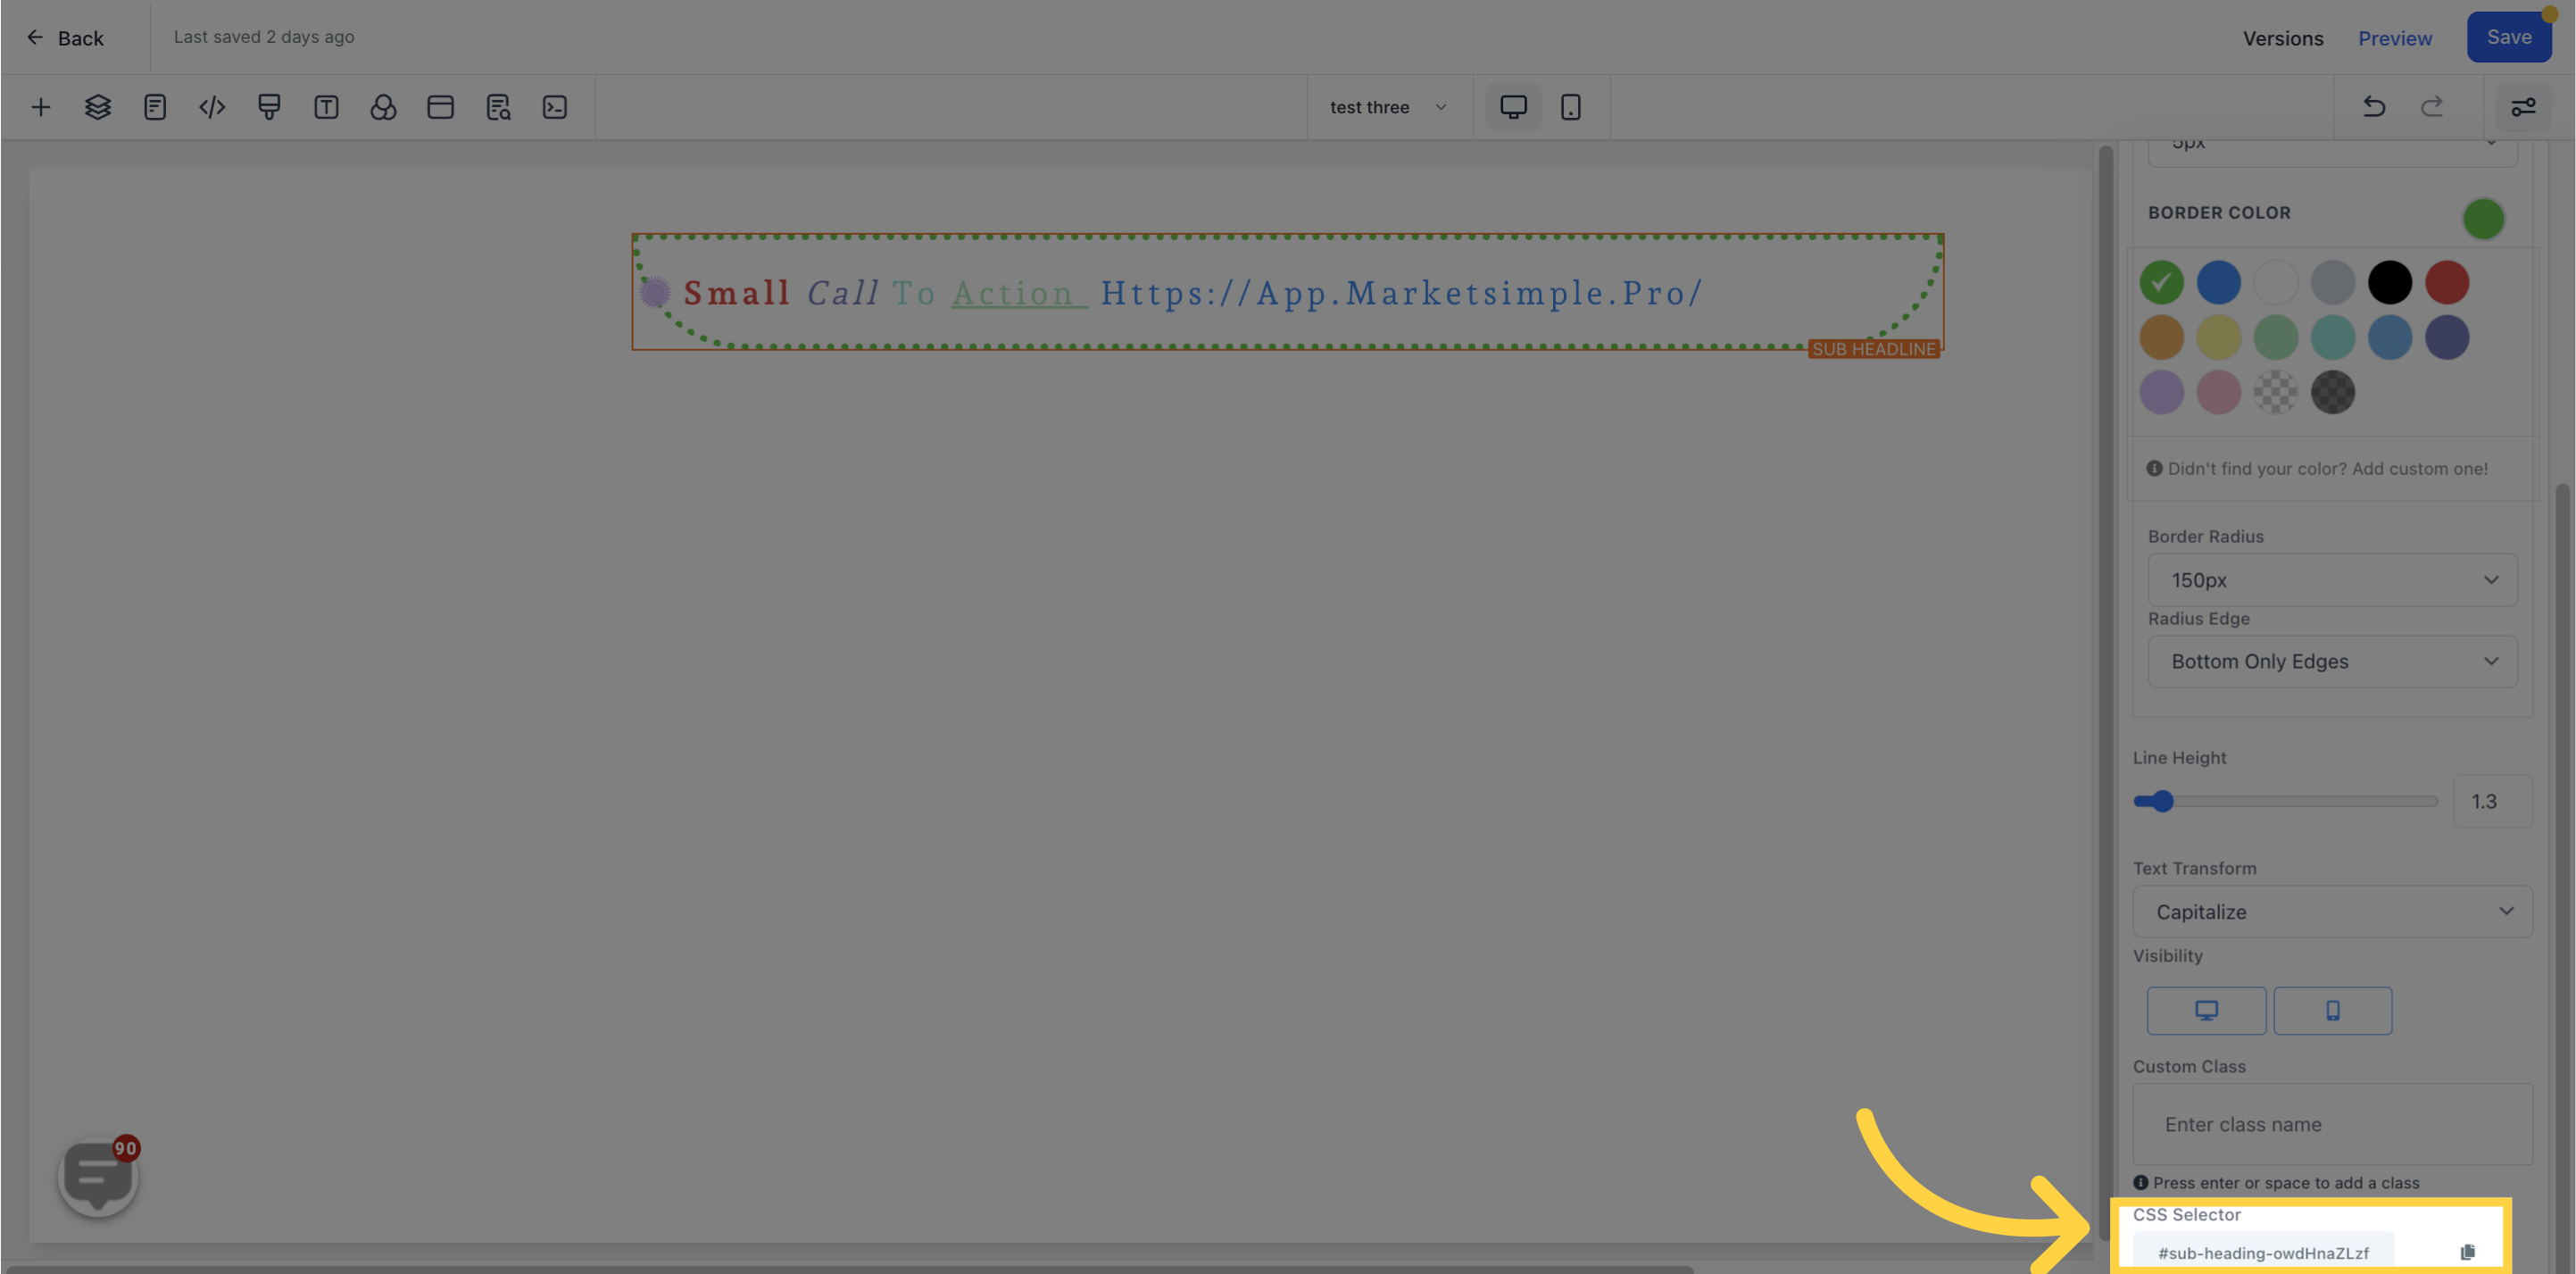
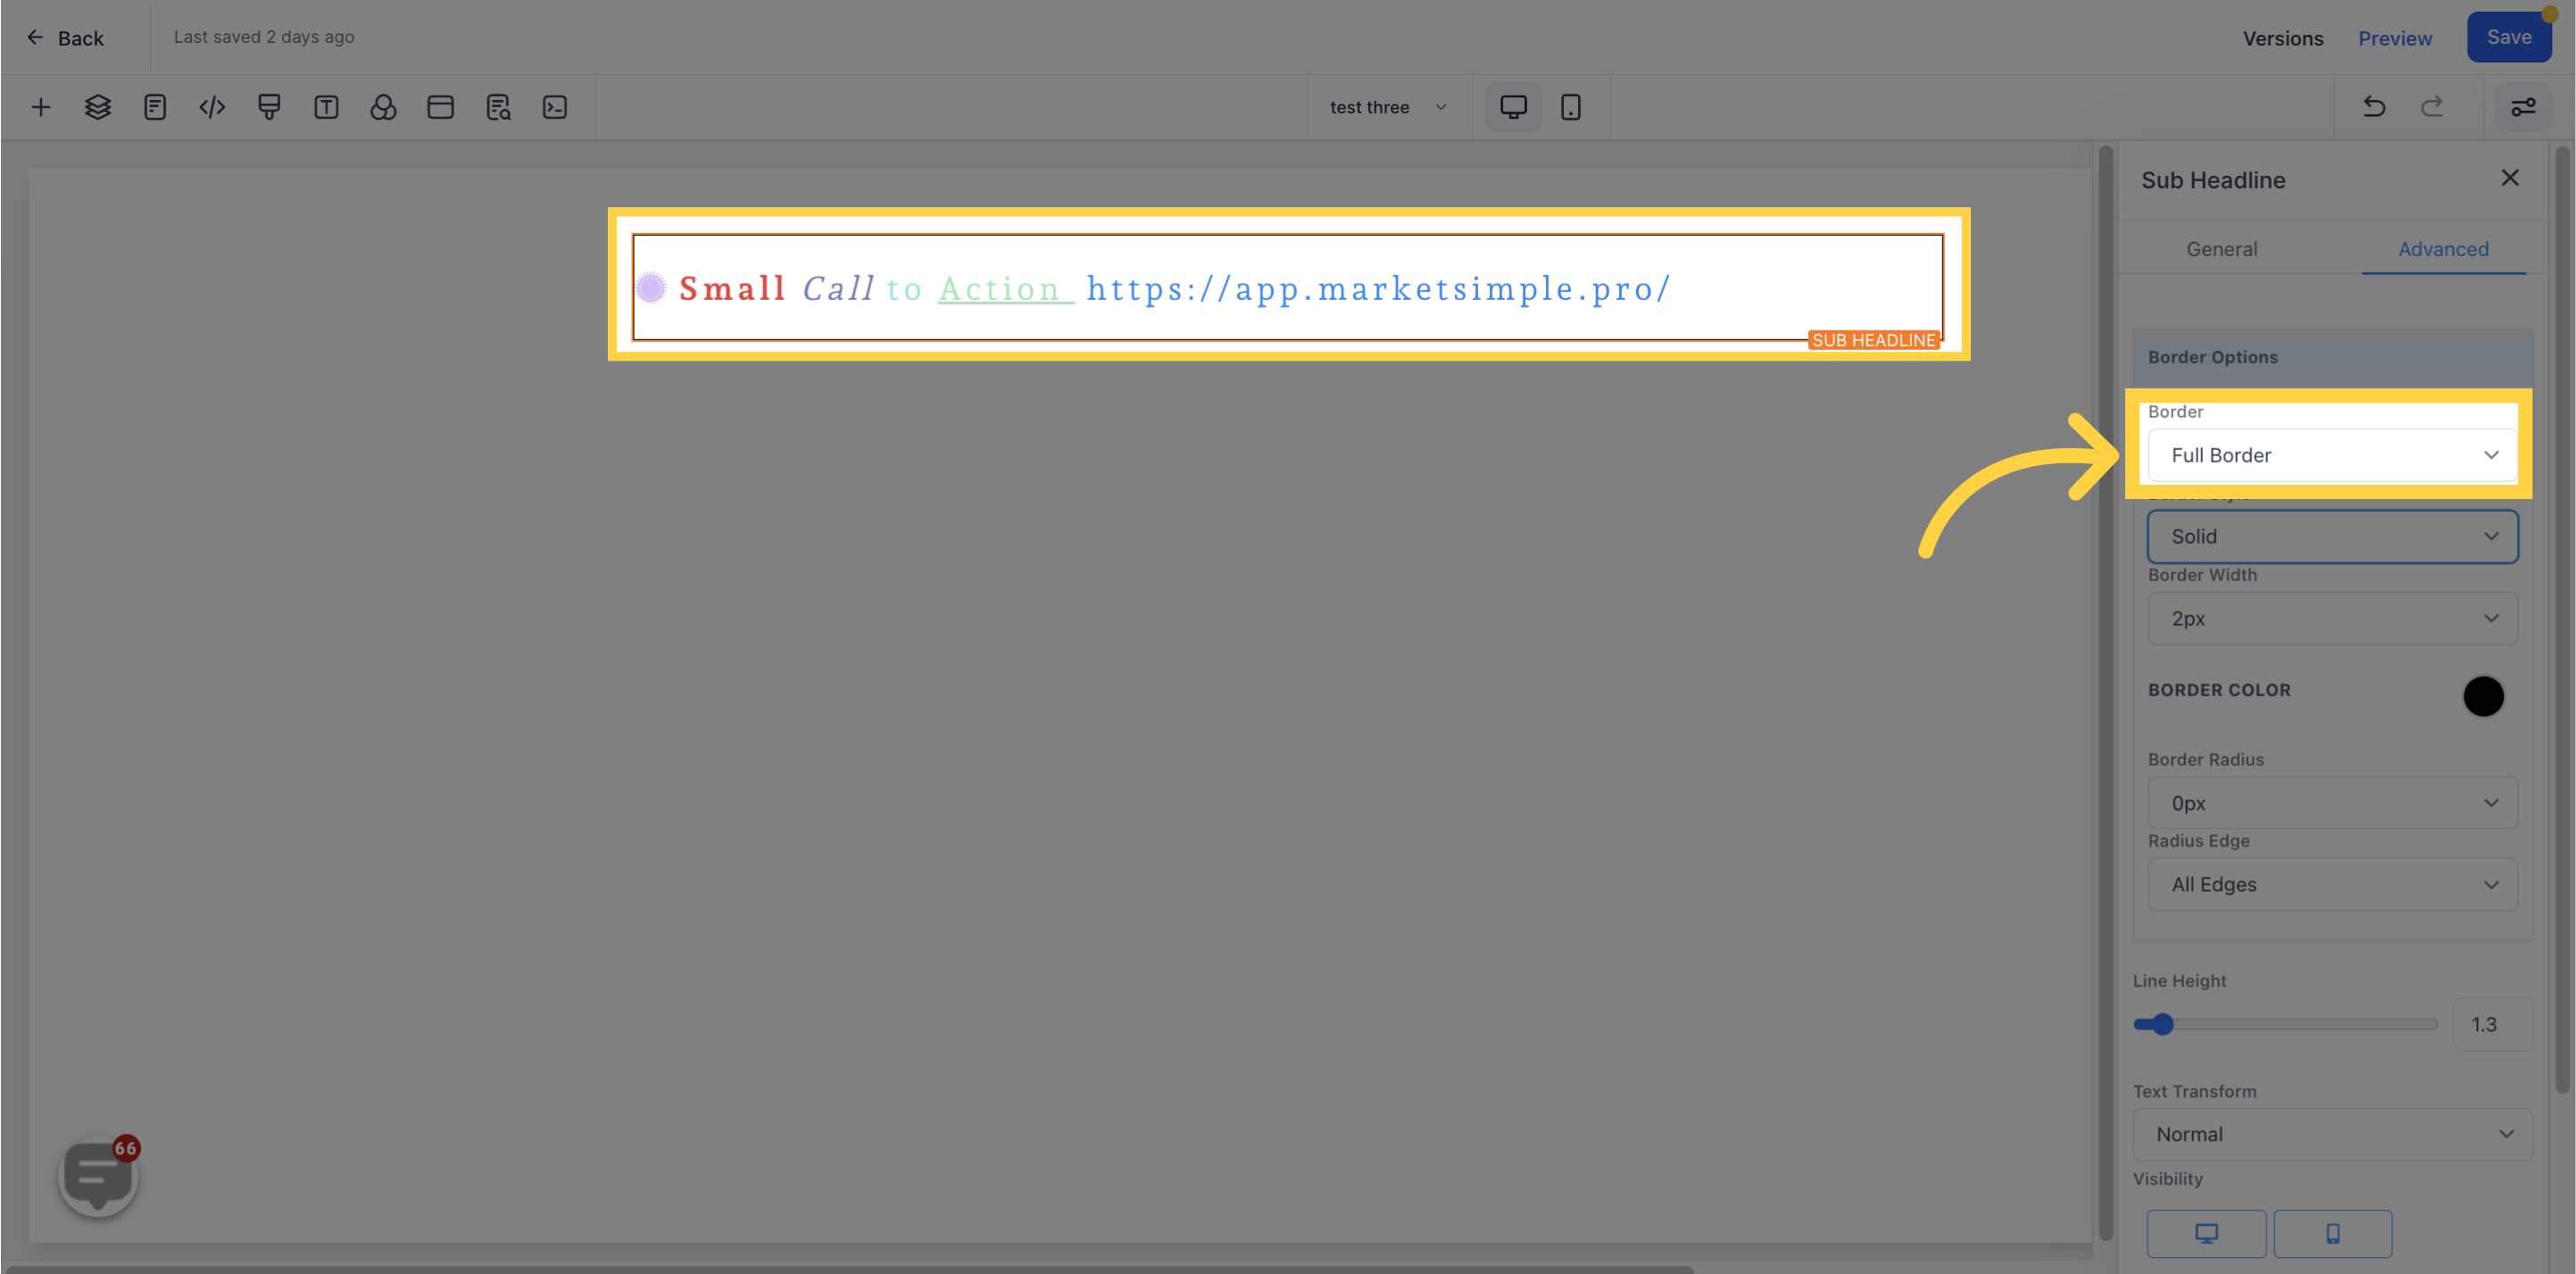
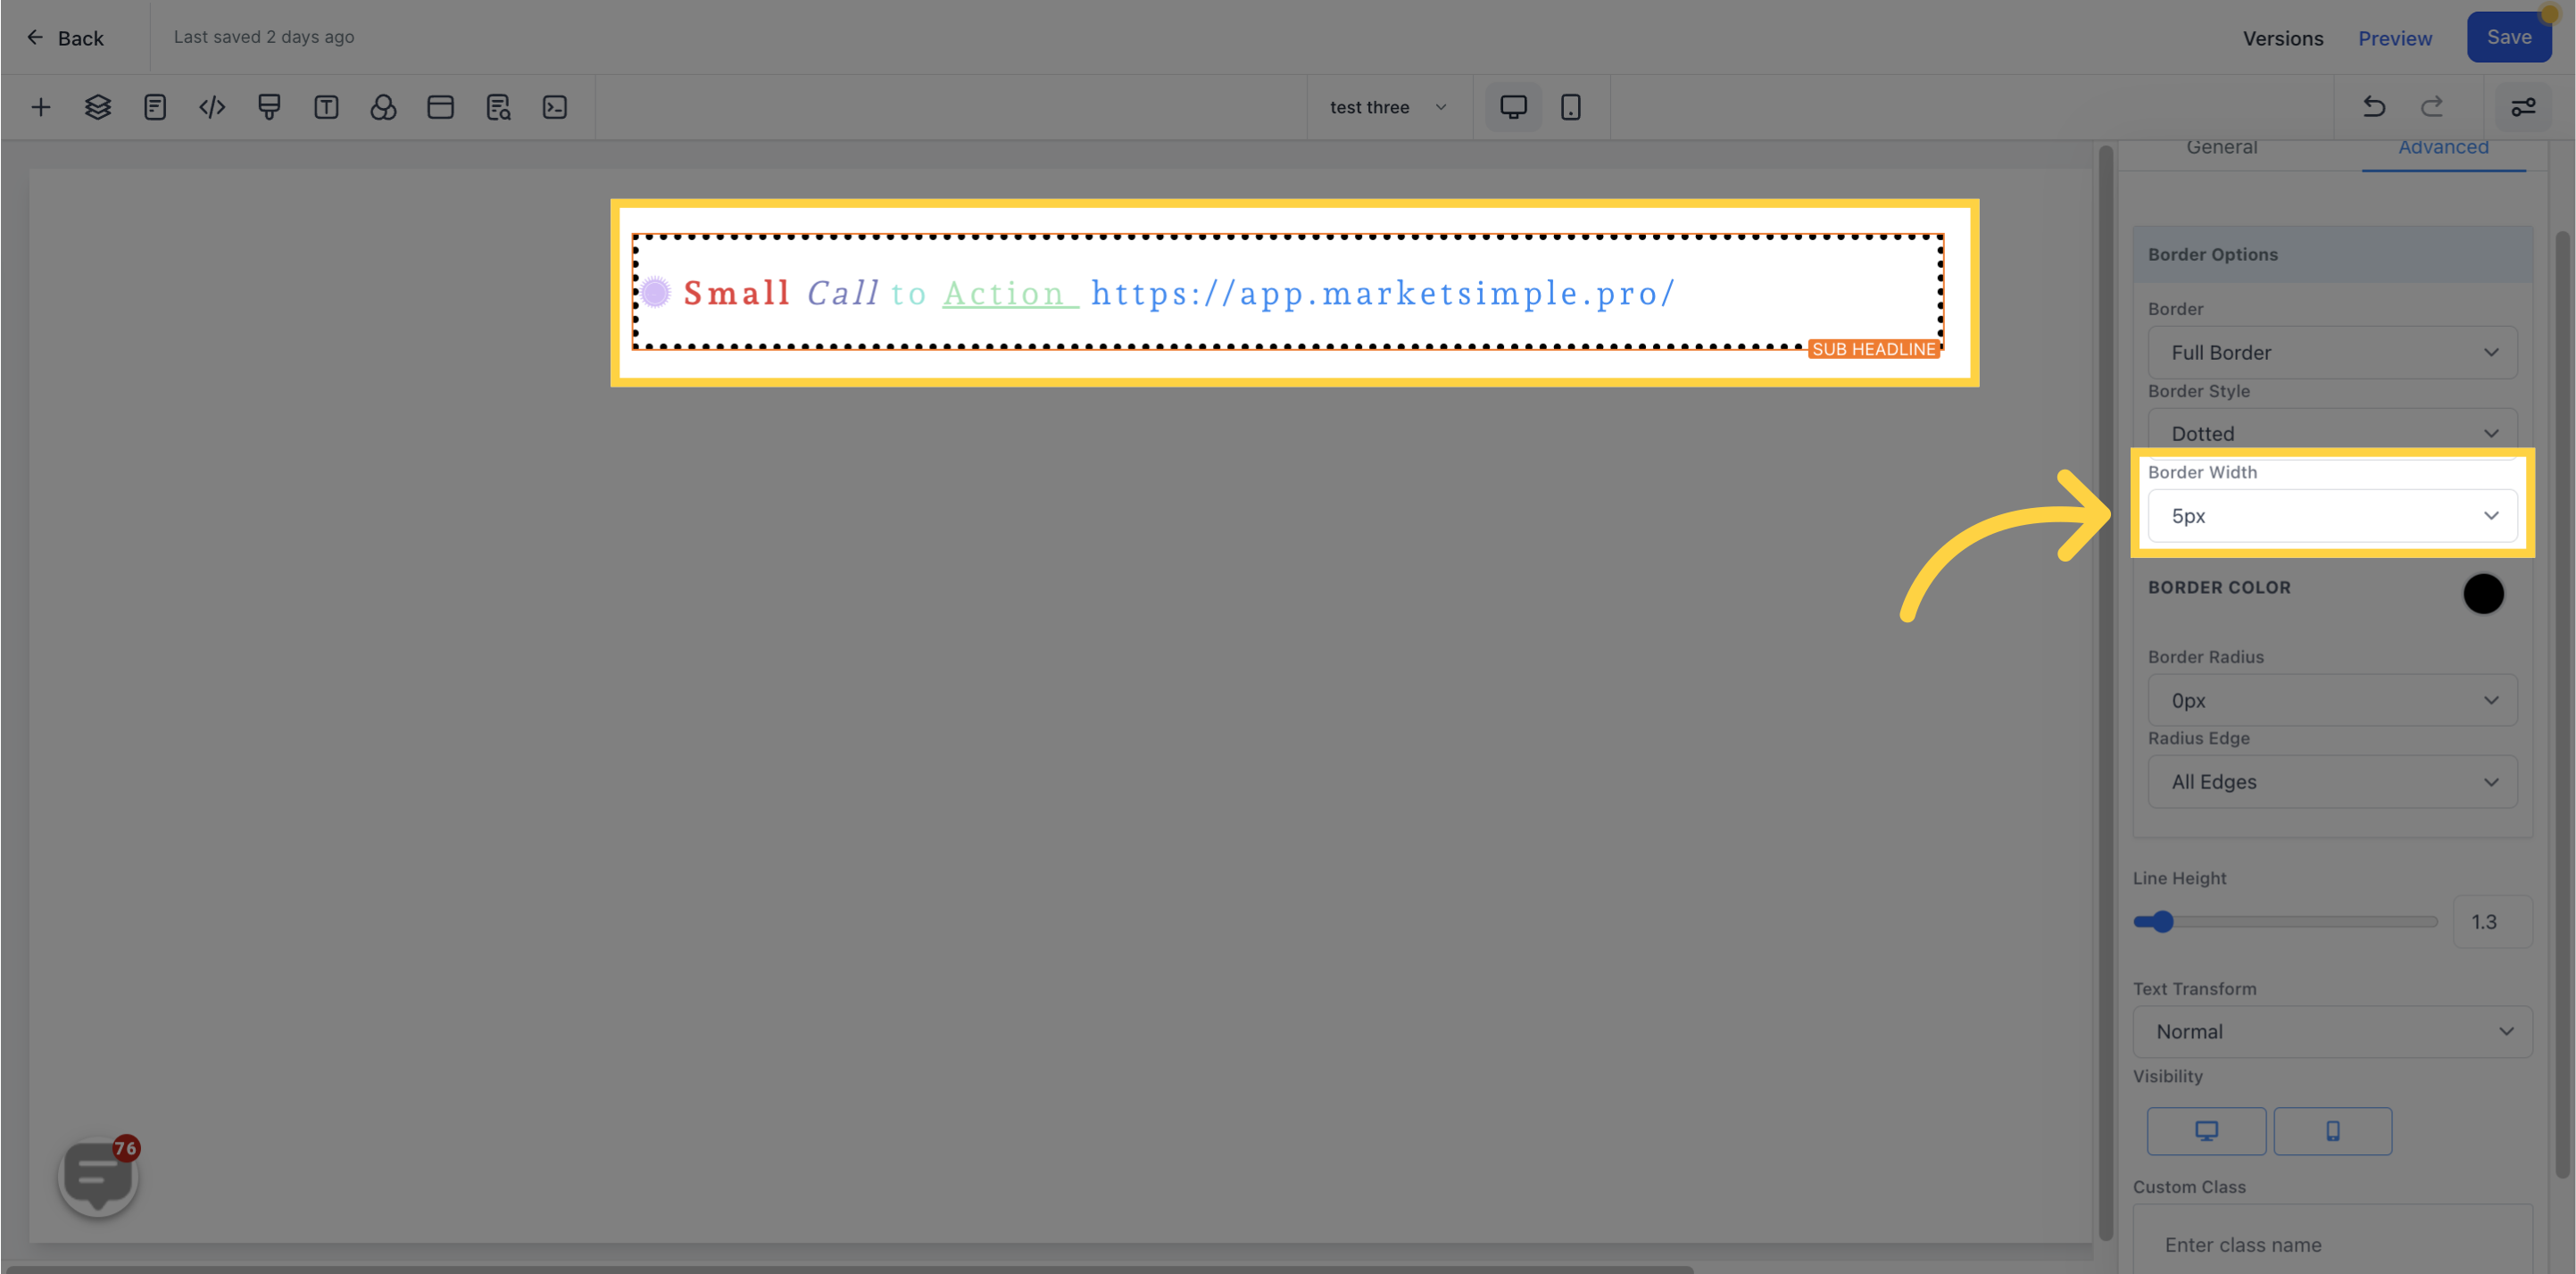
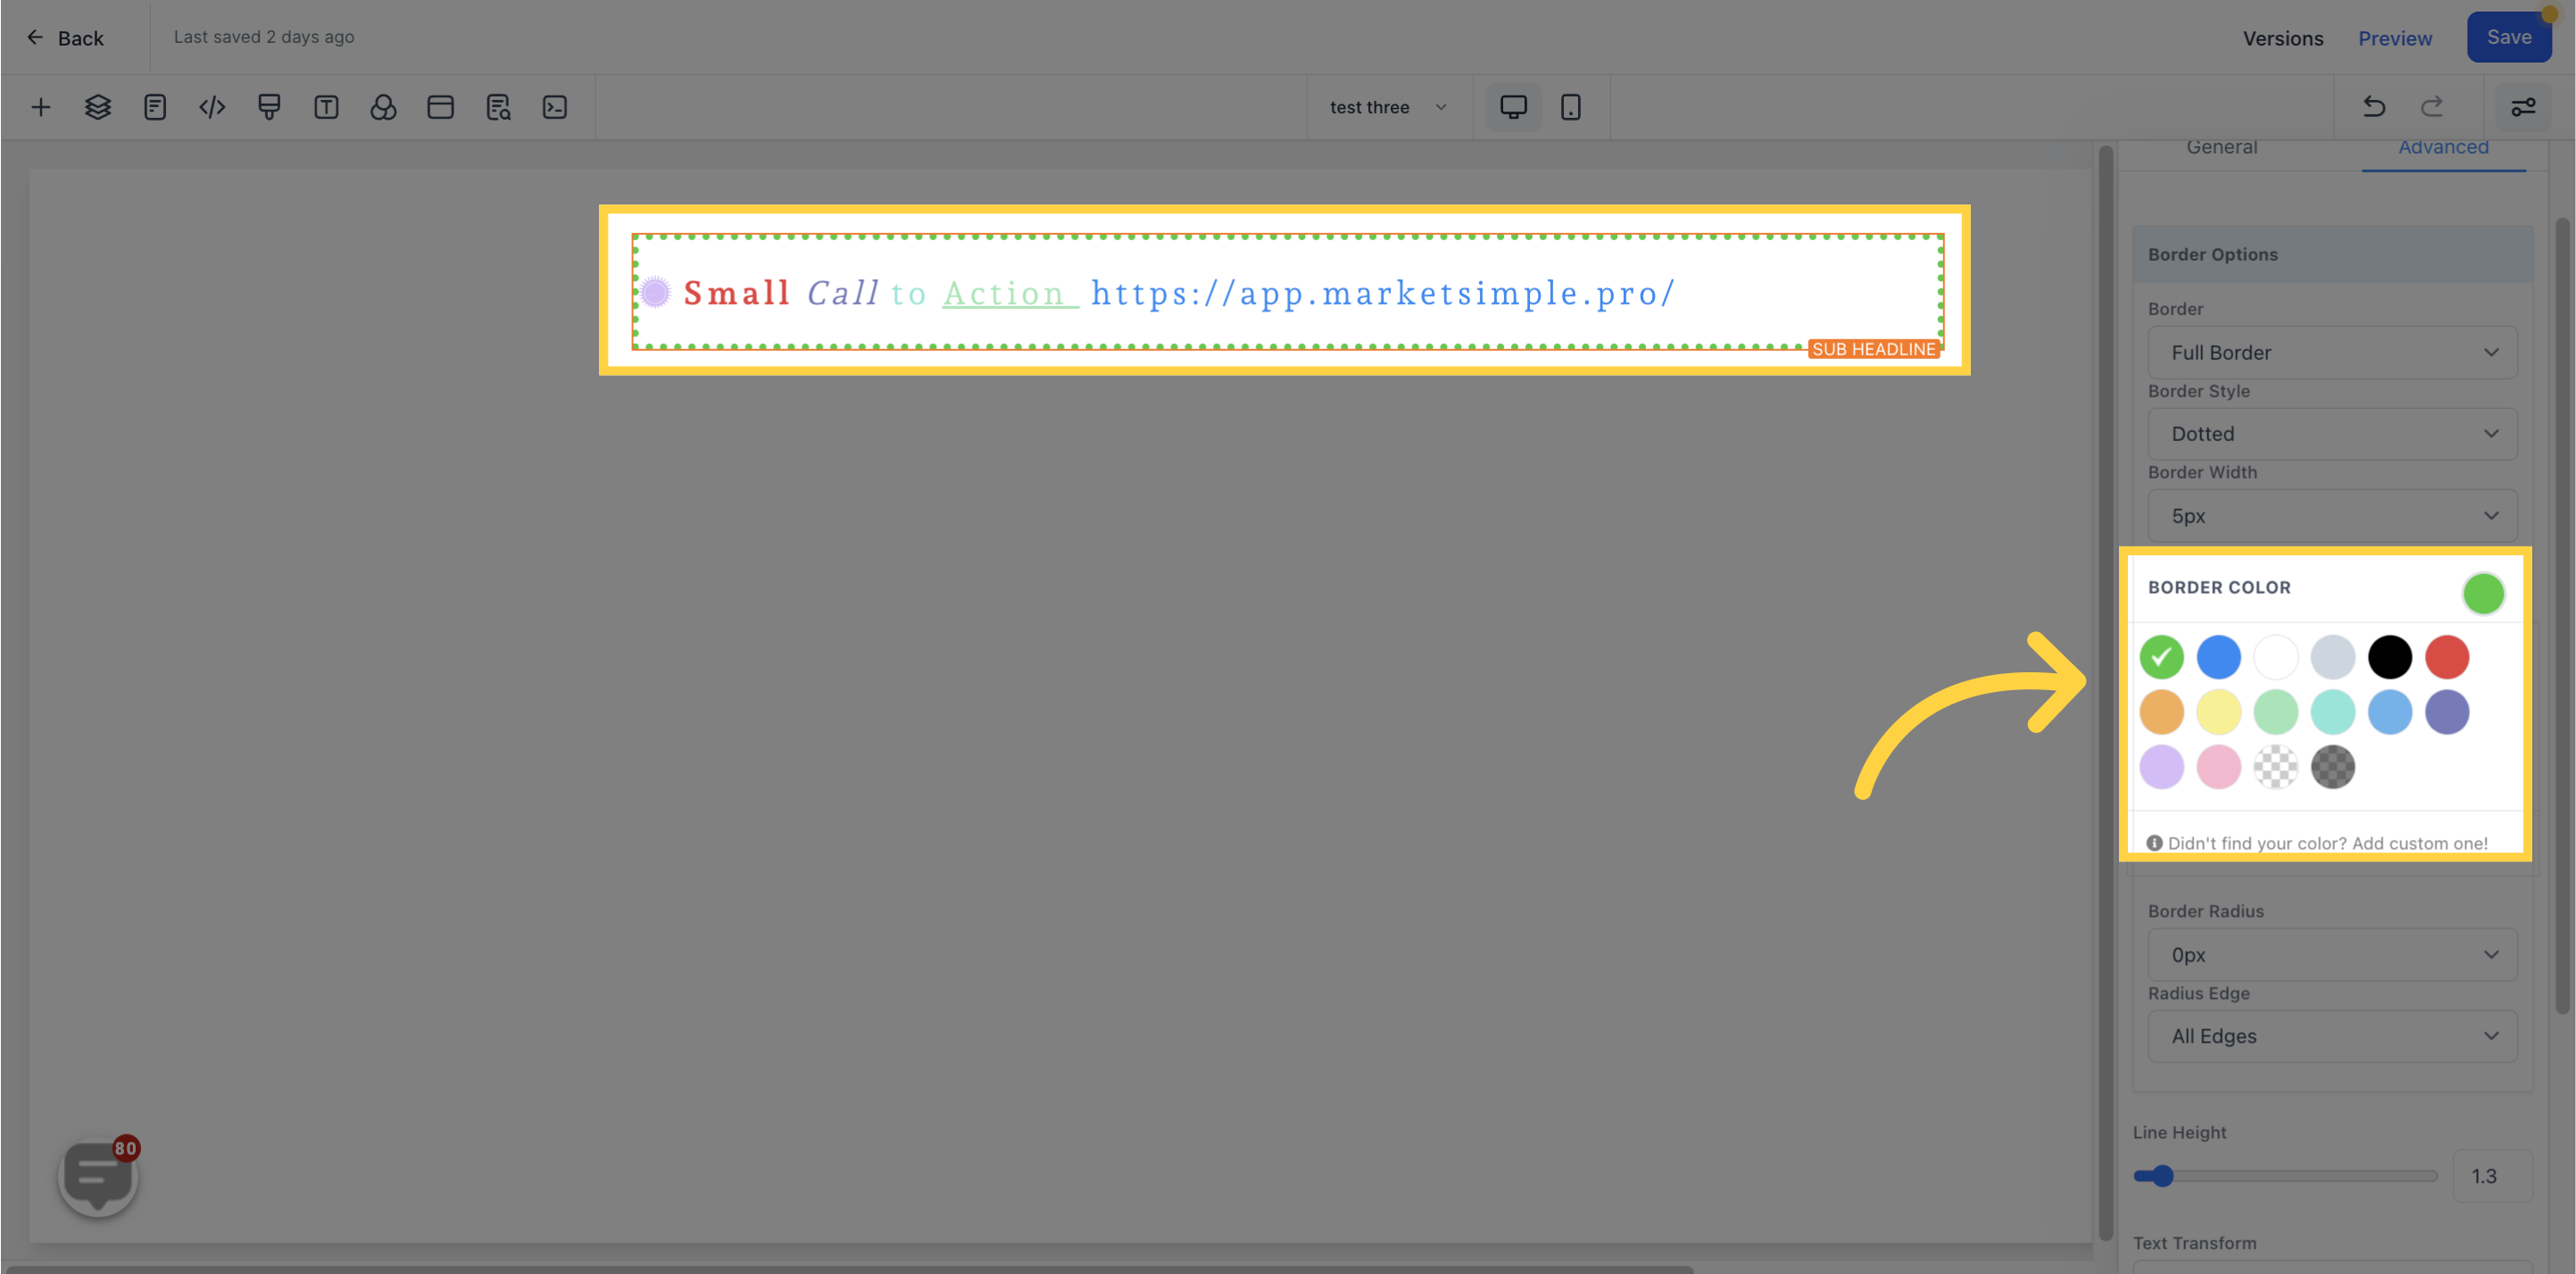
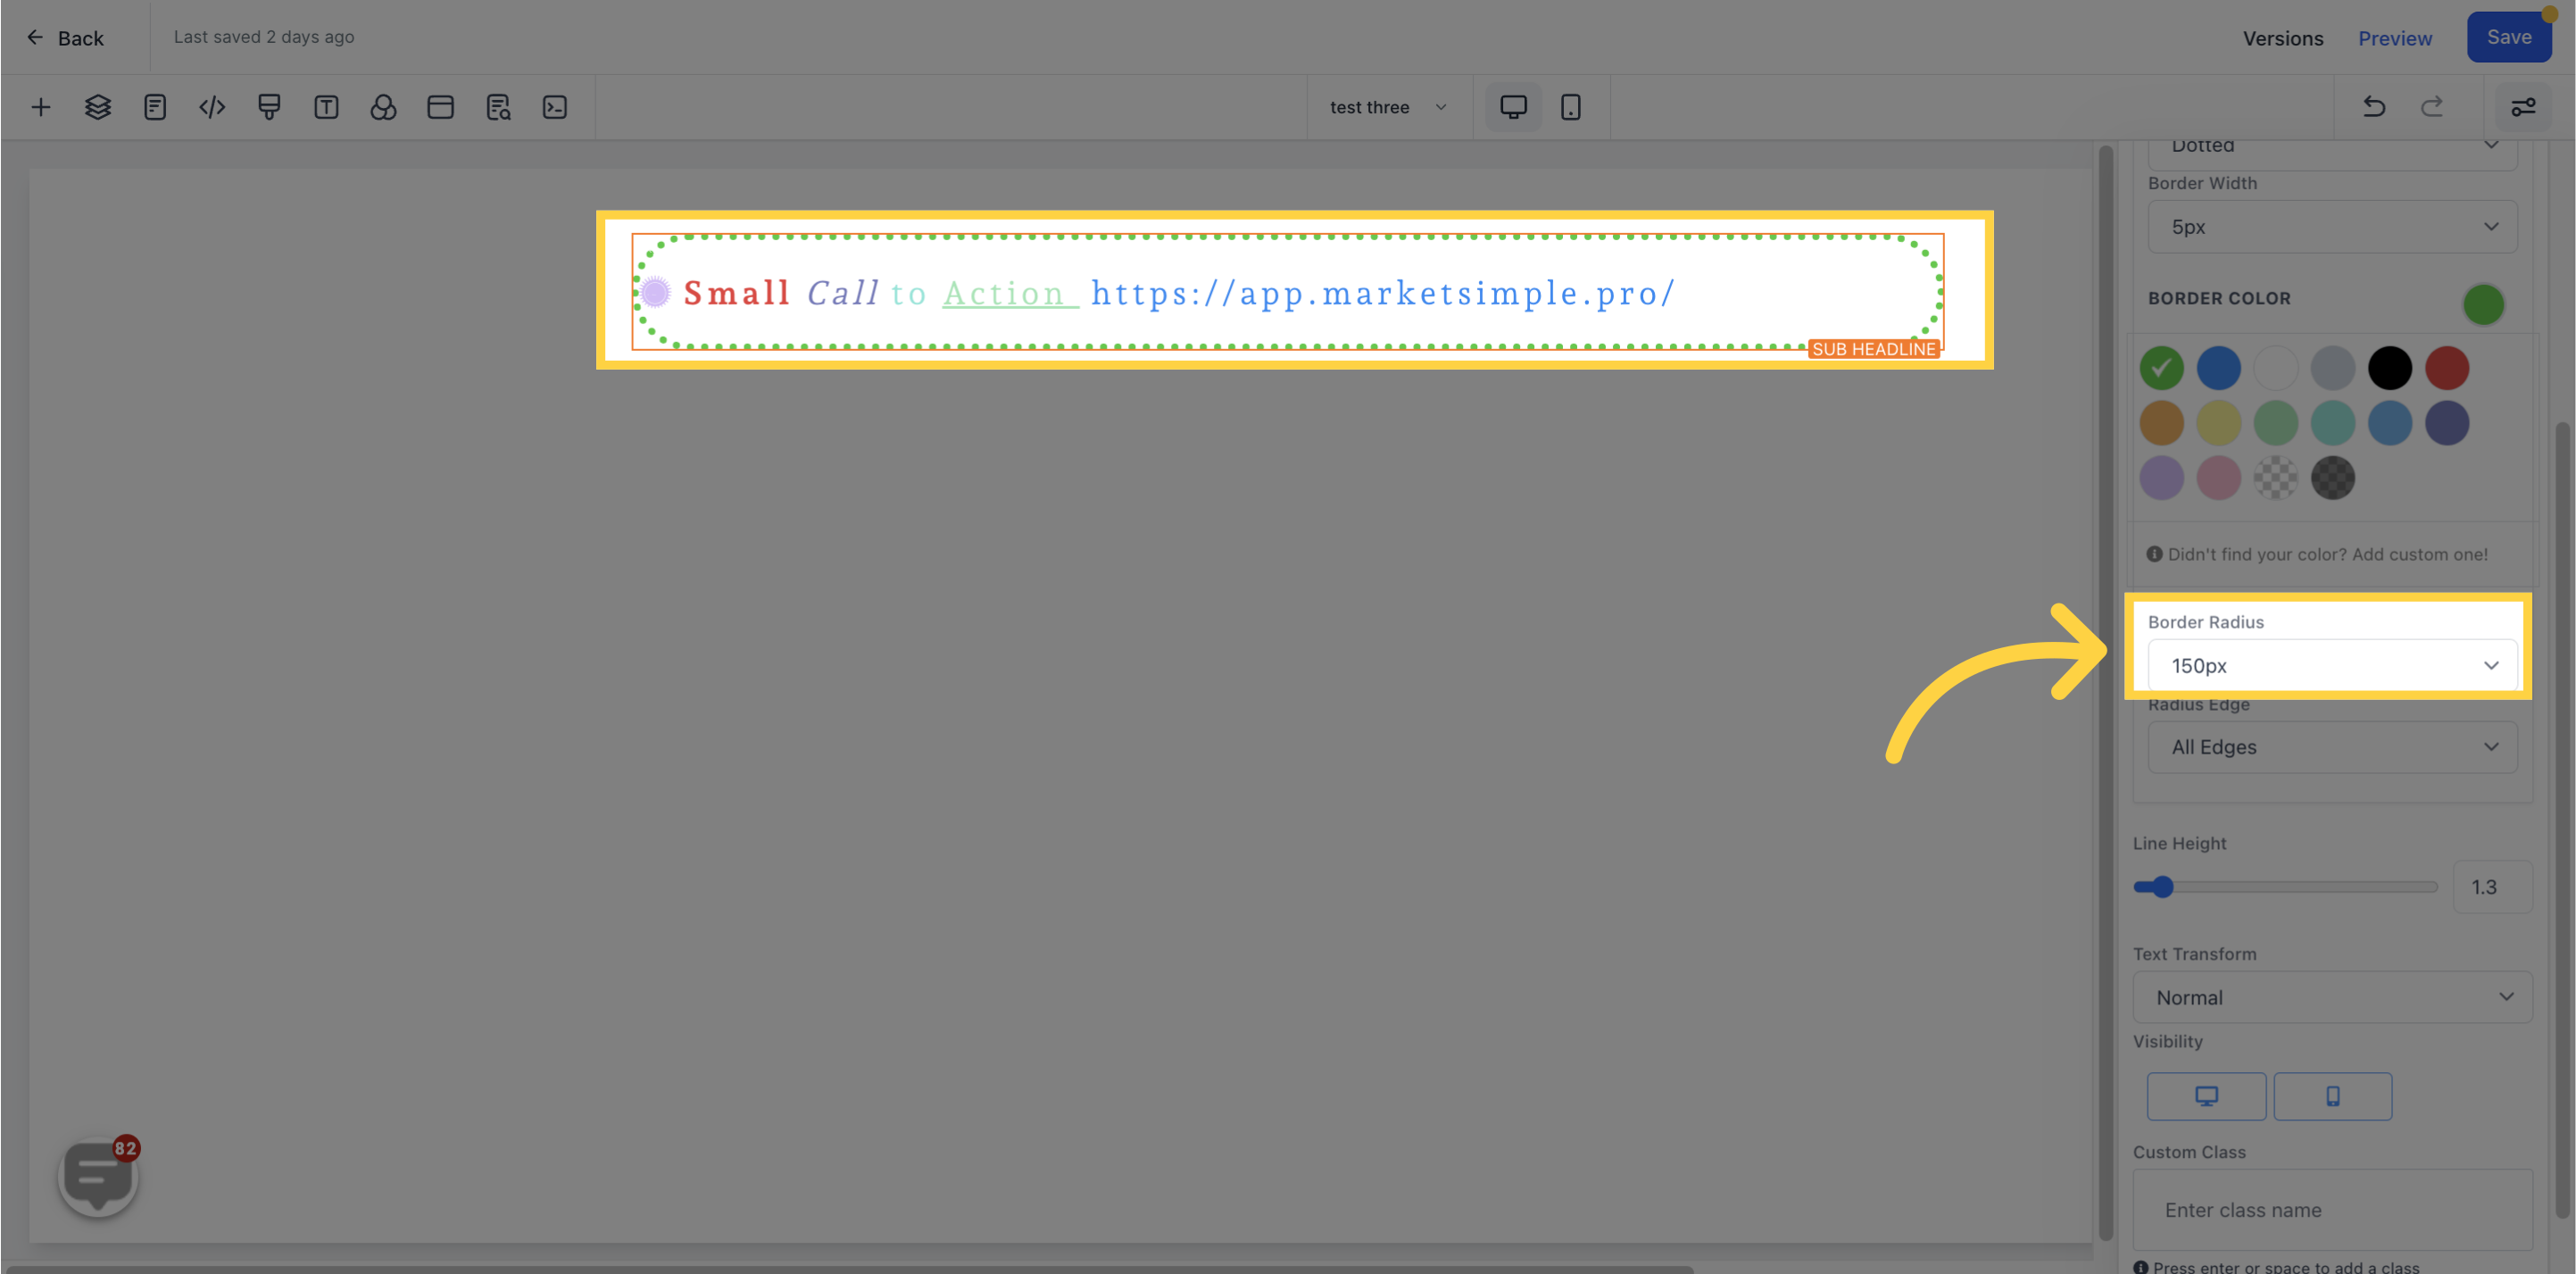
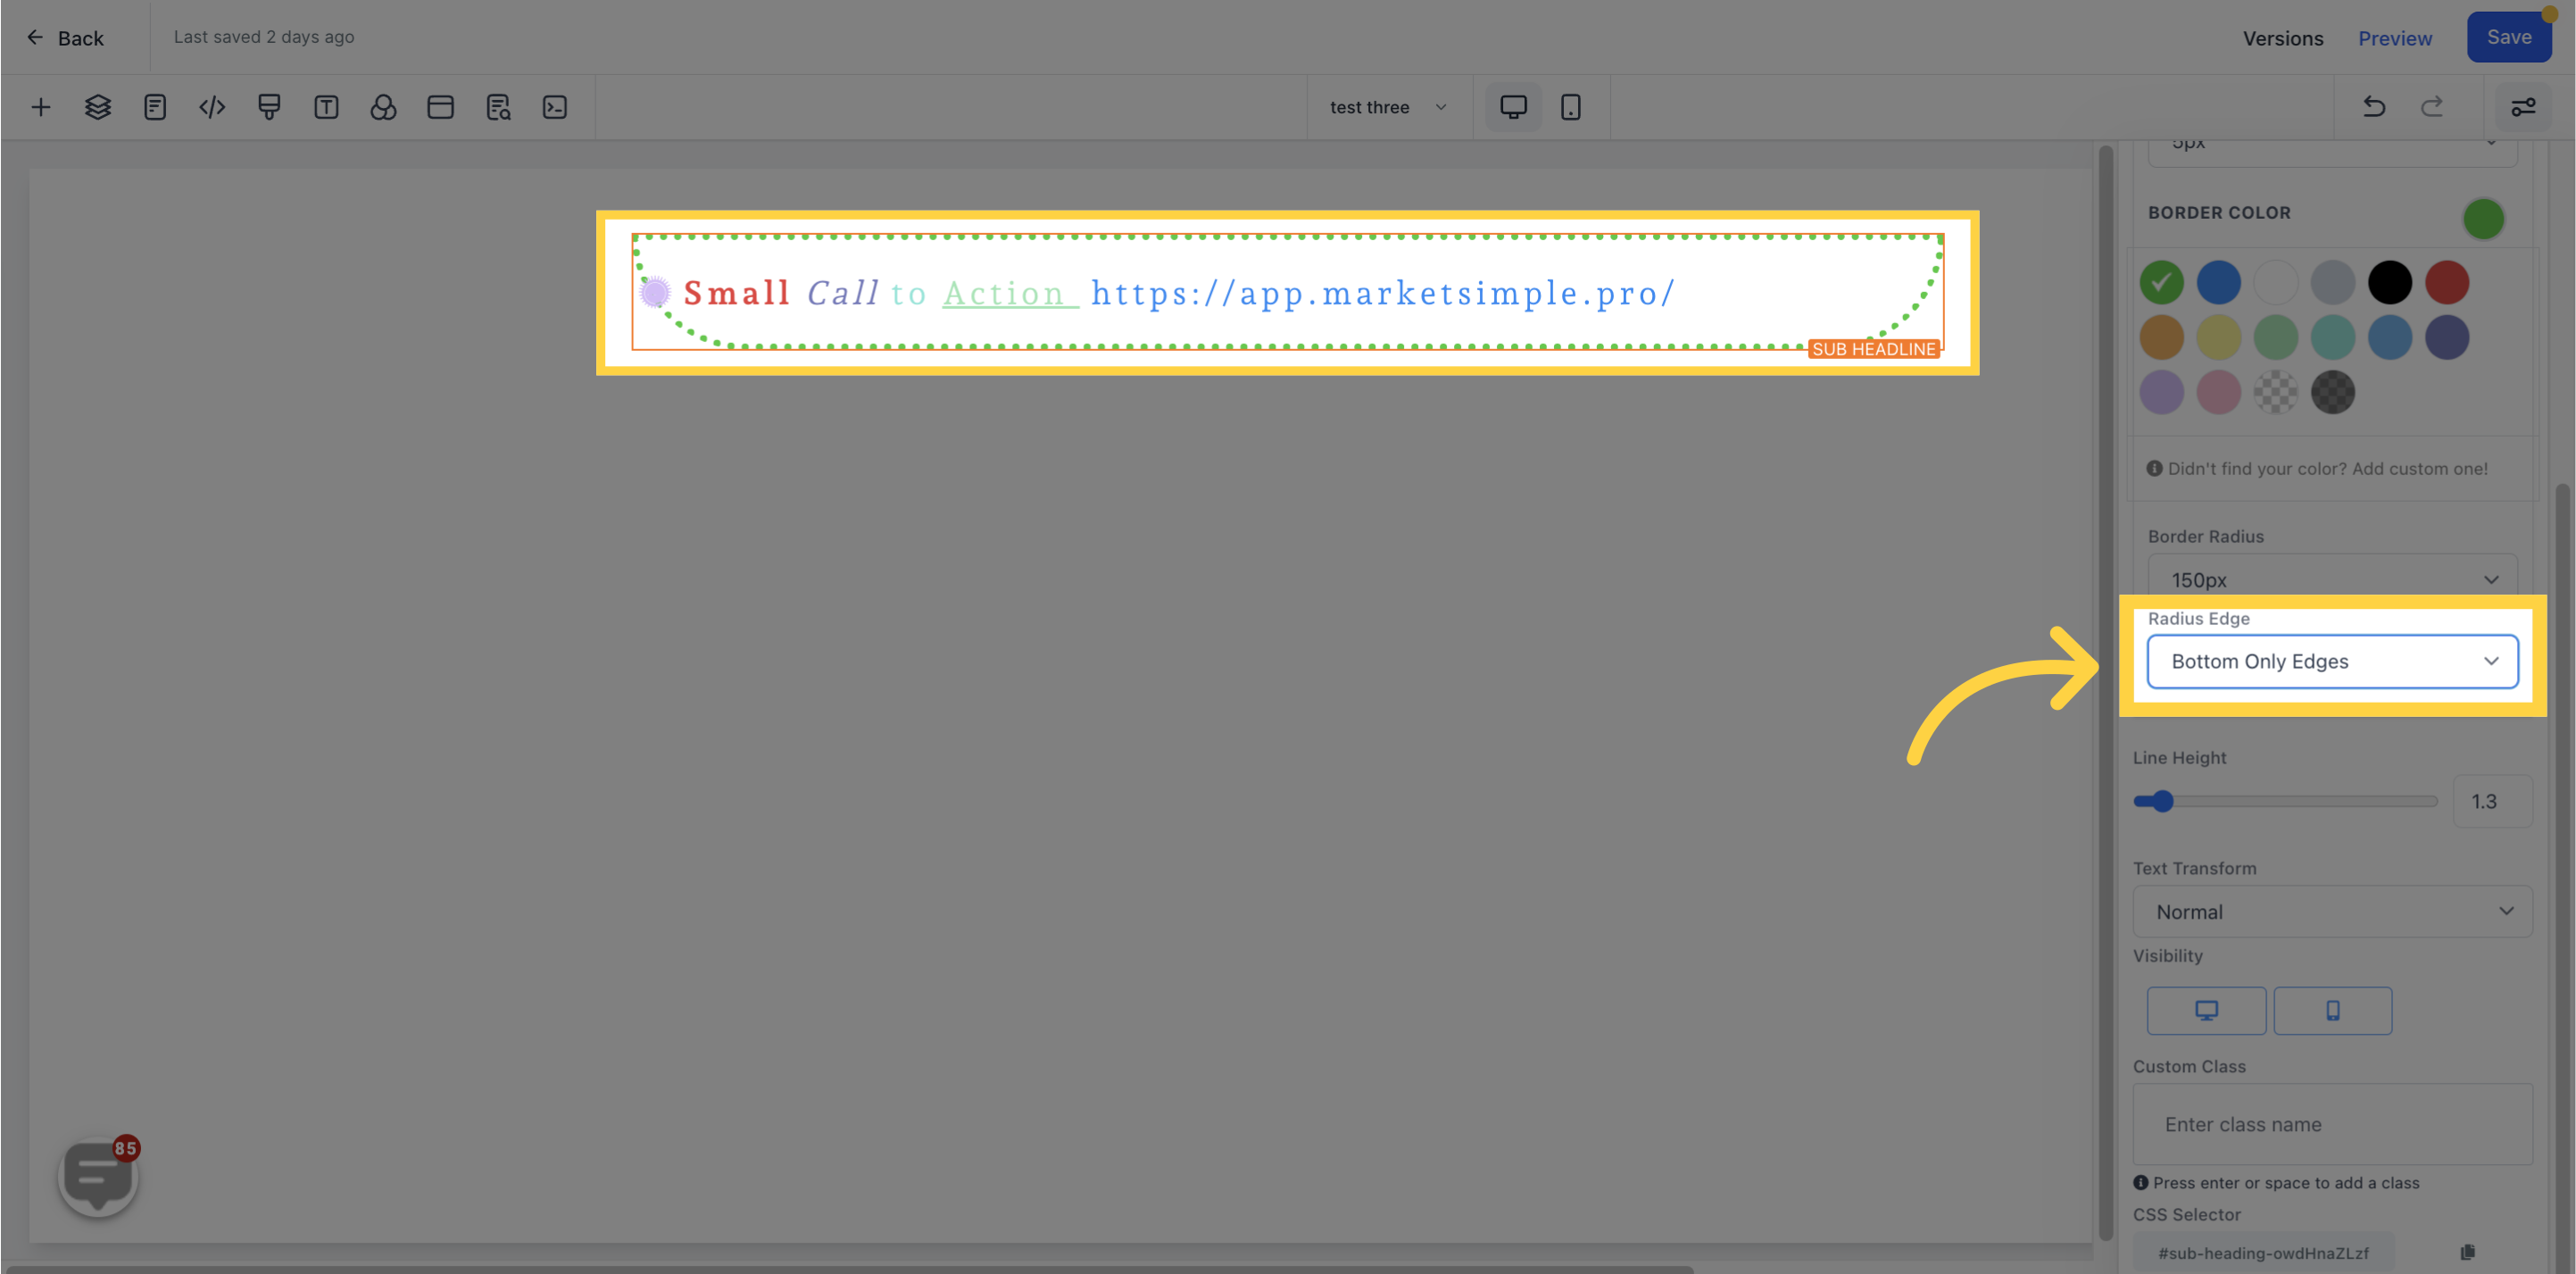
Choose from various border types, such as Solid, Dashed, or Dotted, and customize the border's style, width, color, and curvature.

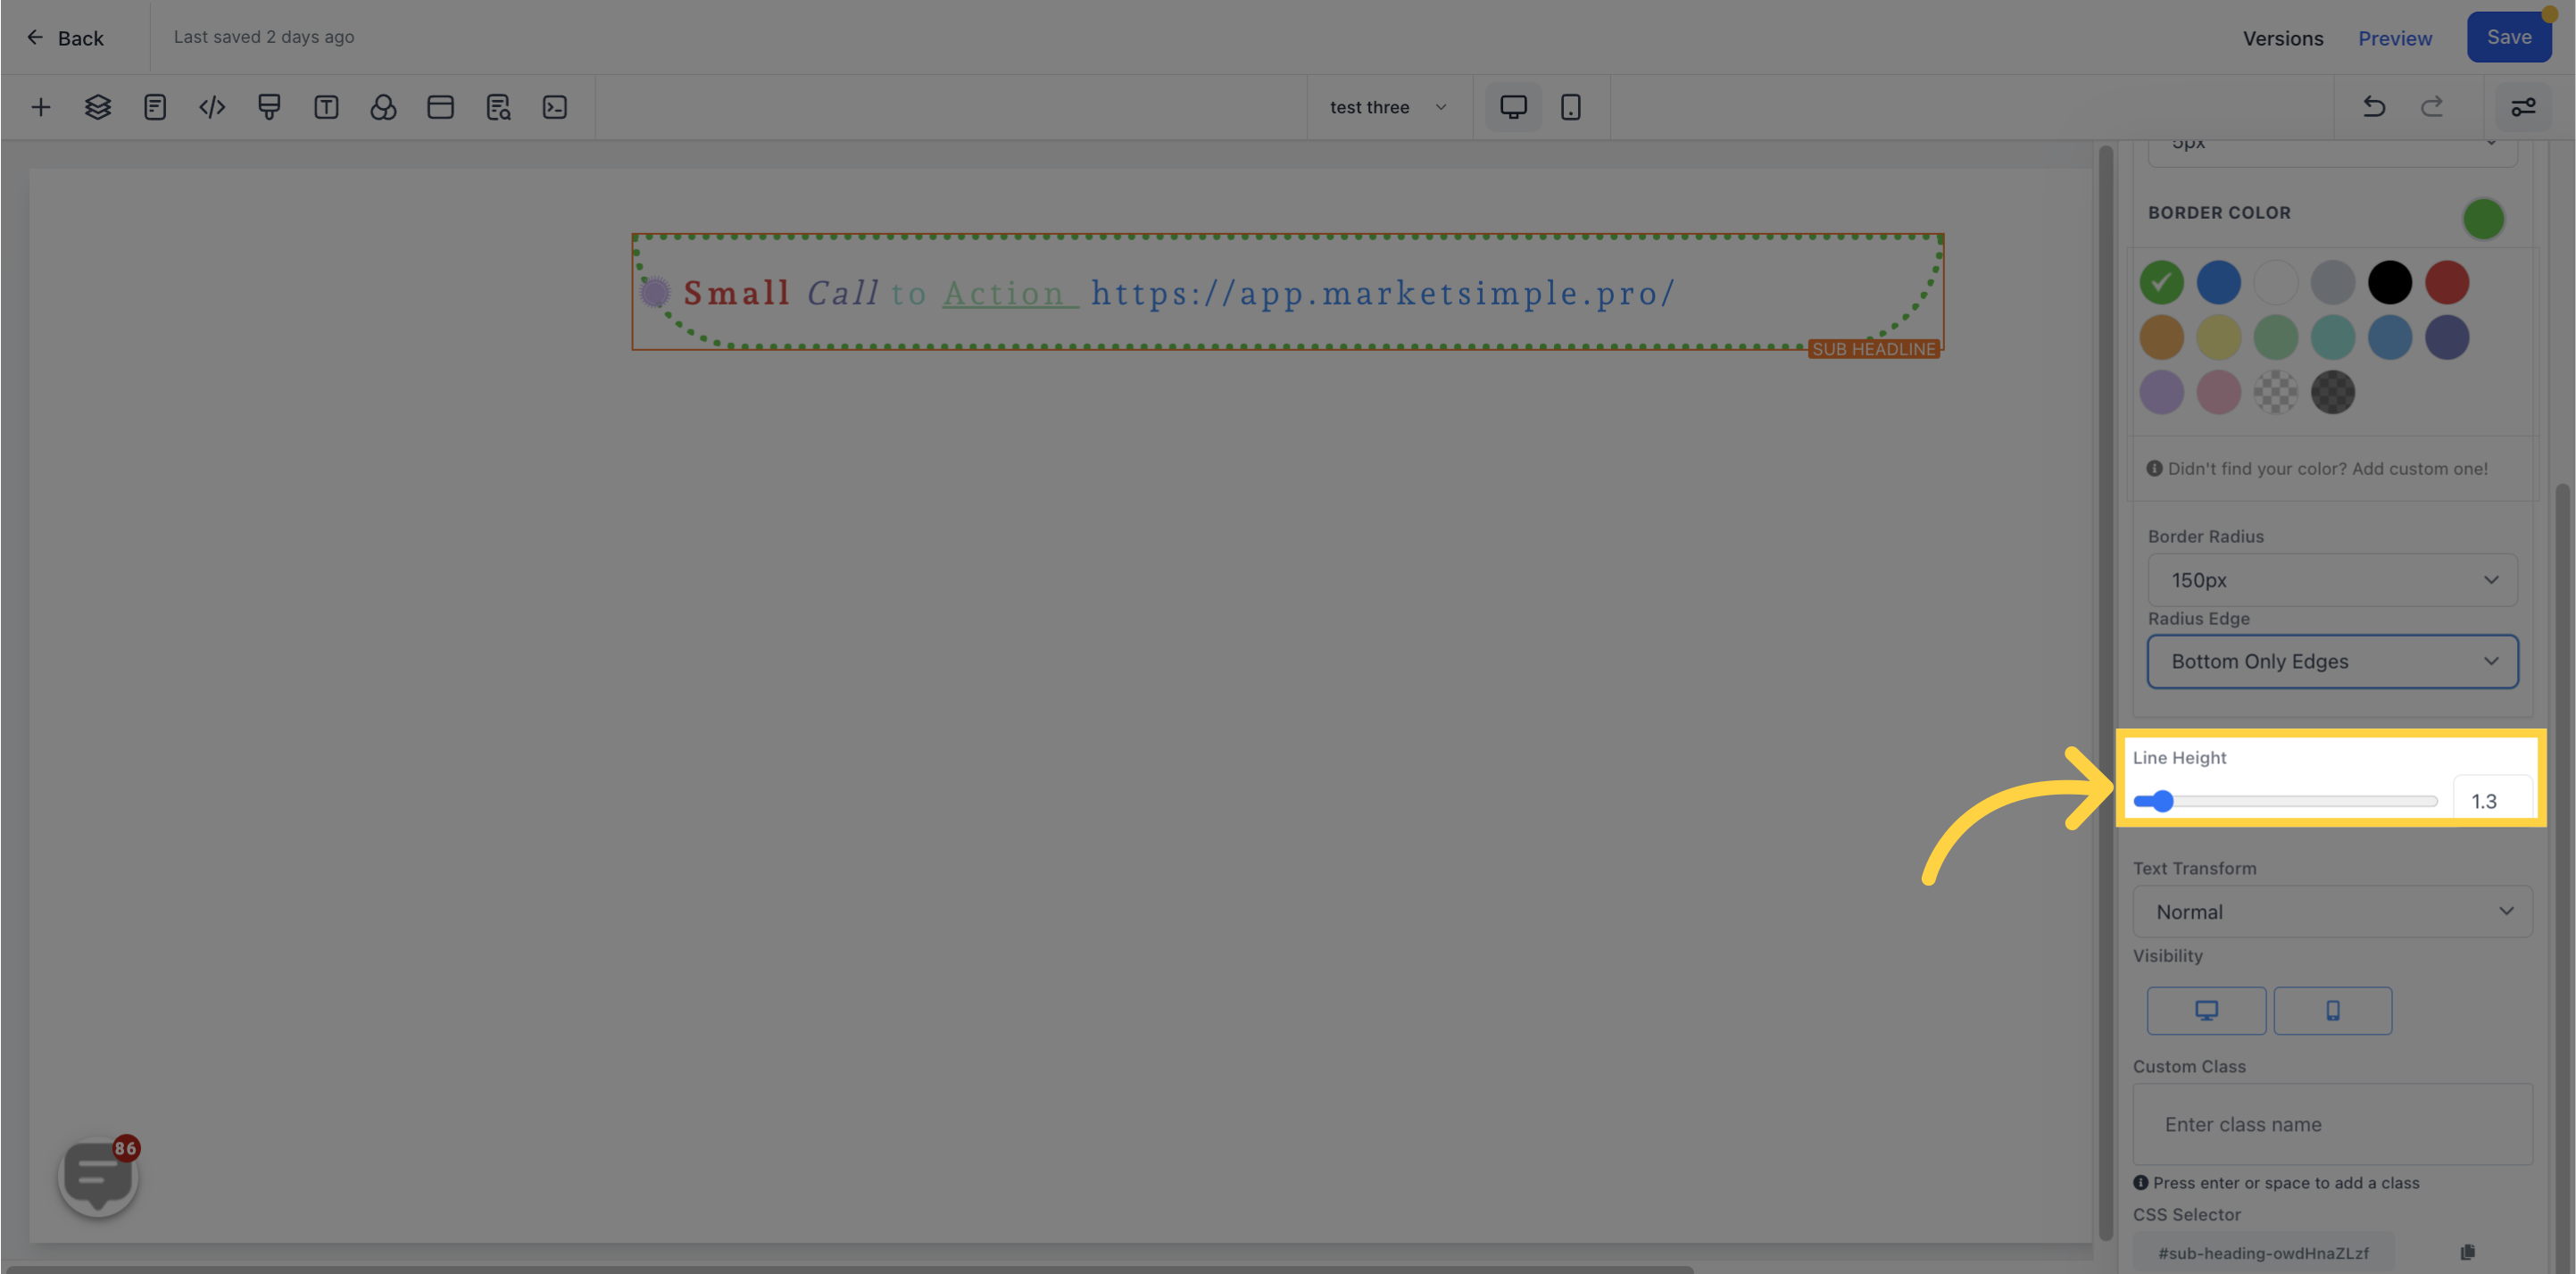
Increase or decrease the height of your subheading text/content.
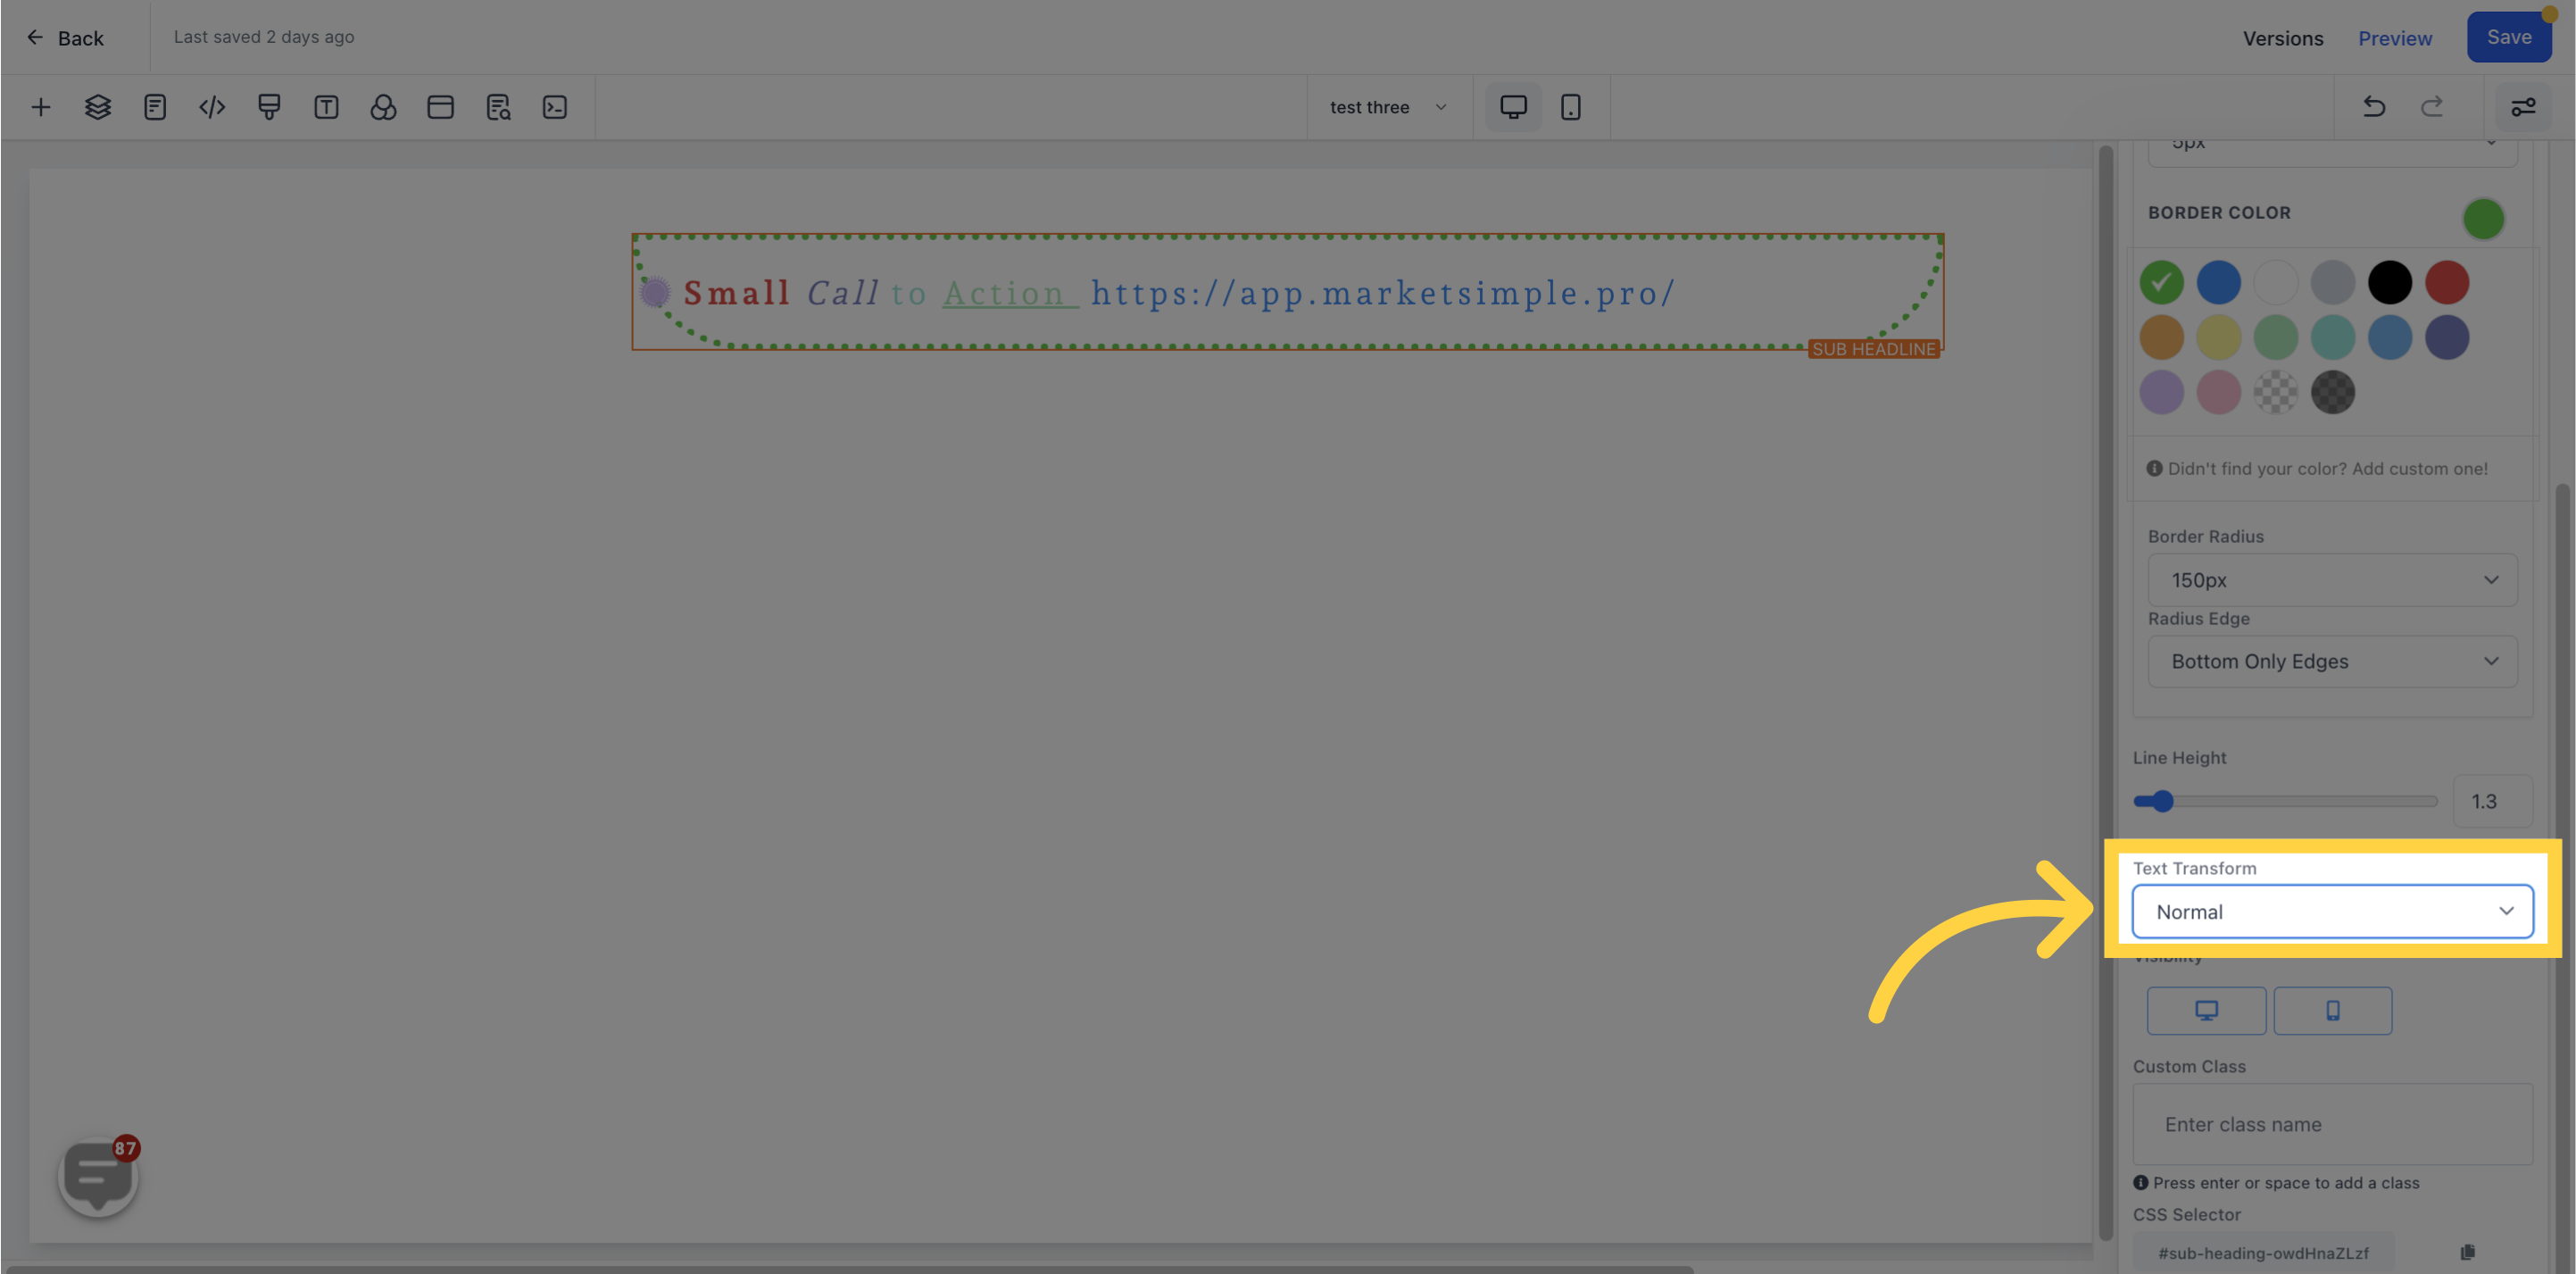
Change the case of your subheading text to Uppercase, Lowercase, or Capitalize Each Word.
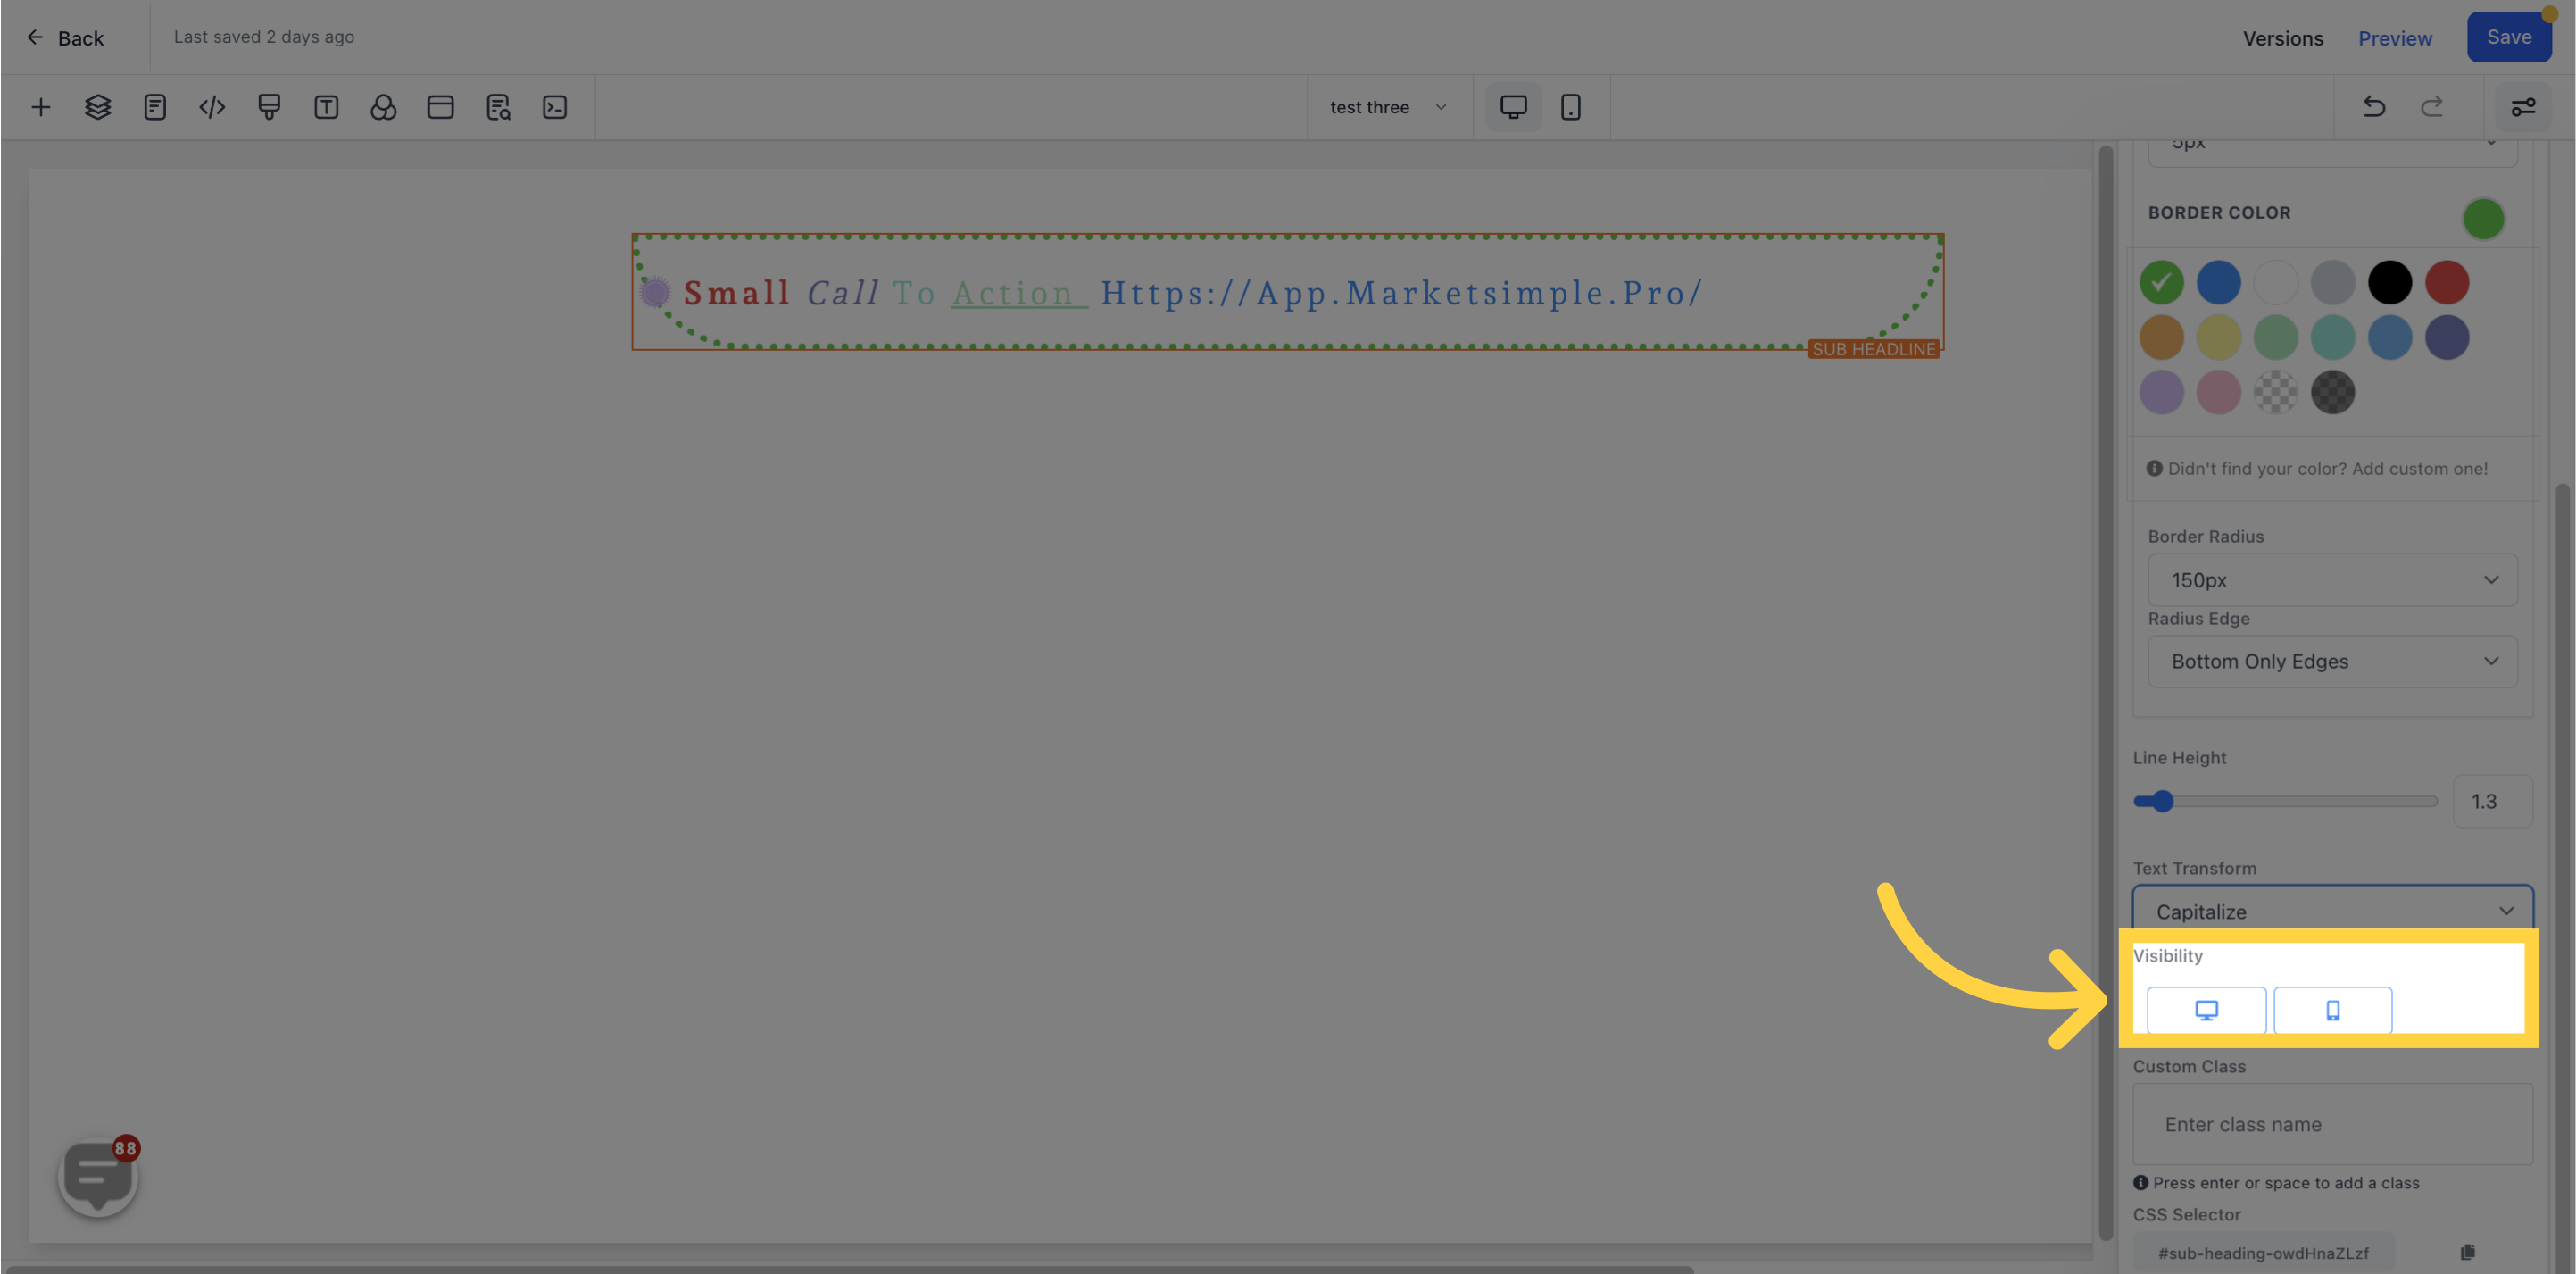
Choose to display your subheading on both desktop and mobile, or just one of the two.
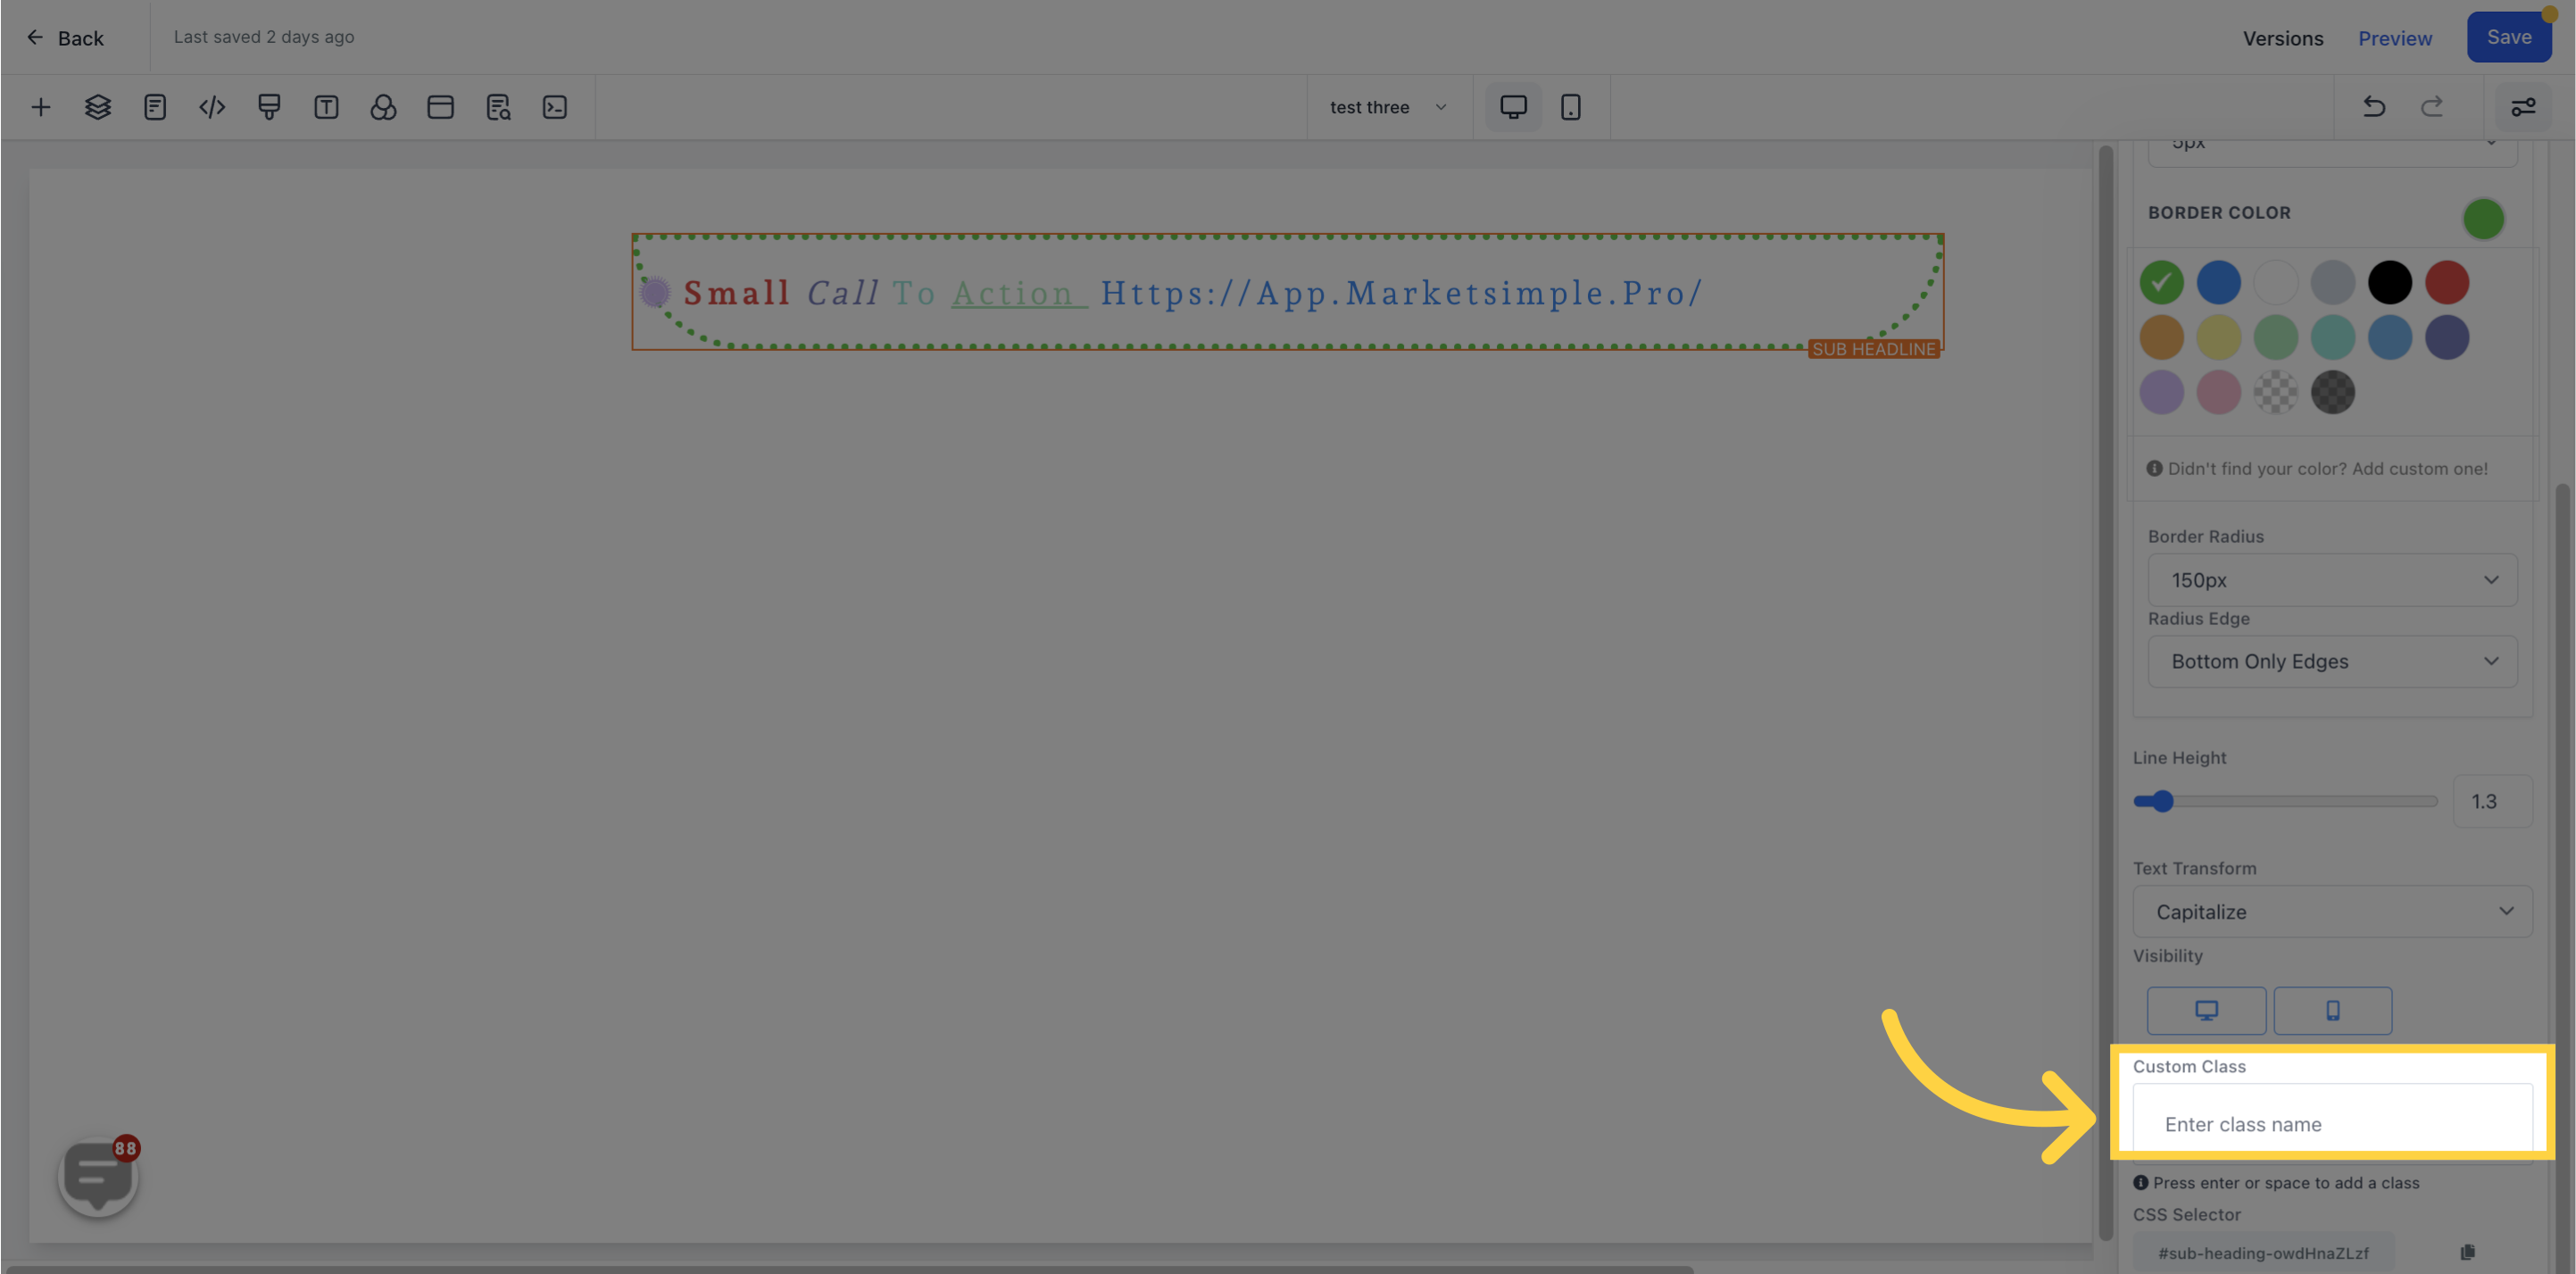
Add a custom class to your subheading
Click here to copy "CSS selector" for further customization.