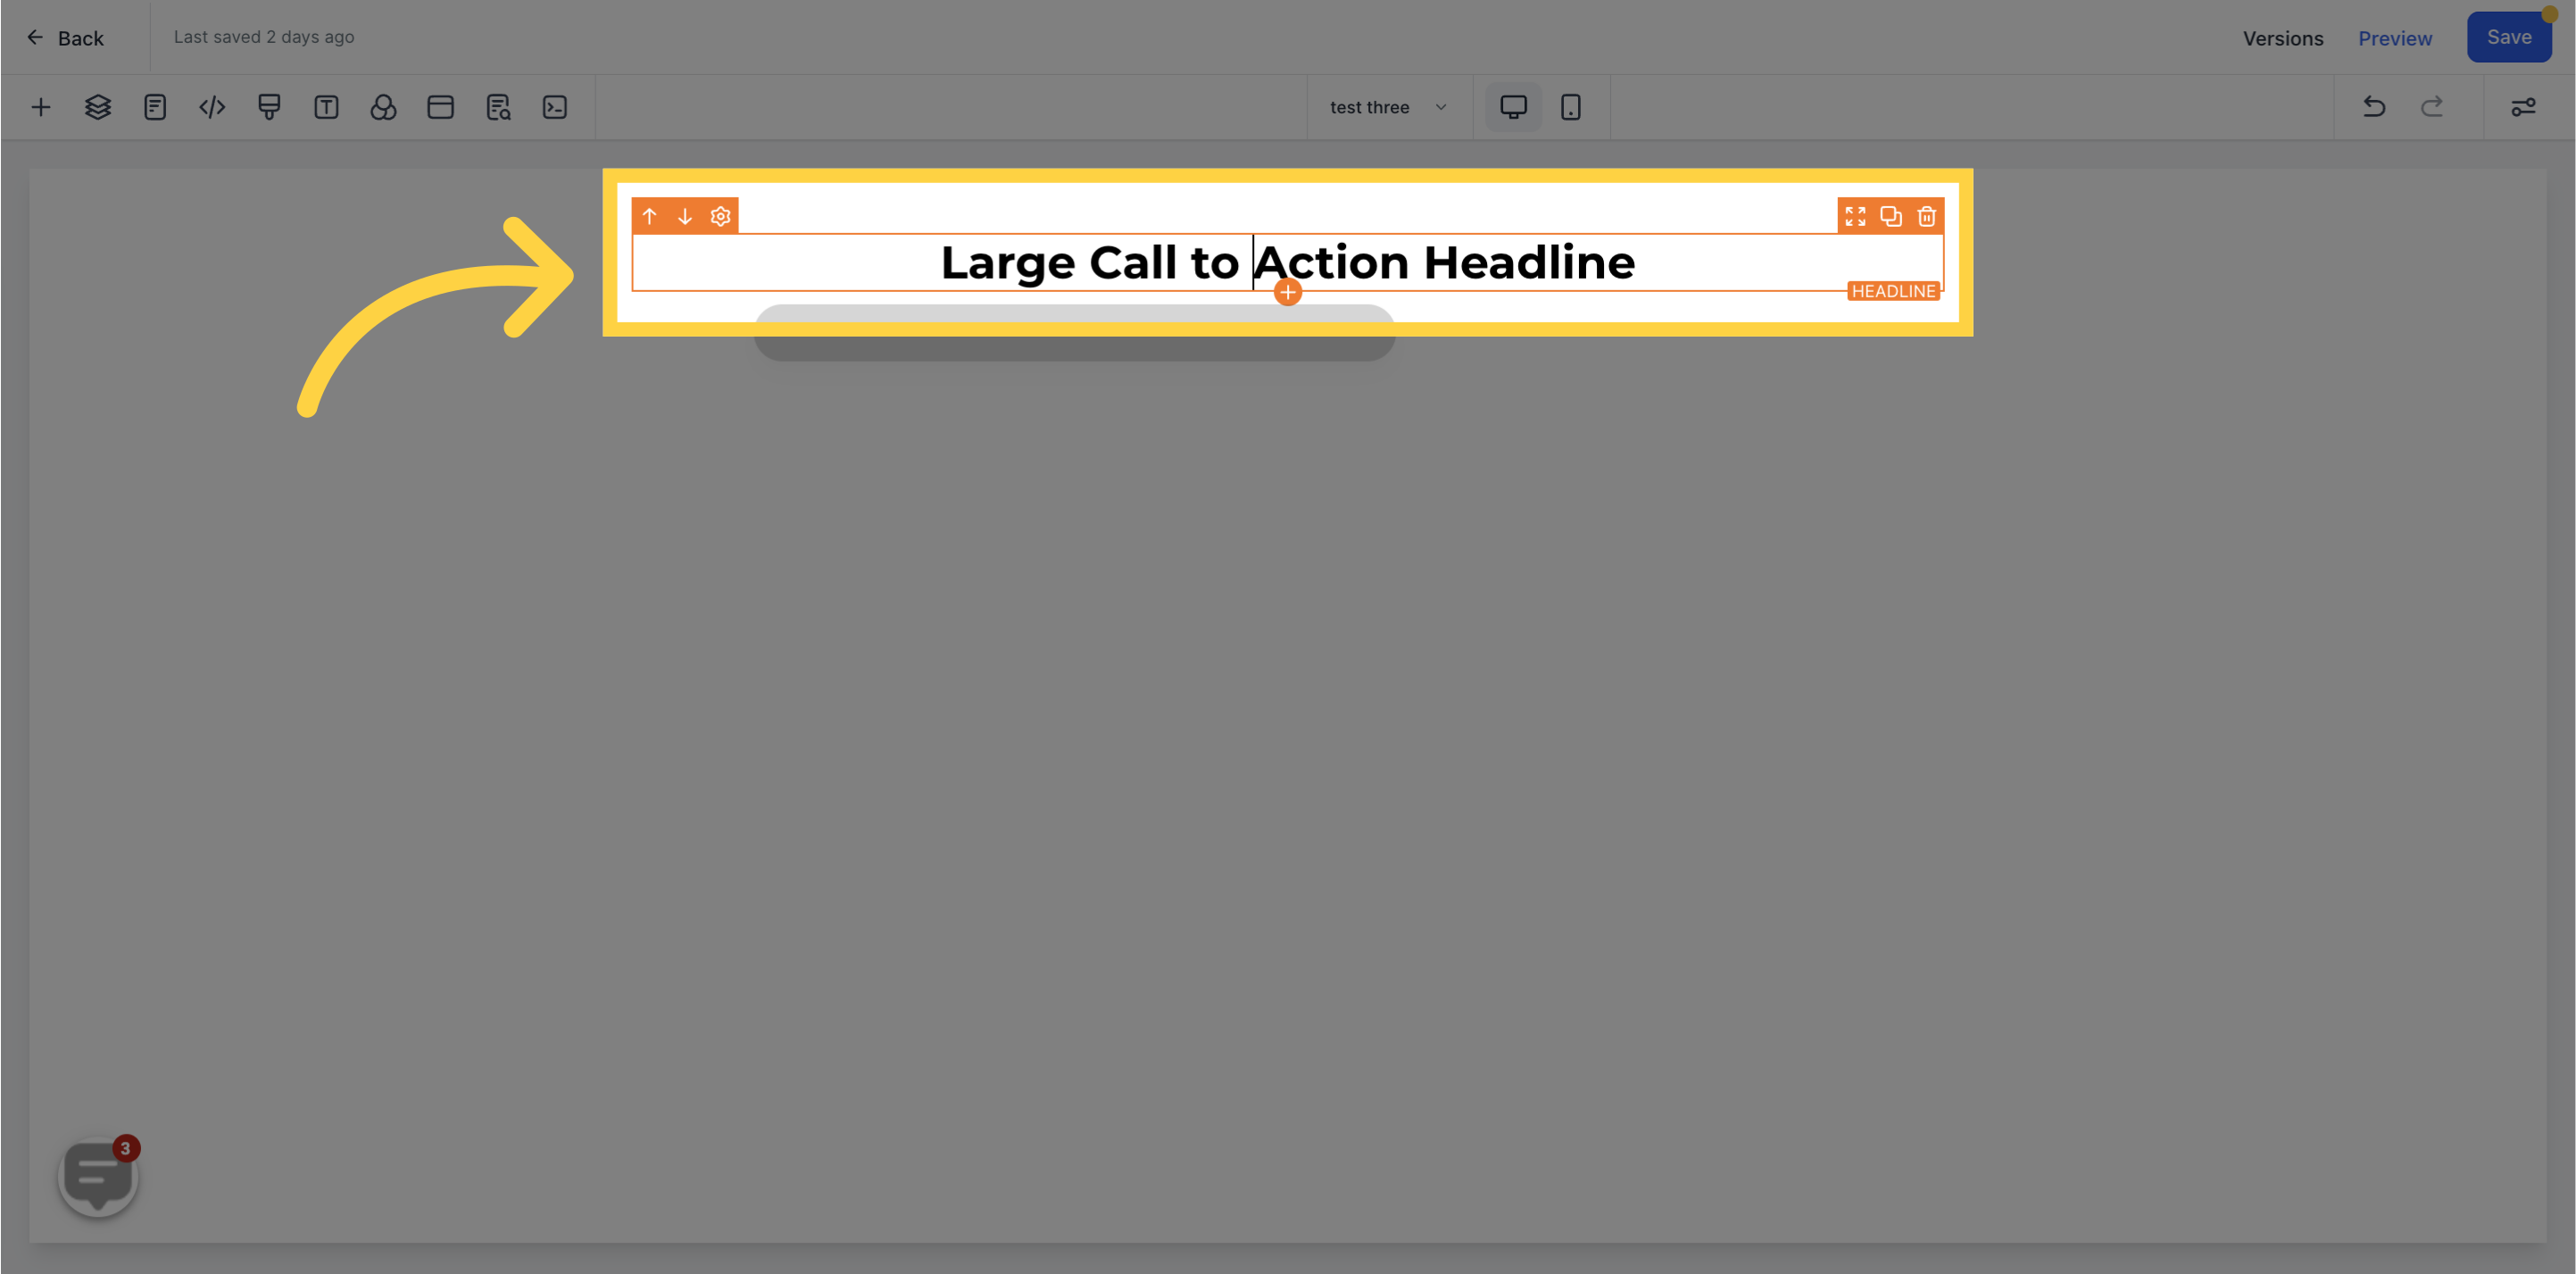
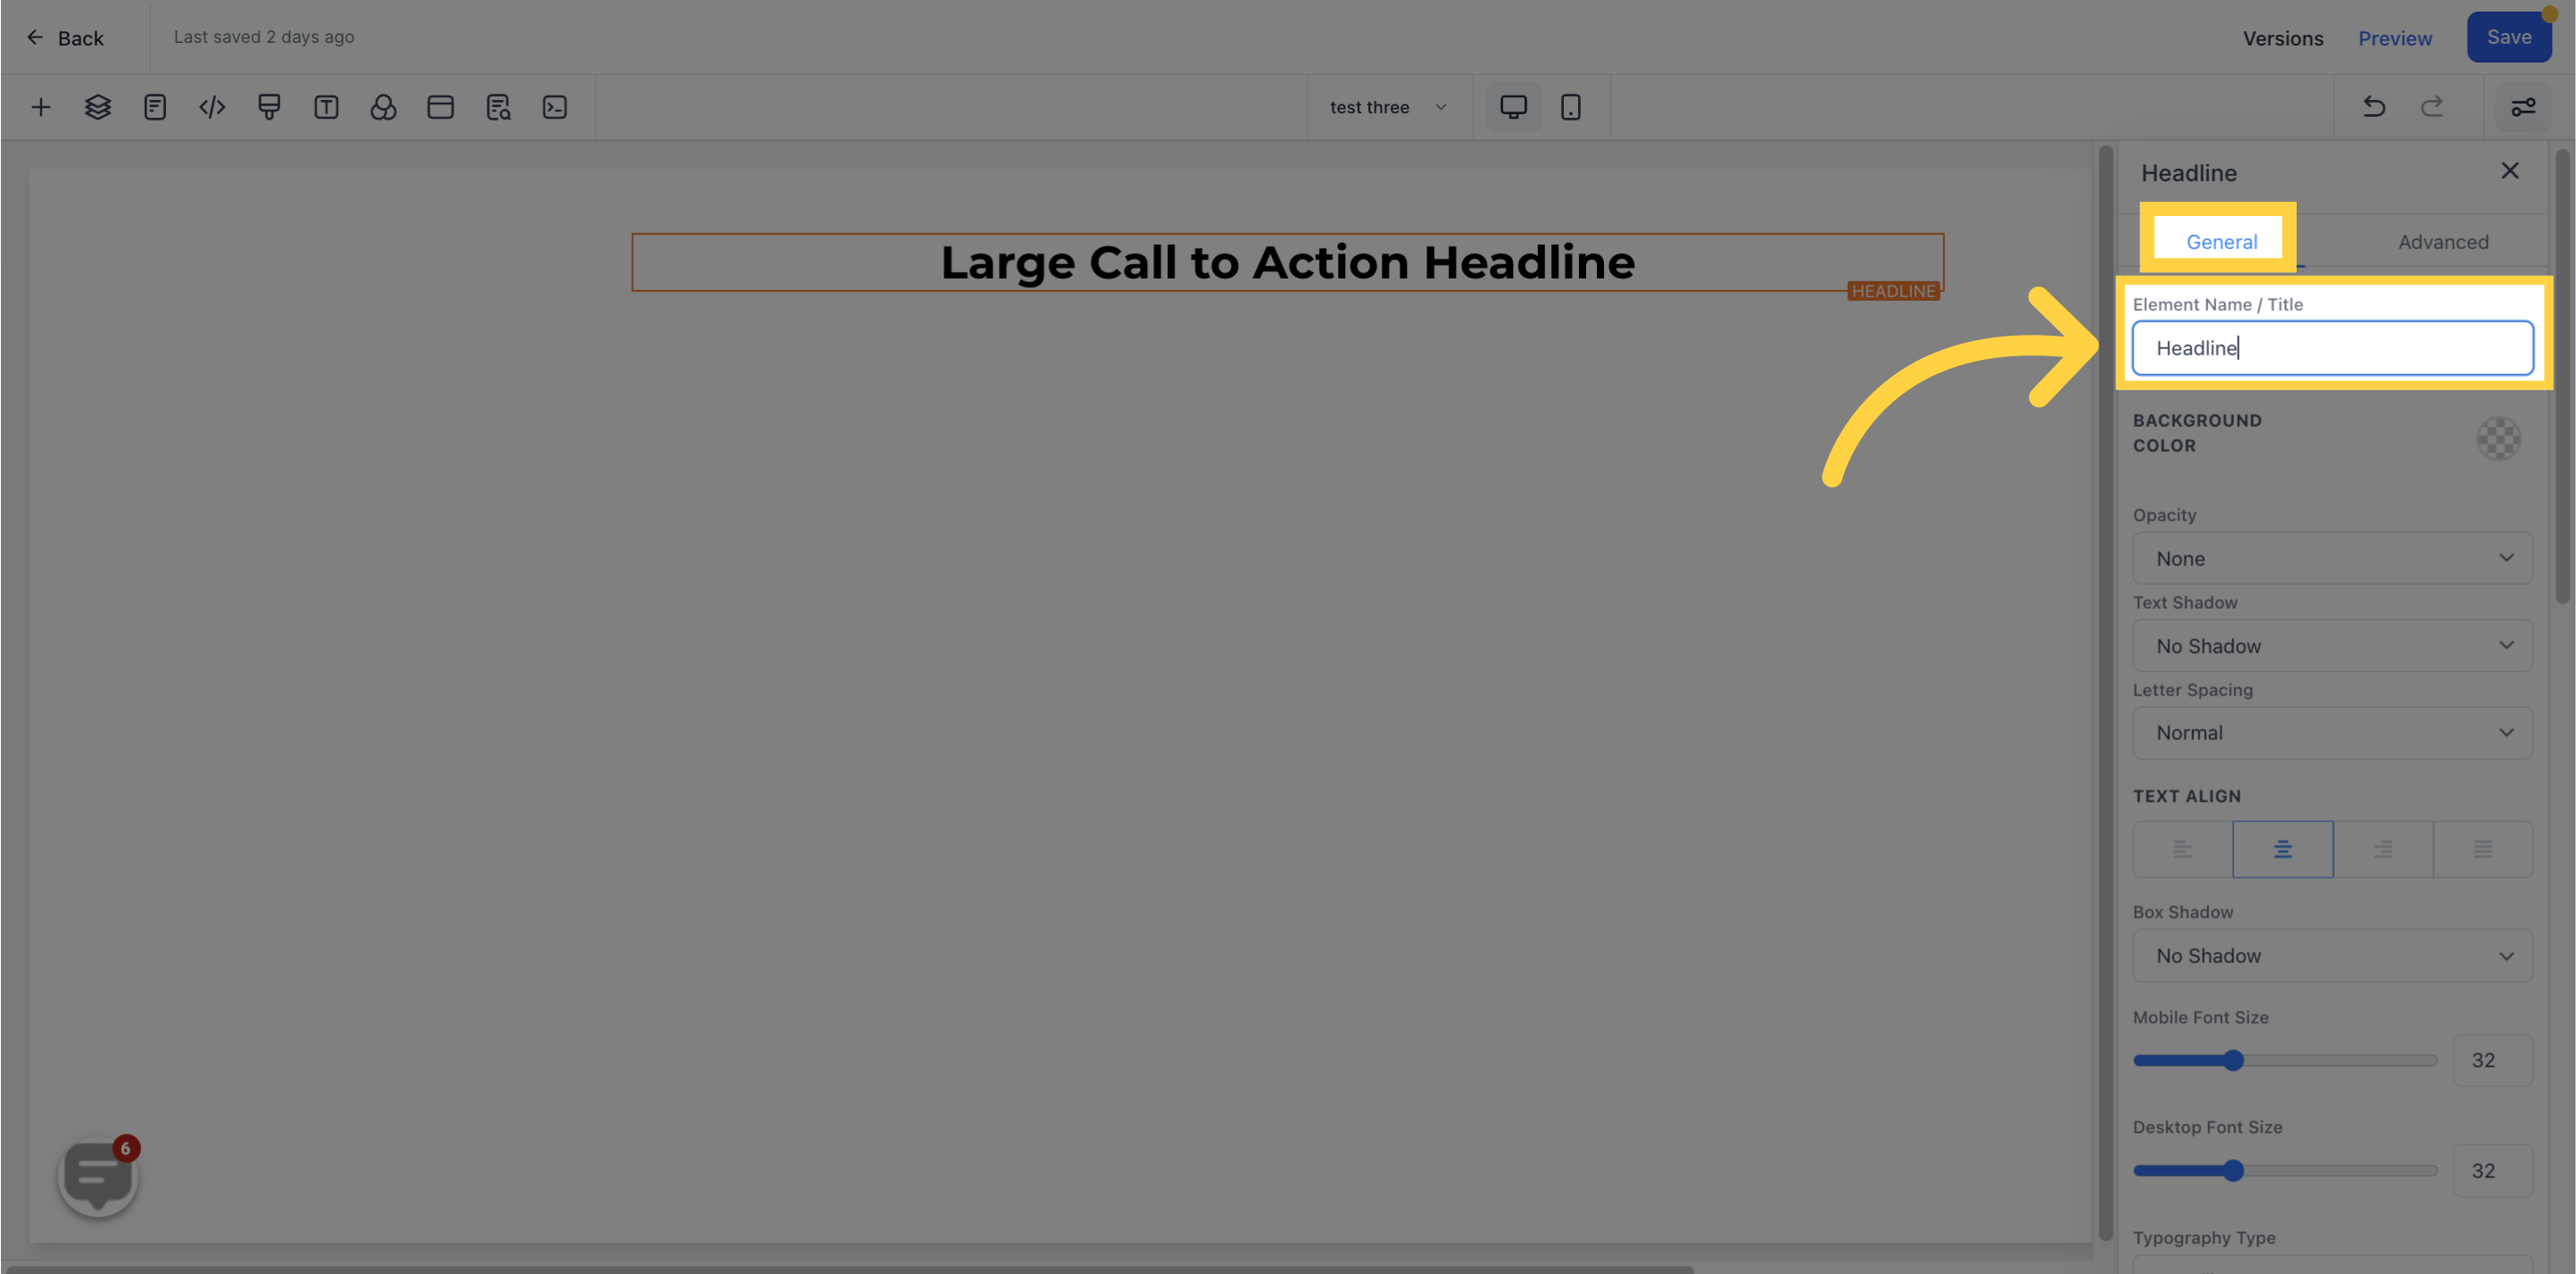
Here, you can view the default name/title of the Edit option currently being worked on. It is up to you whether to keep it as is or give it a new name.
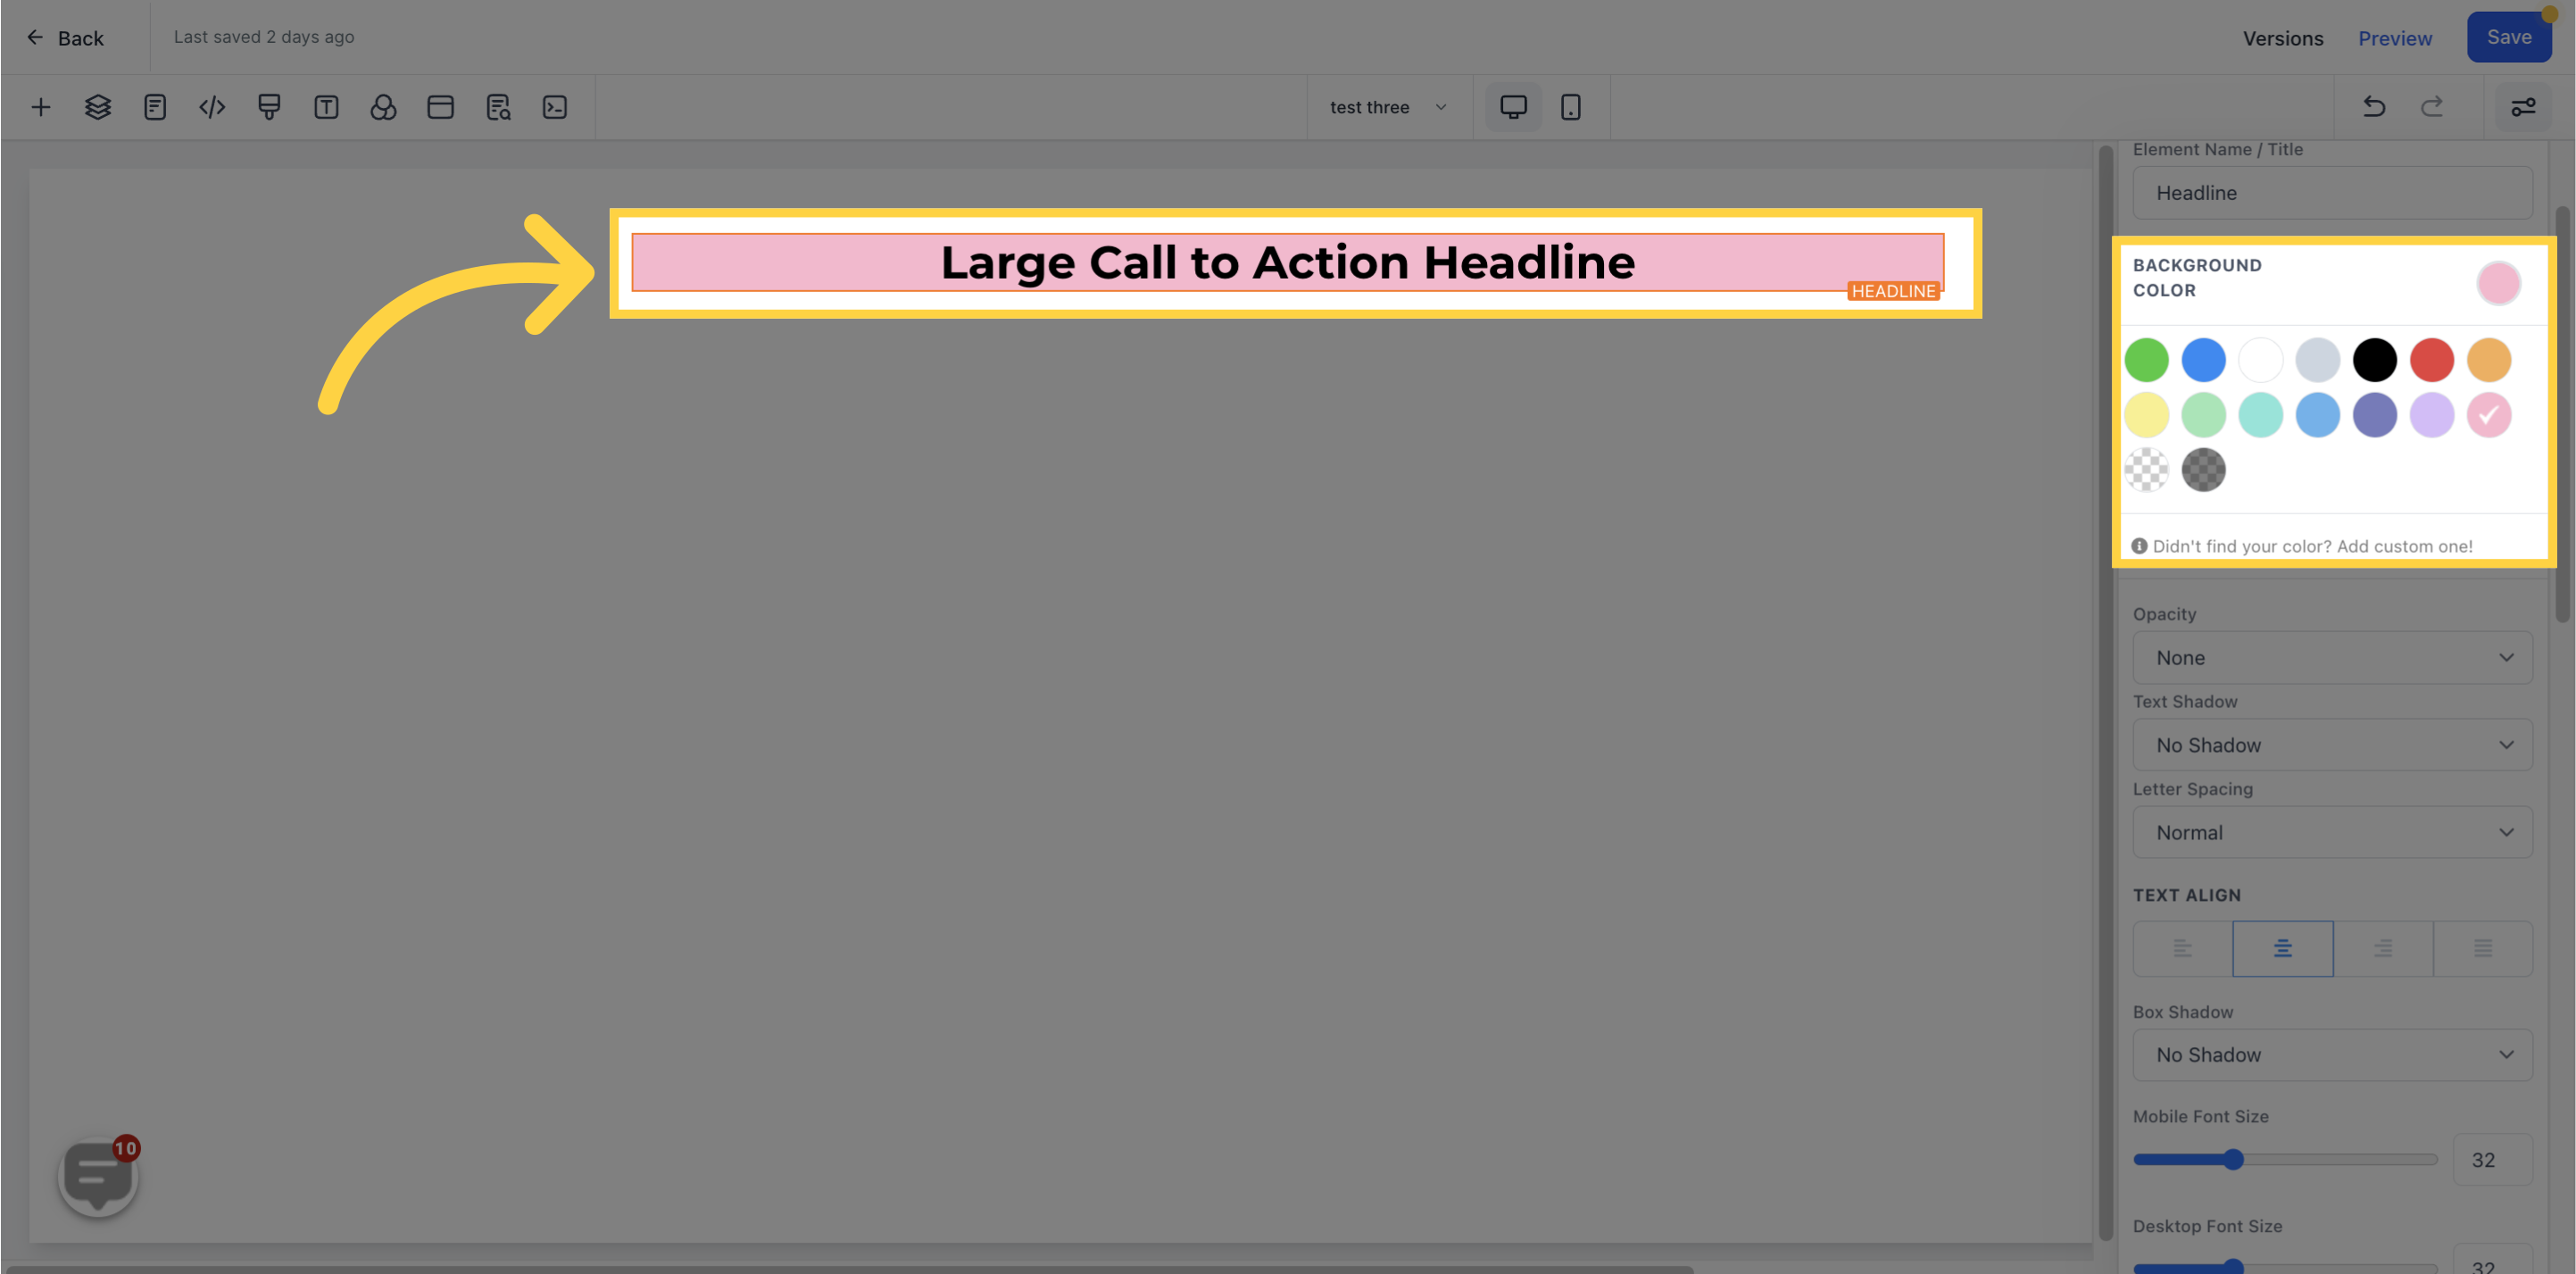
To change the background color of your content, simply click on the content and select the background color option. If the color you want is not available, you can add a custom color by typing in the color code and clicking "add color".
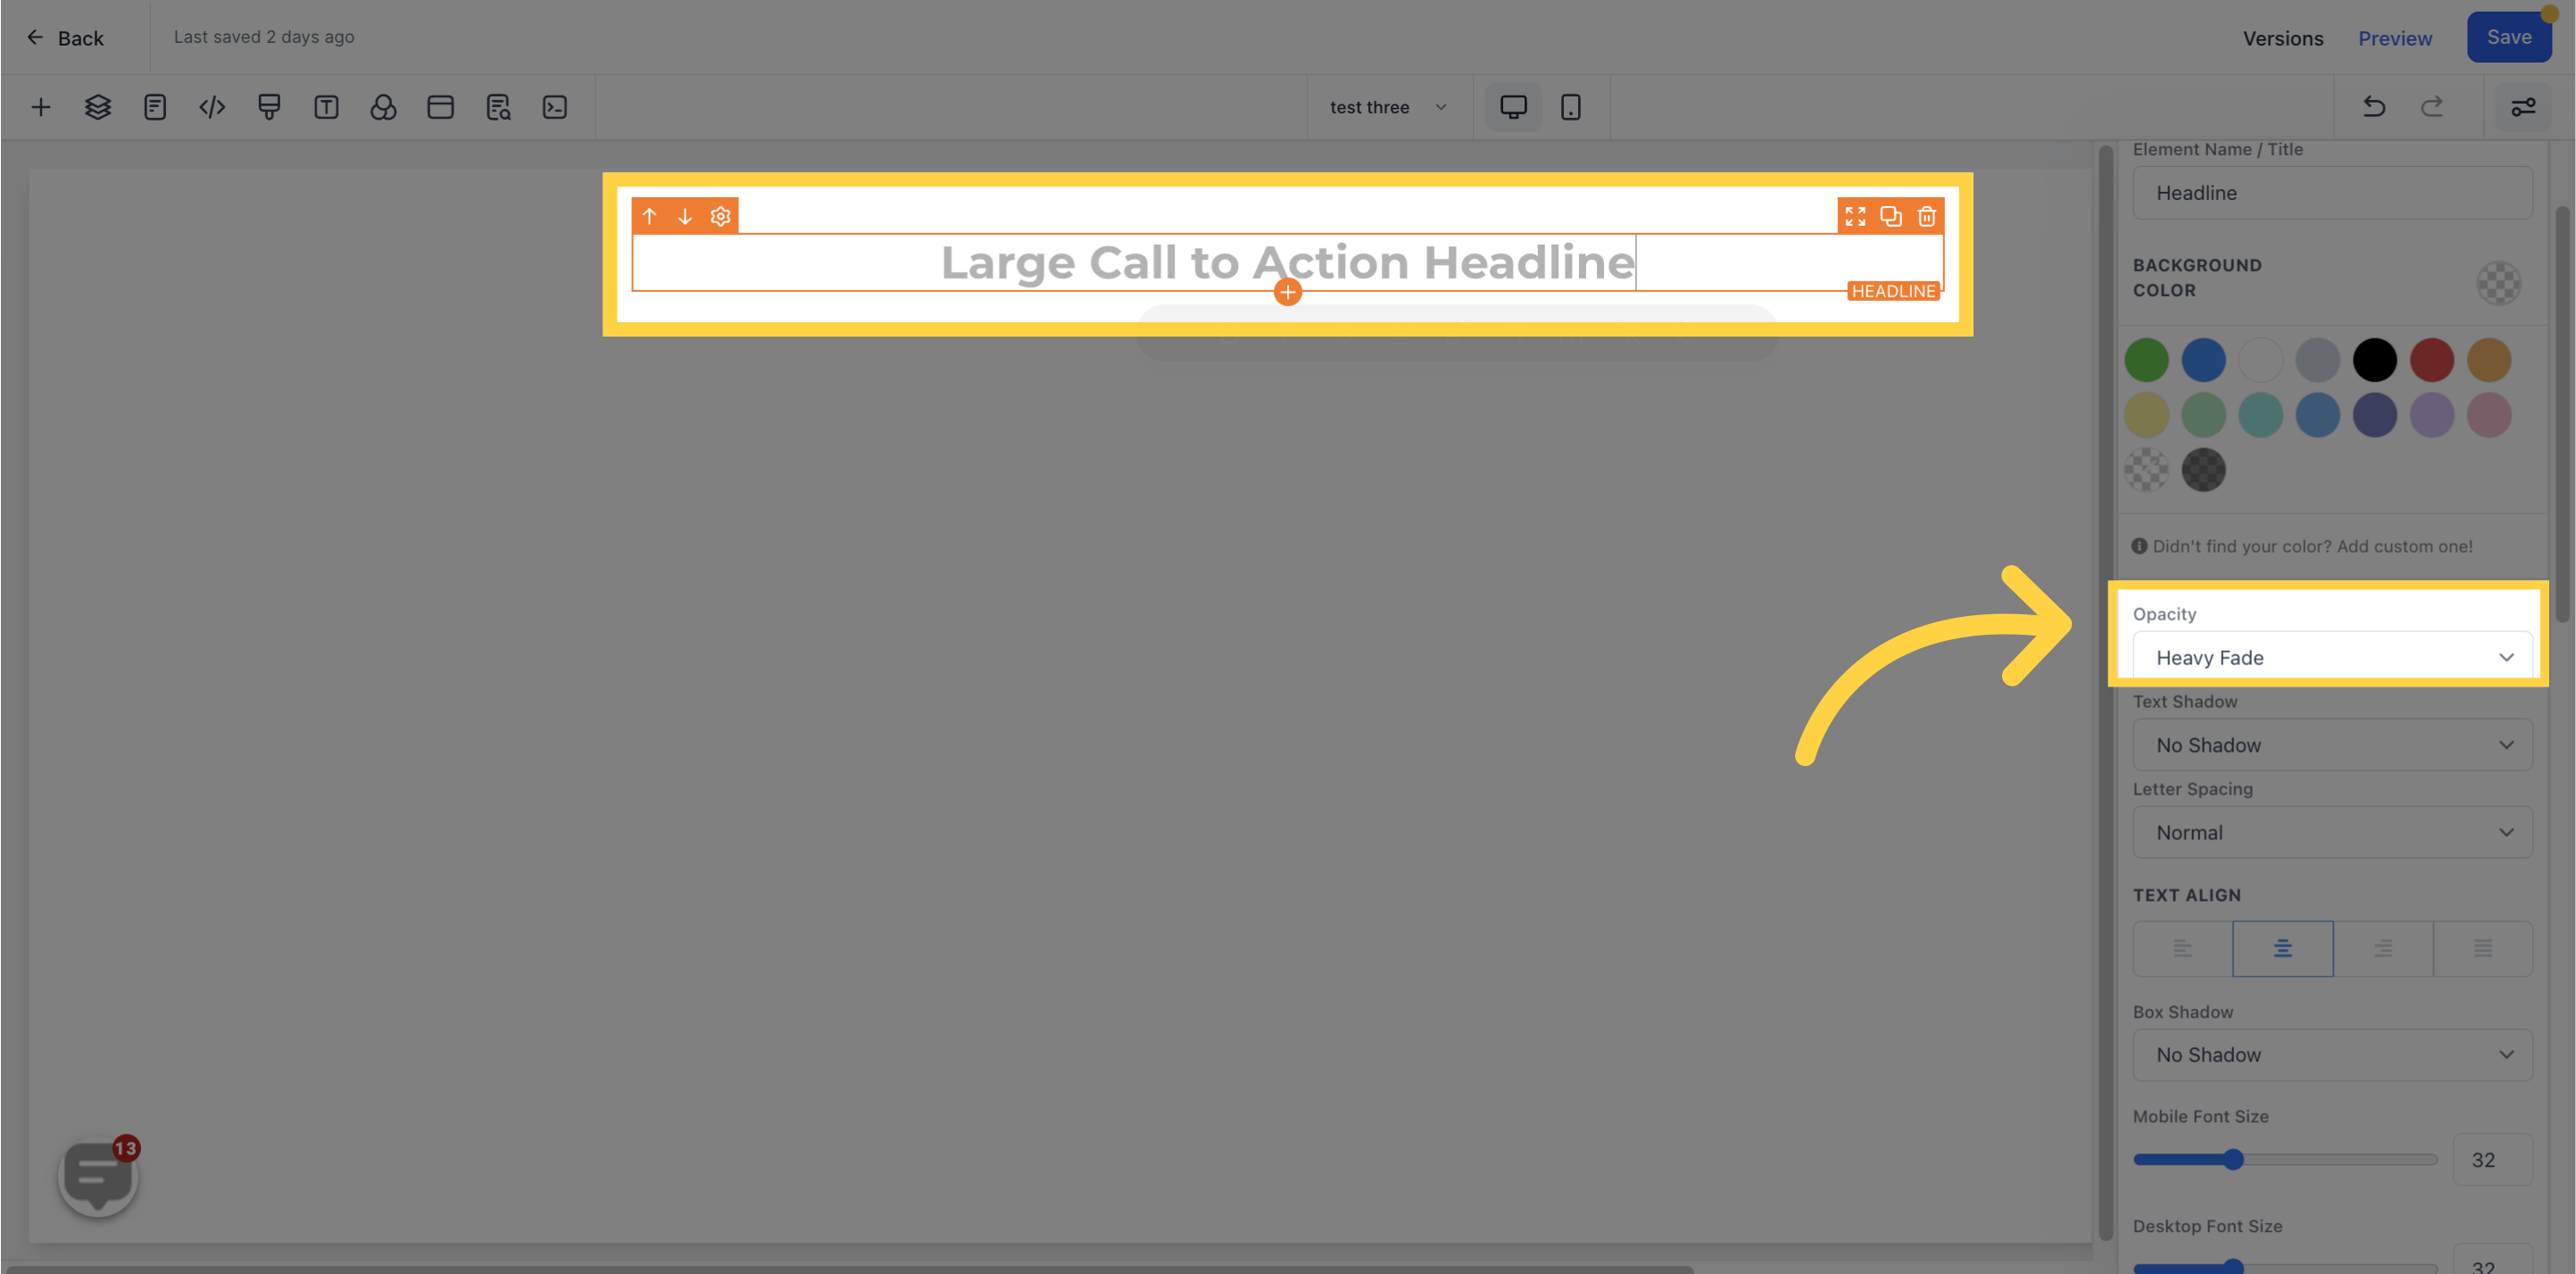
Adjust the opacity of your content by selecting the desired level of fade, ranging from None to Heavy.
Add shadows to your text/content by adjusting the thickness of the shadow.

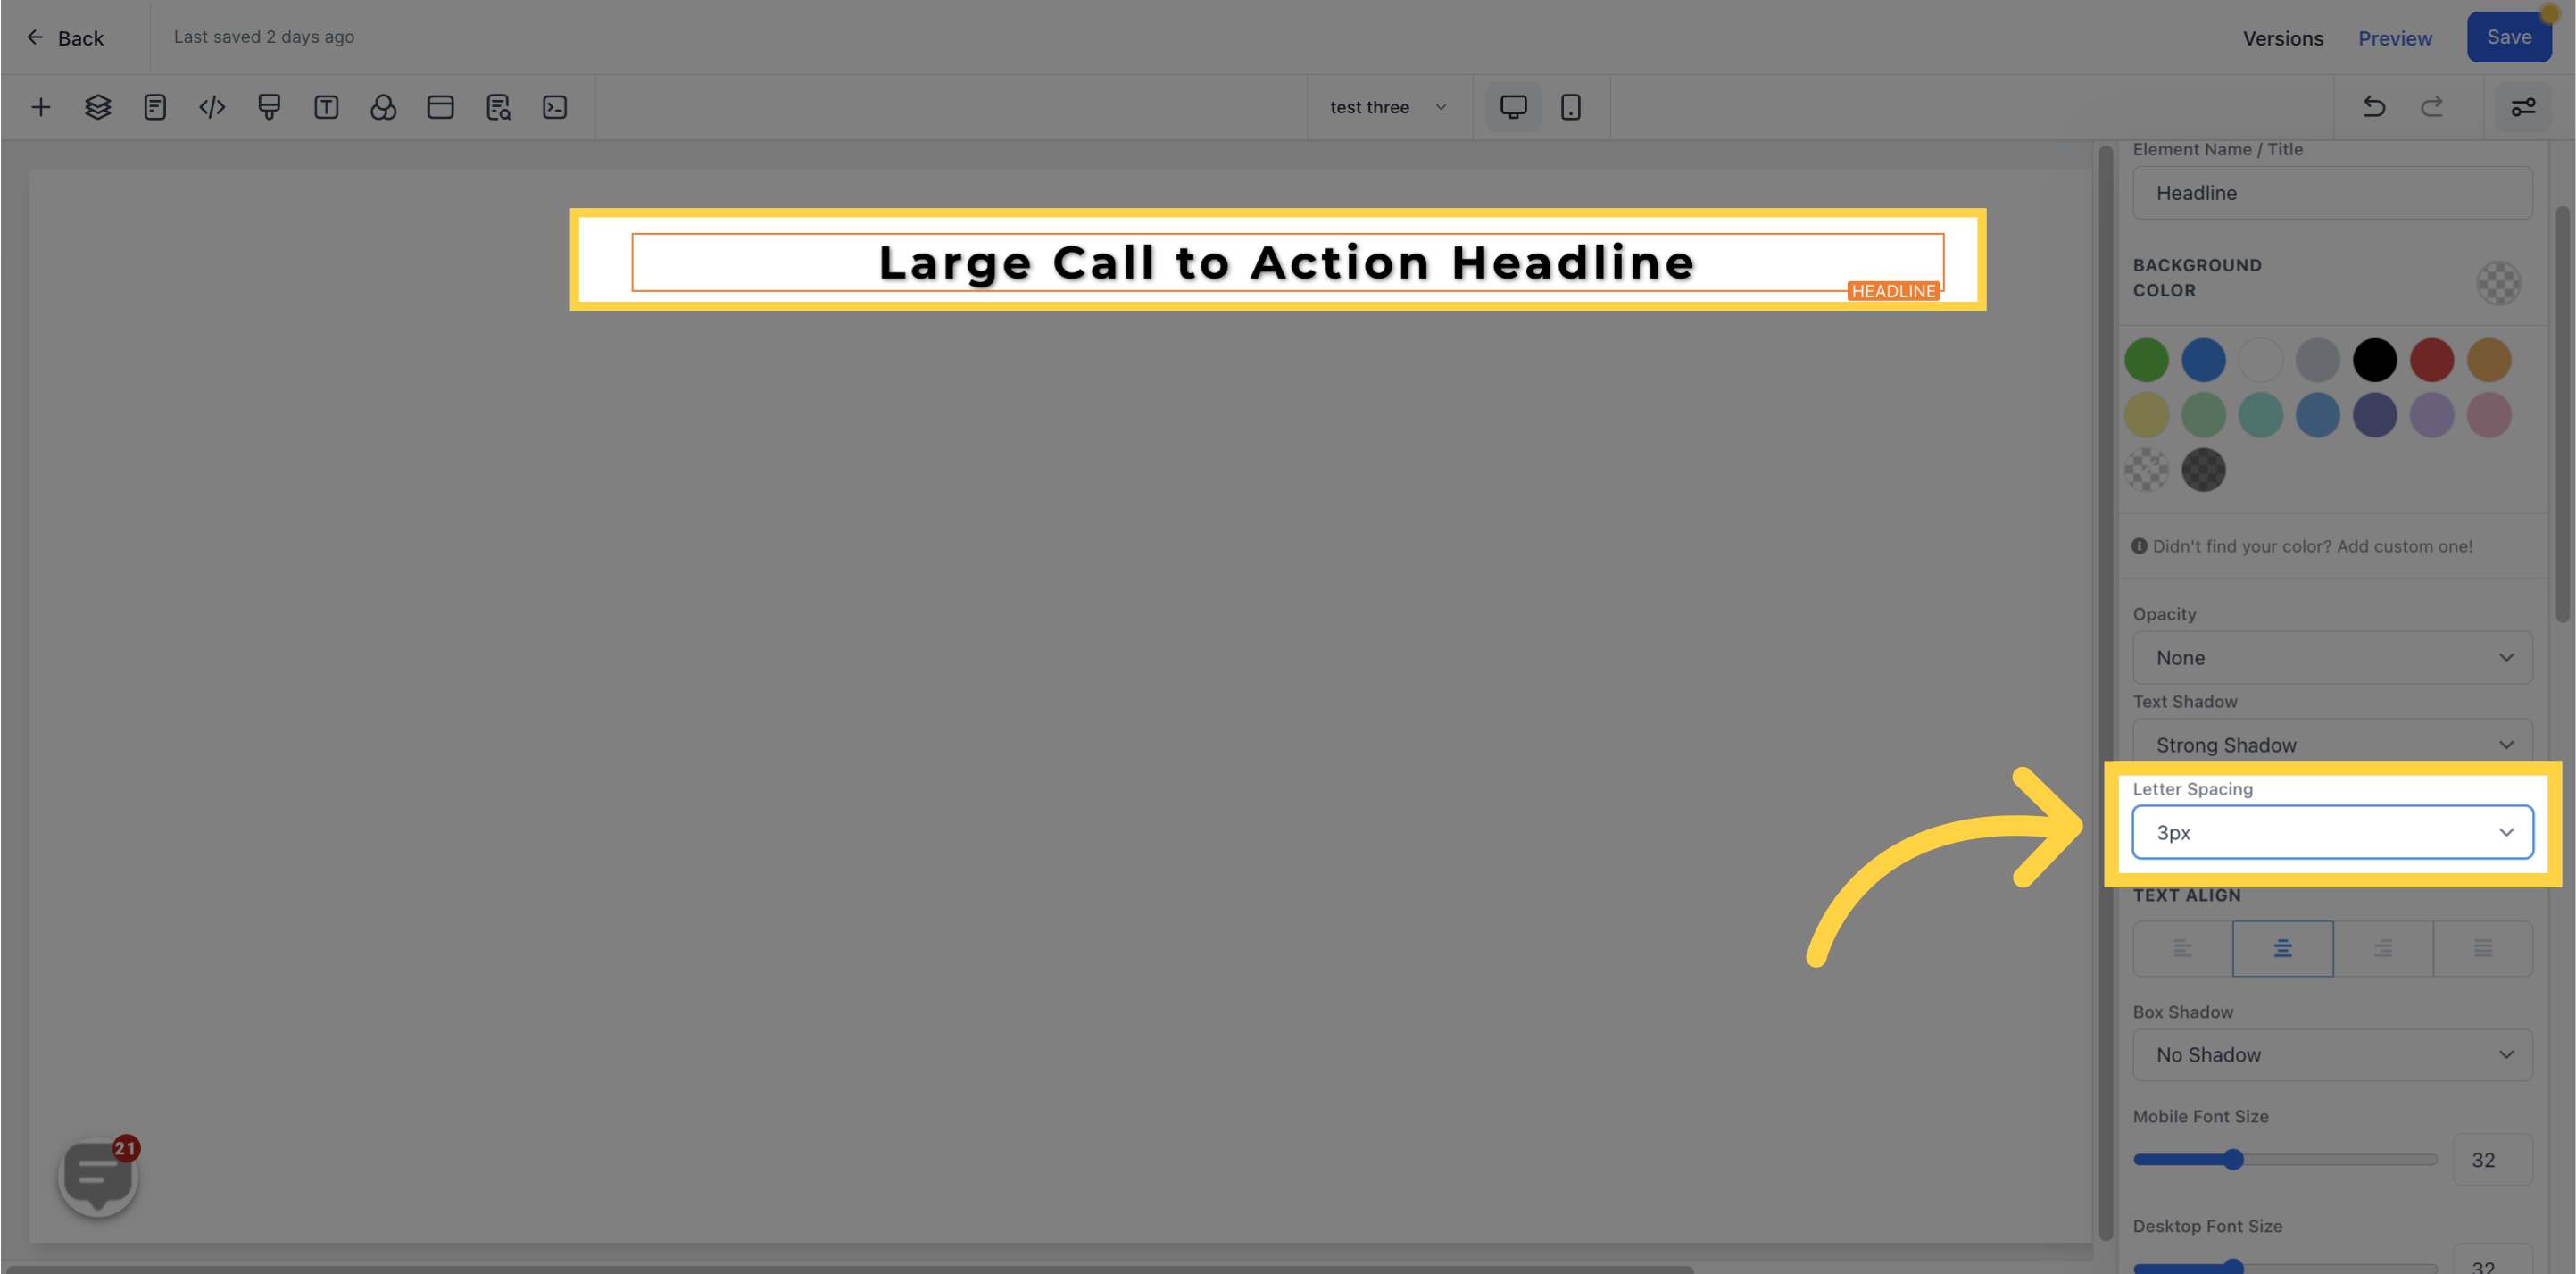
Increase or decrease the spacing between letters with the Letter Spacing option.
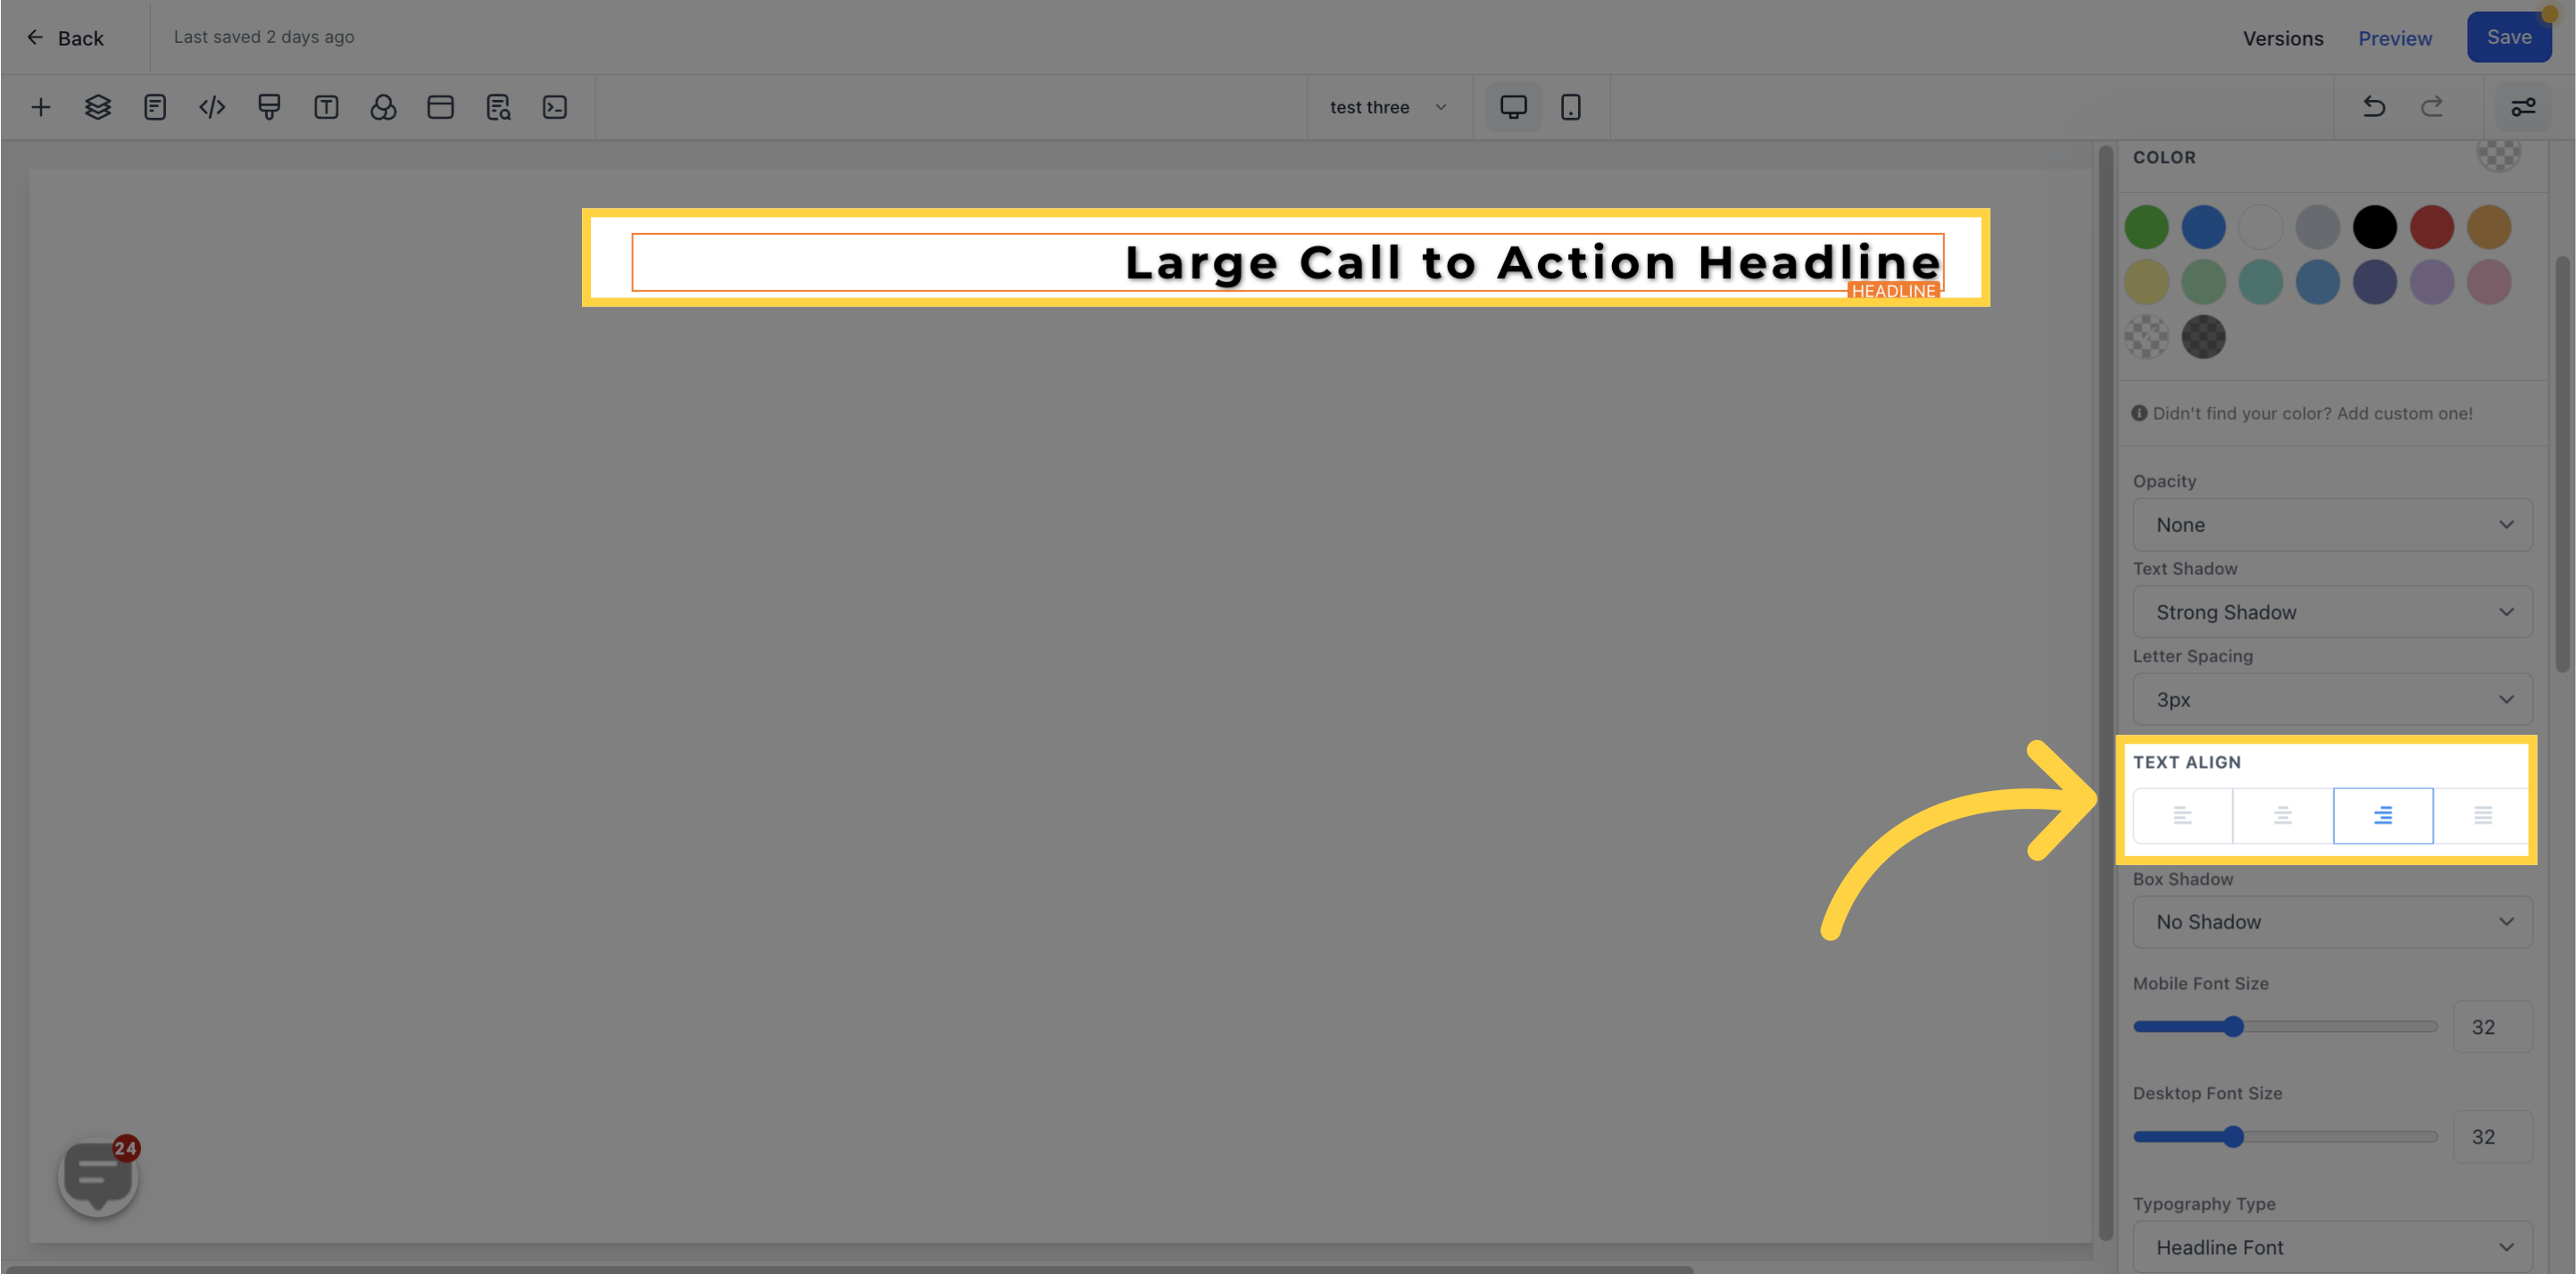
Align your text/content to the left, center, right, or justify it as desired with the Text Align option.
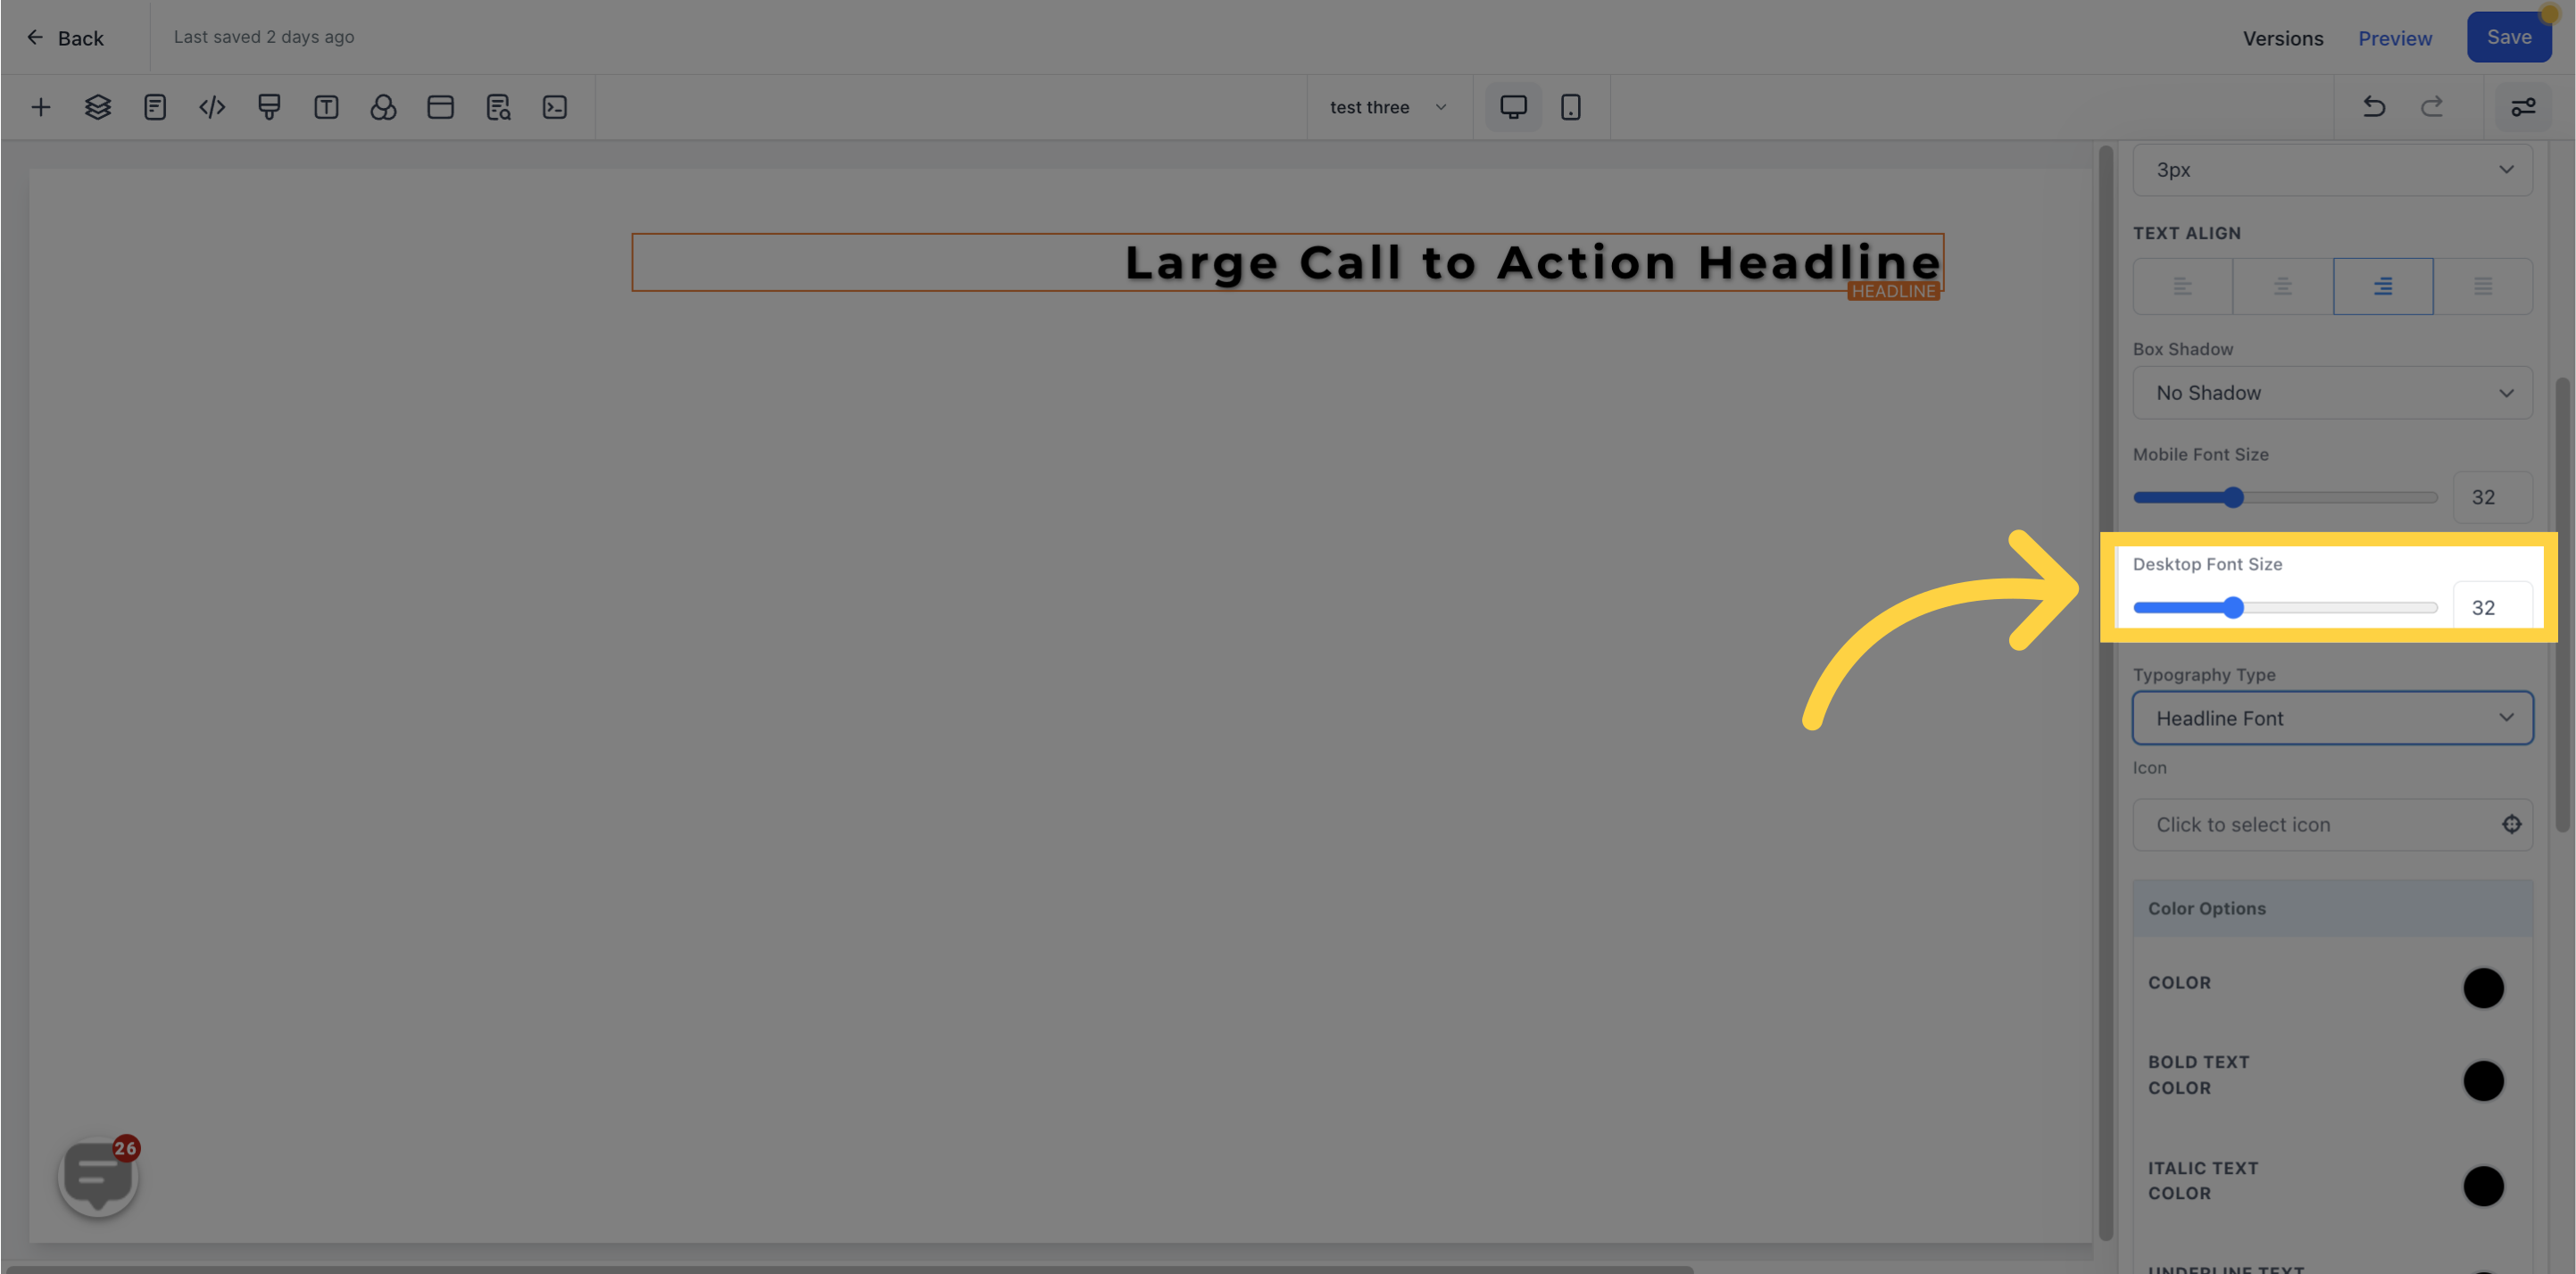
Adjust the font size of your text/content for desktop and mobile with the size bars.
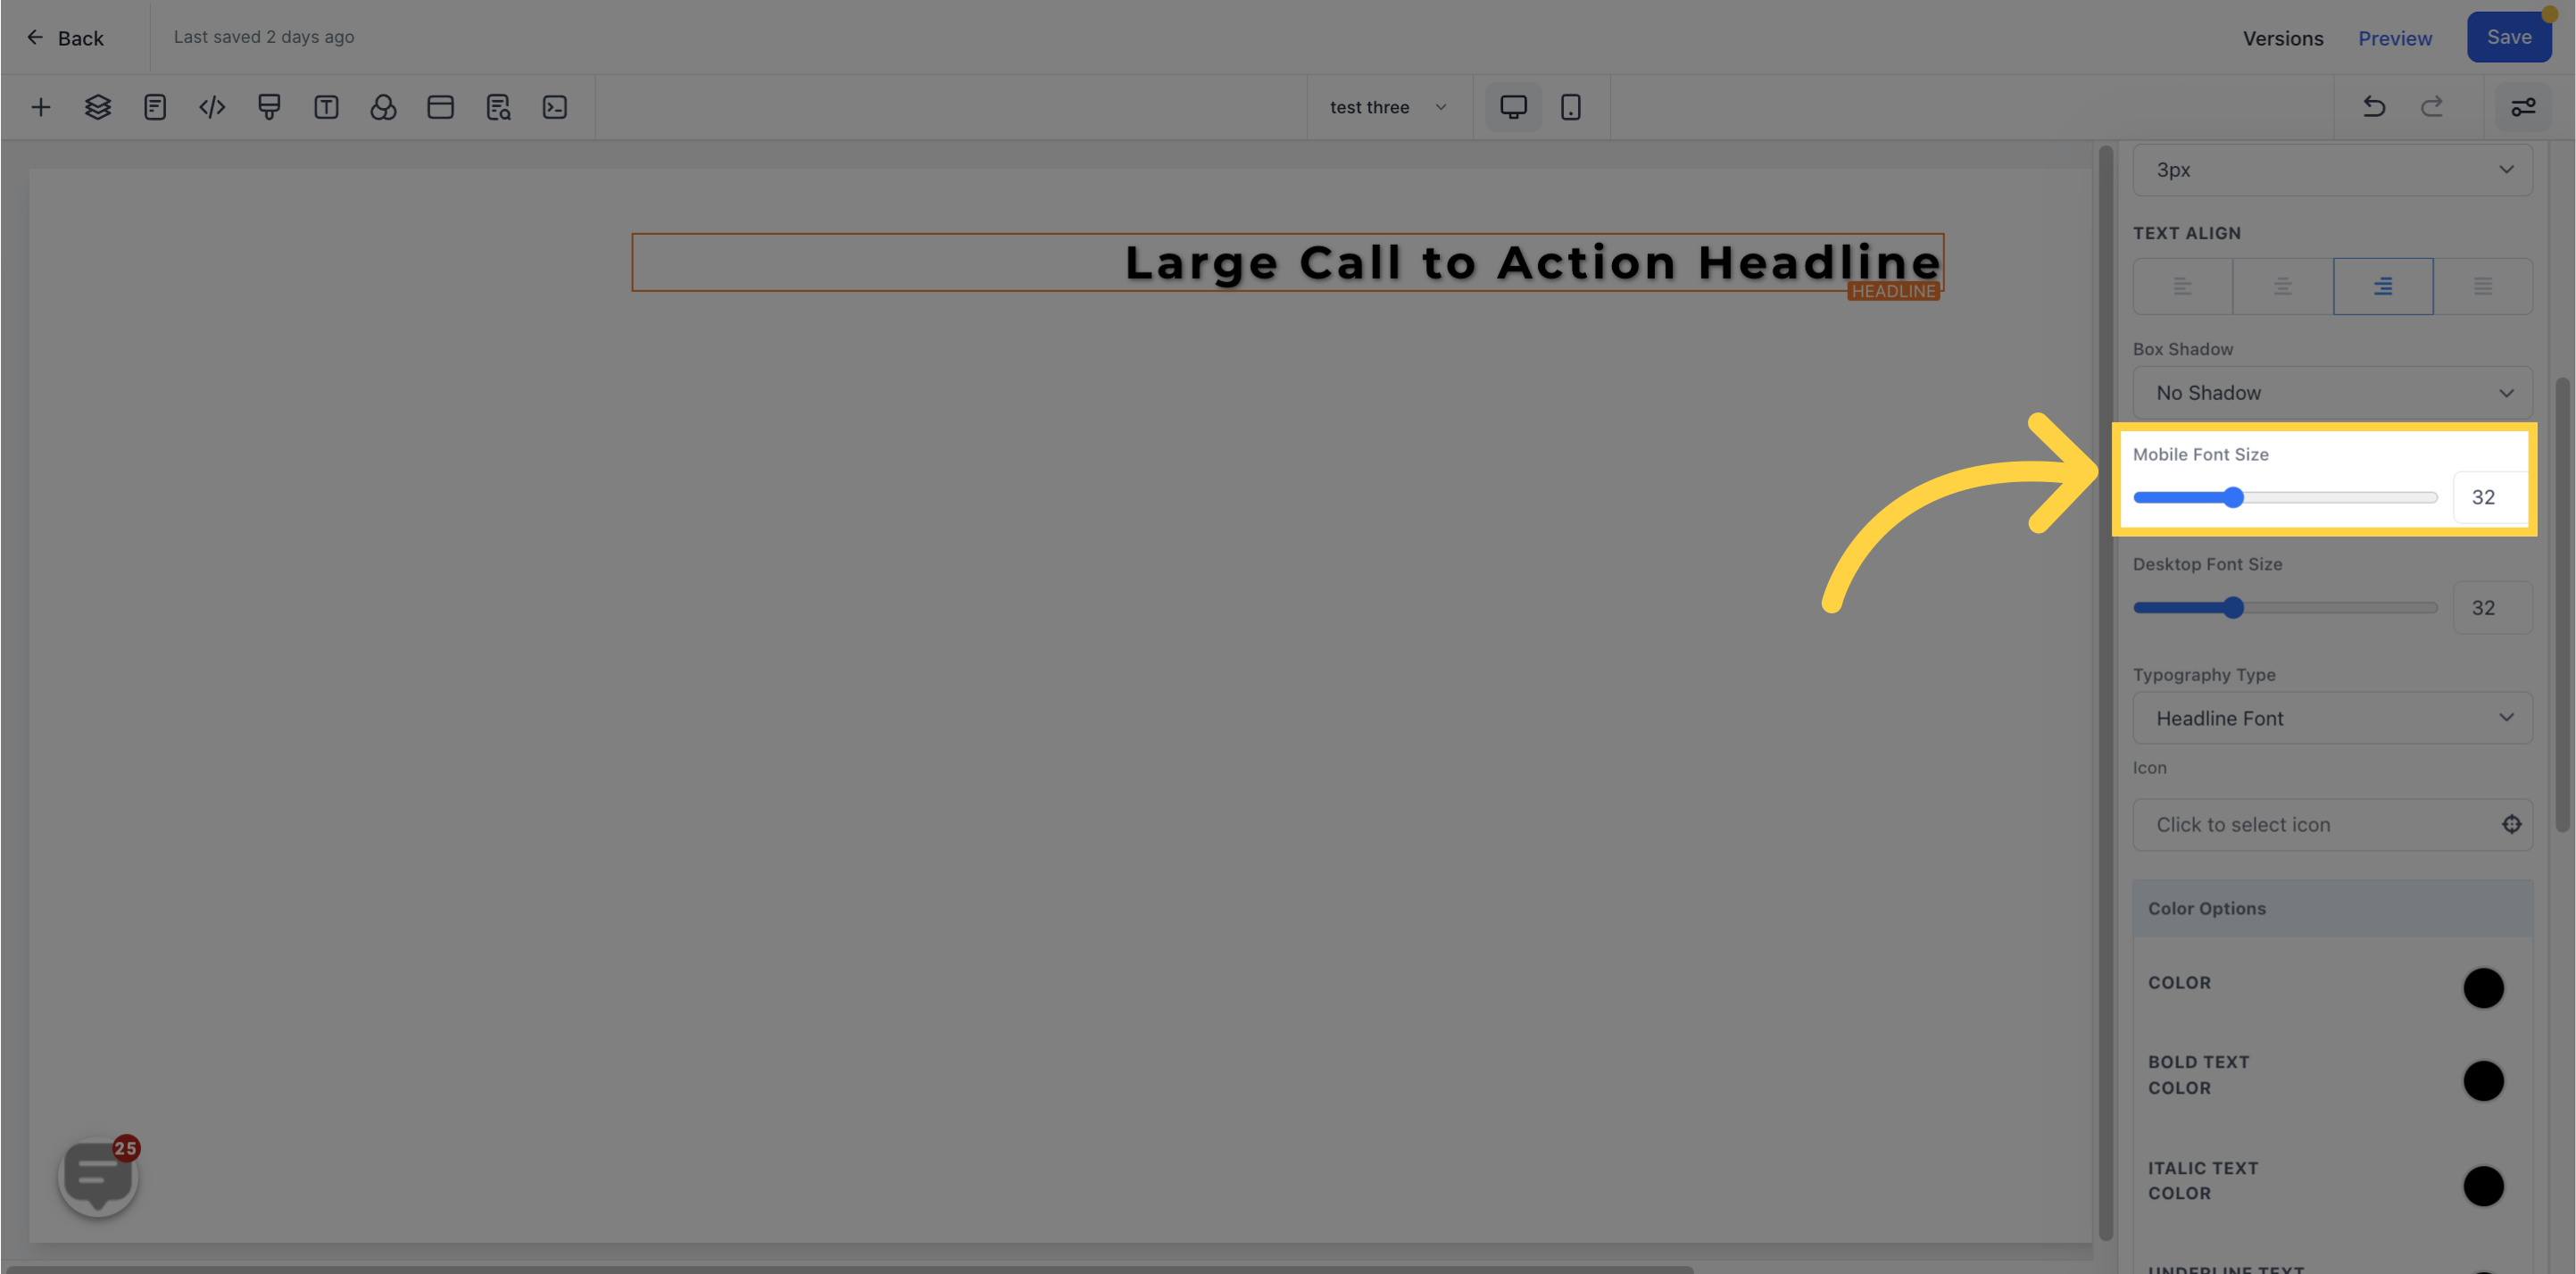
Adjust the font size of your text/content for desktop and mobile with the size bars.
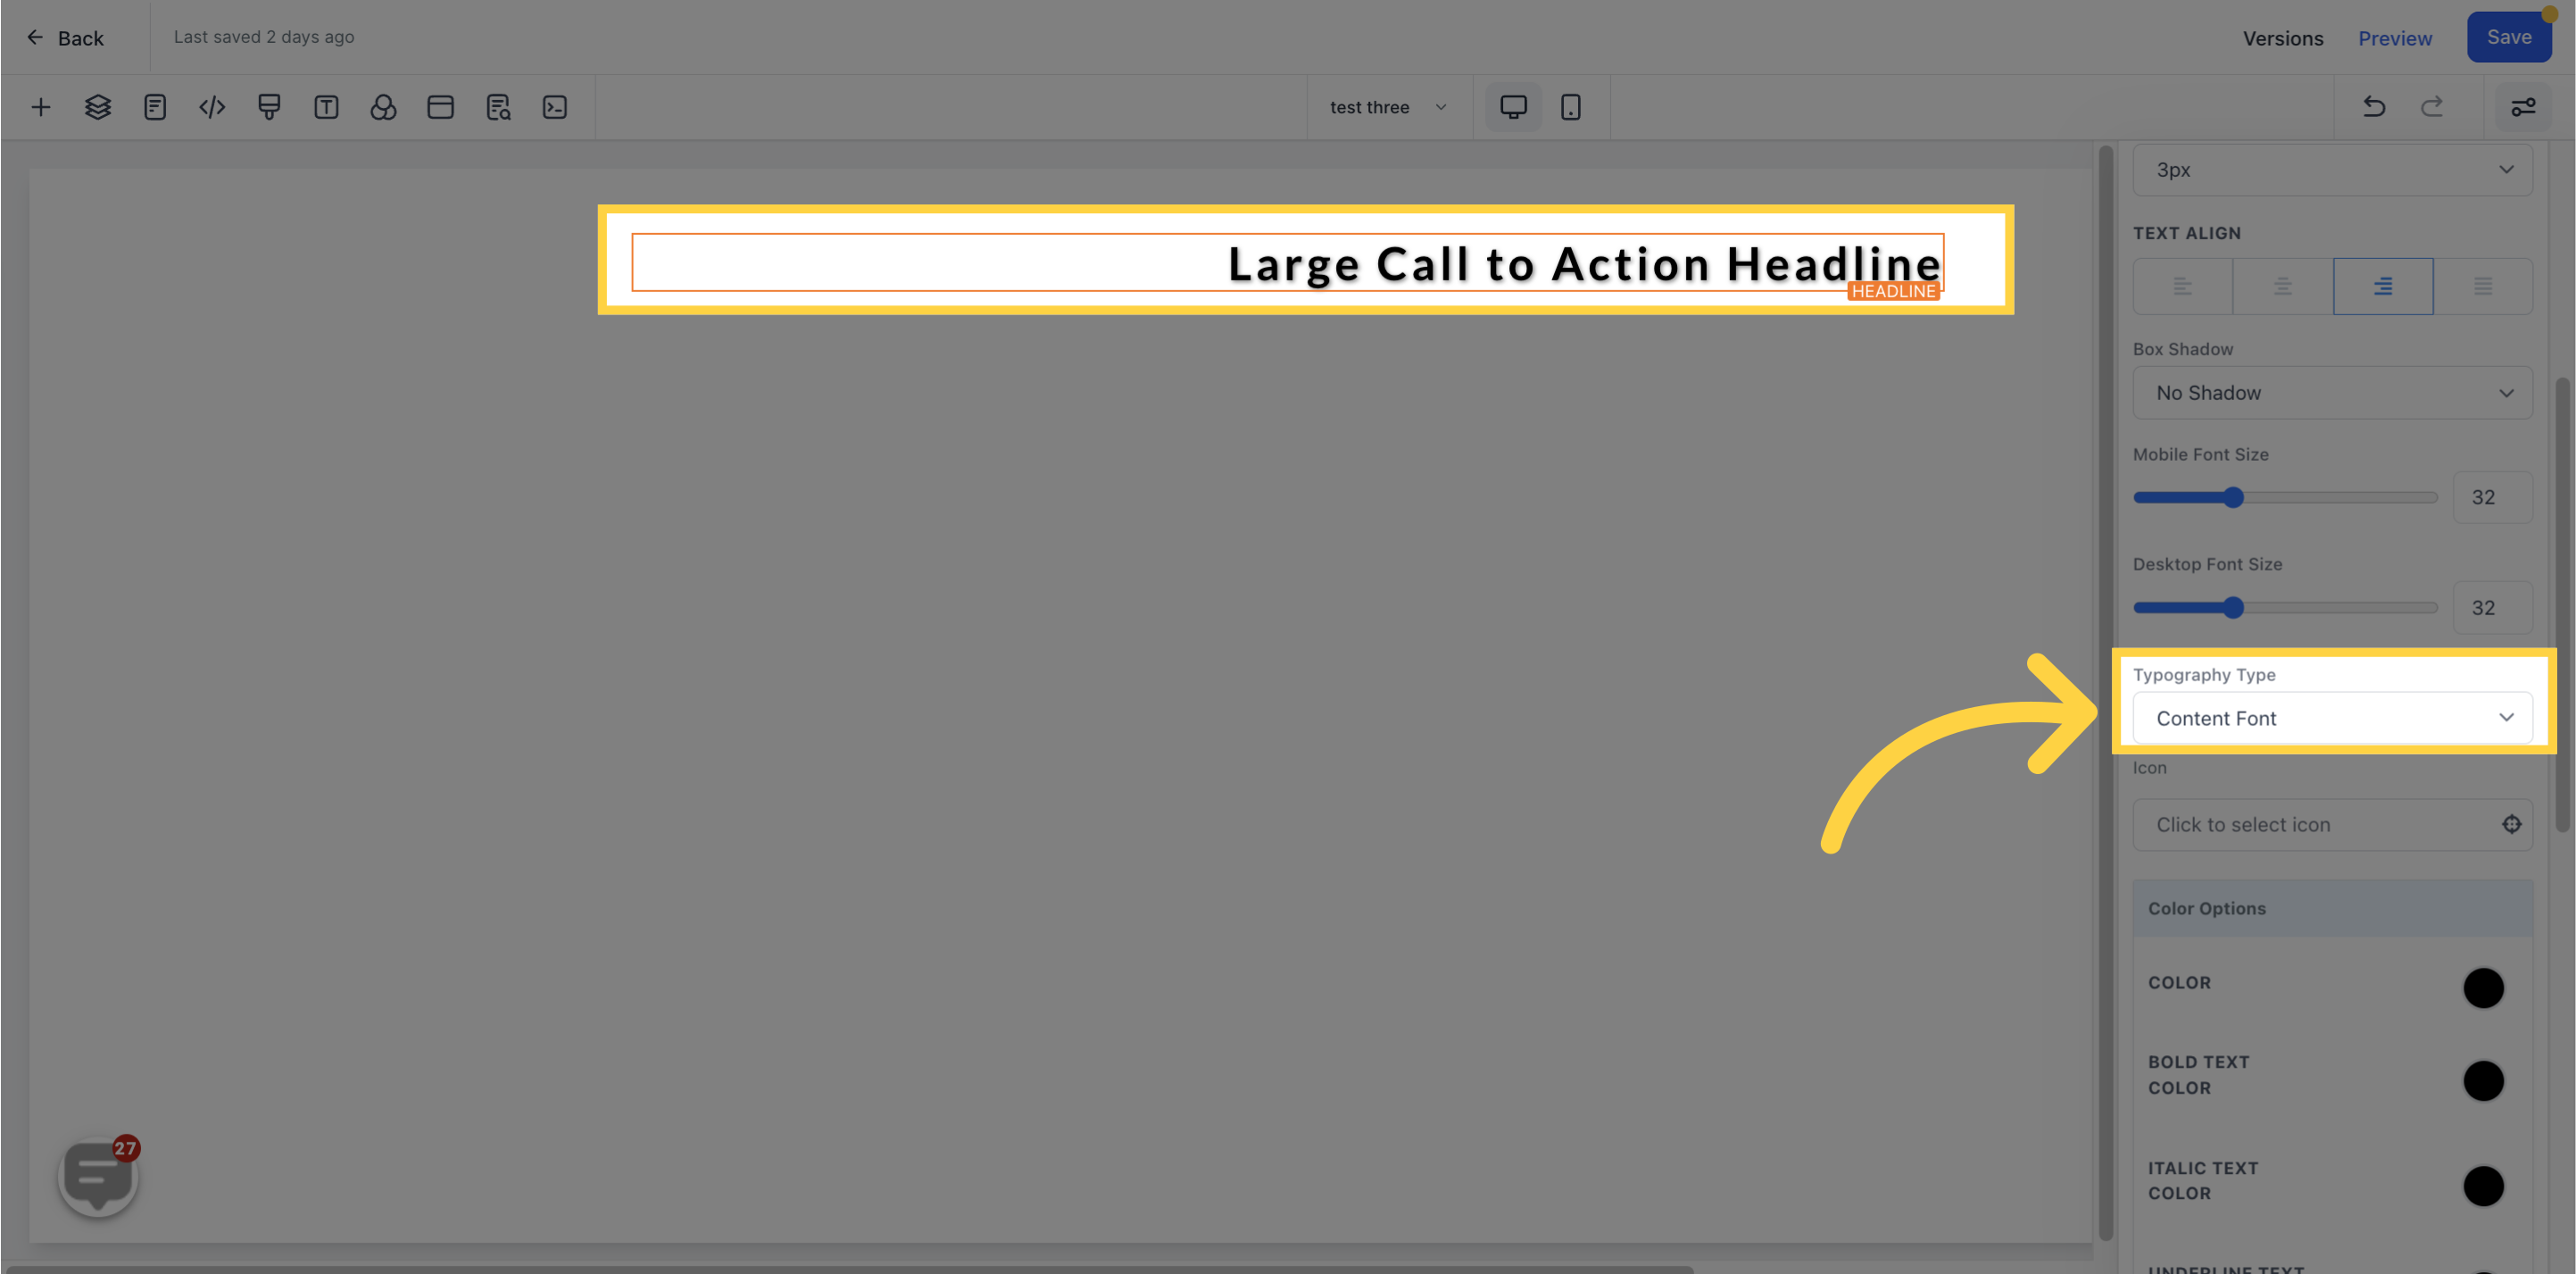
Edit the font of your text/content with the Typography Type option.
Add icons to your page by selecting the desired icon or typing in the search bar for specific options.
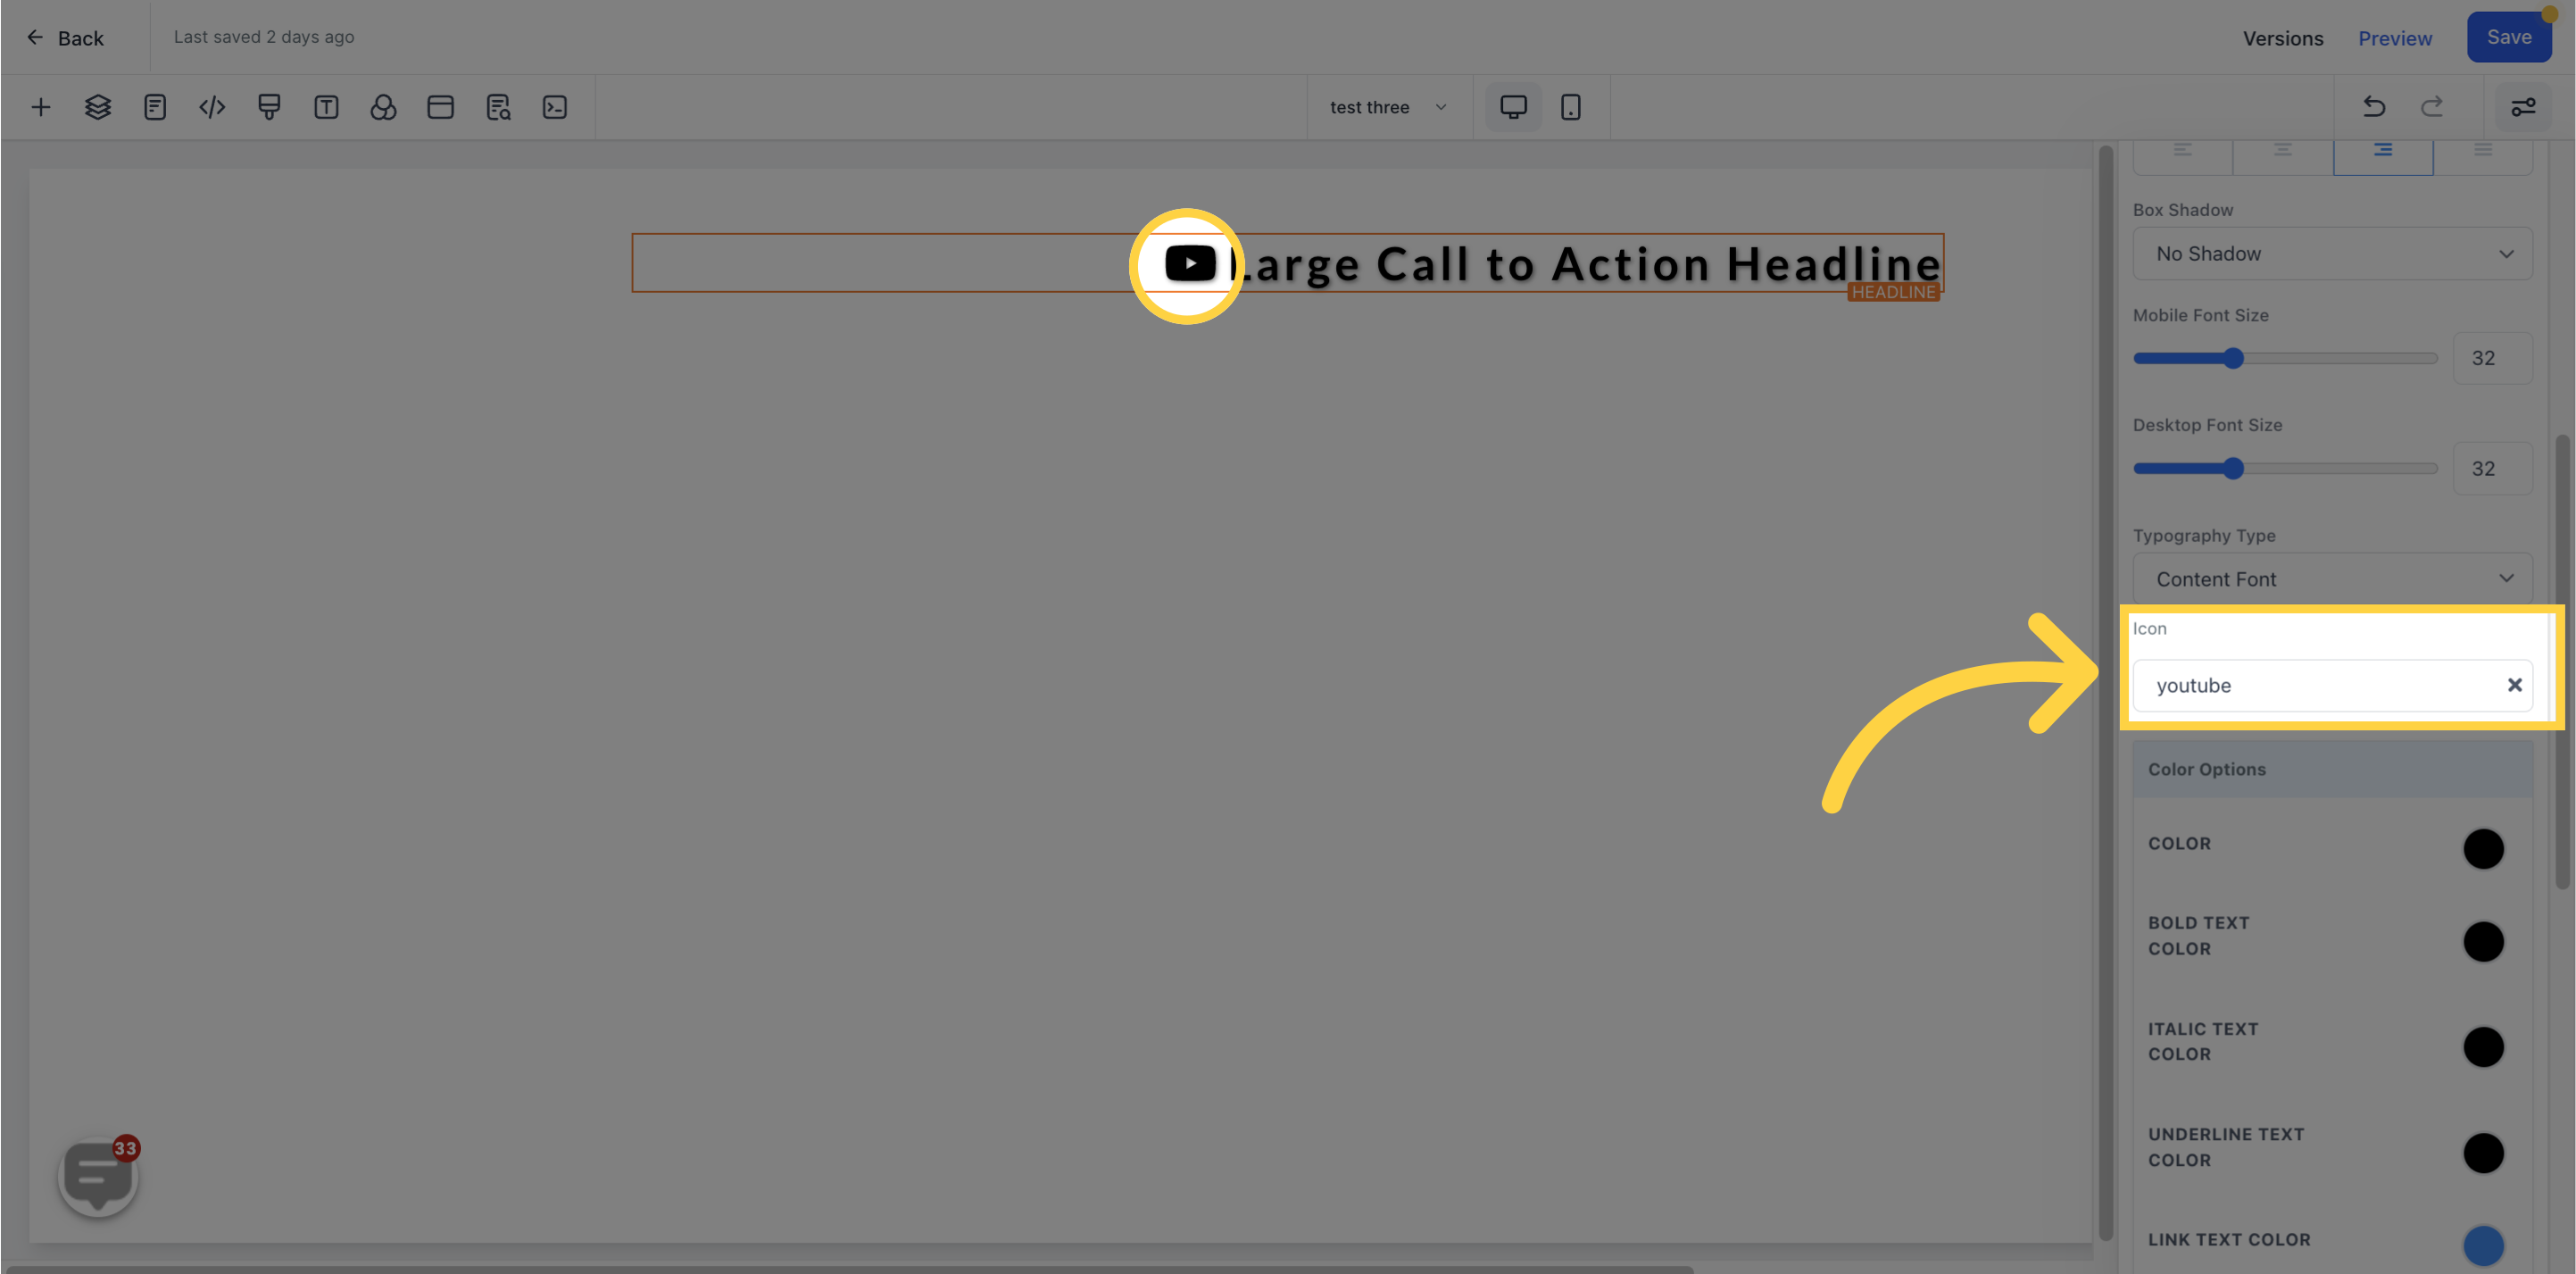
Customize the color of your text, including bold, italicized, underlined, and linked text, as well as icons, with the Color Options feature.
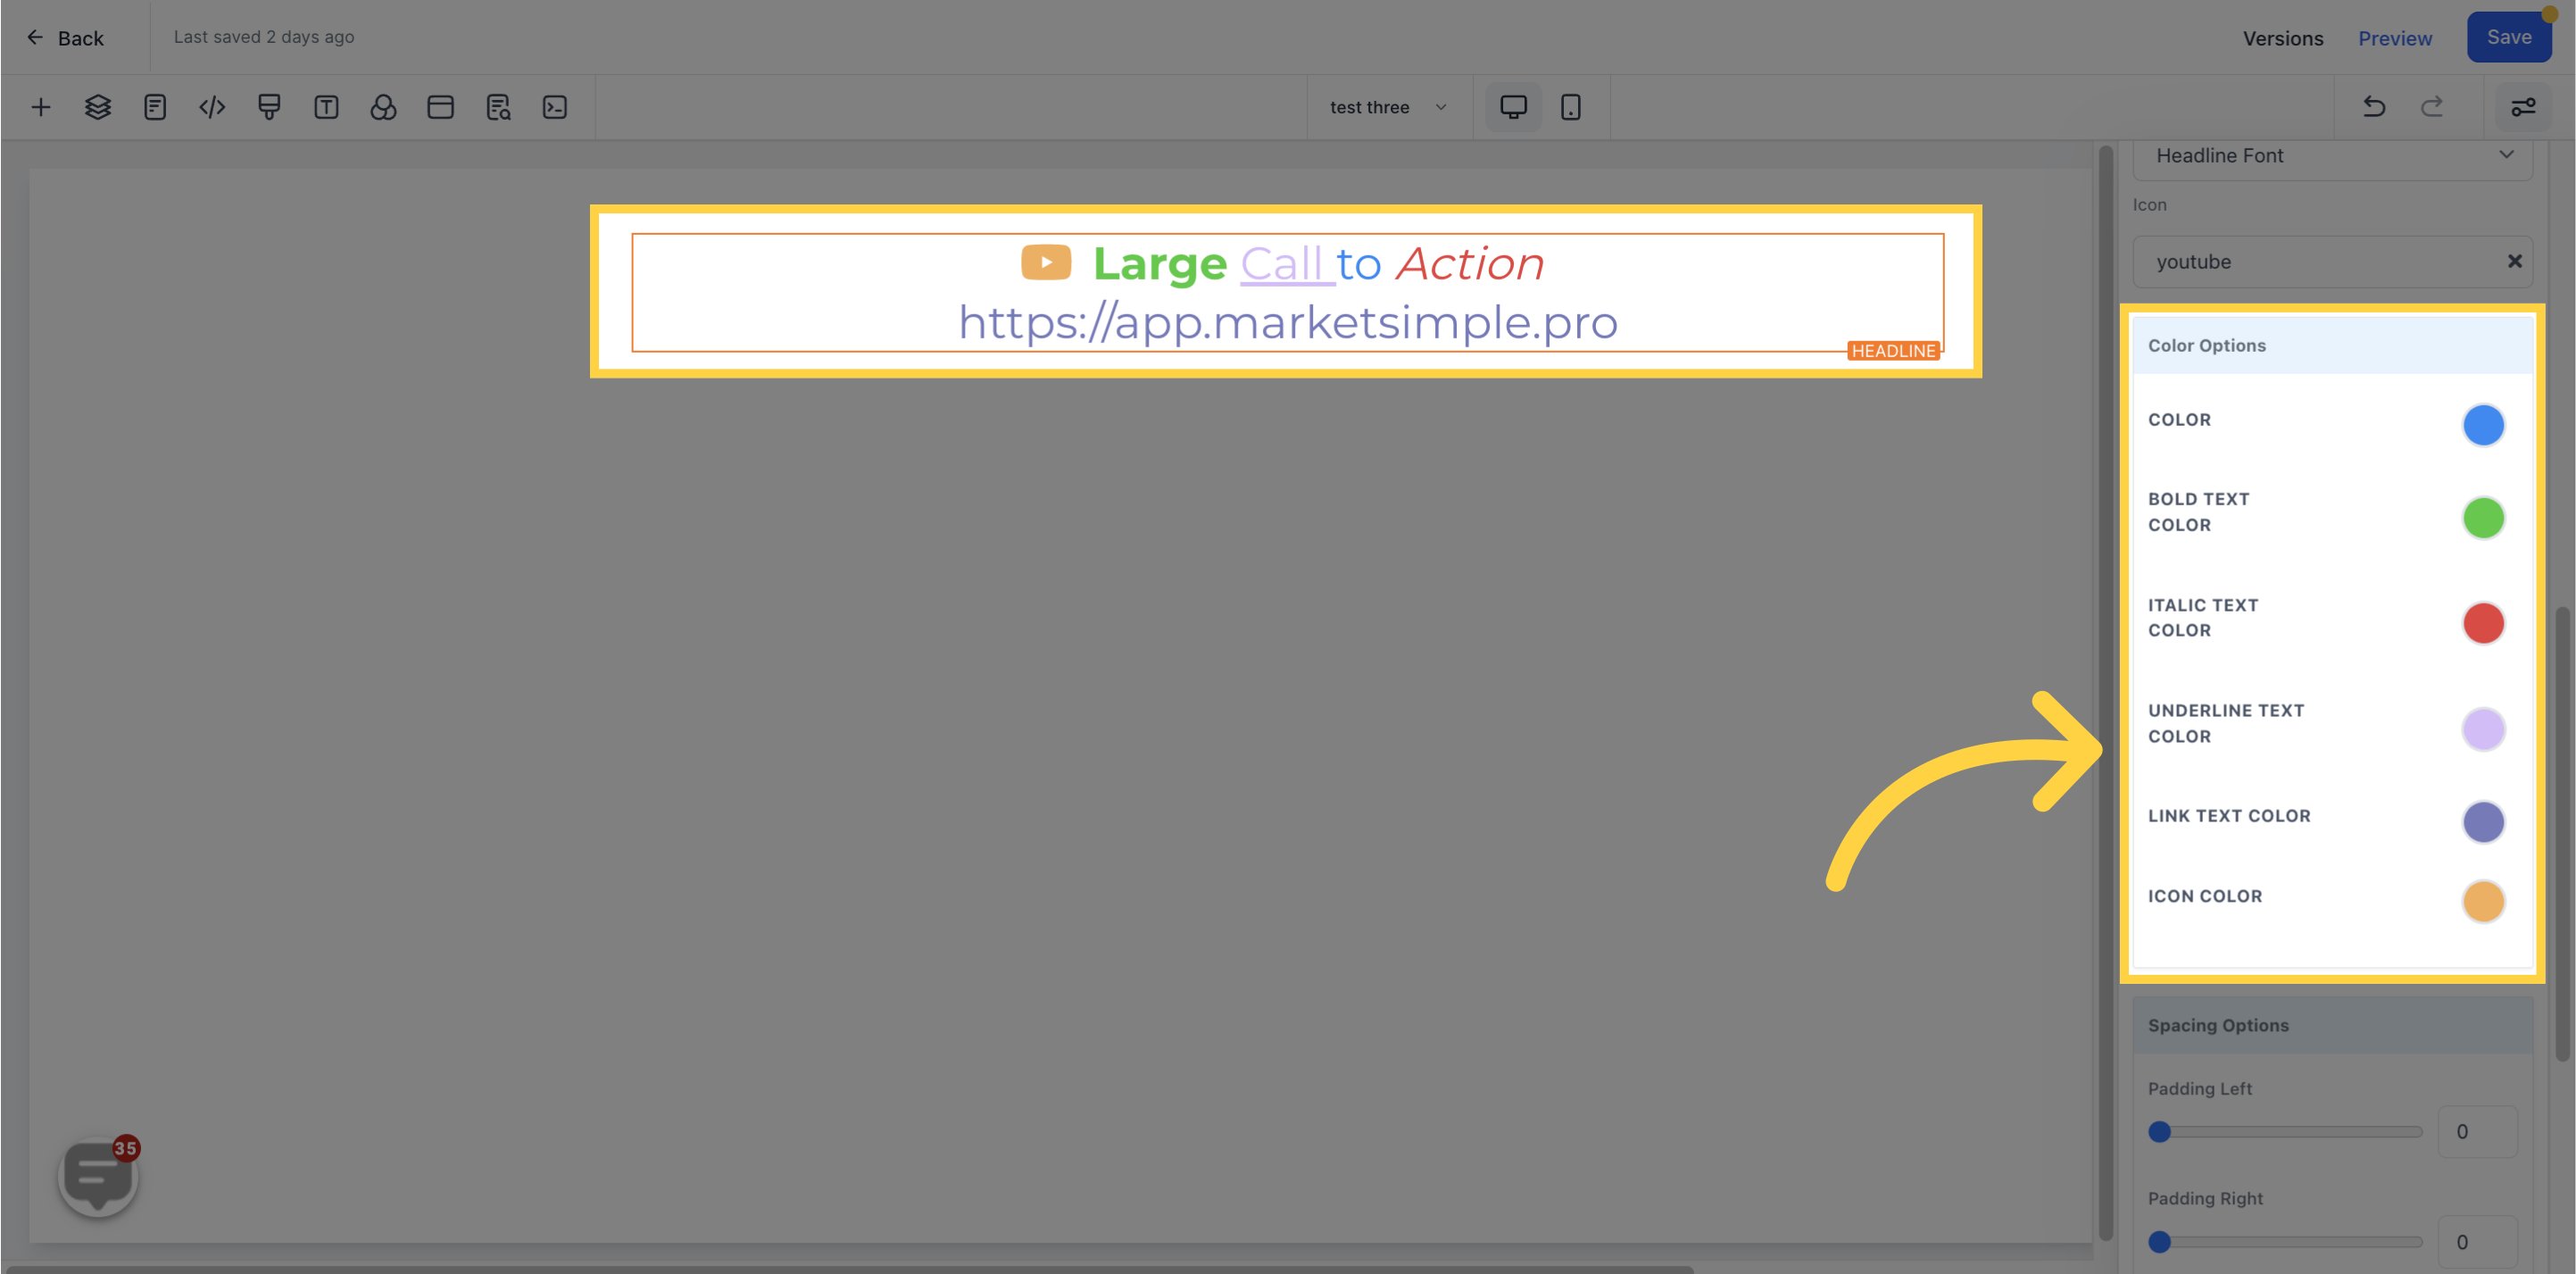
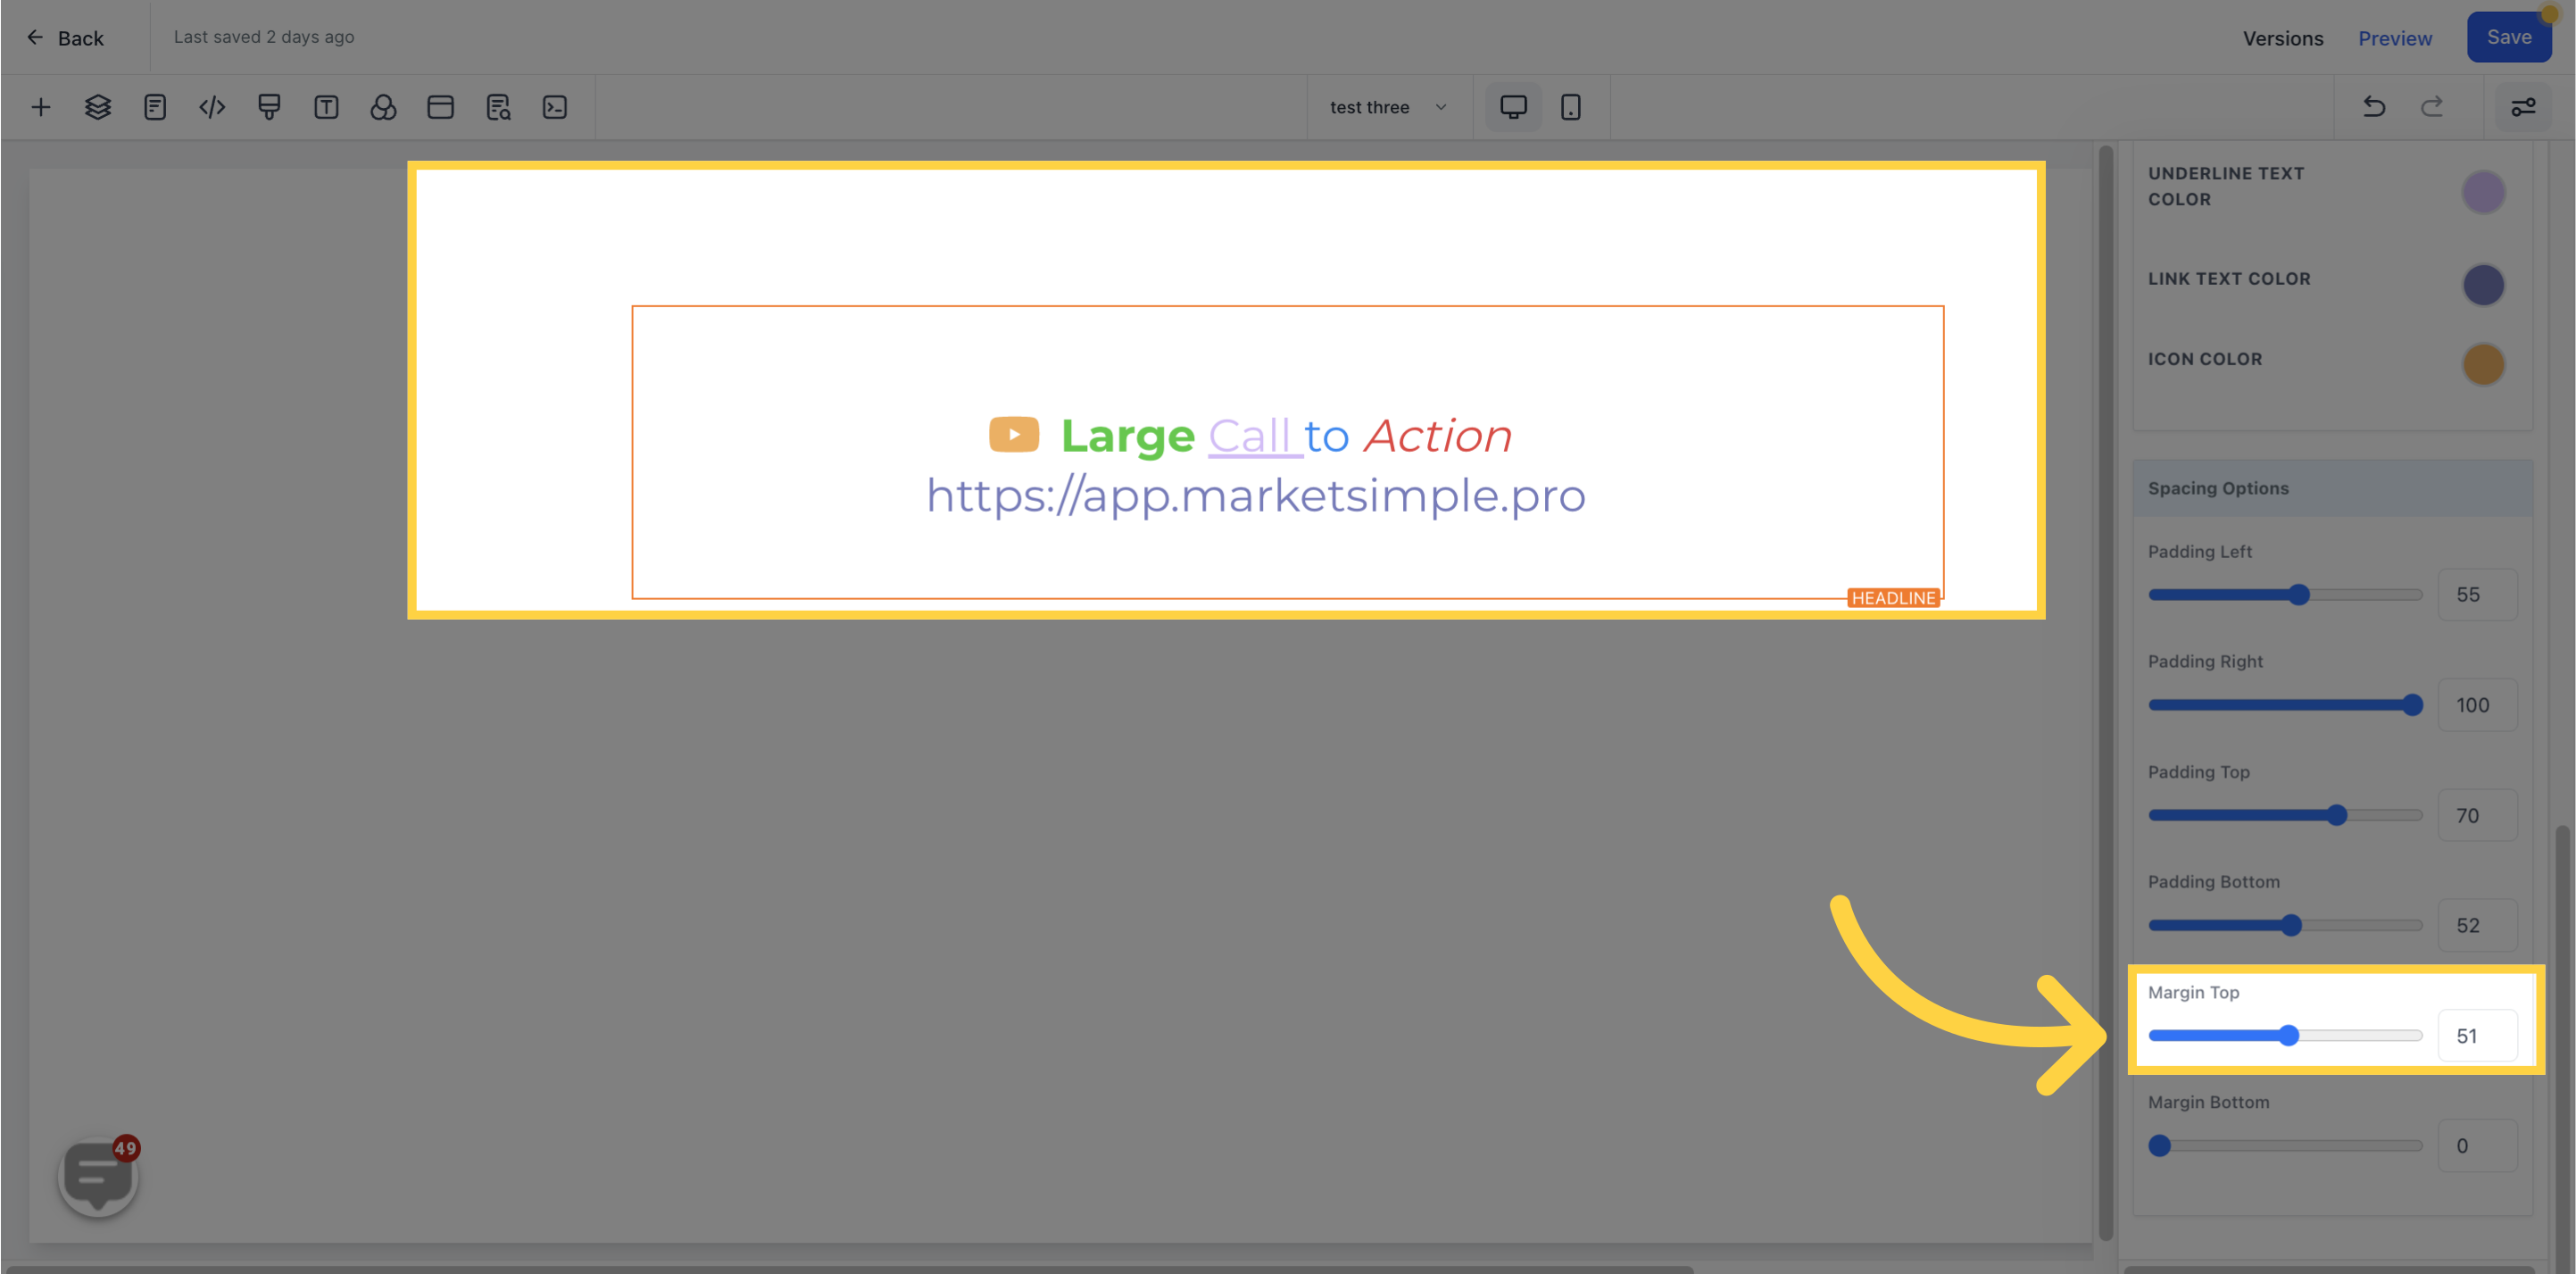
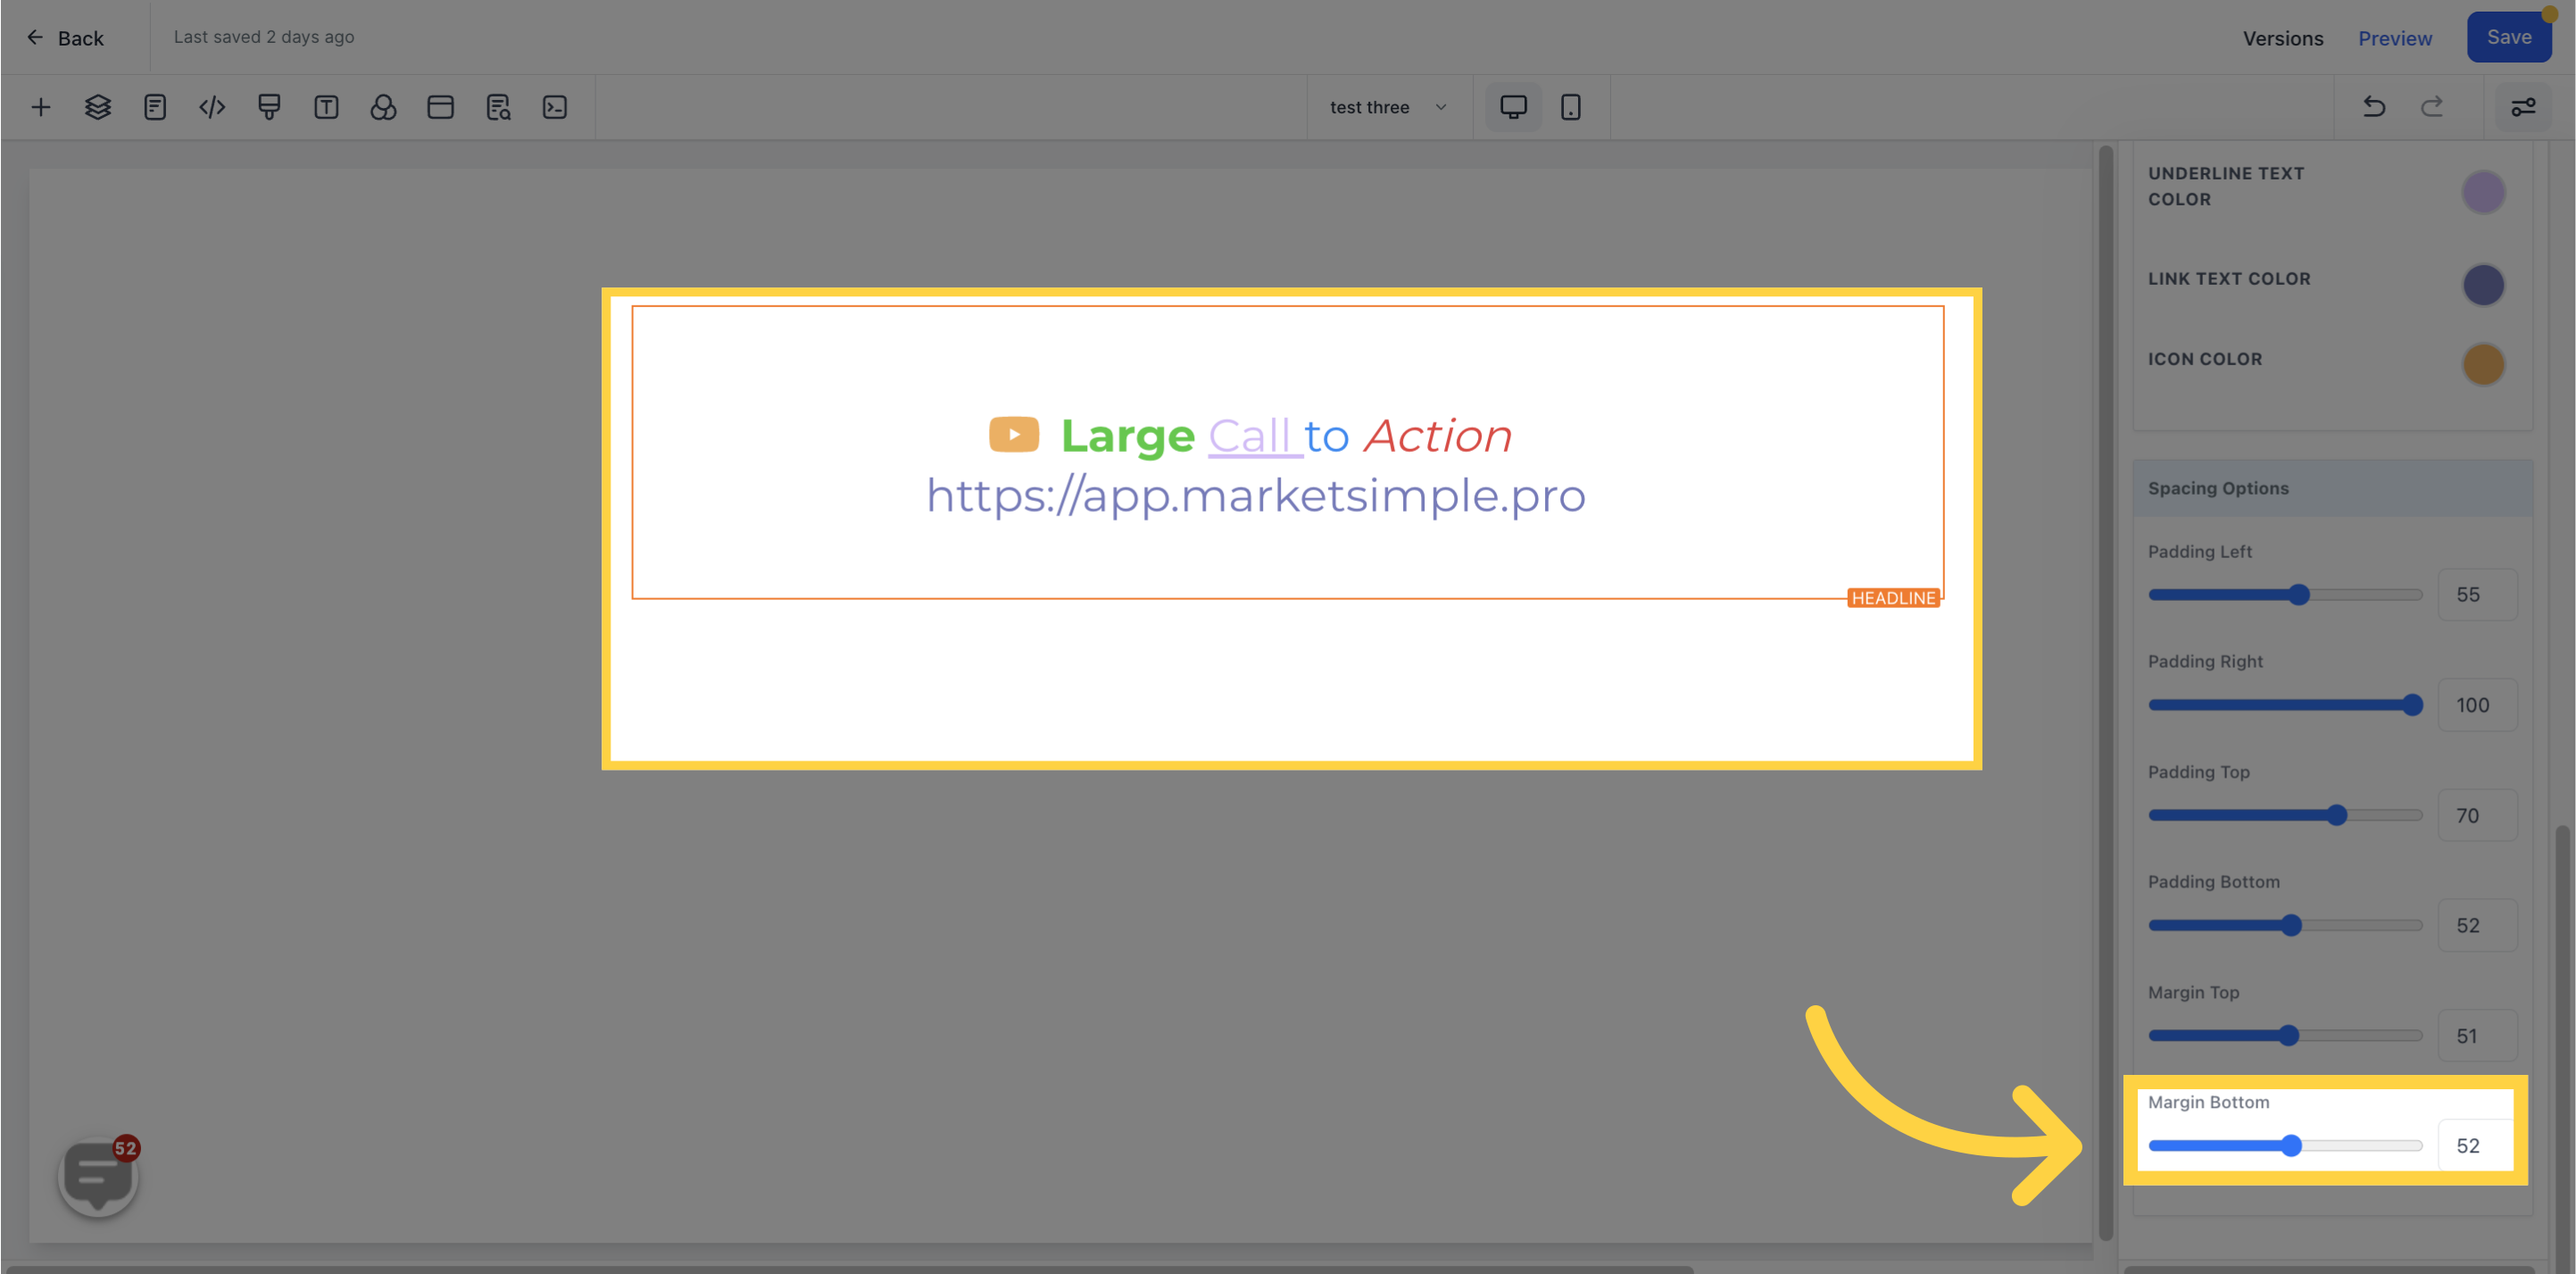
Adjust the spacing of your content with the Spacing Option, which is specific to the element box being edited.
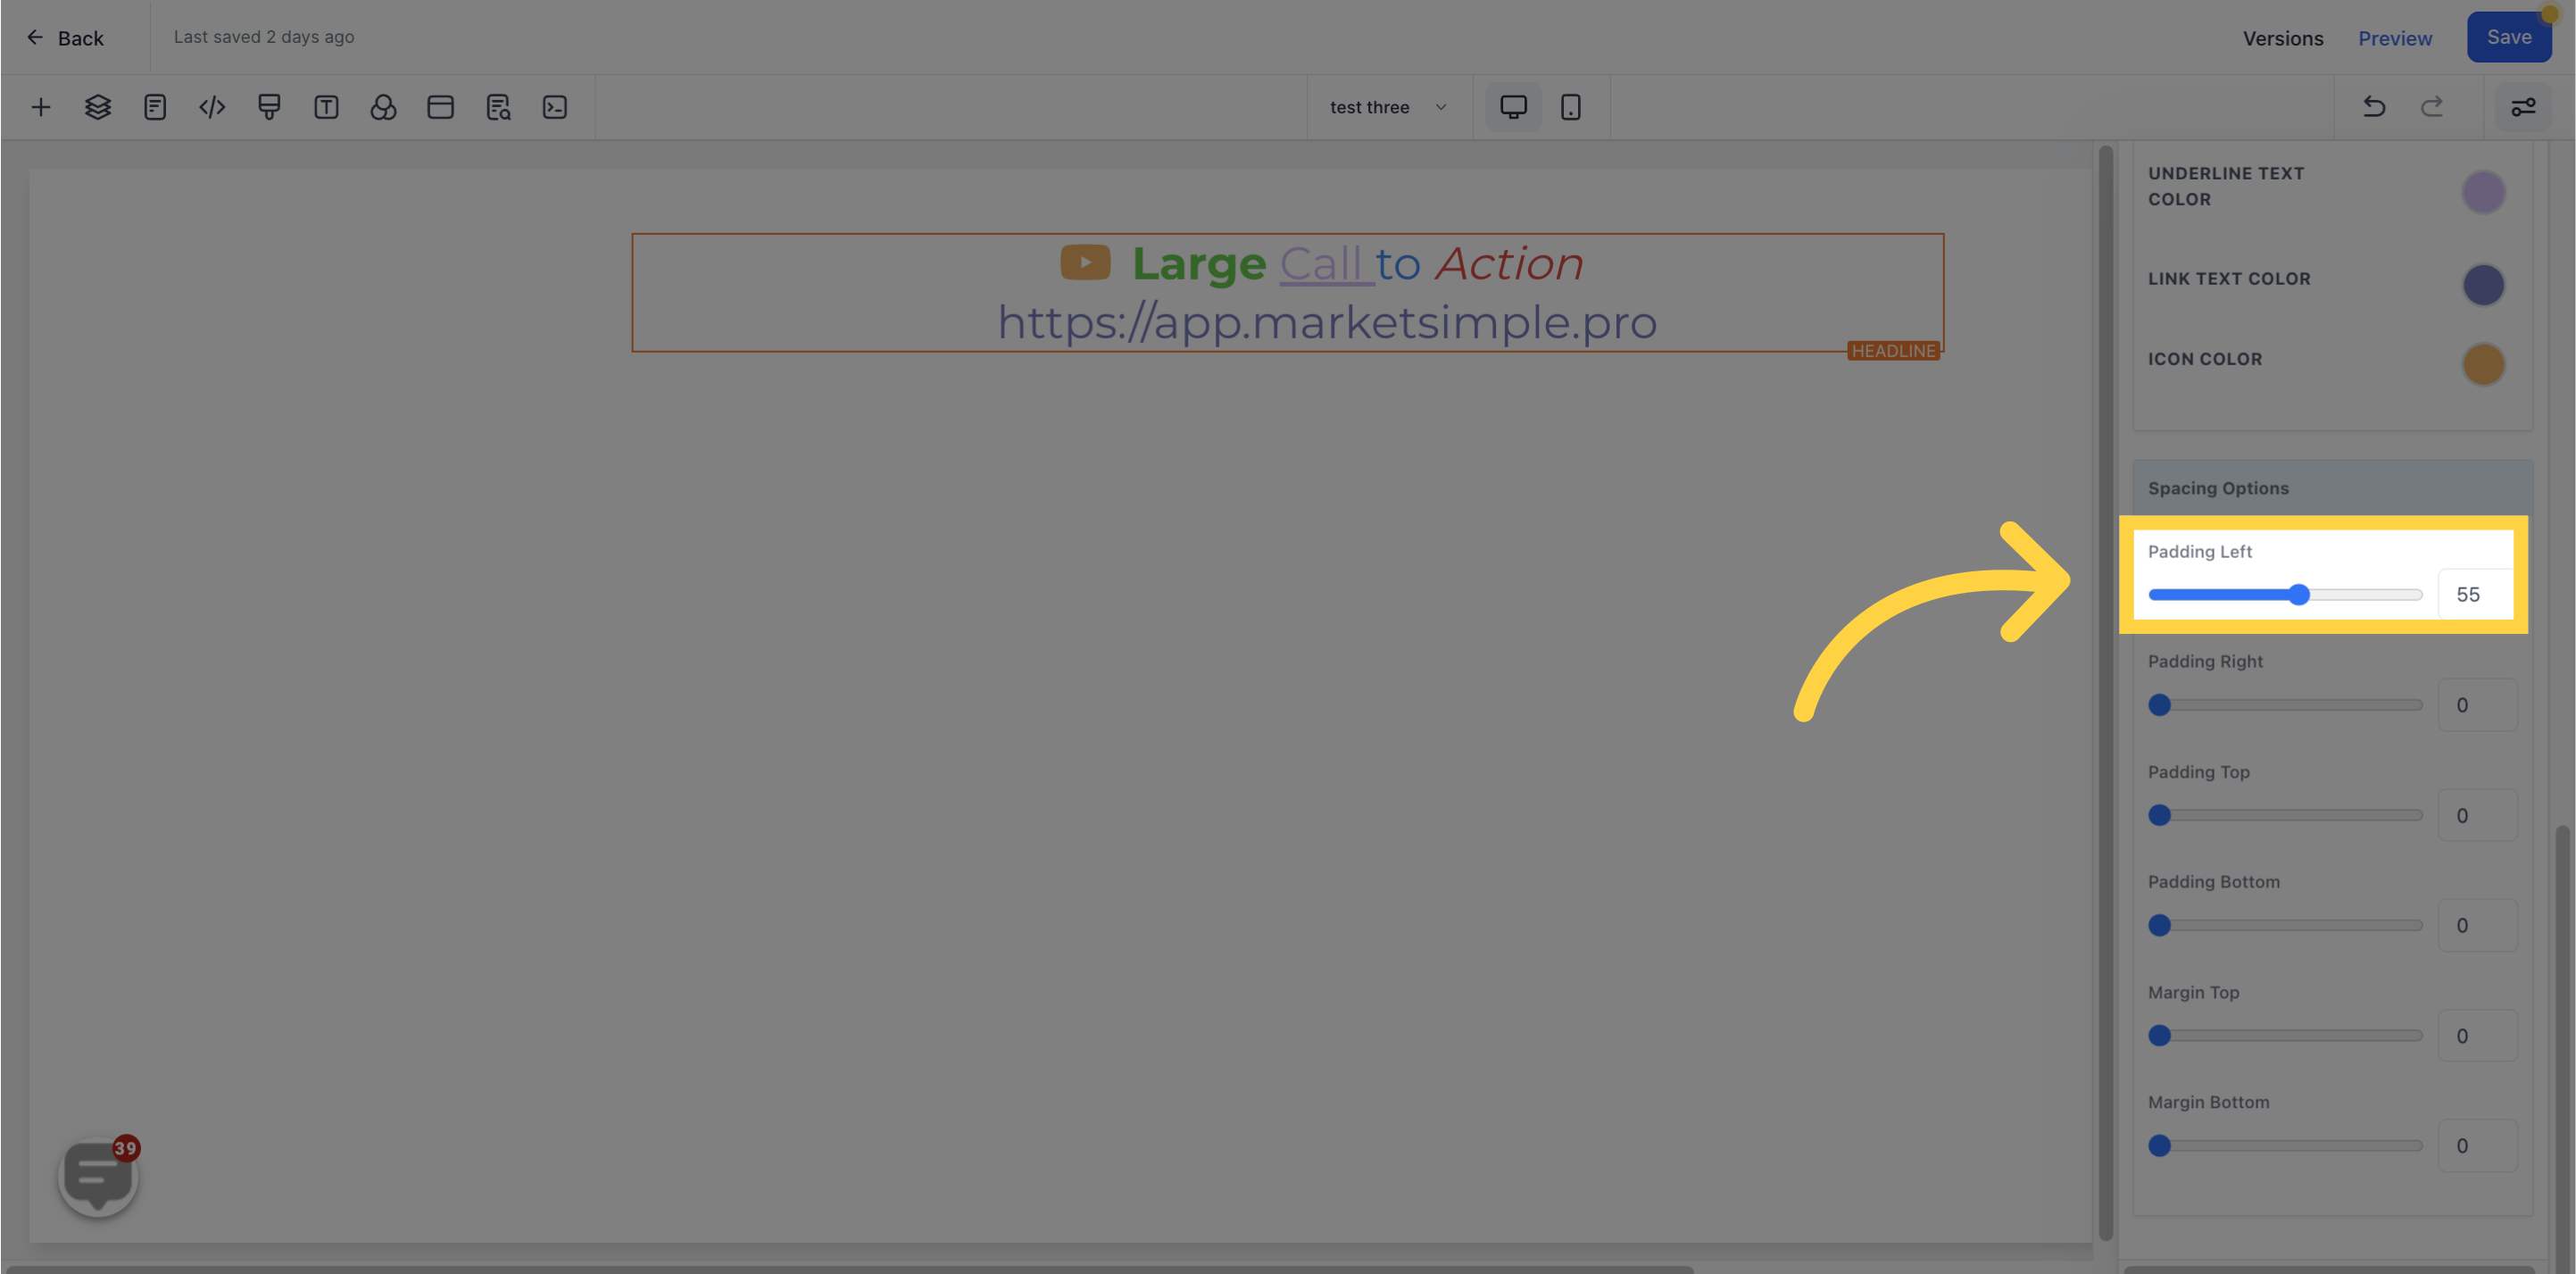
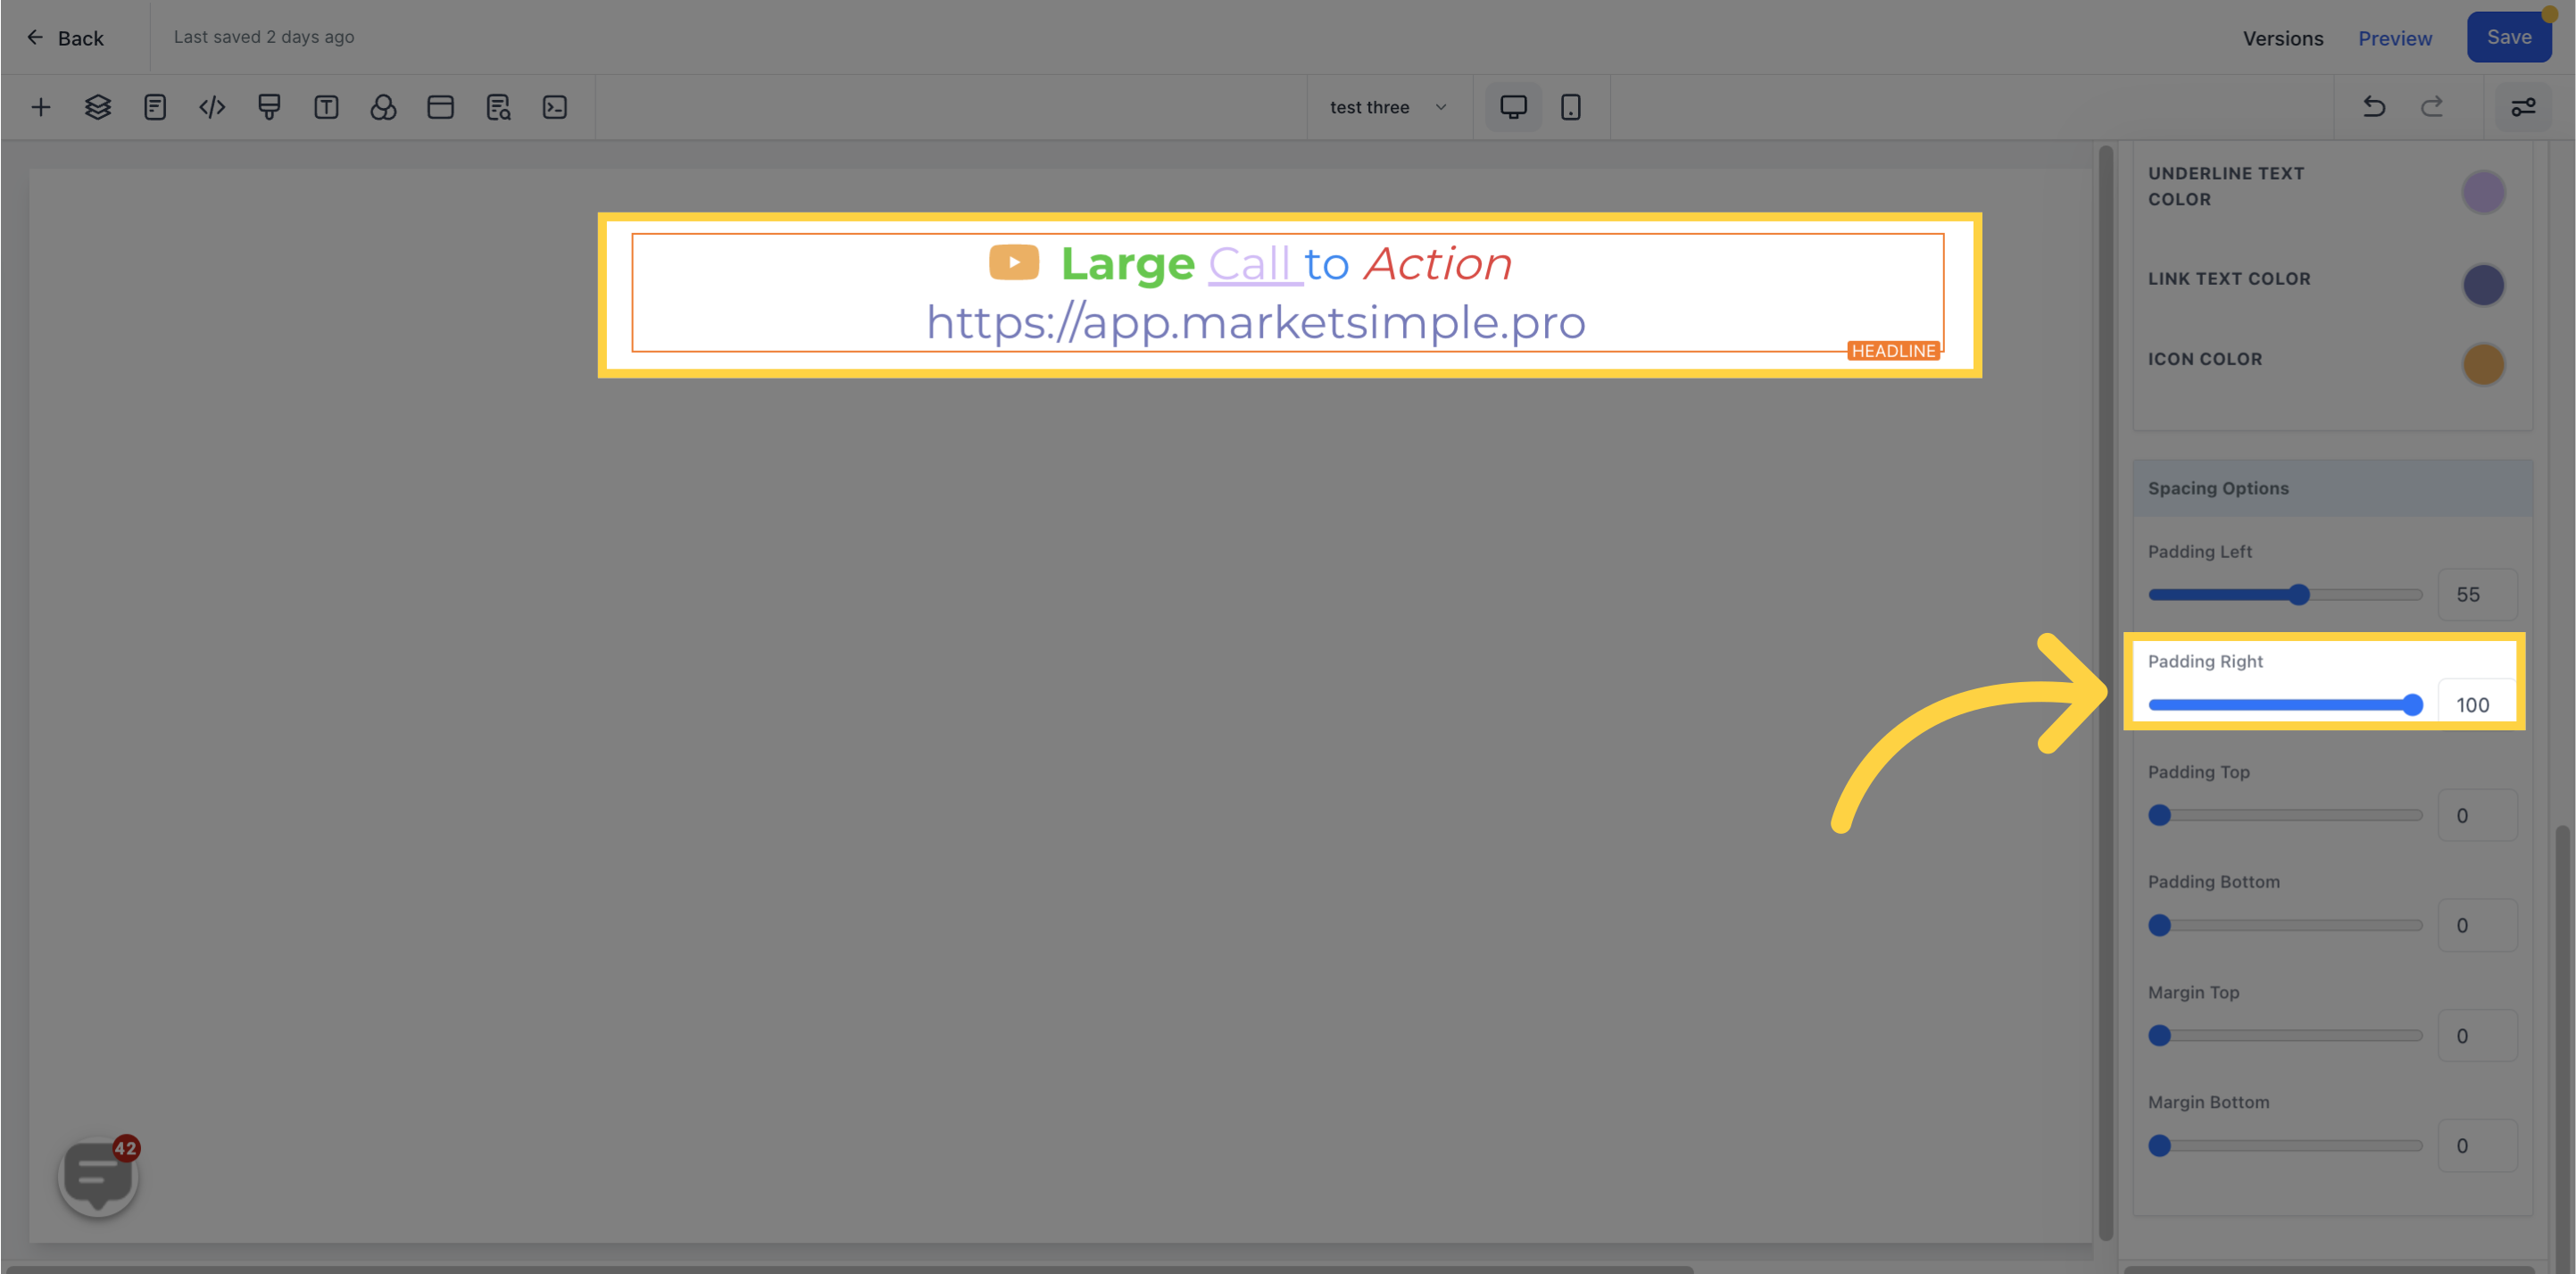

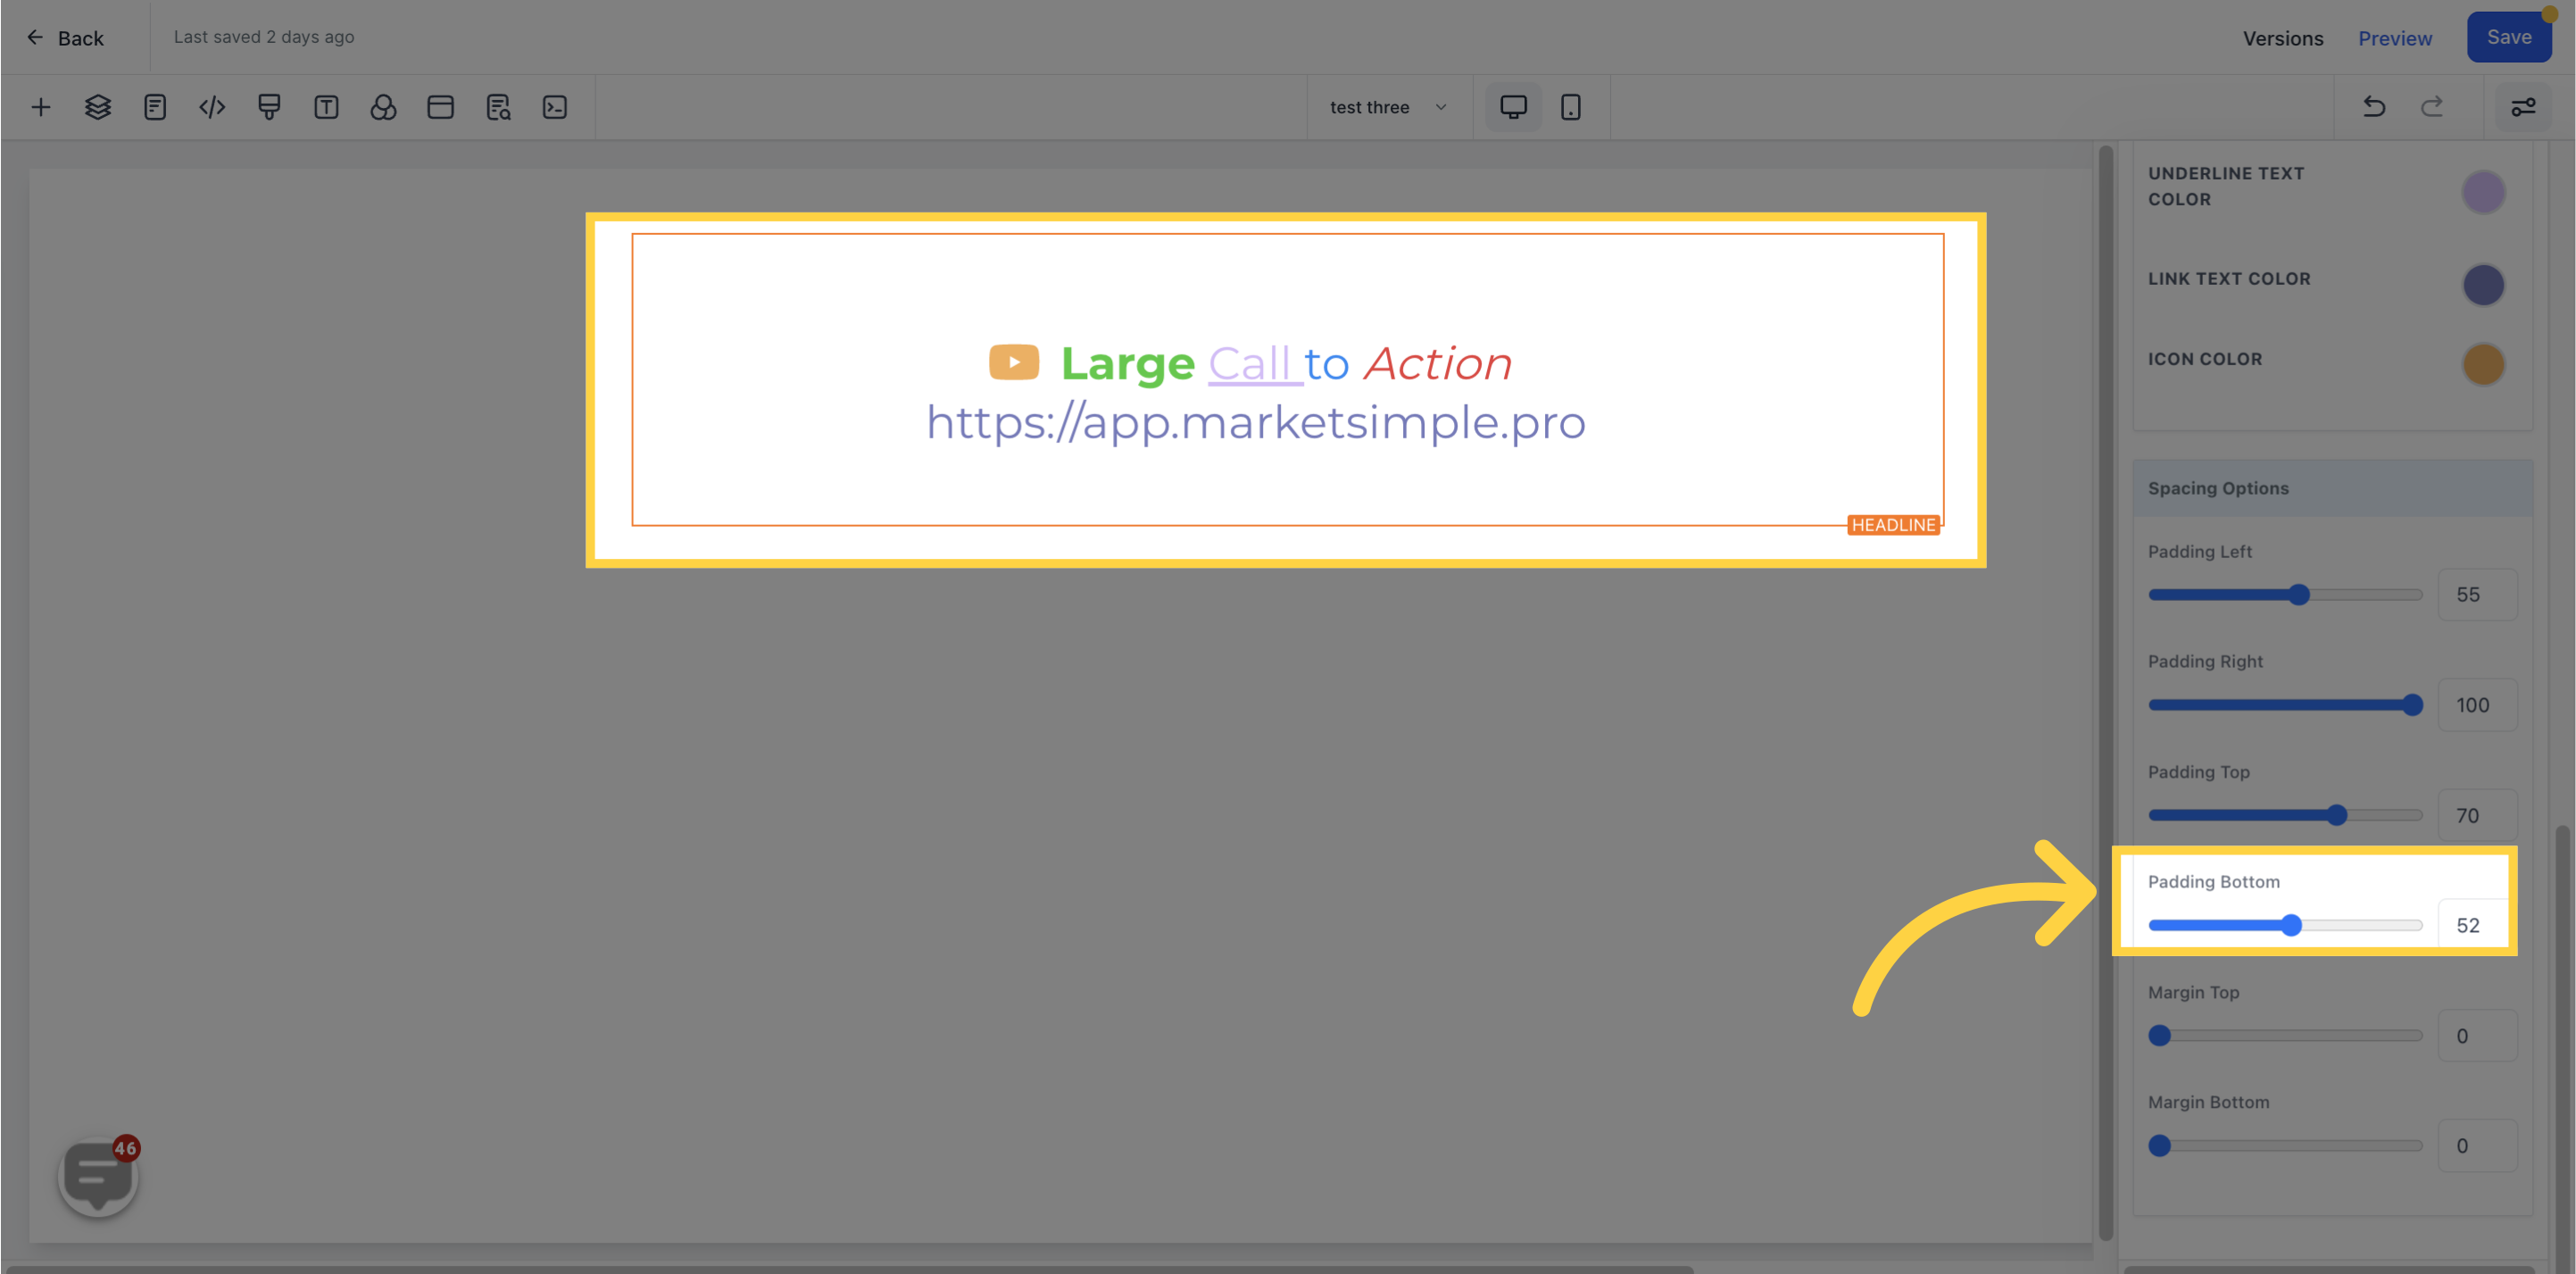
Toggle the padding and margin of your content using the different toggle bars available.
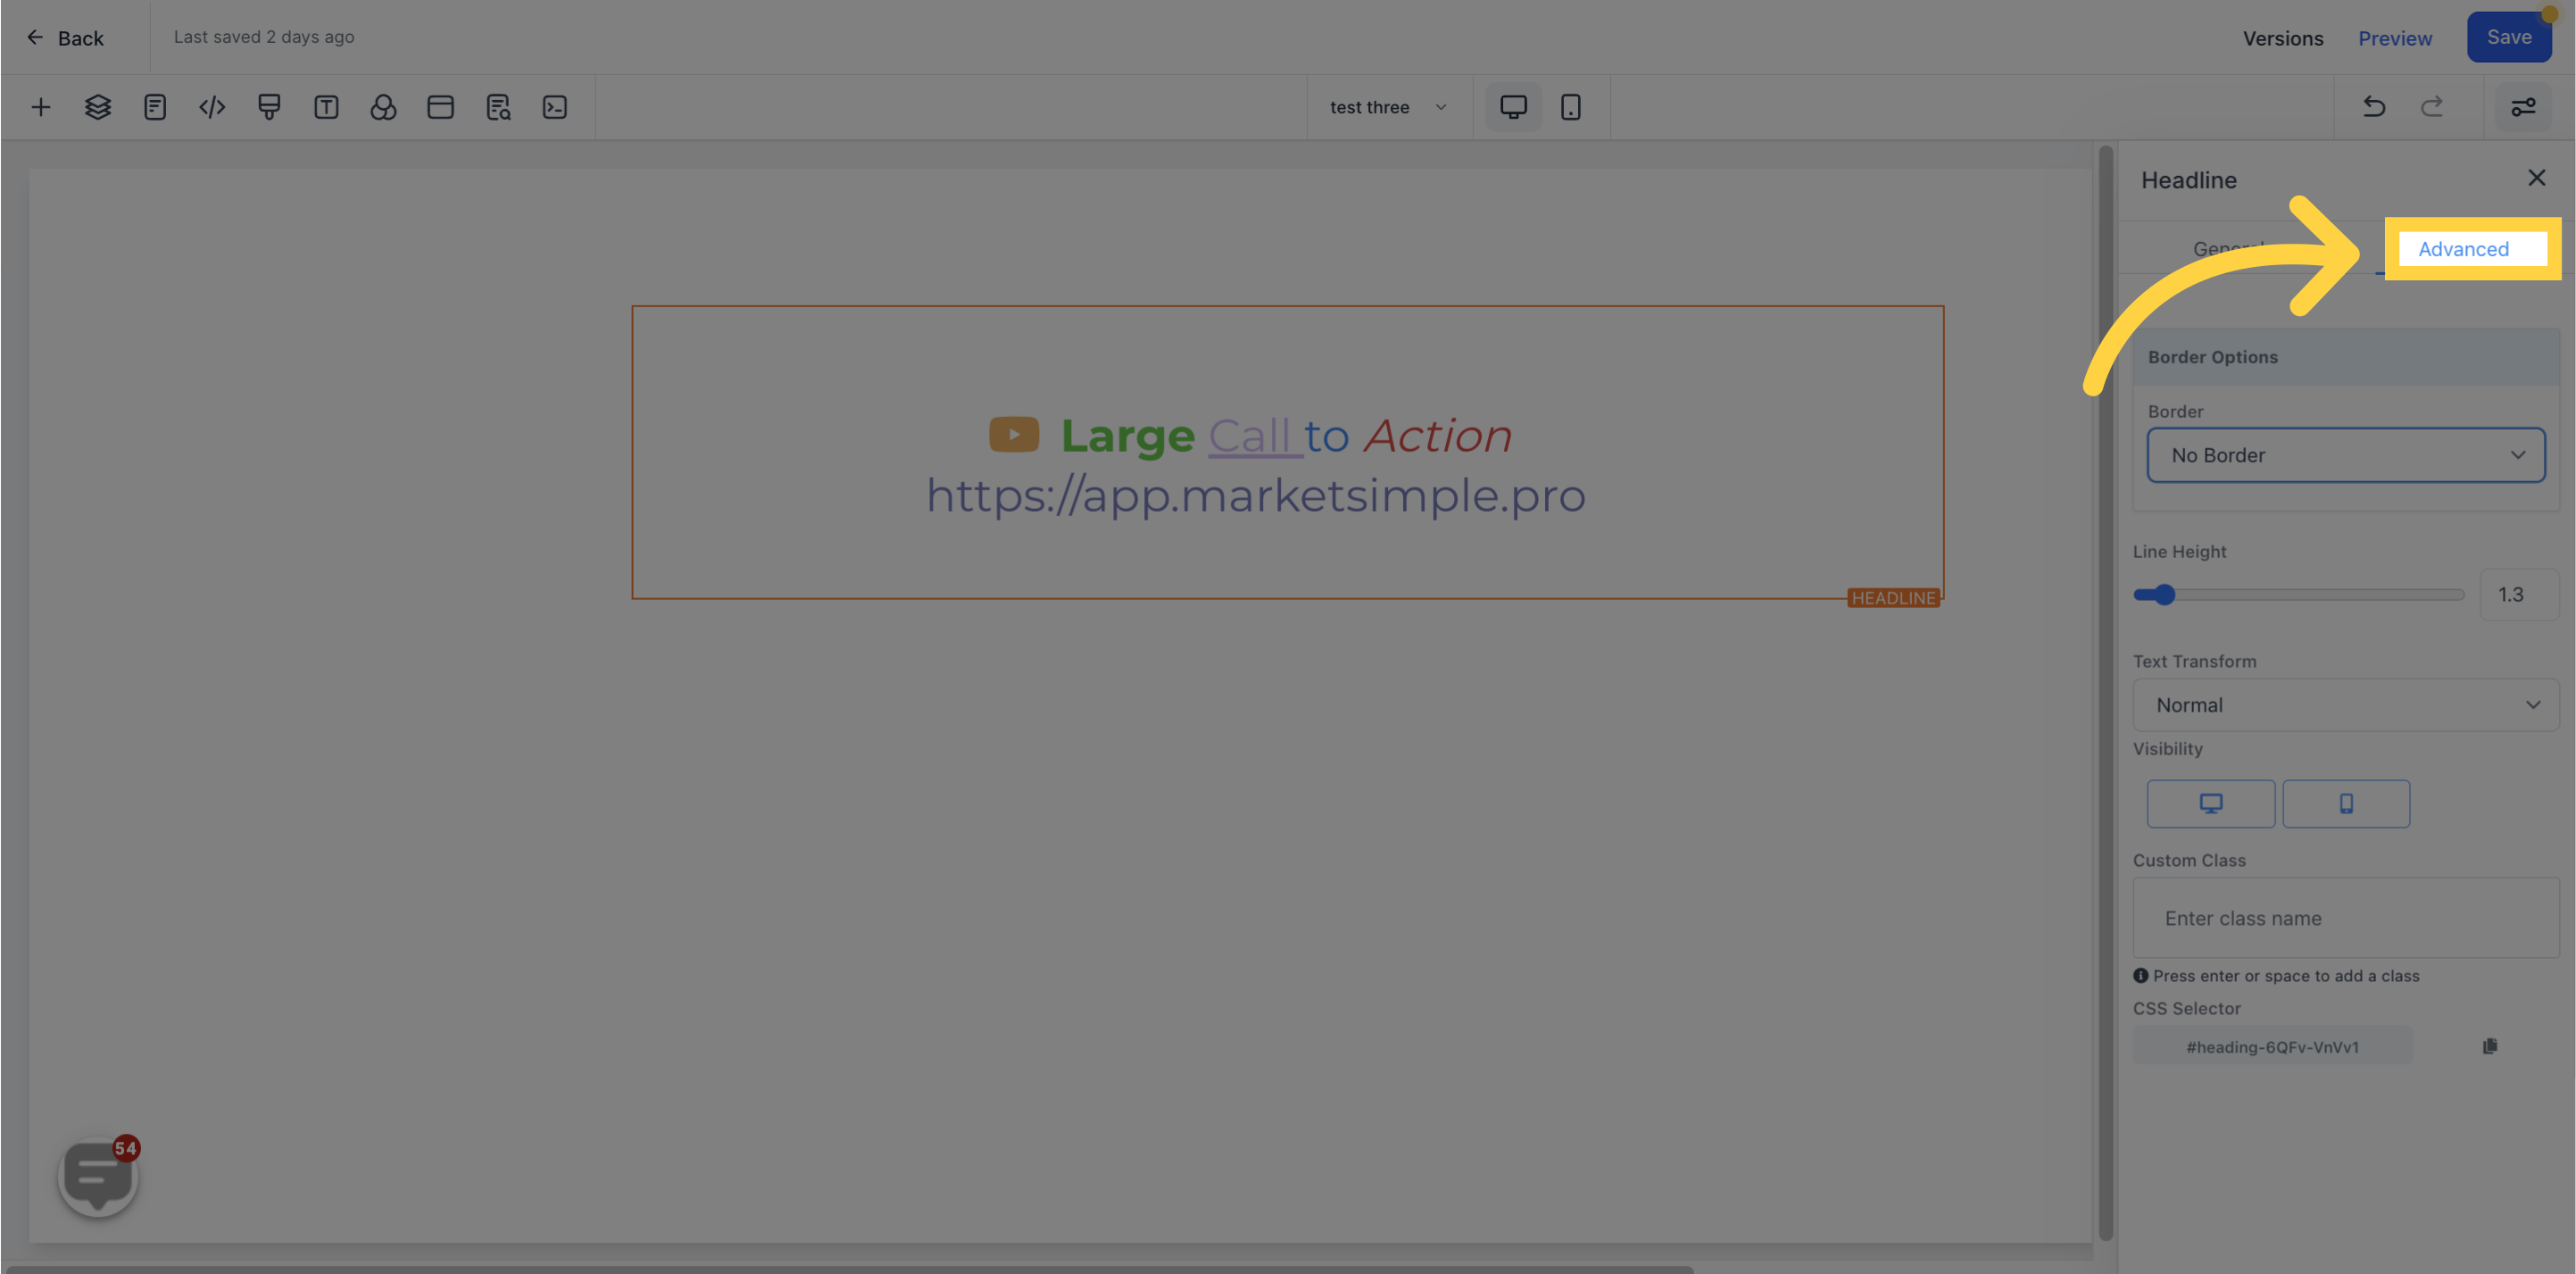
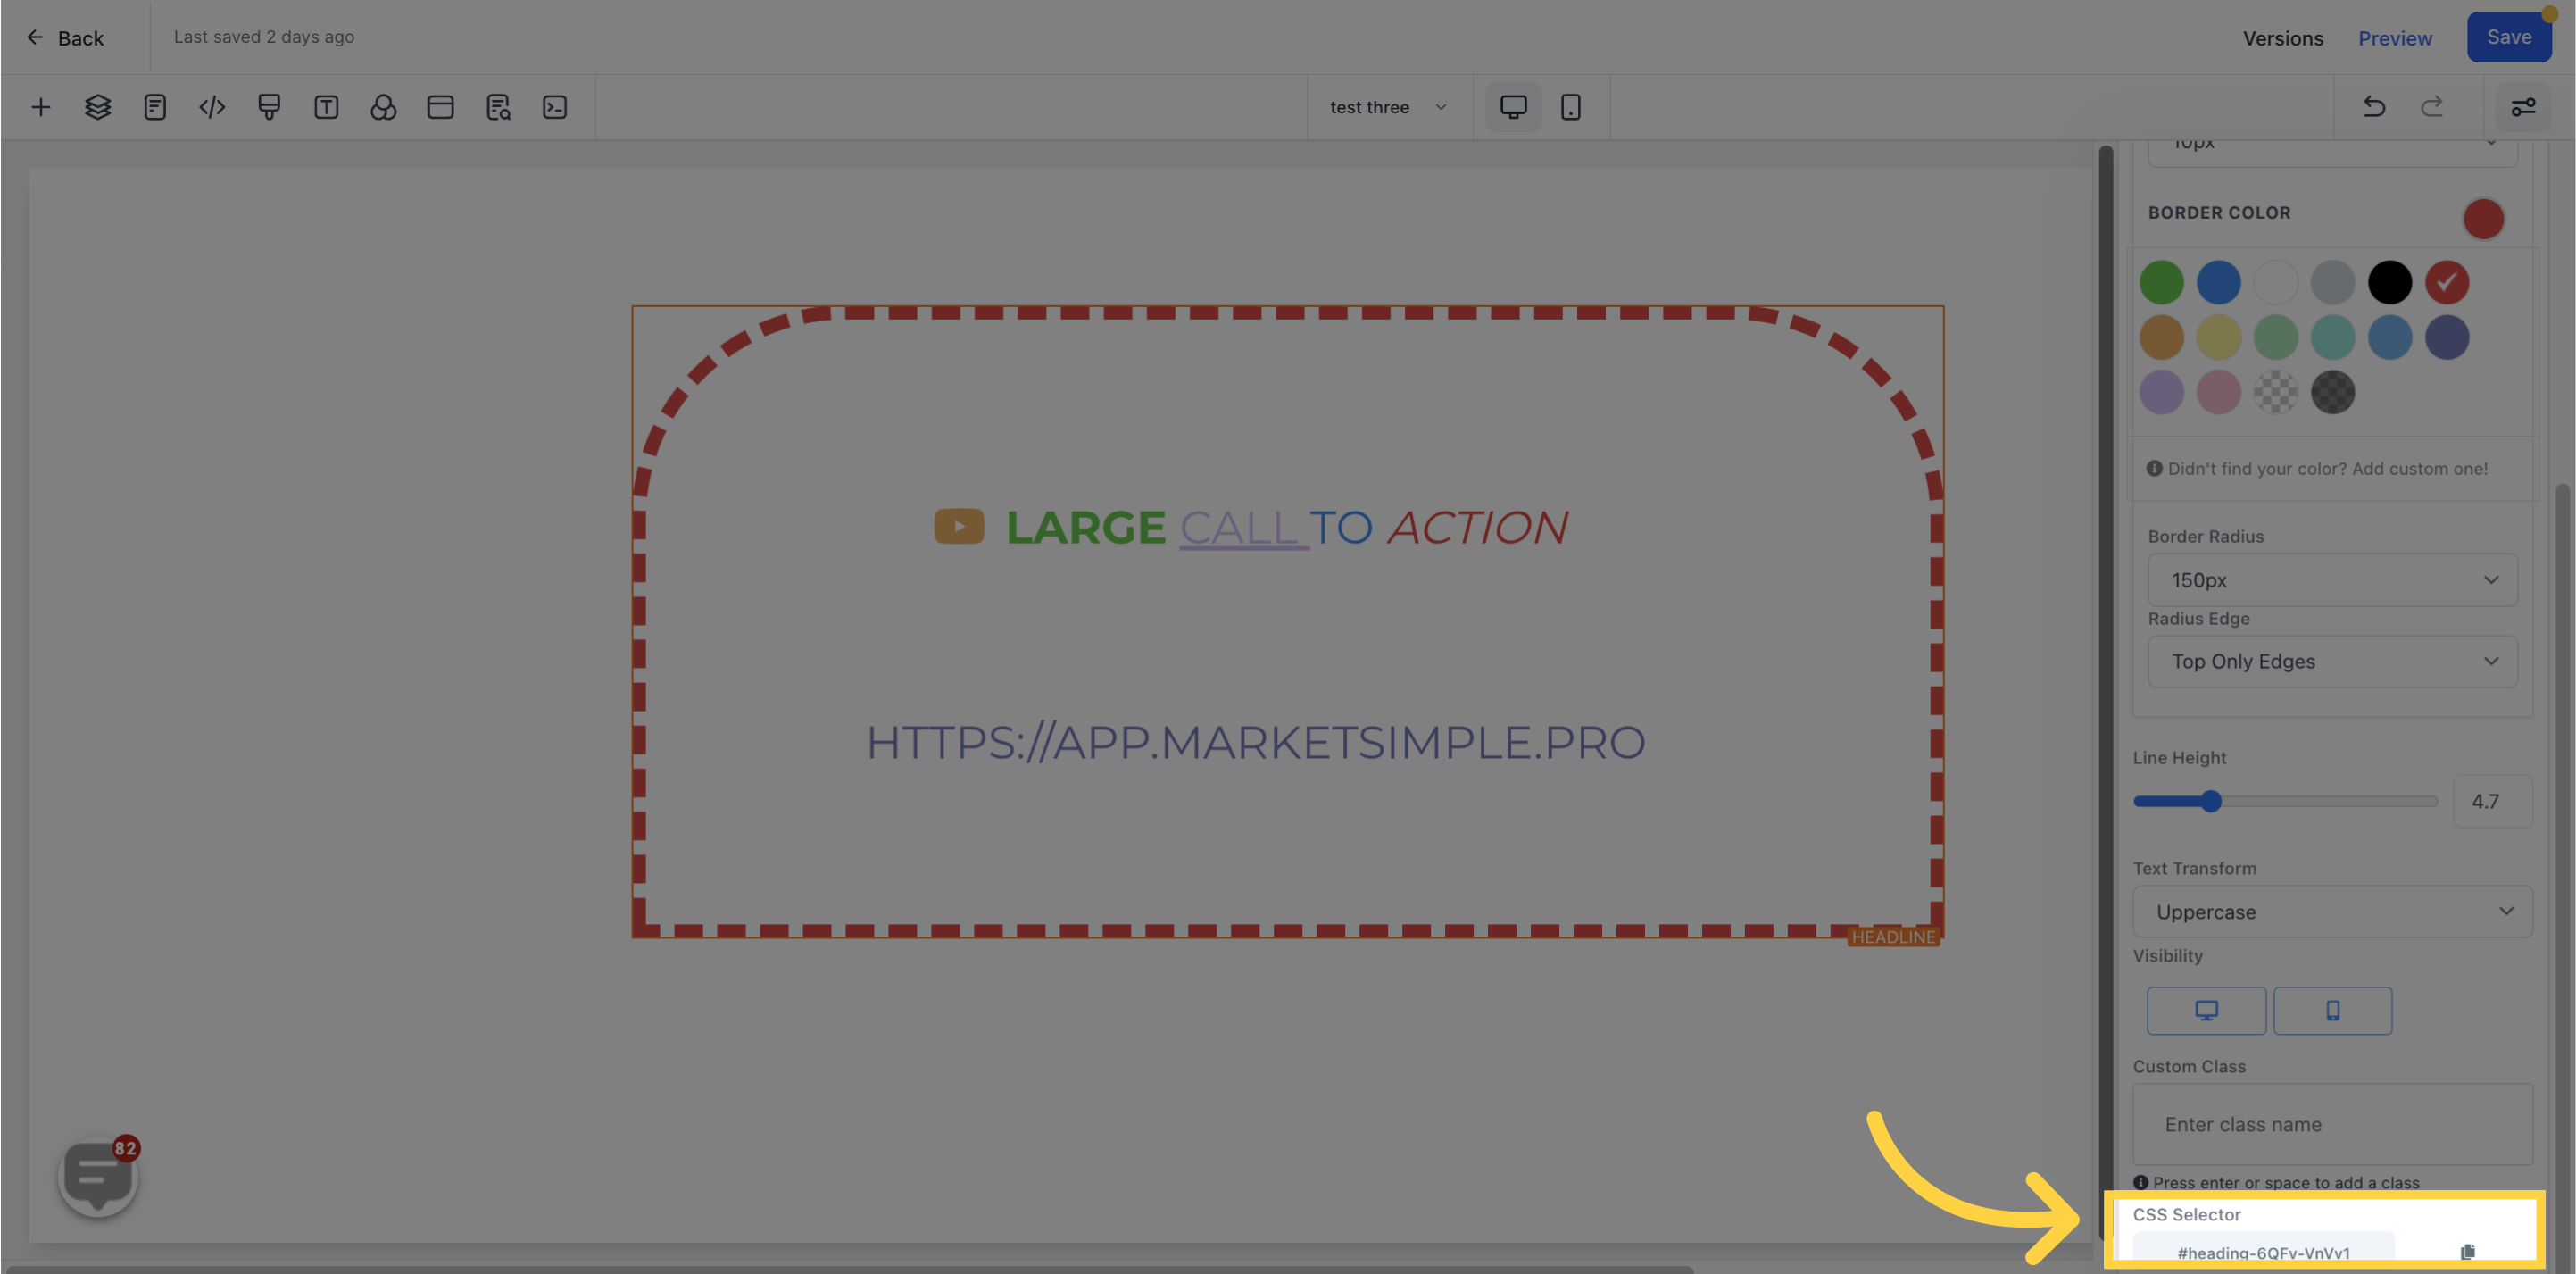
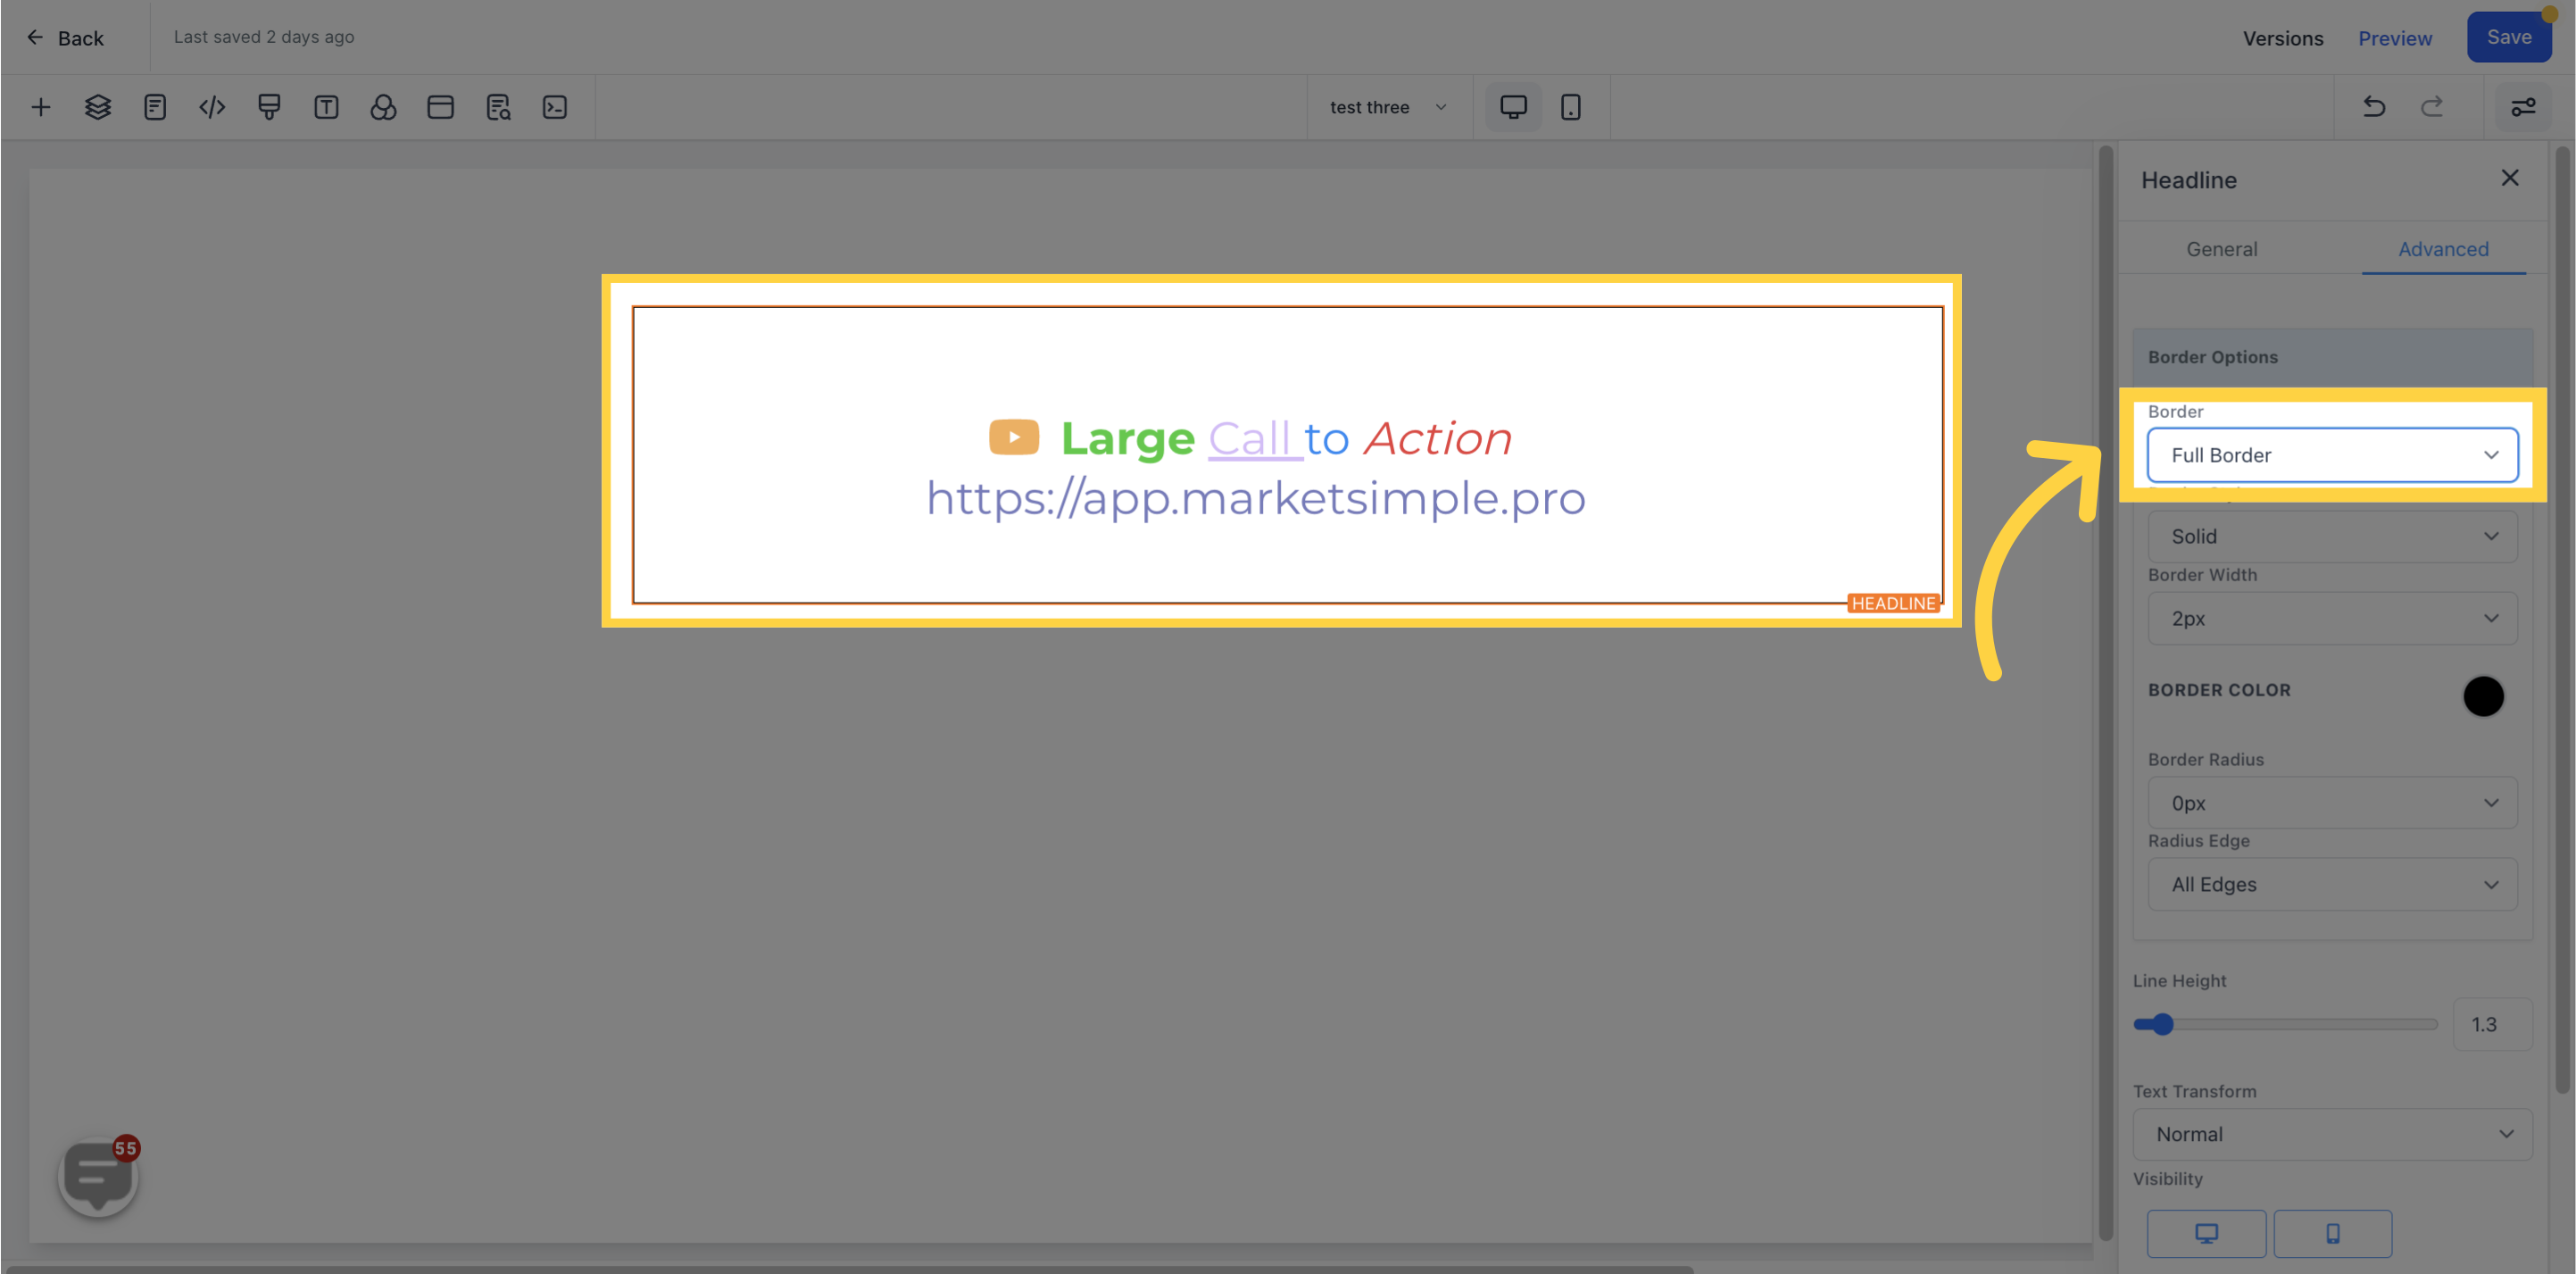
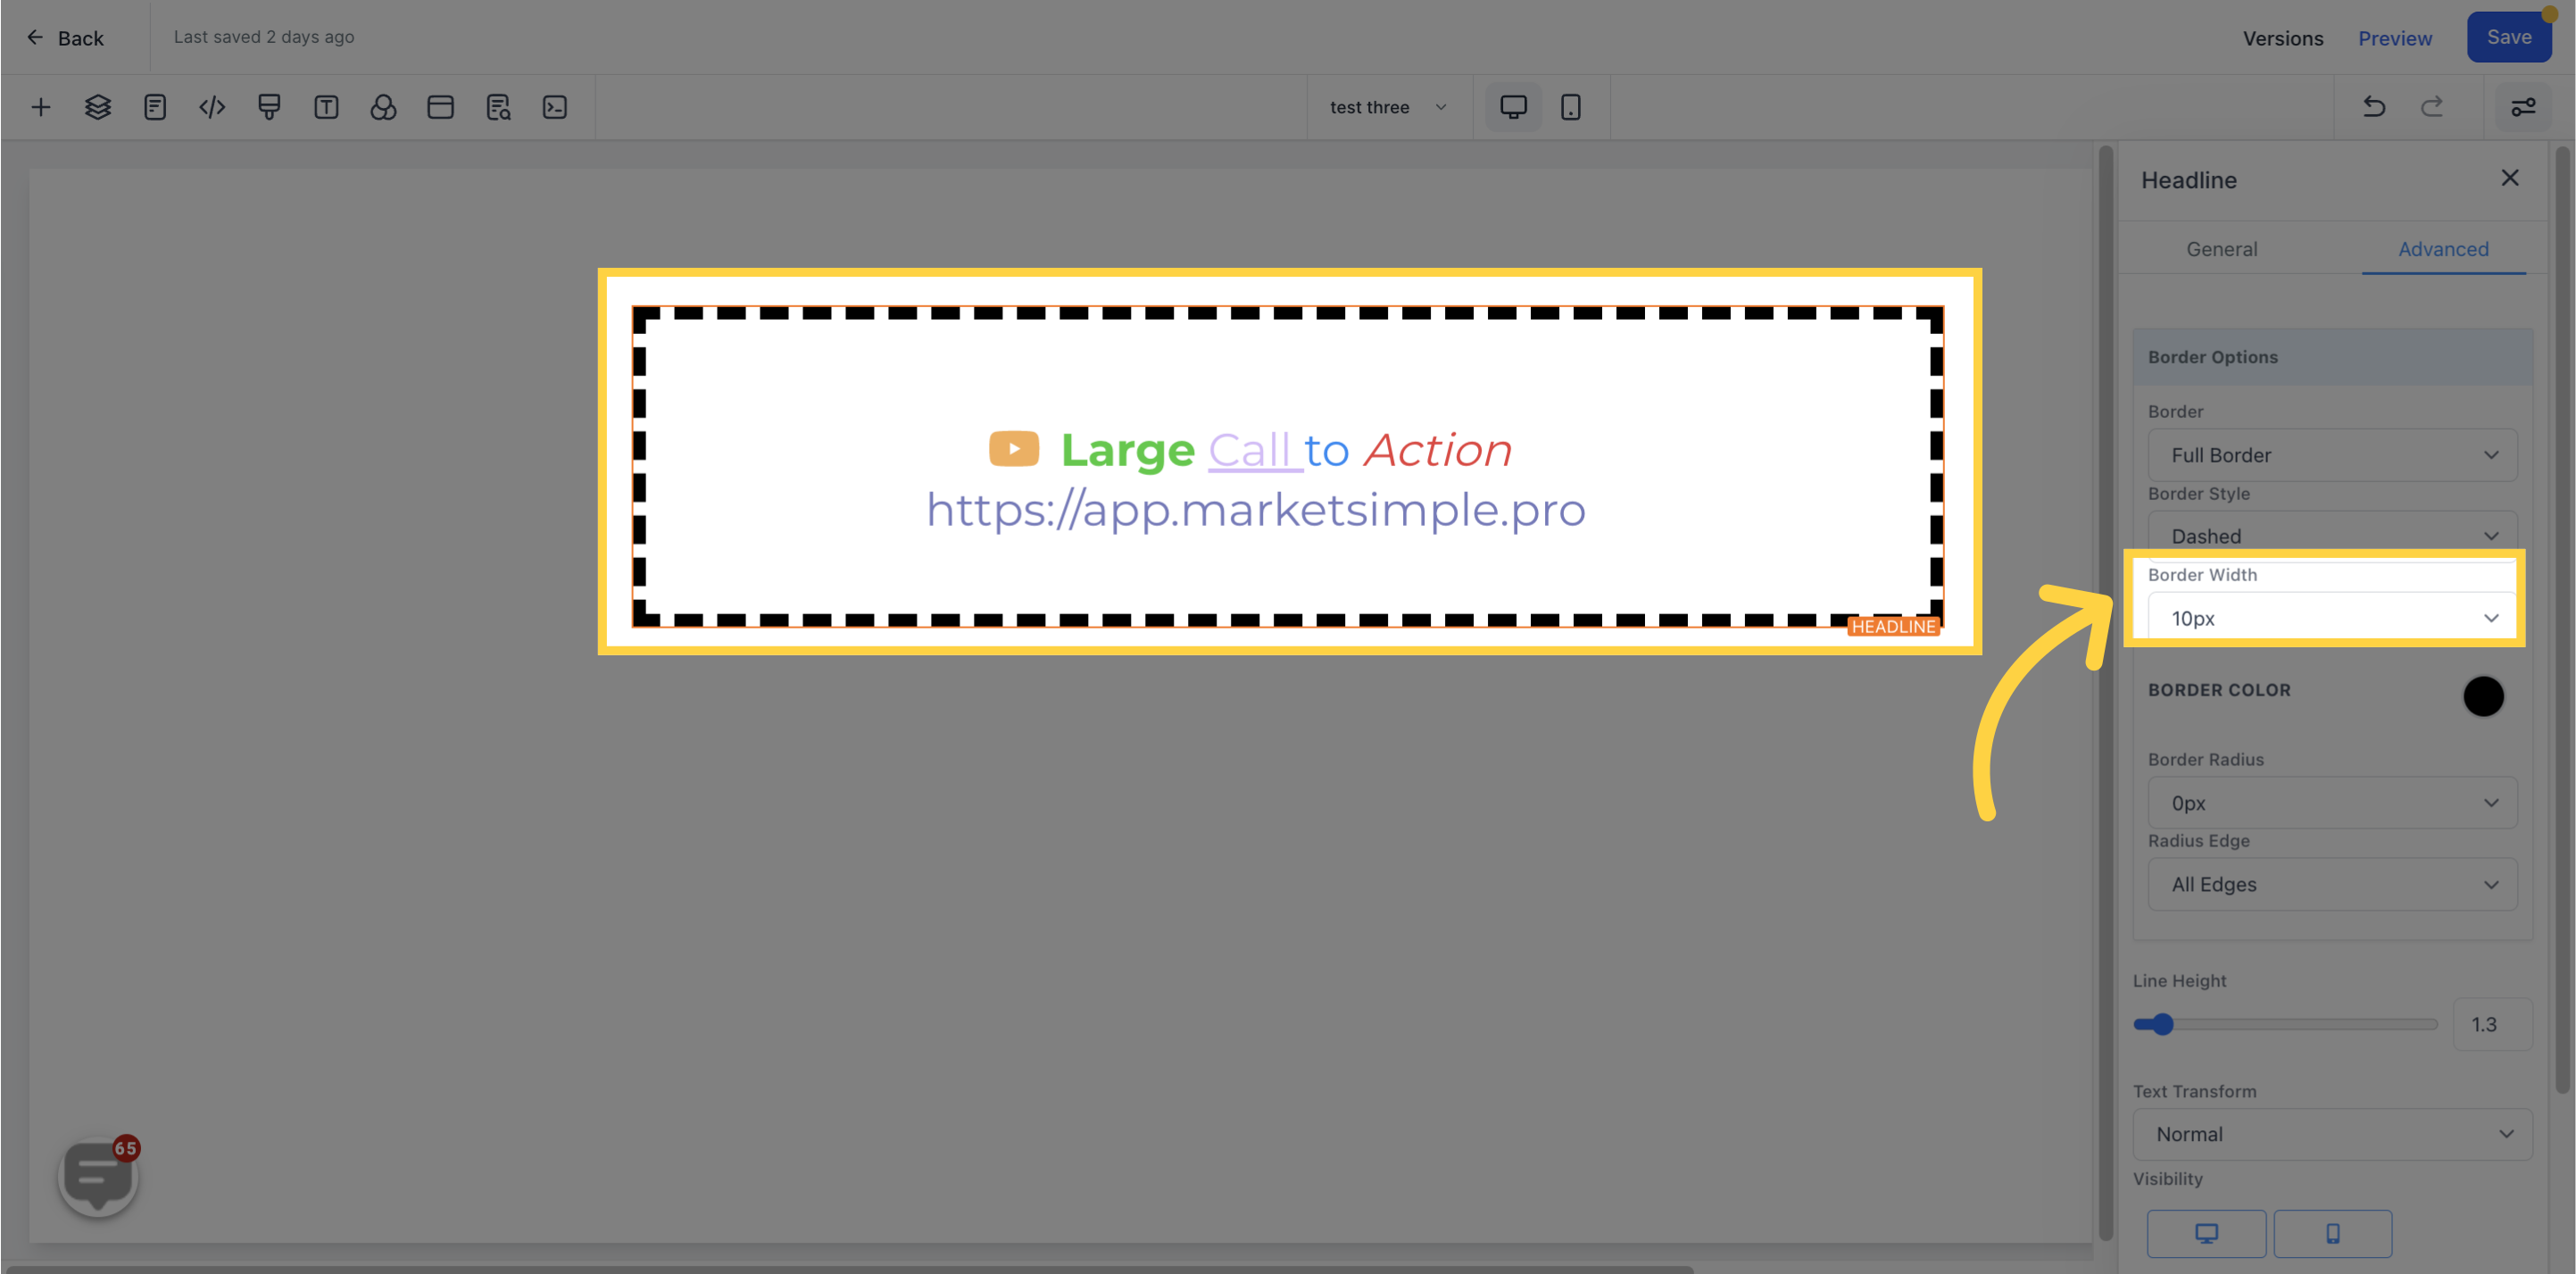
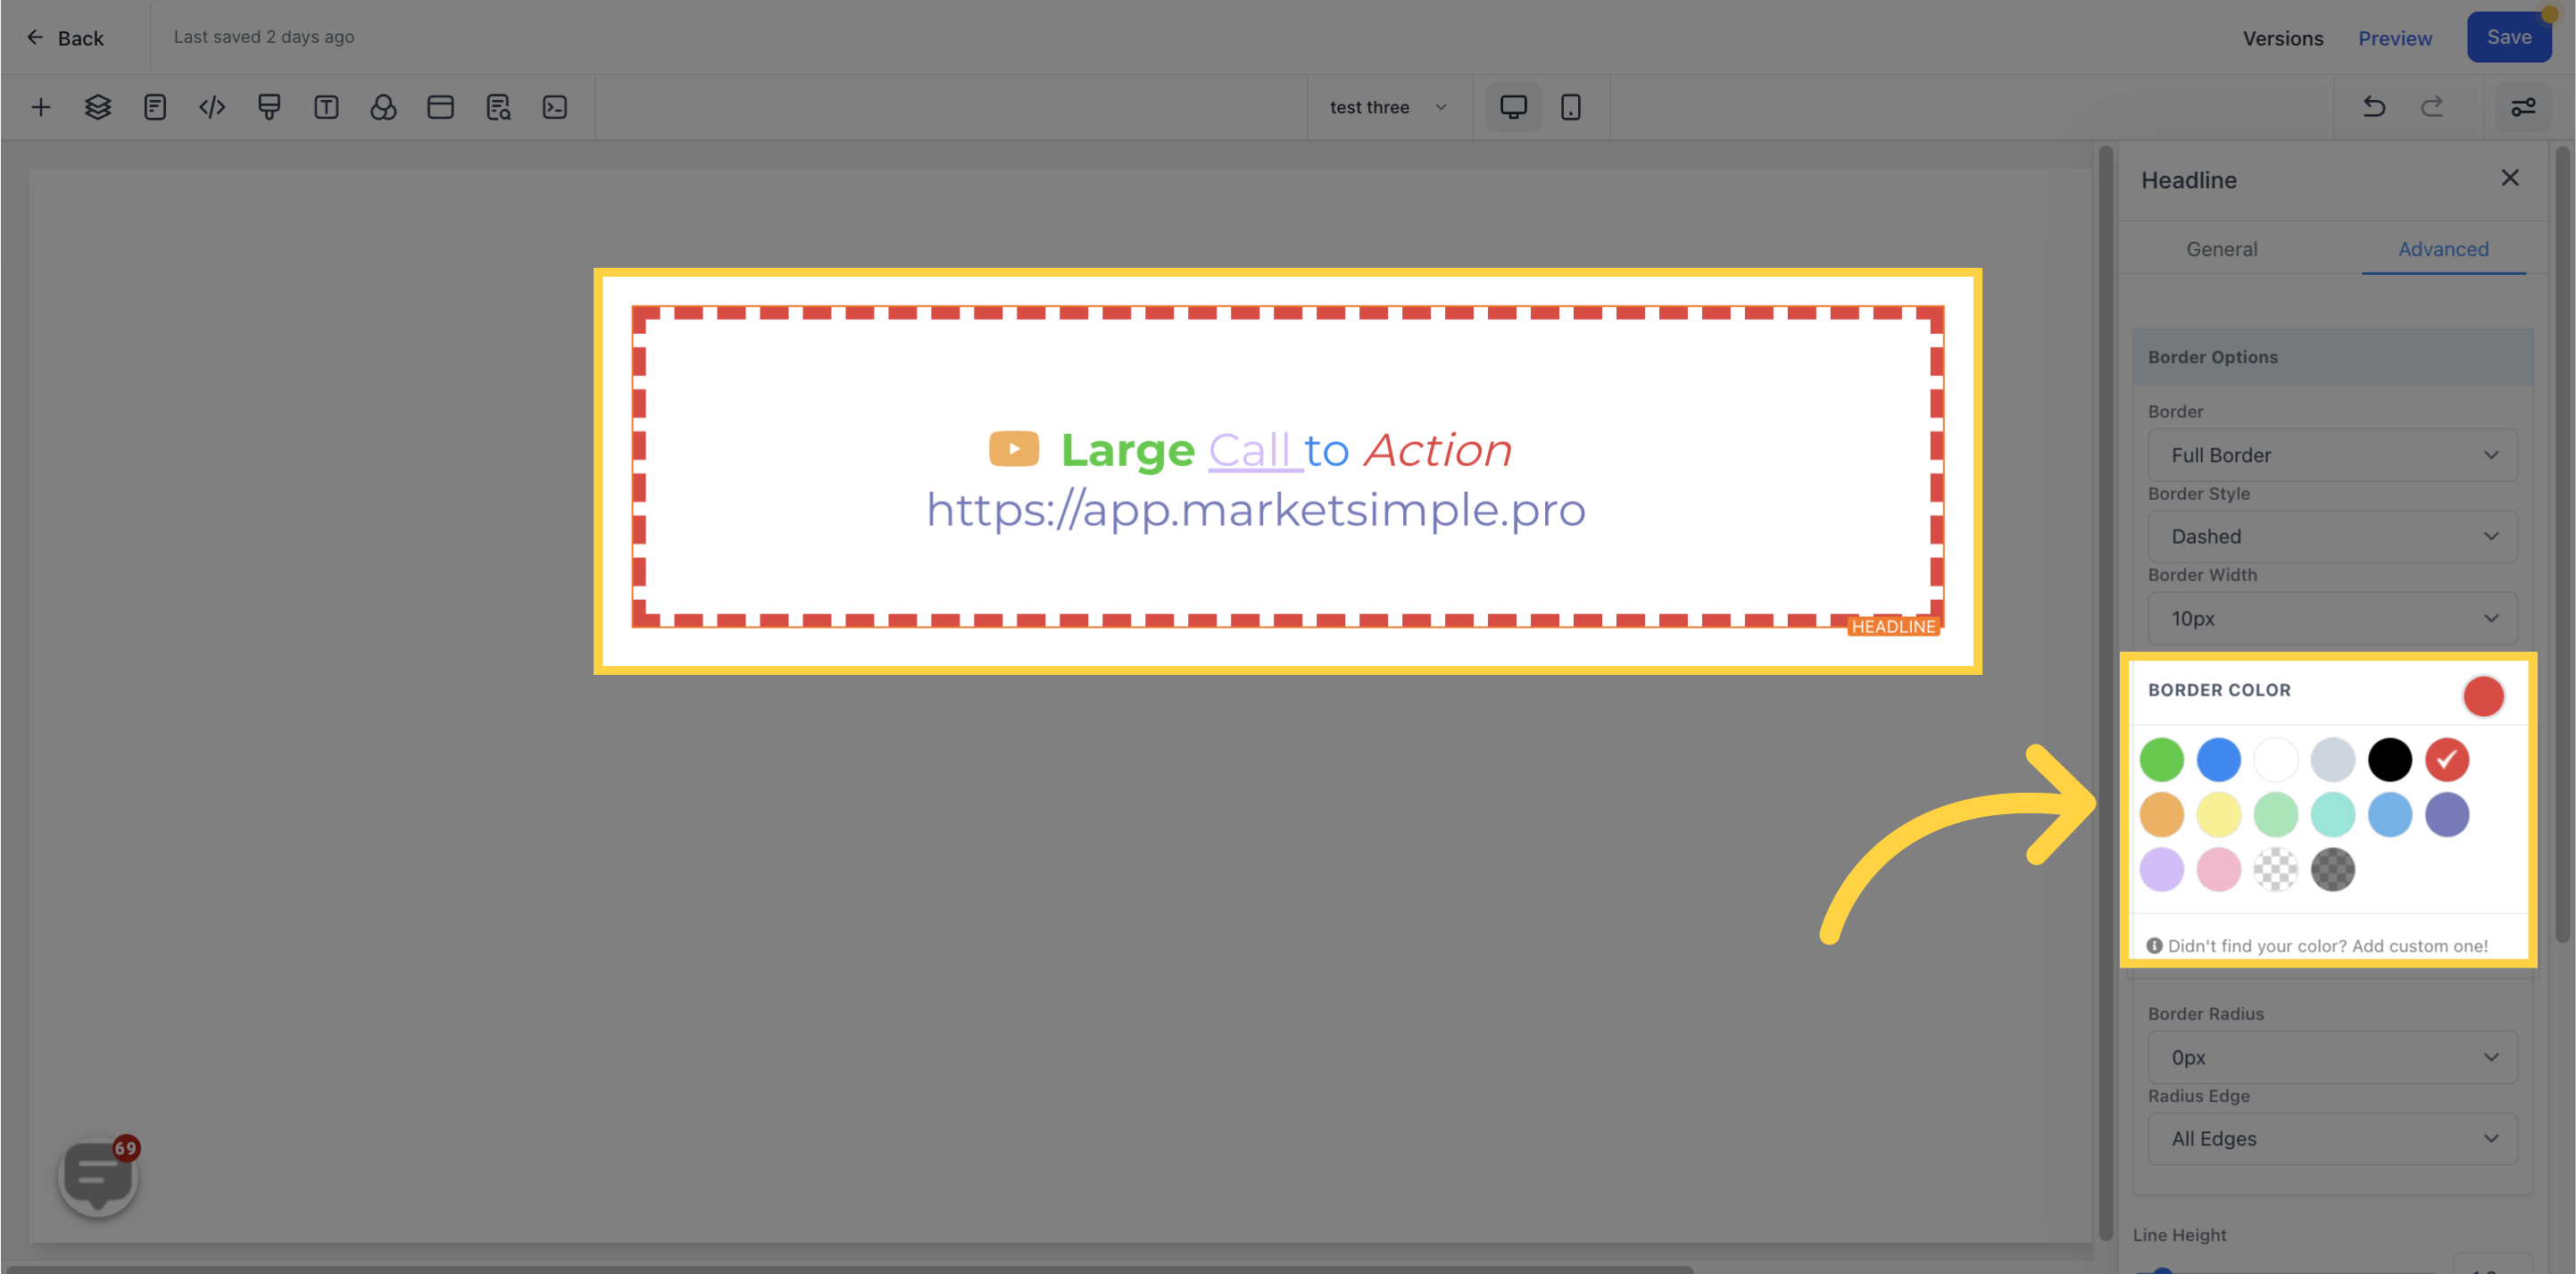
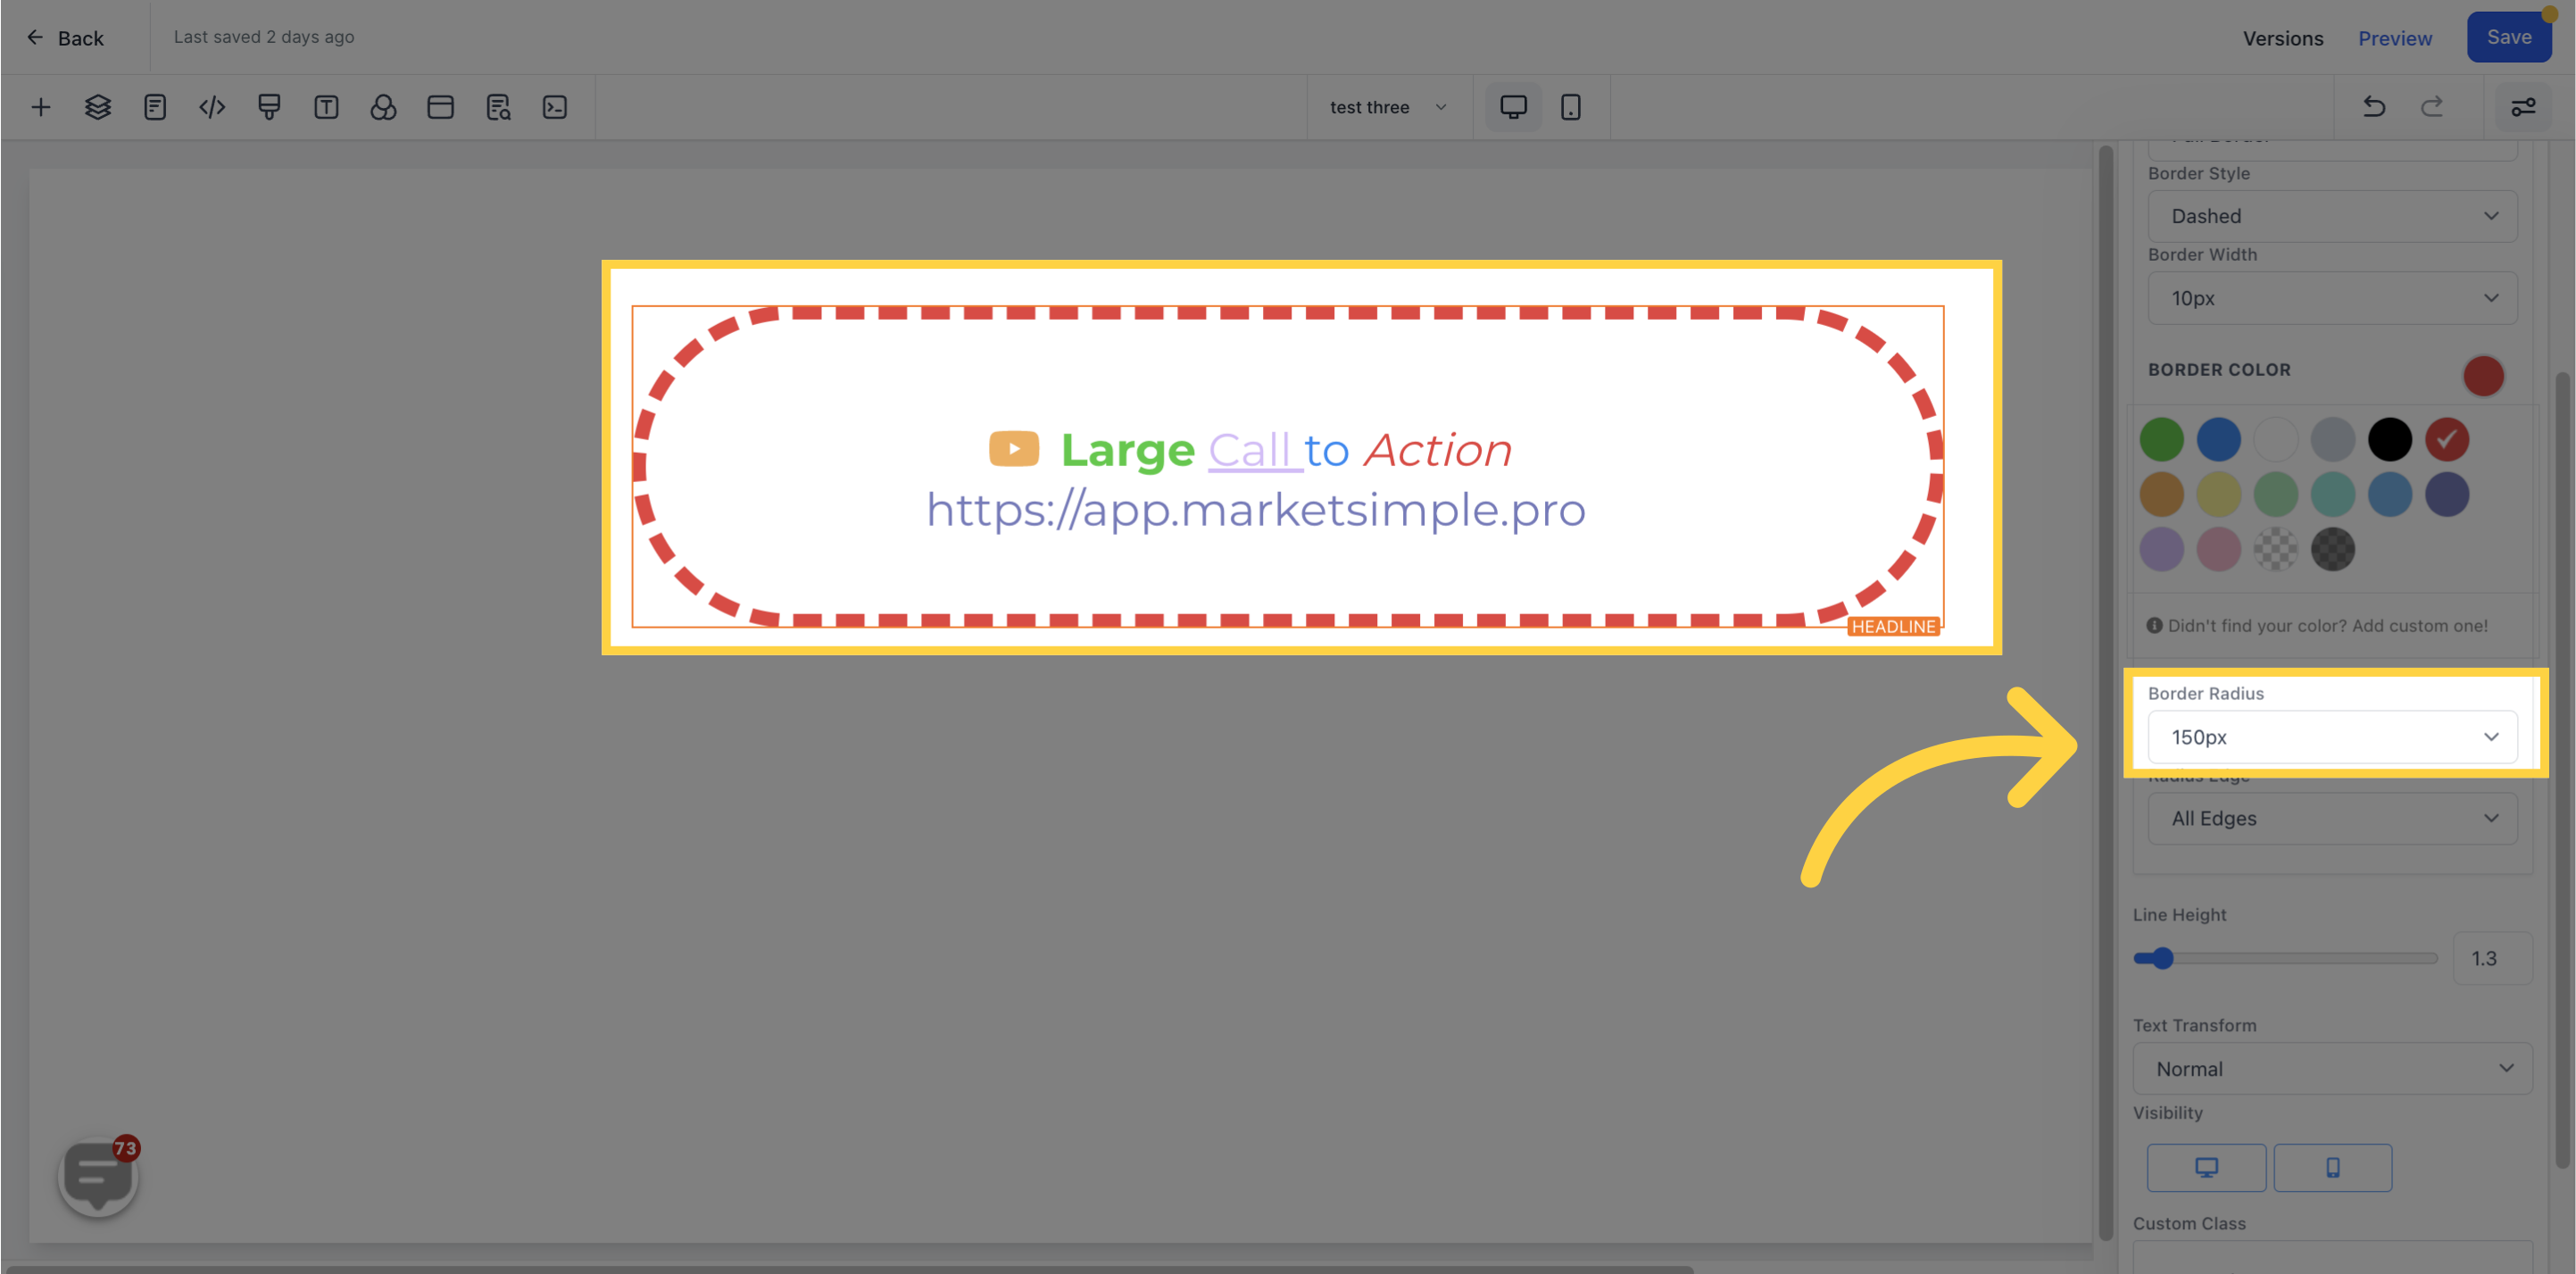
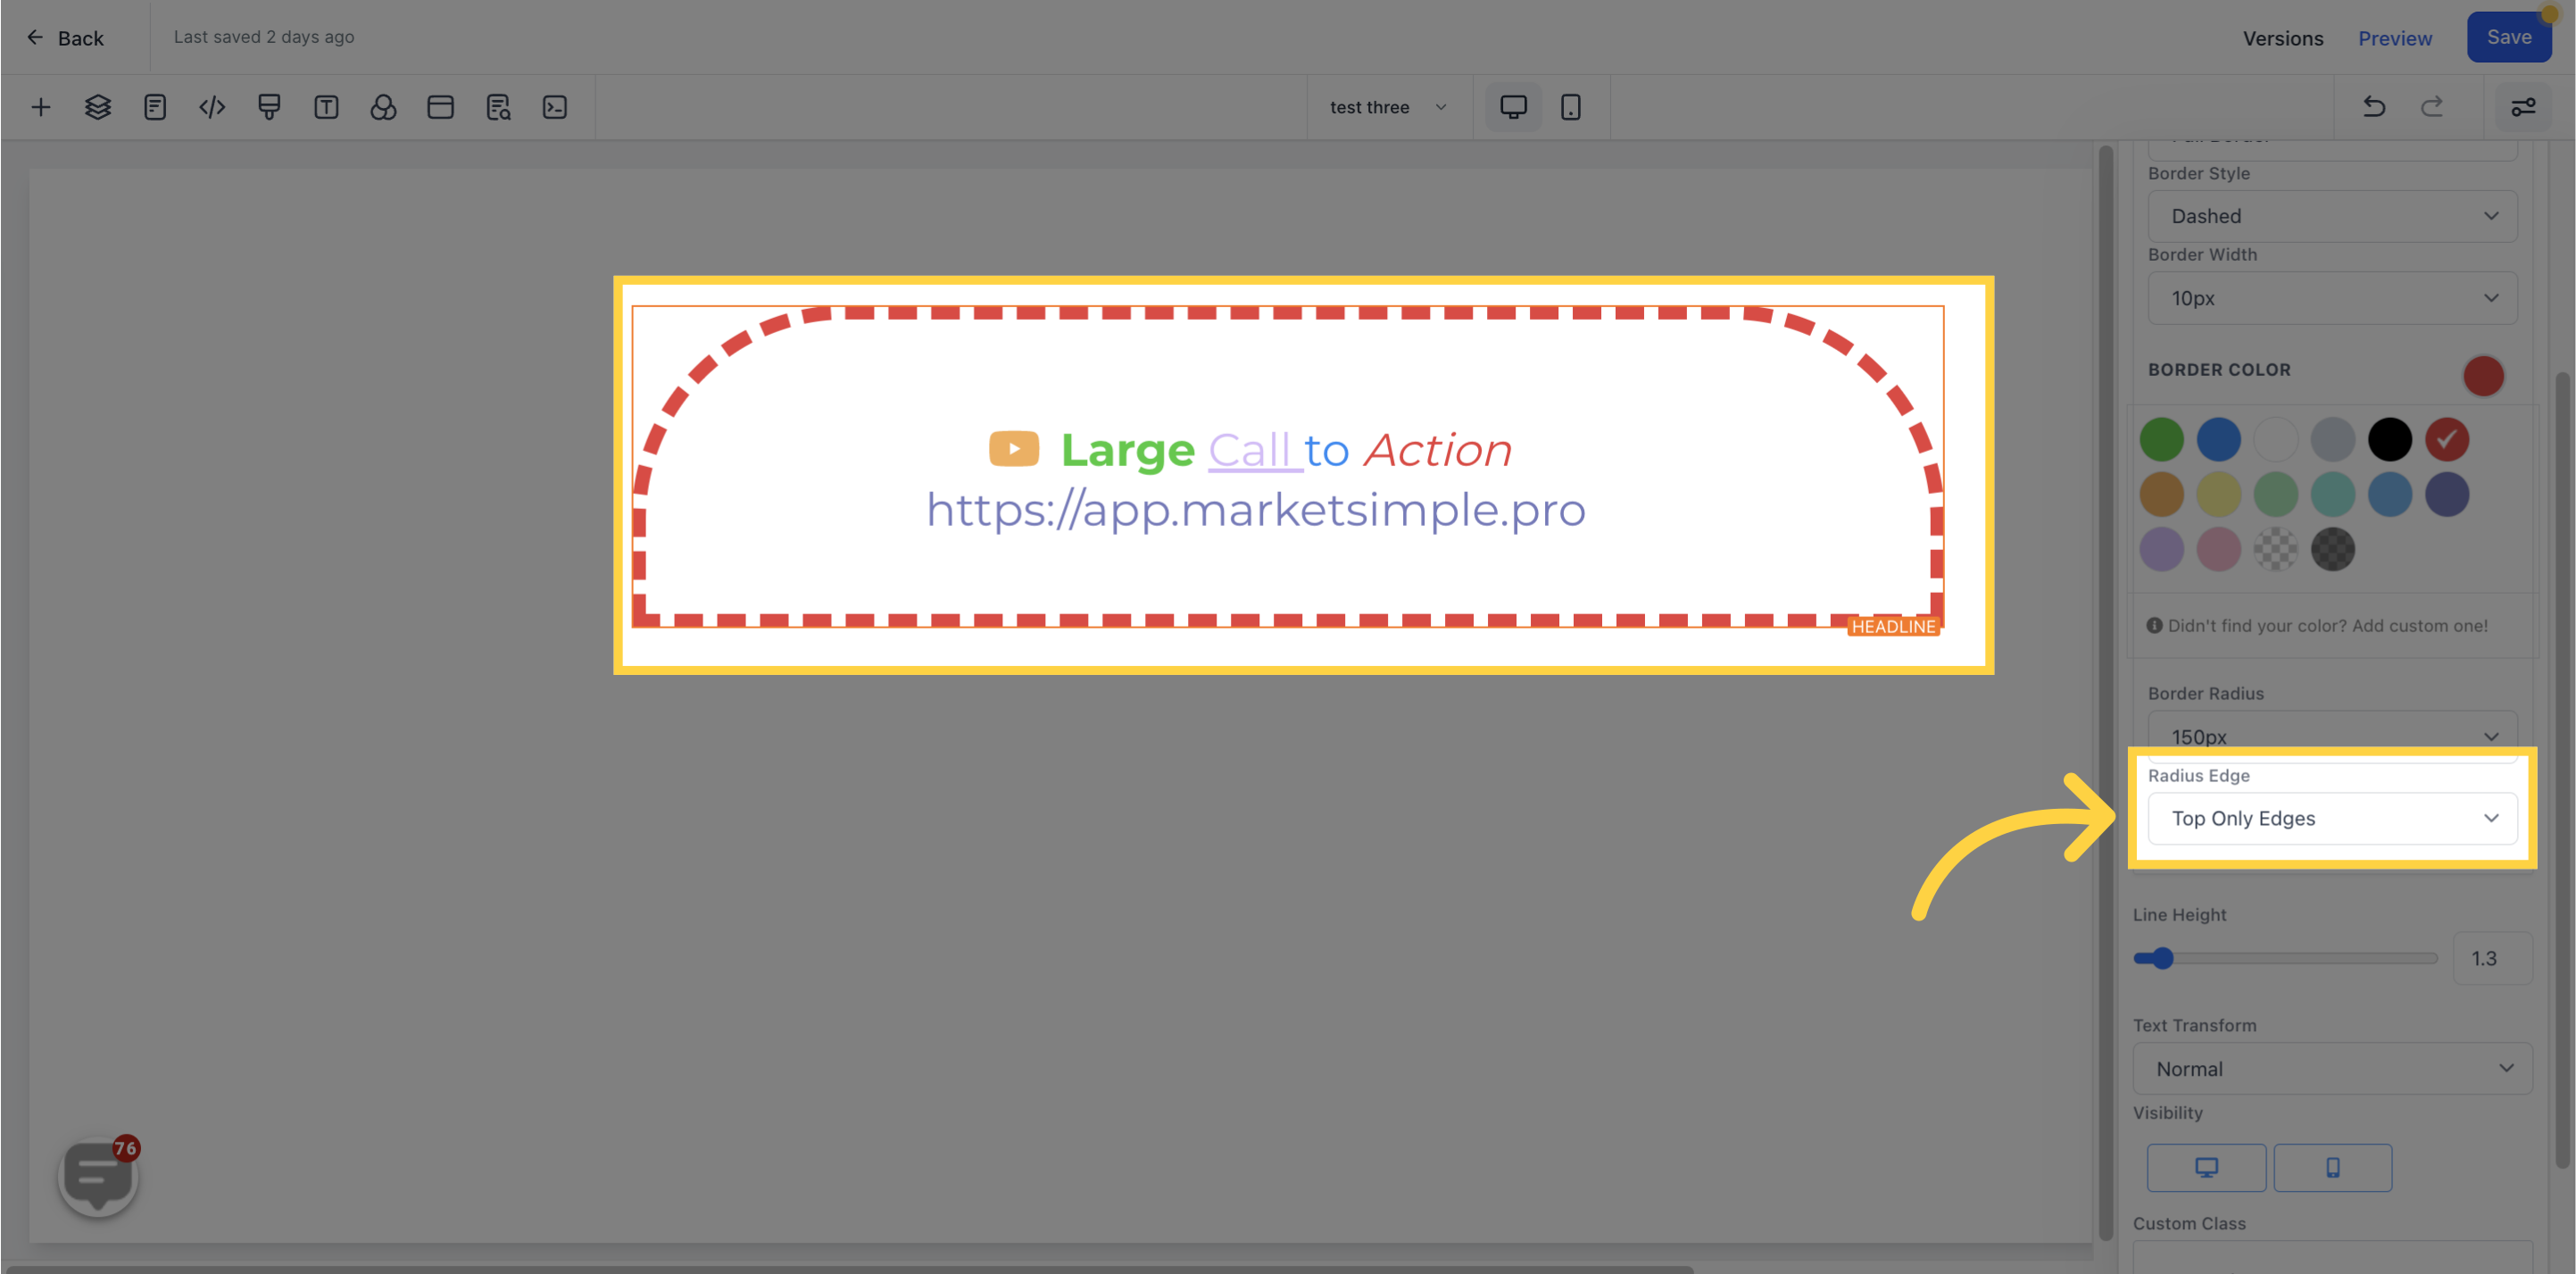
Use the Advanced Settings to customize the border options for your content, including the style, width, color, radius, and edge of the border.

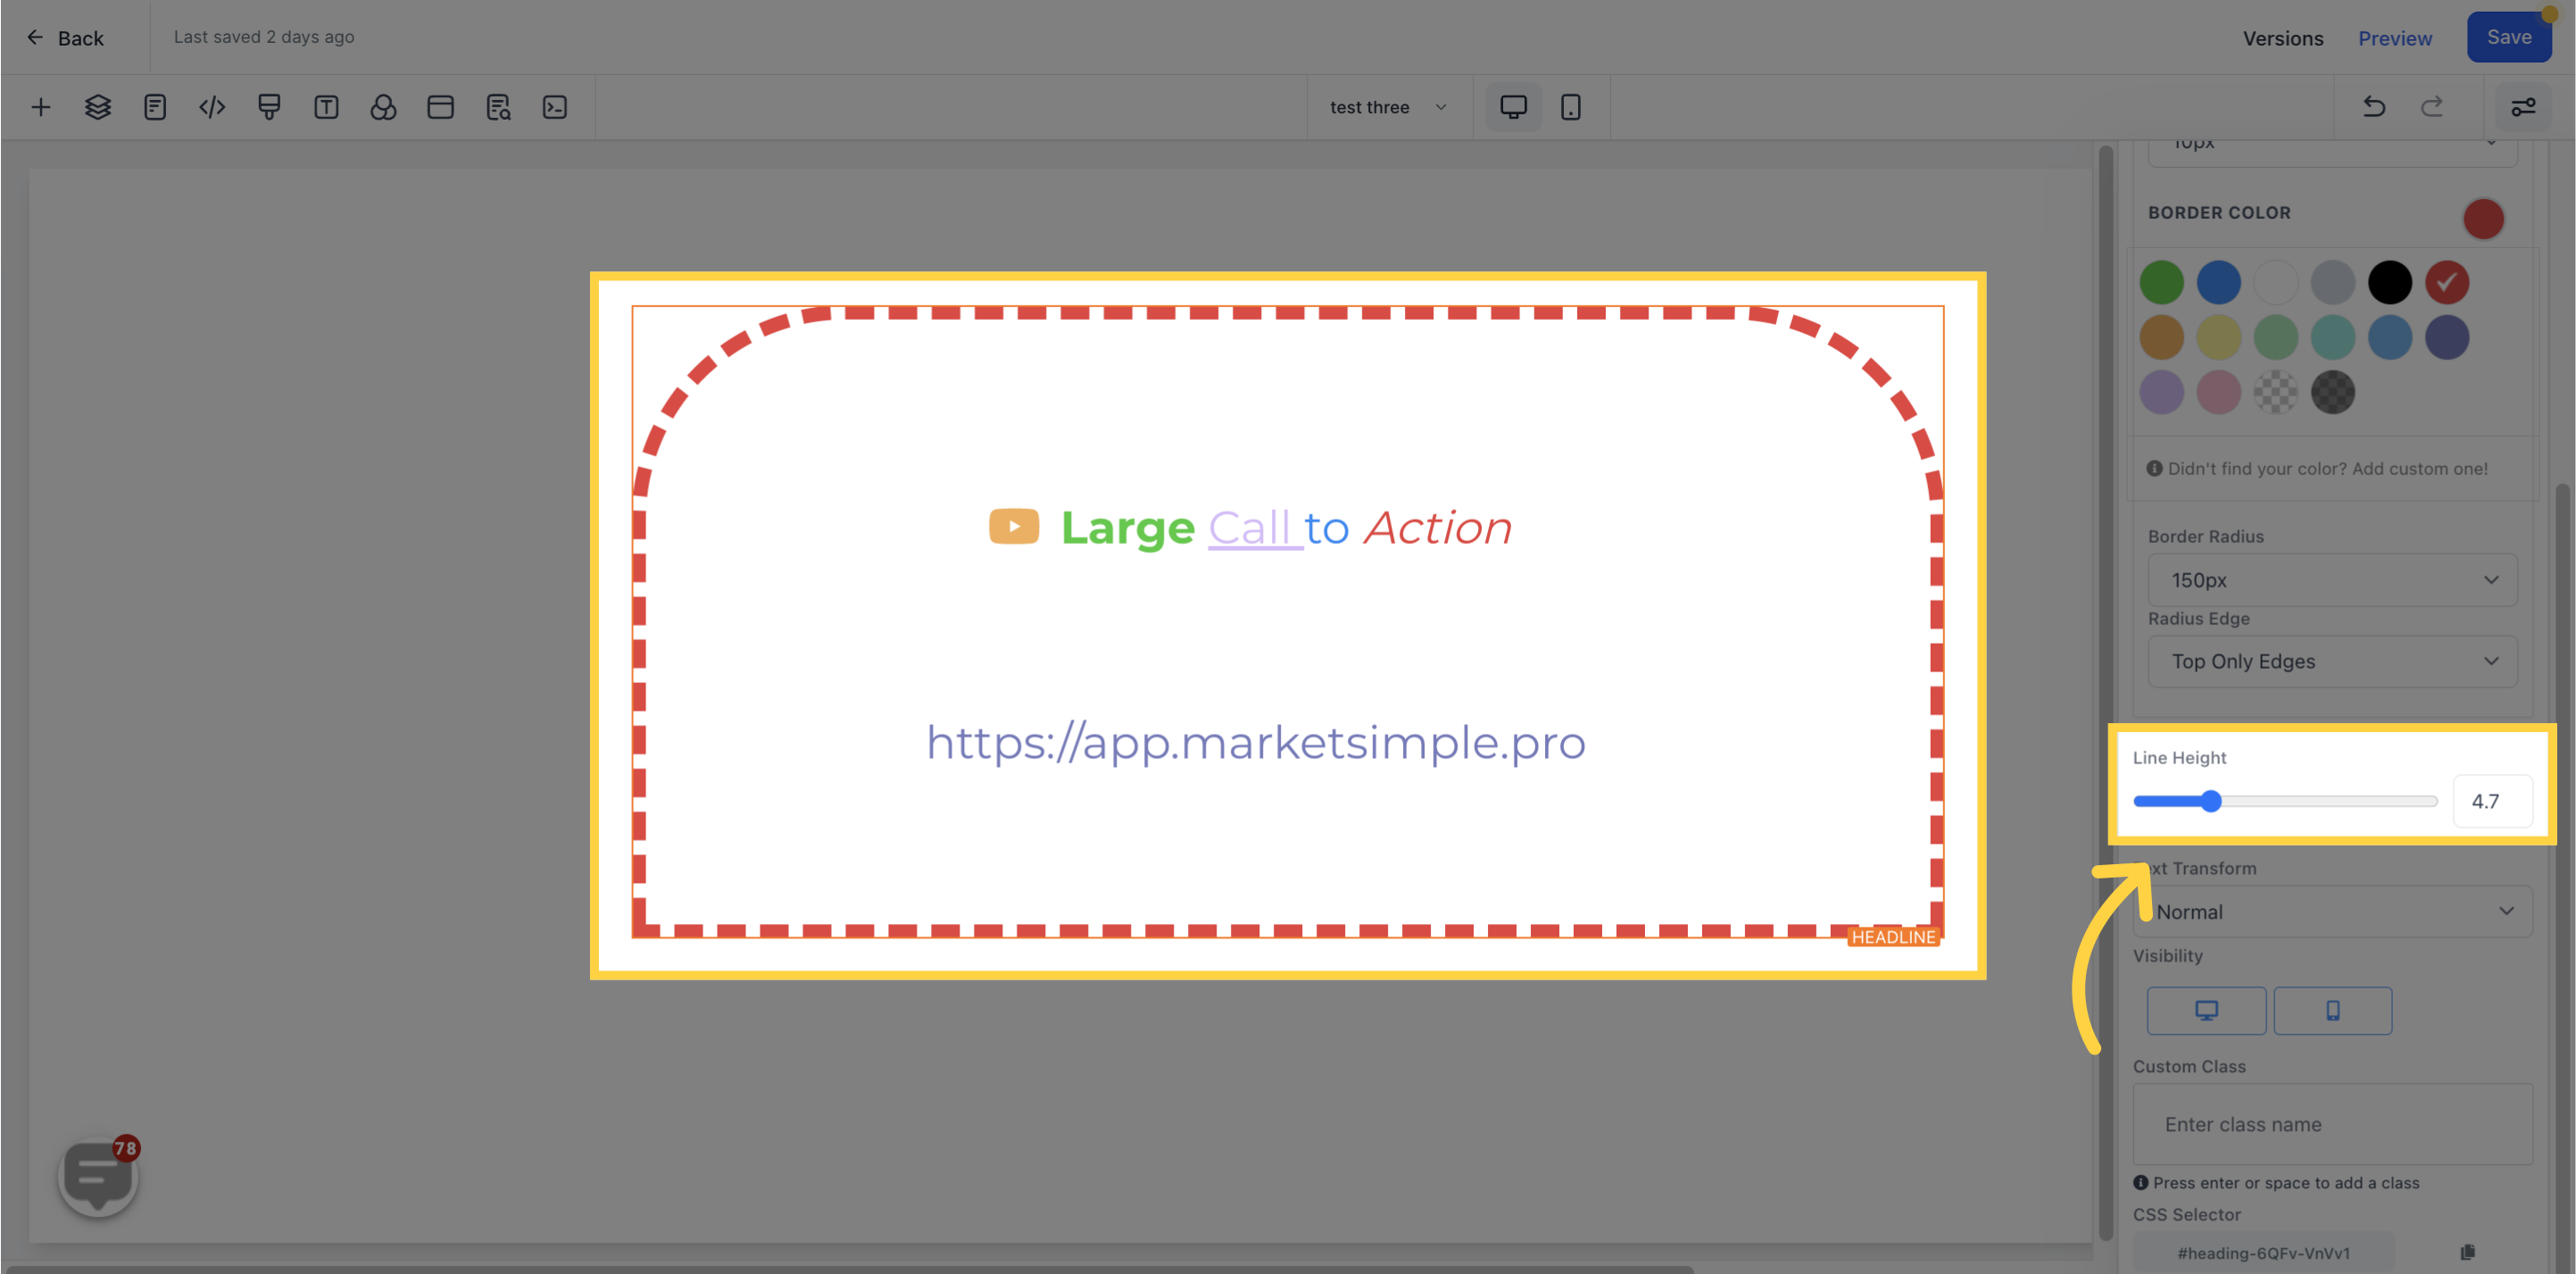
Increase the height of the Element box with the Line Height feature.
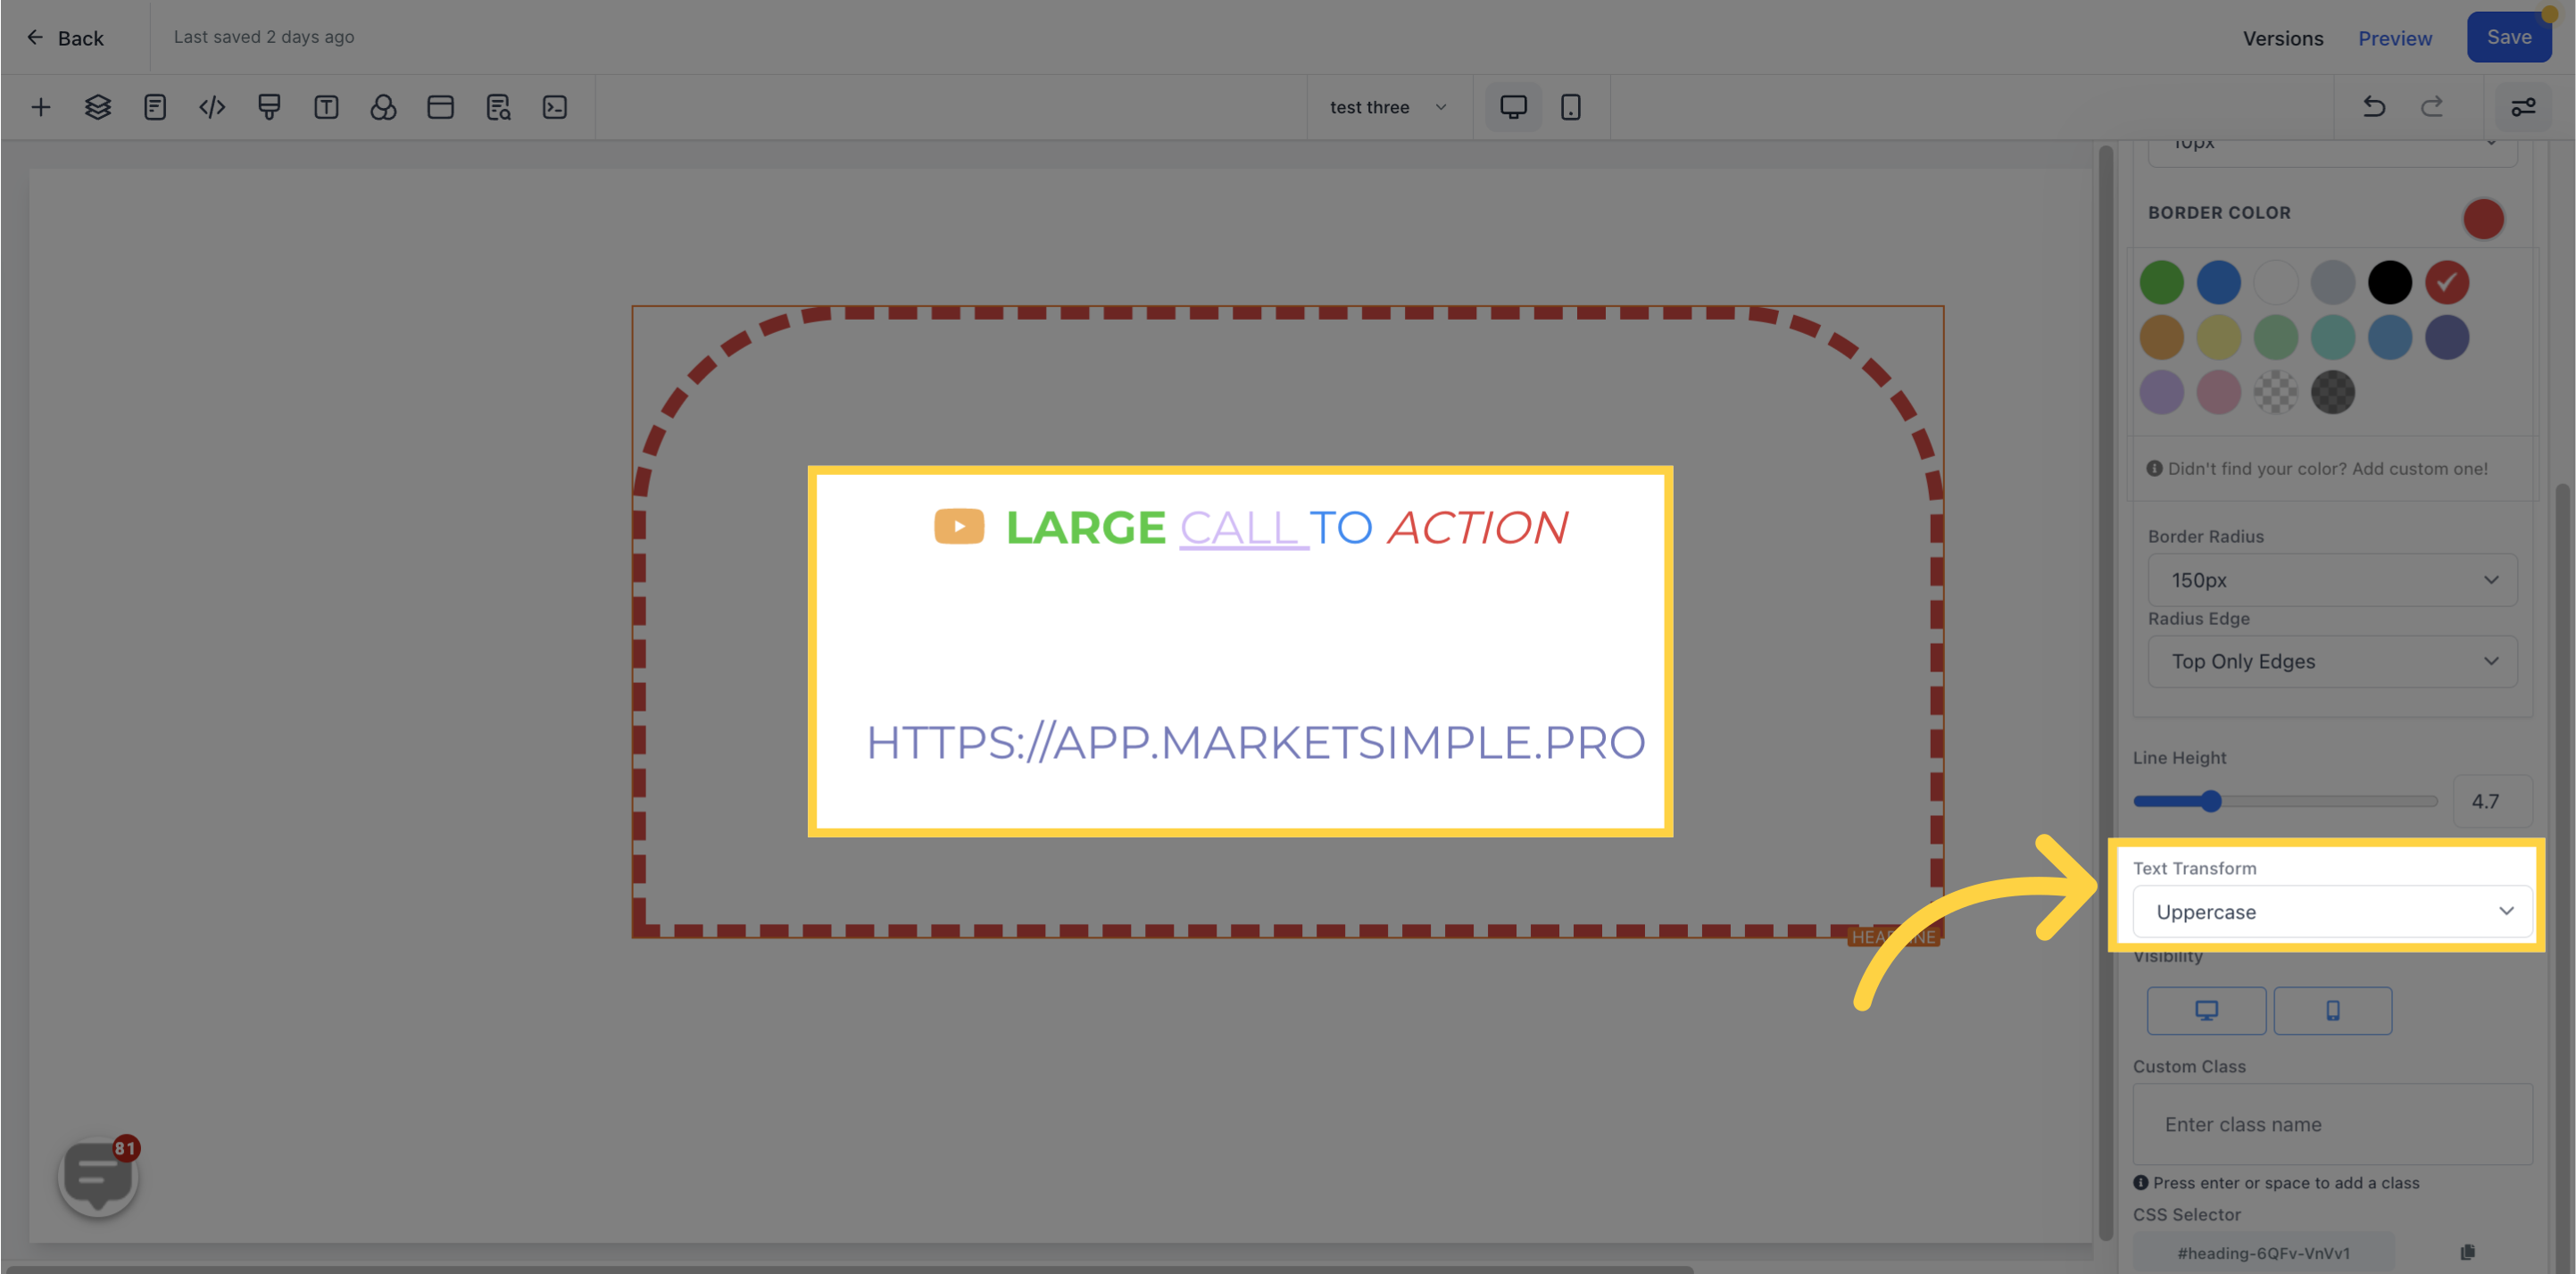
Transform your text to uppercase, lowercase, or capitalize each word with the Text Transform option.
Choose the visibility of your page on desktop or mobile or both.

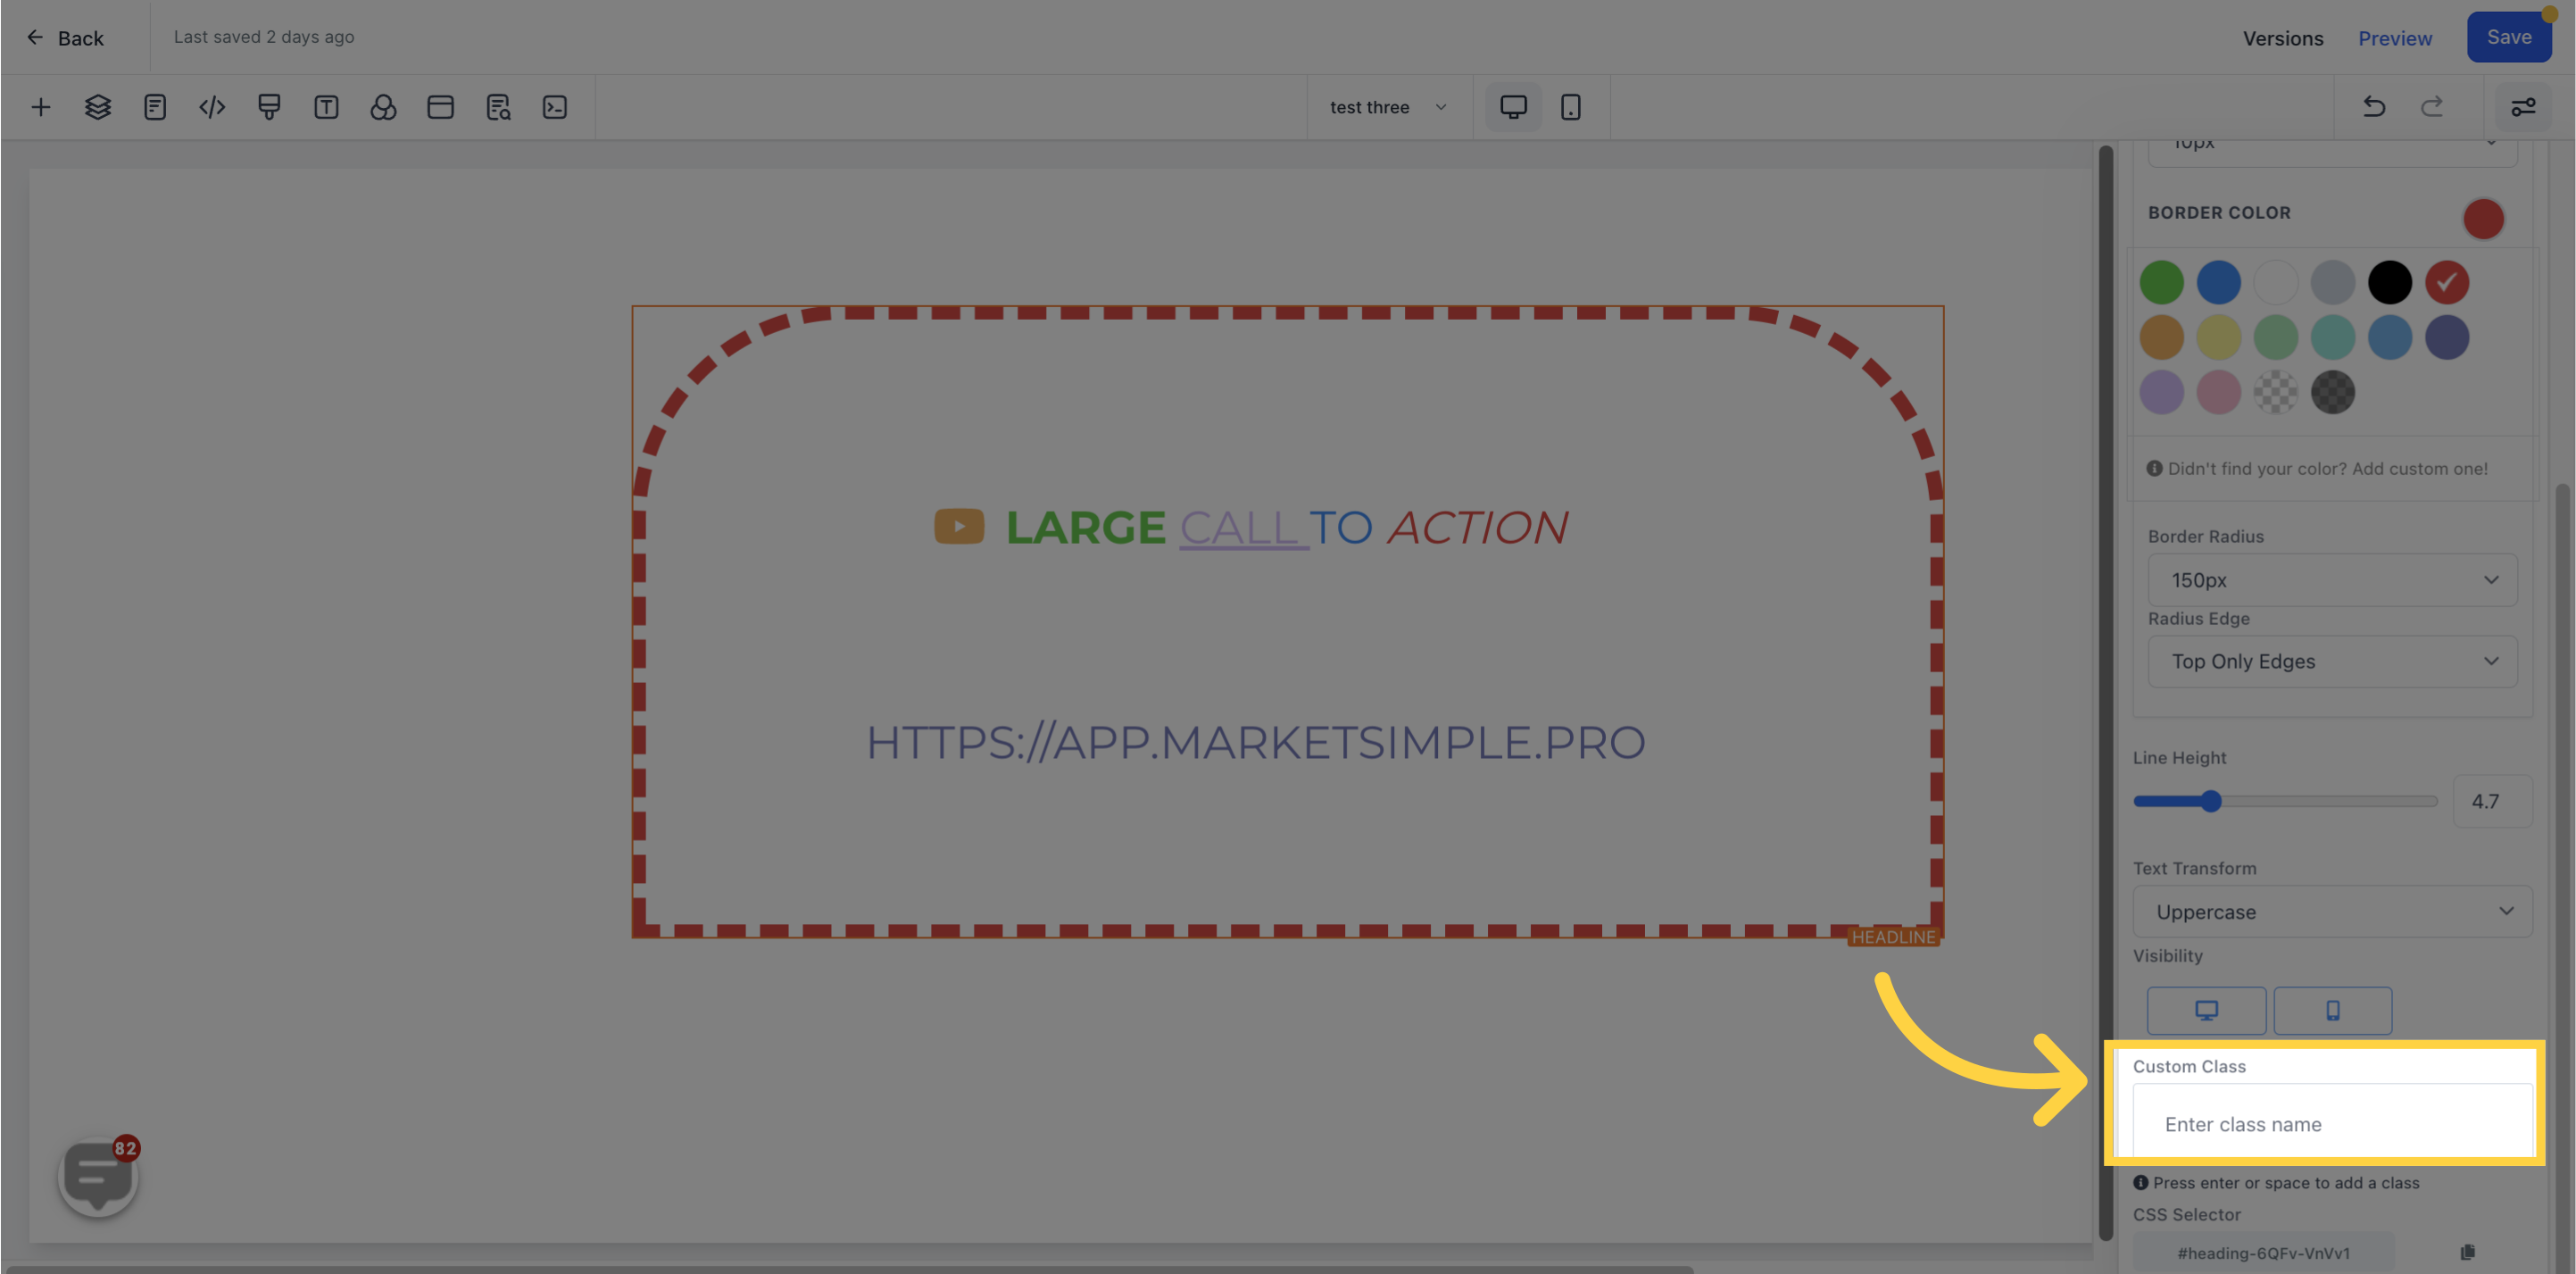
Add a Custom Class to your content by pressing enter or space.
Copy a CSS Selector by clicking on the "copy" icon next to the reference number.