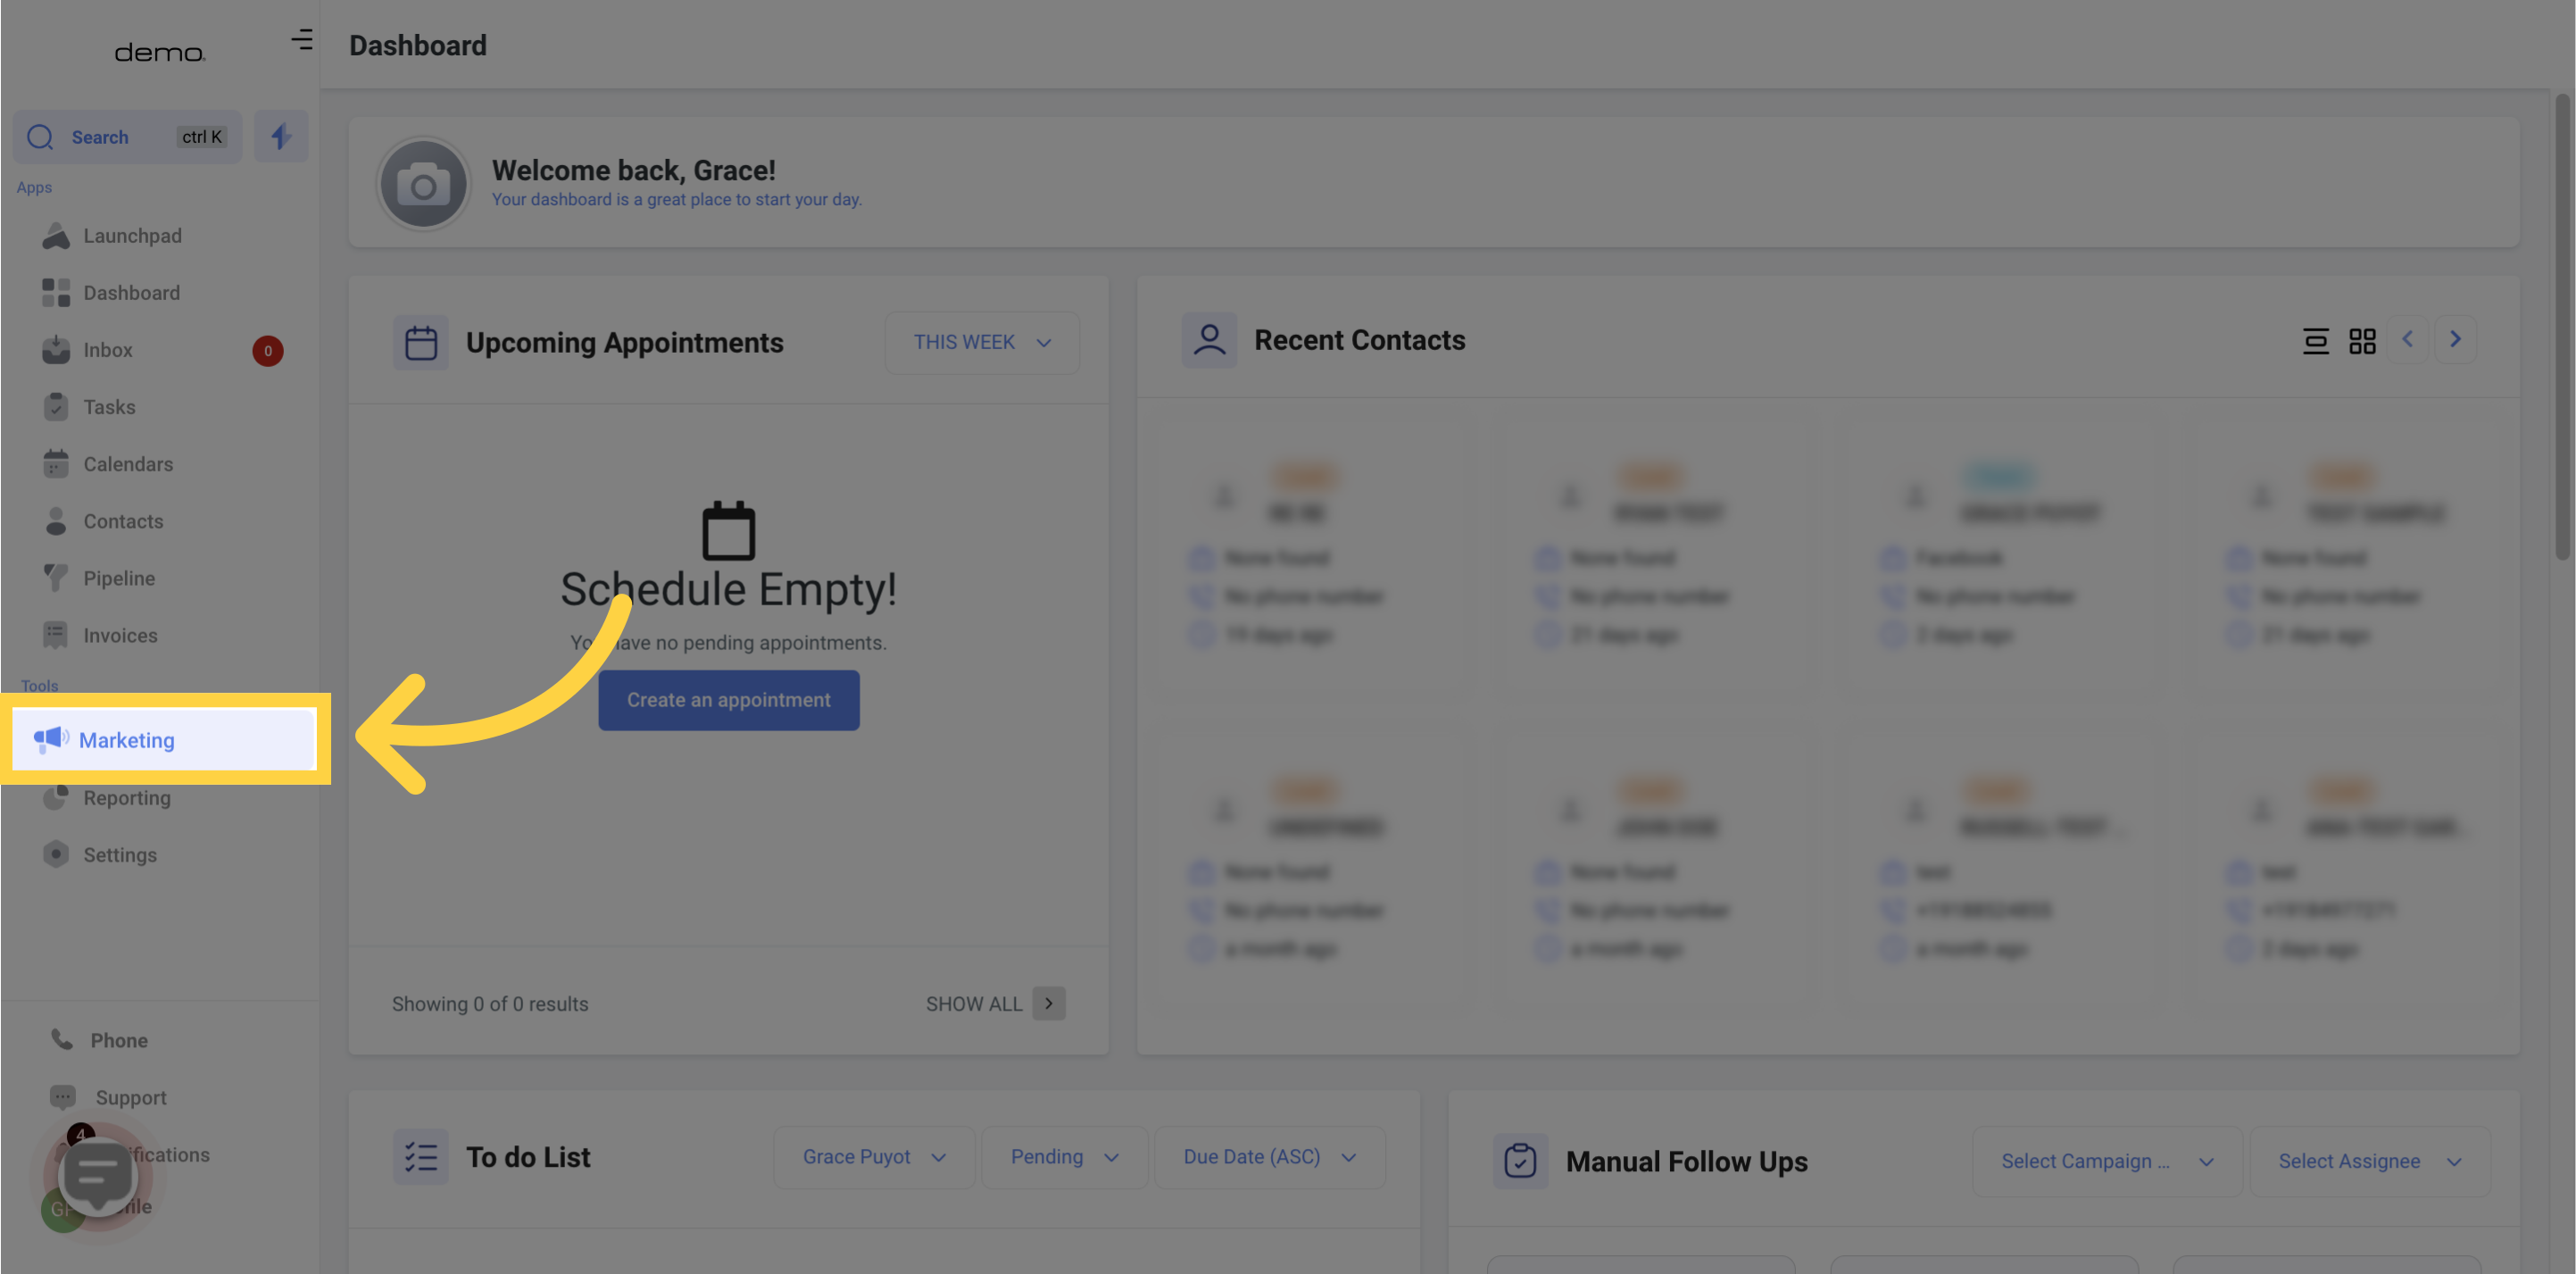
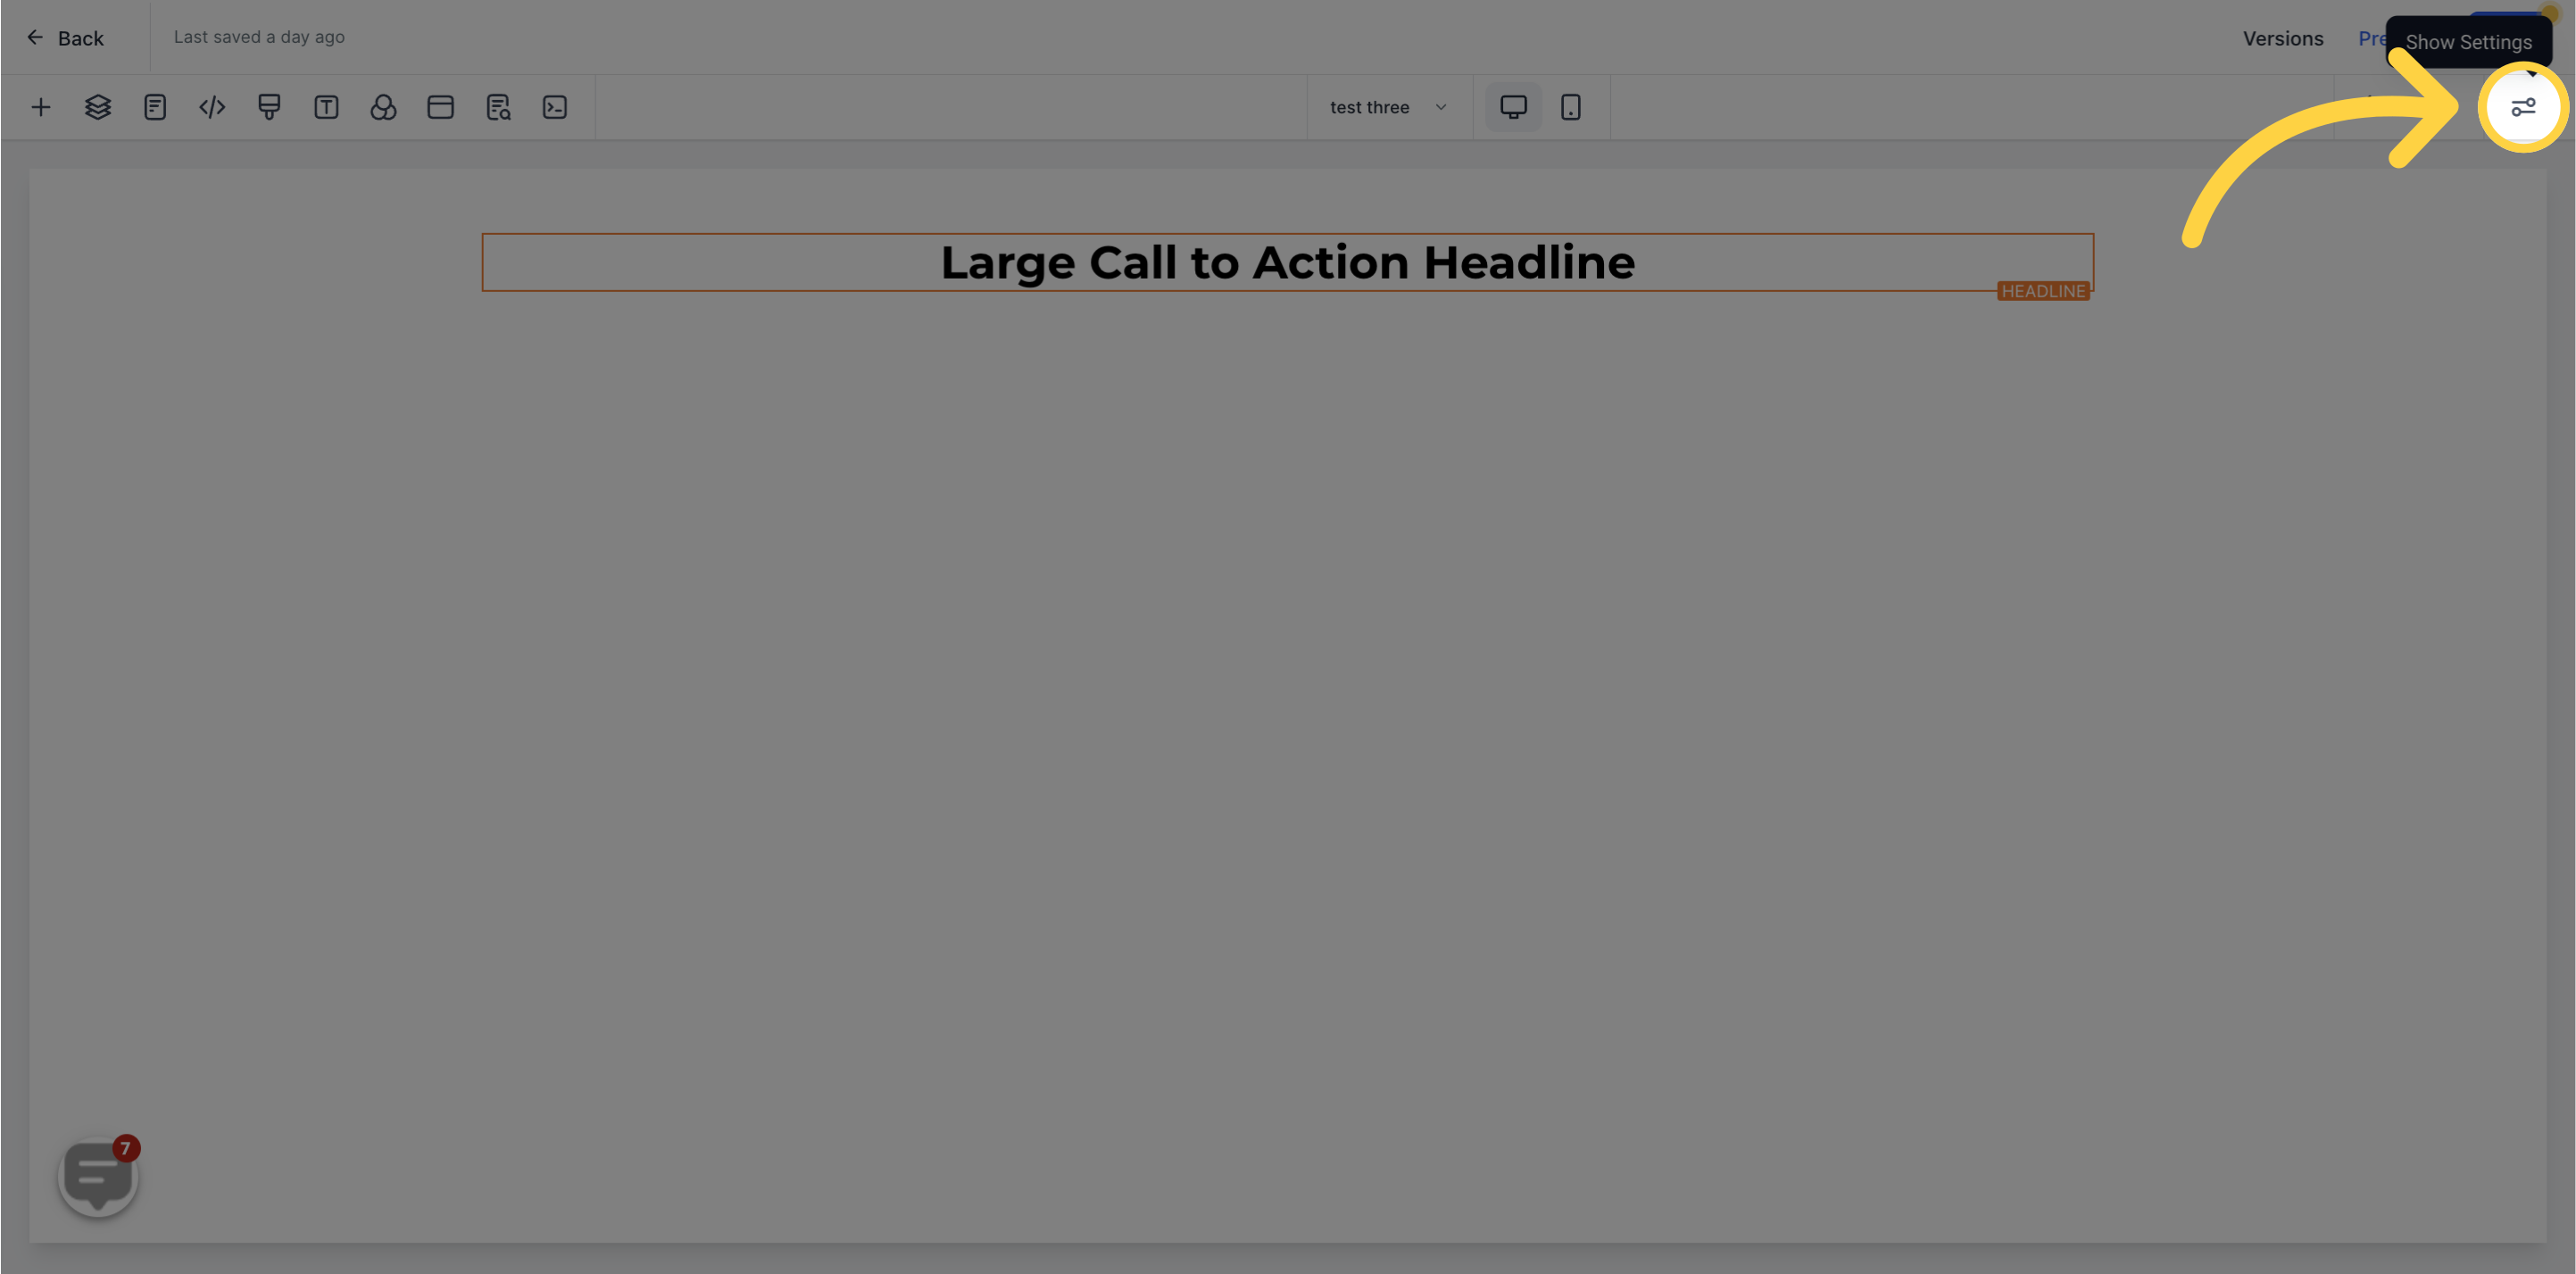
Access the marketing section
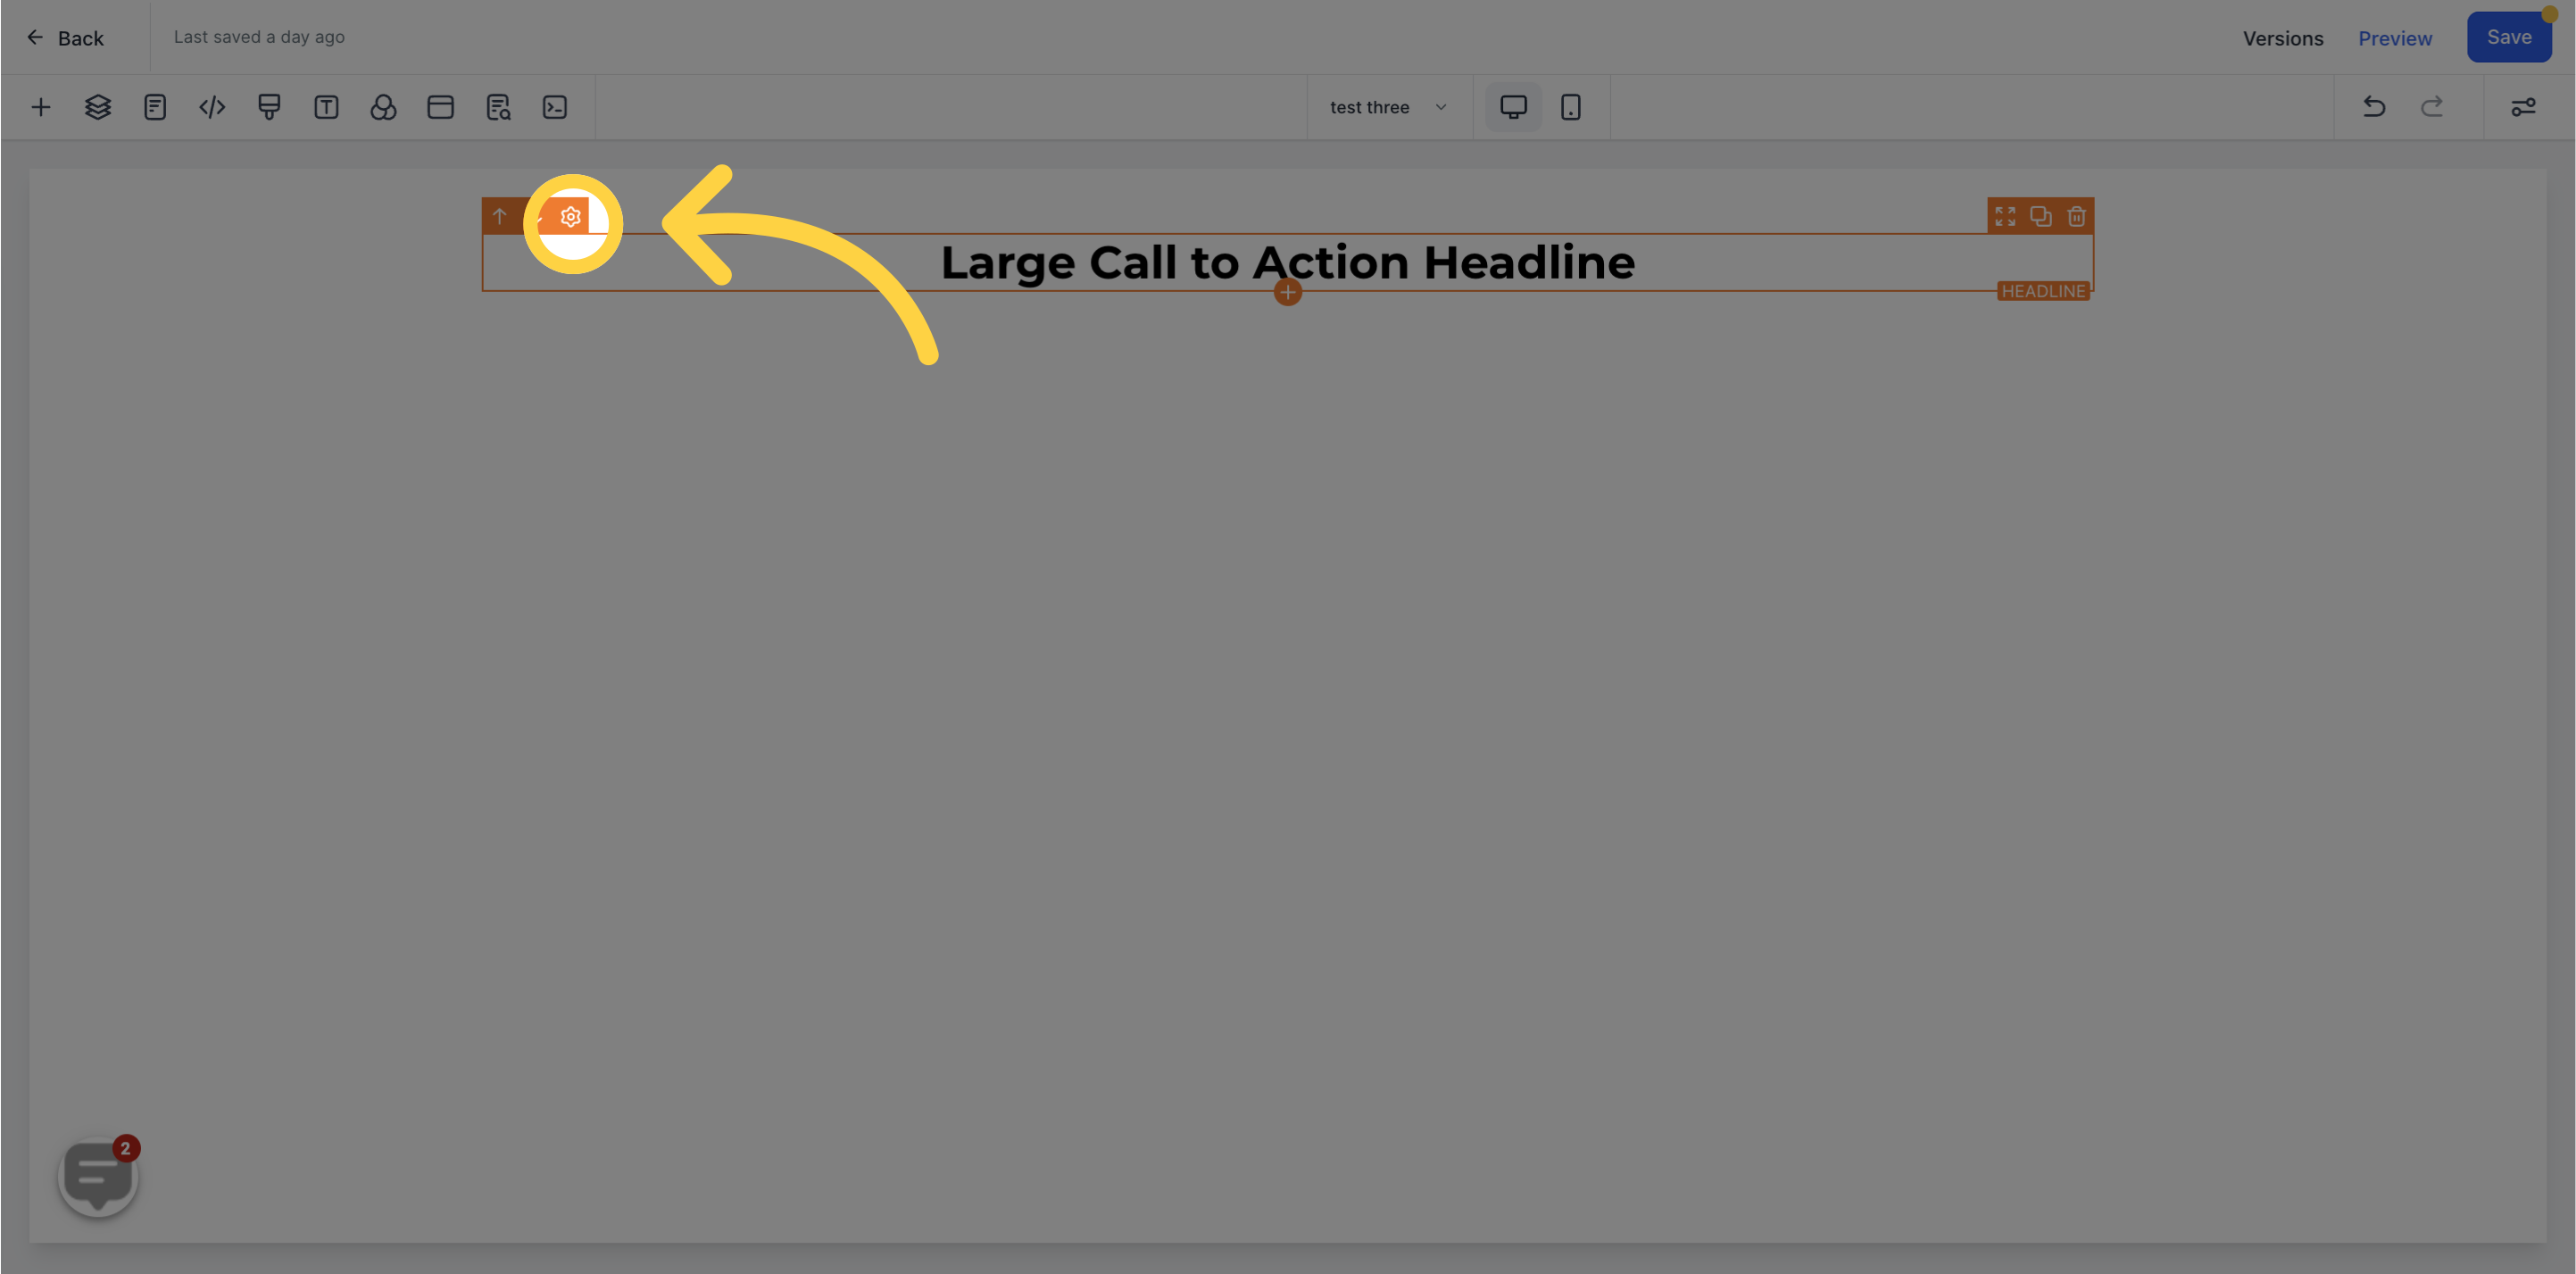
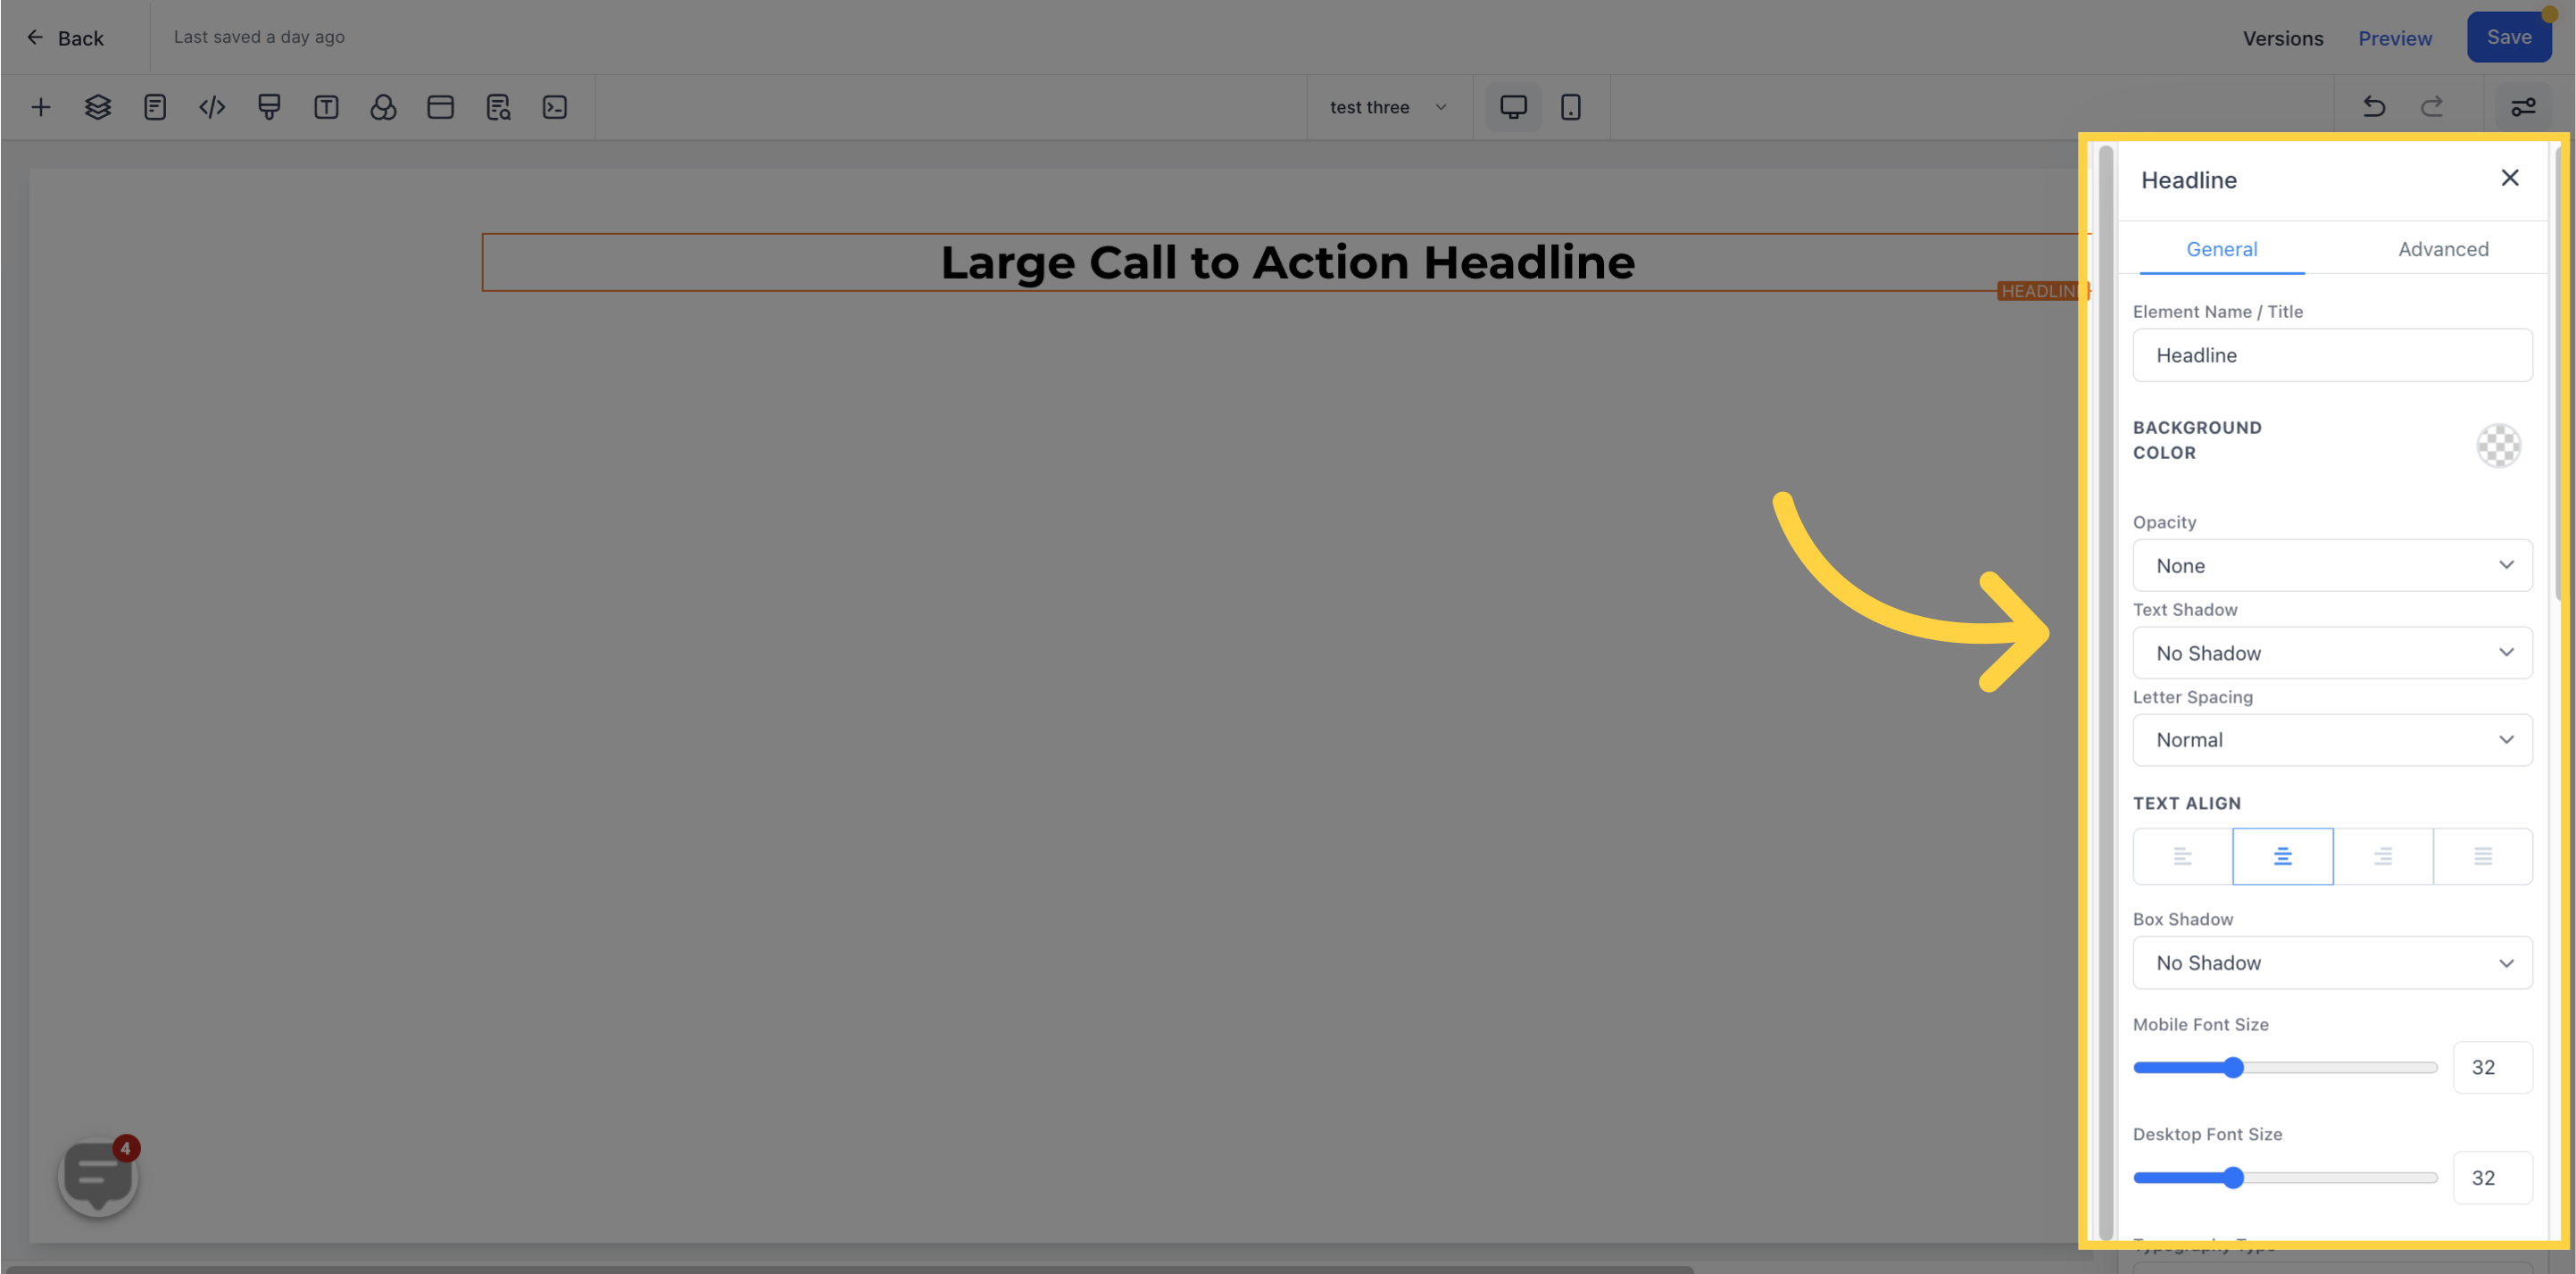
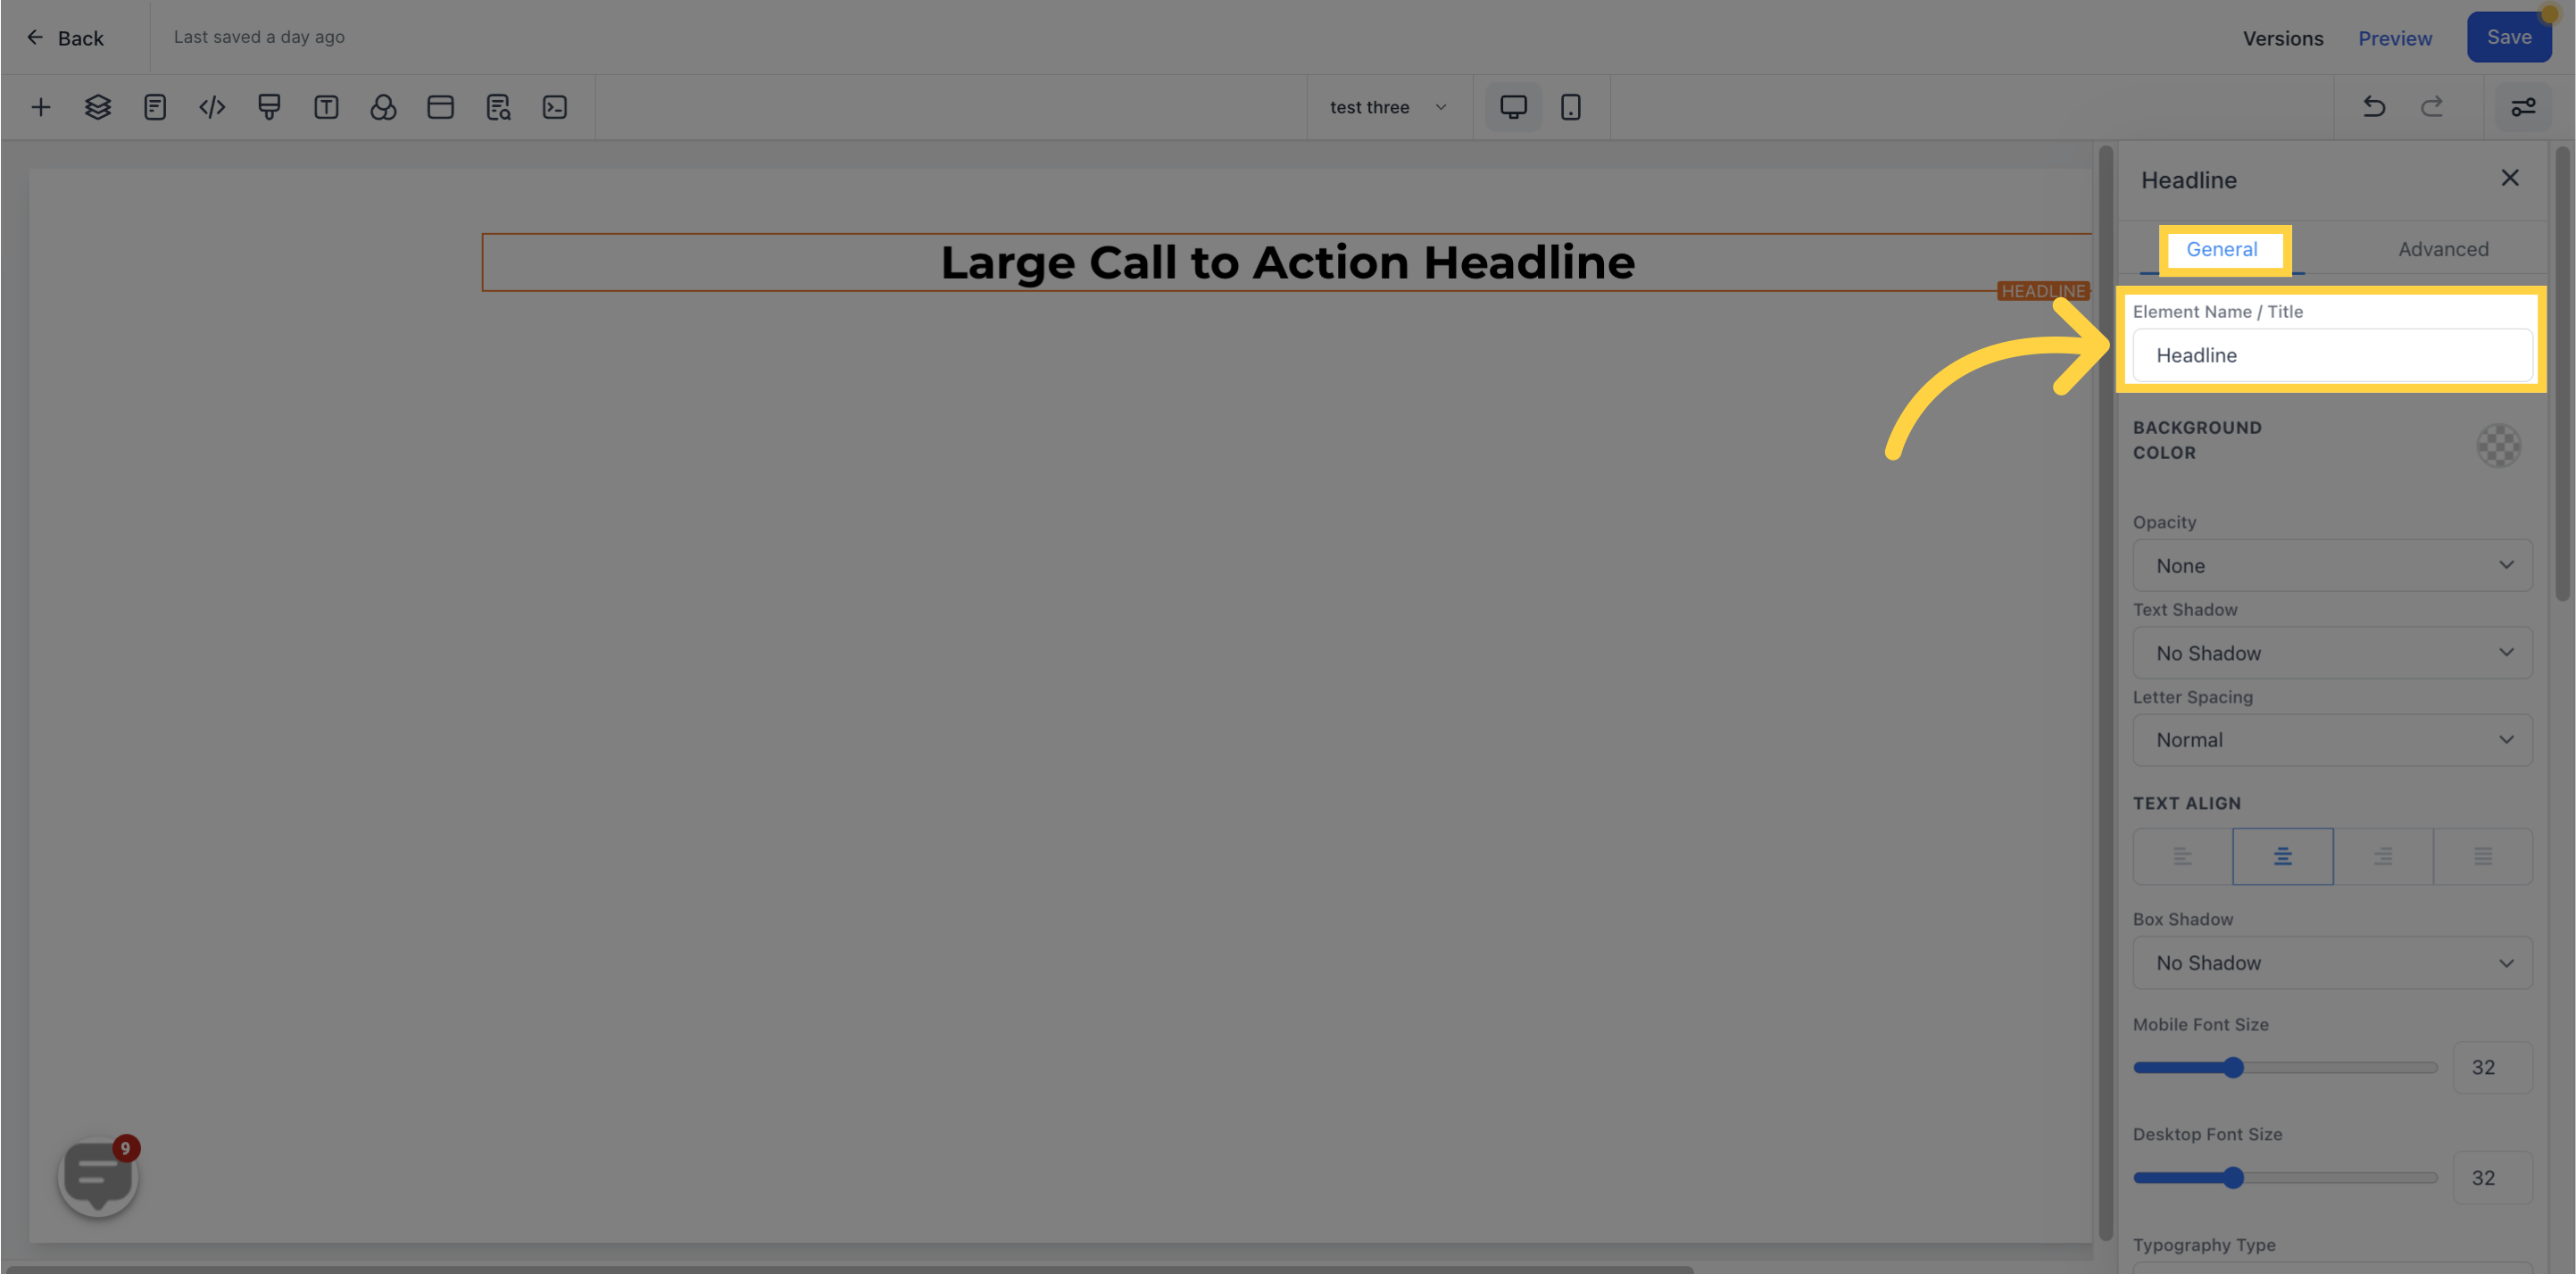
Here you will see the default name/title of the Edit option you are working on. You can decide to leave at that or rename it.
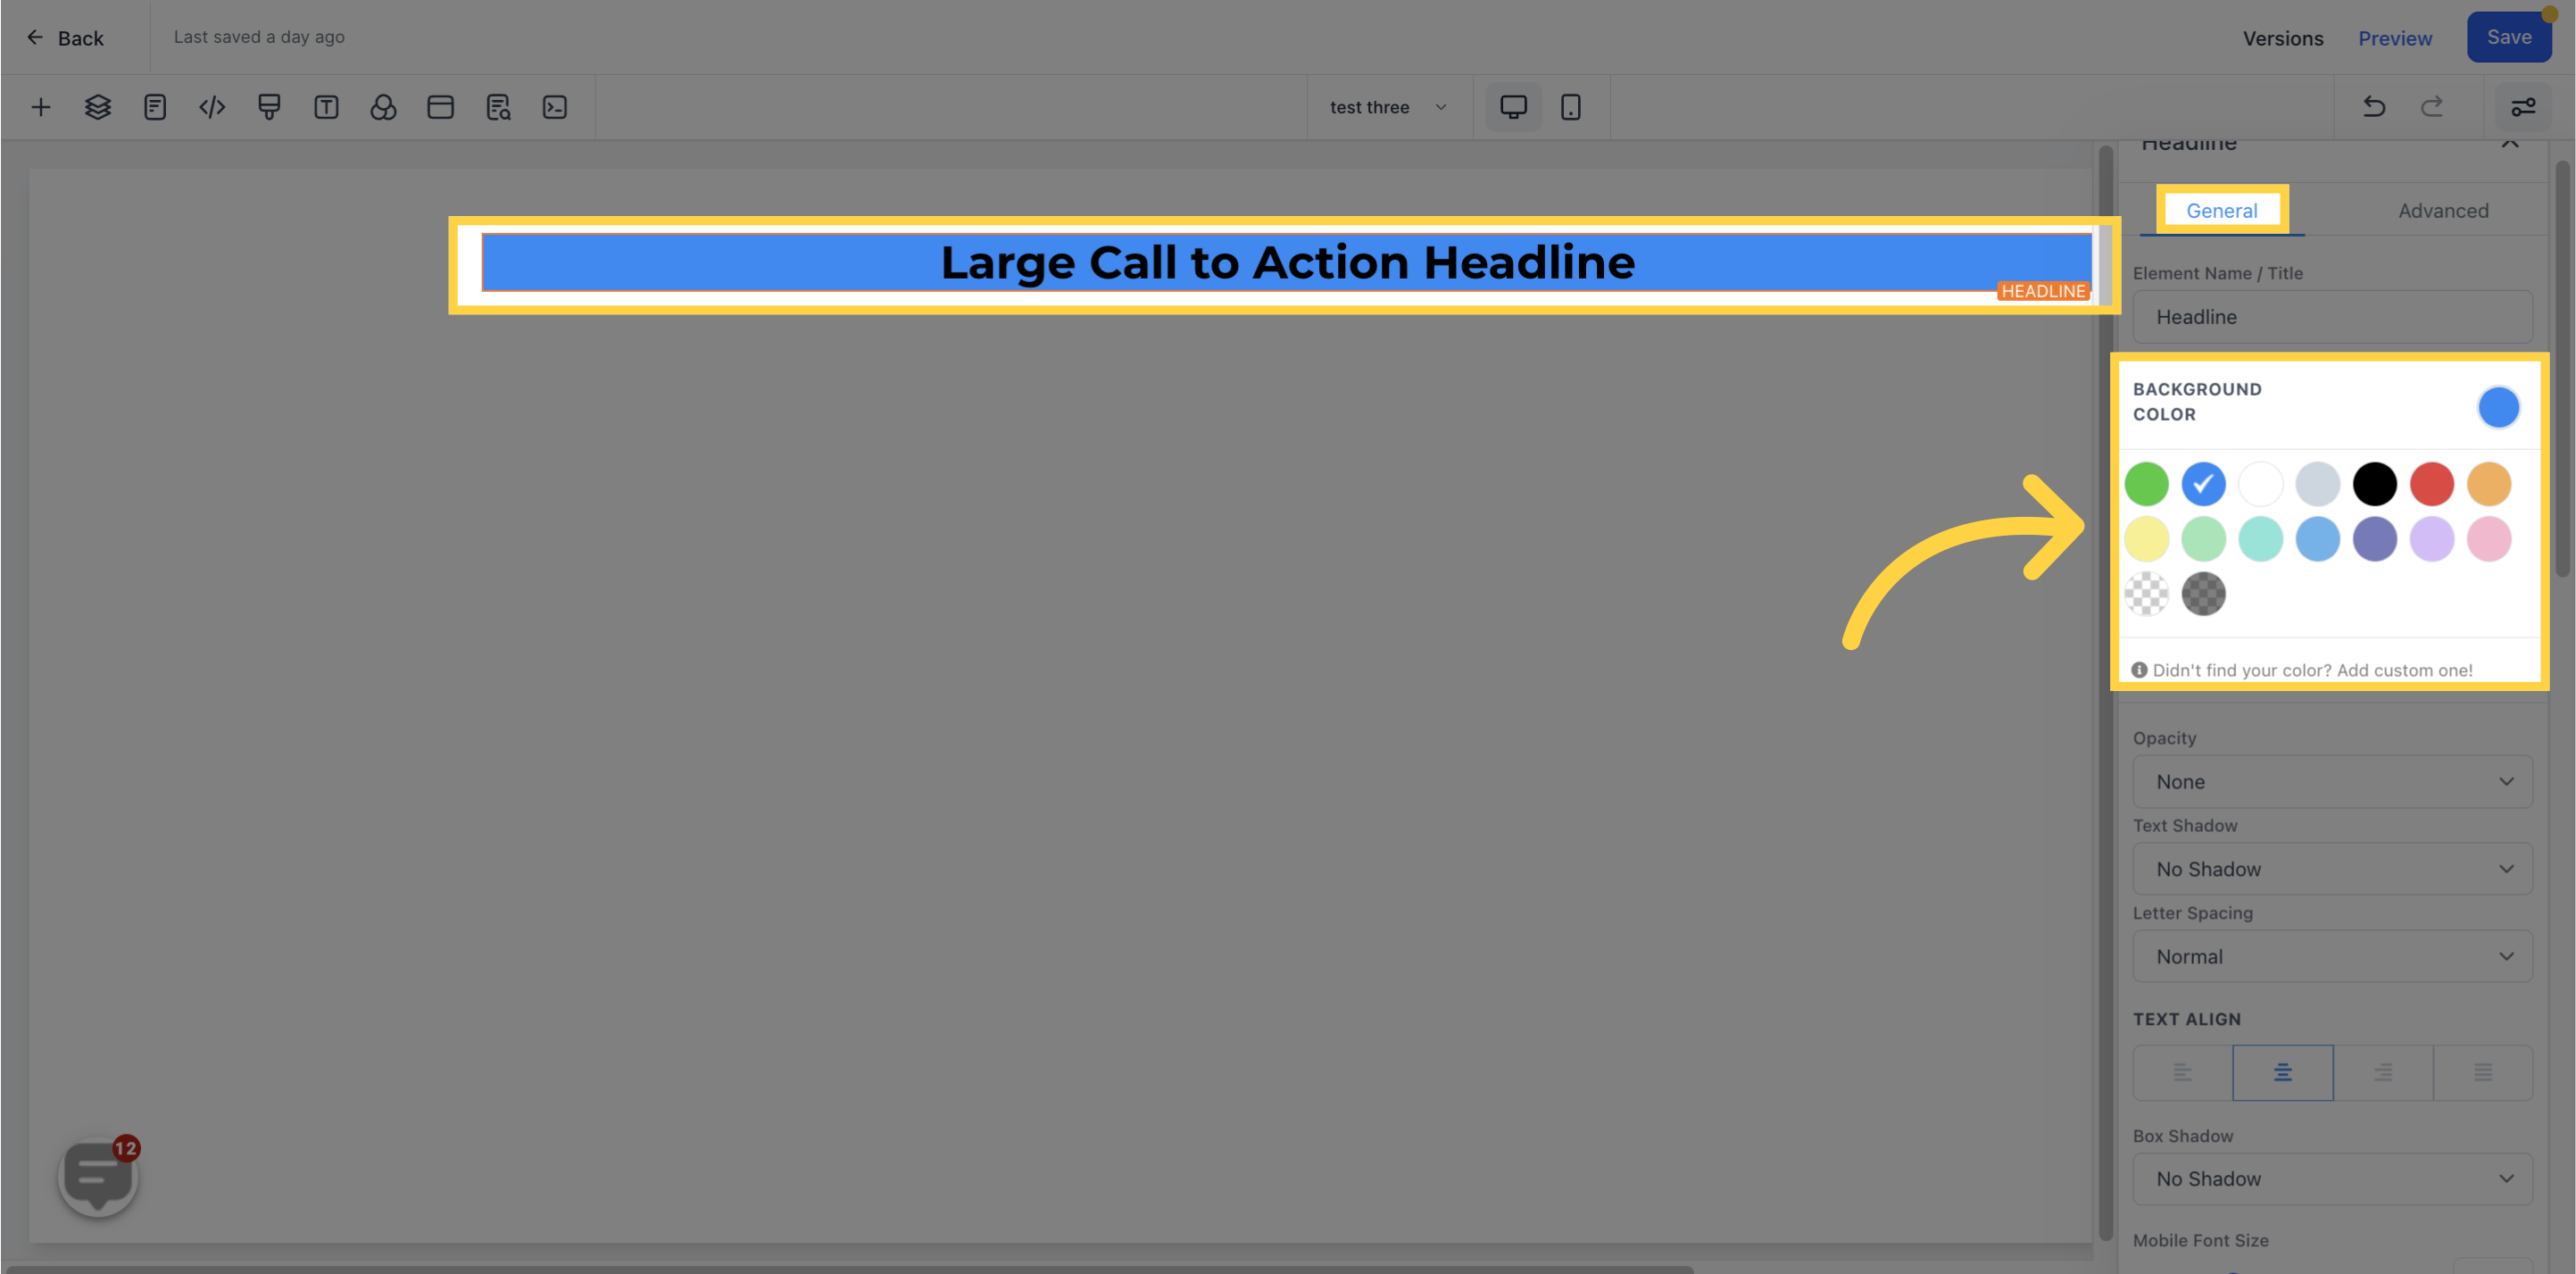
If you wish to change the background color of a specific editing option such as the Section, Row, Column, or Elements, you can do so by clicking on the content you want to modify.
)
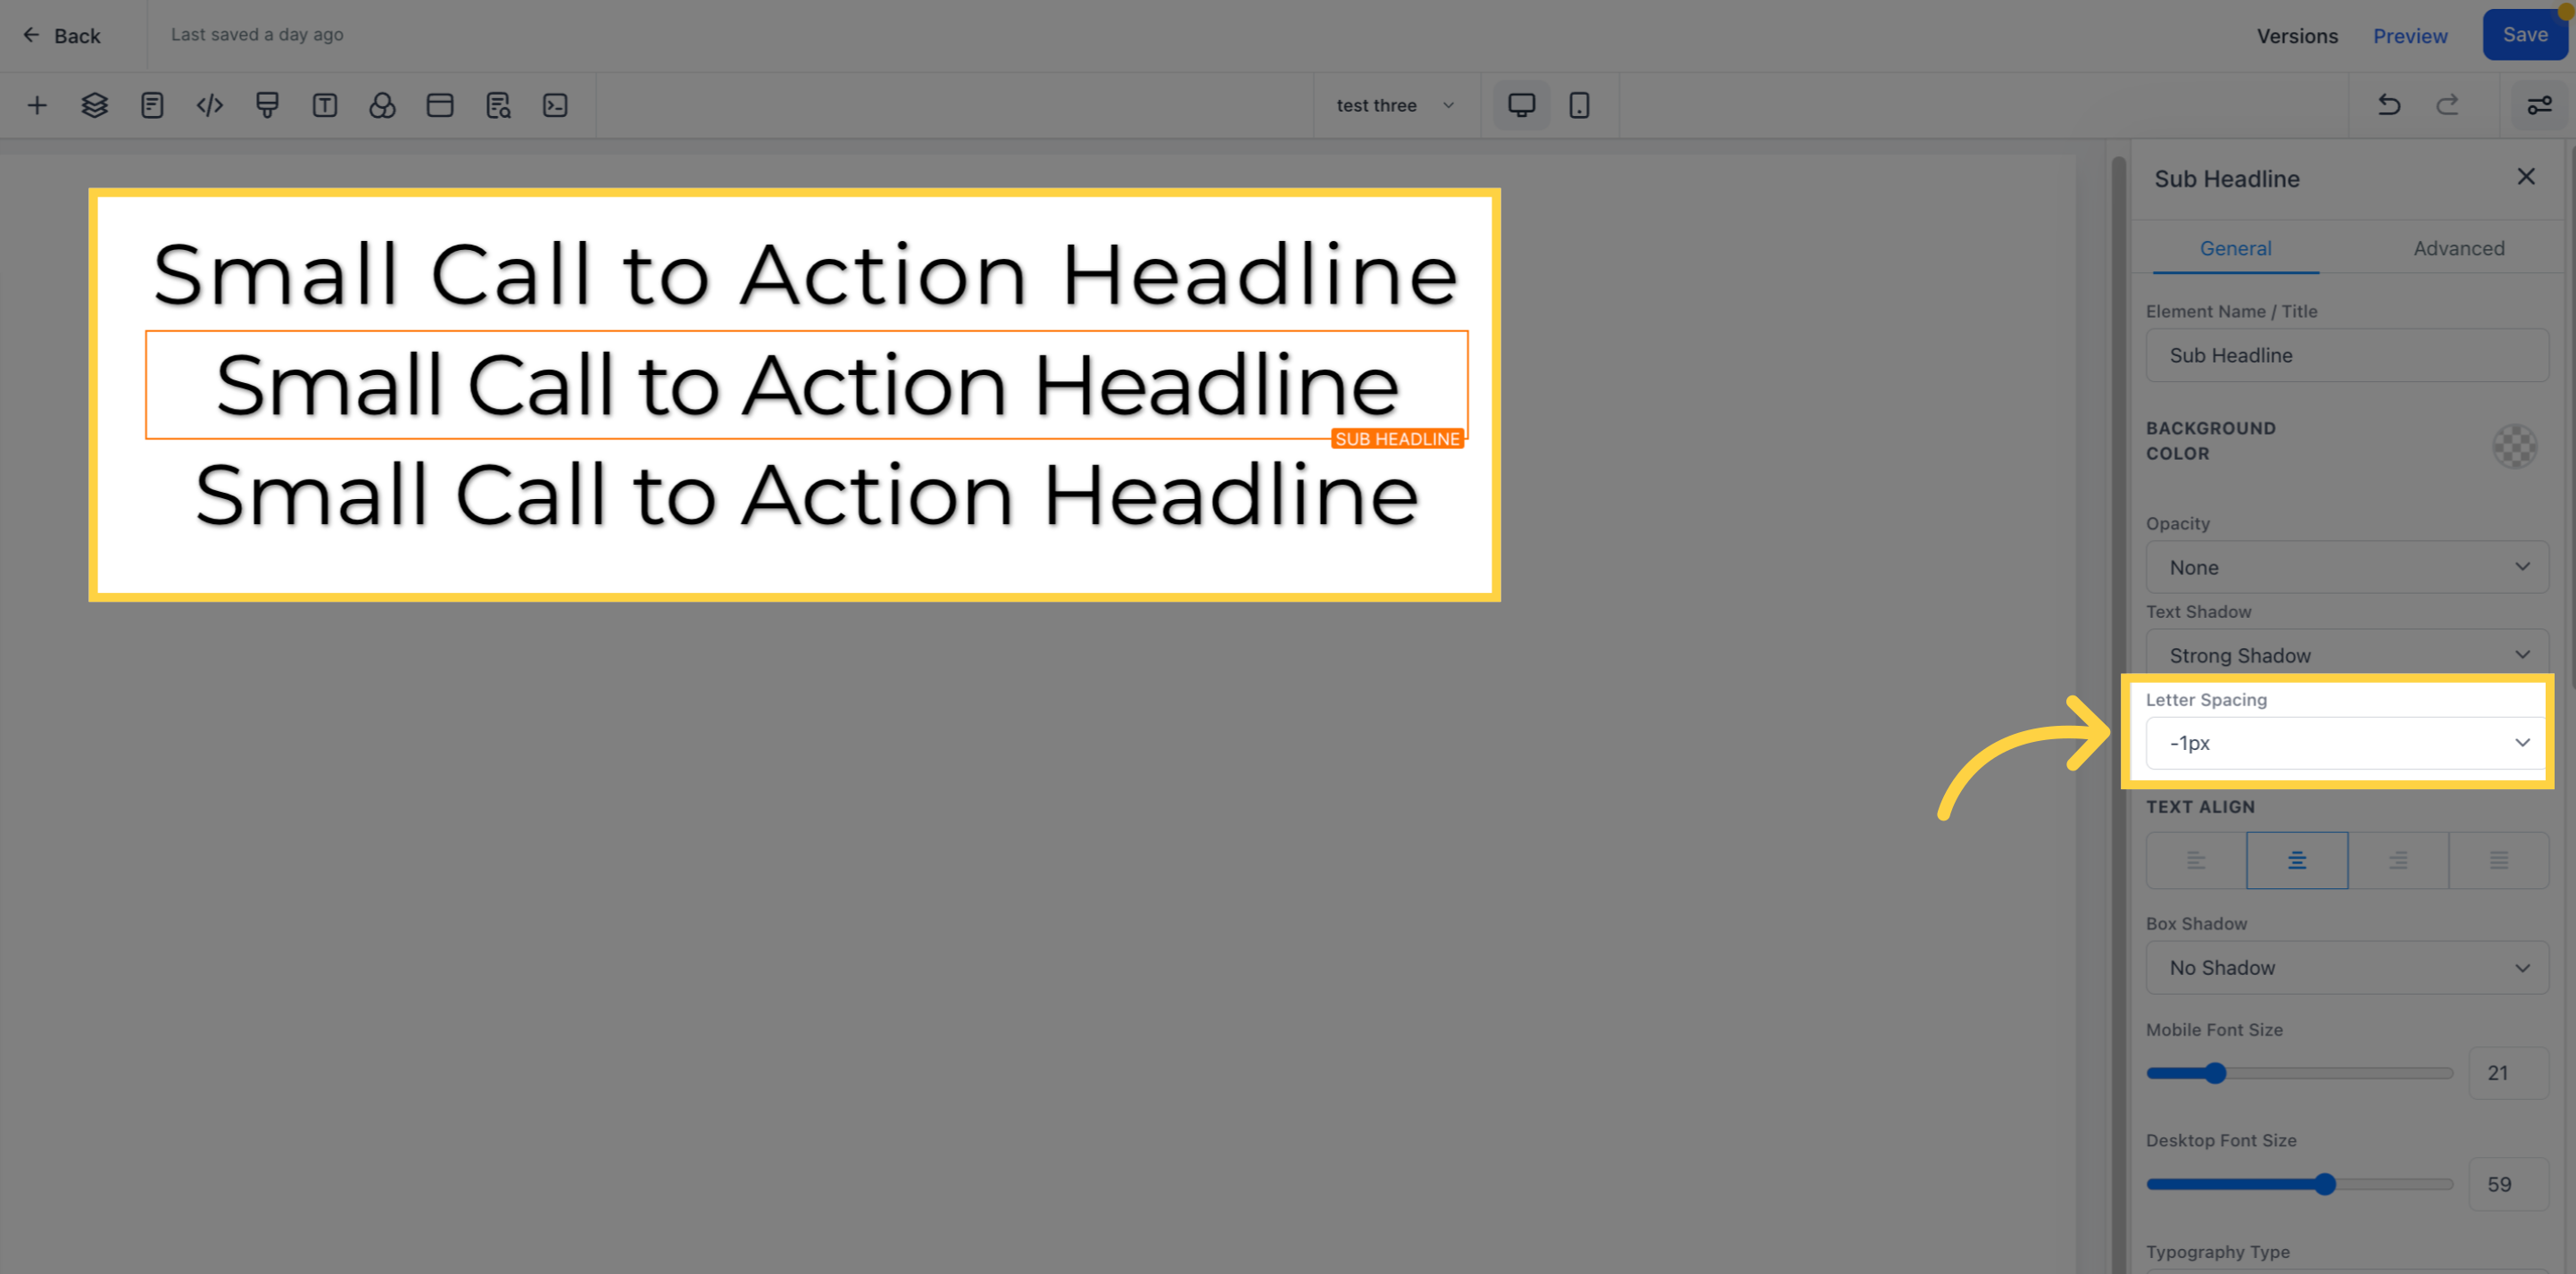)
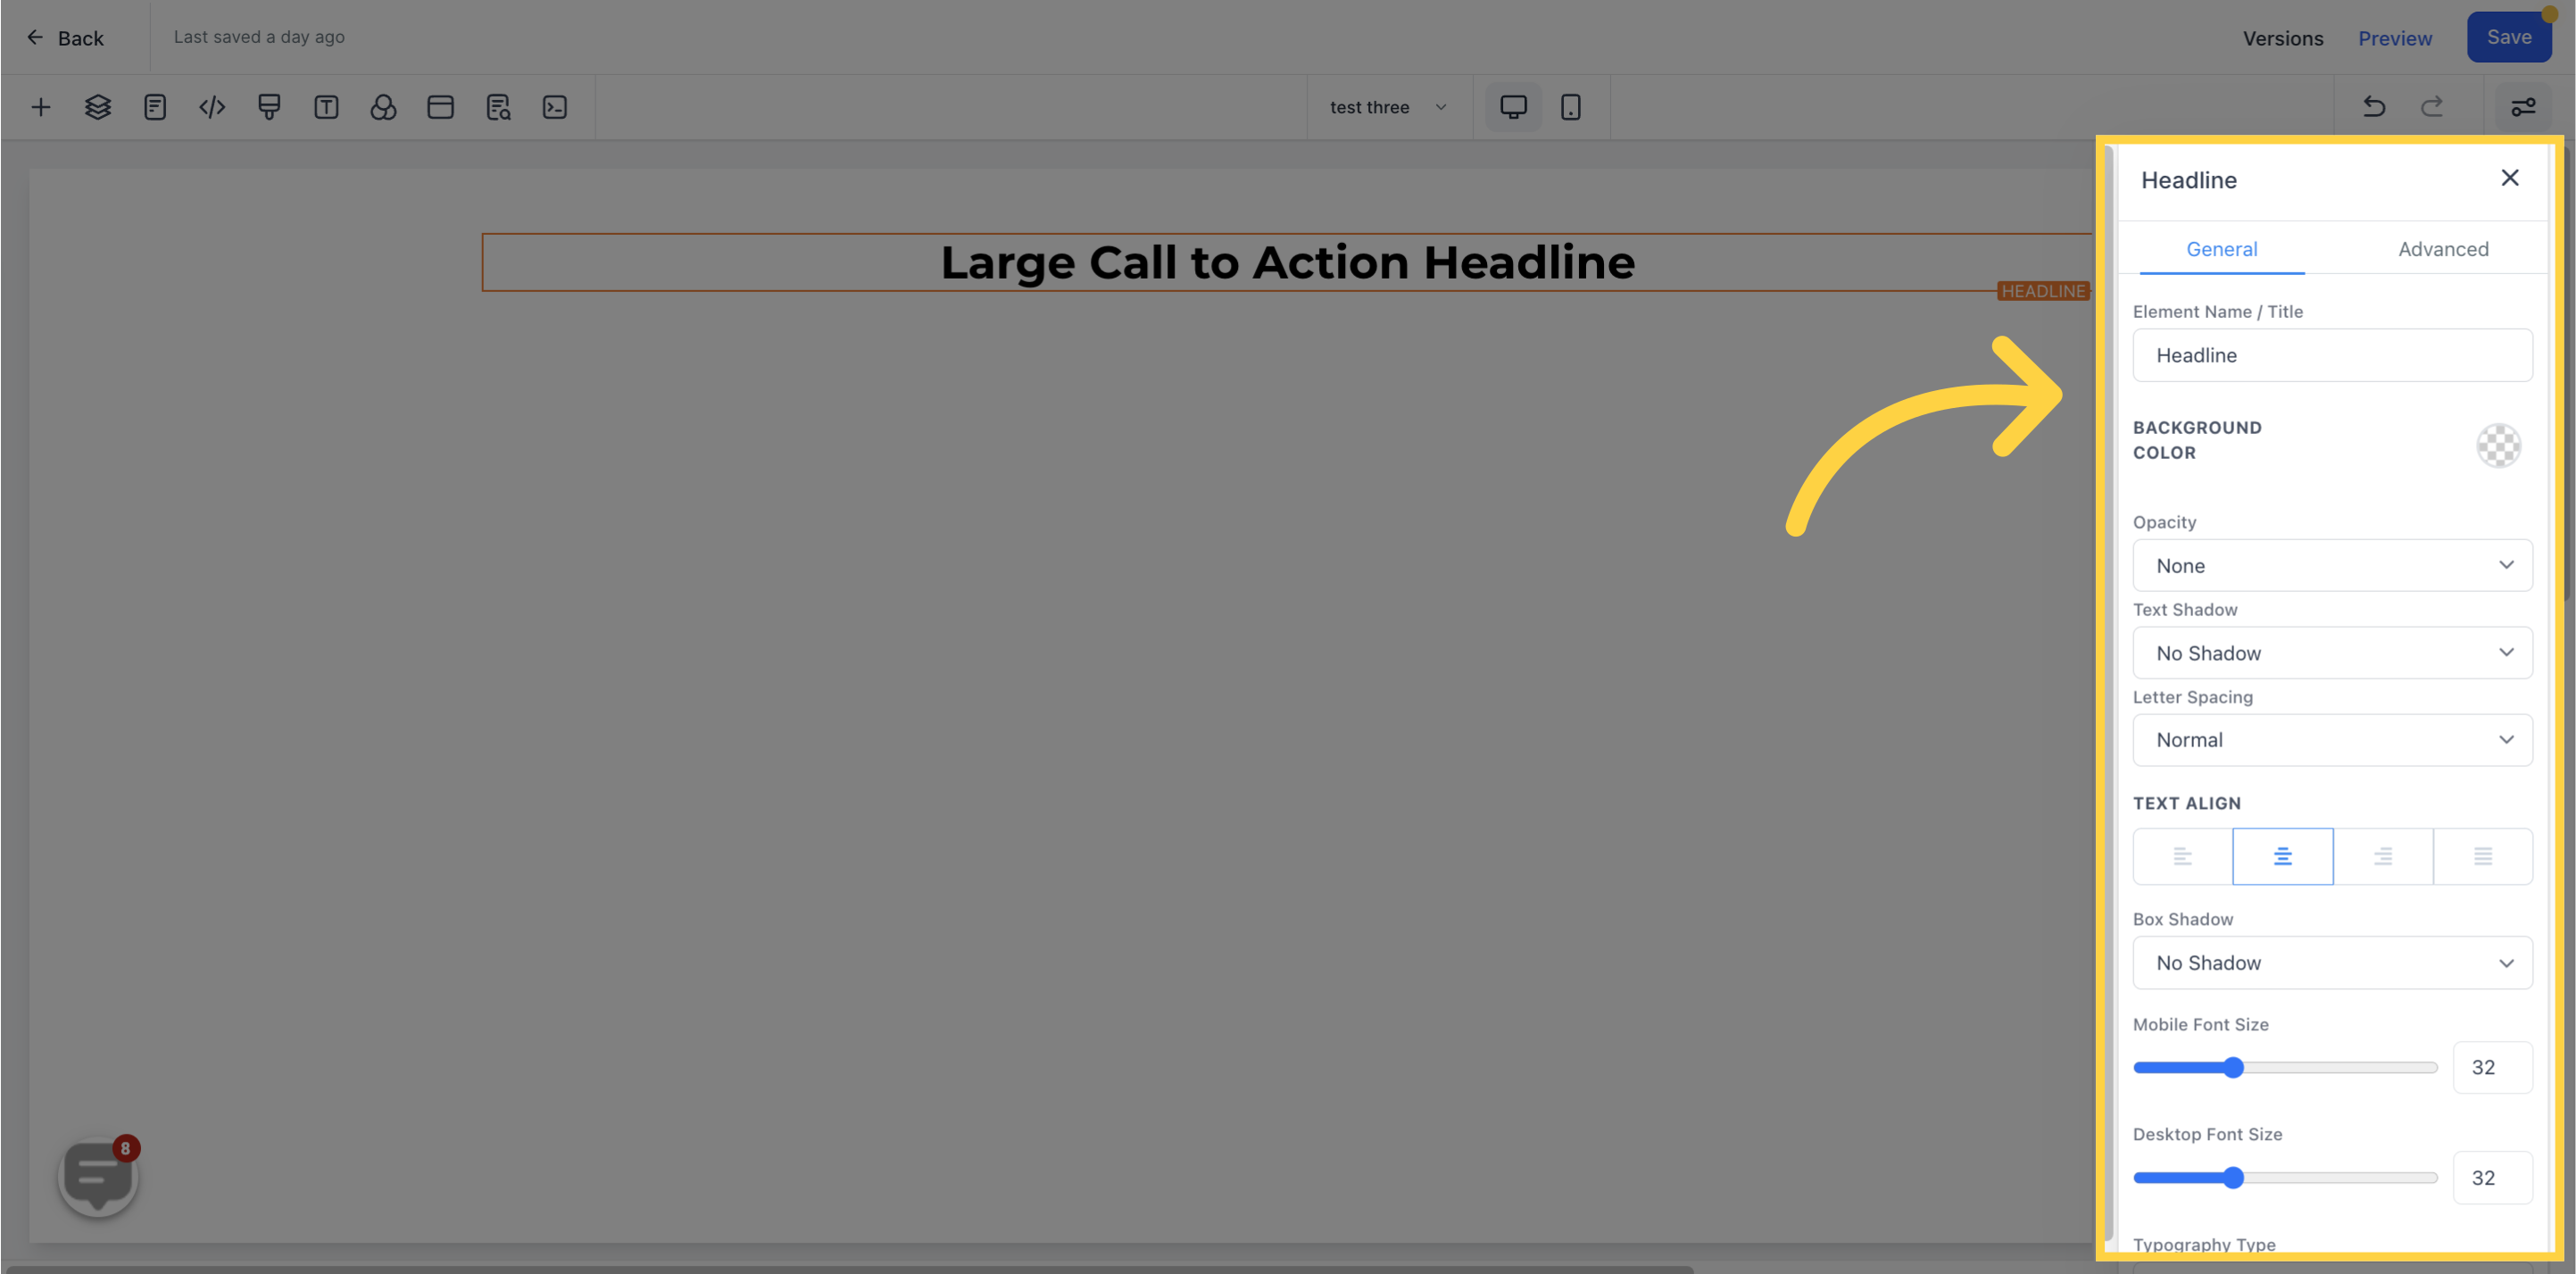
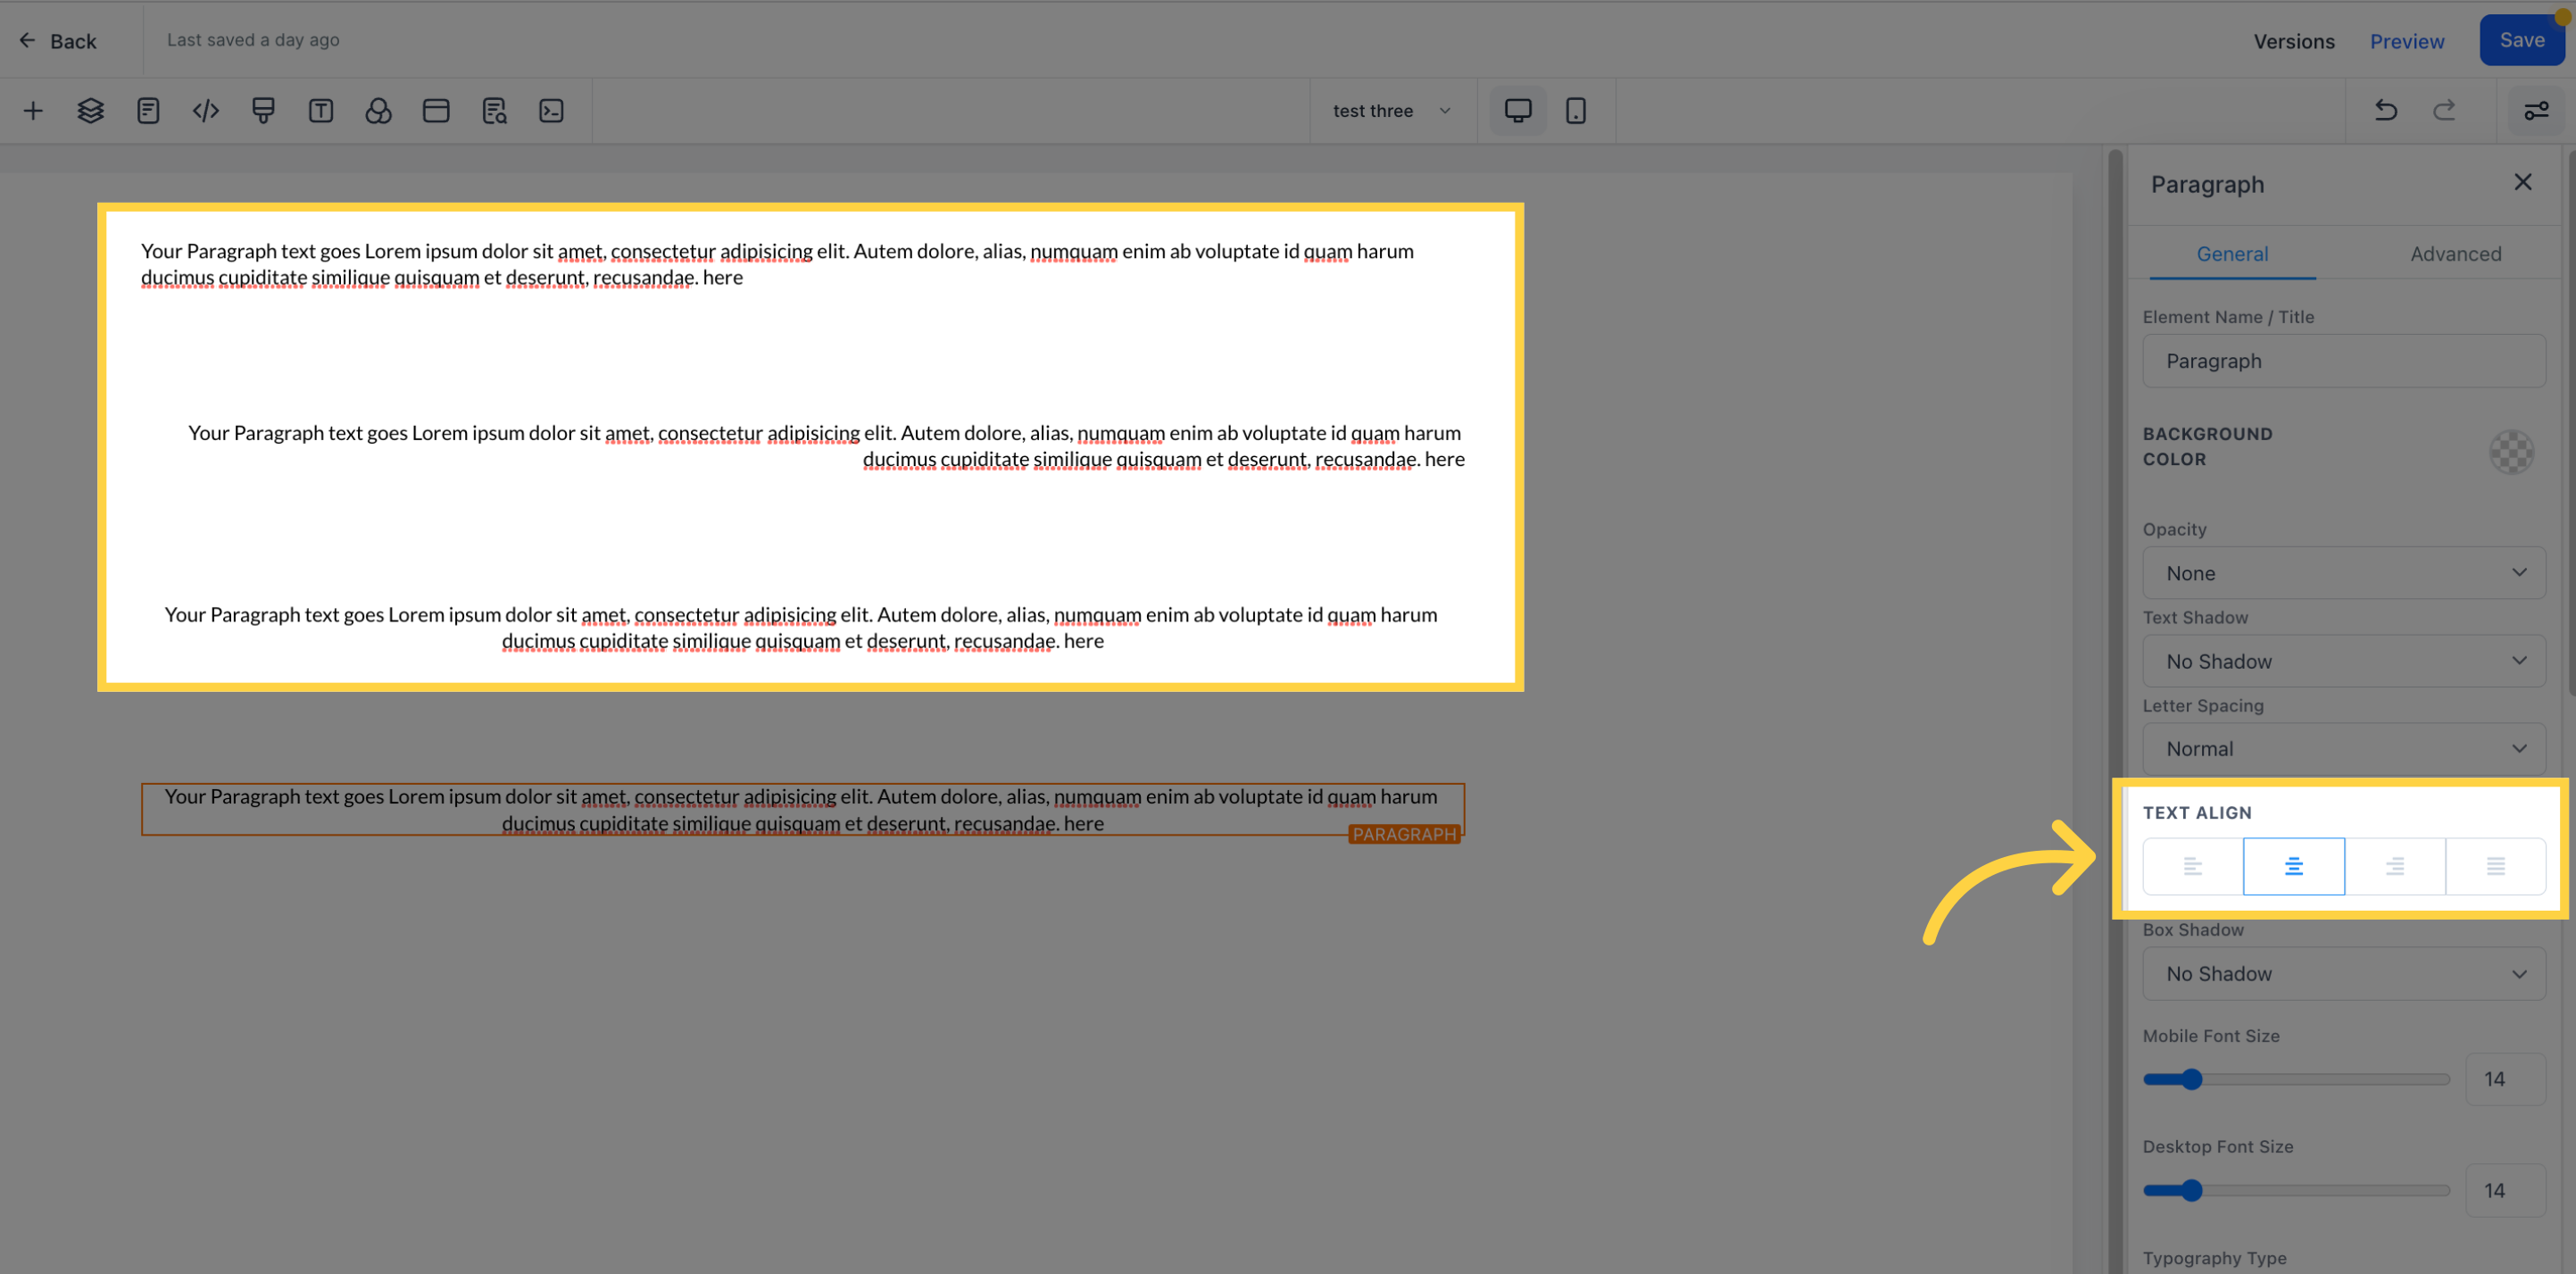
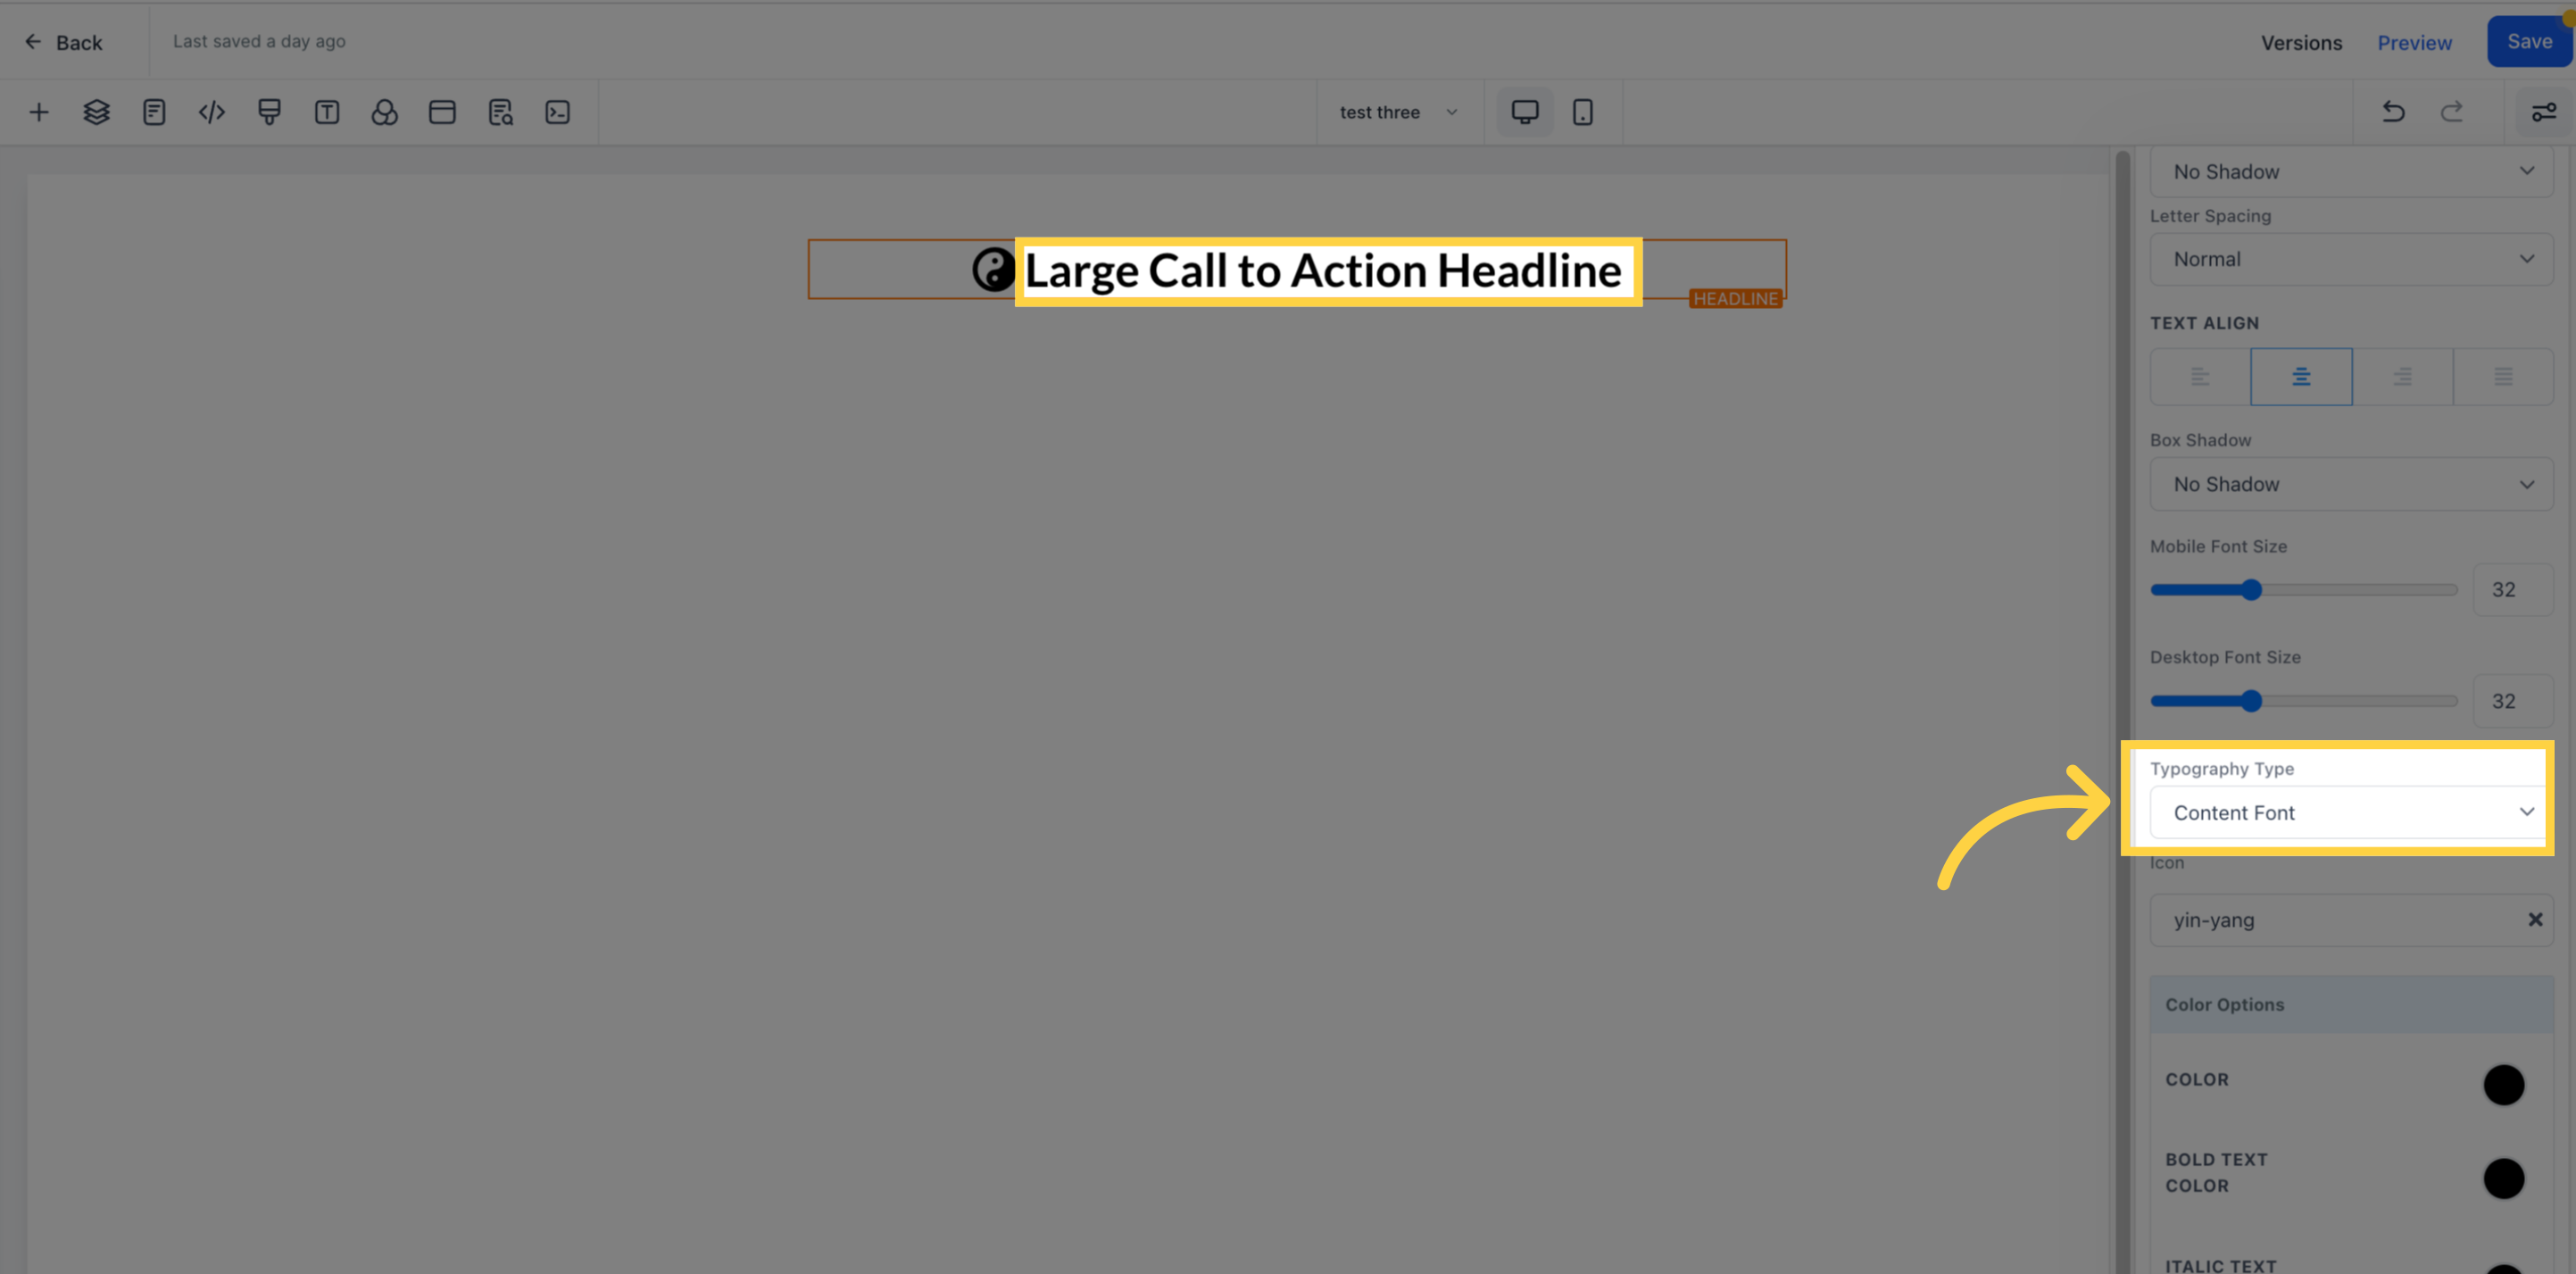
Text alignment is a paragraph formatting attribute that determines the appearance of the text in a whole paragraph
)
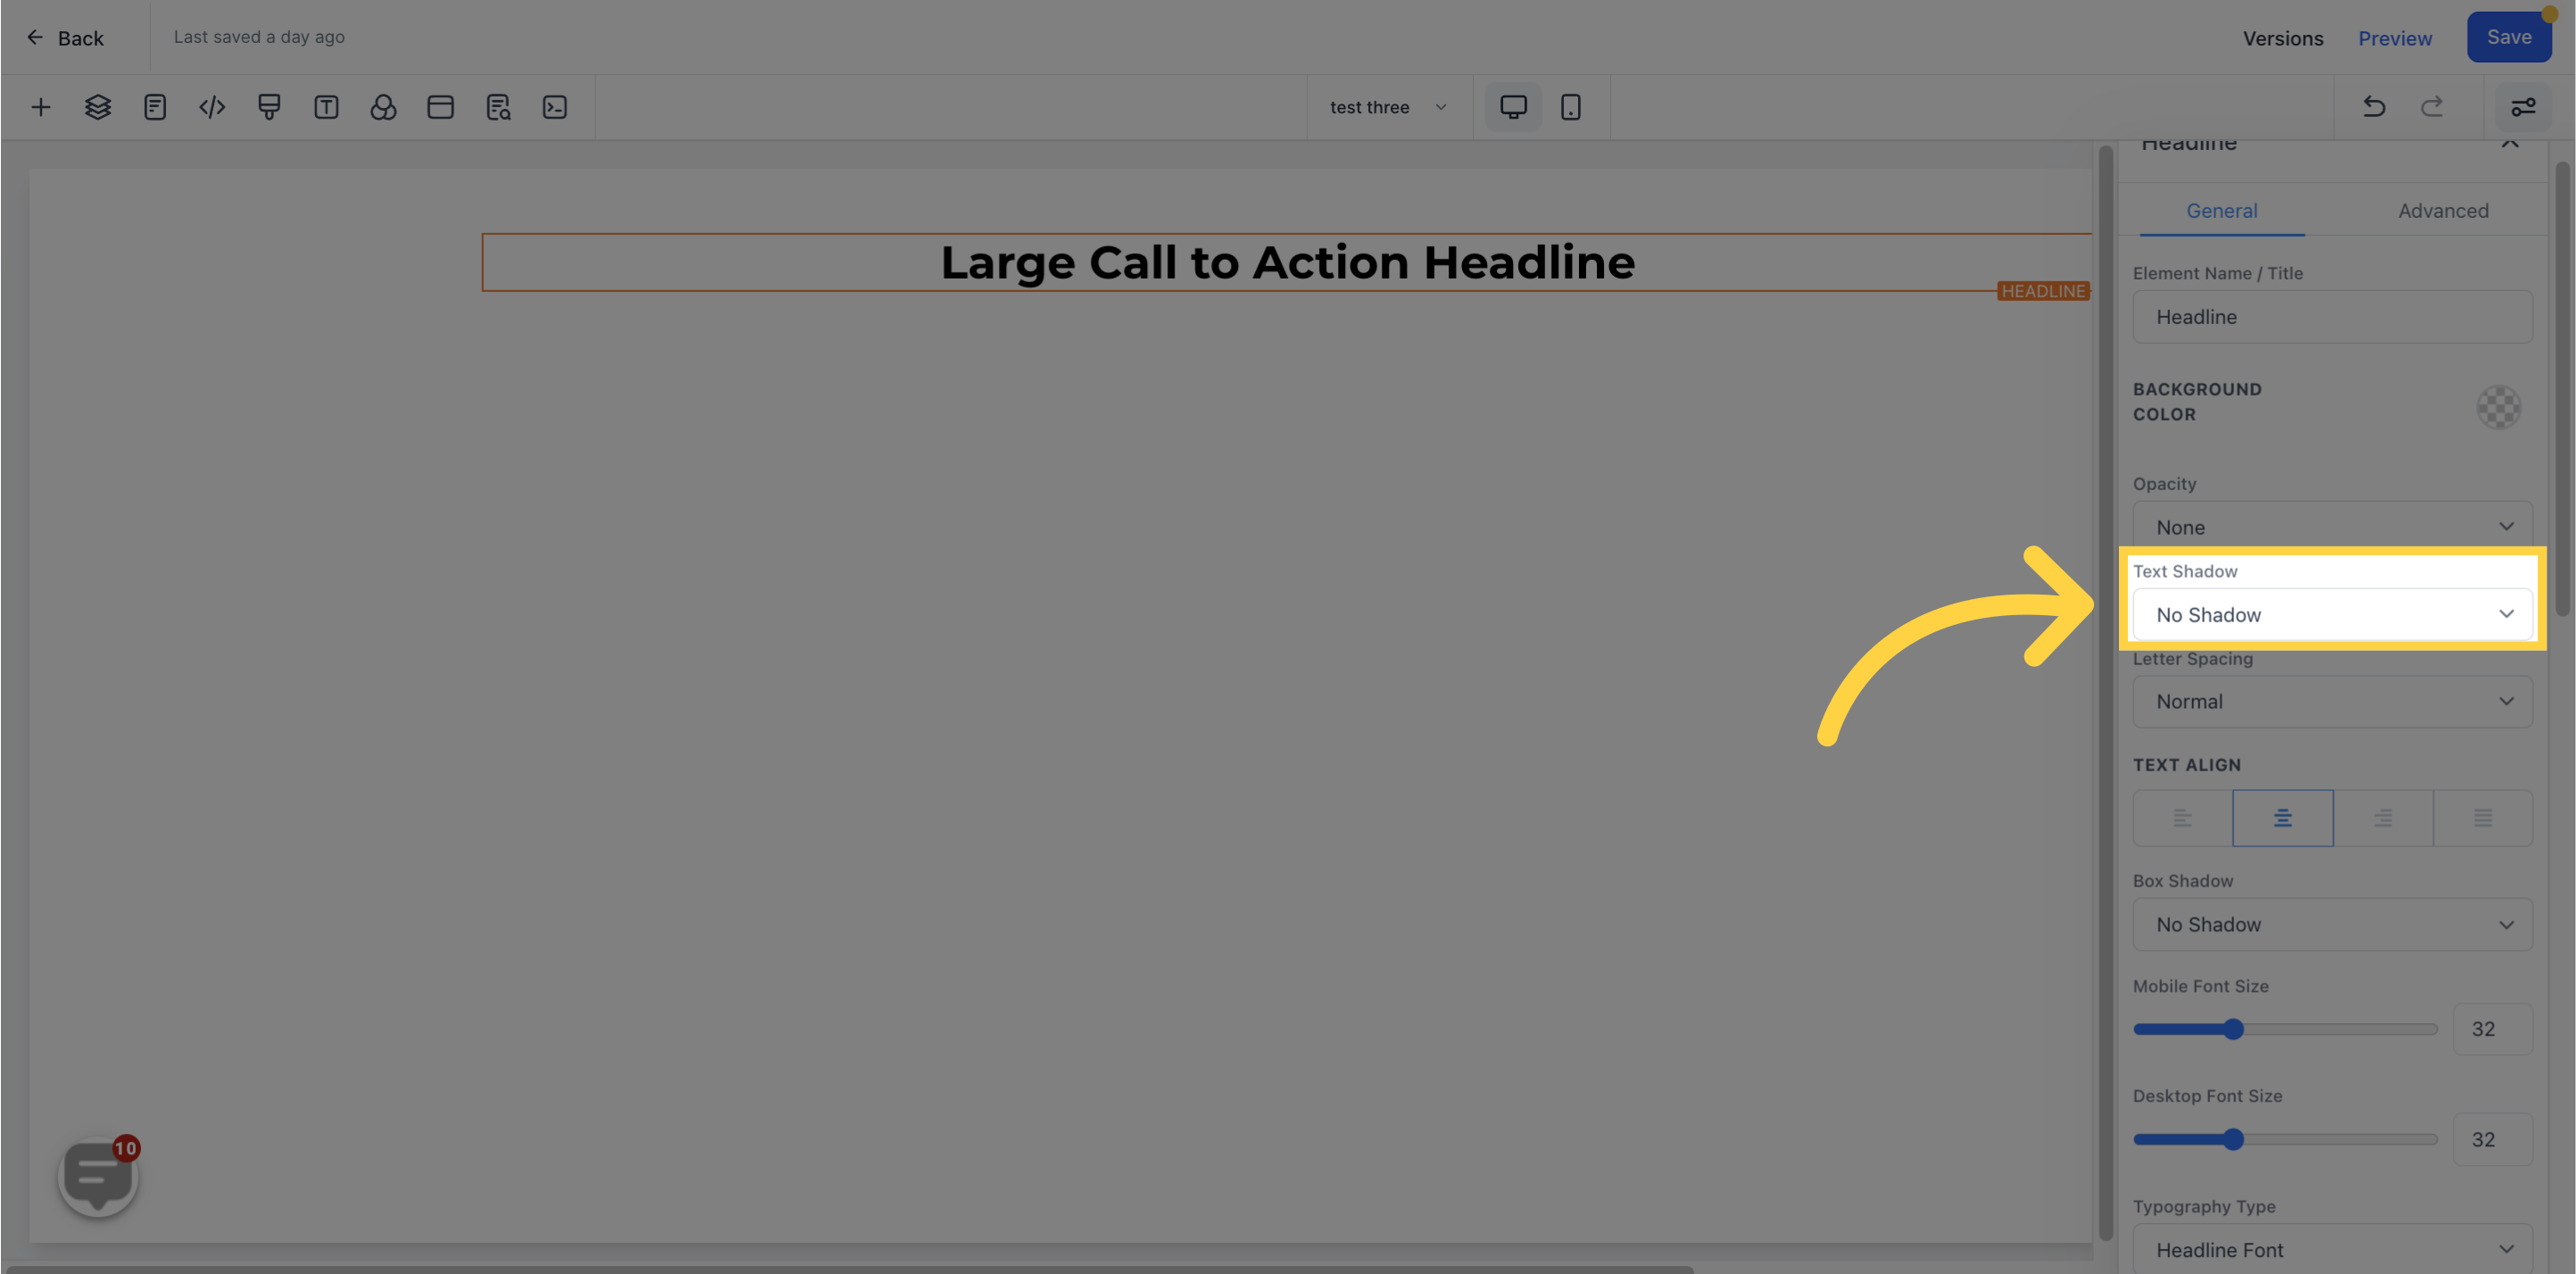
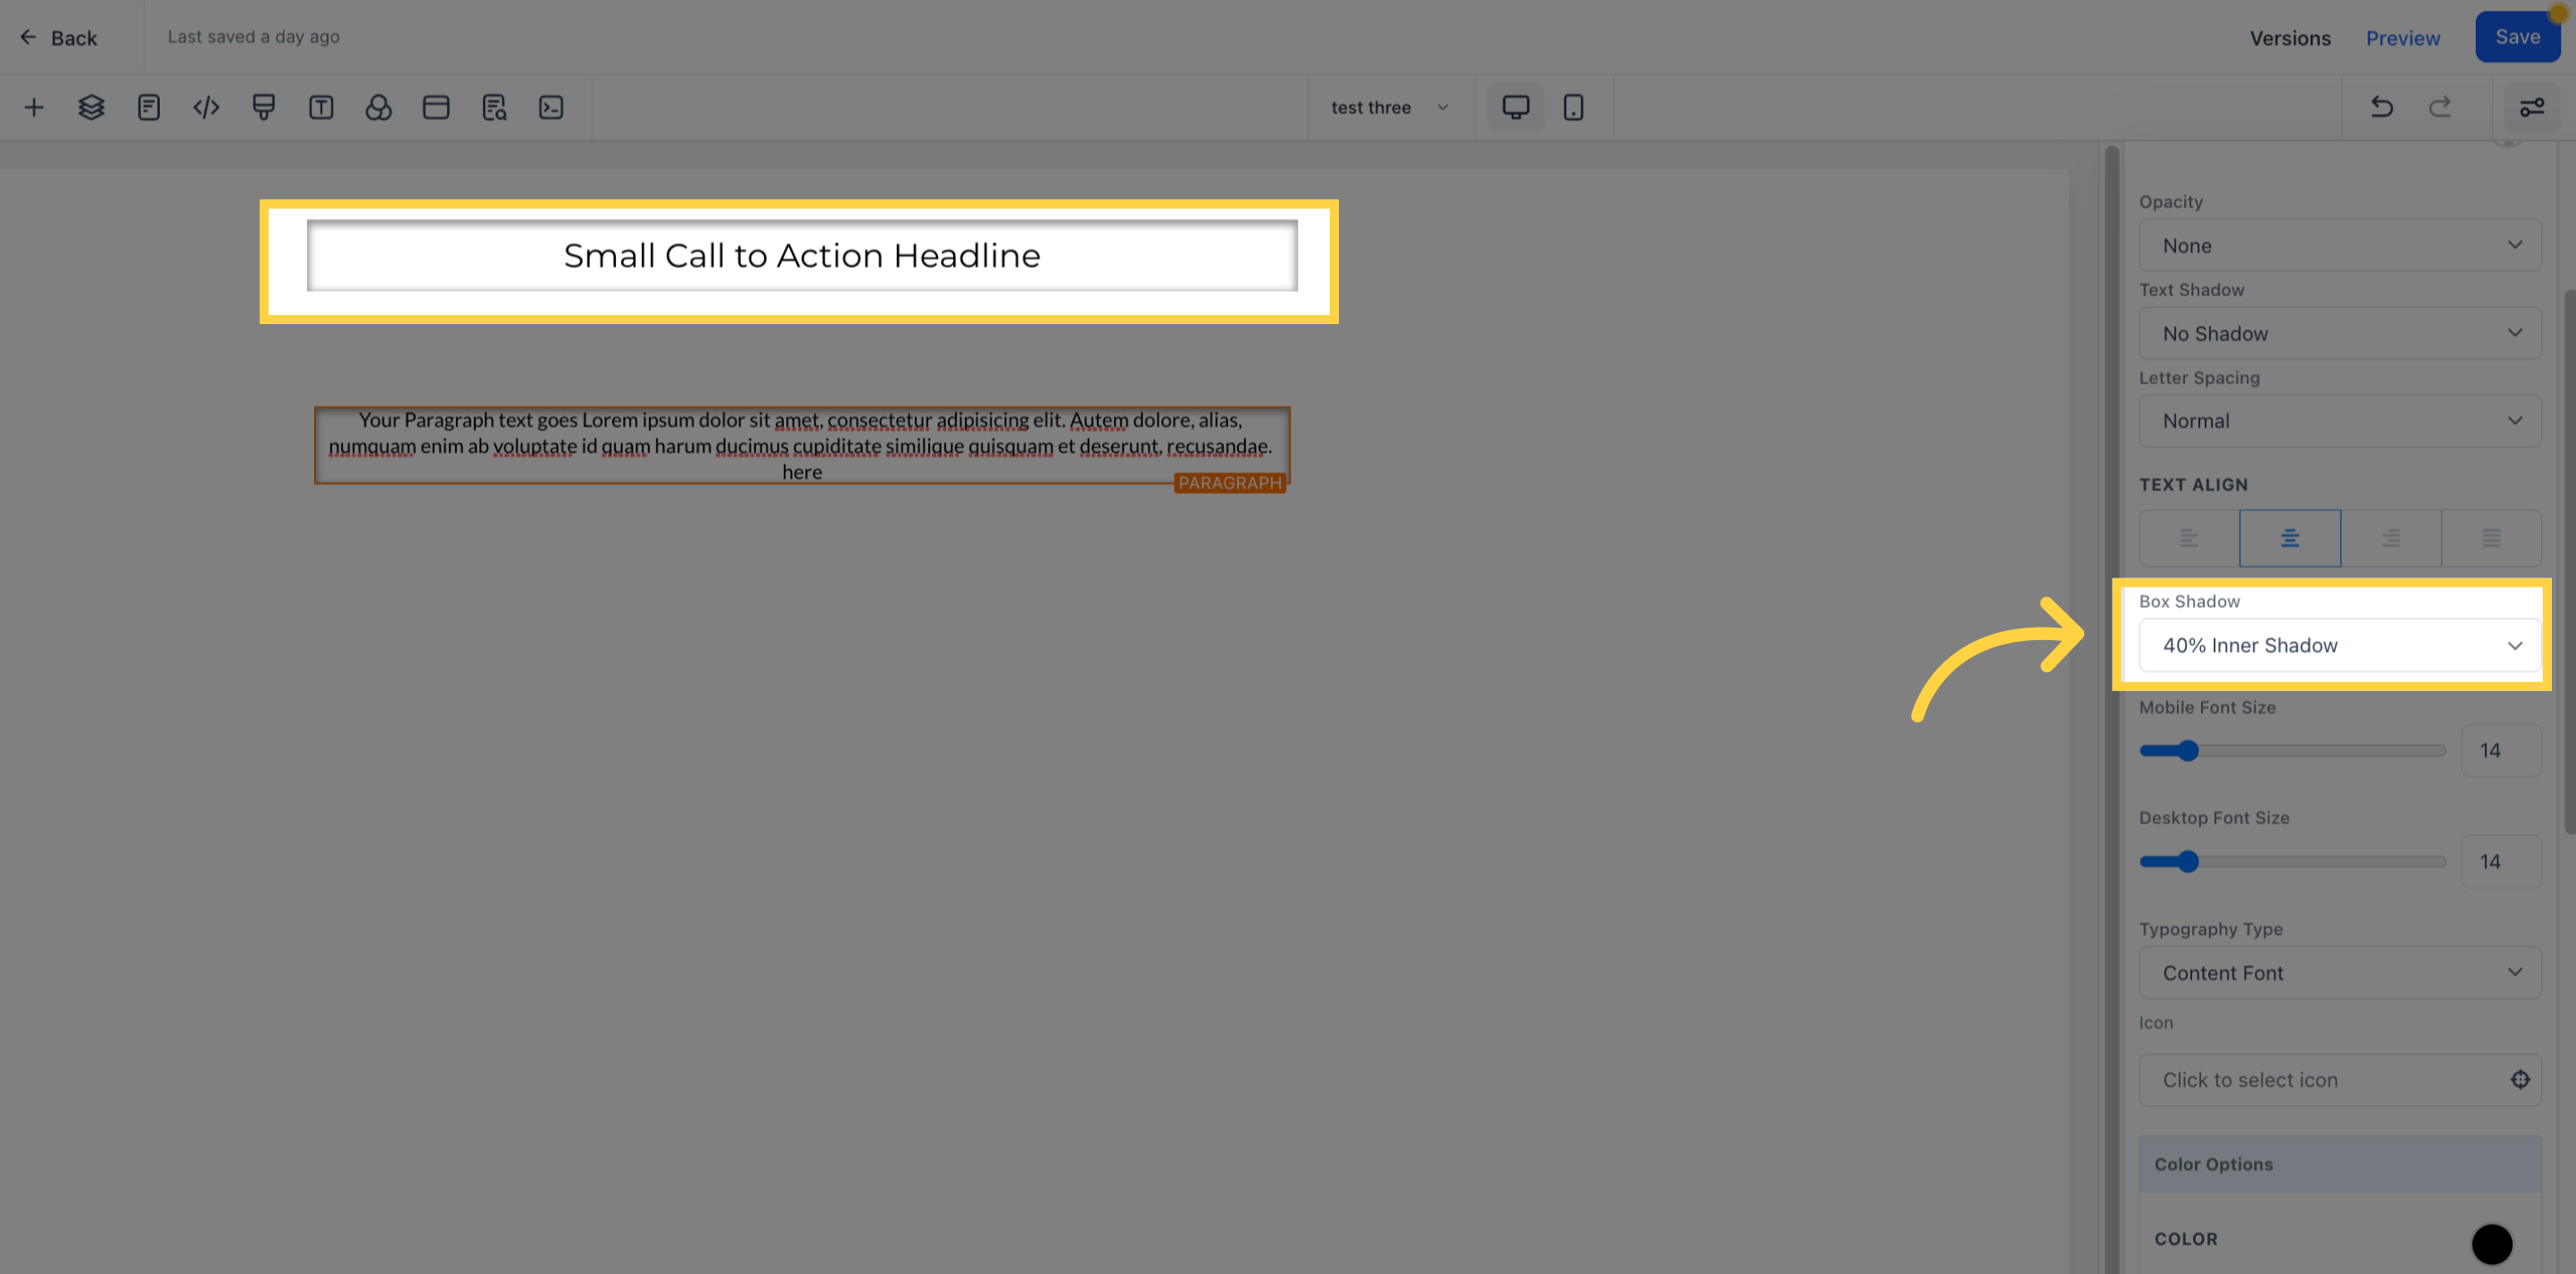
You can add a shadow effect to your box to make the border more visible.
)
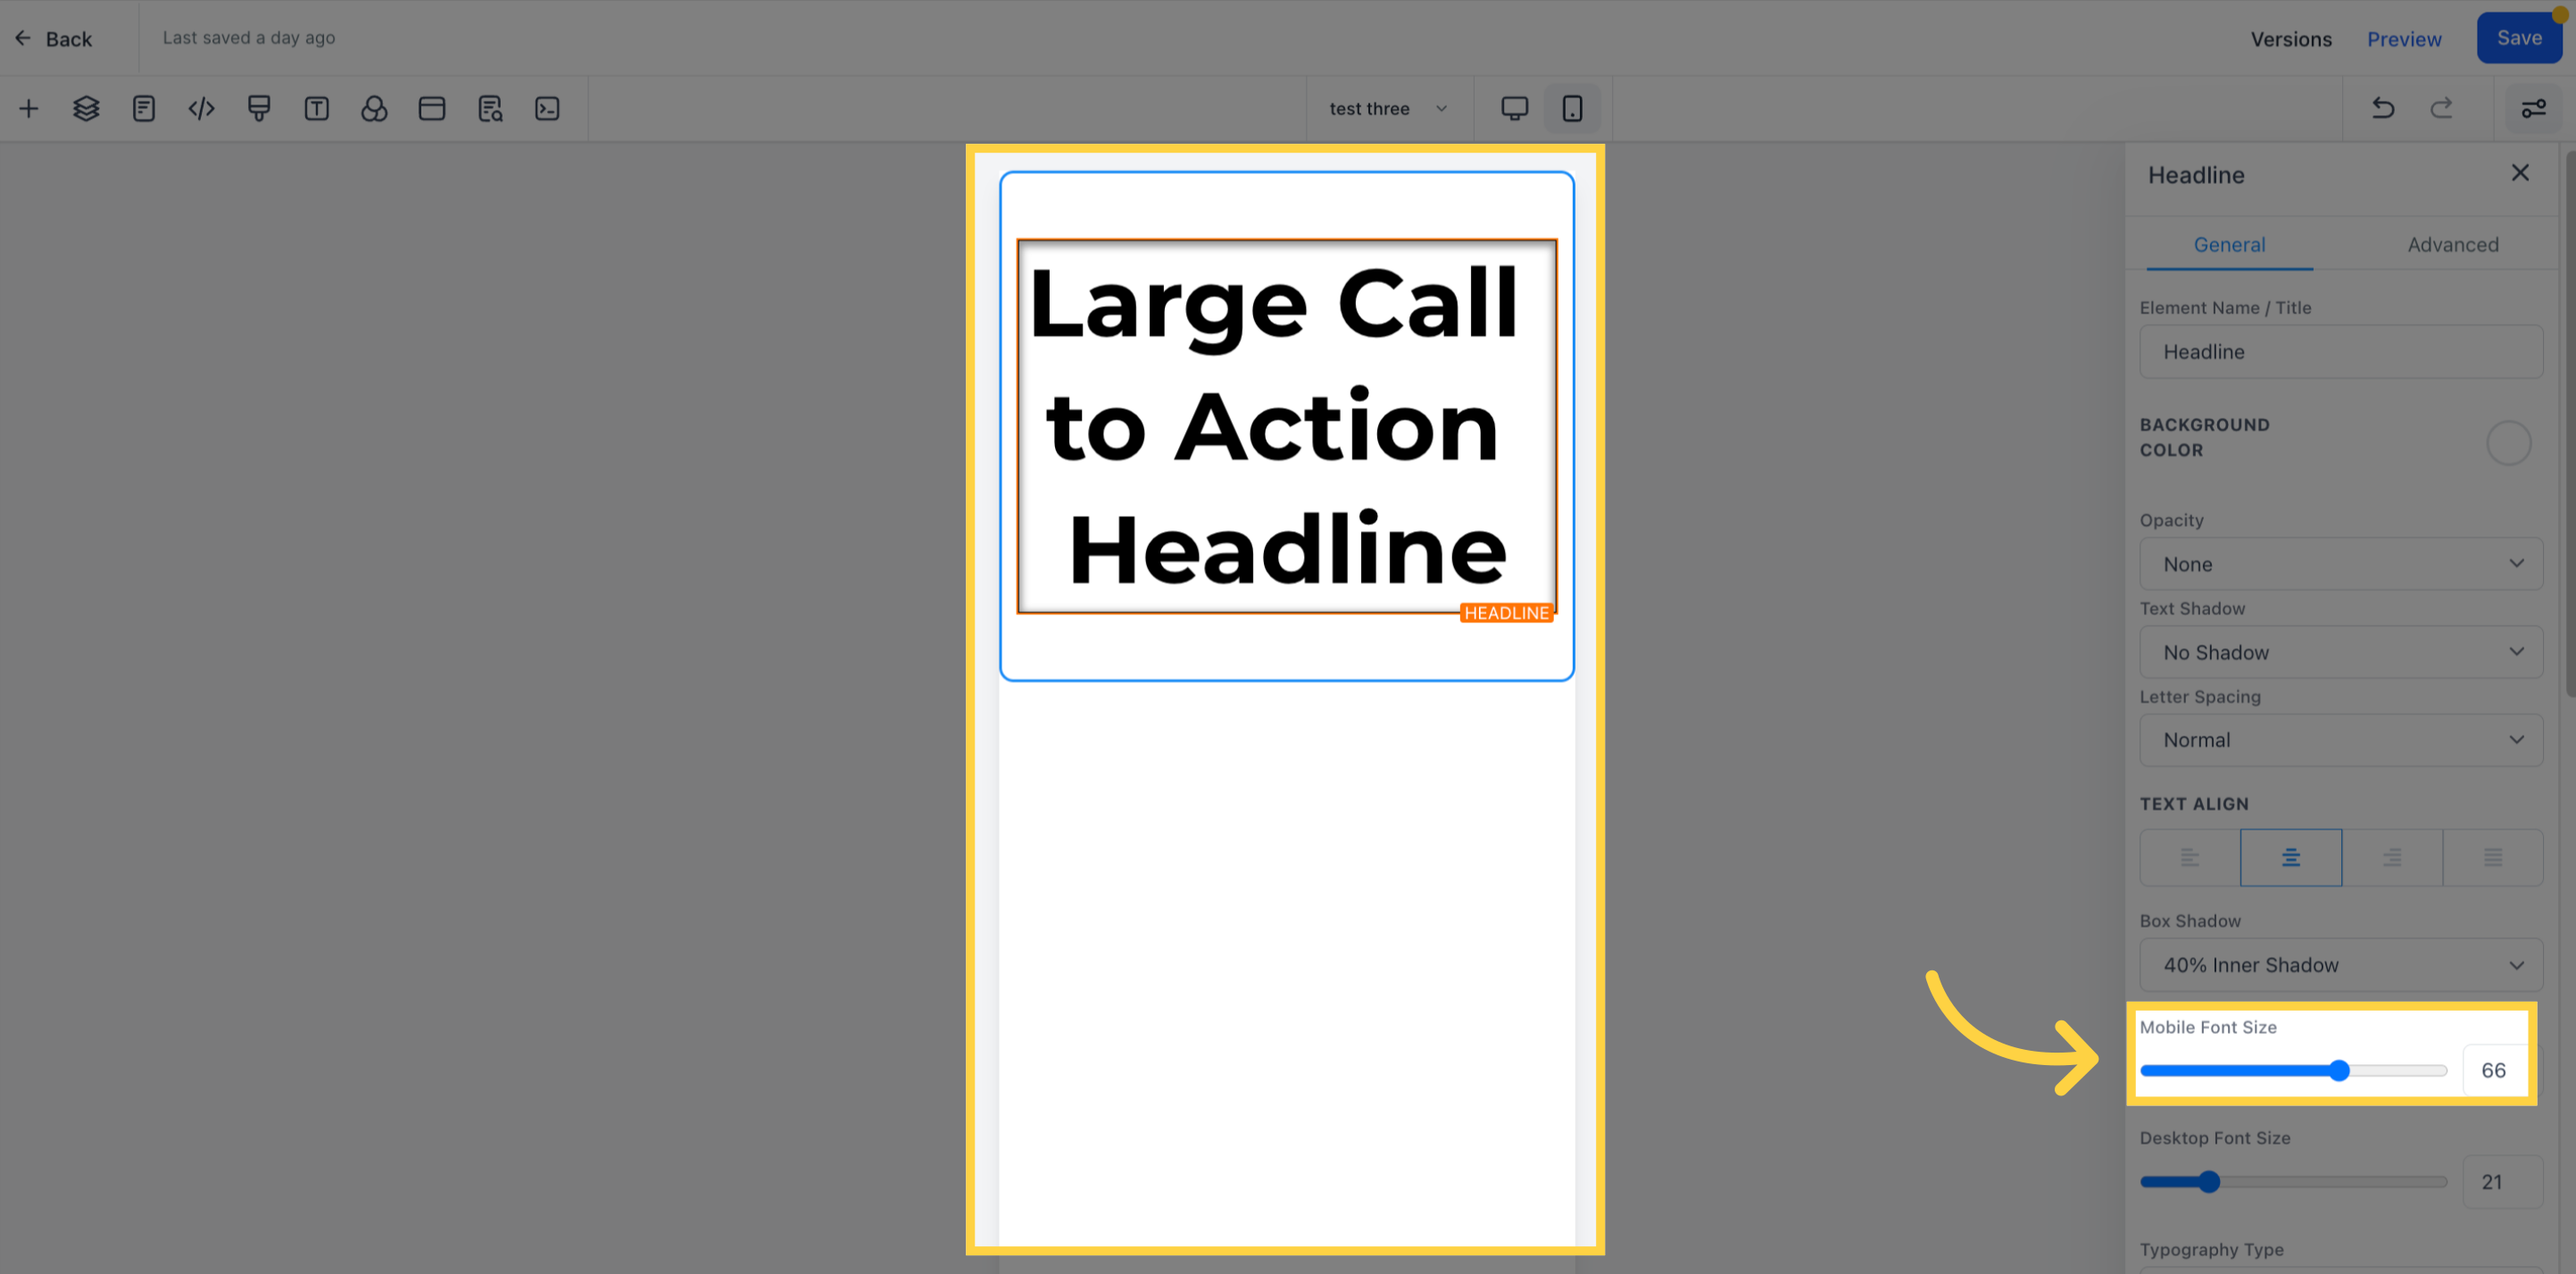
These four toggle bars can move your content to the left, right, top, or bottom based on the one you select.
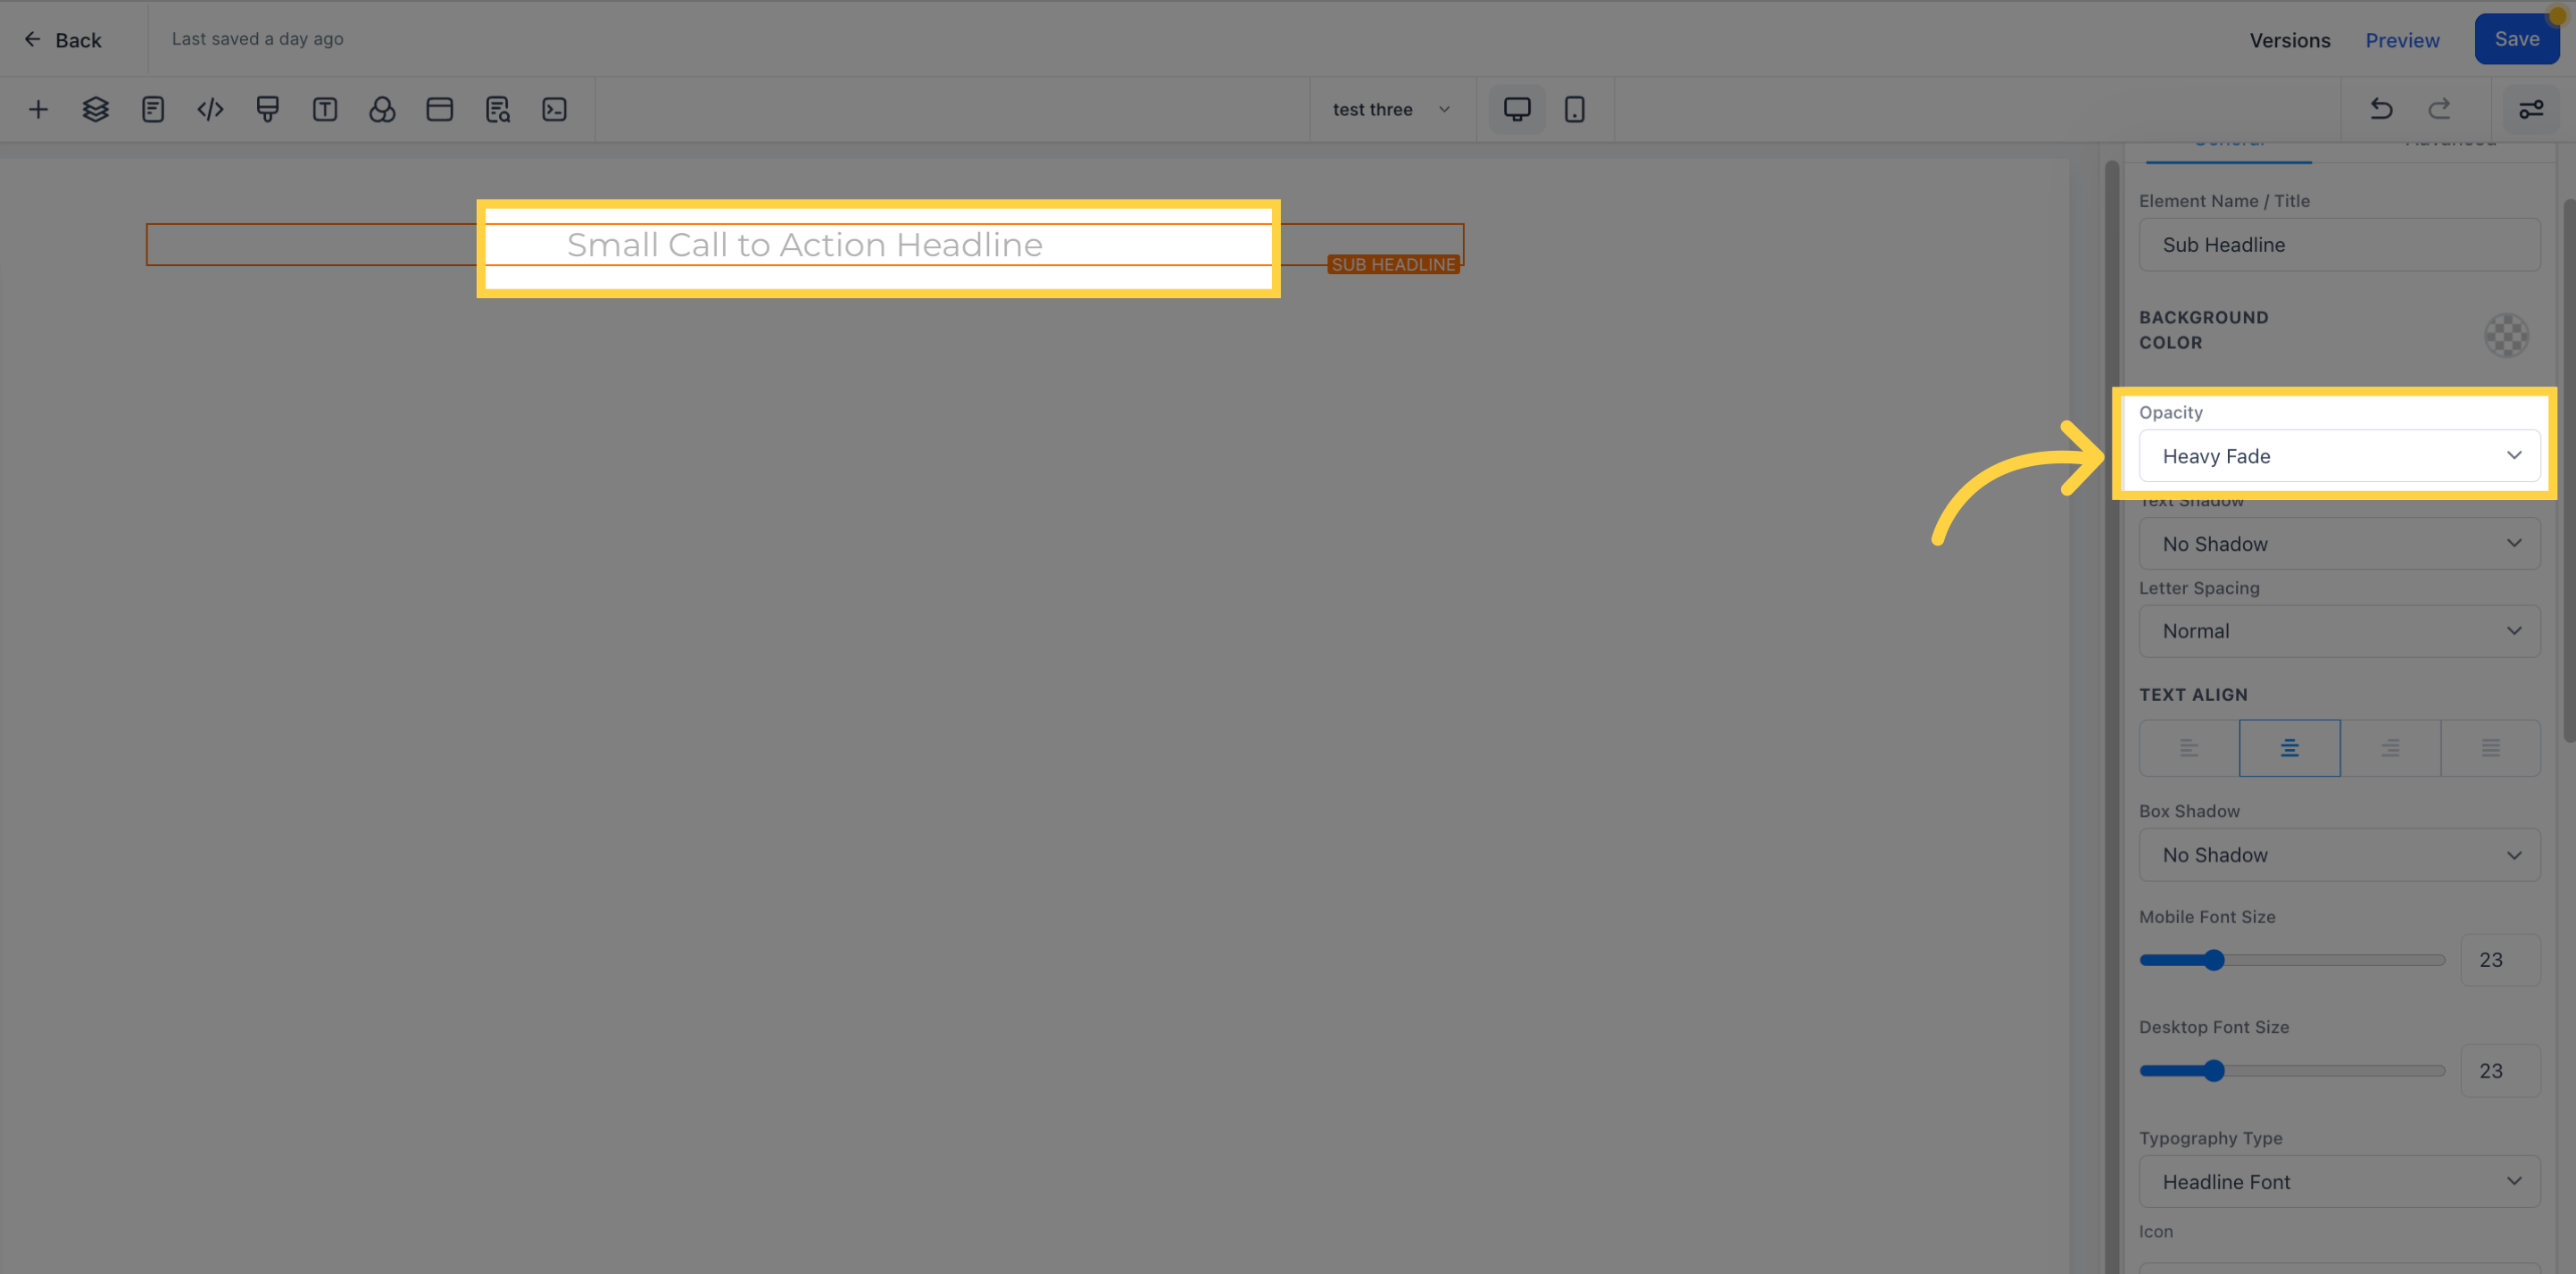
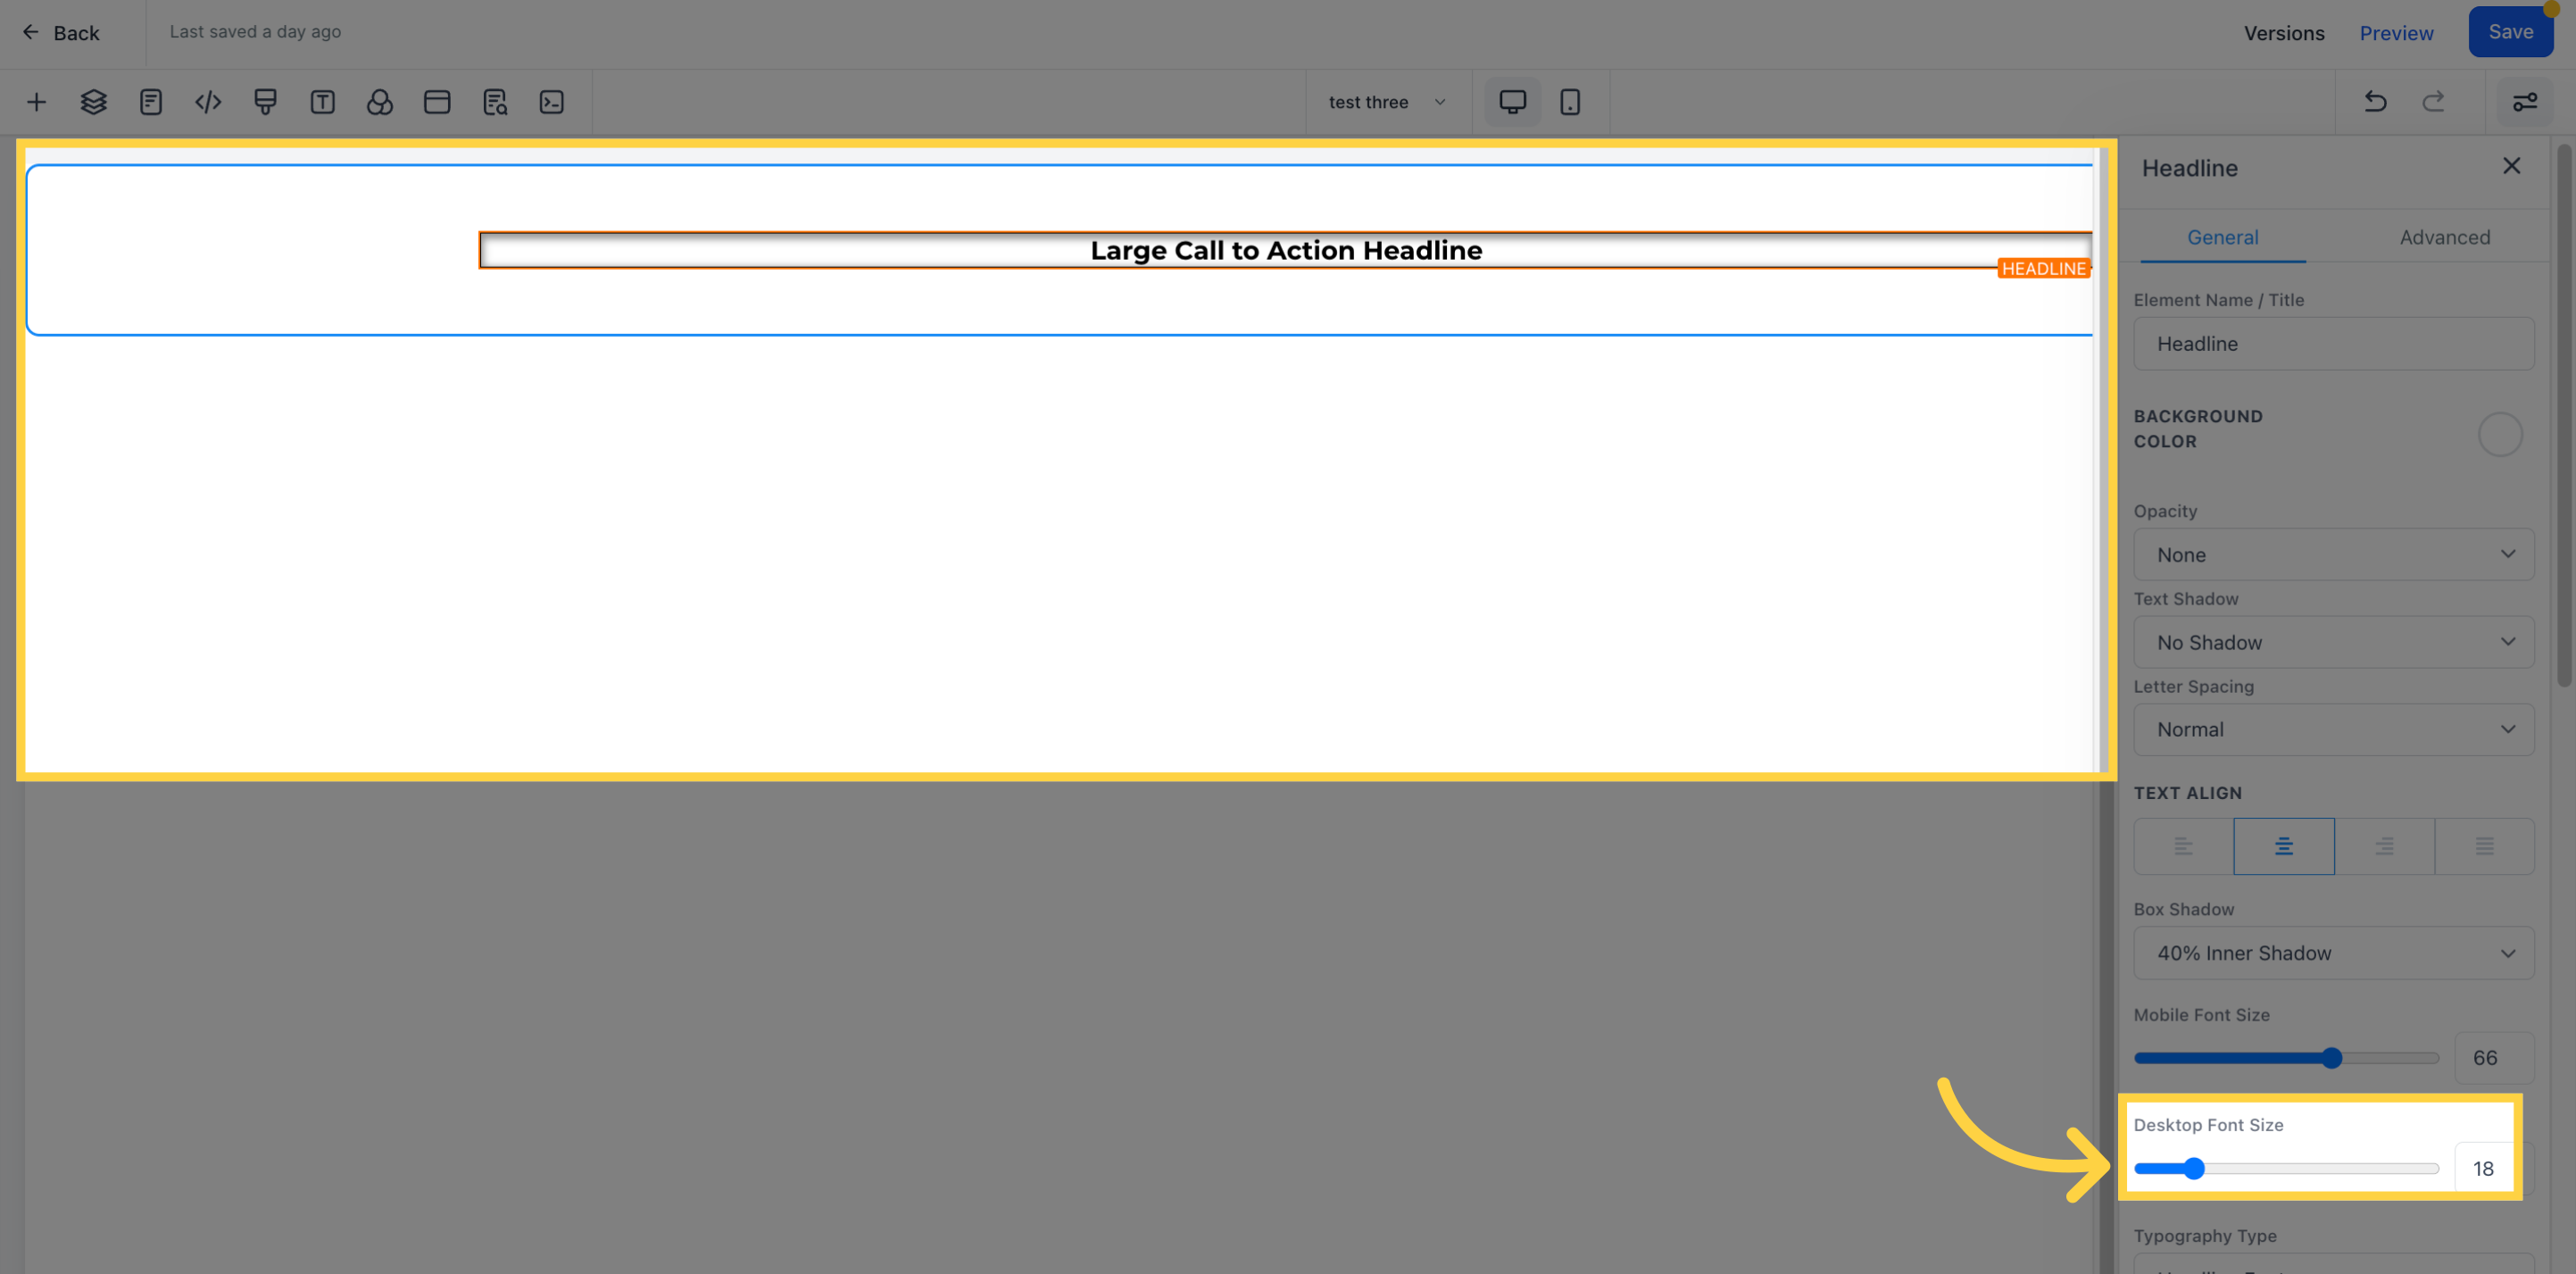
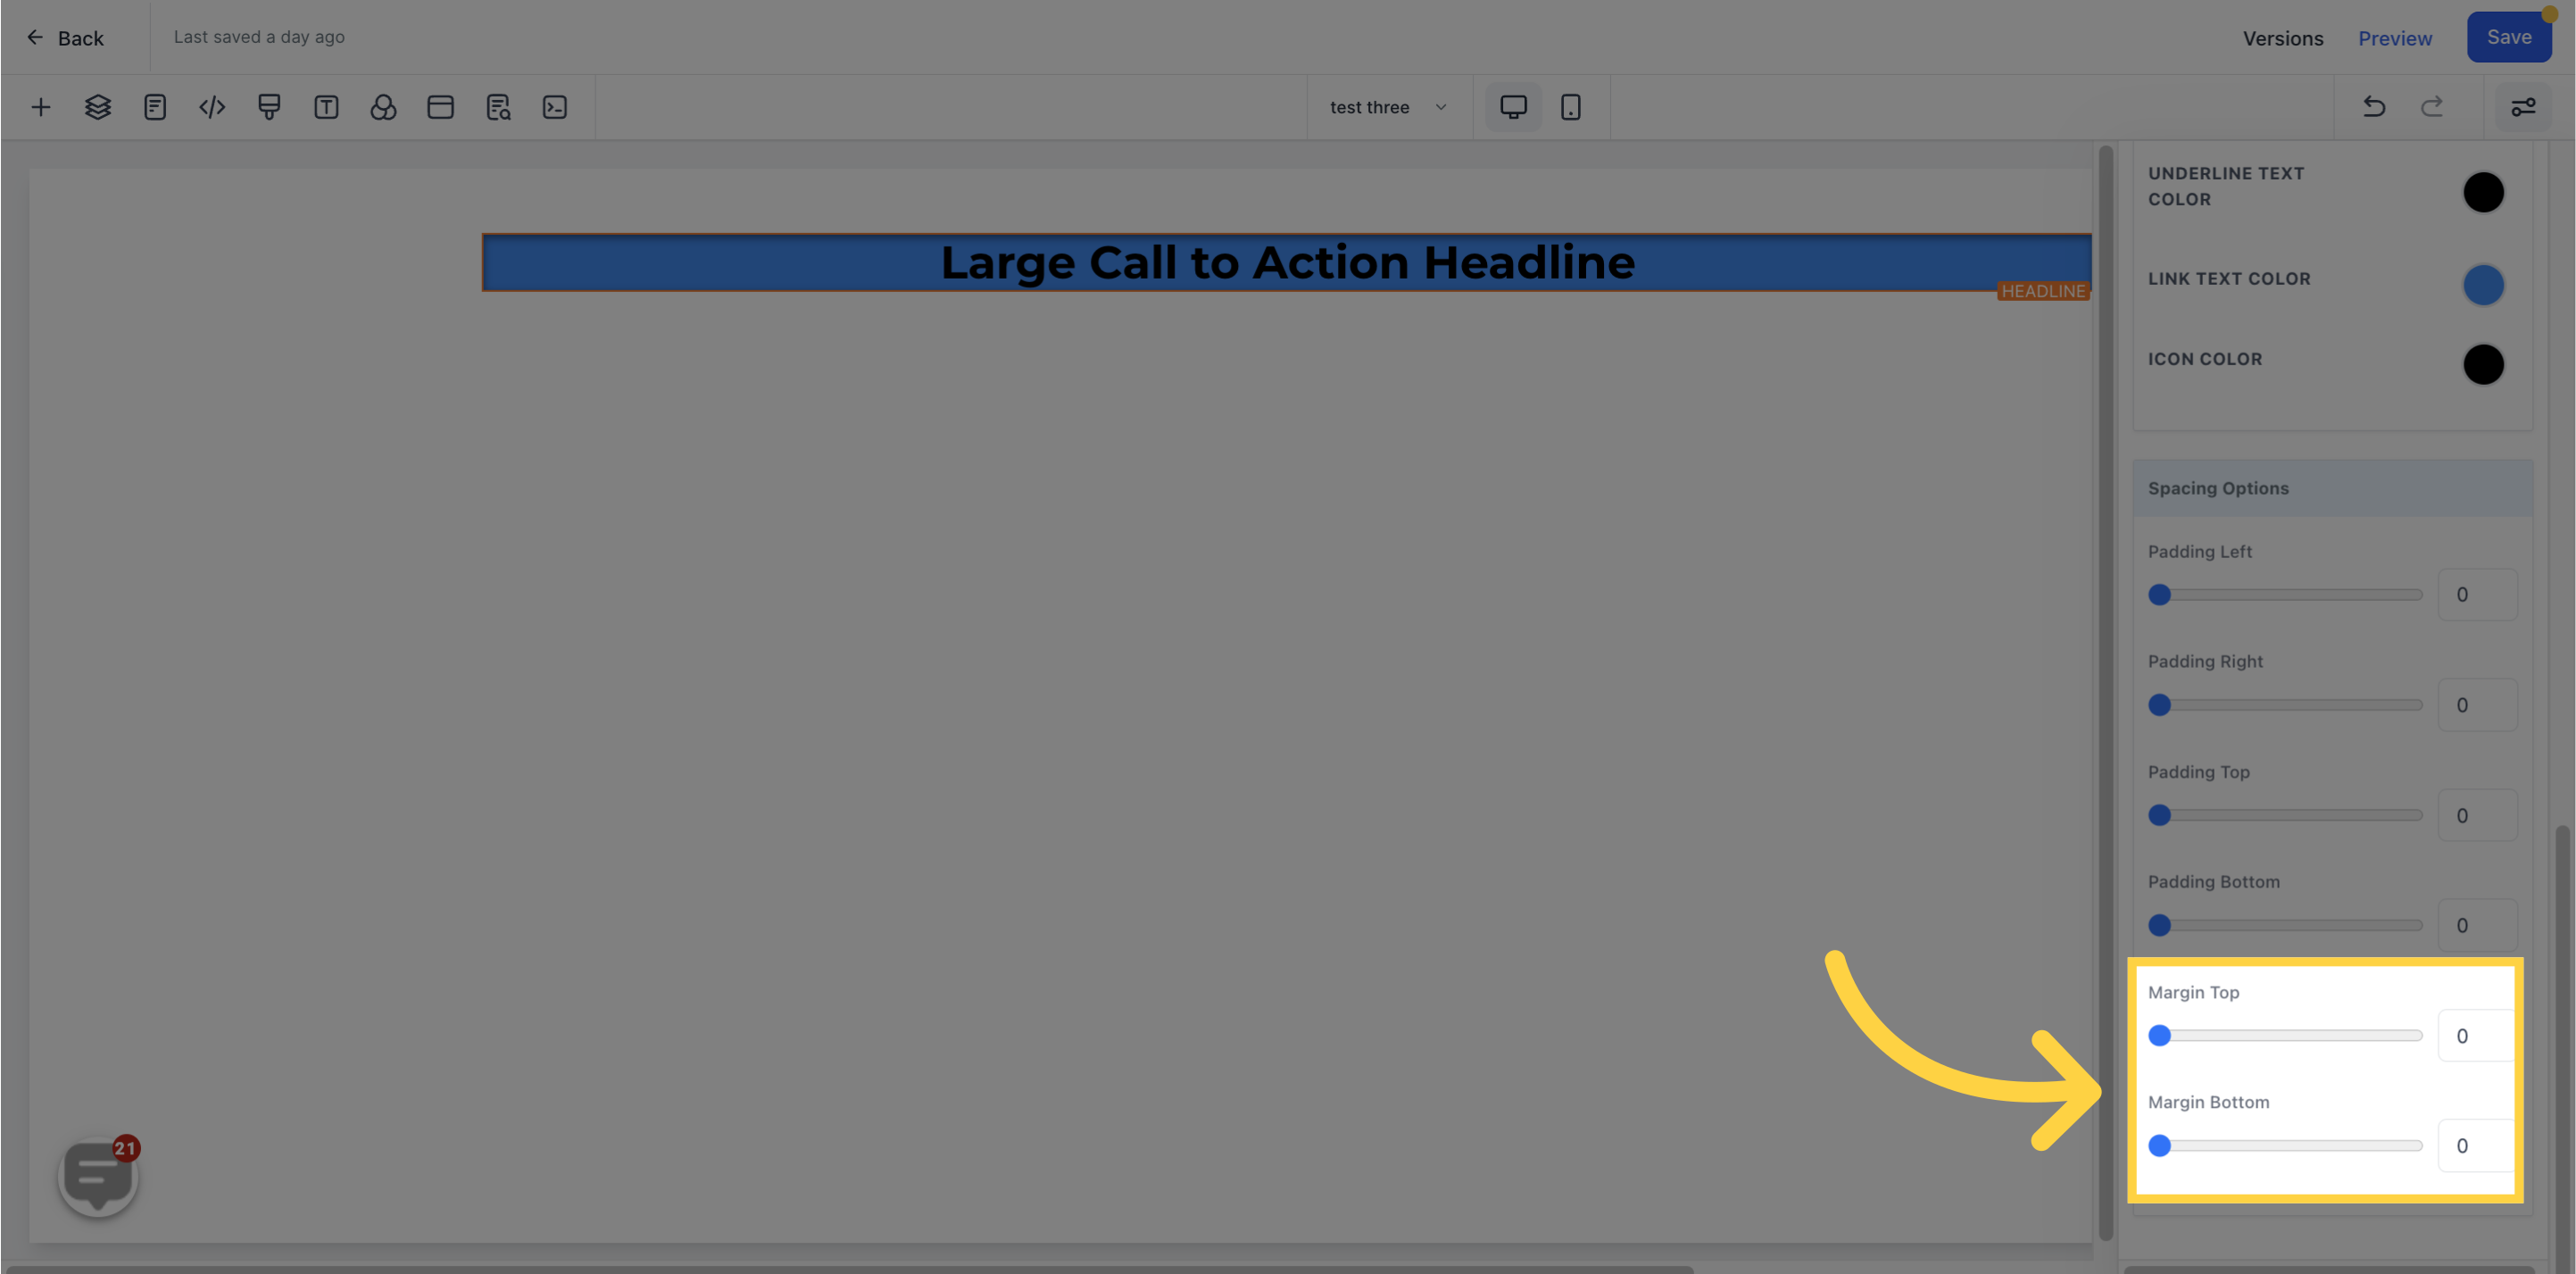
You can adjust the spacing of your content using various options. Please note that the settings will only apply to the editing option you are currently working on. For instance, if you are modifying a specific row (indicated by the blue box), only the content within that row will be affected by the changes you make.
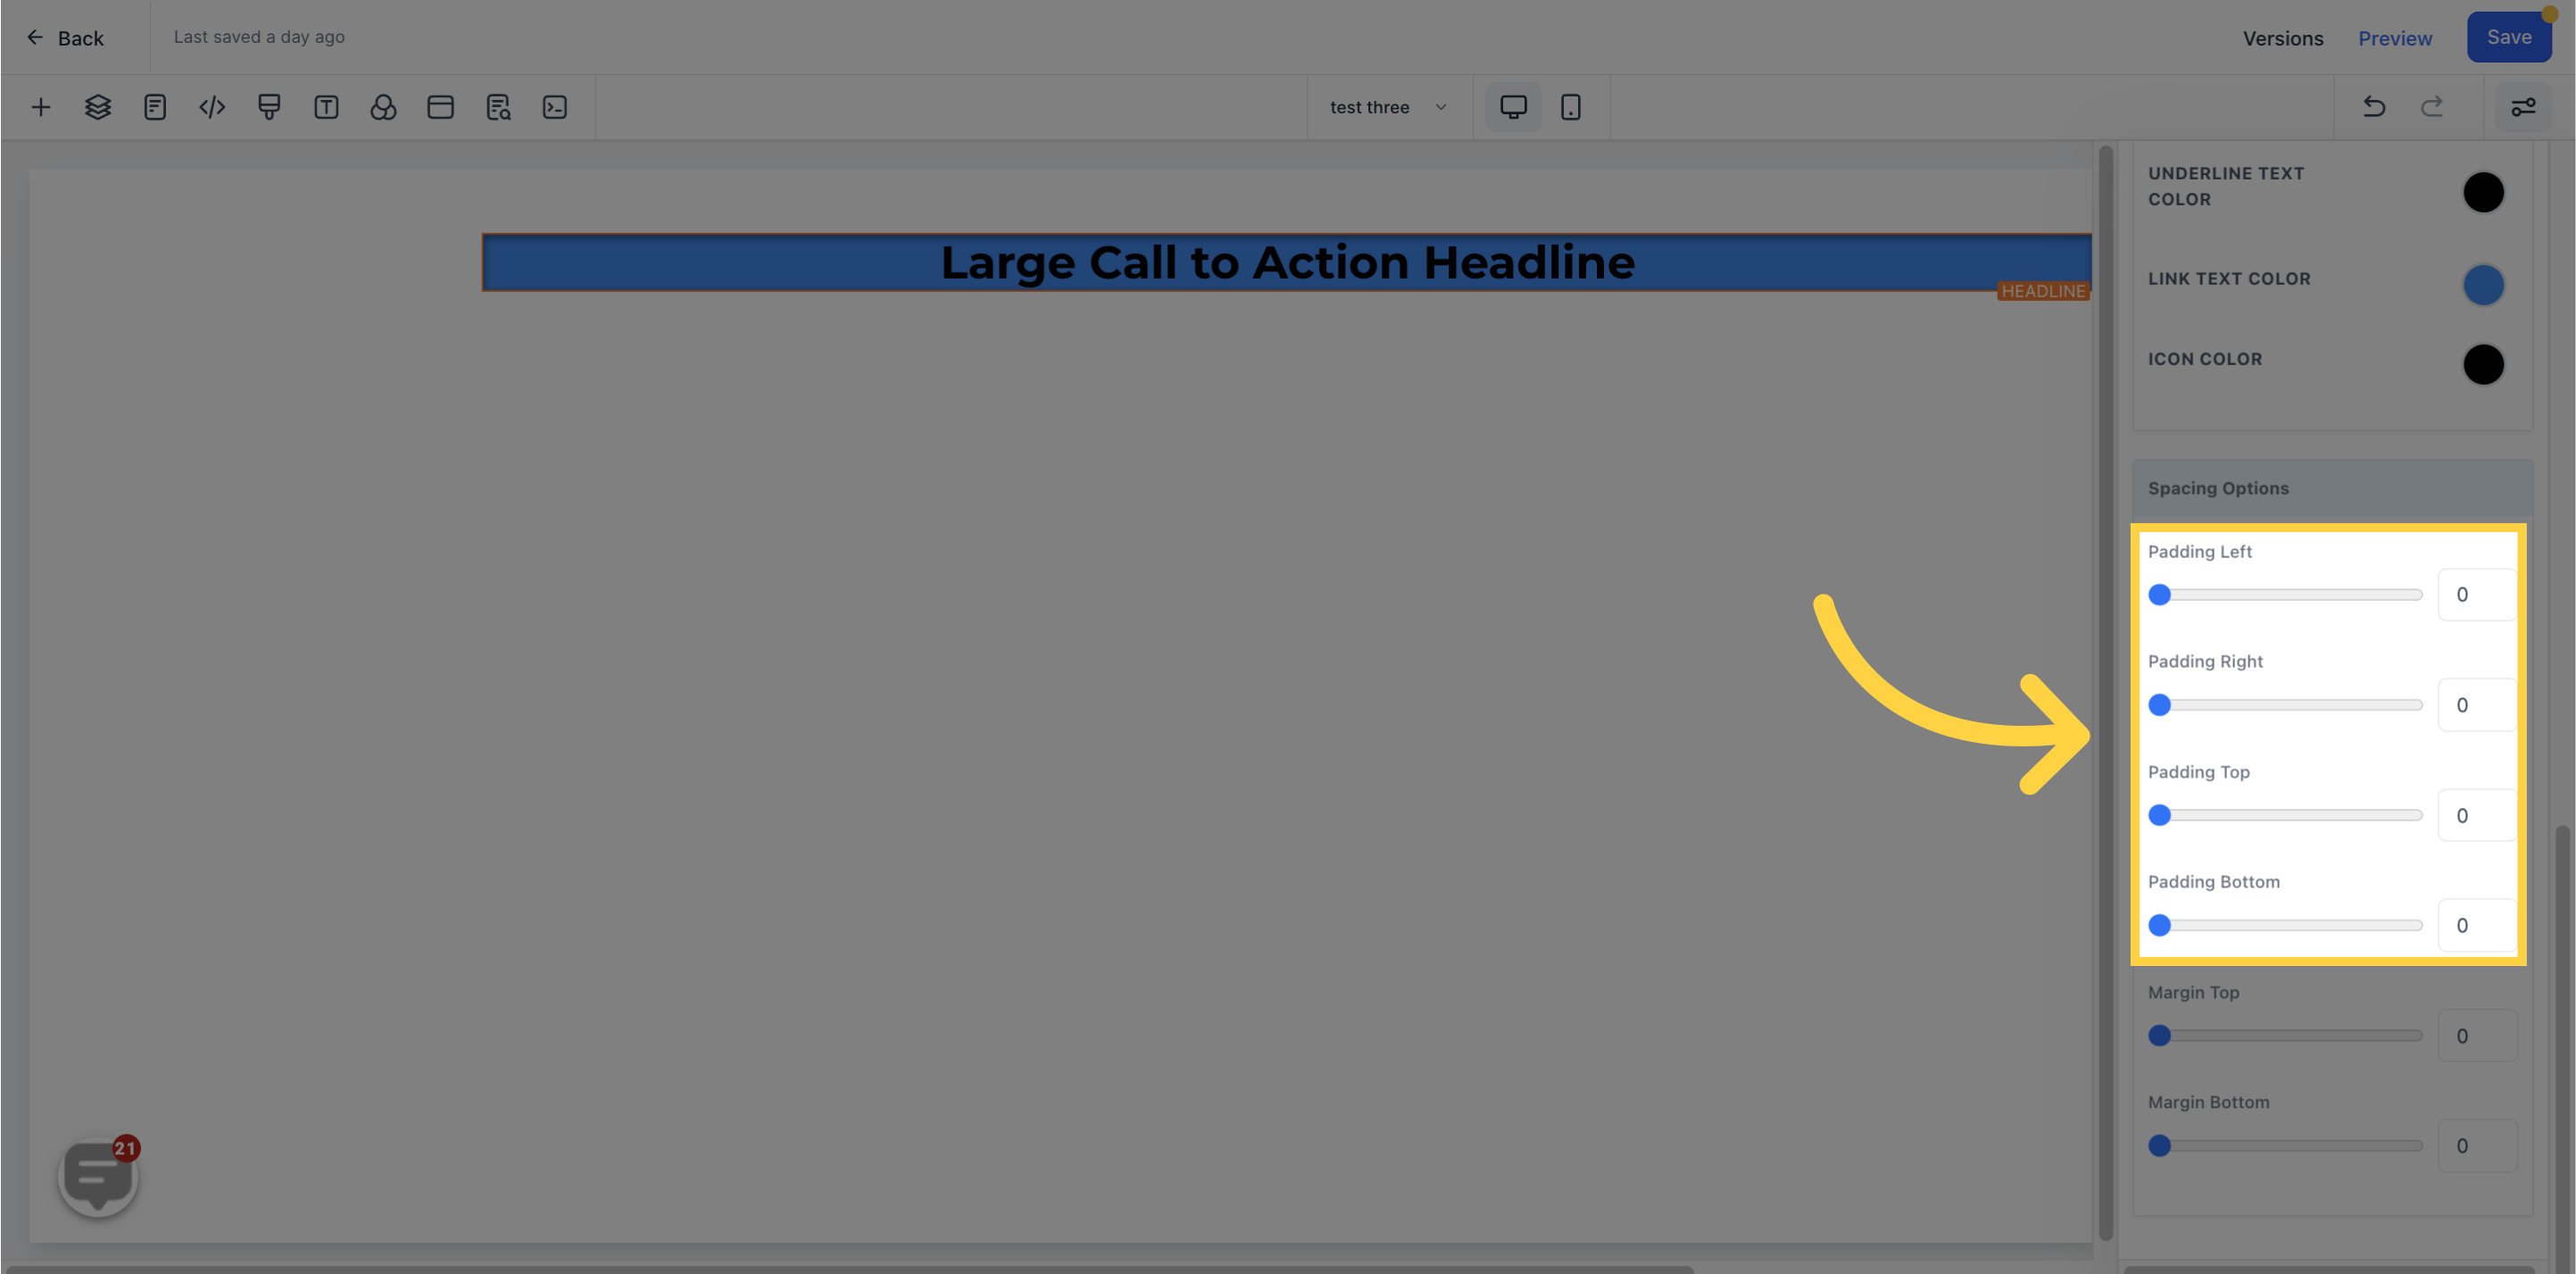
To adjust the top or bottom margin of your content, you can toggle its respective bars.
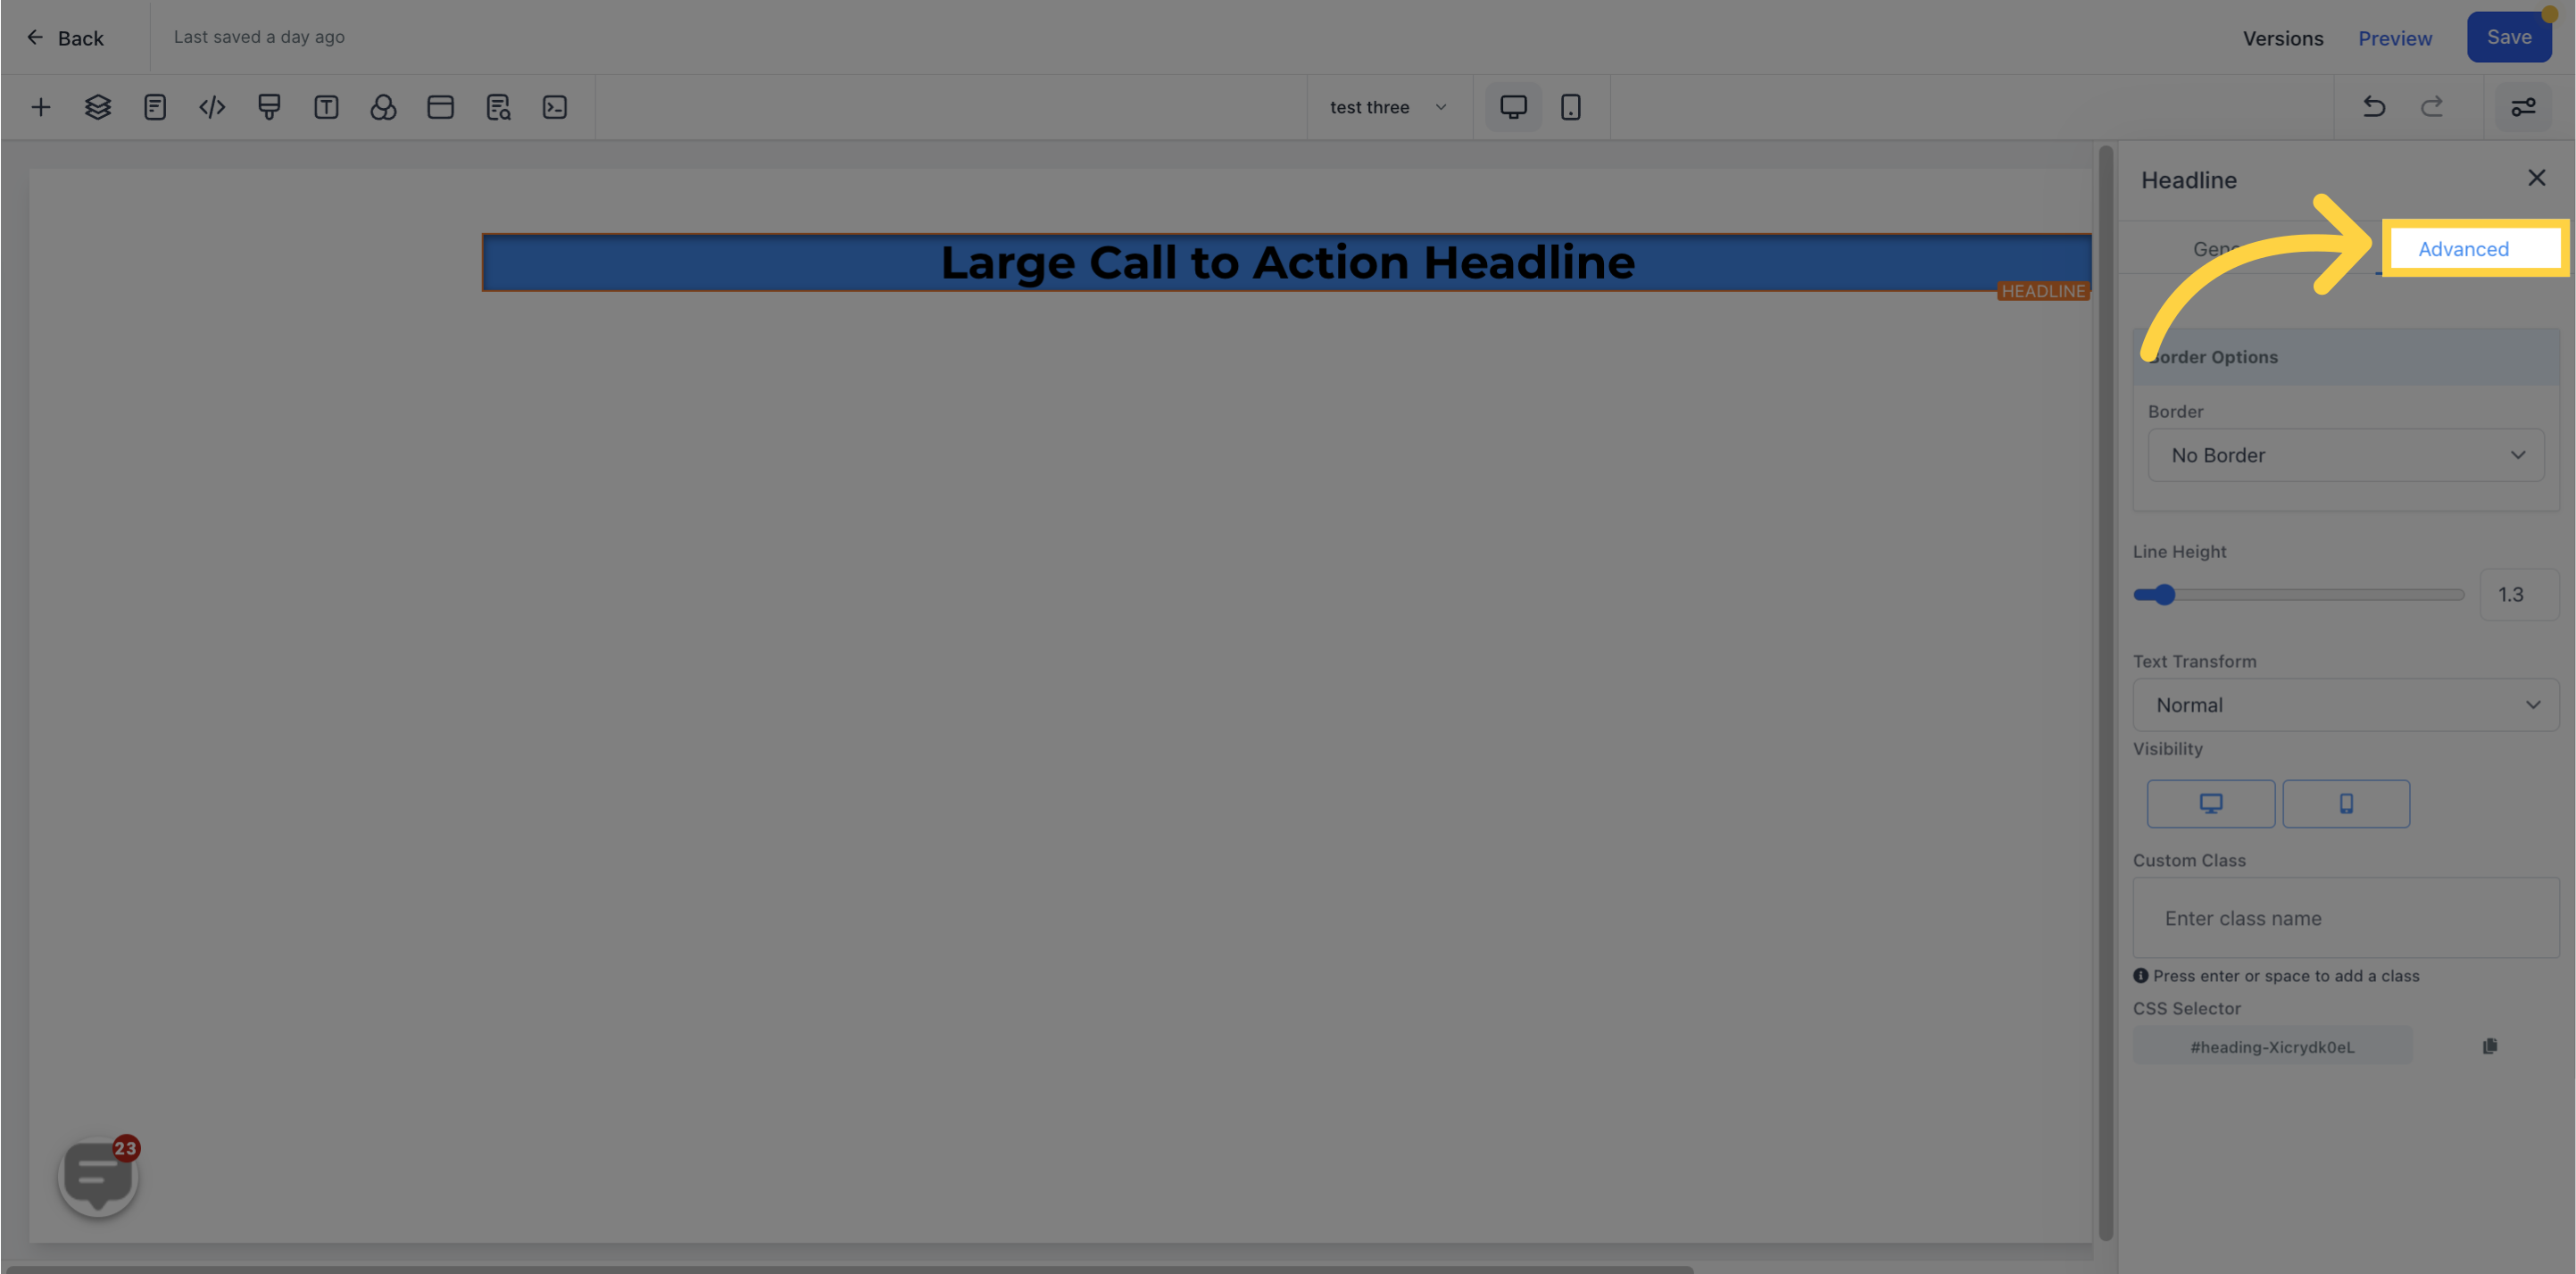
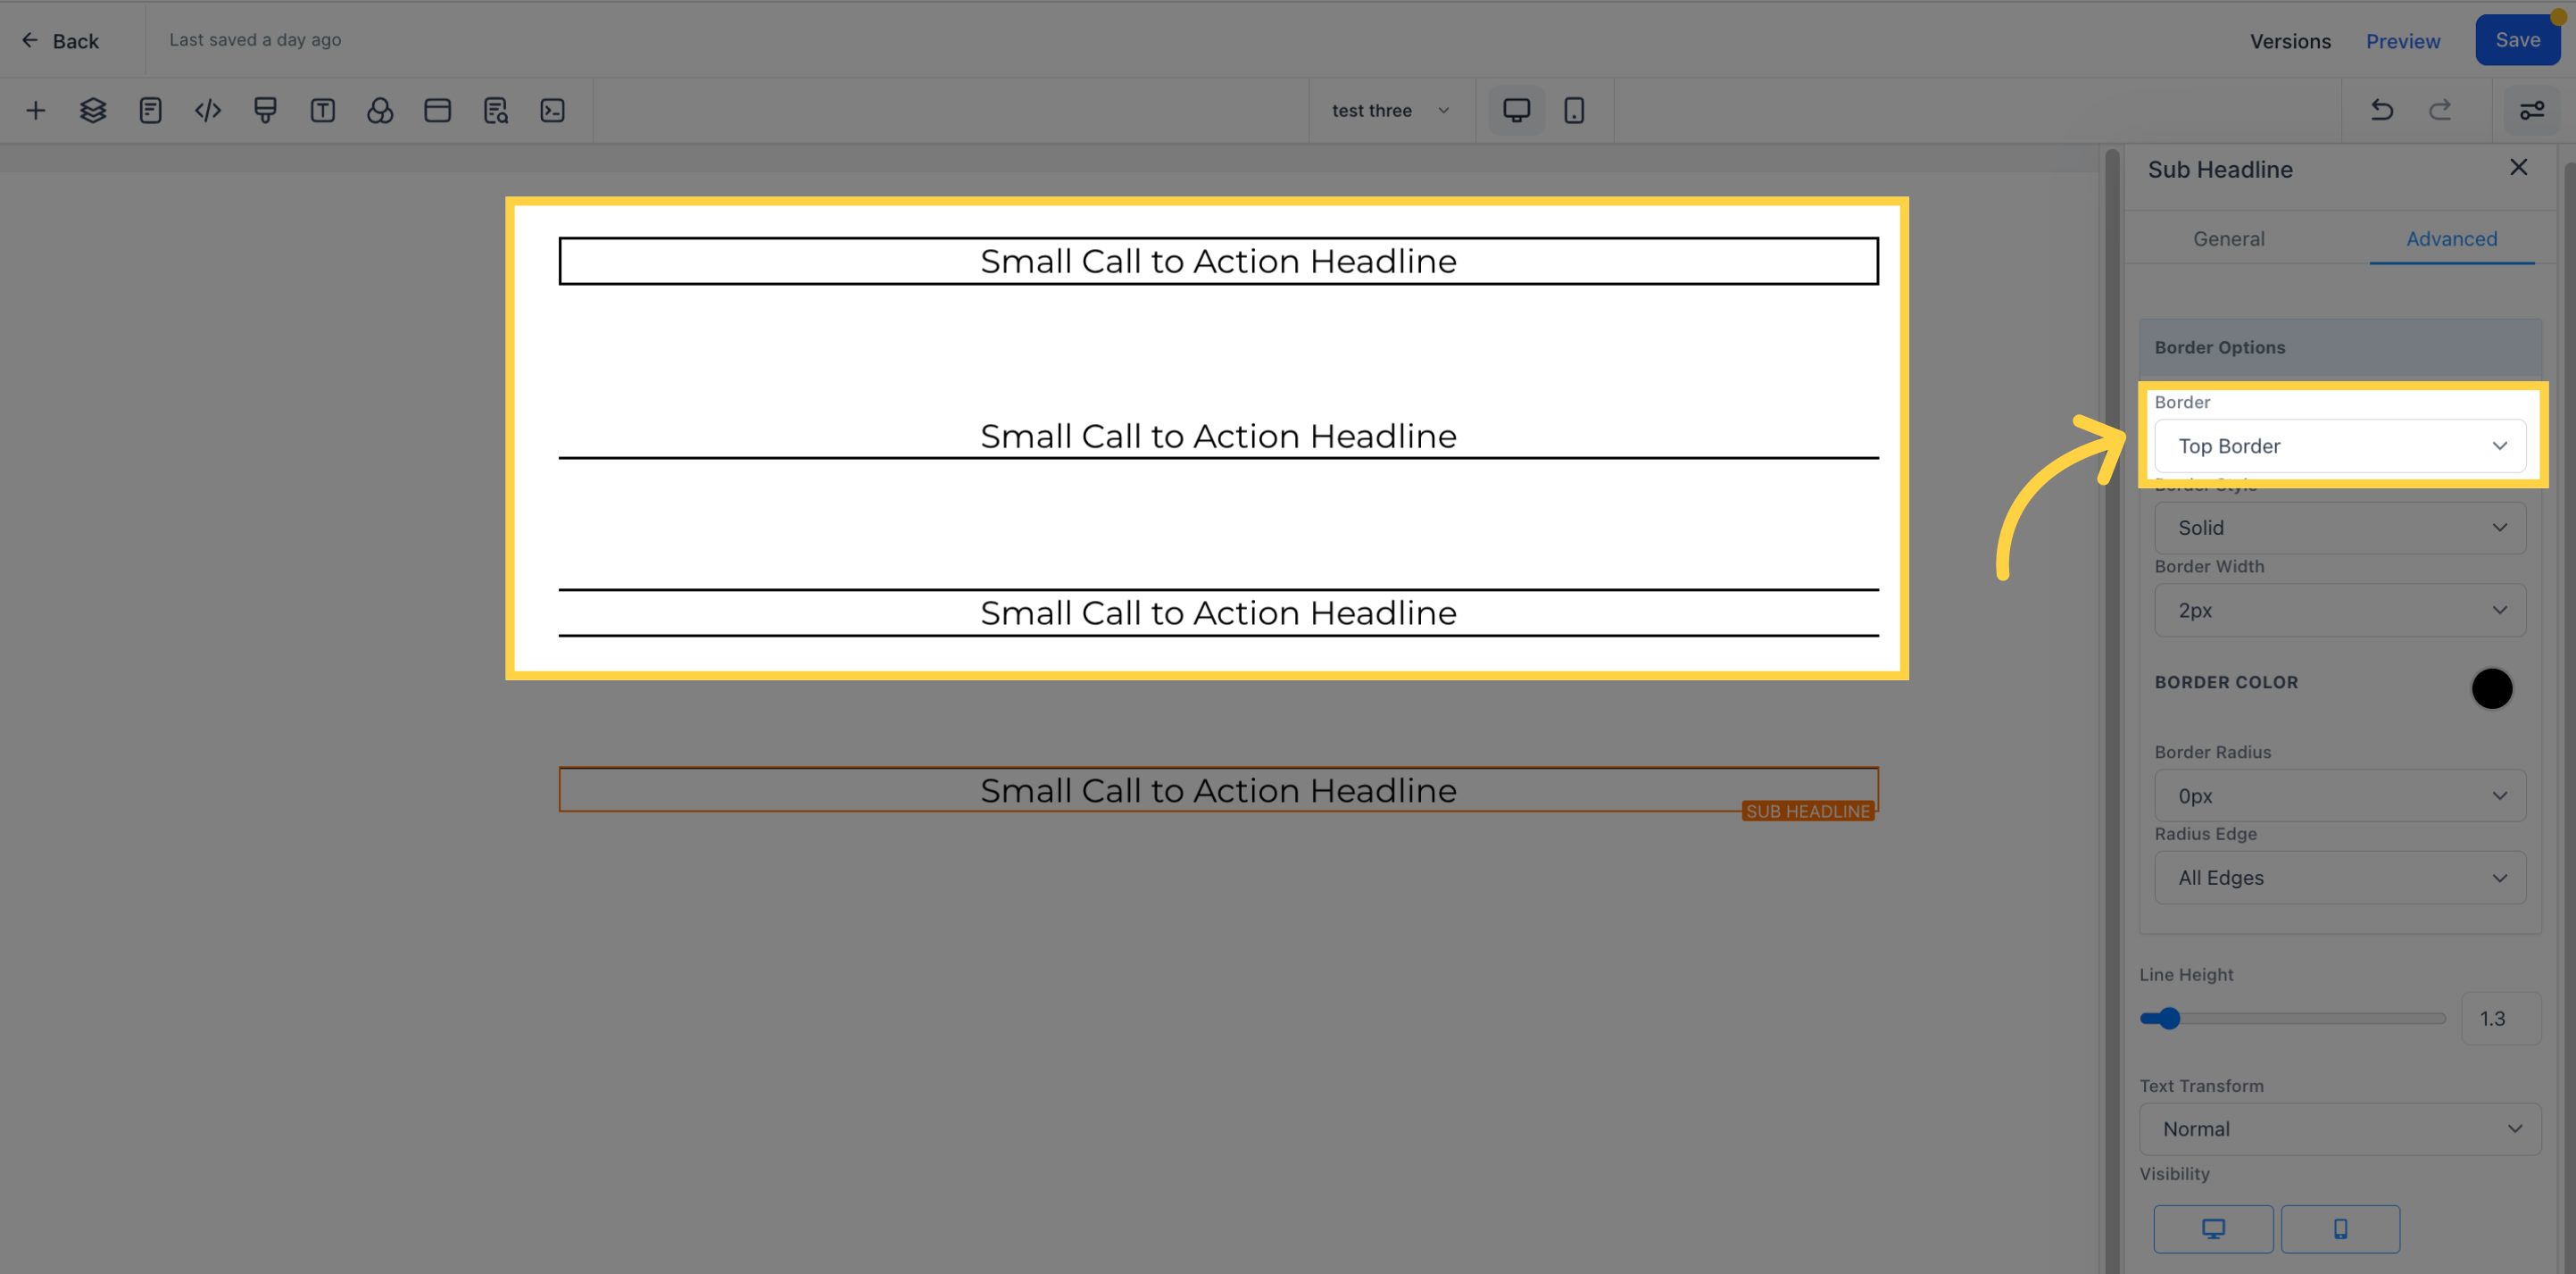
To select the type of border you want, first, decide on which type of border you wish to apply. Clicking on any border type aside from "No Border" will drop down additional border options for you to choose from.
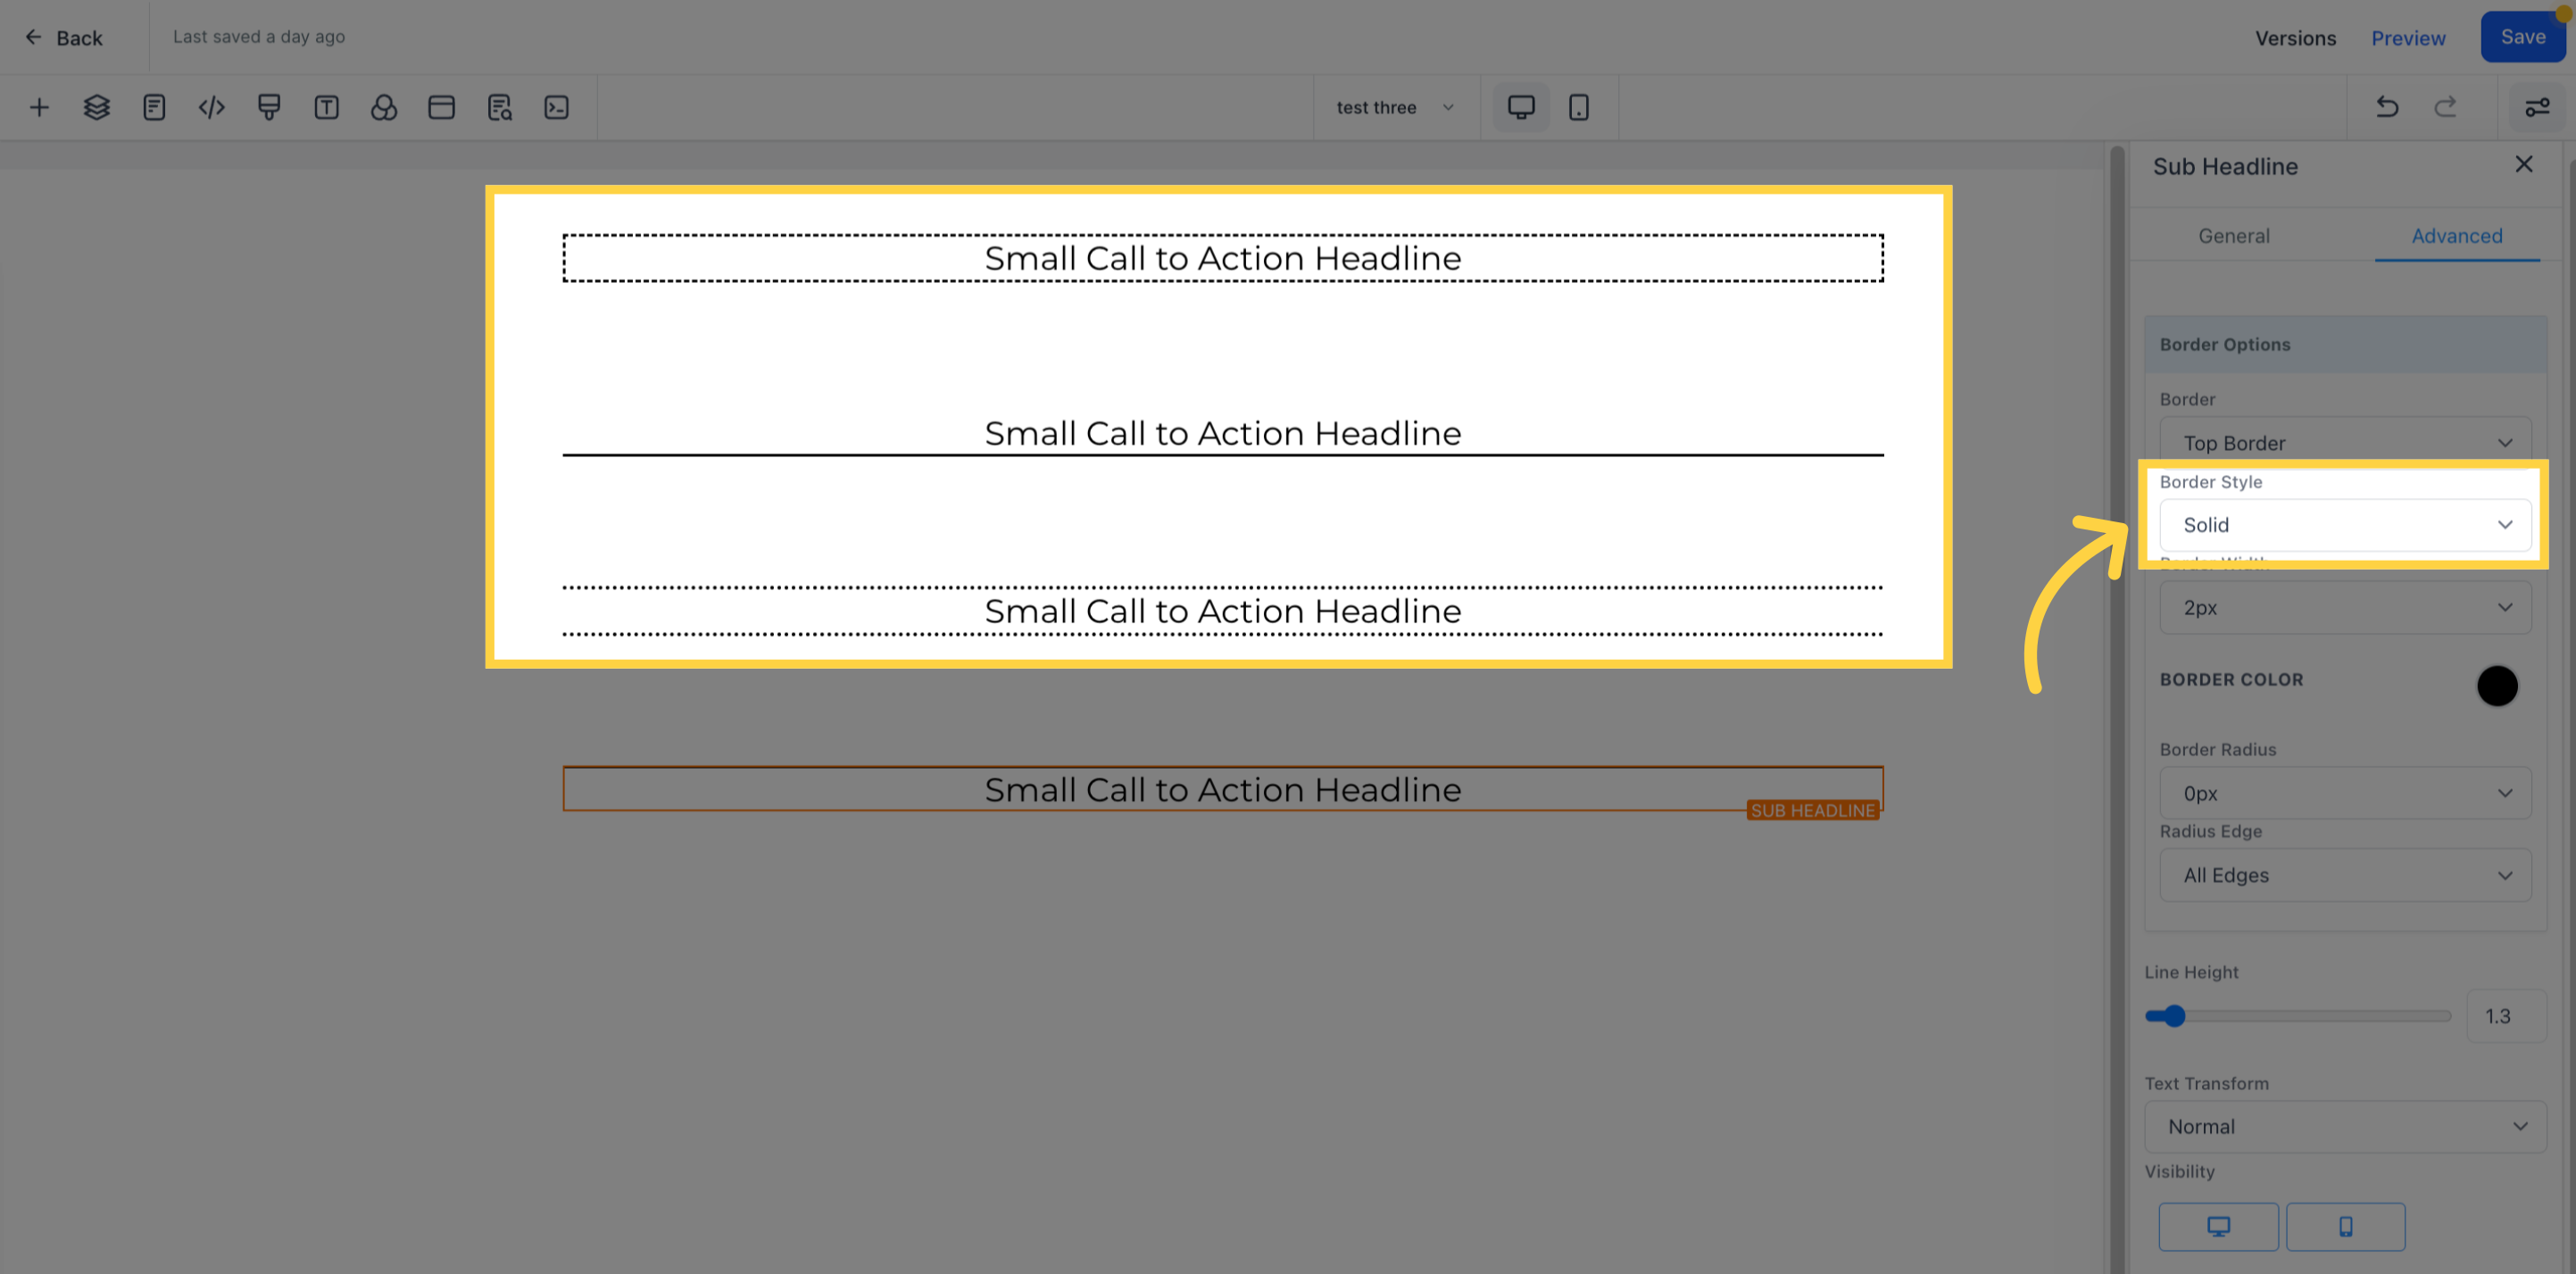
Once you have decided on the type of border you want, you can then select the style of border
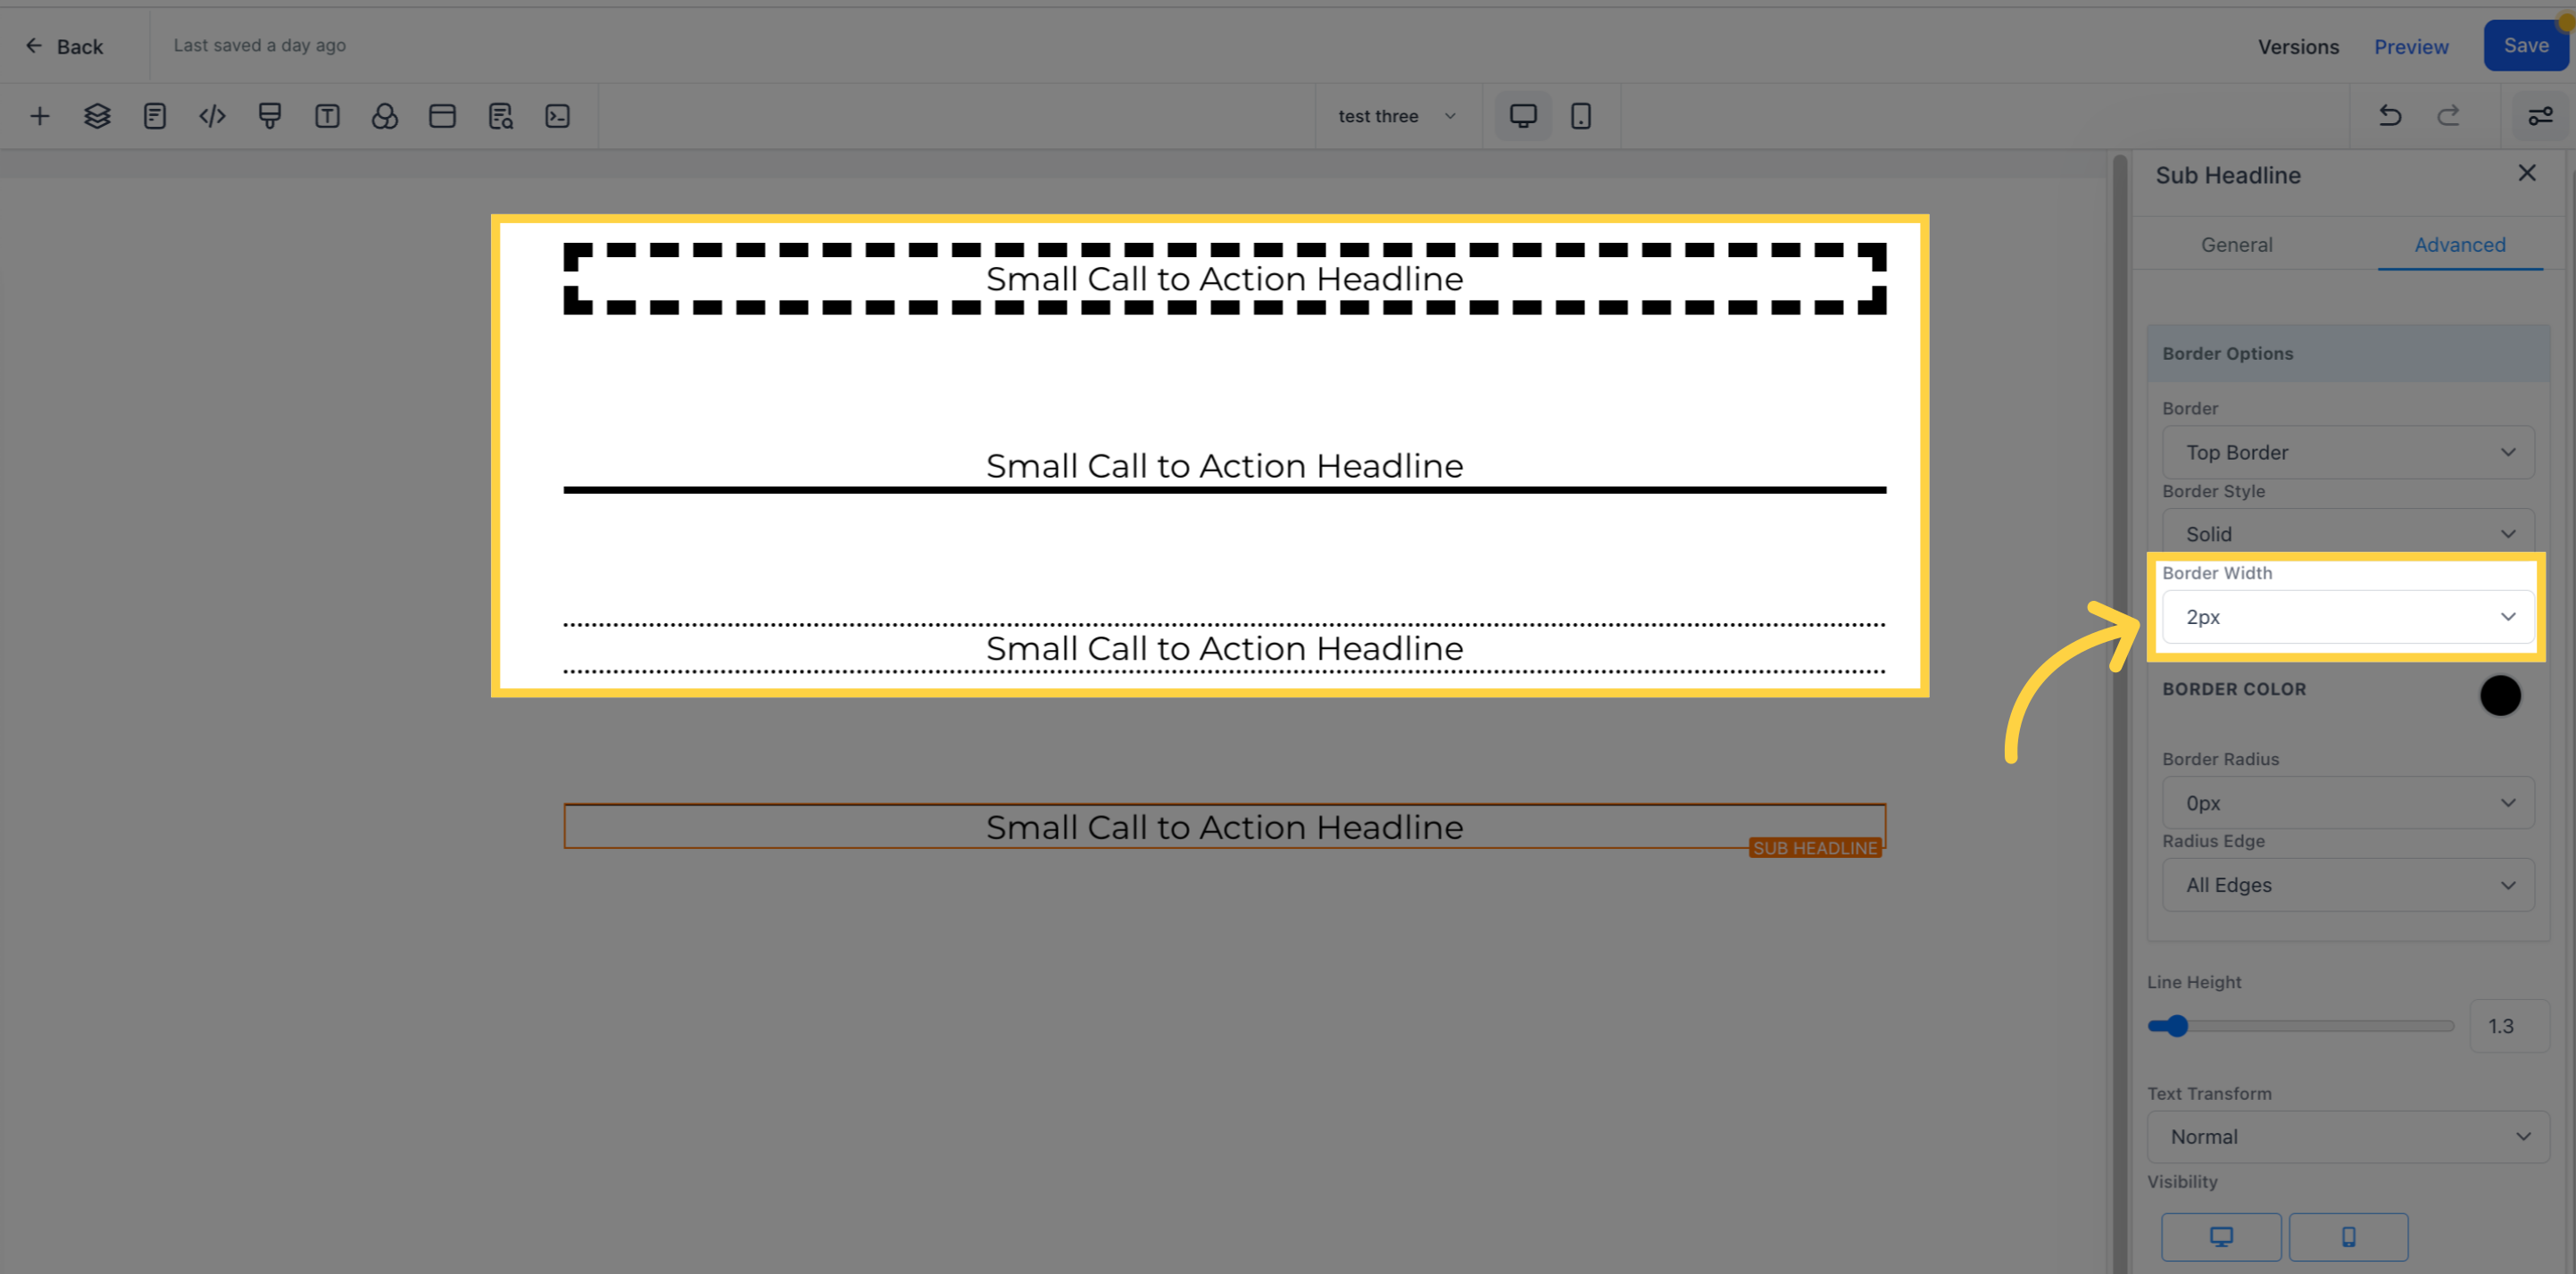
To select the thickness of your border, please click on the corresponding option.
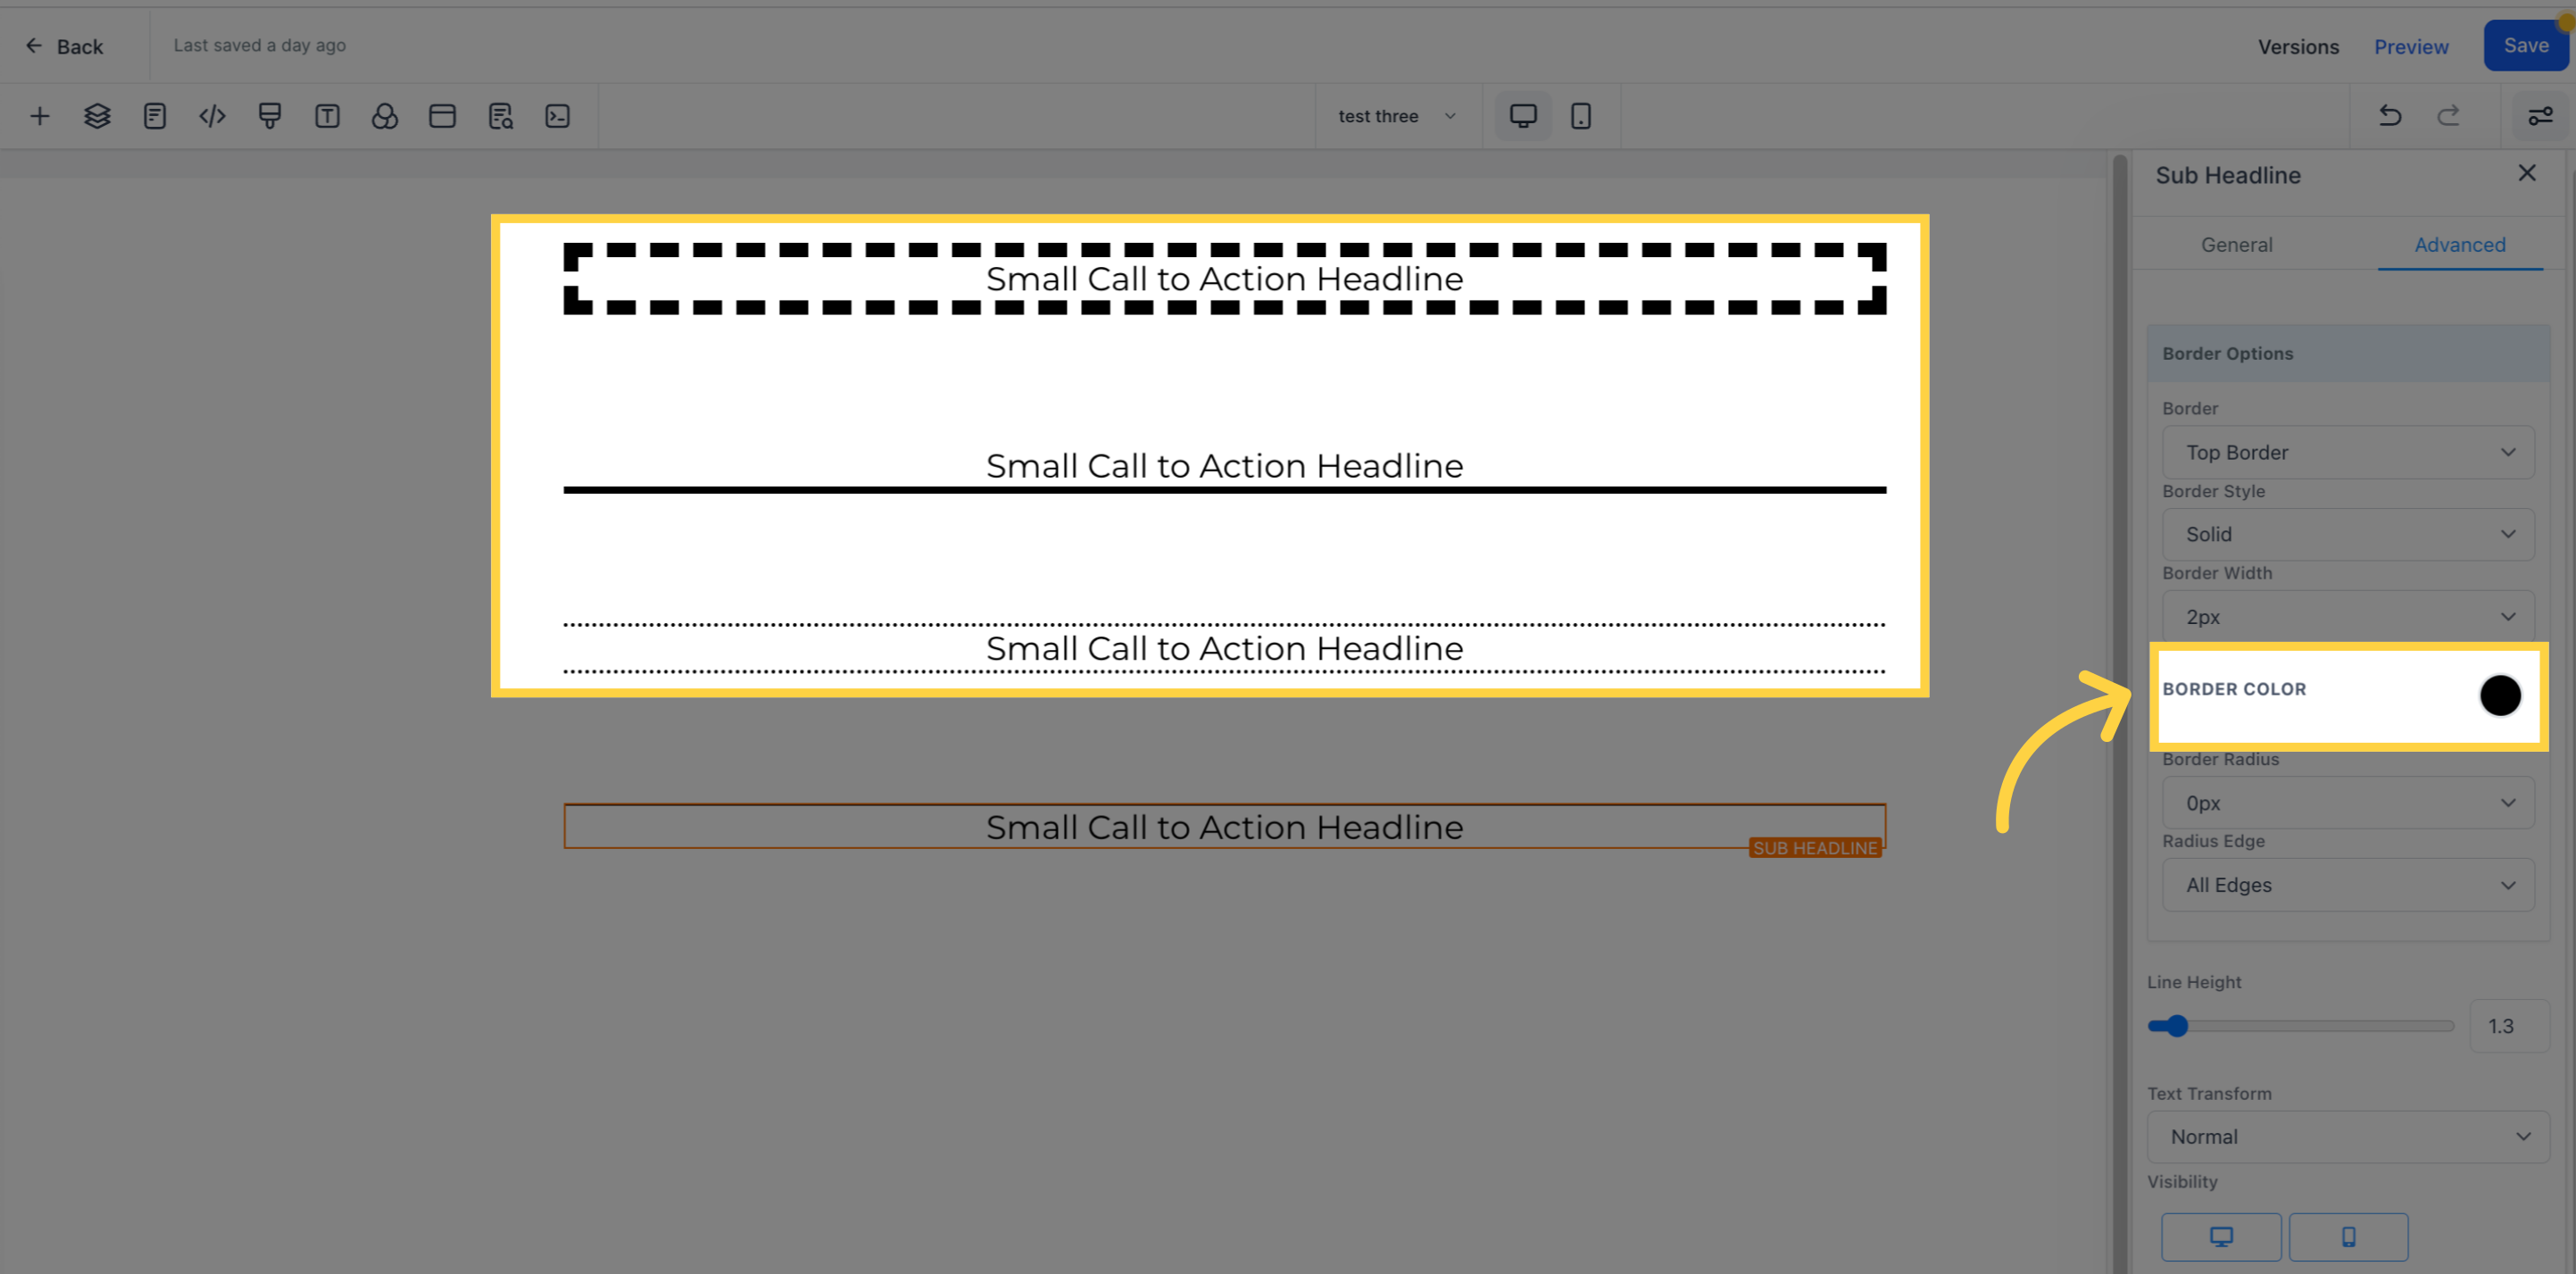
To choose the color for your border, click on the color swatch to access the color picker. From there, you can select a pre-defined color or use the color slider to create a custom color for your border.
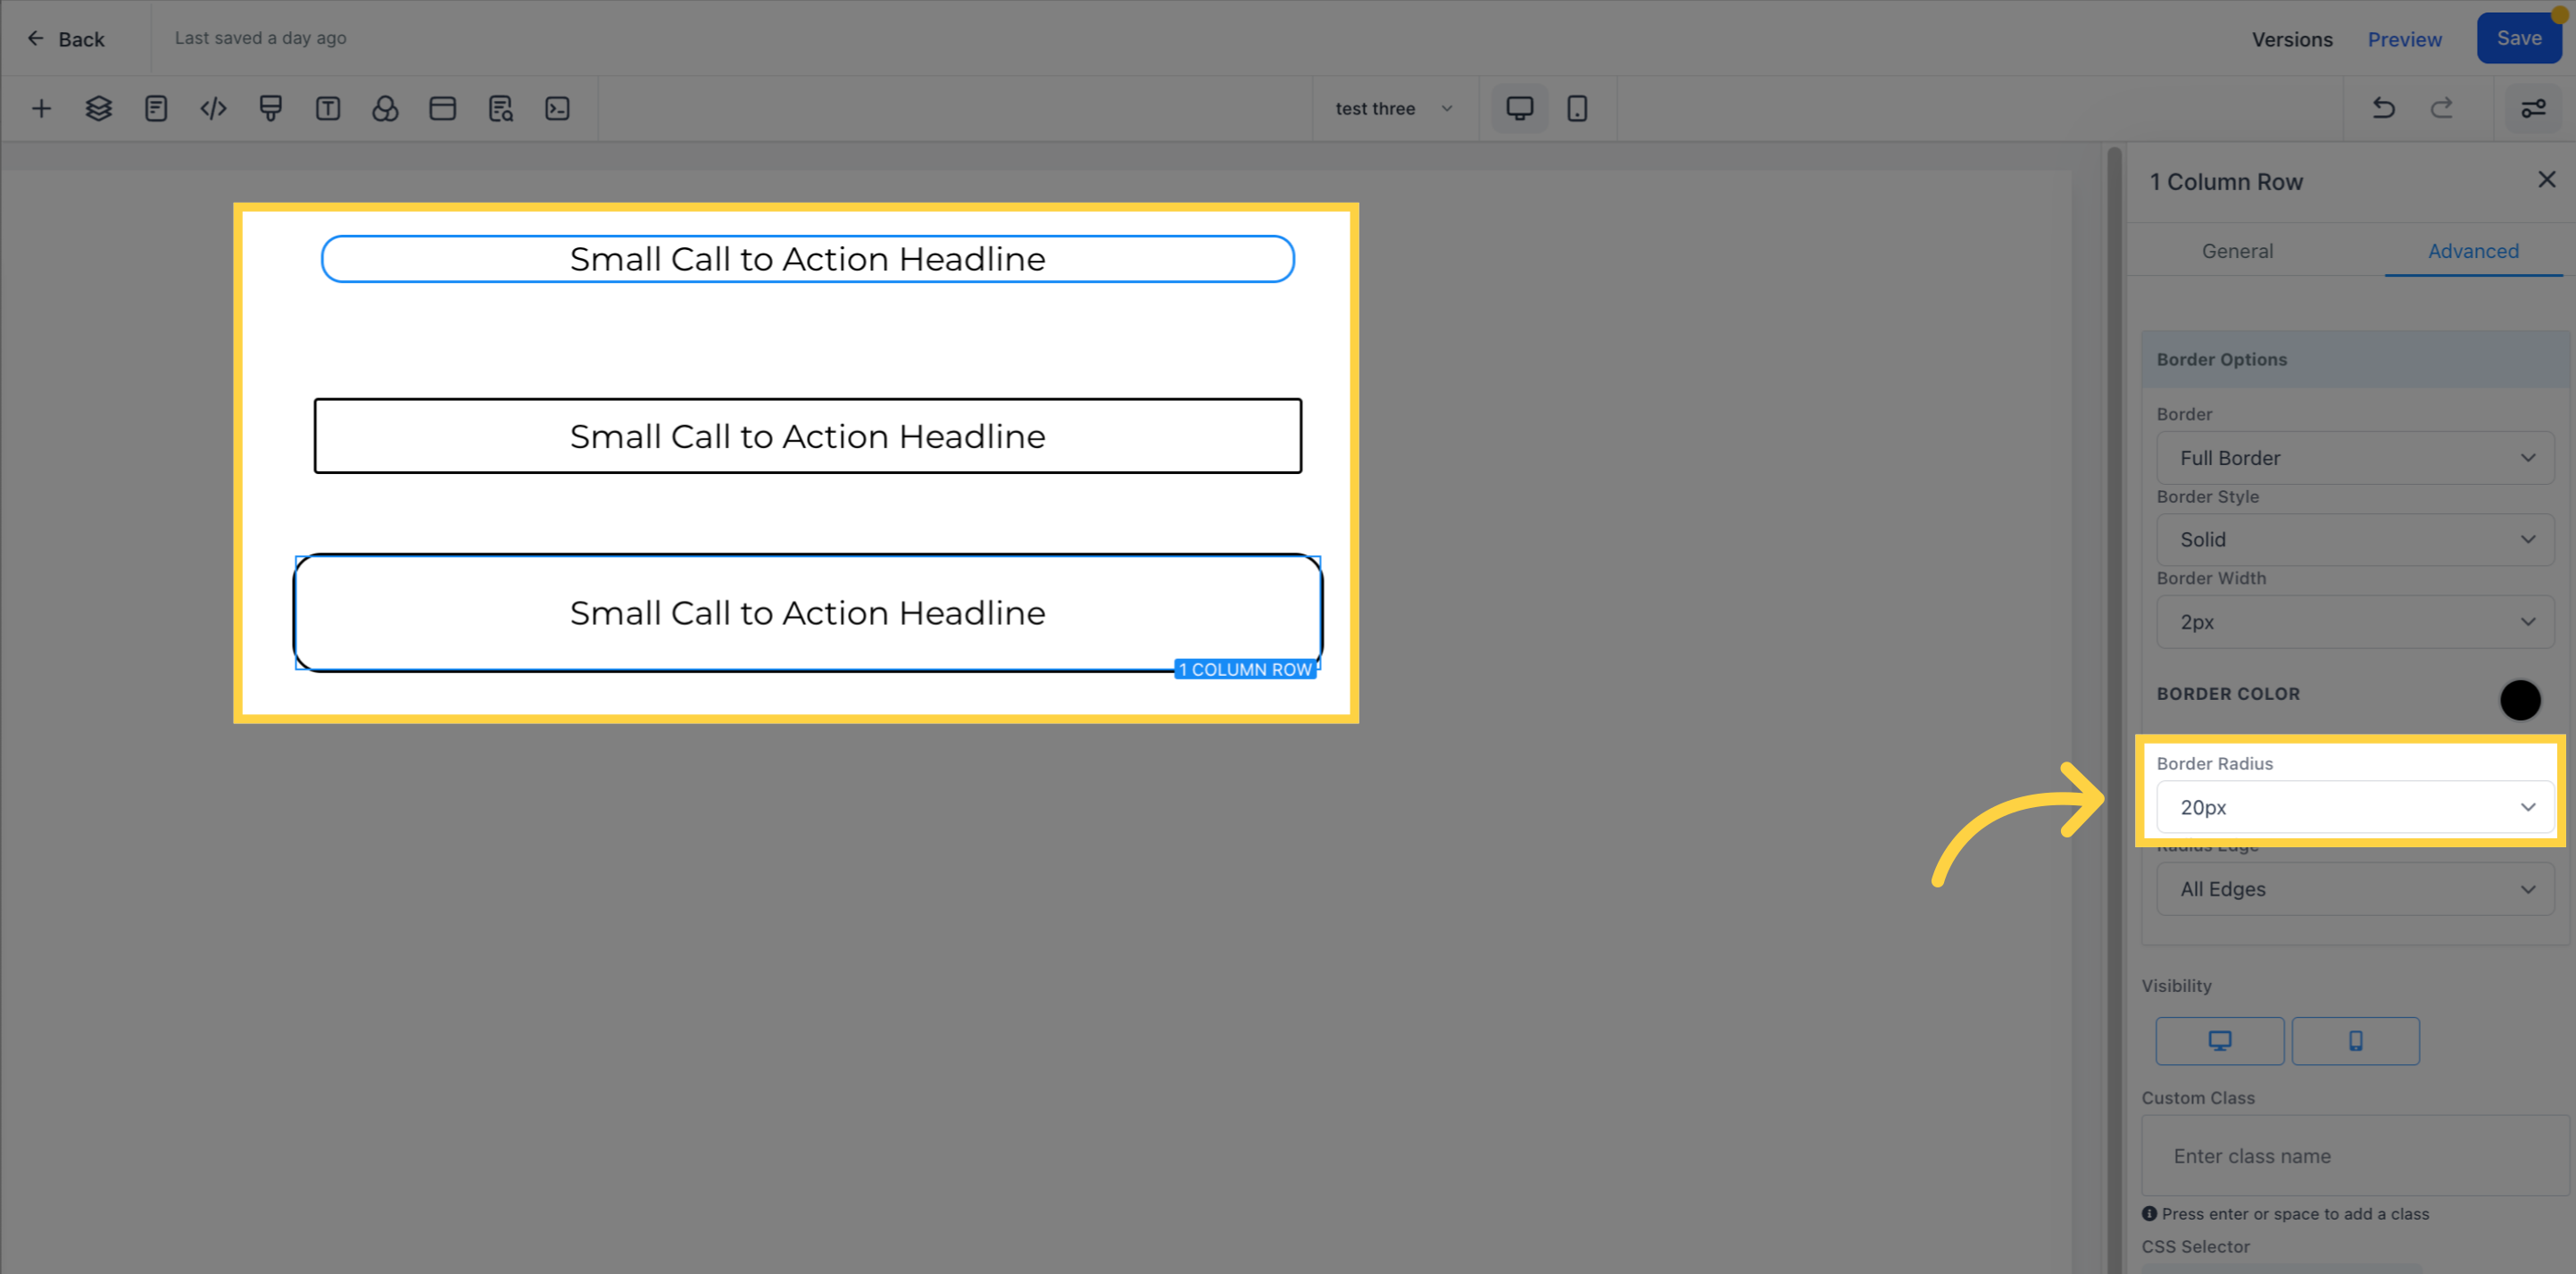
If you don't want your border to have a sharp corner edge, you can select the radius options to determine how curvy you want the edge to be. This will add a smooth curve to the corners of your border. You can adjust the radius to your desired level by selecting the corresponding option.
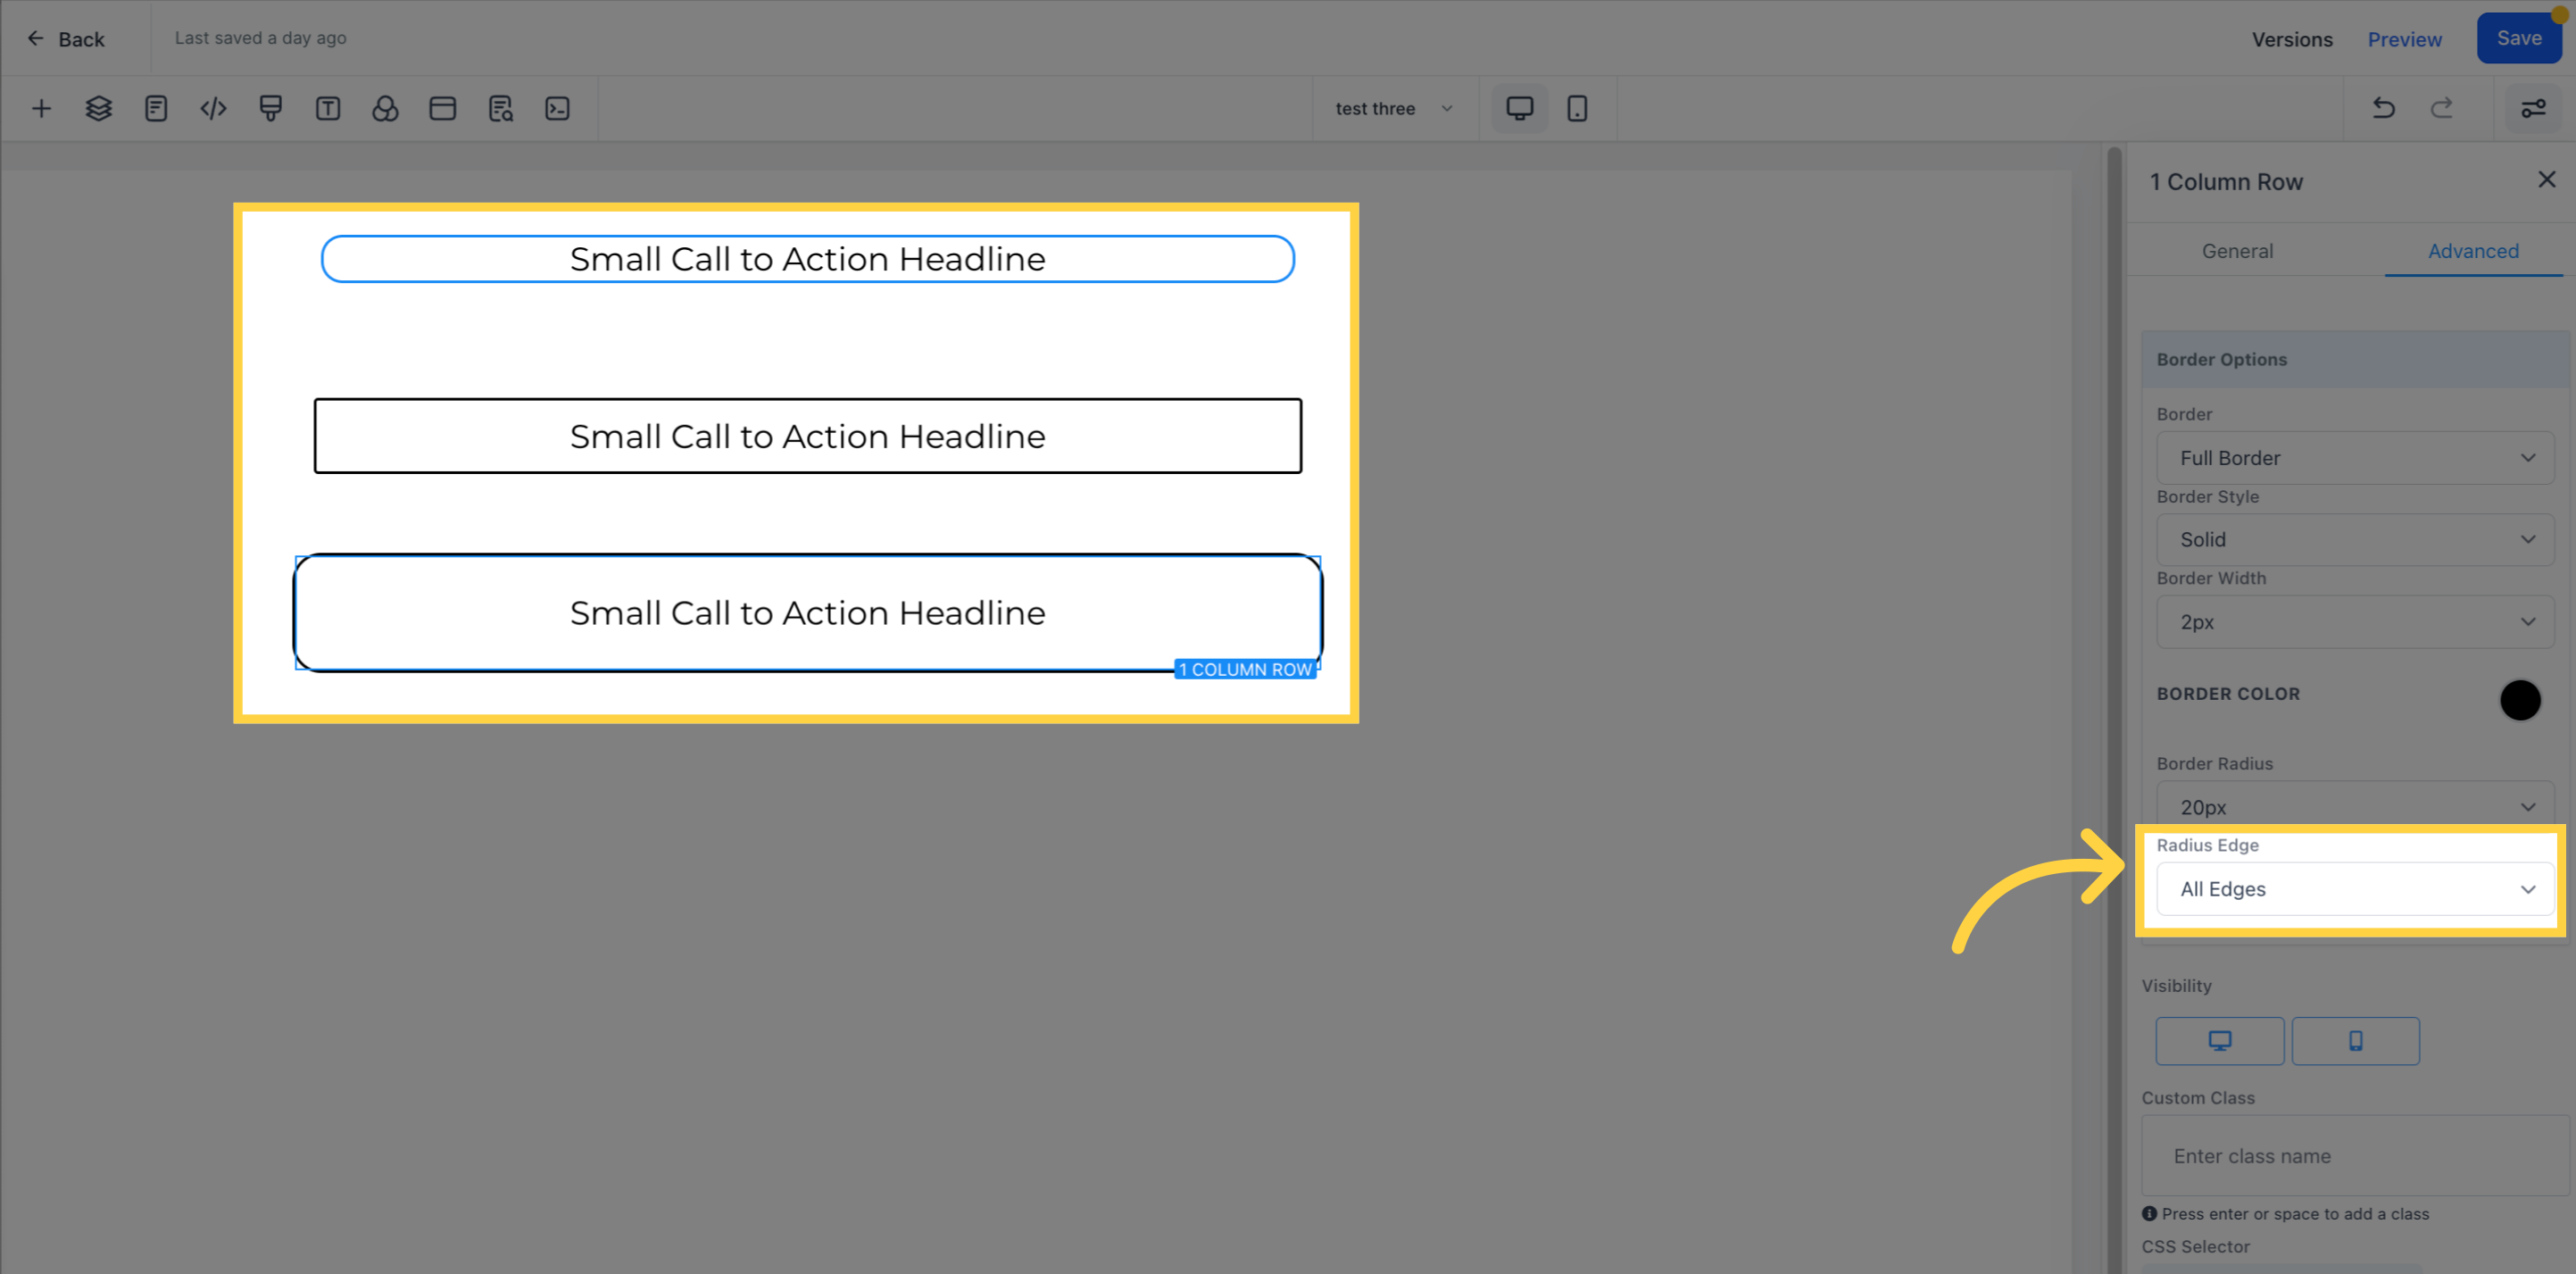
To adjust the edge of your border, you can select which side you want to modify. You have the option to adjust for all edges, only the top edge, or only the bottom edge. Select the corresponding option to apply the edge adjustments to the desired side of your border.
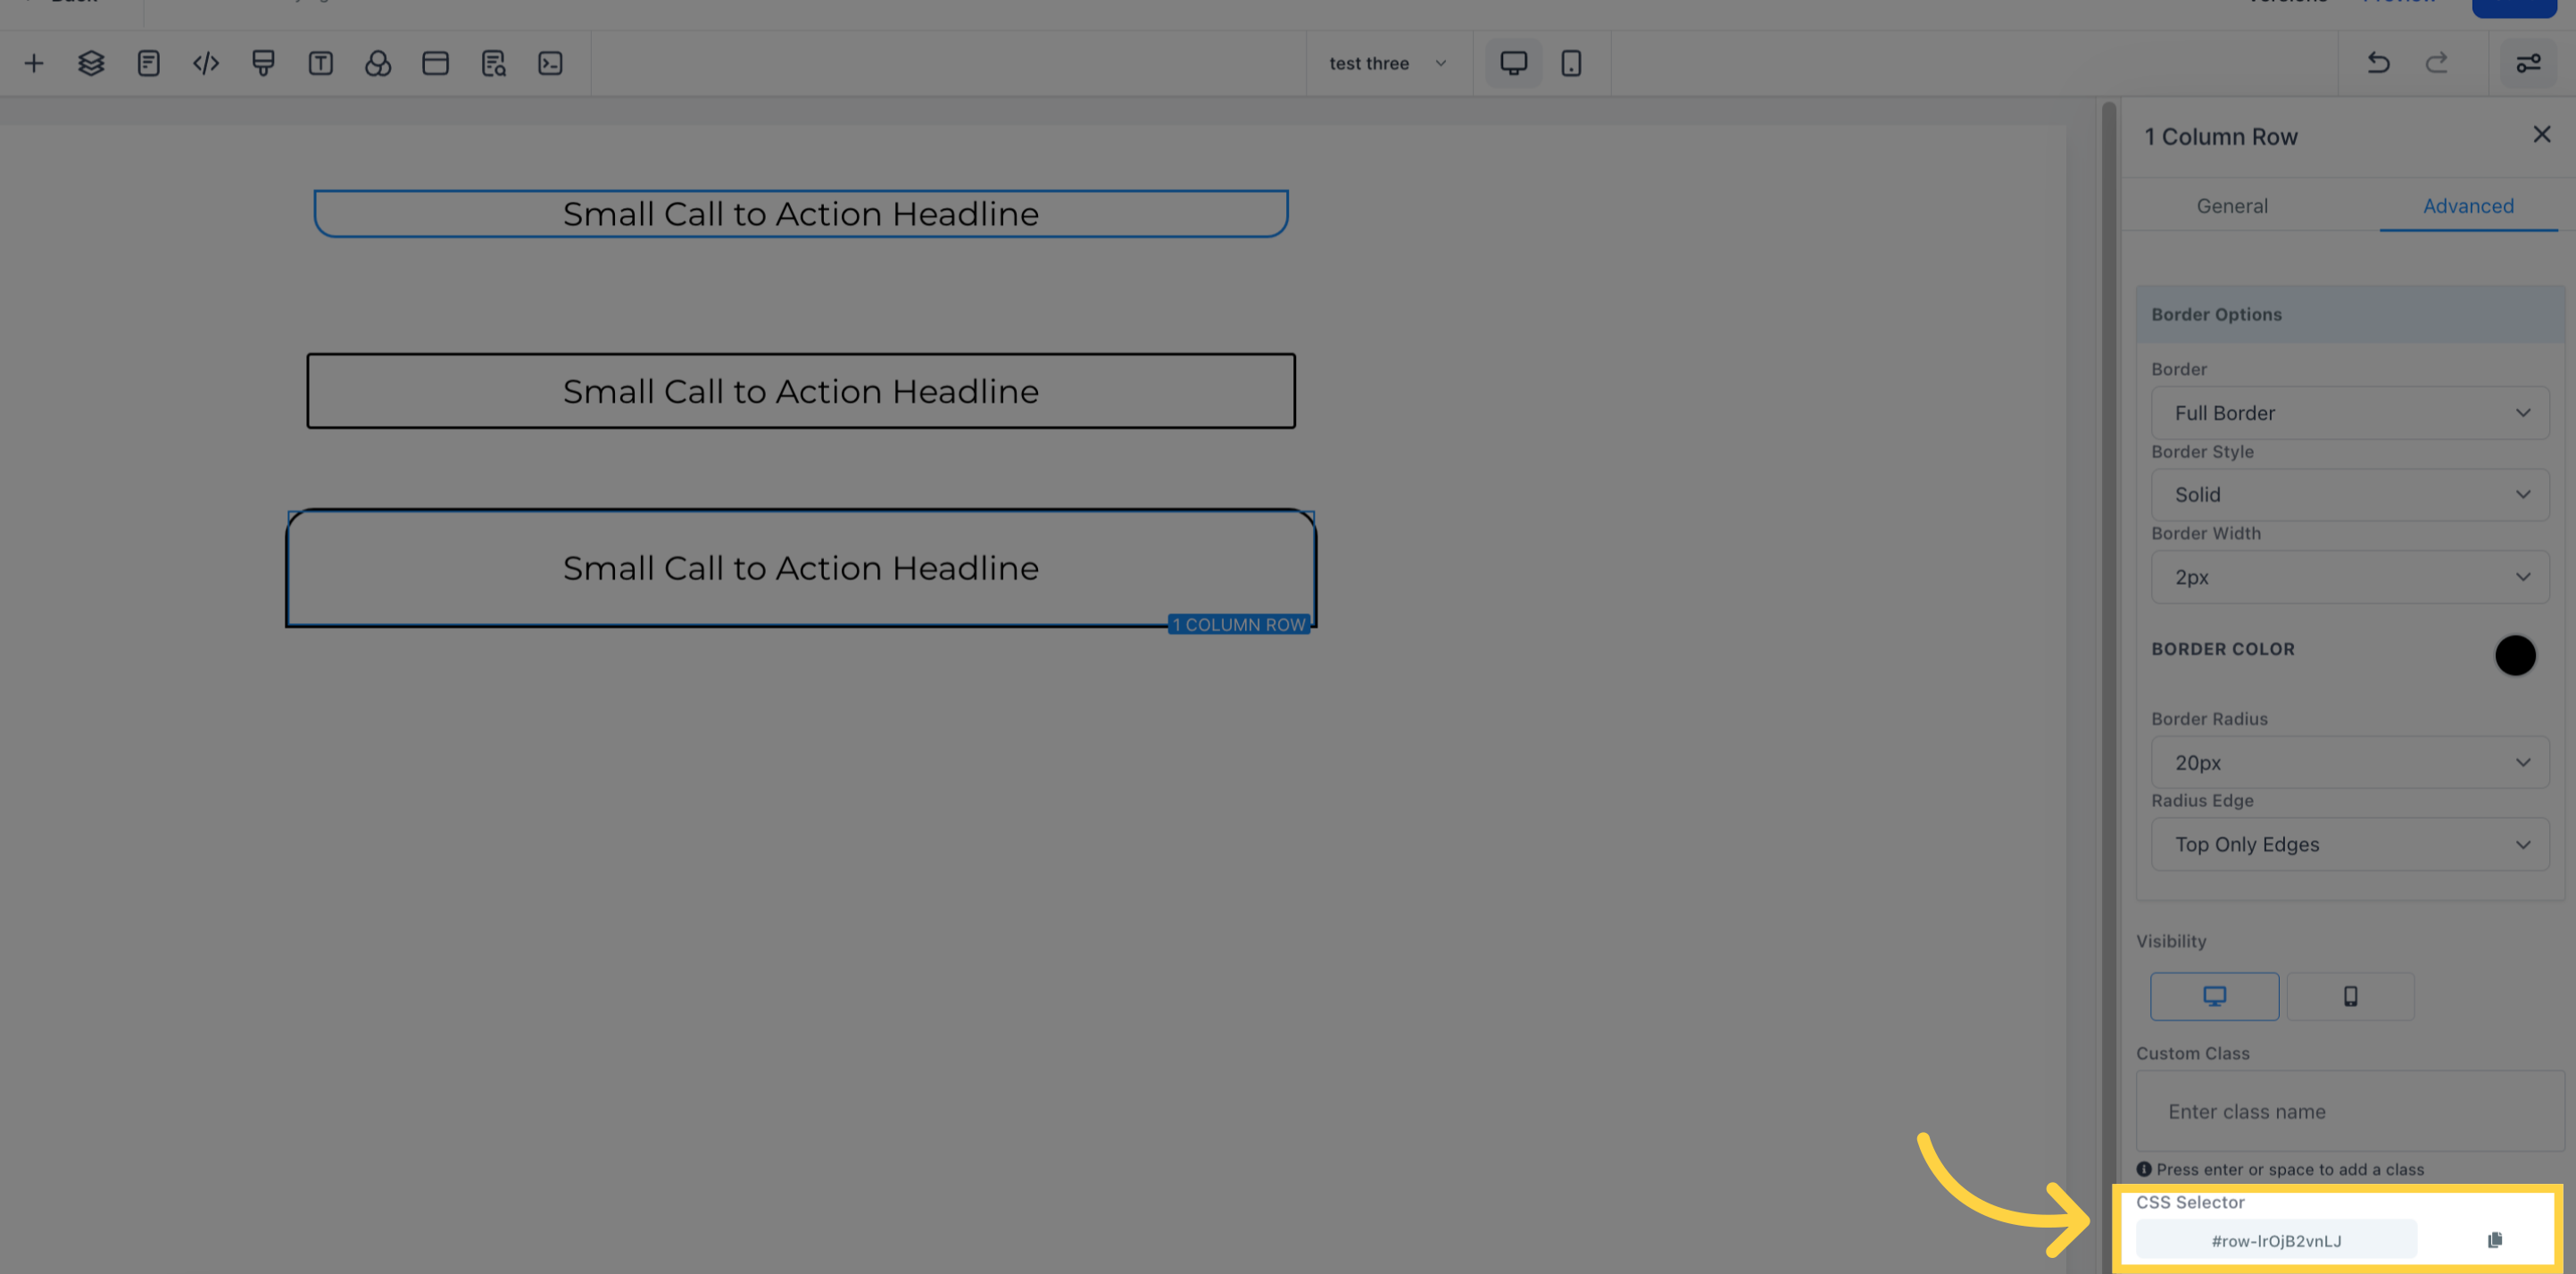
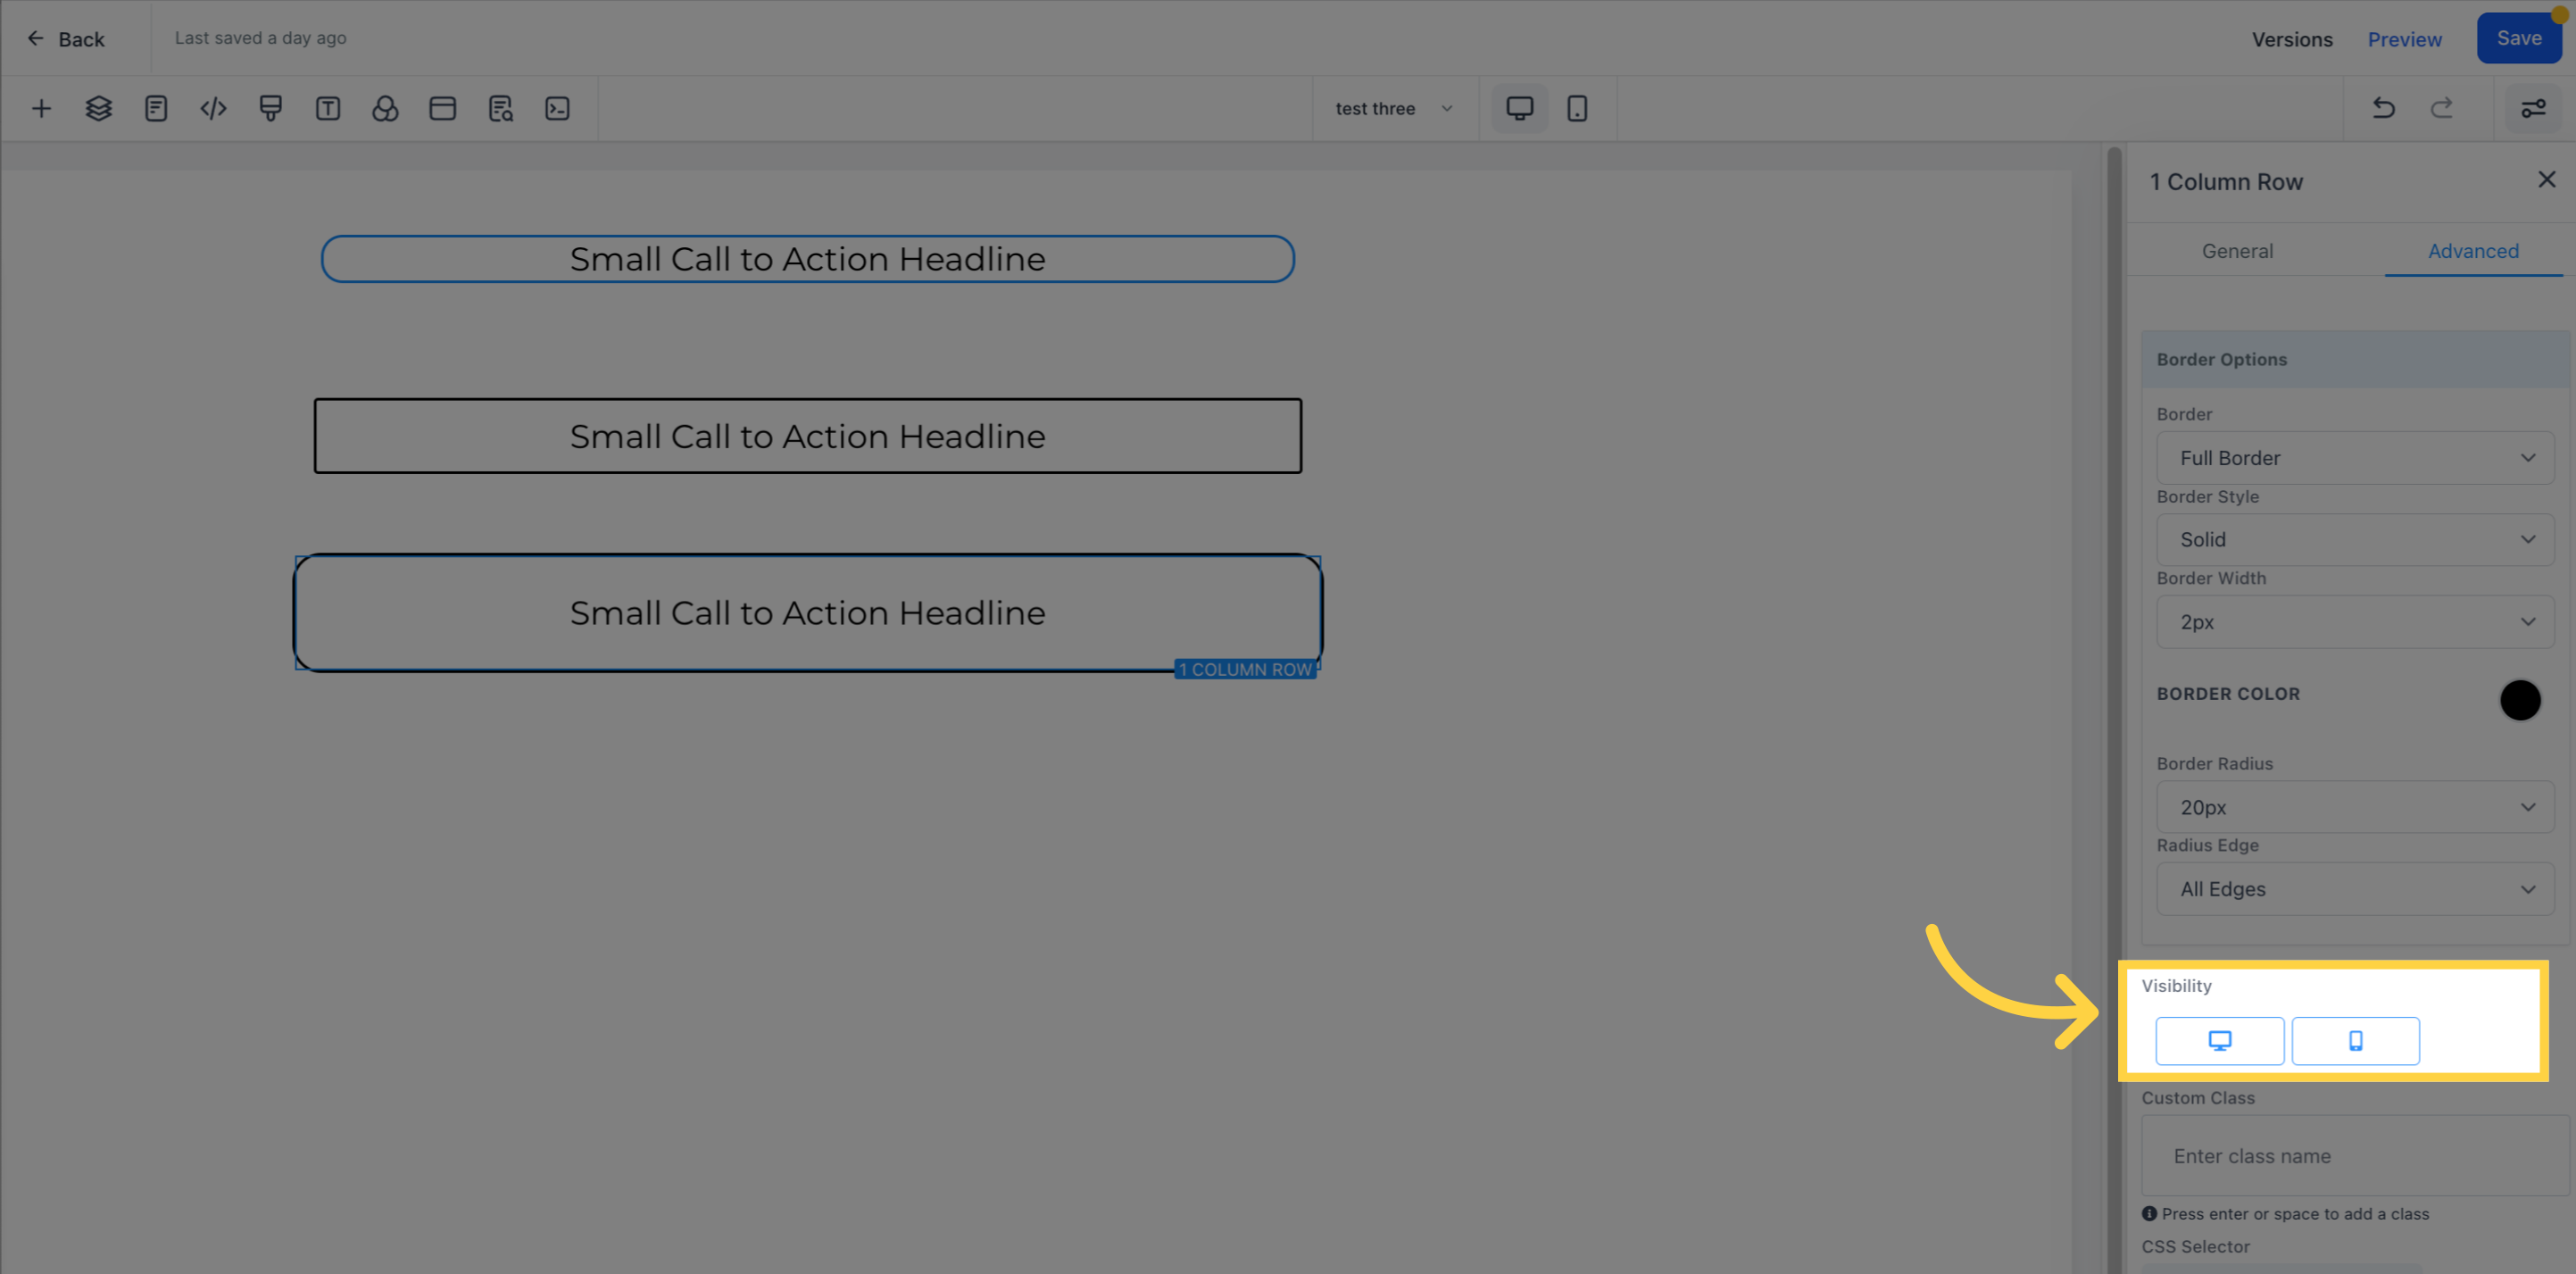
To determine the visibility of a particular edit option, you can click on it to highlight the icon. This will allow you to choose whether you want the option to be visible on only mobile devices, desktops, or both.
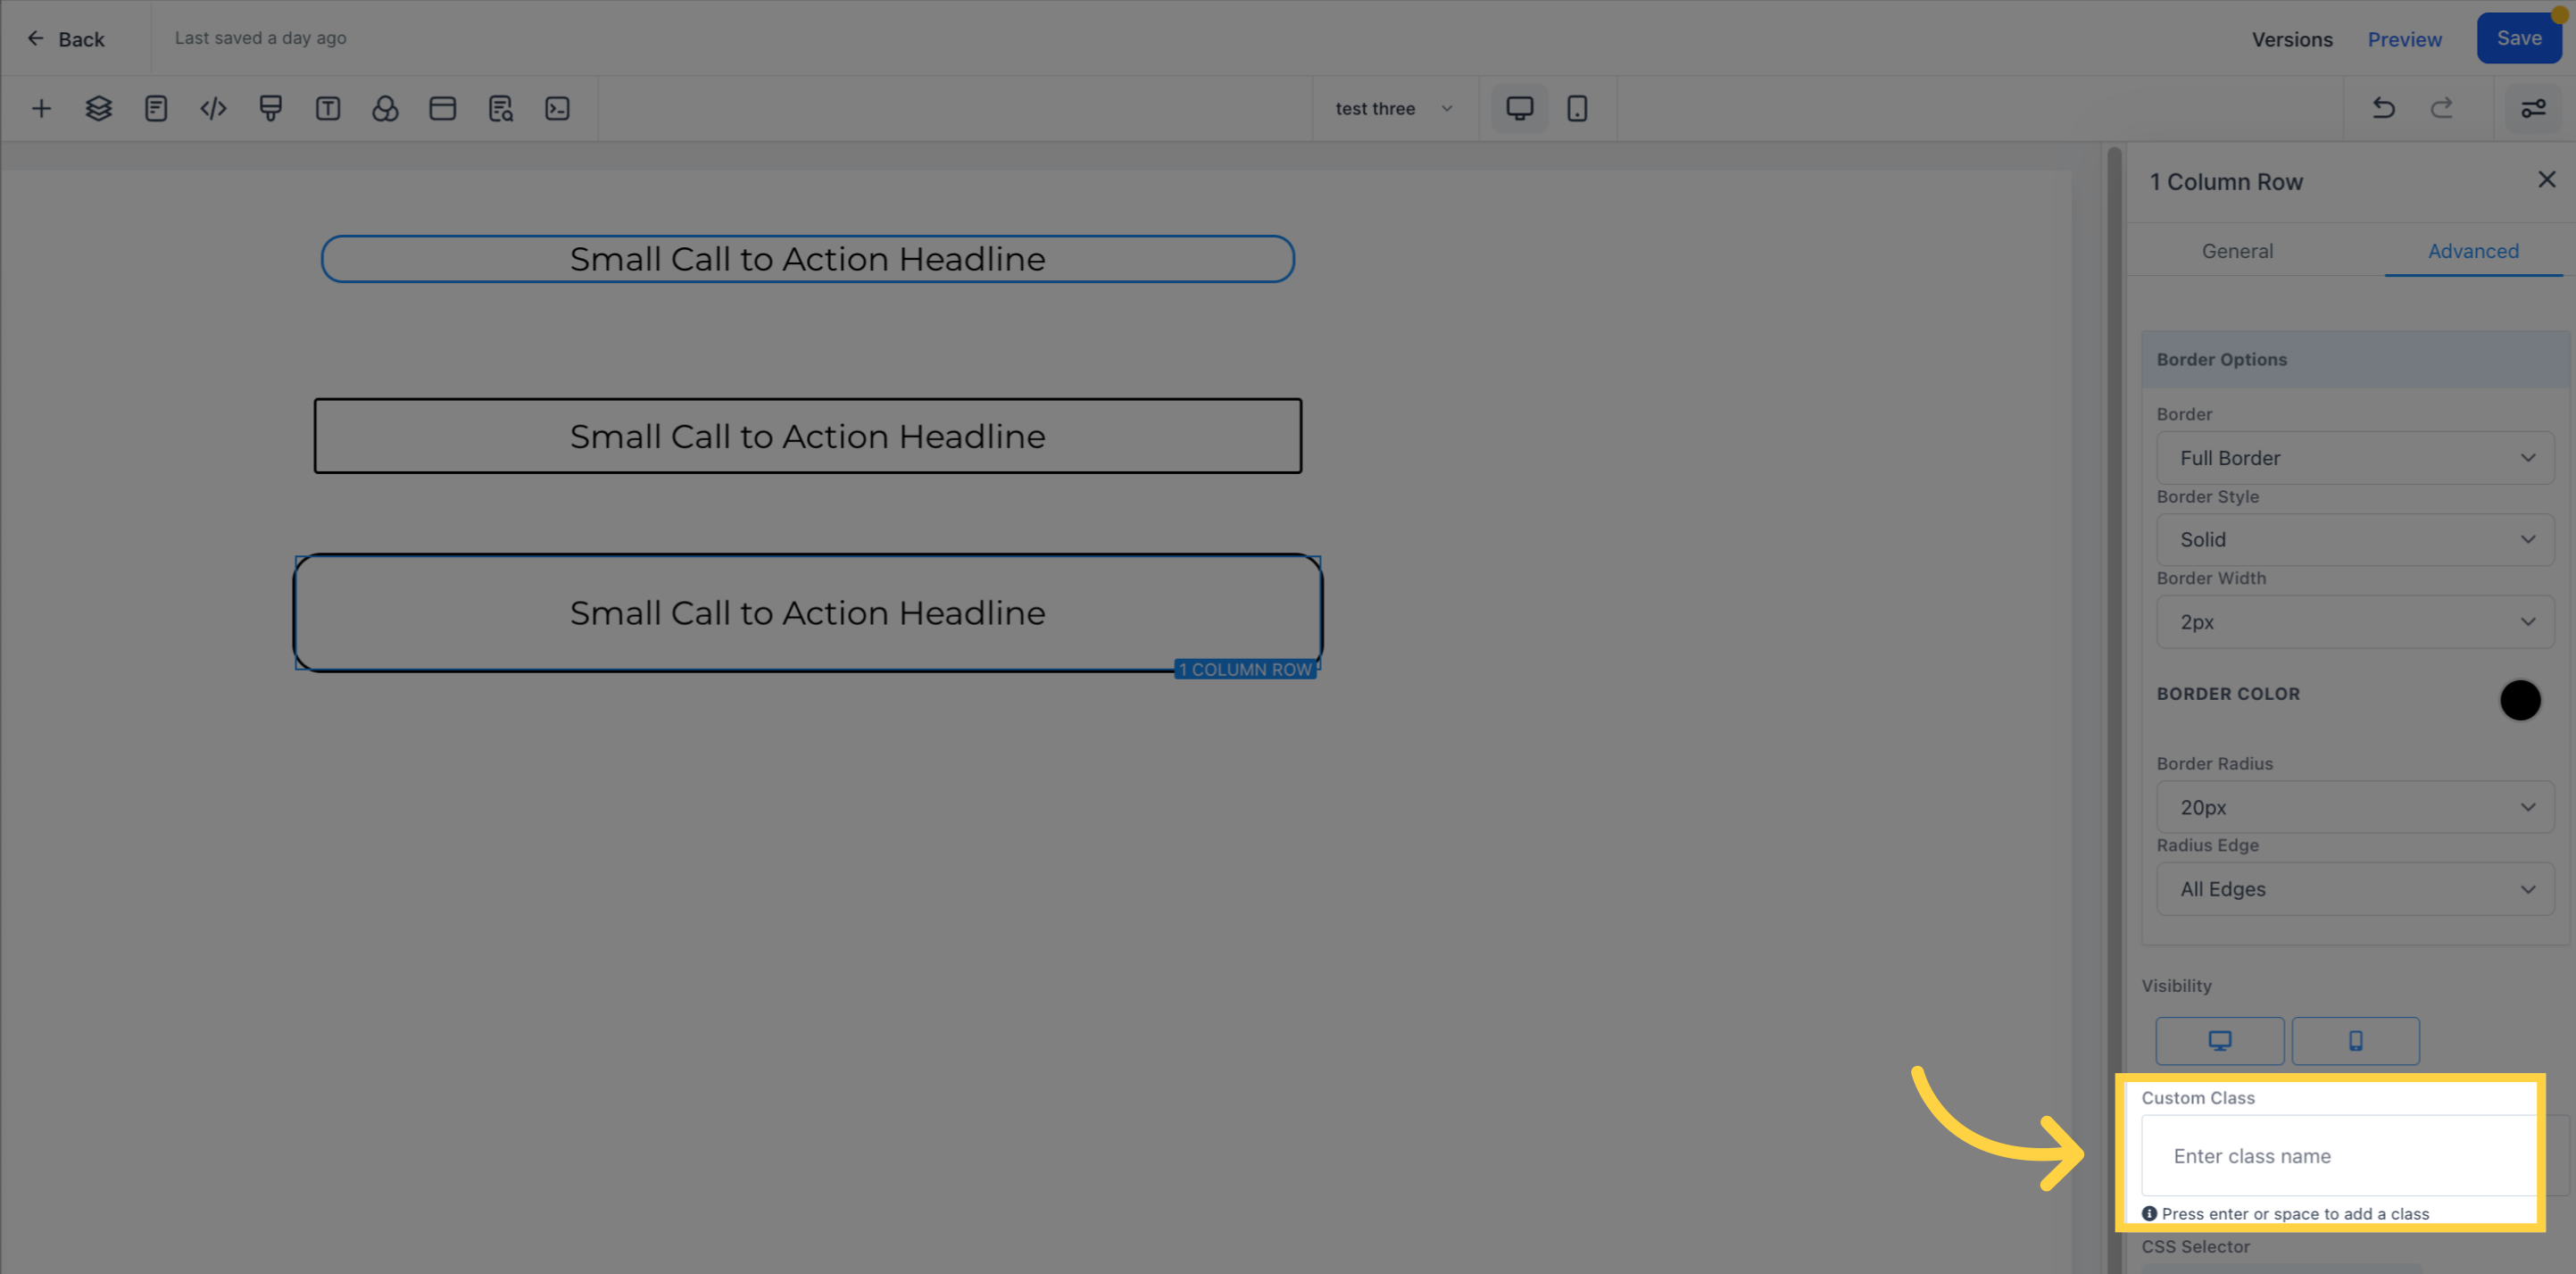
To input a custom class, you can access the CSS editor and add your class there.
If you need to copy the custom CSS code, you can click on the "Copy" icon located on the right side of the reference code.