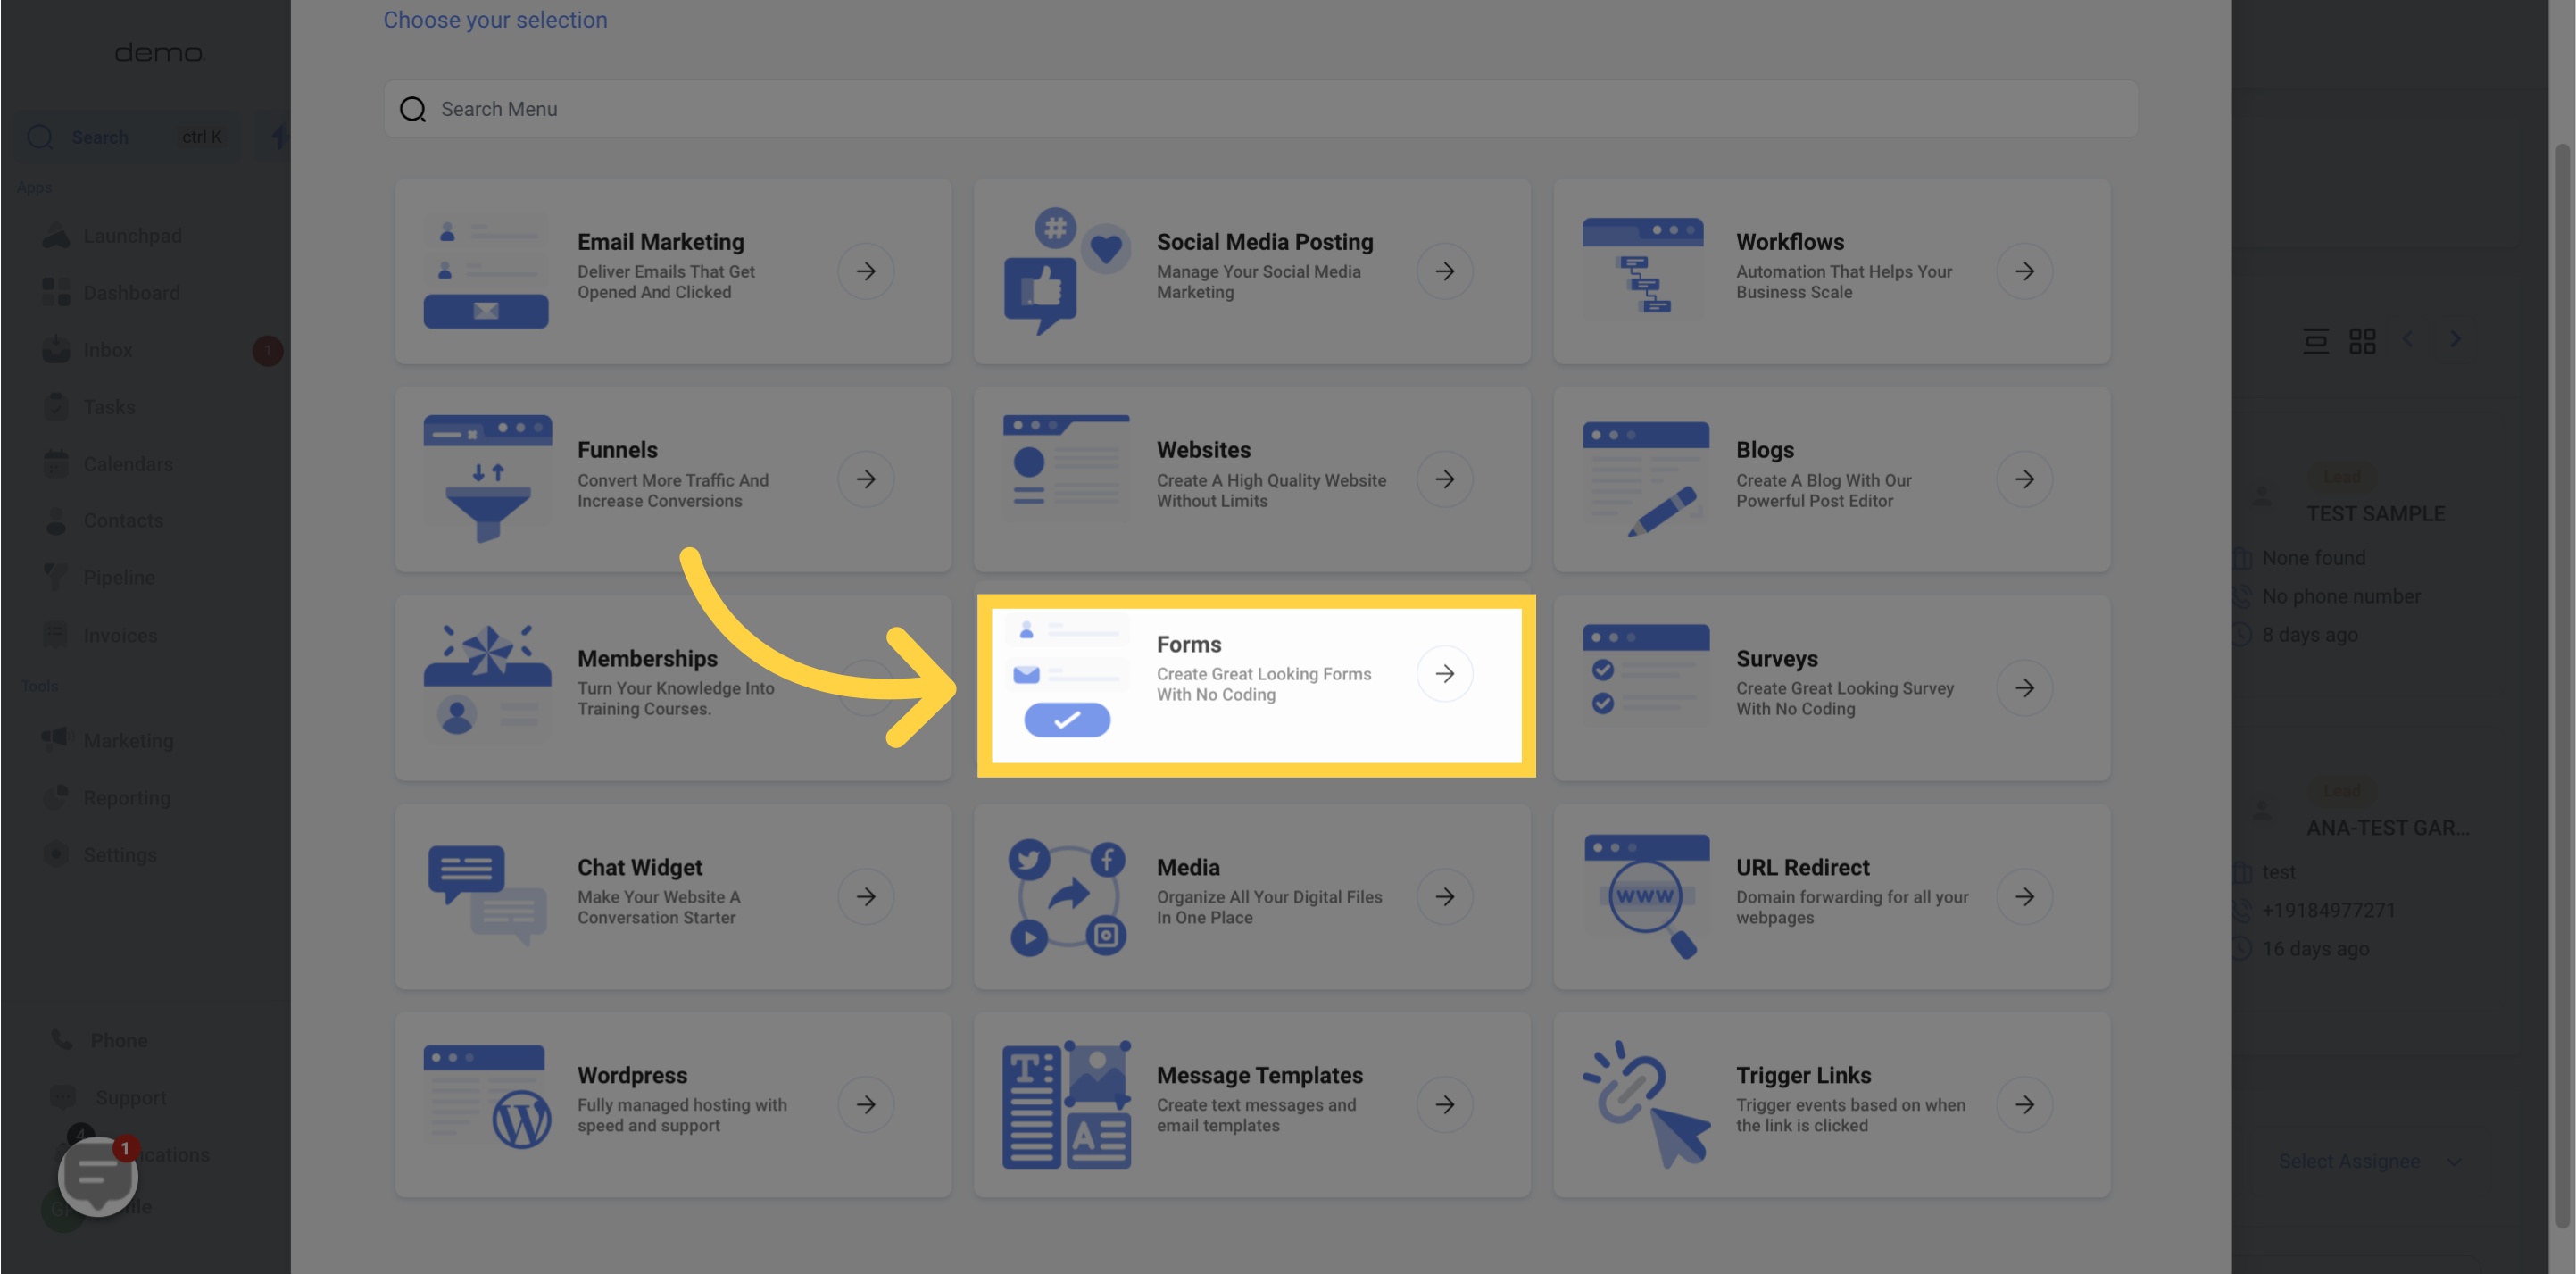
Go to the marketing section

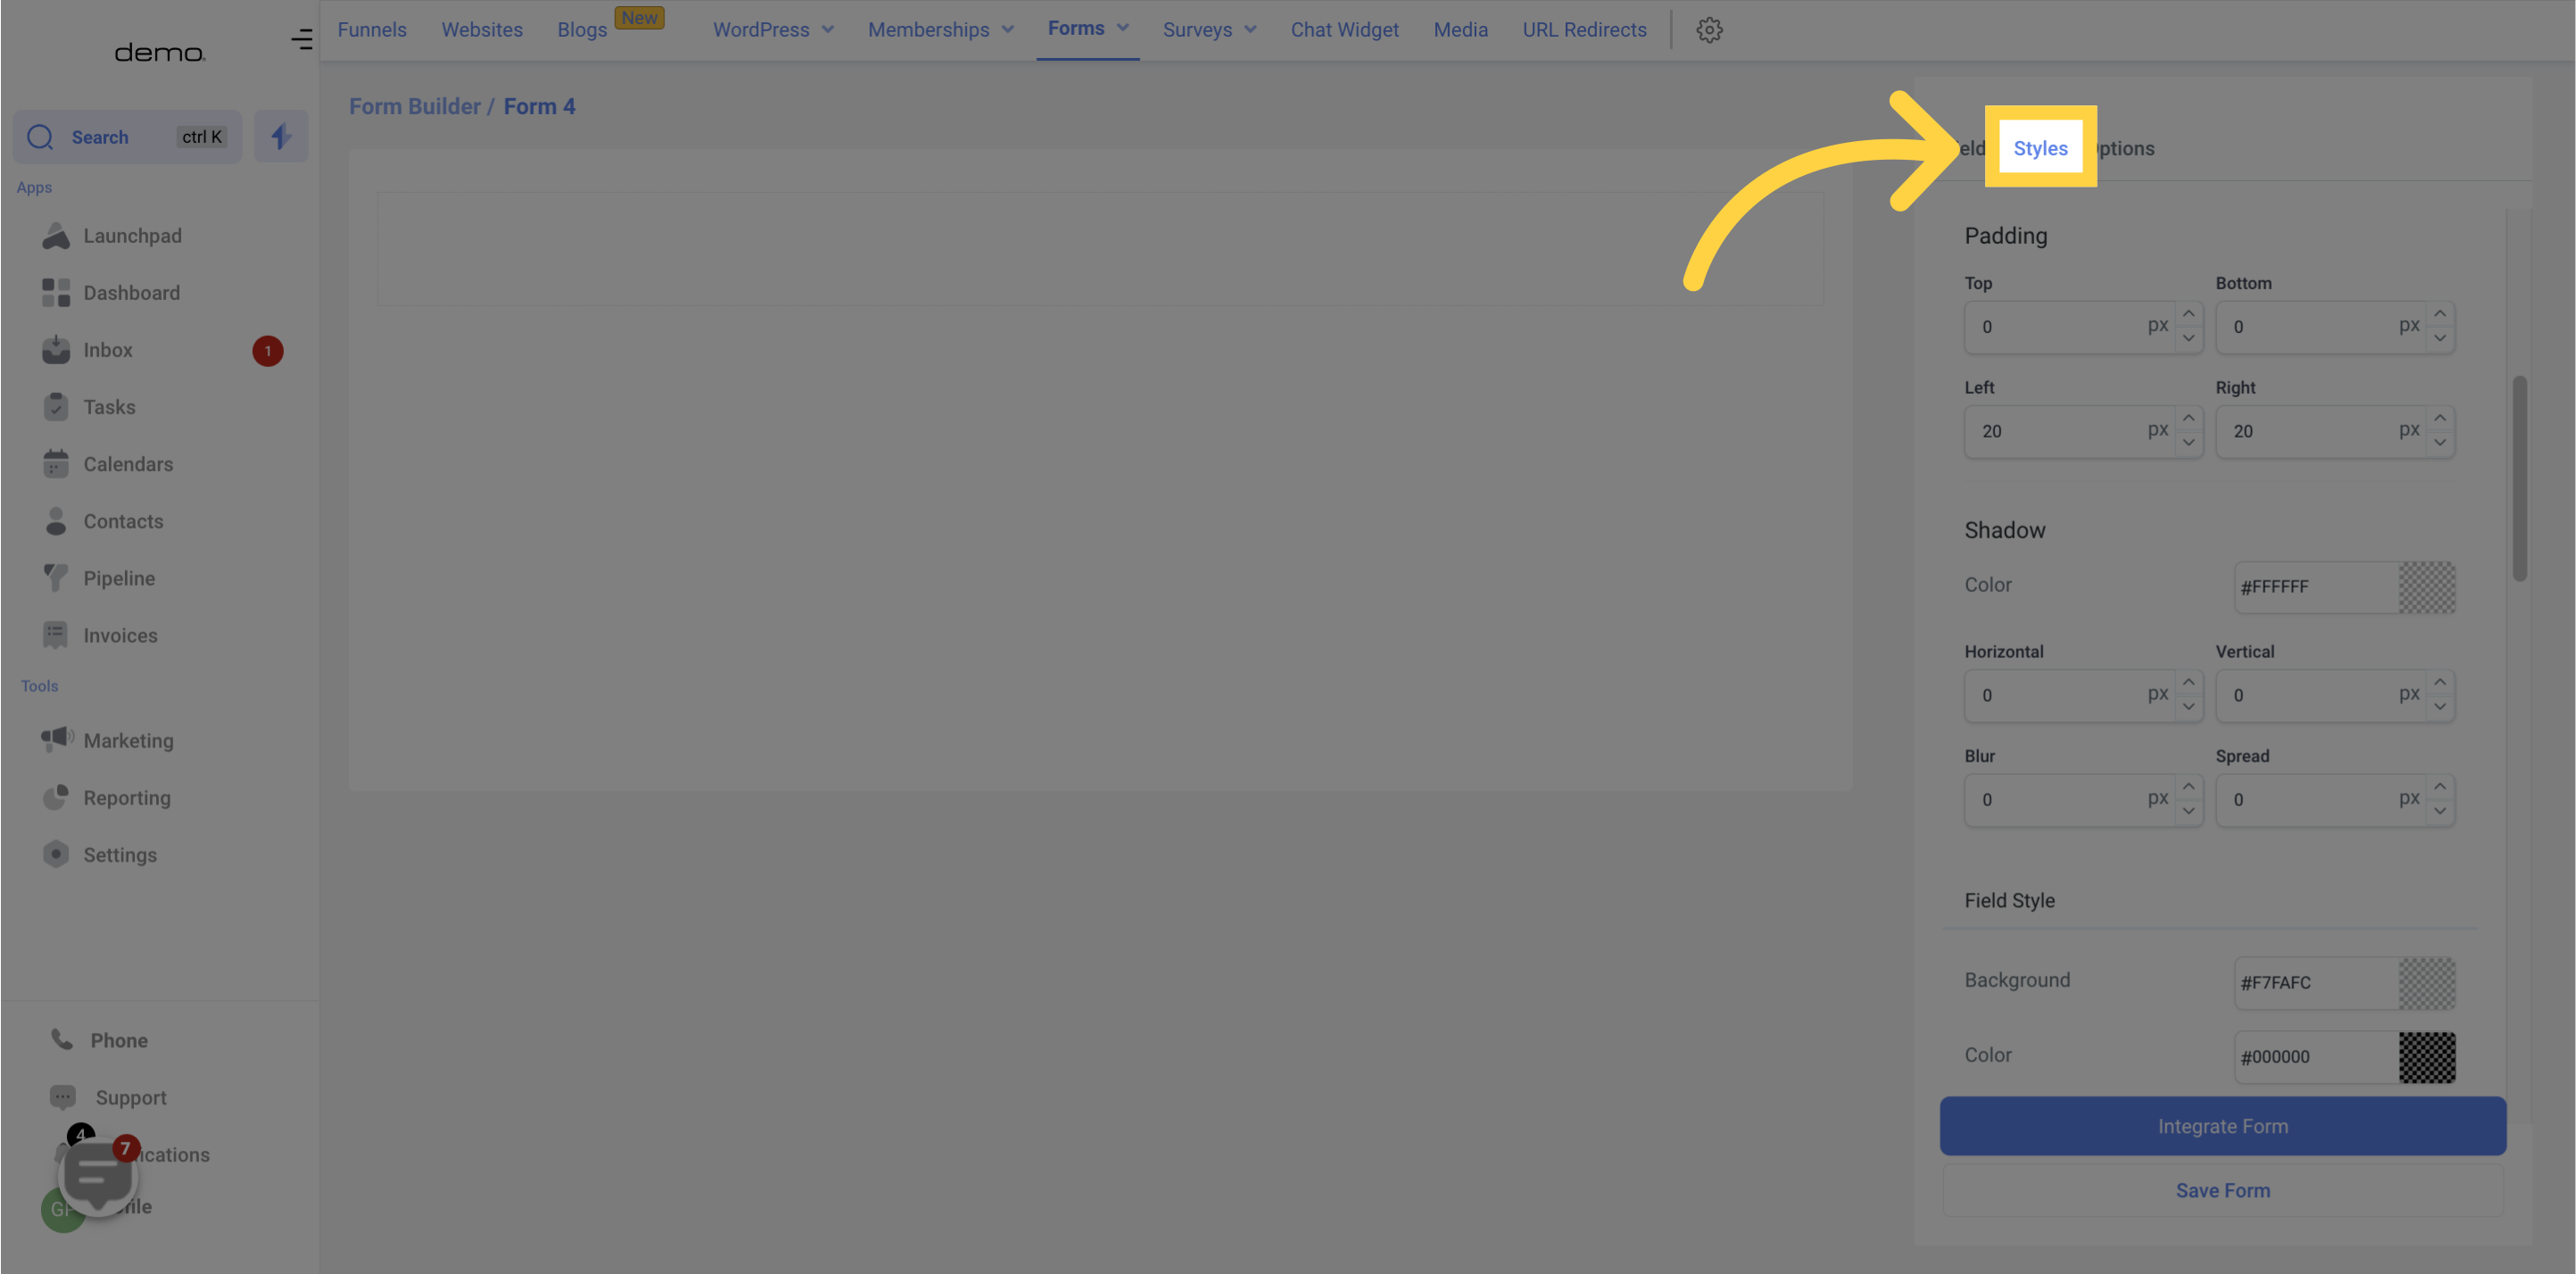
Use the Styles tab to customize the appearance of your form.
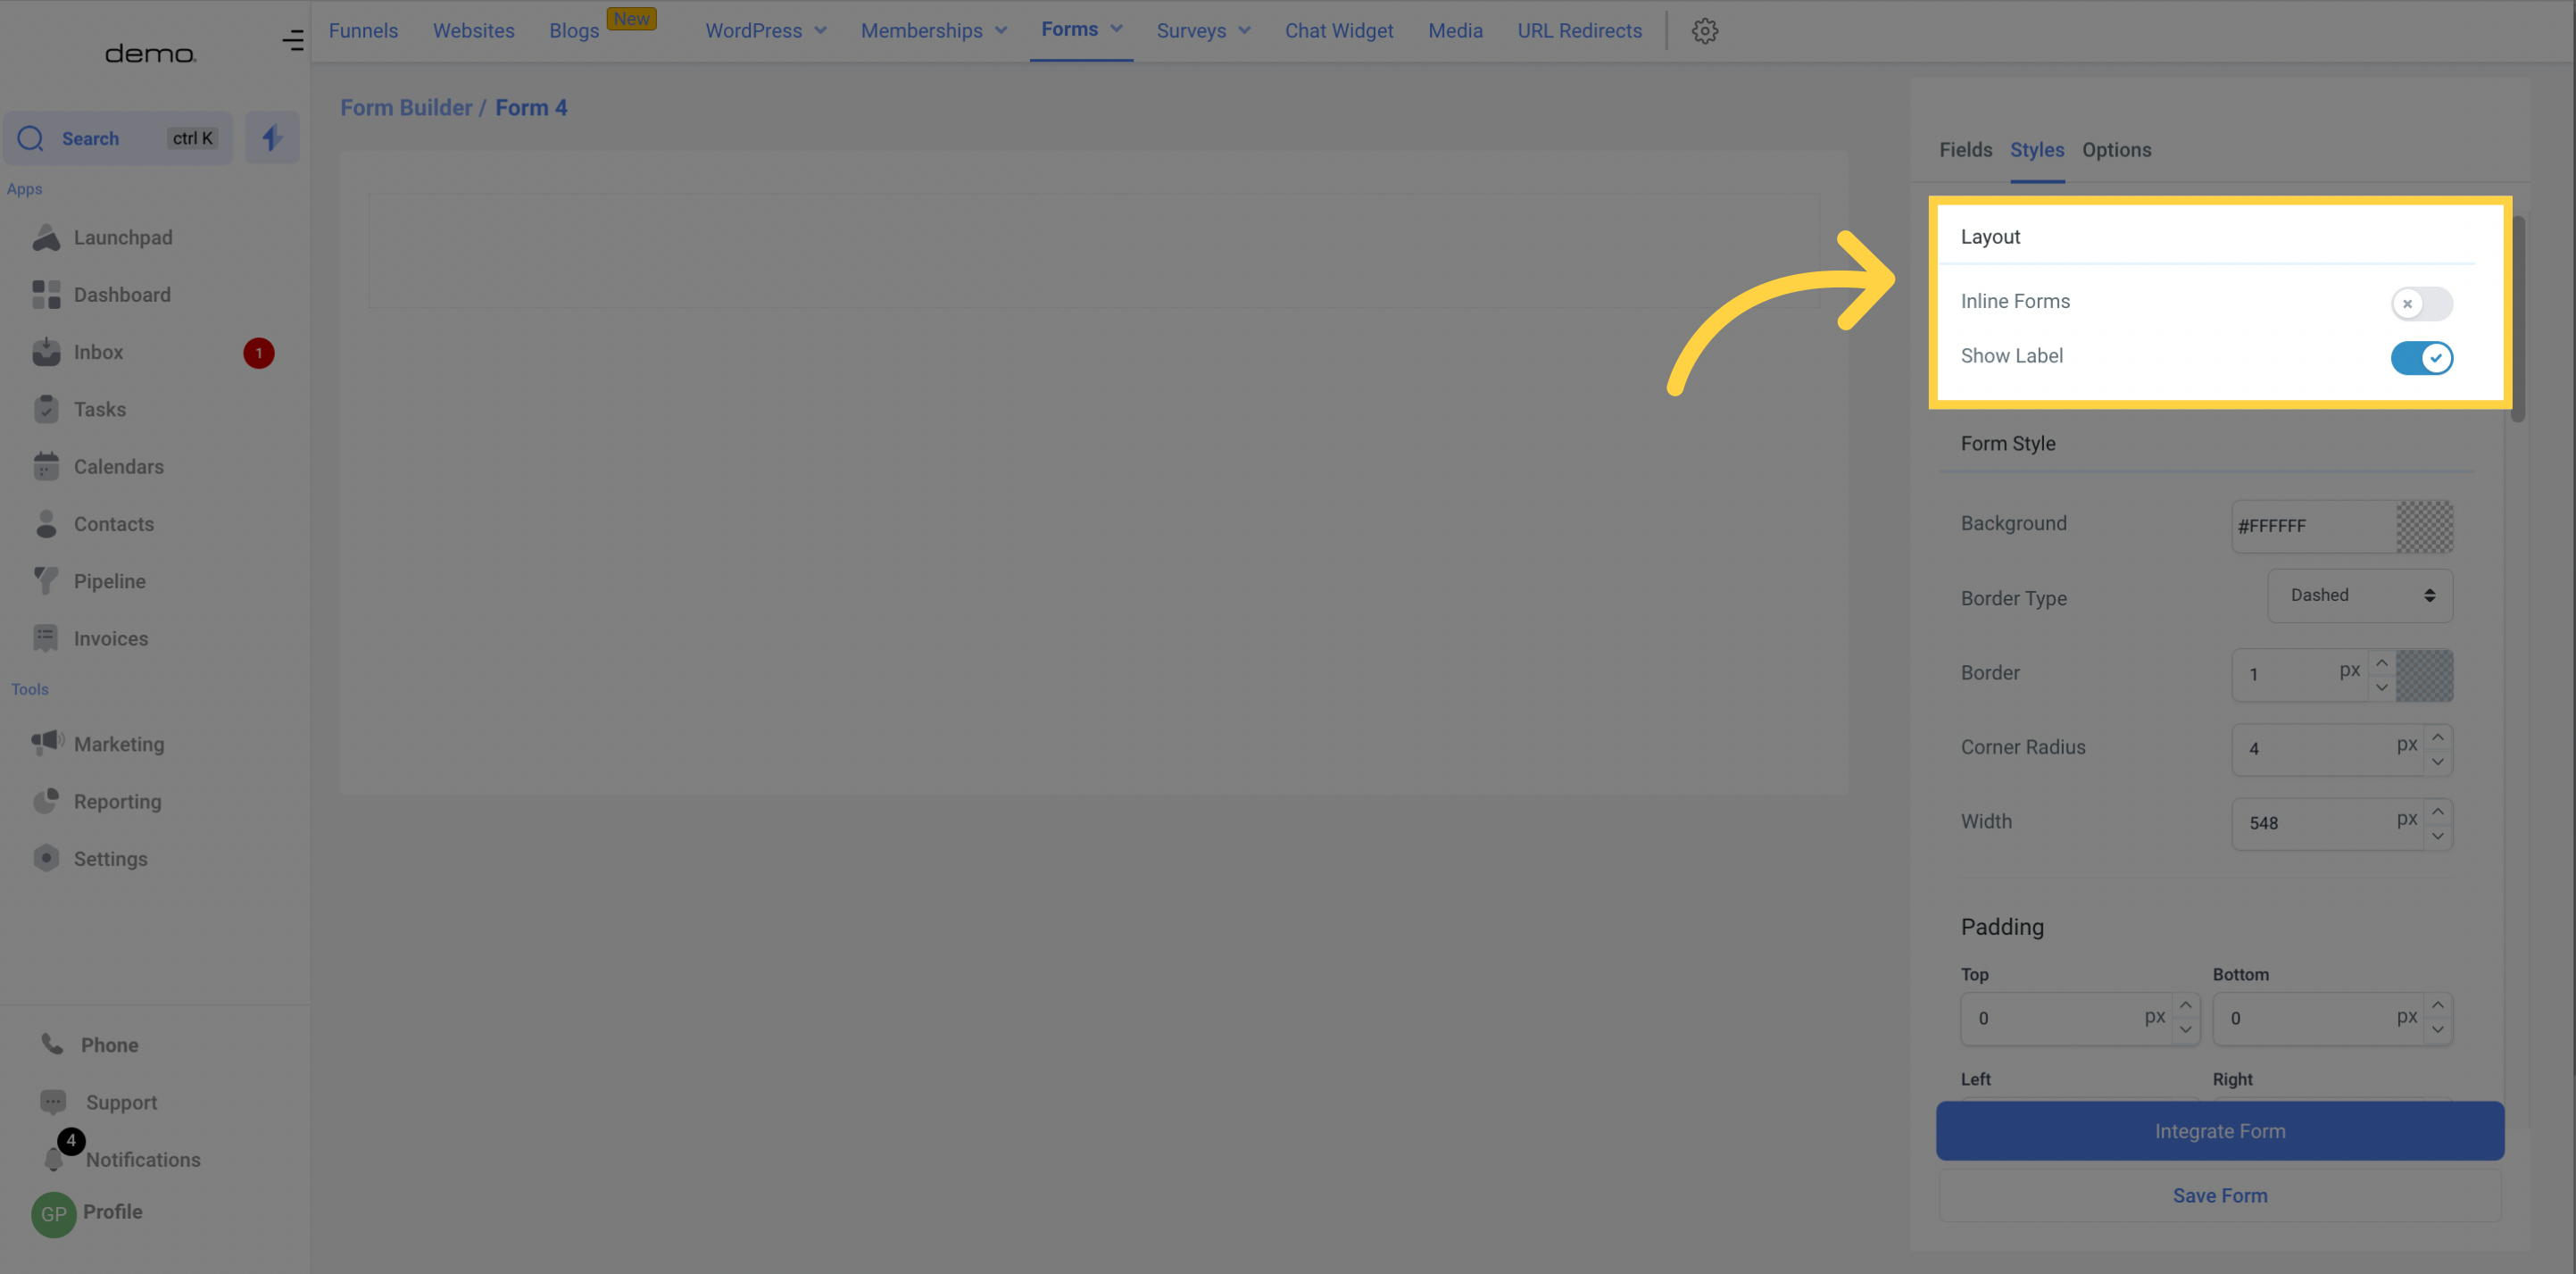
In the Layout section, you can access settings to modify your form's structure. Here, you'll find options to create inline forms, which enable you to position the input fields side by side rather than in a vertical stack. Additionally, you can turn off the input field labels by toggling the "Show Label" setting.
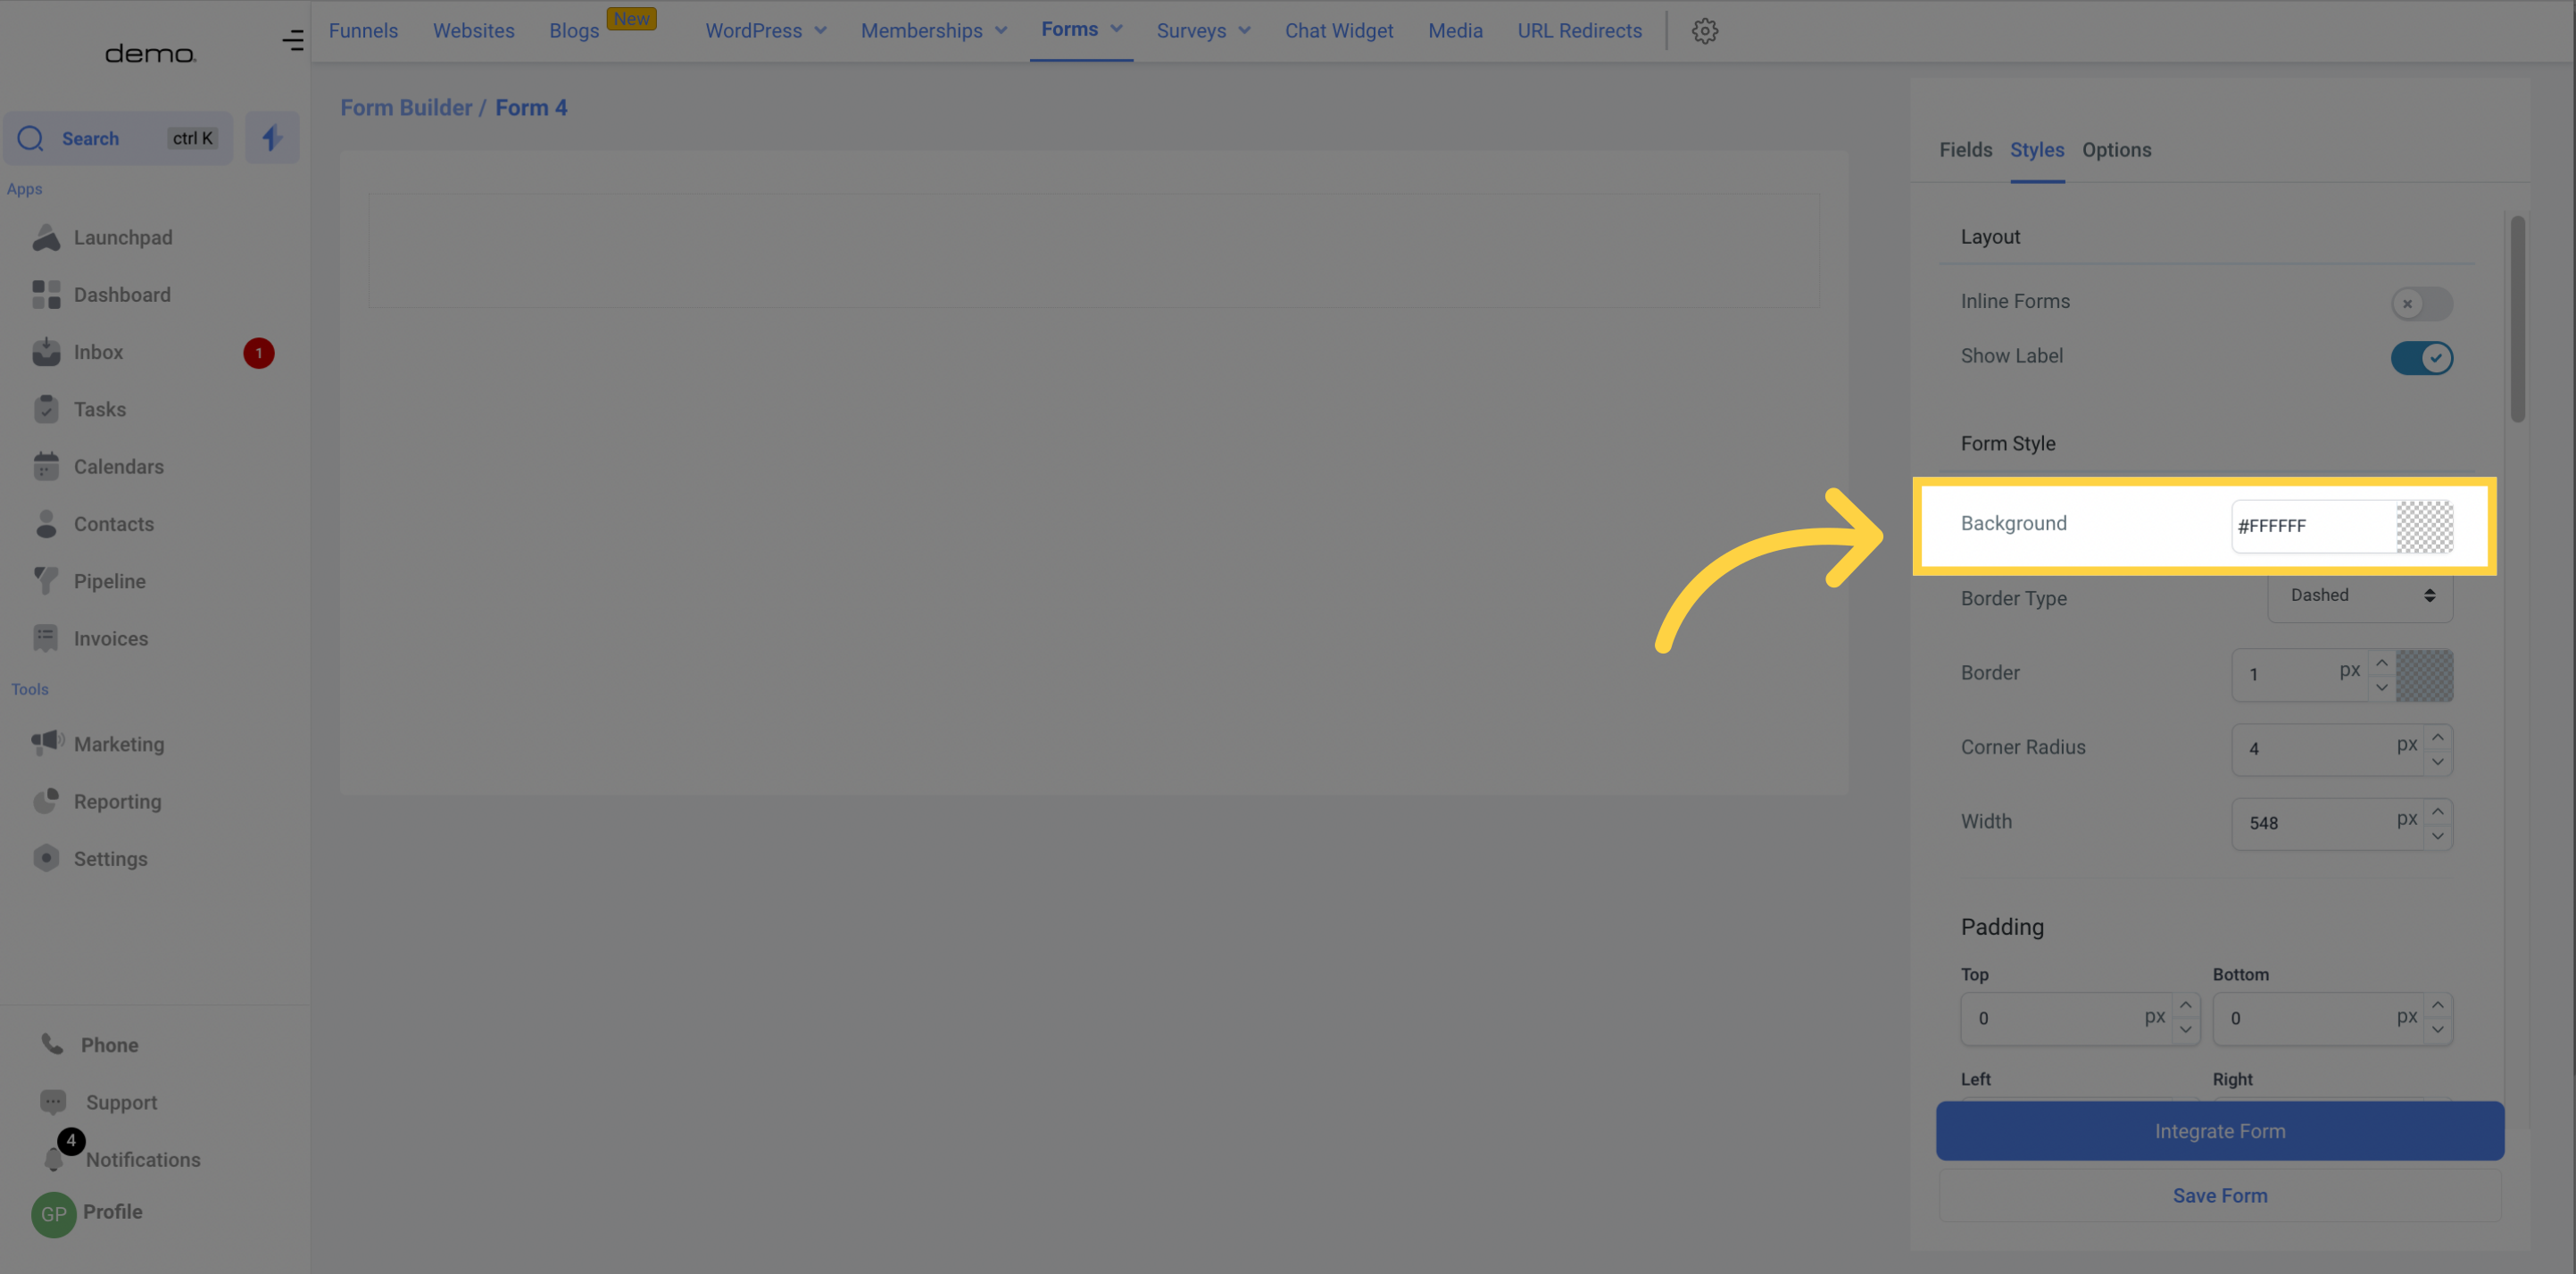
Modify the background color of your form as per your preference.
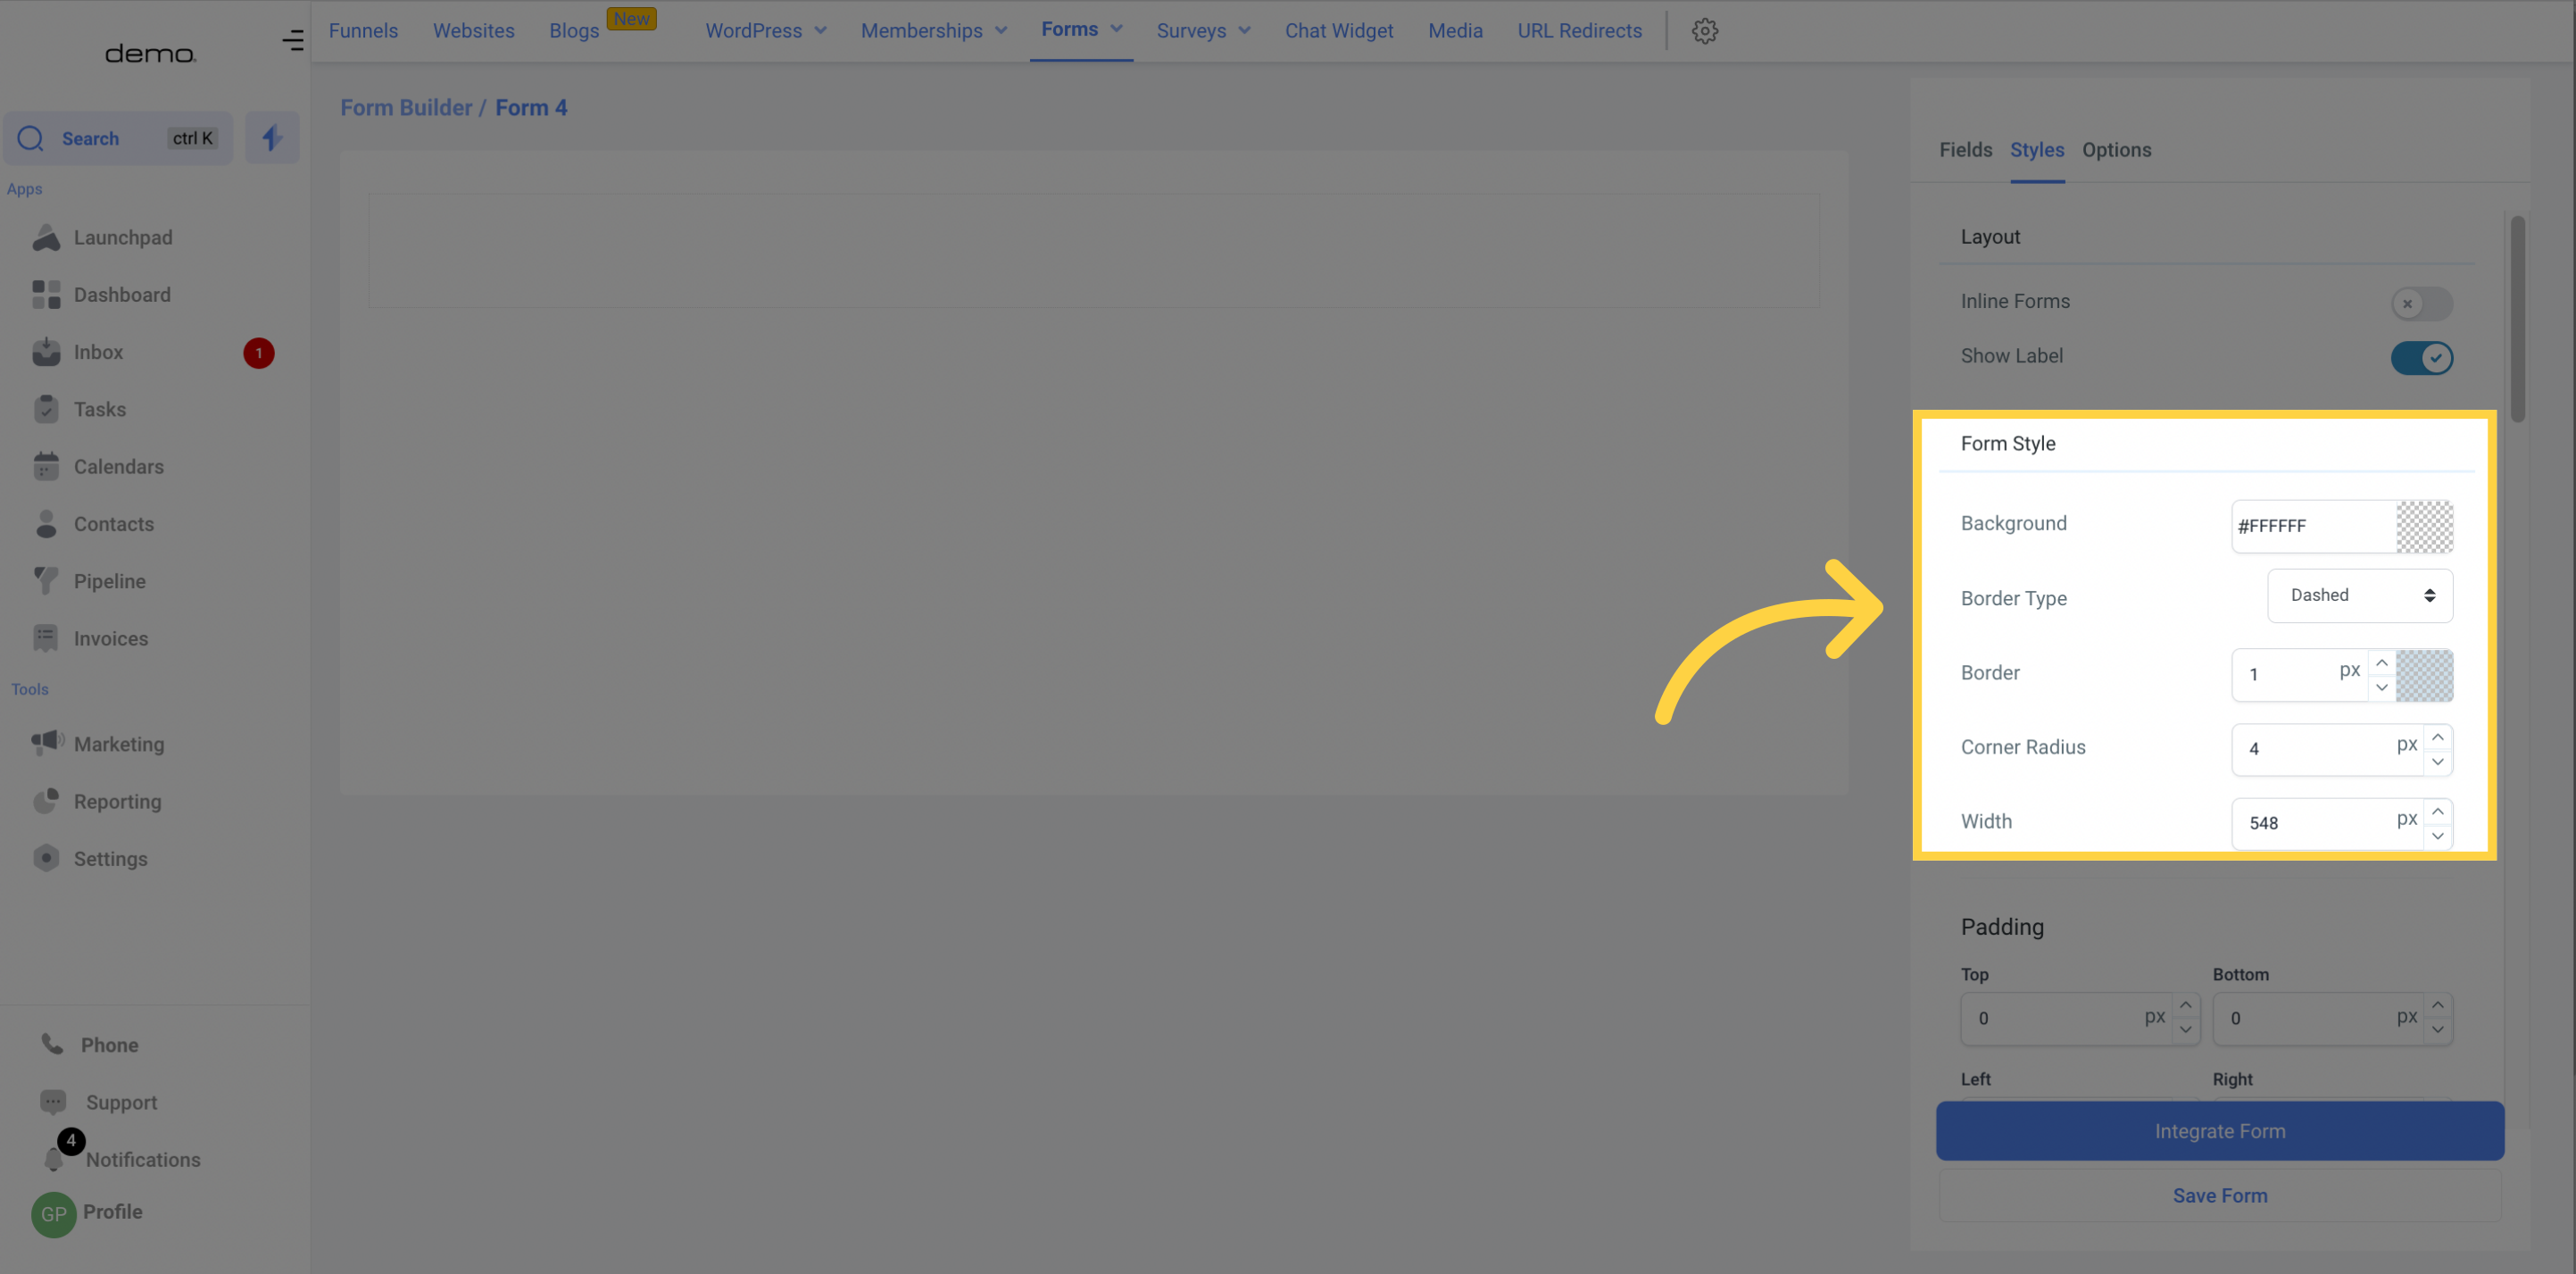
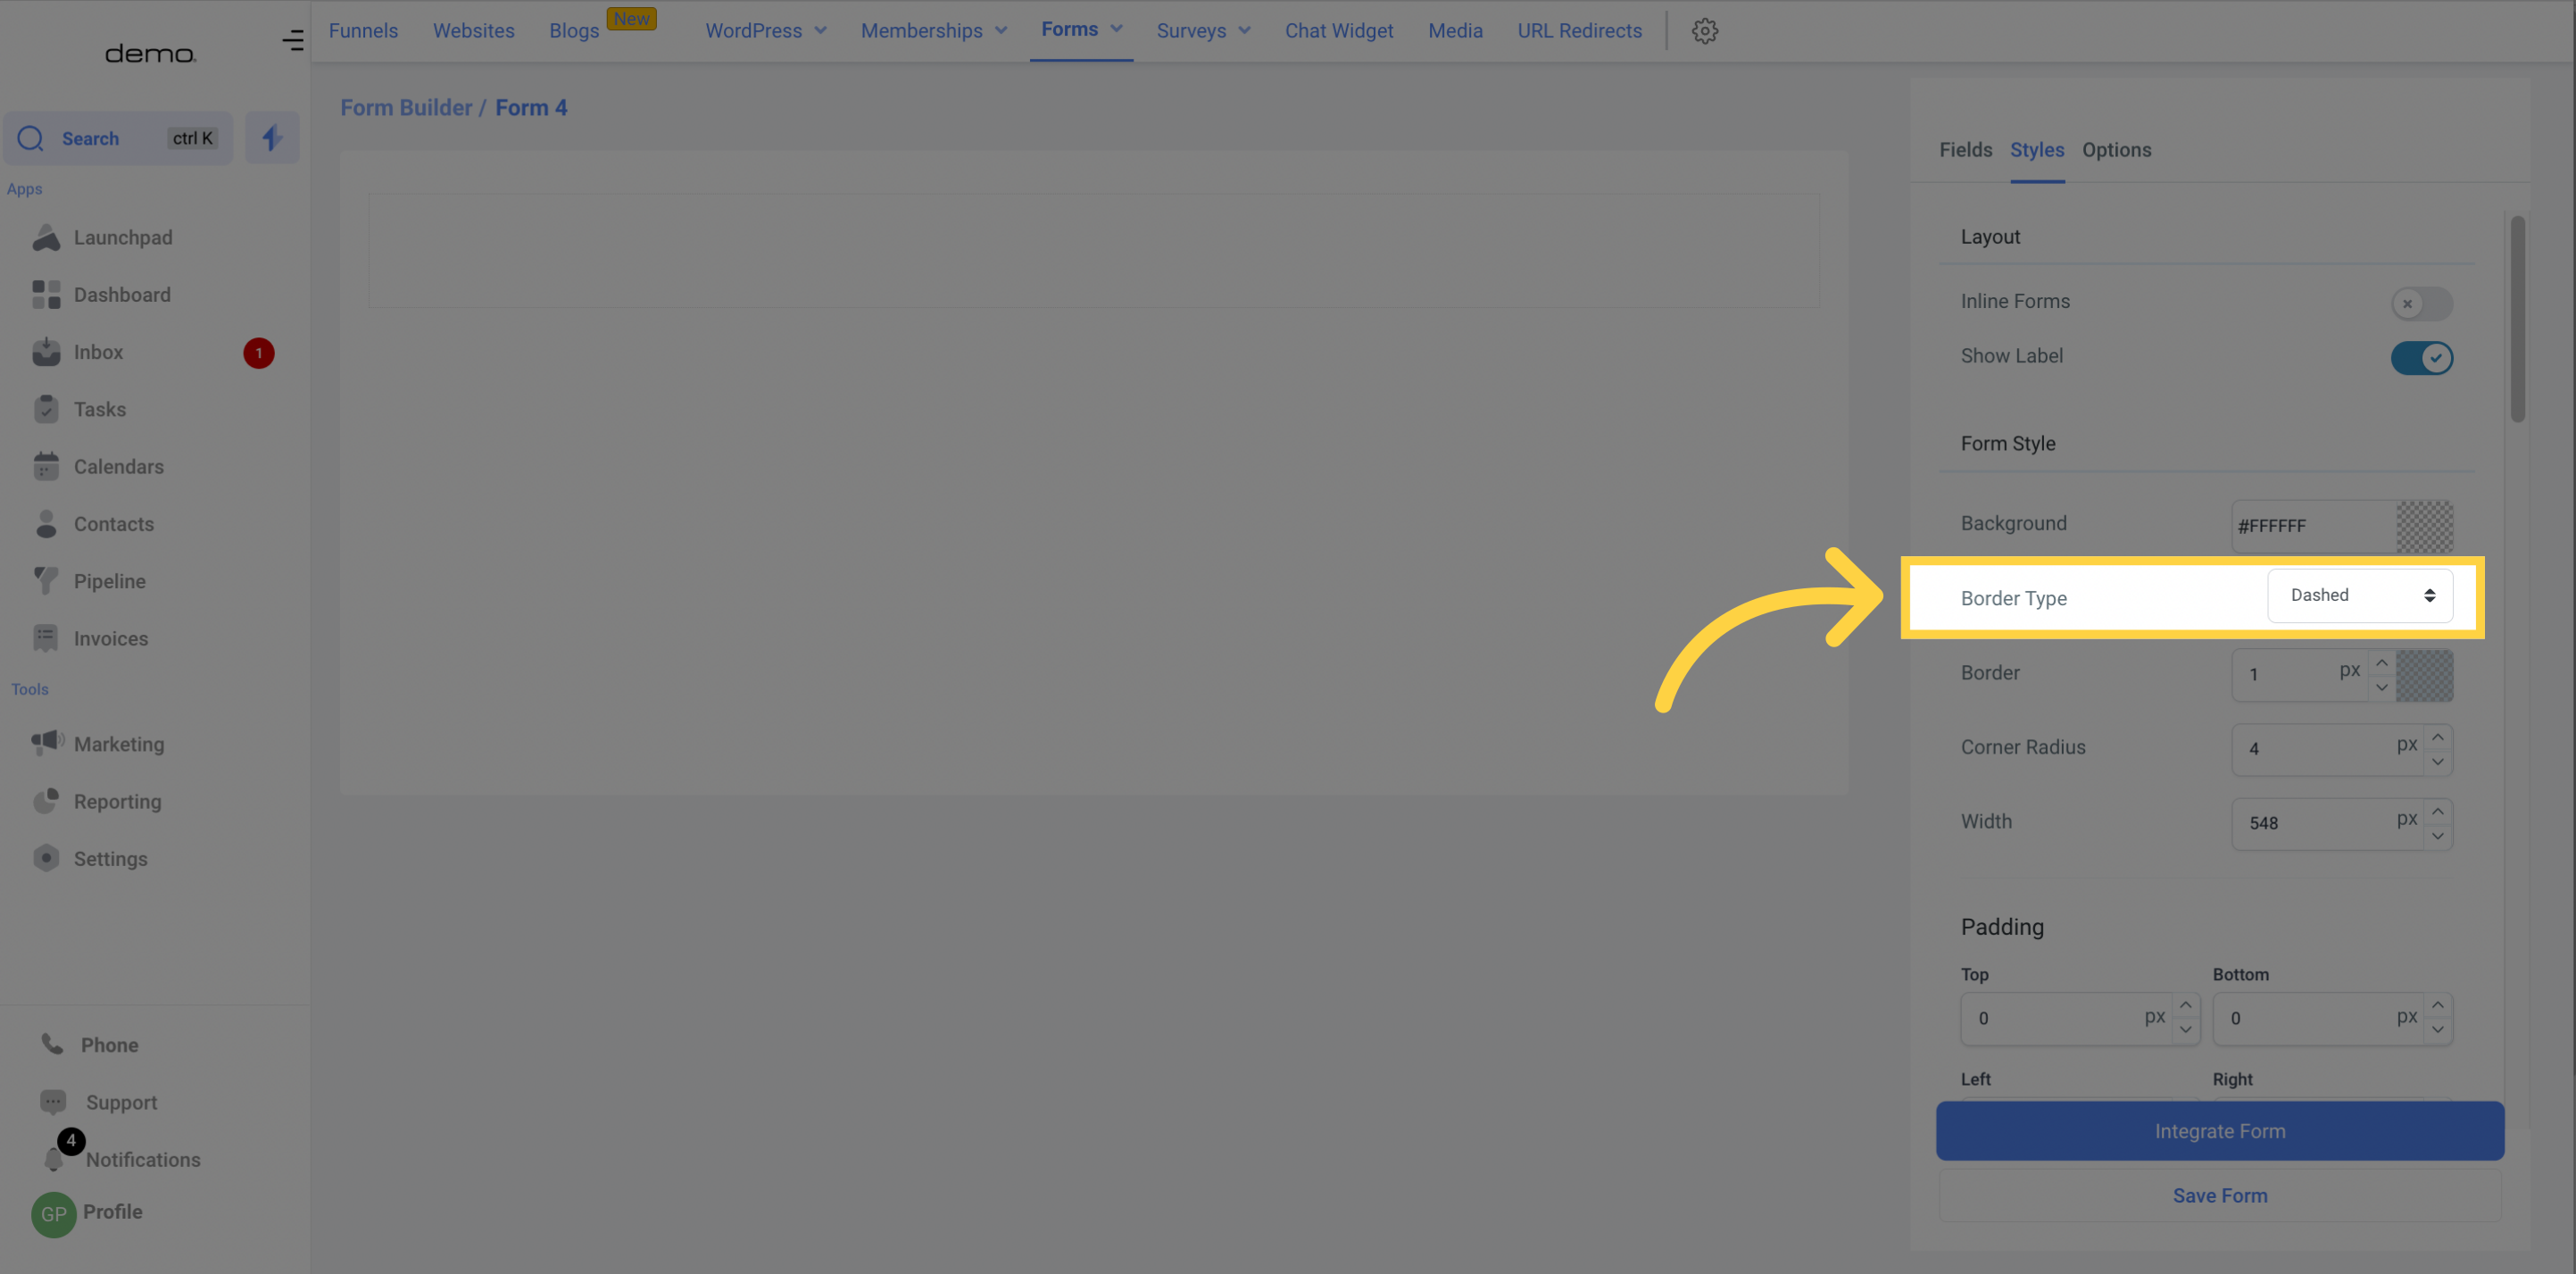
Style the border using the Border type option.
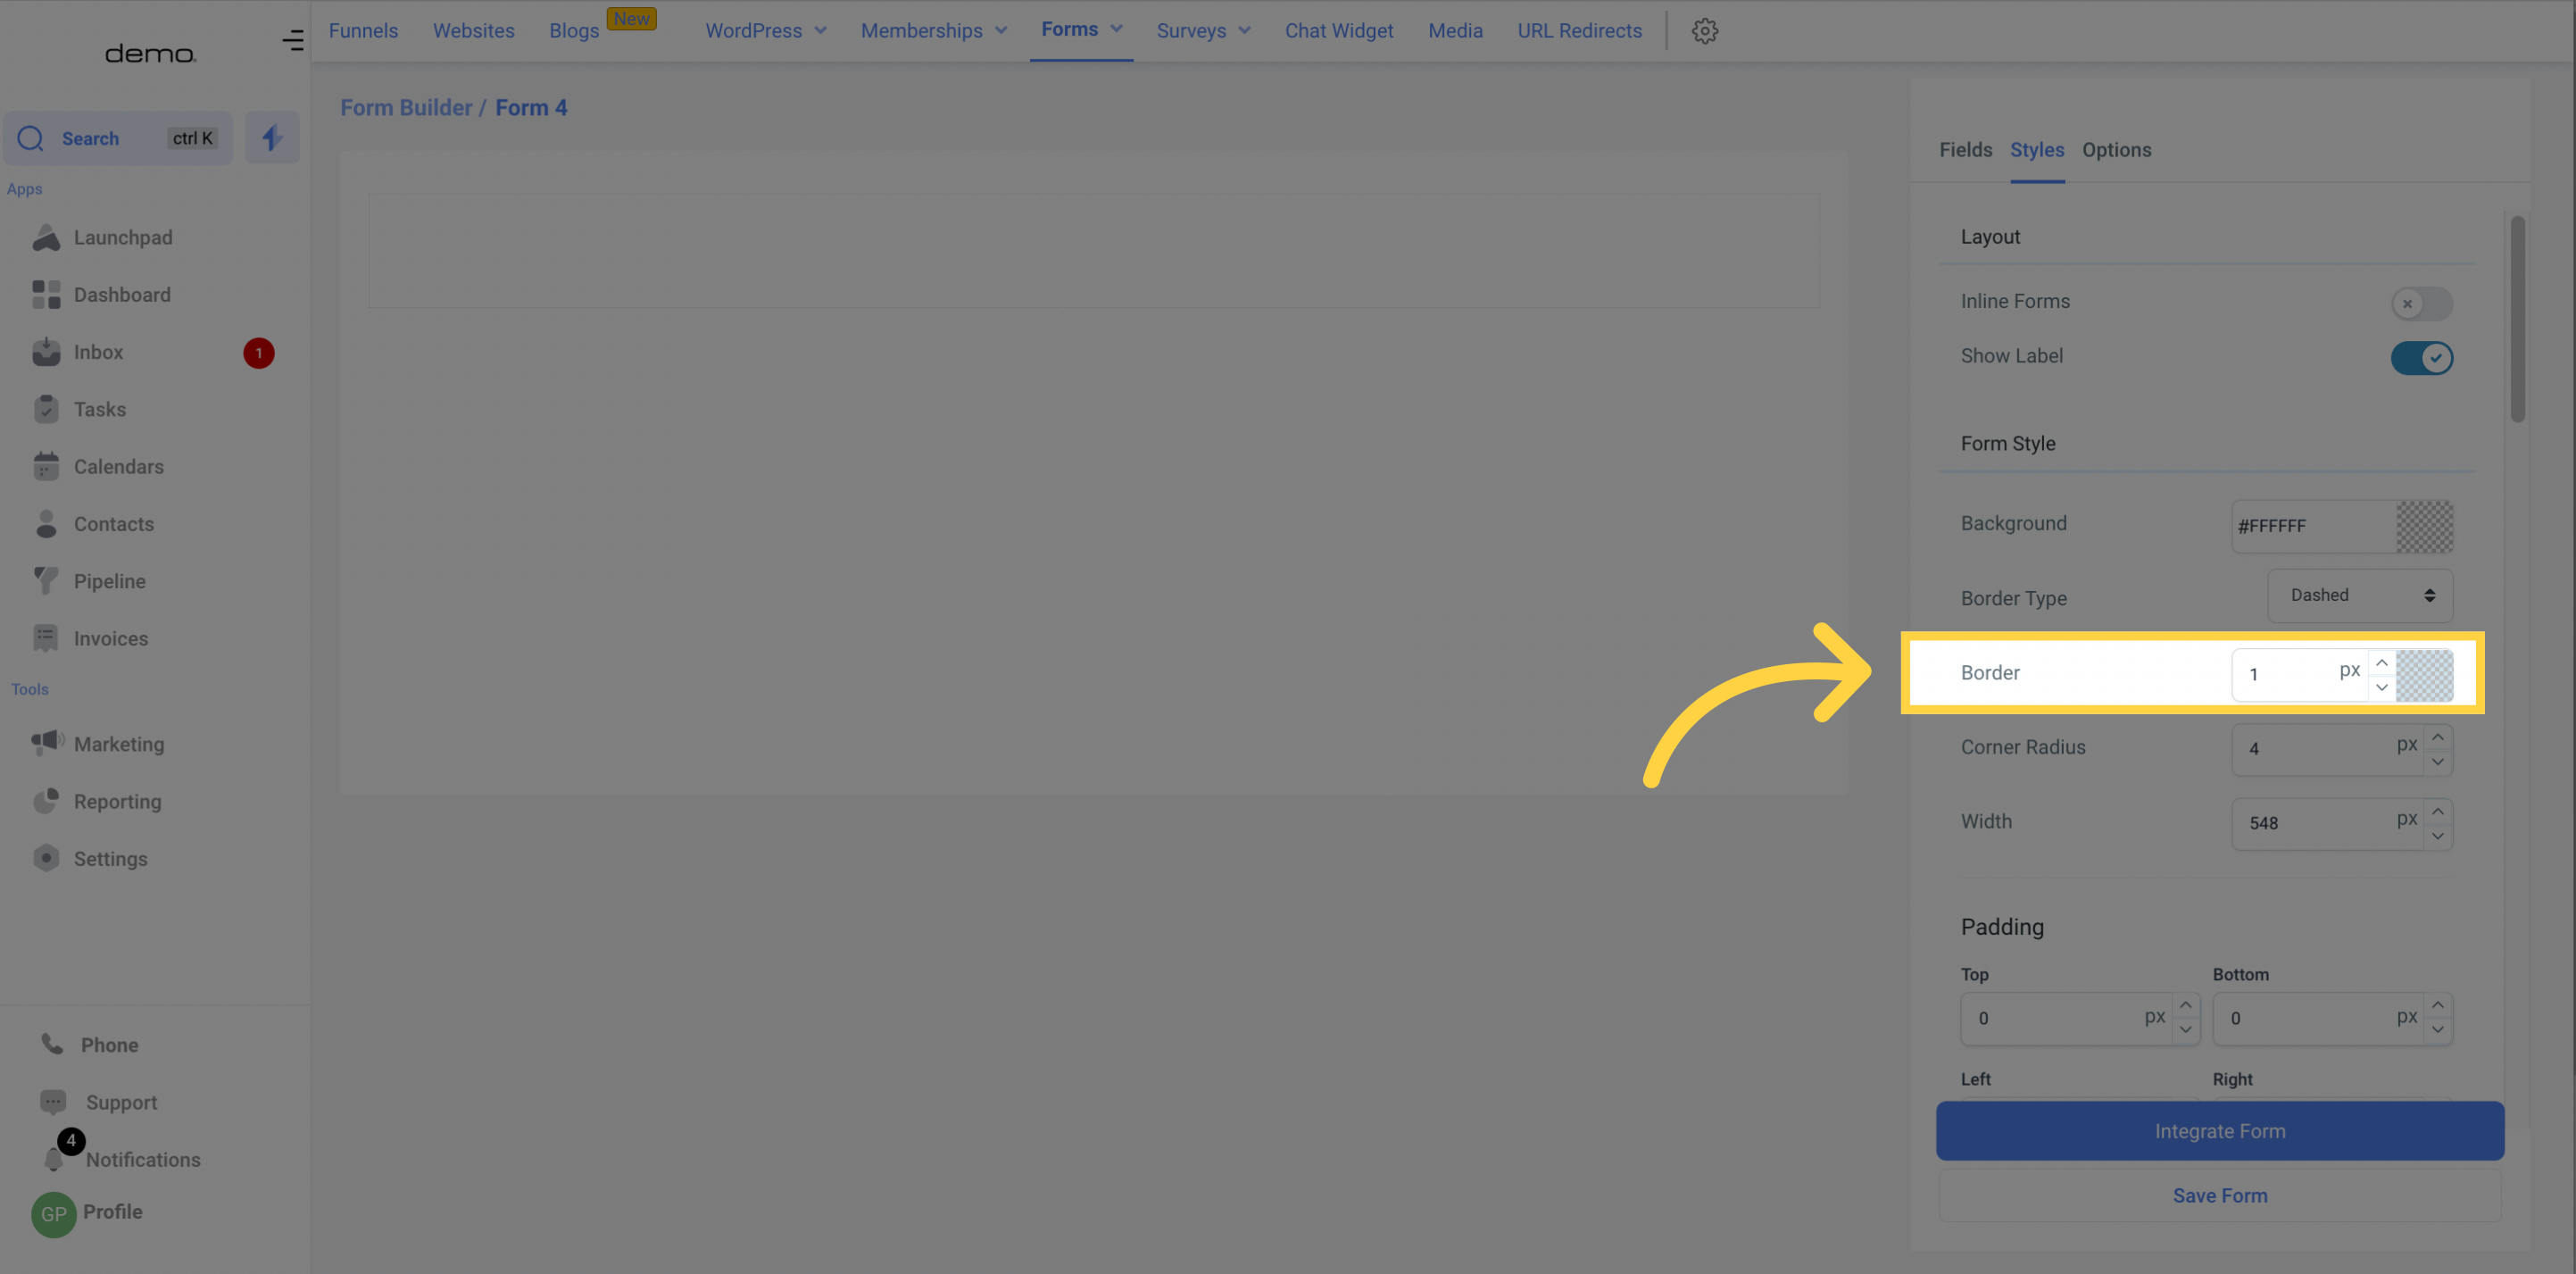
Give a stronger border to your form by increasing the width of the border walls.
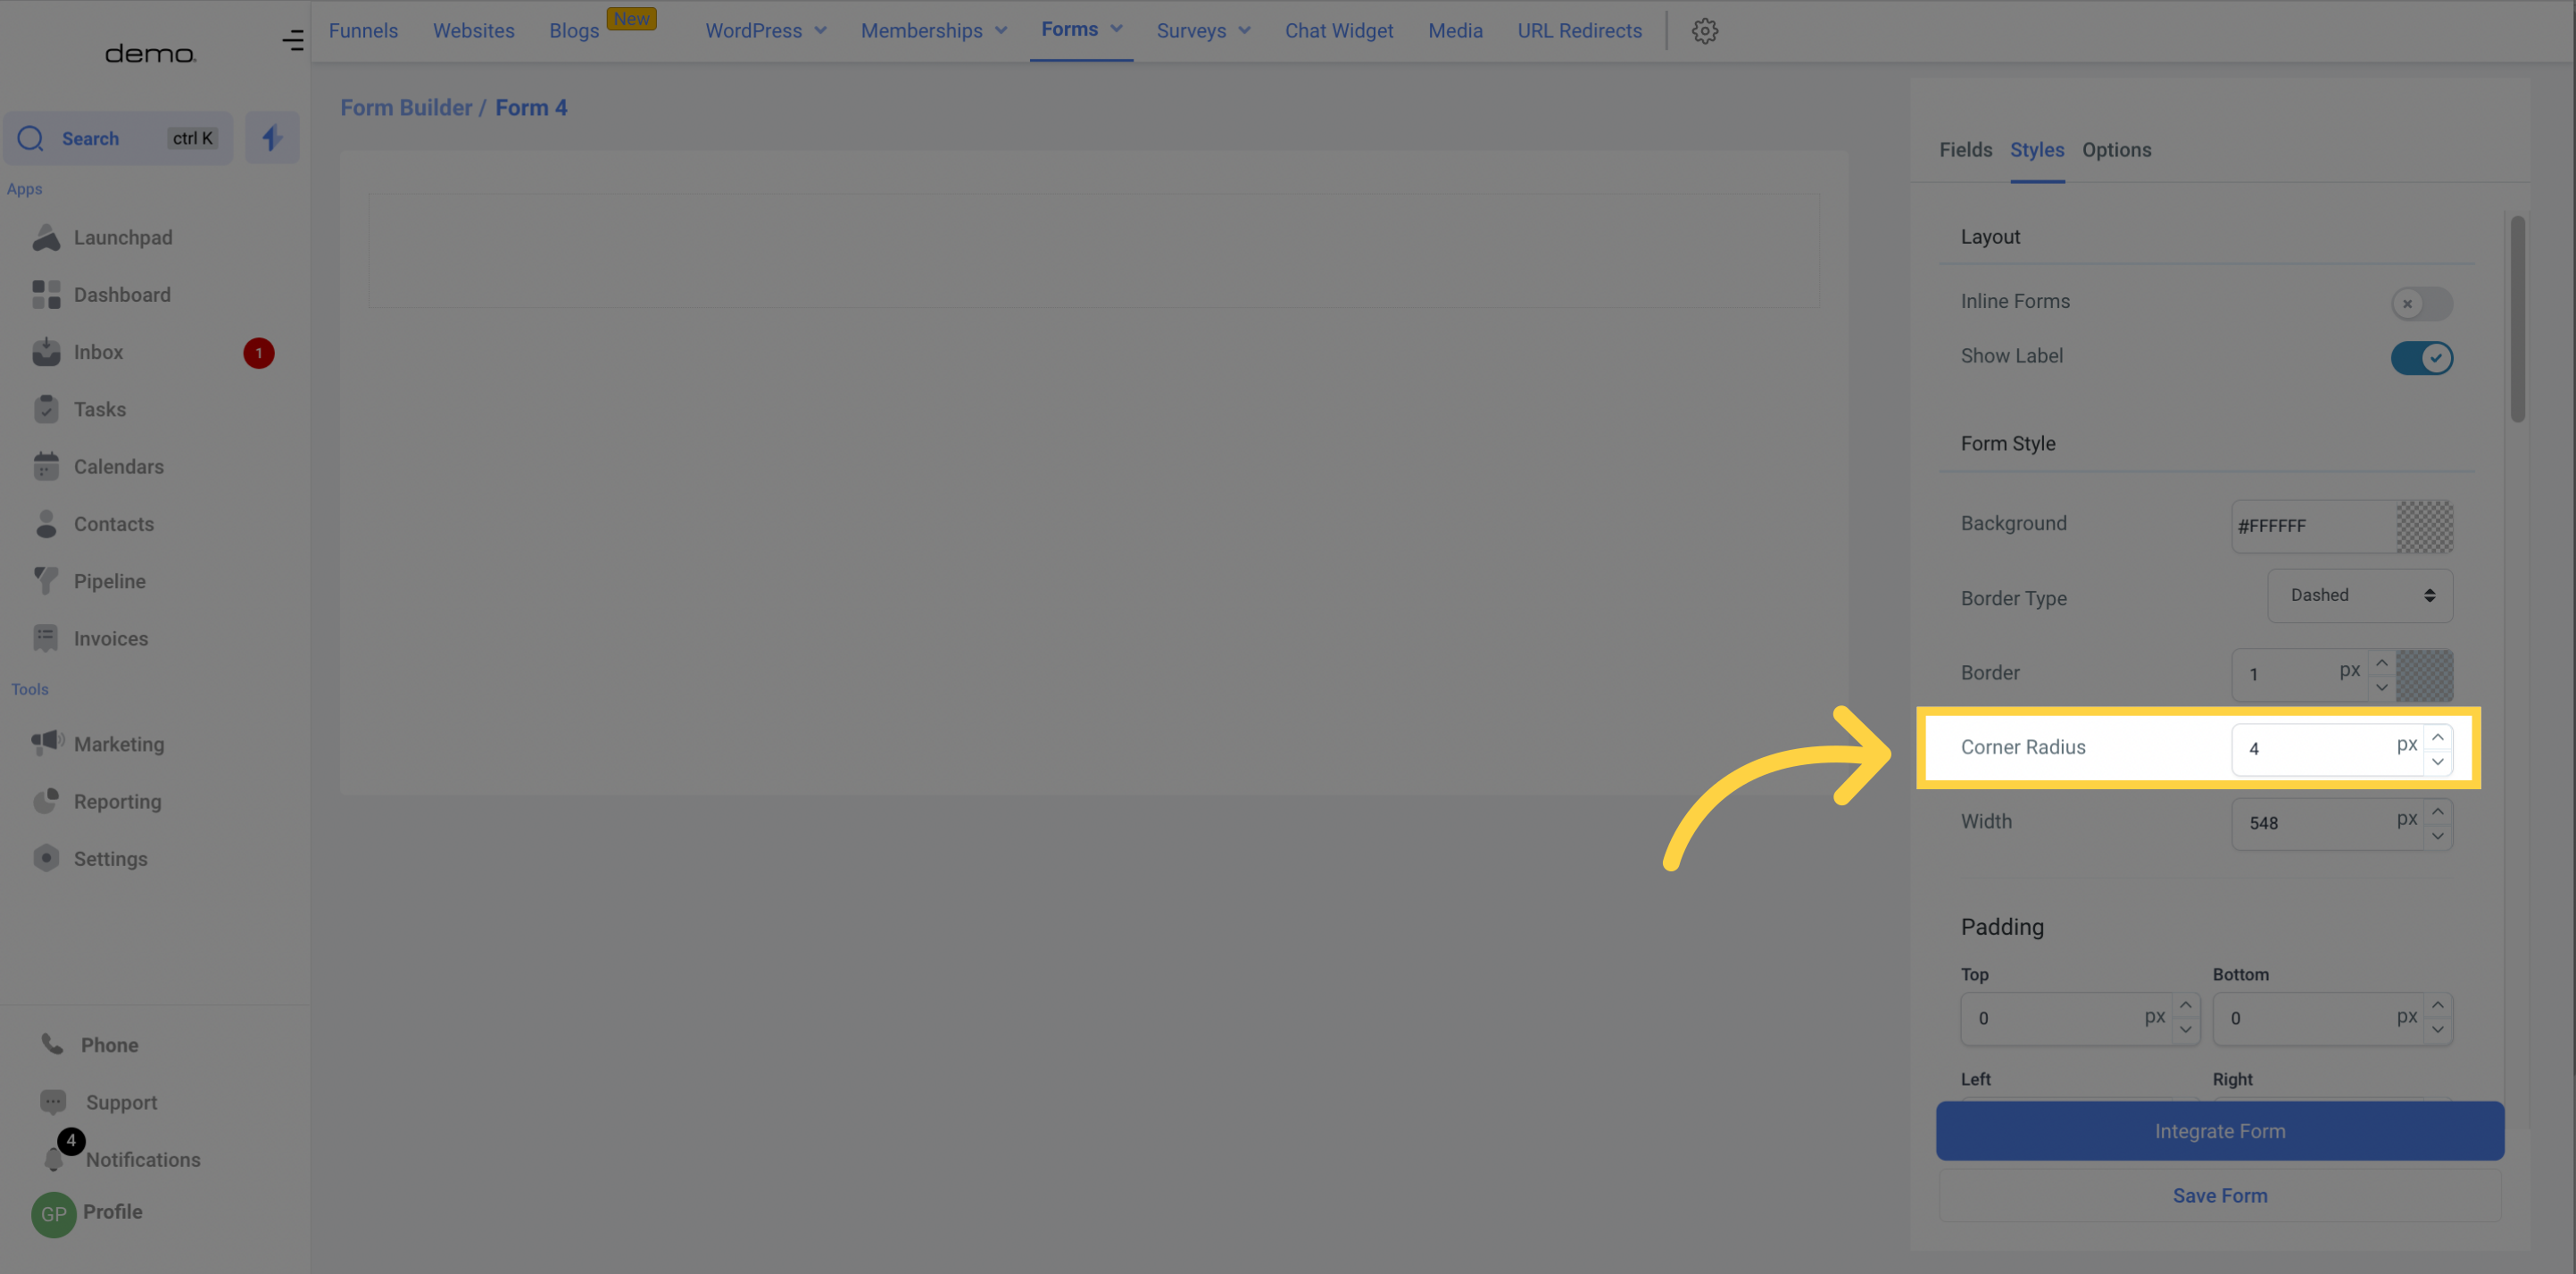
Customize the corners of your form by specifying the Corner radius value.
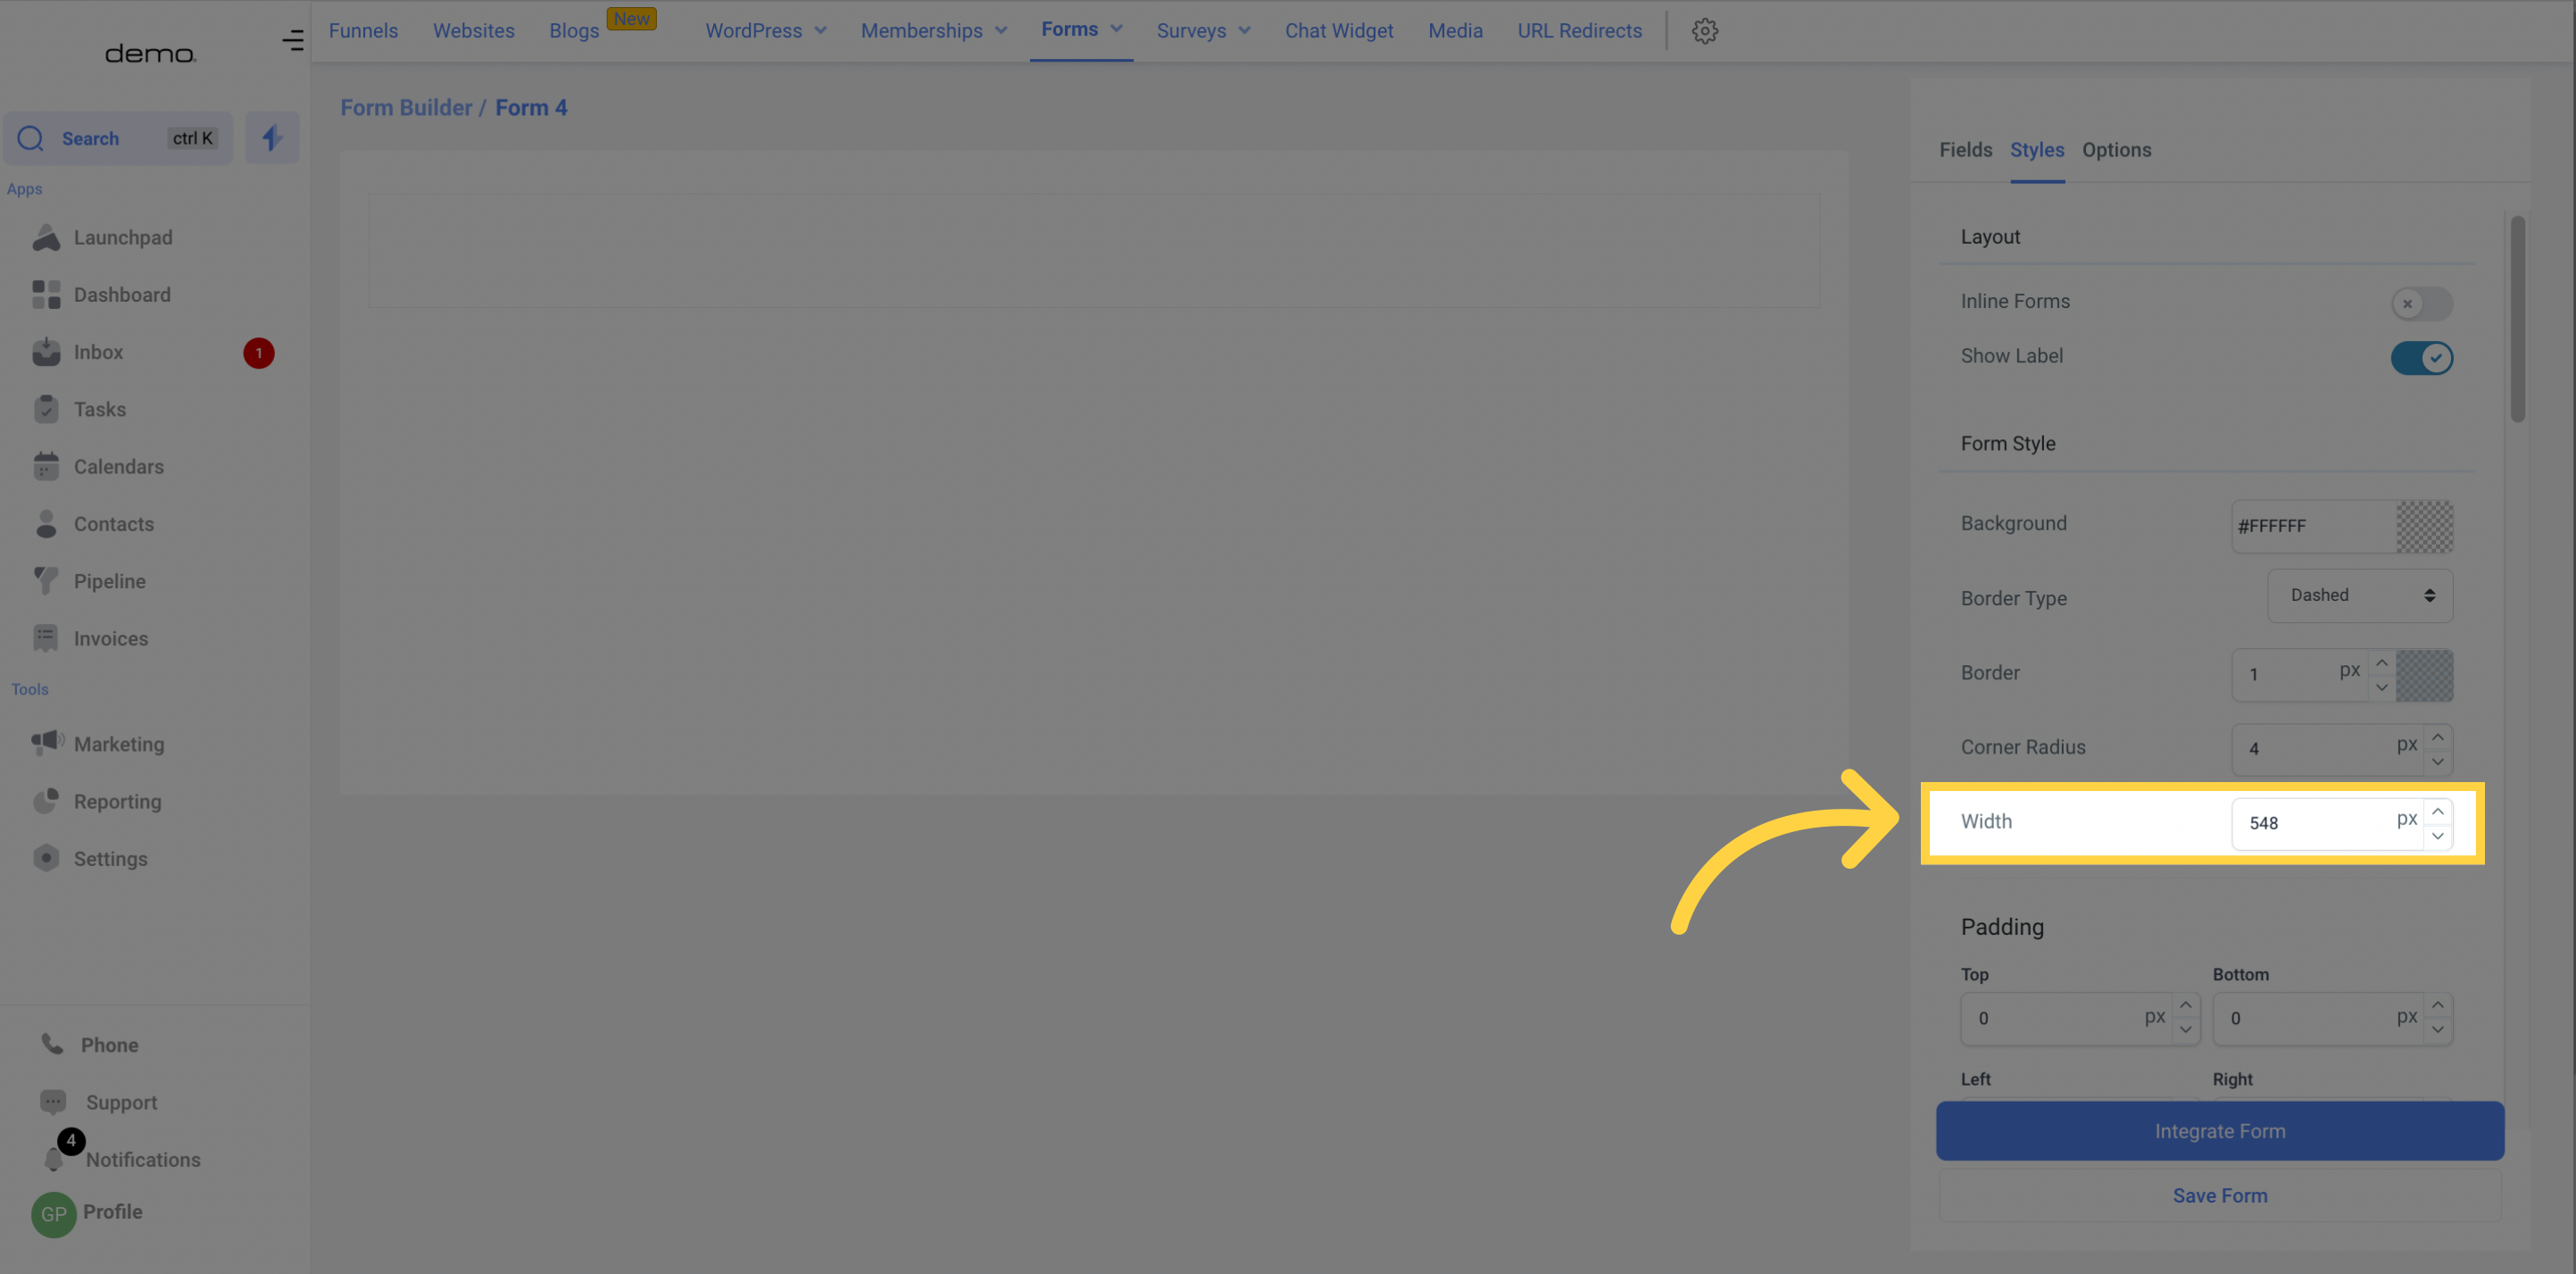
Adjust the total width of your form to fit it seamlessly into the web page you're embedding it in using the Width option
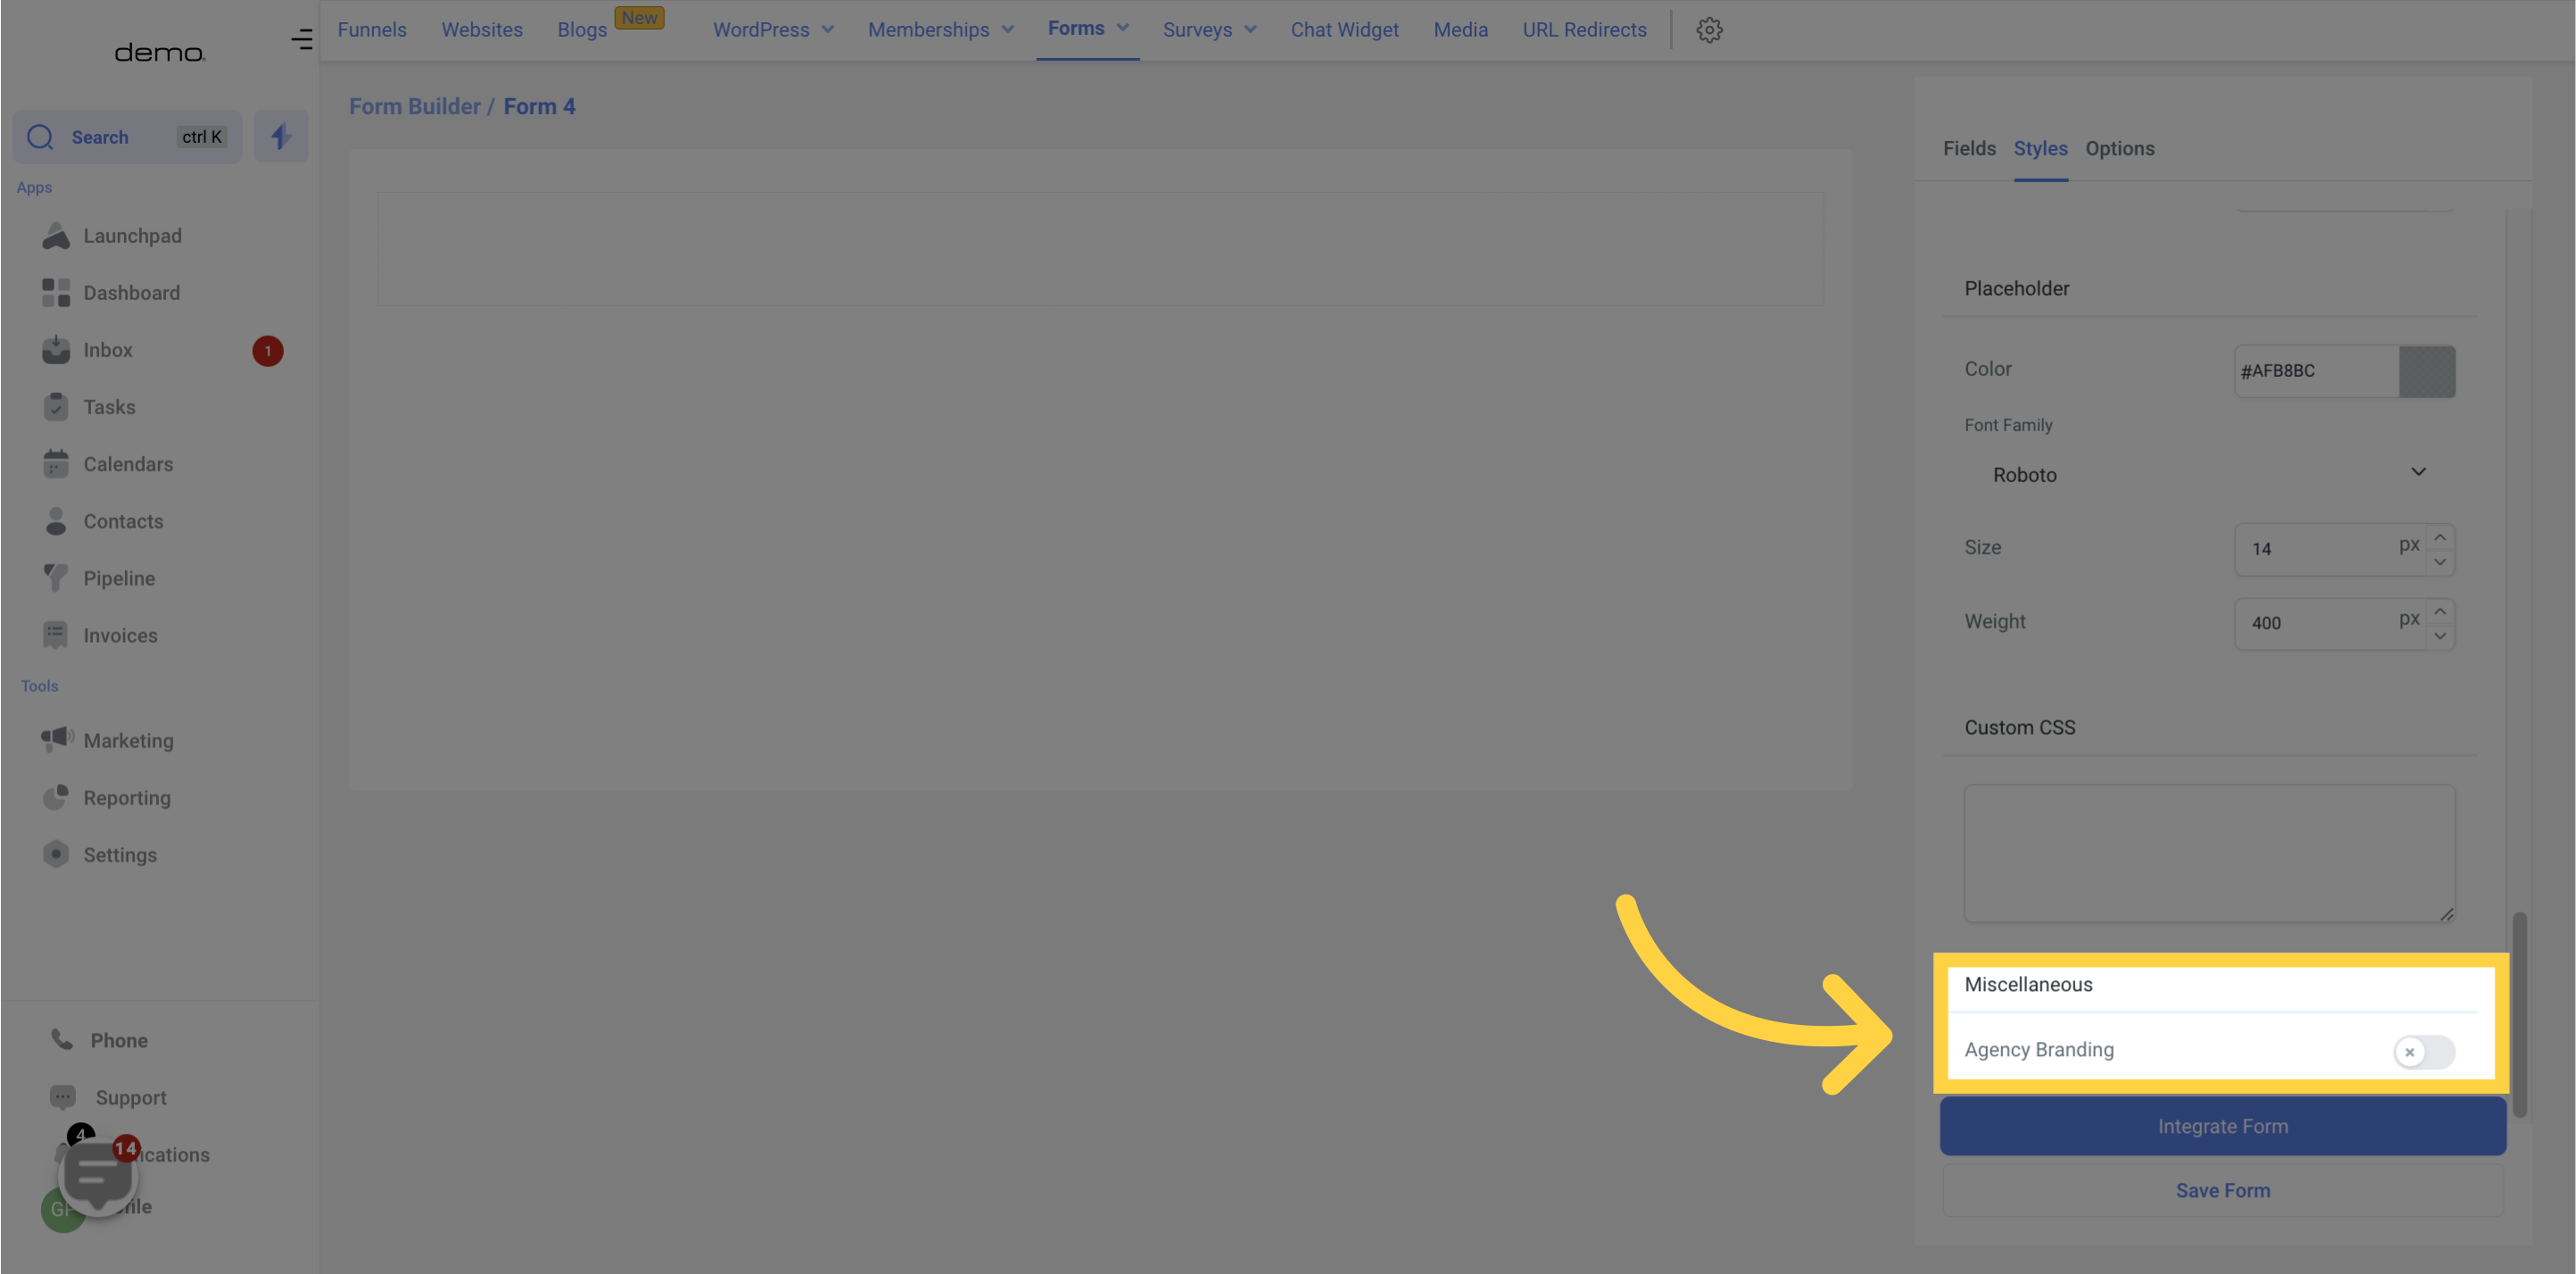
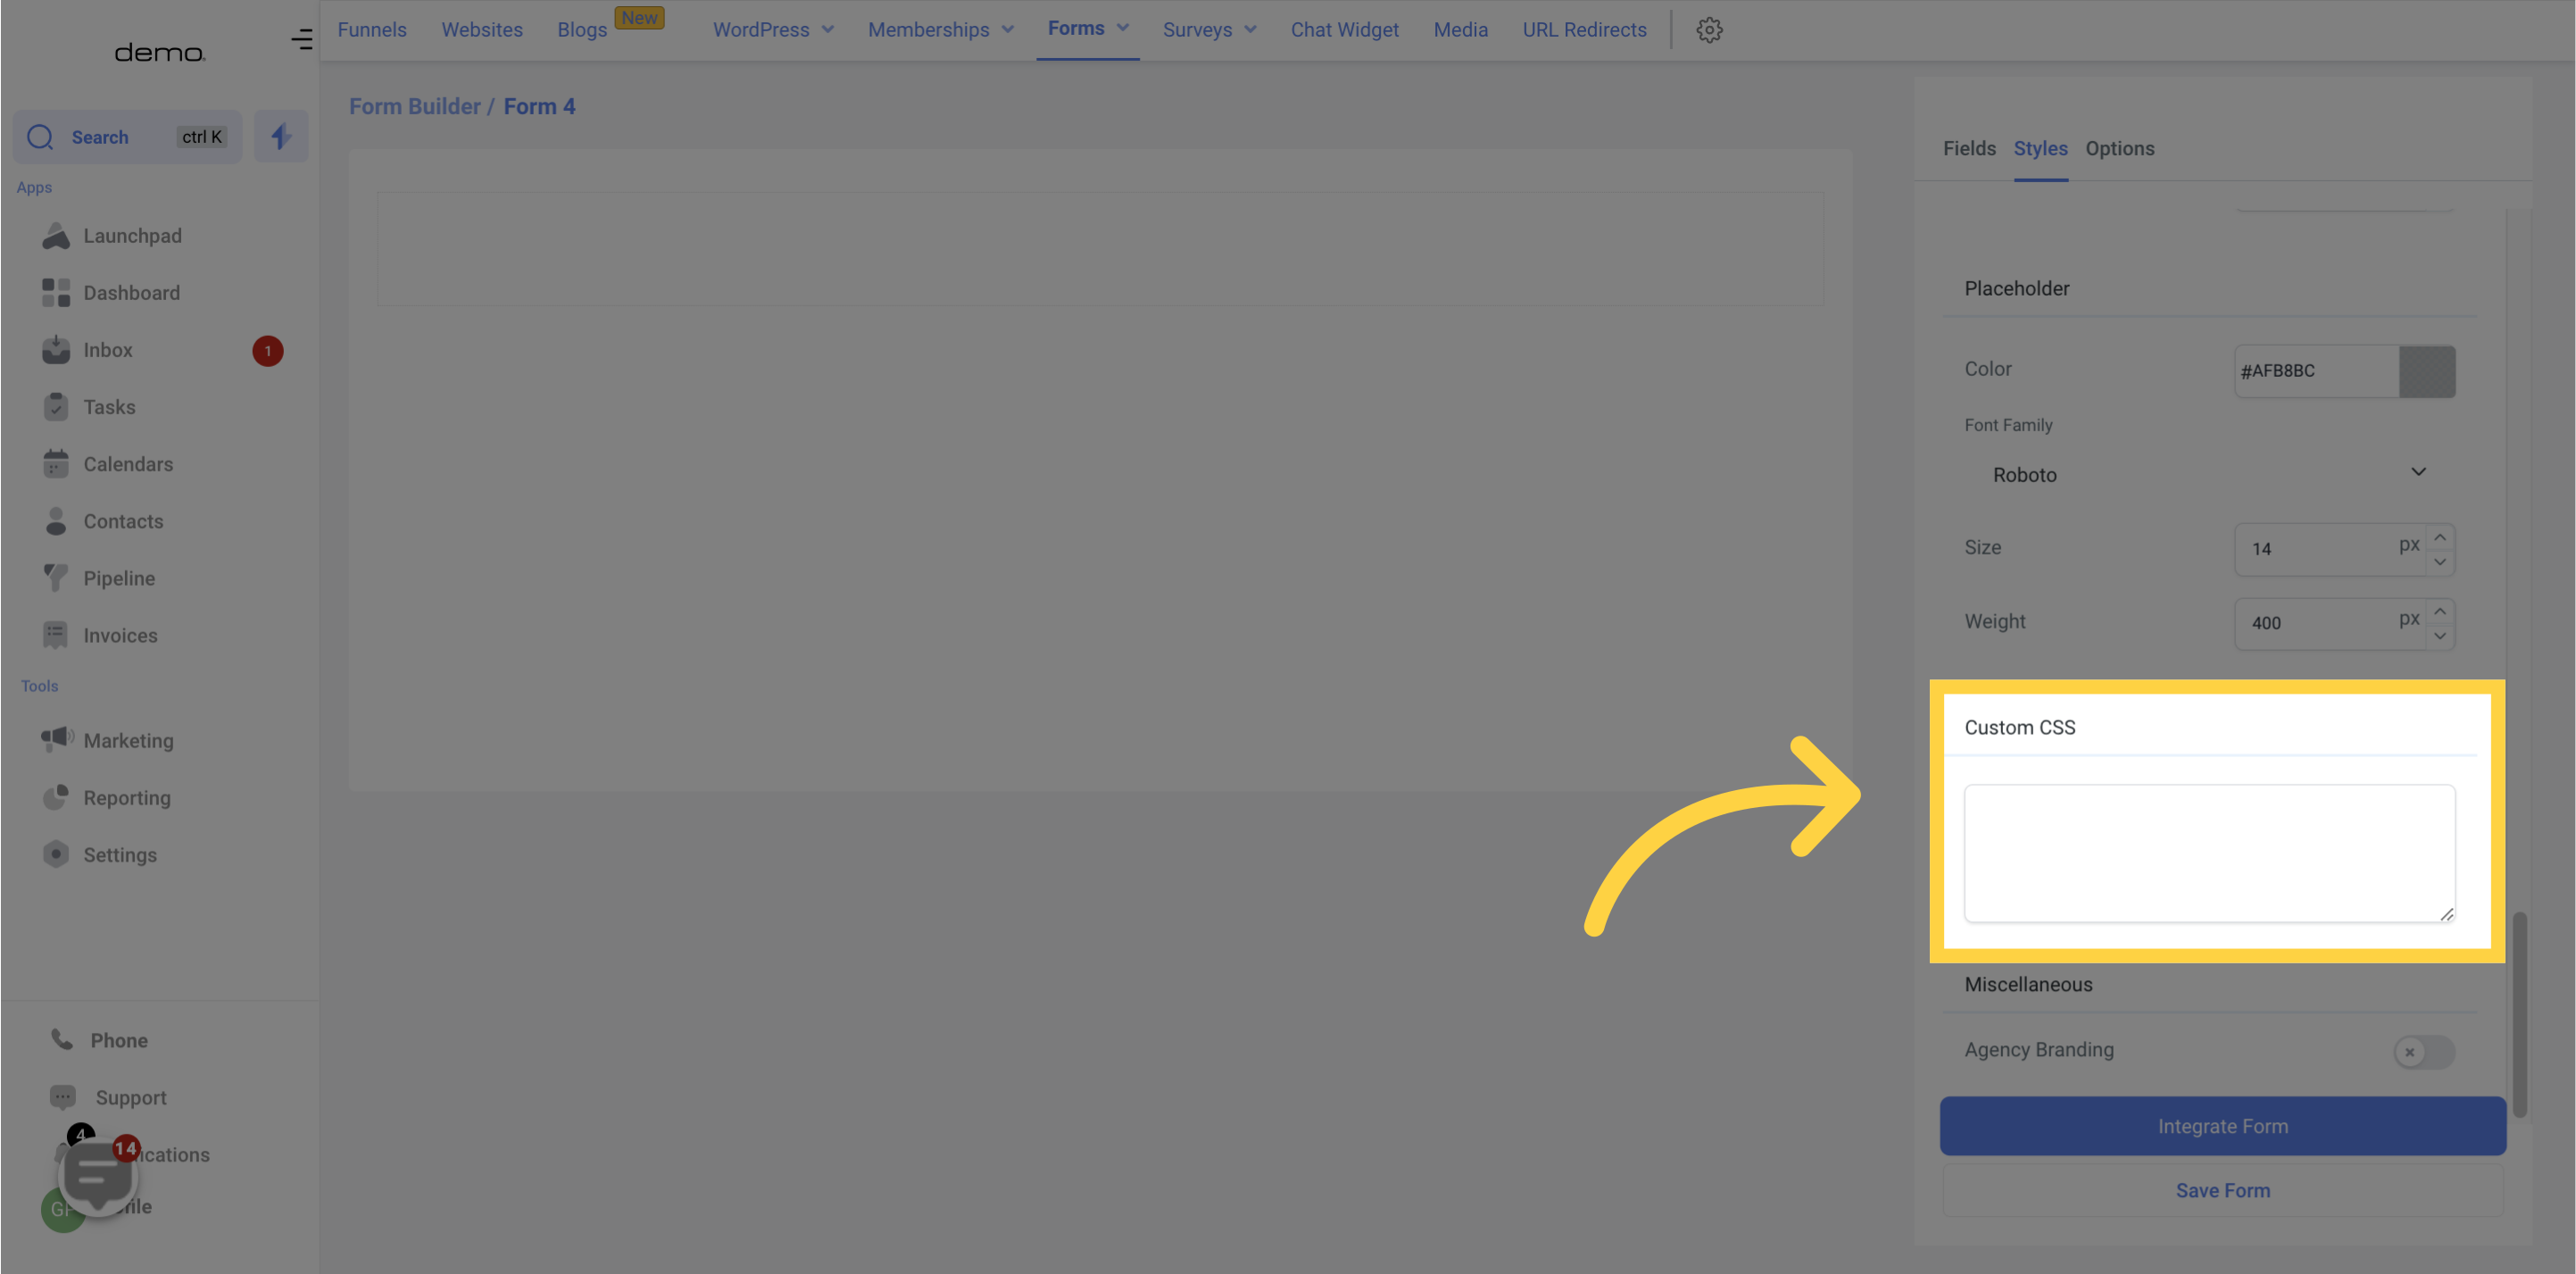
With custom CSS, you can completely transform the appearance of your forms. You can alter elements such as the shape of input fields, colors, buttons, and much more. If you're unfamiliar with CSS, we recommend seeking the guidance of an experienced web developer.
To have your company logo appear on every form, toggle the option in this section.